Fun Turtle Pinch Pots For Kids With Step-By-Step Instructions
There are so many fun things you can build using pinch pot techniques. In one art class, we will show how children as young as 1st grade can make this easy turtle pinch pot.

This clay project was originally written in April 2022. Erin updated this clay lesson at the end of May 2026 with more precise instructions and additional tips to help you succeed. Happy creating!
Why You Will Love This Clay Idea
The best part about ceramic projects for kids is that a simple pinch pot can be the end product or be used as a base for more advanced clay projects (like these easy clay monsters). There are so many creative pinch pot ideas for your kids to try.
ART TEACHER TIP – If you are unsure whether kids can do this build, you could always try a simple ceramic relief tile or a slab-clay cat to see how they do first.
Why do you need to make a hollow turtle shell?
If using real kiln clay, you need walls and items thin enough so they do not explode in the kiln. By starting with a pinch pot base, you ensure this will not happen.
This clay project uses a flipped-over pinch pot as its base. Many other pinch pot projects are meant to end up as a cup or bowl.
Supplies you’ll need
Disclosure: This post may contain affiliate links when clicked, we may earn a small commission at no additional cost to you. Read our full privacy policy.
How To Build A Turtle Pinch Pot
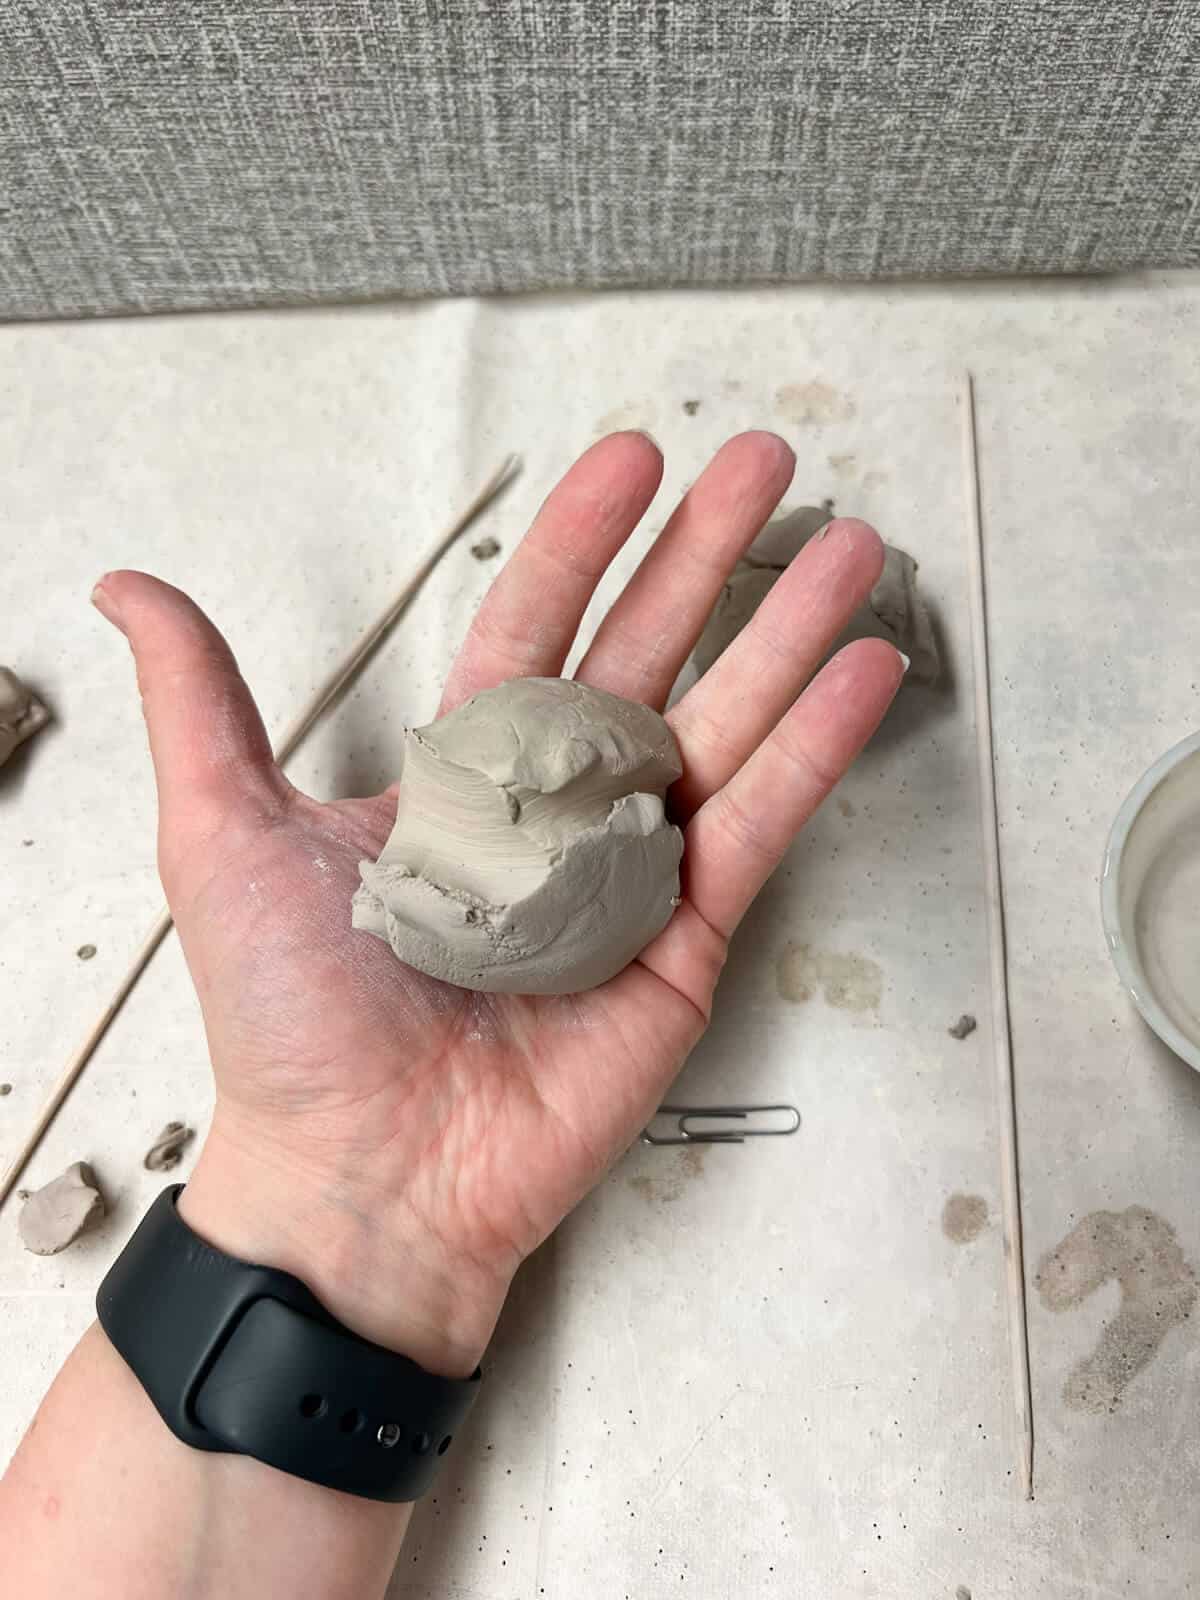
Step 1: Start With Clay Ball
Start with a ball of clay that can fit inside a child’s hand.
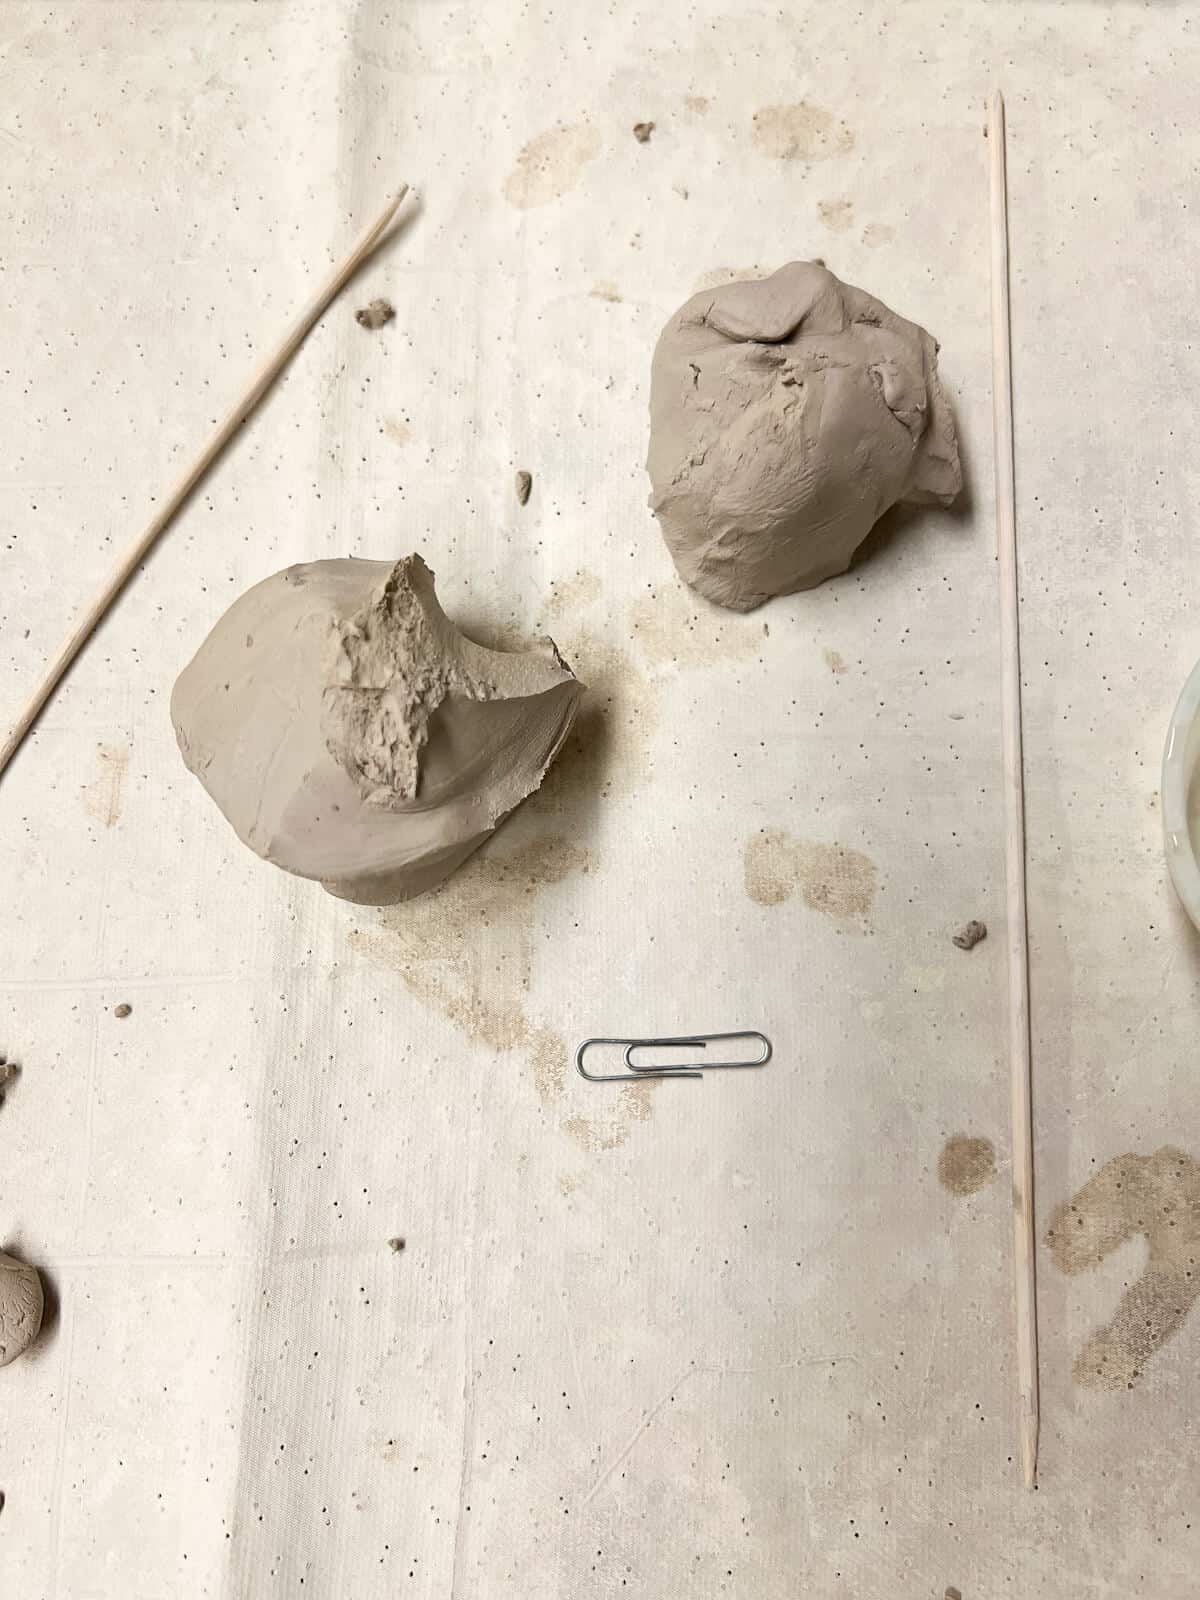
Step 2: Split Clay
Spilt a little bit off the hunk of clay. The bigger chunk of clay can be rolled into a ball.
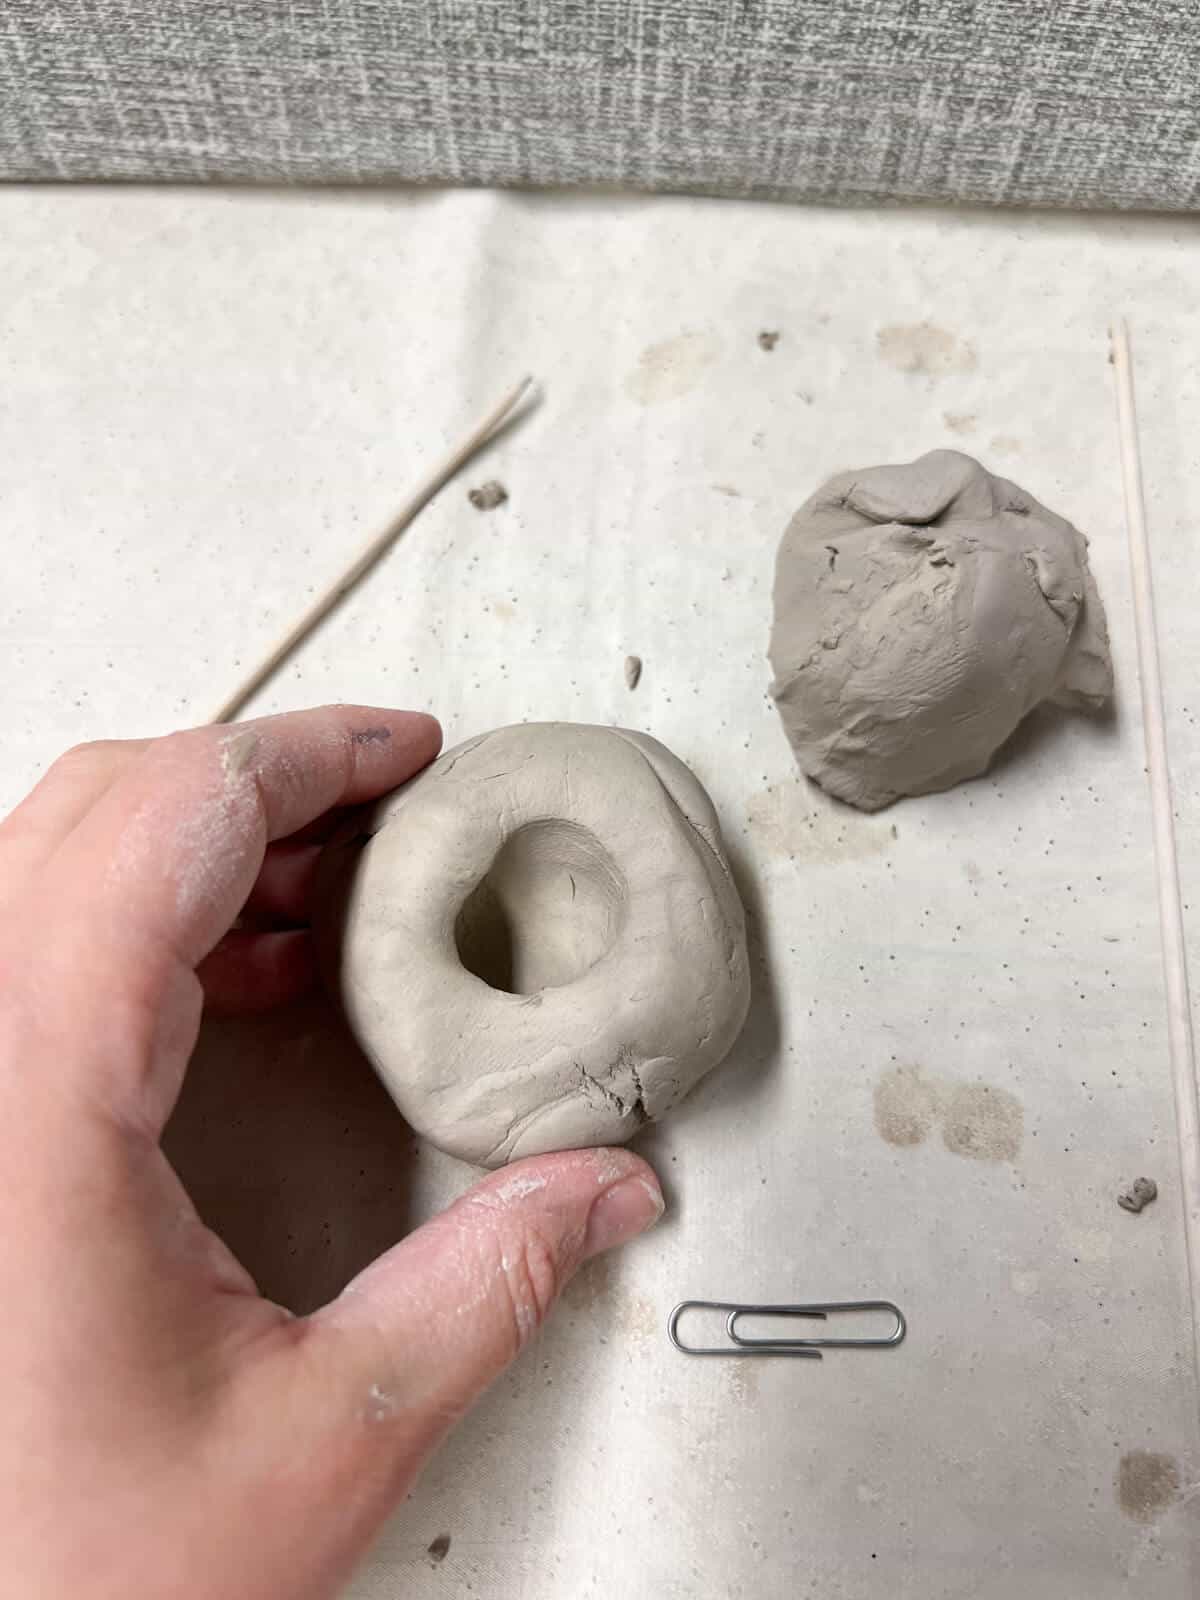
Step 3: Push Thumbs Into Clay
Have kids push one hole with their thumbs as far as they can go without going through.
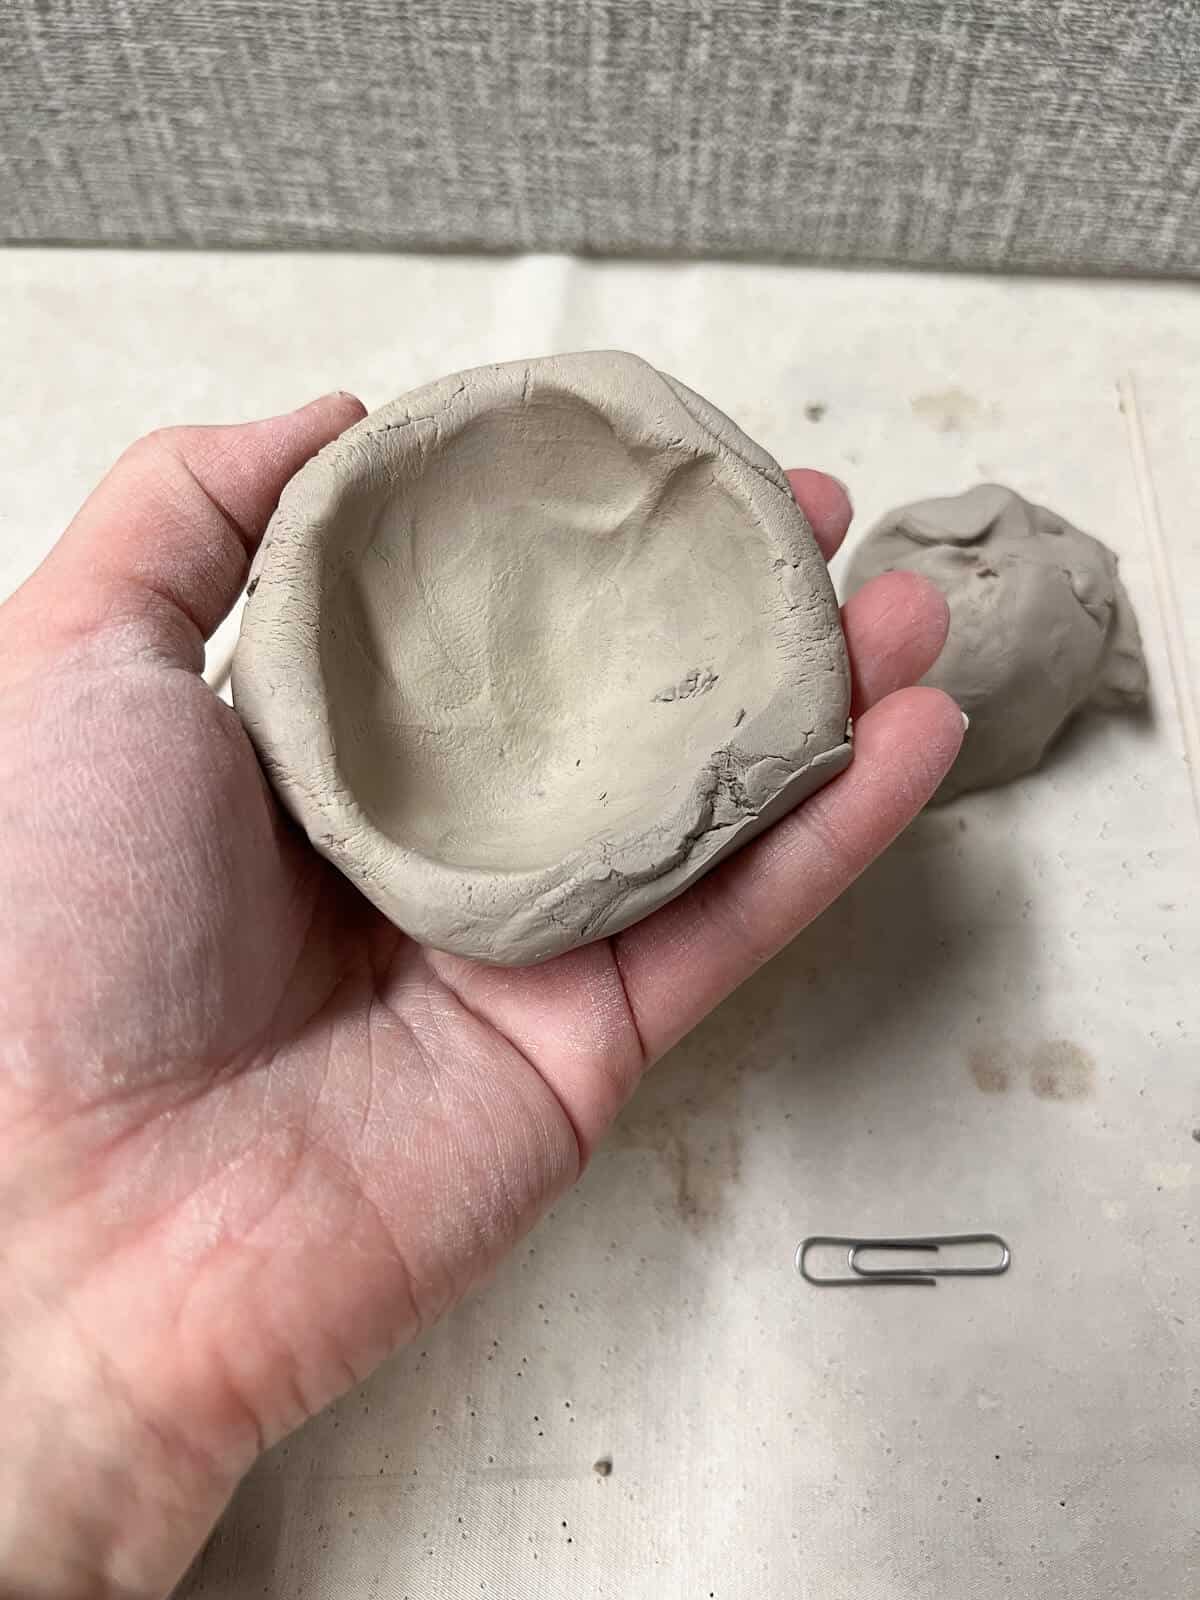
Step 4: Create A Pinch Pot
Use your hands to pinch around the edge and make sure not to make walls too thin. The walls should probably be around 1/8” thick to support the shell when flipped over.
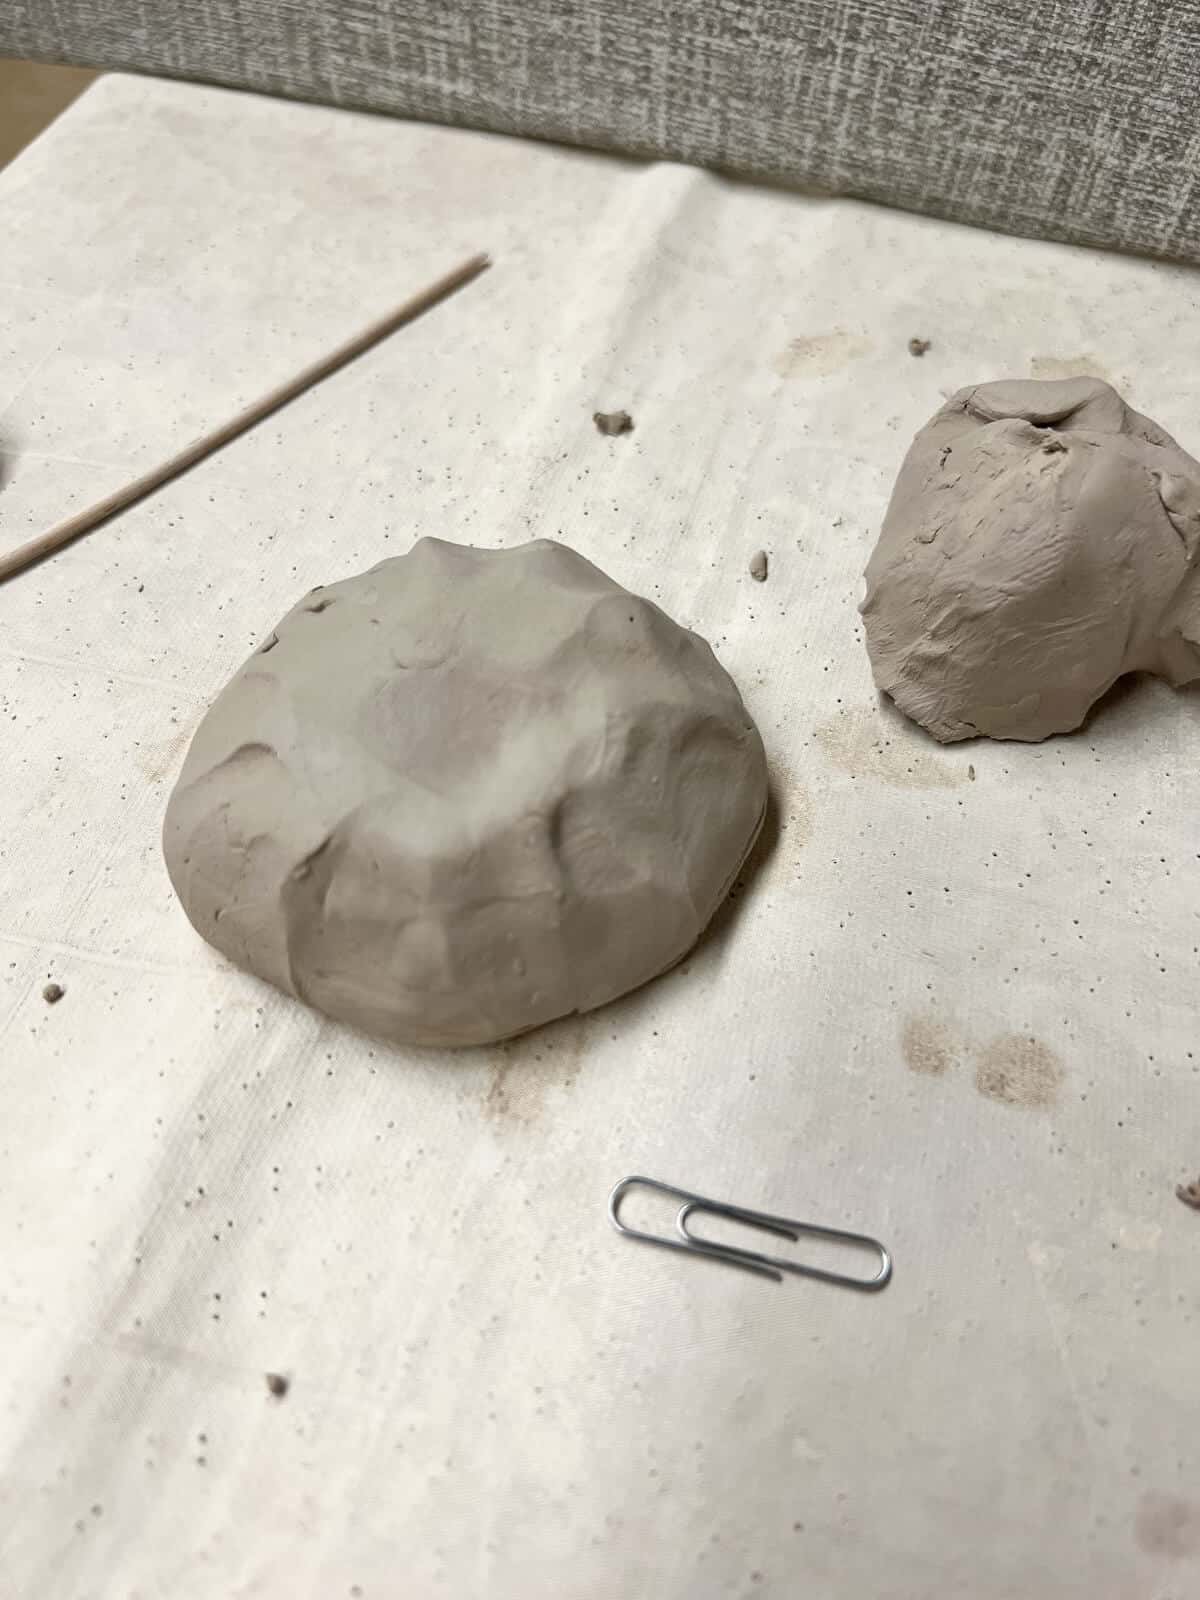
Step 5: Flip The Pot Over
Lightly push on the pot to make sure it is resting evenly. You can also take a little water and smooth out any cracks or bumps.
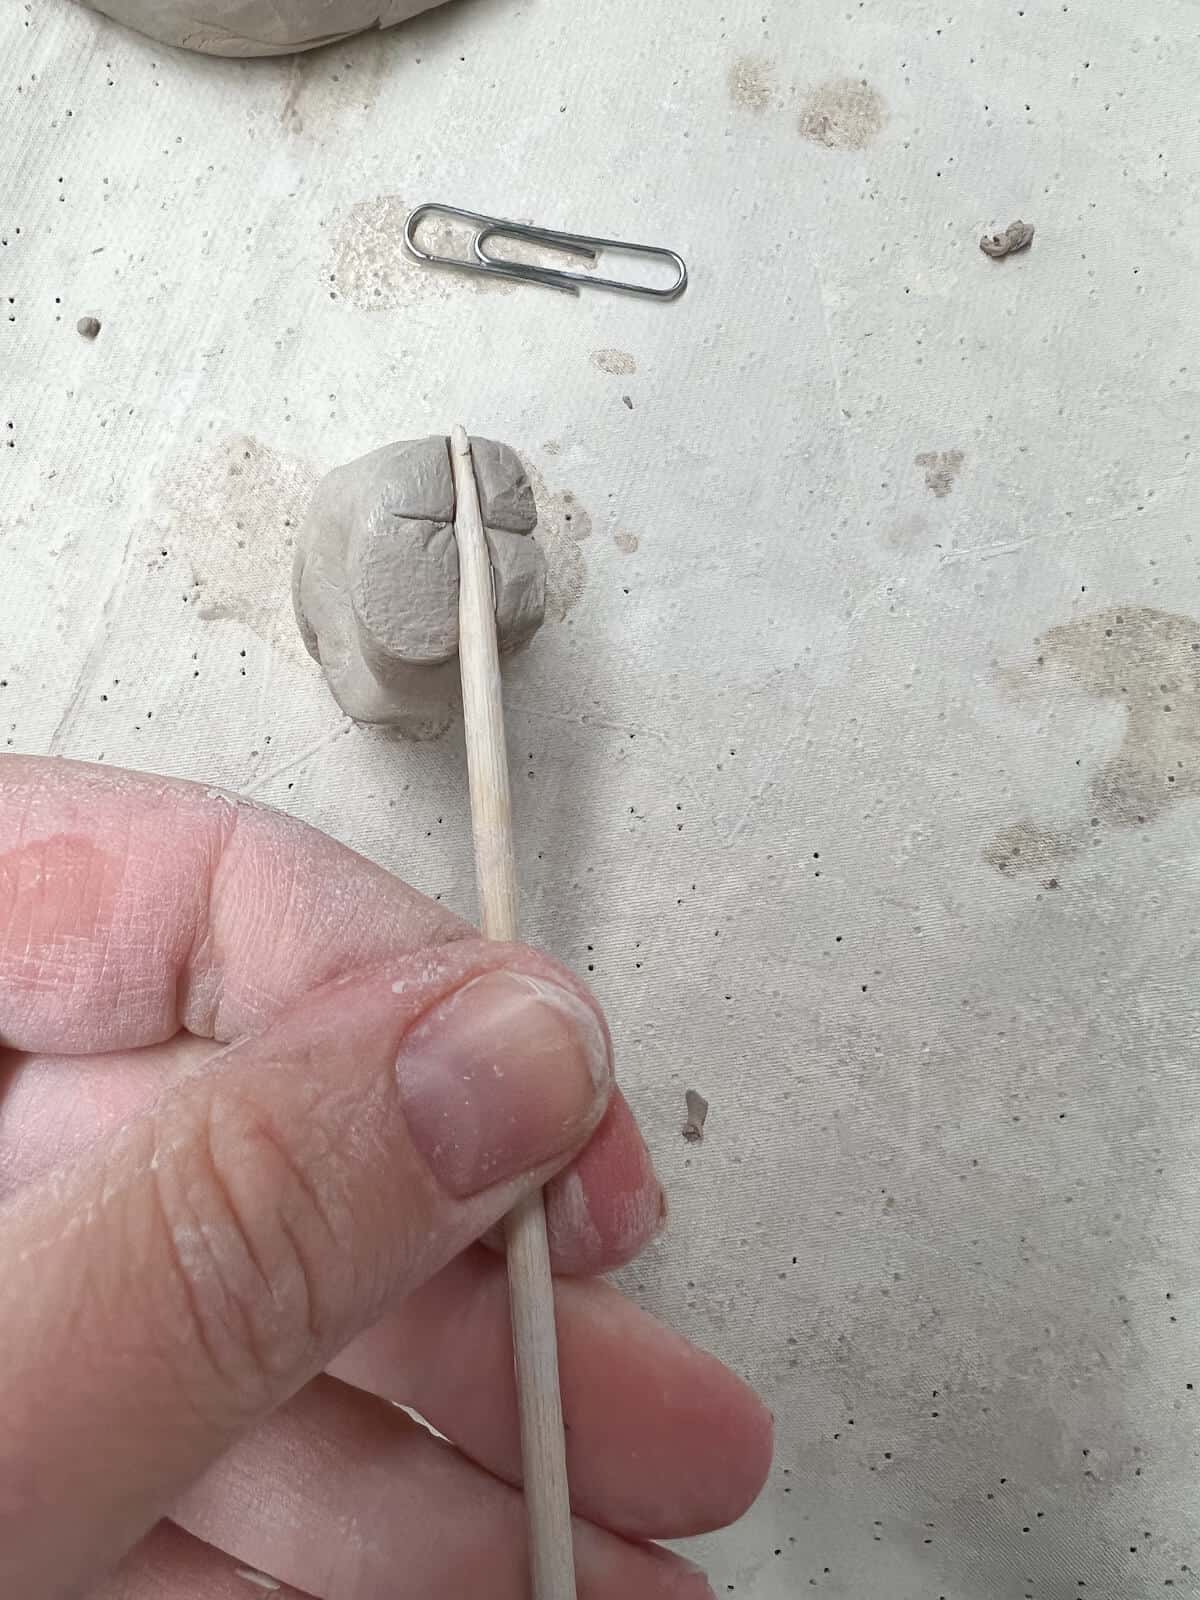
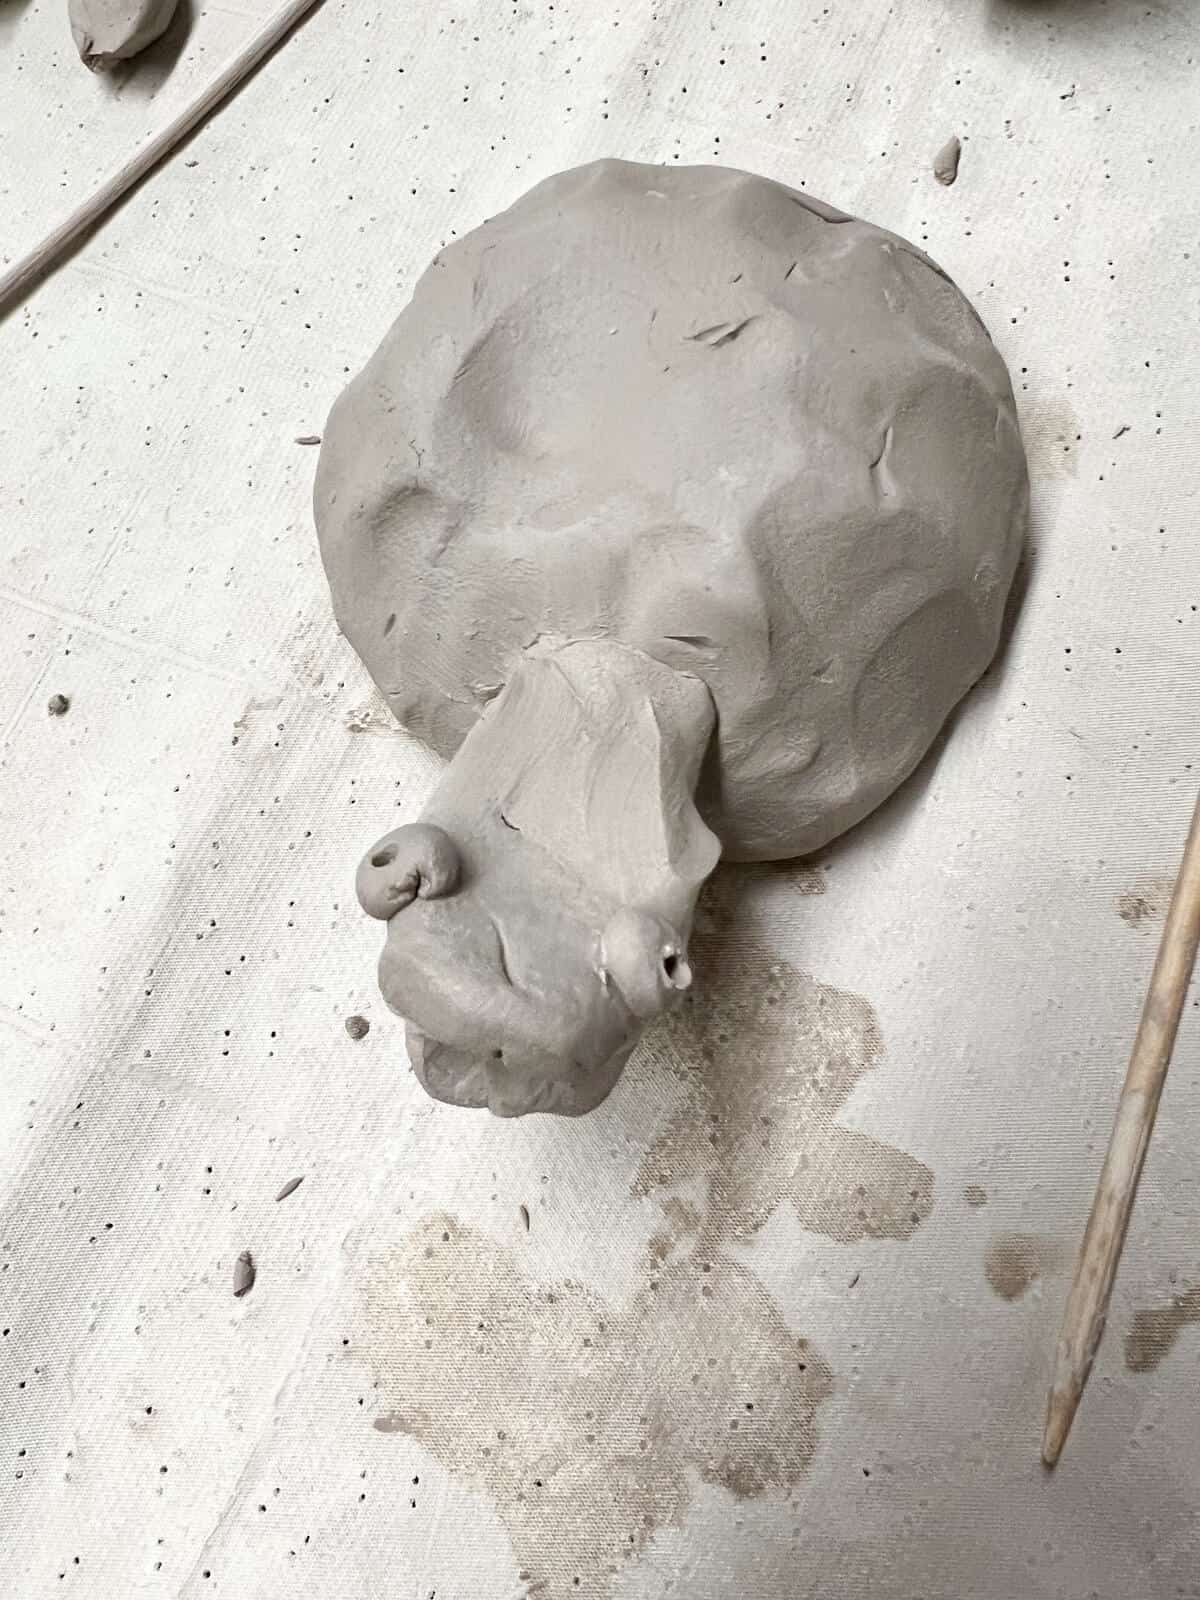
Step 6: Build The Head and Feet
Create a head and feet by sculpting it with clay and using a skewer to cut the mouth of the turtle.
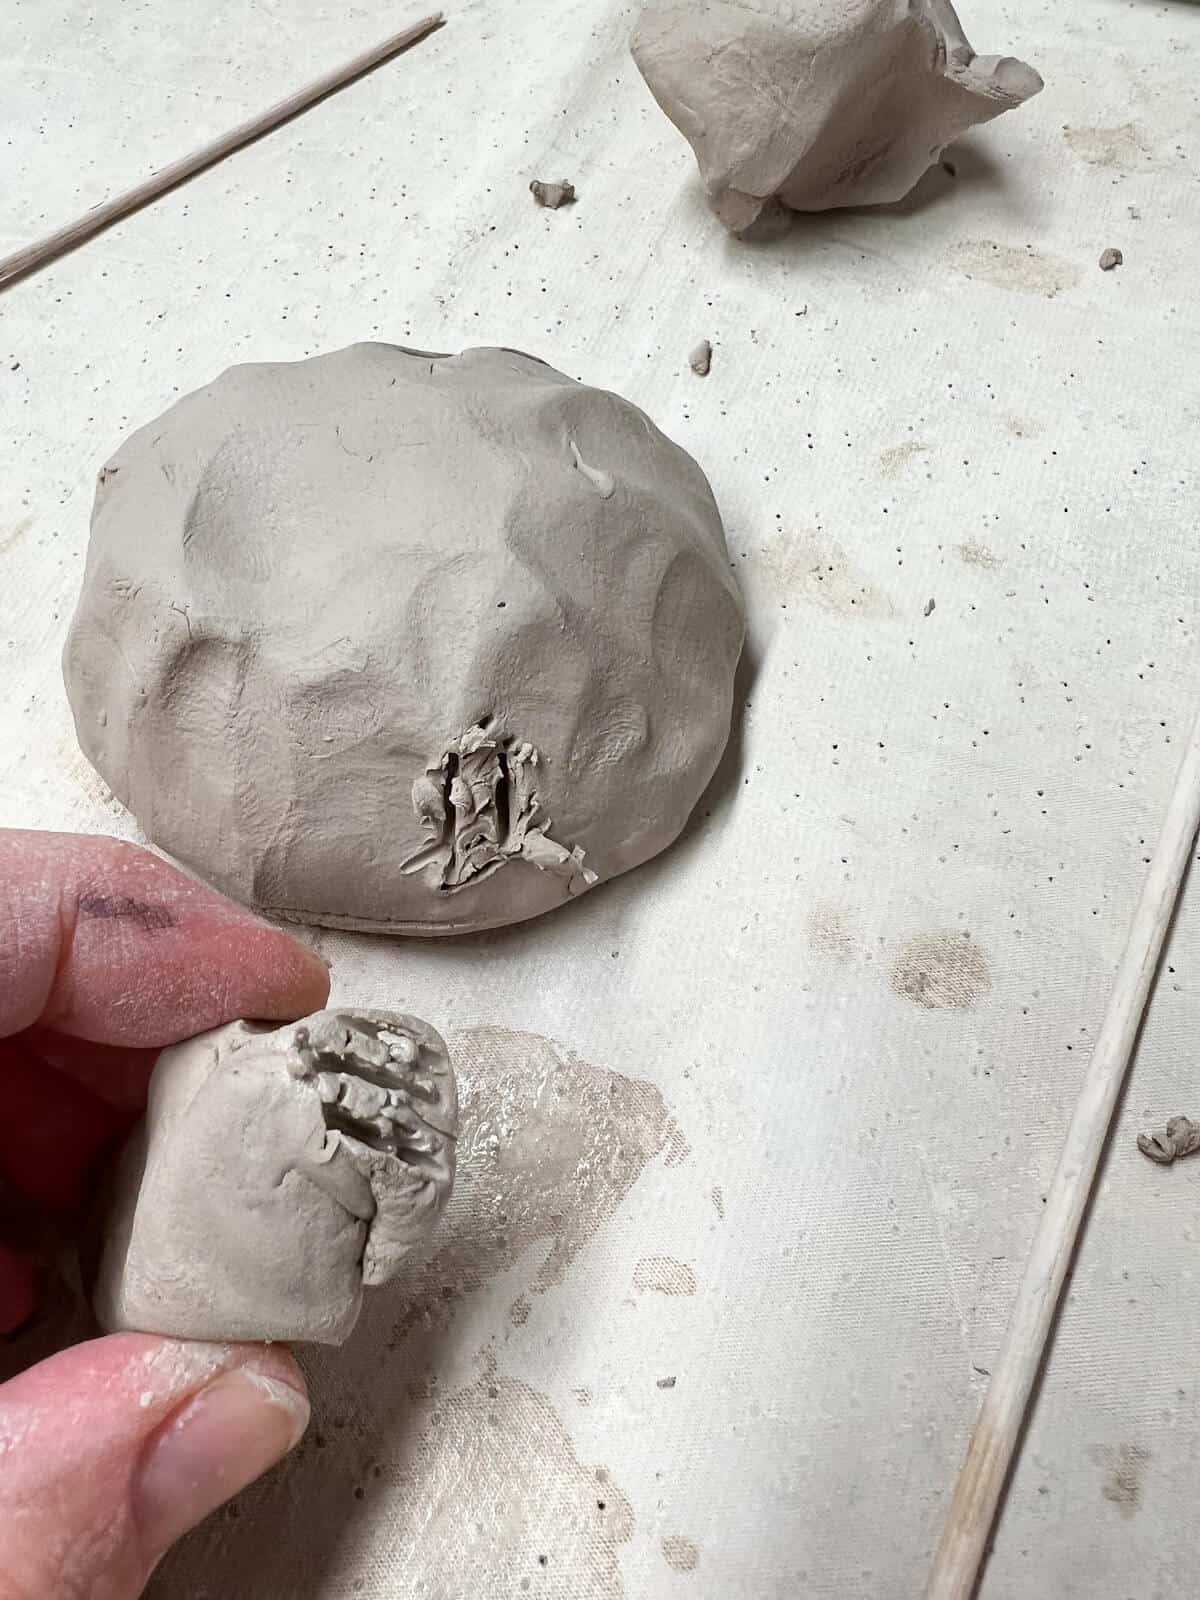
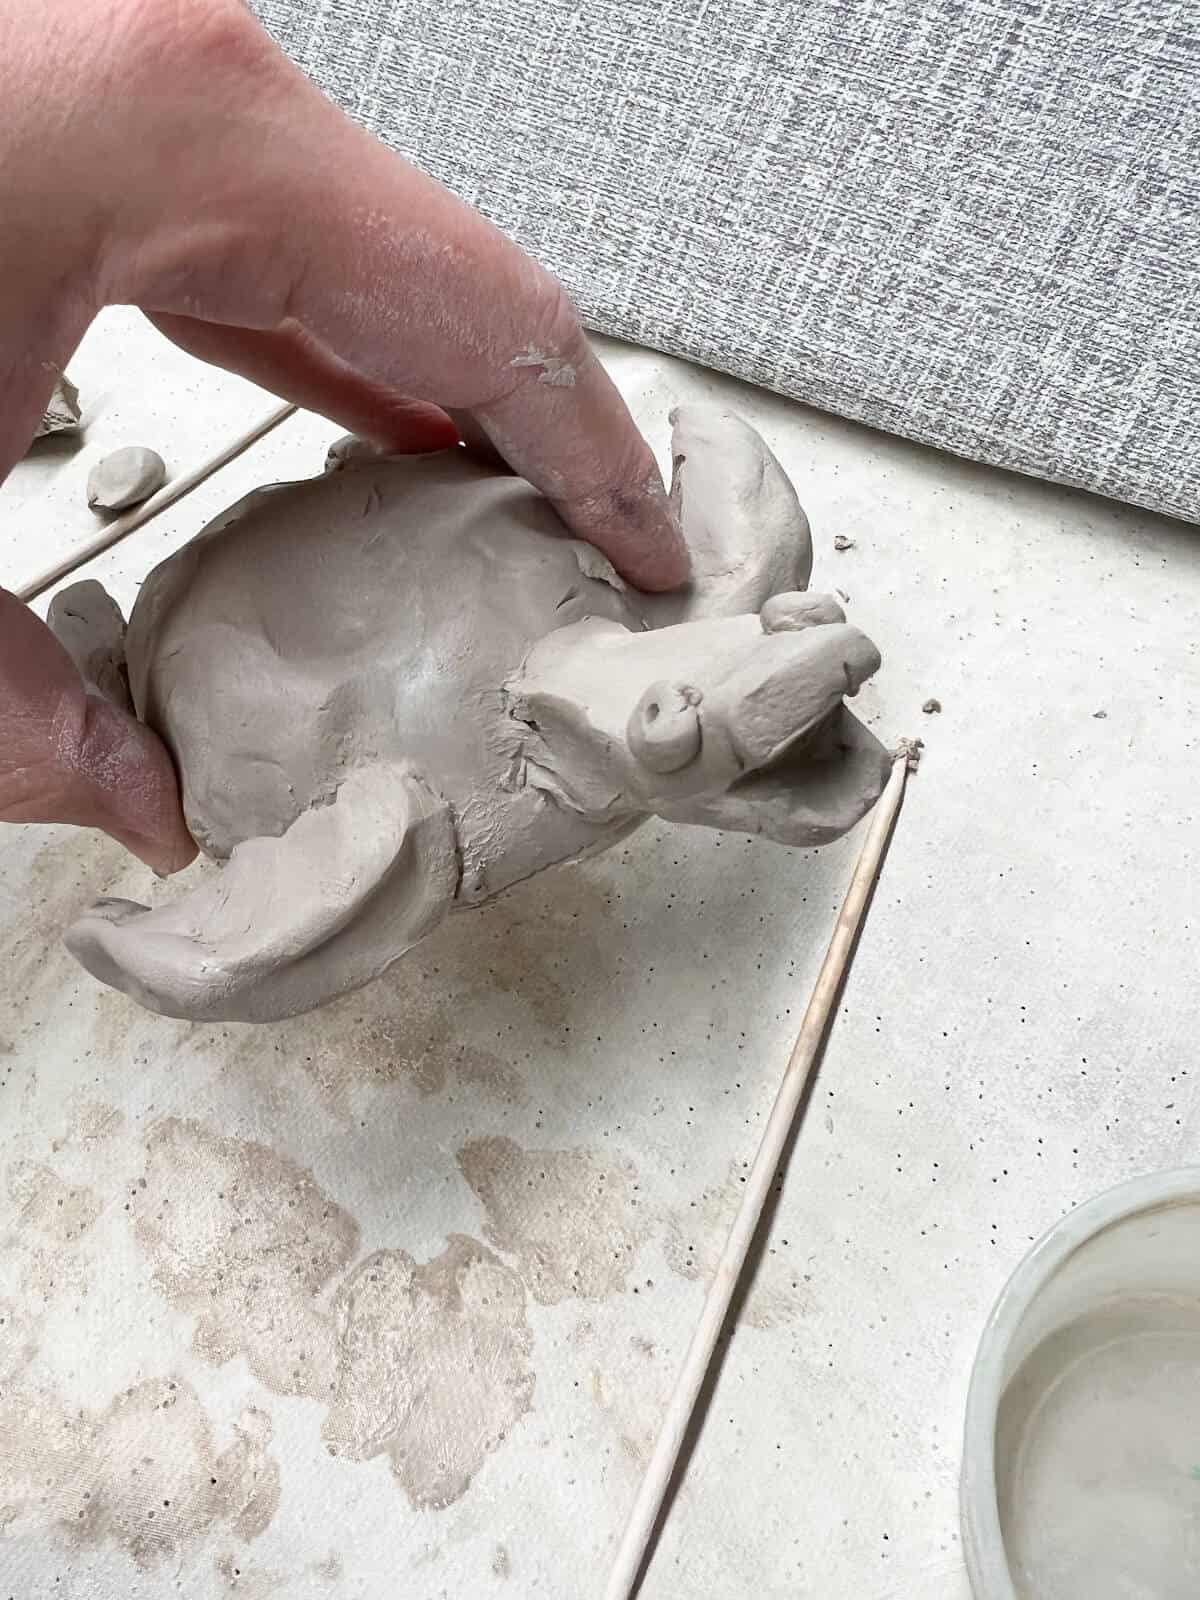
Step 7: Attach Head To Pinch Pot
Attach to the turtle shell by scoring the end of the head and where you are attaching to the shell. Use one finger dipped in water to add “slip” and attach. Use a finger to help blend the seam where the head is attached.
Step 8: Add and Attach Extra Details
Create turtle eyes with small balls of clay and a skewer. Attach by scoring and using water.
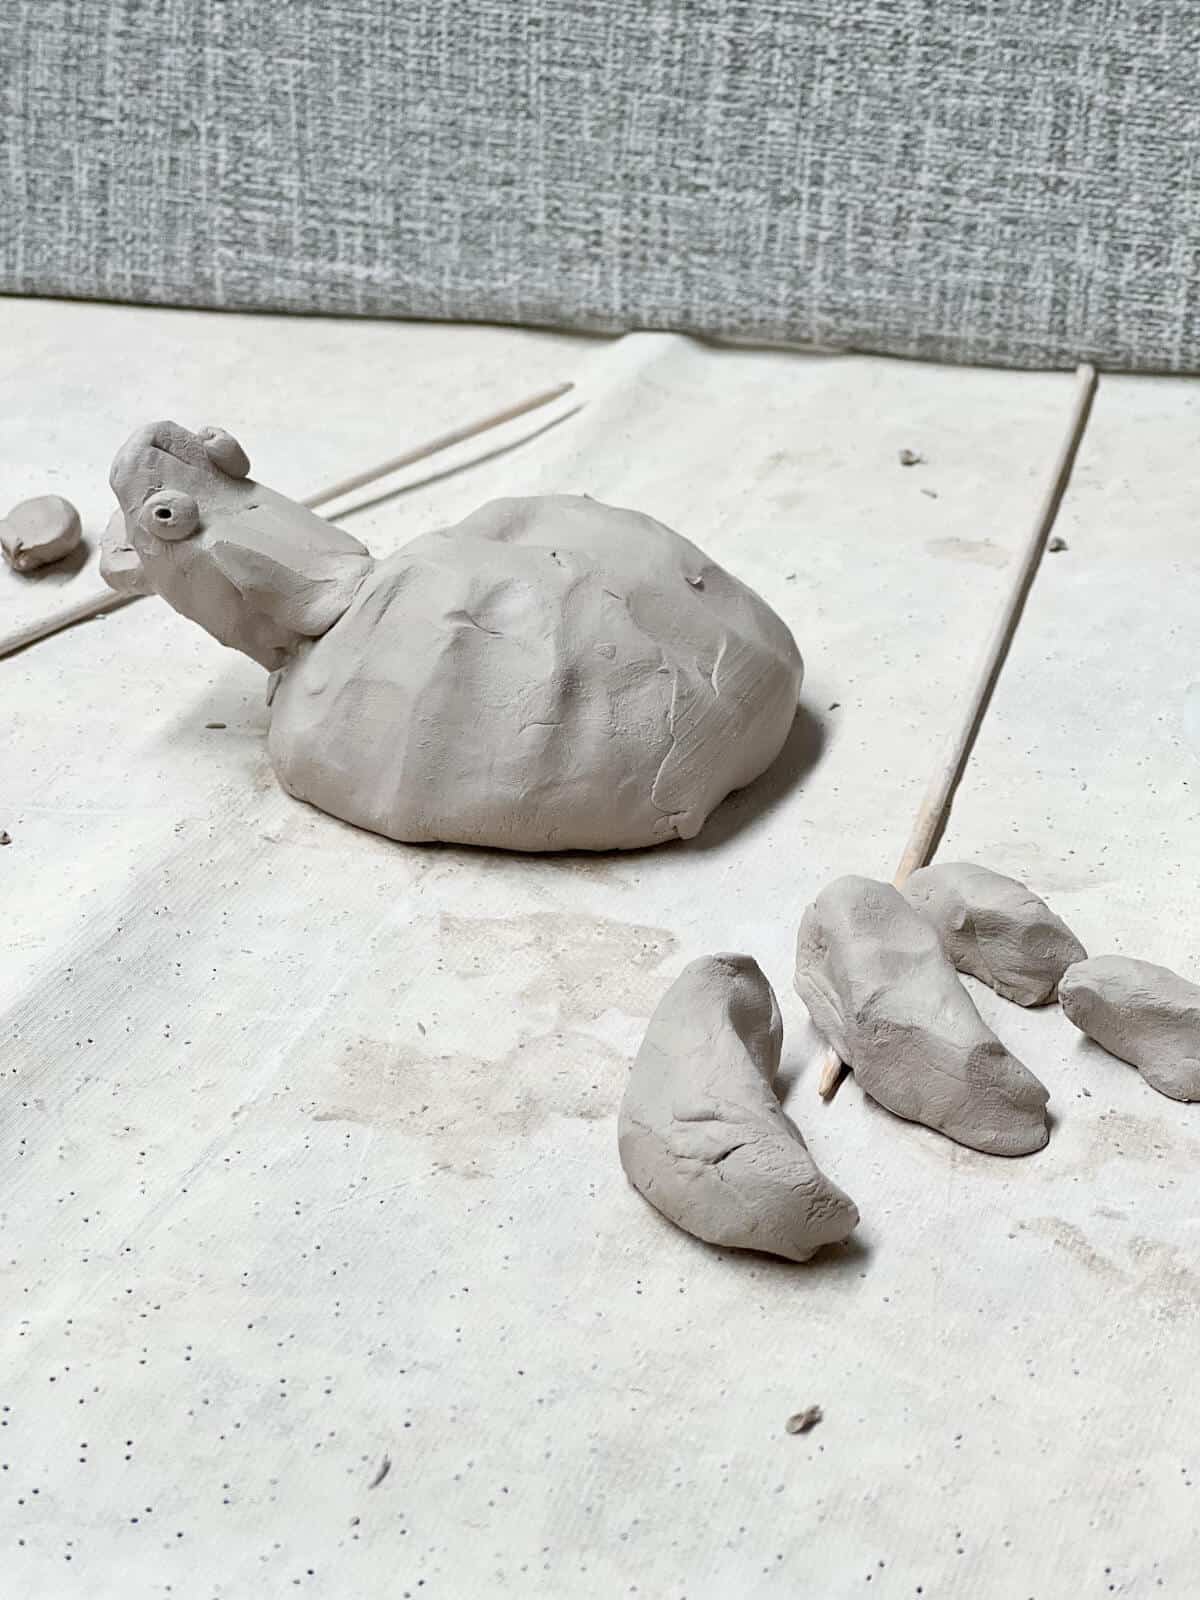
Step 9: Sculpt & Attach
Make sea turtle legs by sculpting clay. Make sure not to make them too thick (1/2” of less).
Step 10: Repeat
Repeat sculpting, scoring and adding water until all parts are added to your sea turtle.

Step 11: Draw Texture
Use a skewer or other clay tools to add turtle shell texture. Draw a circle around the edge and add lines. Add hexagons to the top of the shell in a brick pattern (see image).

Step 12: Let Dry and Fire Projects
We also like to wait a week before placing a large quantity of projects in the kiln. Fire the dried clay projects in the kiln for your bisque fire.

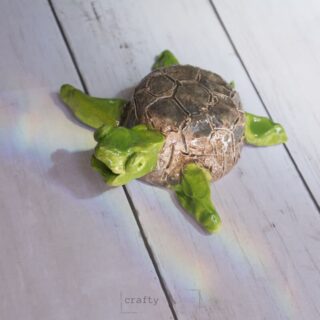
Step 13: Add Color
You can paint, use glaze or even use one of these glaze alternatives to add color to your turtle.
Fire in the kiln if needed.
Tips
- USE ONE FINGER FOR WATER – Kids can use water to smooth out rough areas. To make sure they don’t use too much water, I always instruct them that a little goes a long way and not to make “mud pie.”
- BLEND SEAMS – Since most young kids may not score correctly, you can have them use one finger to blend seams to help pieces stay on their turtle after firing in the kiln.
- ADULT SHOULD WRITE THE NAME – An adult should write the kid’s name on the bottom of the pinch pot with a sharp skewer or needle tool.
Art Project FAQs
Follow us on Pinterest, YouTube & Facebook for more free art and craft ideas!
Other Clay Animal Art Lessons
As you can tell, we love having kids make clay projects.
- Learn How To Build A Clay Fish with double-pinch pots
- Create a Cute Owl Cup in one class period
- Cute Easy Animal Pinch Pots (we show you how to make a fun pinch pot elephant)
Have fun creating these easy ceramic turtle pinch pot projects. The end results make every little artist proud.
Do you like this art project? Please give us a 5-STAR review below ⭐️⭐️⭐️⭐️⭐️ and have fun being creative with your family.
Easy Pinch Pot Turtle
Equipment
- Wooden Skewer (or clay tools)
- Kiln
- Small container of water
- Paint Brush
- Clay placemat or work surface
Supplies
- White Art Clay
- Glazes or Acrylic Paint
Instructions
- Start with a ball of clay that can fit inside a child’s hand.
- Spilt a little bit off the hunk of clay. The bigger chunk of clay can be rolled into a ball.
- Have kids push one hole with their thumbs as far as they can go without going through.
- Use hands to pinch around the edge and make sure not to make walls too thin. The walls should probably be around 1/8” thick to support the shell when flipped over.
- Flip clay pinch pot over.
- Create a head by sculpting with clay and using a skewer to cut the mouth of the turtle.
- Attach to pinch pot turtle shell by scoring the end of the head and where you are attaching to the shell. Use one finger dipped in water to add “slip” and attach. Use a finger to help blend the seam where the head is attached.
- Create turtle eyes with small balls of clay and a skewer. Attach by scoring and using water.
- Make sea turtle legs by sculpting clay. Make sure not to make them too thick (1/2” of less).
- Attach legs to shell by scoring and adding water.
- Kids can use water to smooth out any rough areas. We always instruct them that a little goes a long way and to not make “mud pie”.
- Use a skewer or other clay tools to add turtle shell texture. Draw a circle around the edge and add lines. Add hexagons to the top of the shell in a brick pattern (see image).
- An adult should write the kid’s name on the bottom of the pinch pot with a sharp skewer or needle tool.
- Run a bisque fire in your kiln once projects have completely dried.
- Glaze or paint finished turtles.
Notes
- First graders and older kids should be able to build these clay turtles using real clay that has to go into the kiln.
- If you do not have access to a kiln, you can use air dry clay or another sculpture material, like Model Magic.
- If you are using molding clay, then really any aged child should be able to create a ceramic turtle.
Nice tutorial. I’m looking forward to teaching my campers.
I don’t have a klin, can I dry them out in the oven?
HI Gladys. I would use air dry clay. We have tutorial about how to make pinch pots using air dry clay. It won’t be a strong as real clay, but is the best way to make pinch pot projects without a kiln.