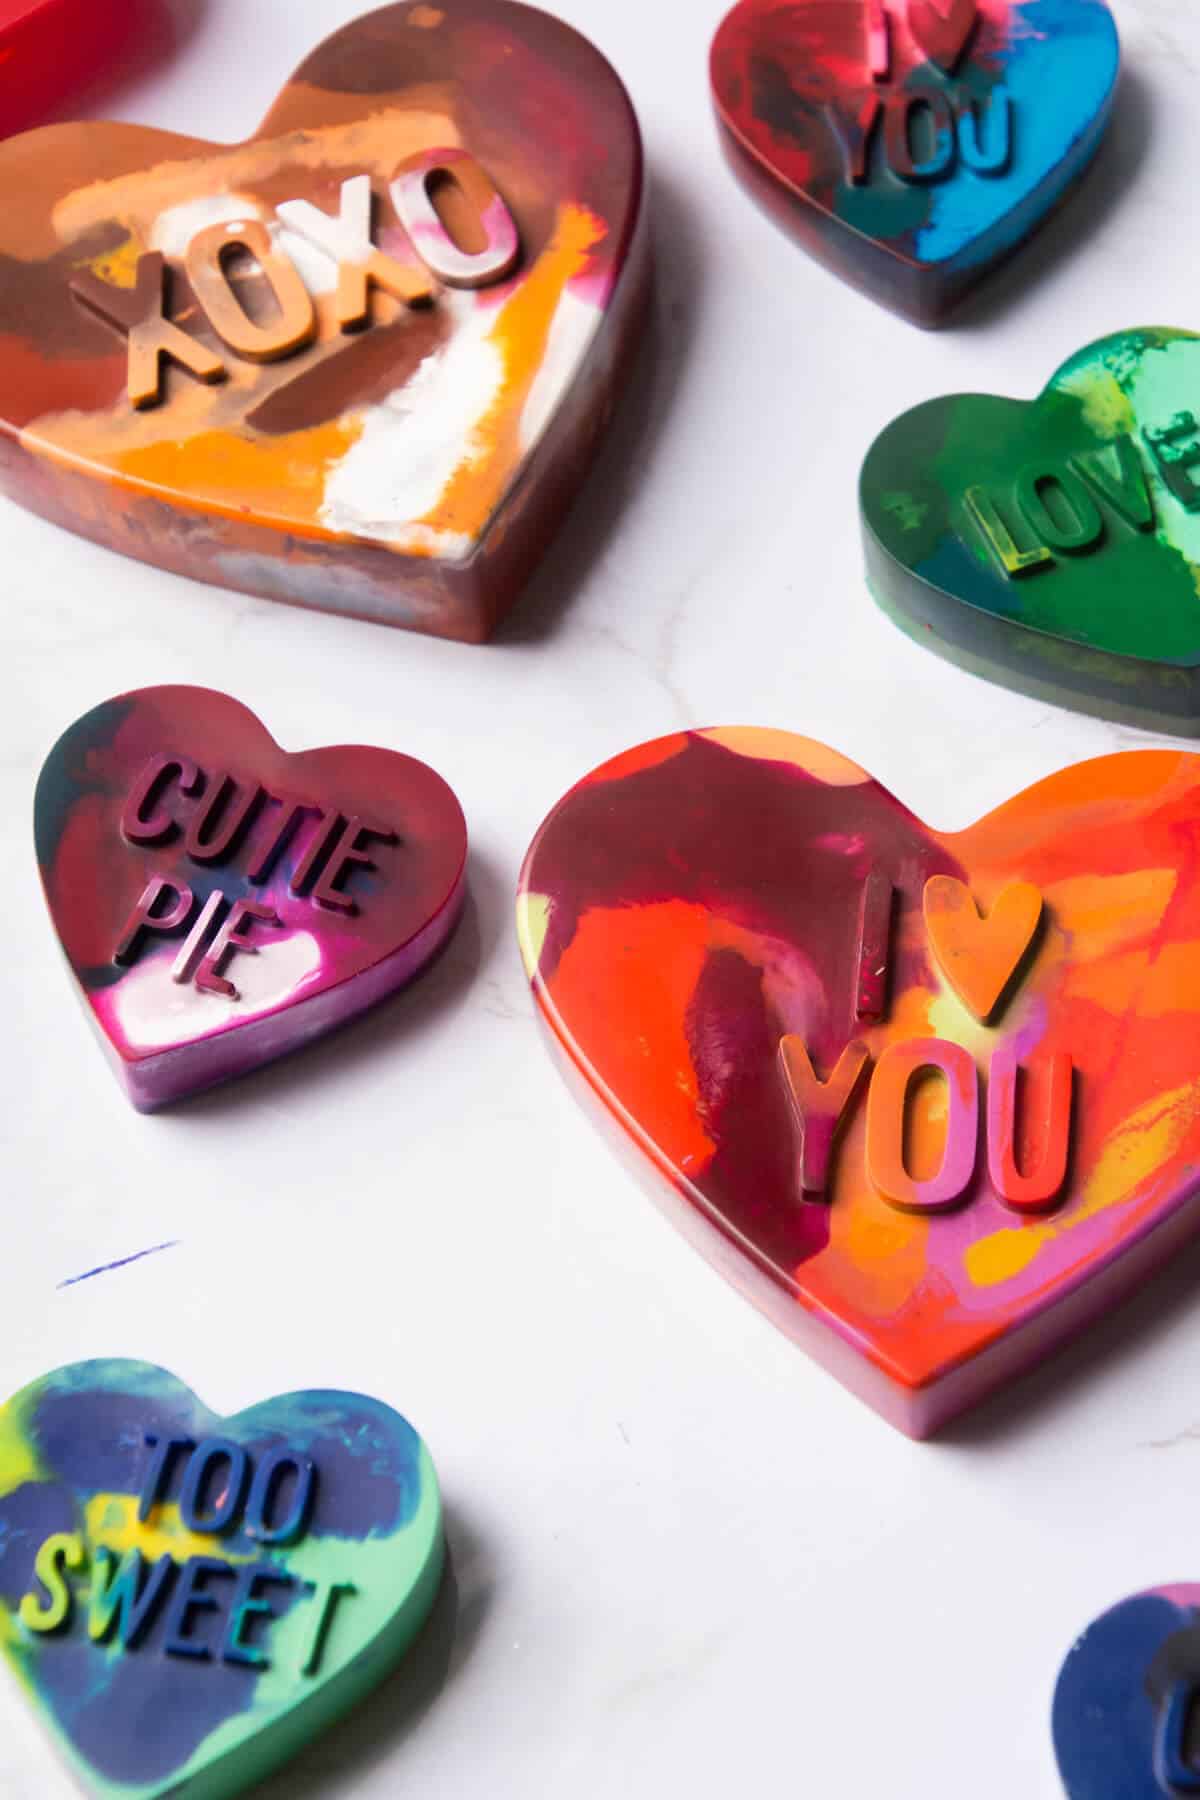
How To Melt Crayons In Silicone Molds The Easy Way

Do you have a bunch of unused crayons at home? This easy craft tutorial will teach you how to melt crayons in silicone molds for fun-shaped crayons that don’t even look like they were made at home.
This craft tutorial has been a long-time reader favorite since I published it back in 2022. This post has been updated with an easier format and key takeaways in January 2025.
Featured Comment
“Very easy to follow, the tip to get the paper off was really helpful.”
BEth
Why You’ll Love This Craft
We love making homemade crayons in molds. Over the years, we have experimented with making Christmas tree crayons, muffin tin crayons and other DIY crayons.
Not only are these crayons fun to make, but they are perfect for birthday treat bags, Valentine’s party favors, and gifts. The best part is that you can repeat this craft over and over.
Supplies You’ll Need
Disclosure: This post may contain affiliate links when clicked, we may earn a small commission at no additional cost to you. Read our full privacy policy.

Crayon Mold Tip: Prepare Ahead!
Silicone baking molds like ours always go on sale once the holiday is over and you can find them in so many fun shapes. You should not try to reuse these molds for food items in the future.
Other crayon molds to consider buying
- Amazon: Letter molds for personalized letter crayon gifts
- For Different Seasons: Holiday molds or even these fun flower molds
- Walmart: Awesome truck silicone molds
How To Make Crayons In Molds
Before You Begin: Preheat the oven to 275 degrees Fahrenheit.

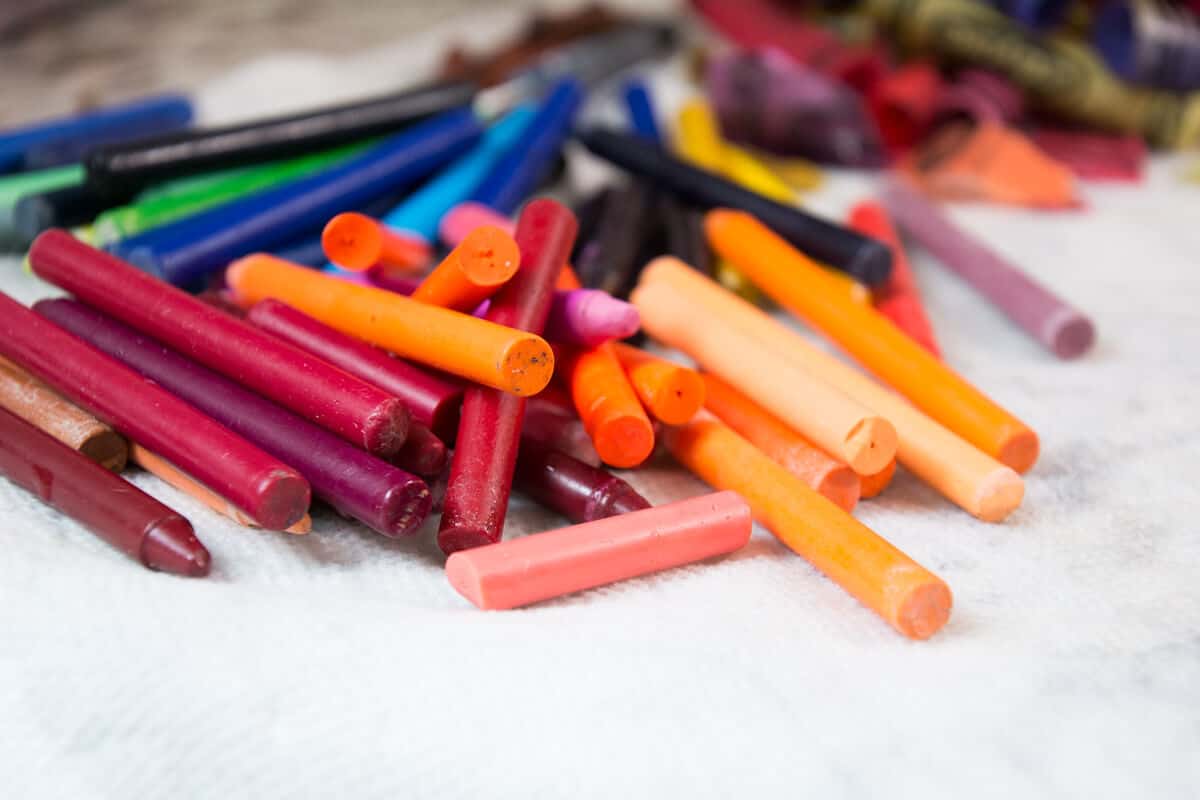
Step 1: Take The Wrapper Off
Peel the crayon wrapper off of the crayons. Soaking in warm water for 10-15 minutes can help with the process.
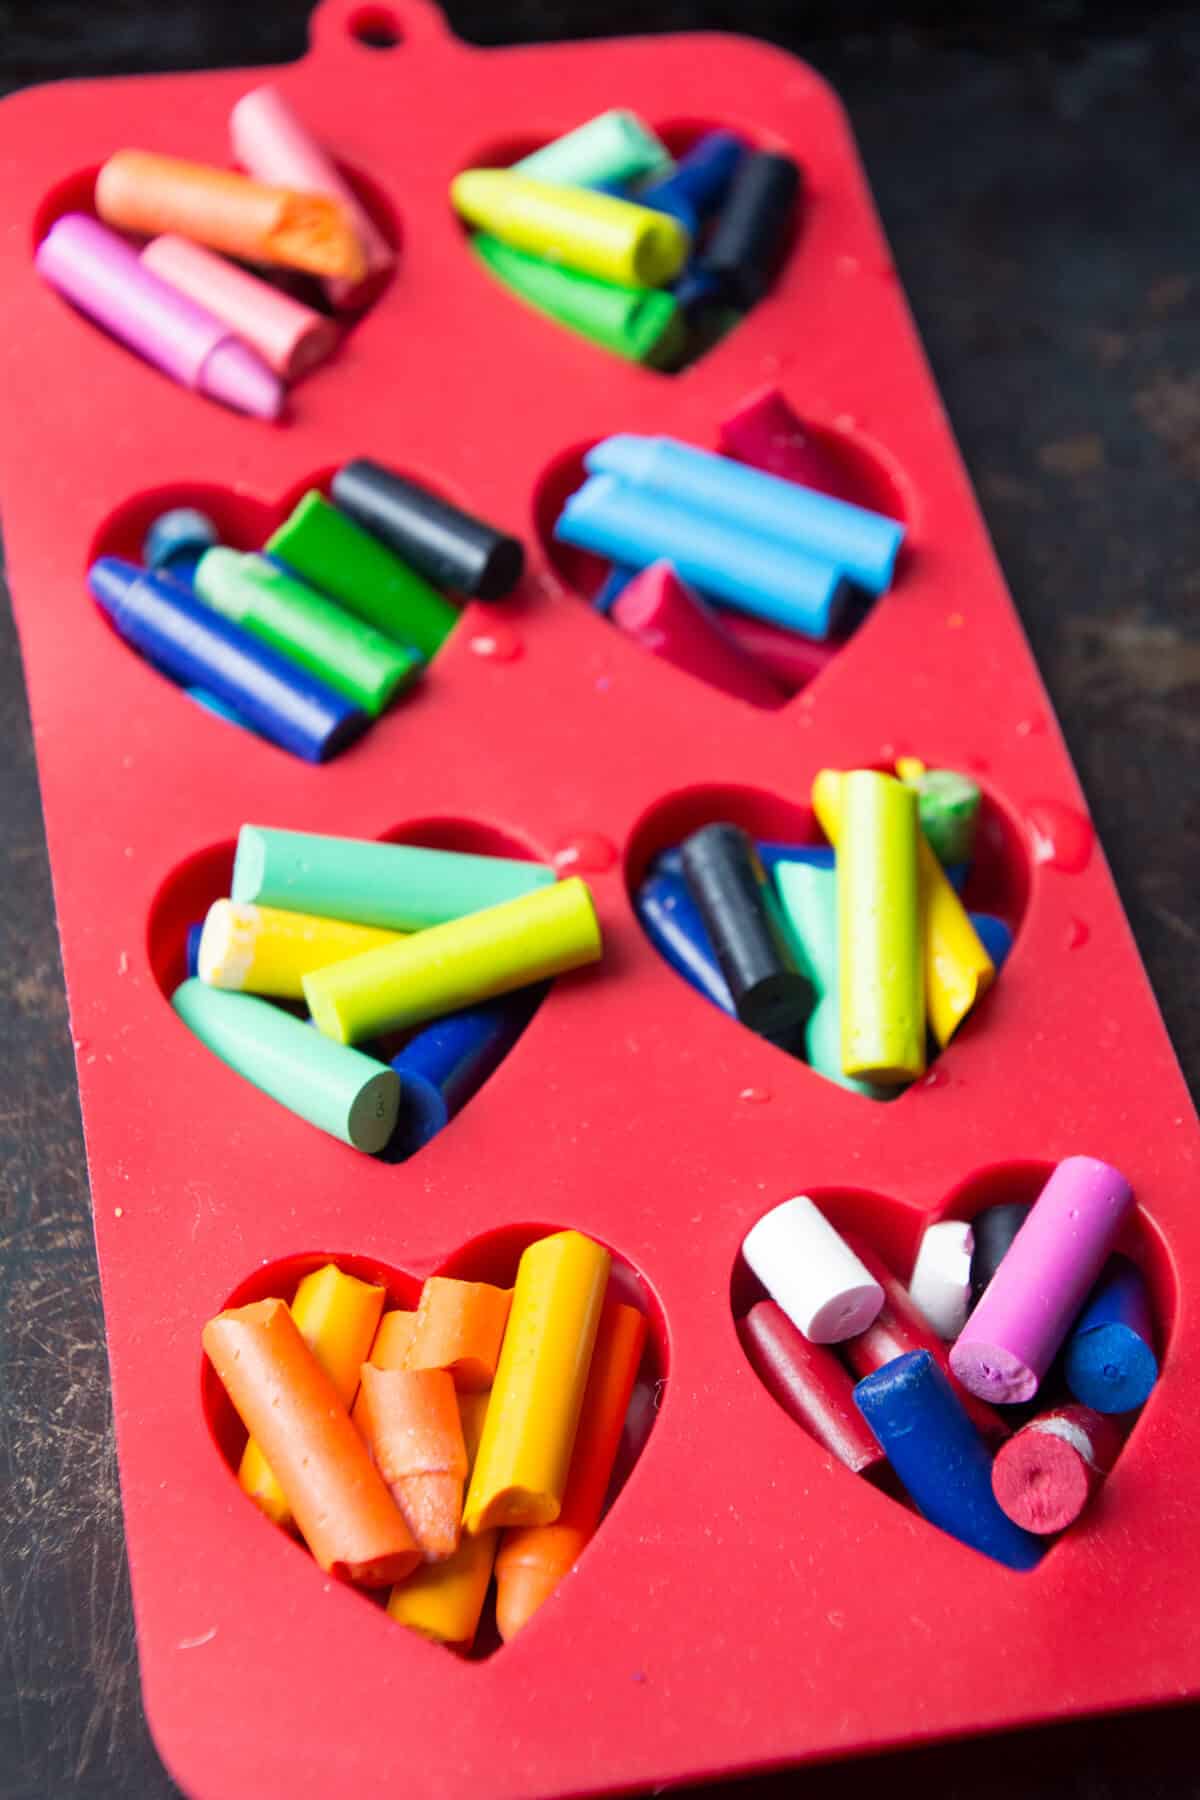
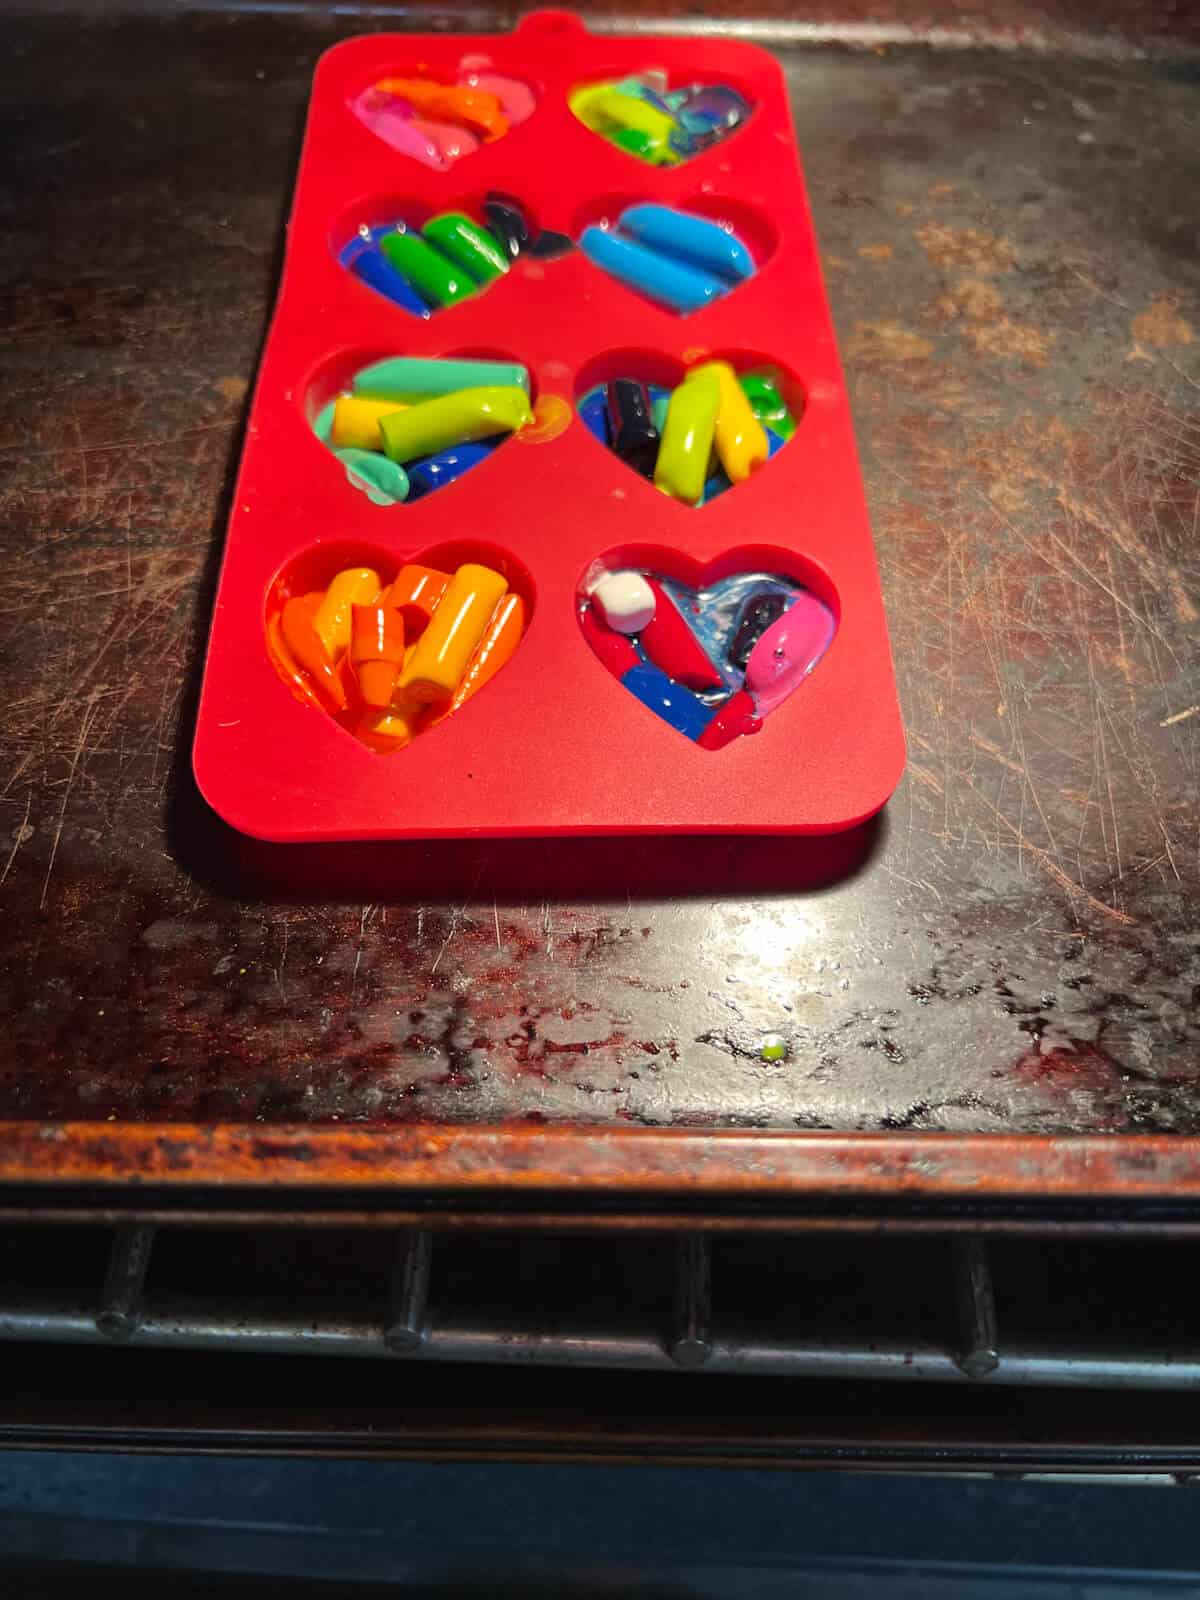
Step 2: Fill Molds
Place broken crayon pieces in molds. Overfill the molds (especially if they are smaller hearts). The crayons melt to fill every empty space.

Step 3: Place Crayons In Oven
Put silicone mold on a cookie sheet before putting it in the oven.
Step 4: Cook Until Fully Melted
For the small molds, cook for 8-12 minutes. Make sure to watch for when they are fully melted. You do not want to overcook them.
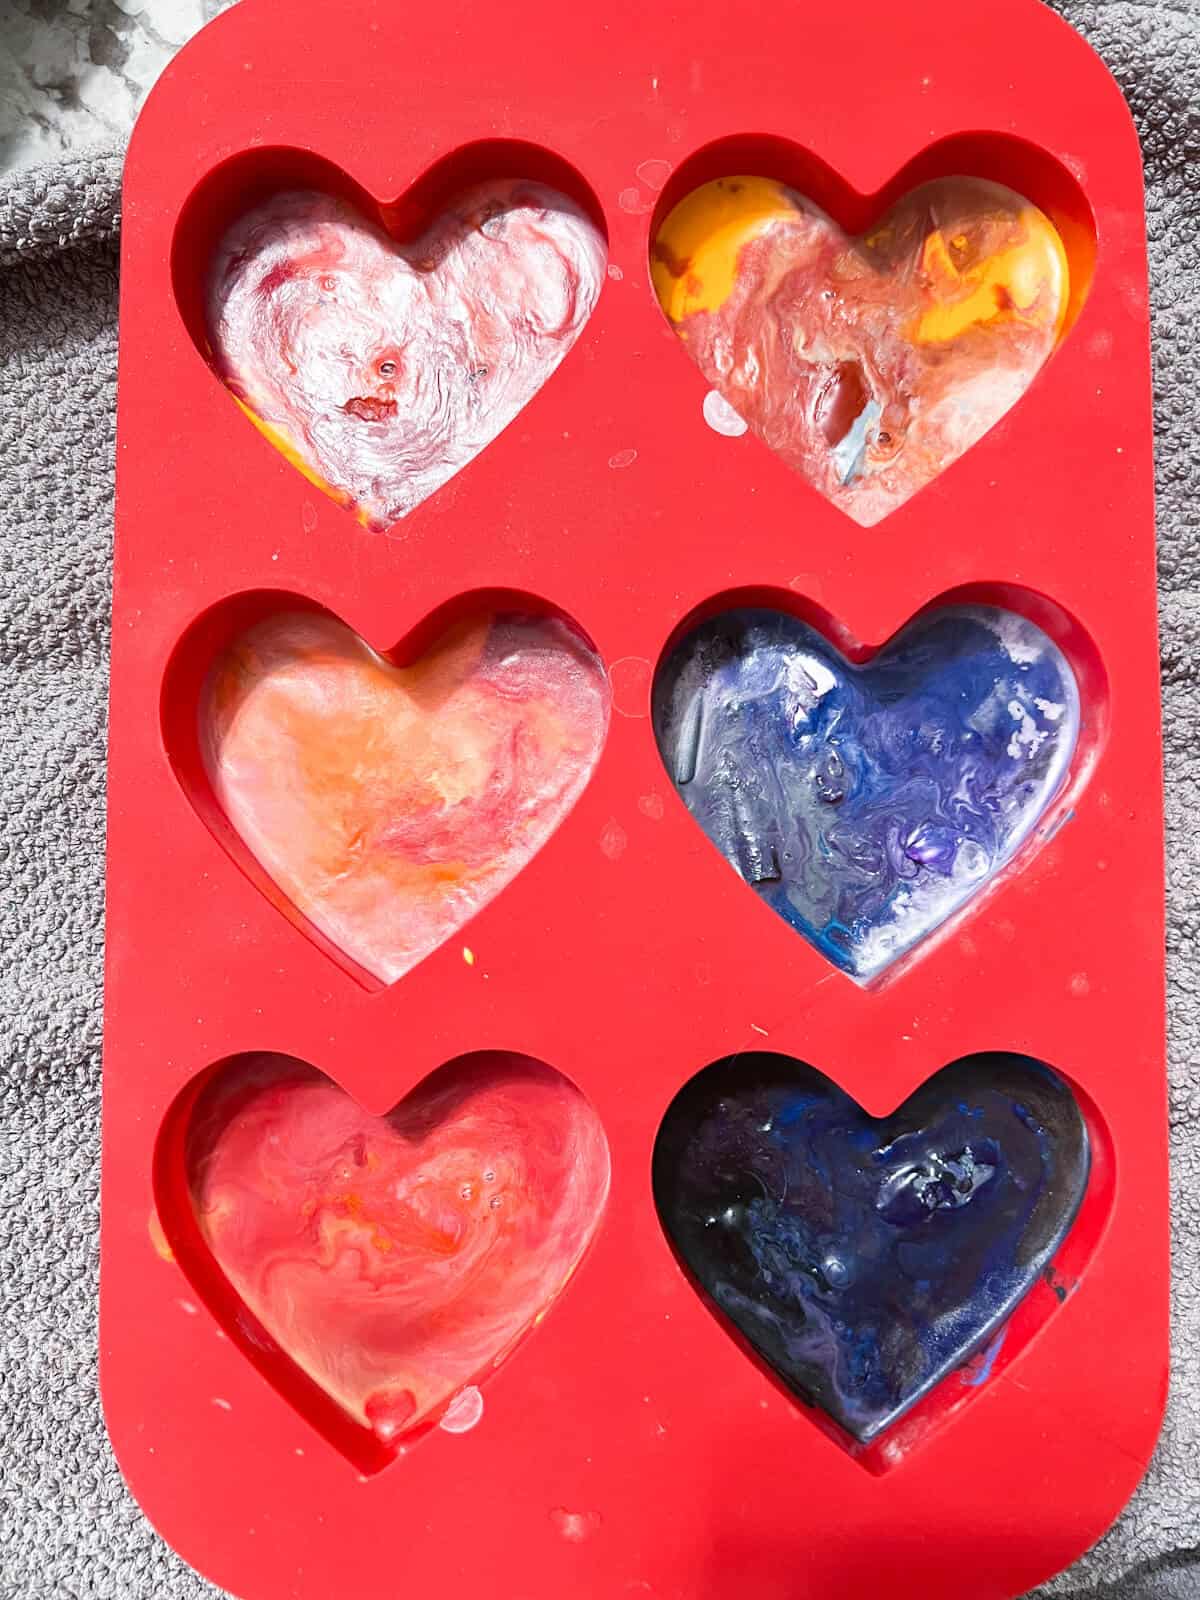
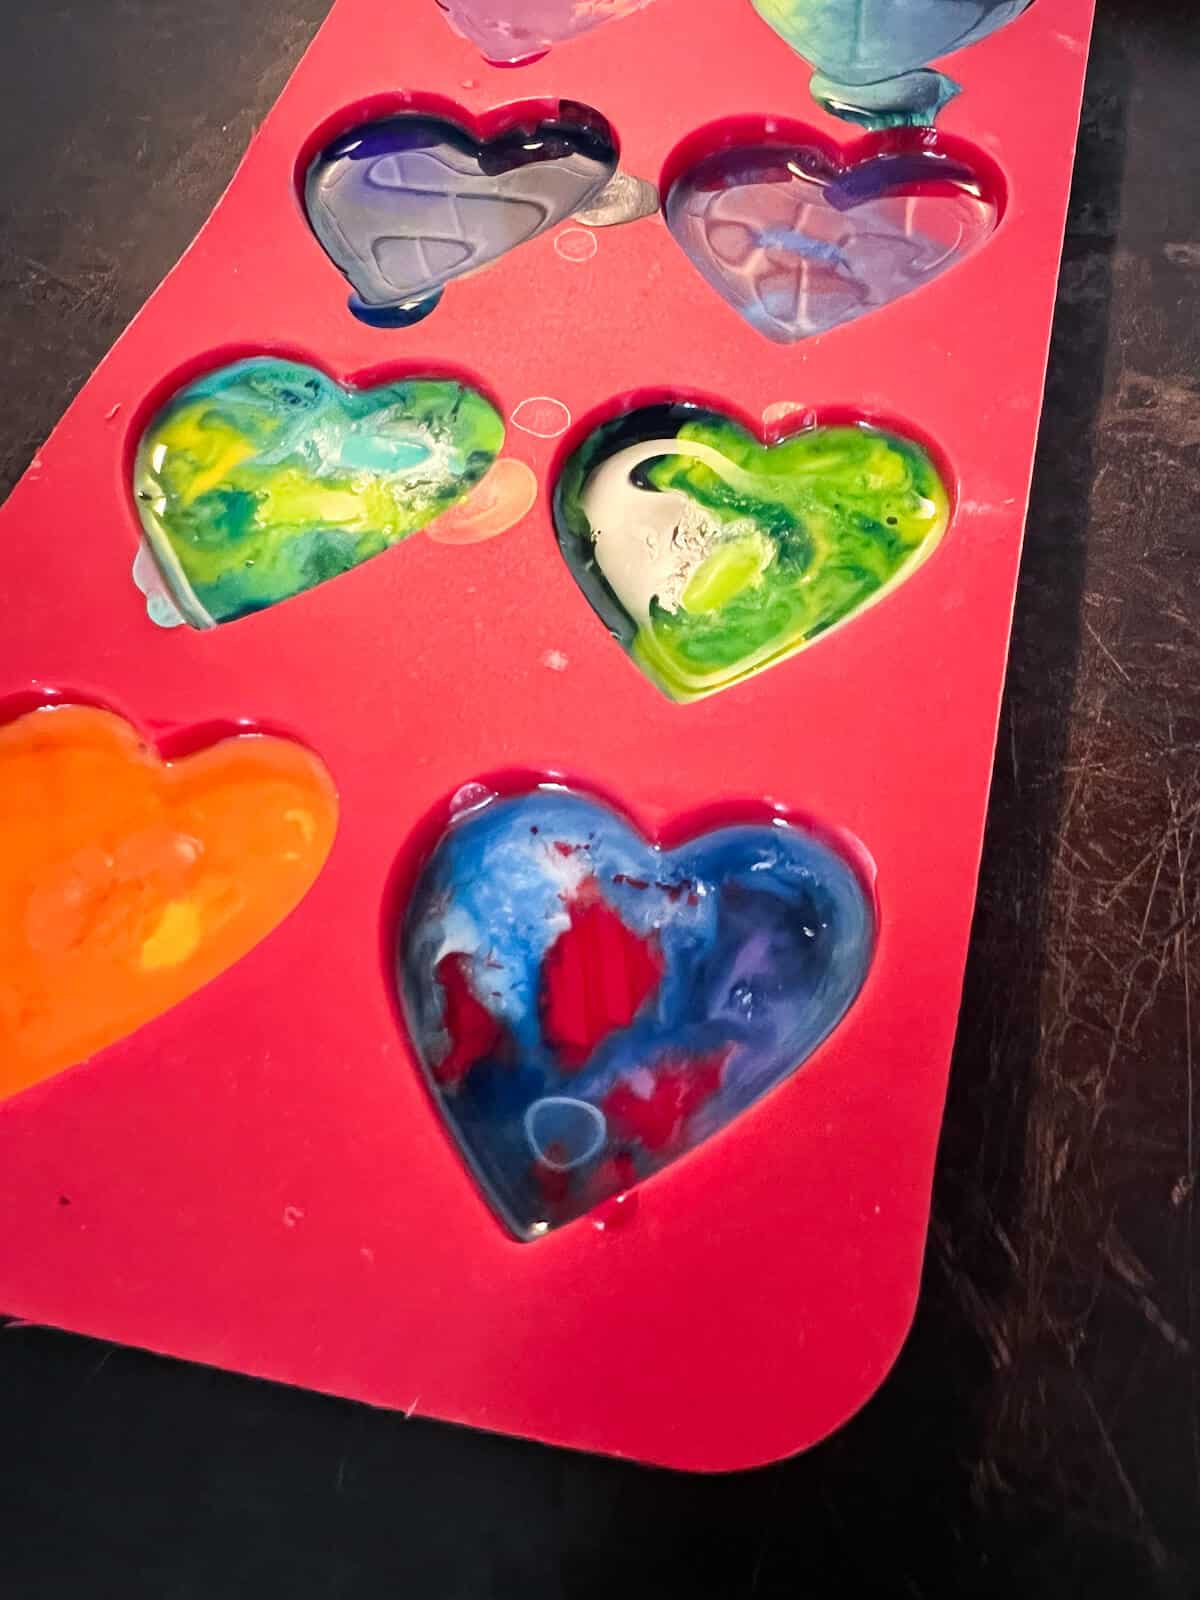
Step 5: Pull Out Of Oven & Let Cool
Once you see that the crayons have fully melted, pull them out of the oven immediately. The wax will be very hot and liquid. How long your newly formed crayons need to cool will depend on the size of your molds. This image was taken 20 minutes after coming out of our oven.
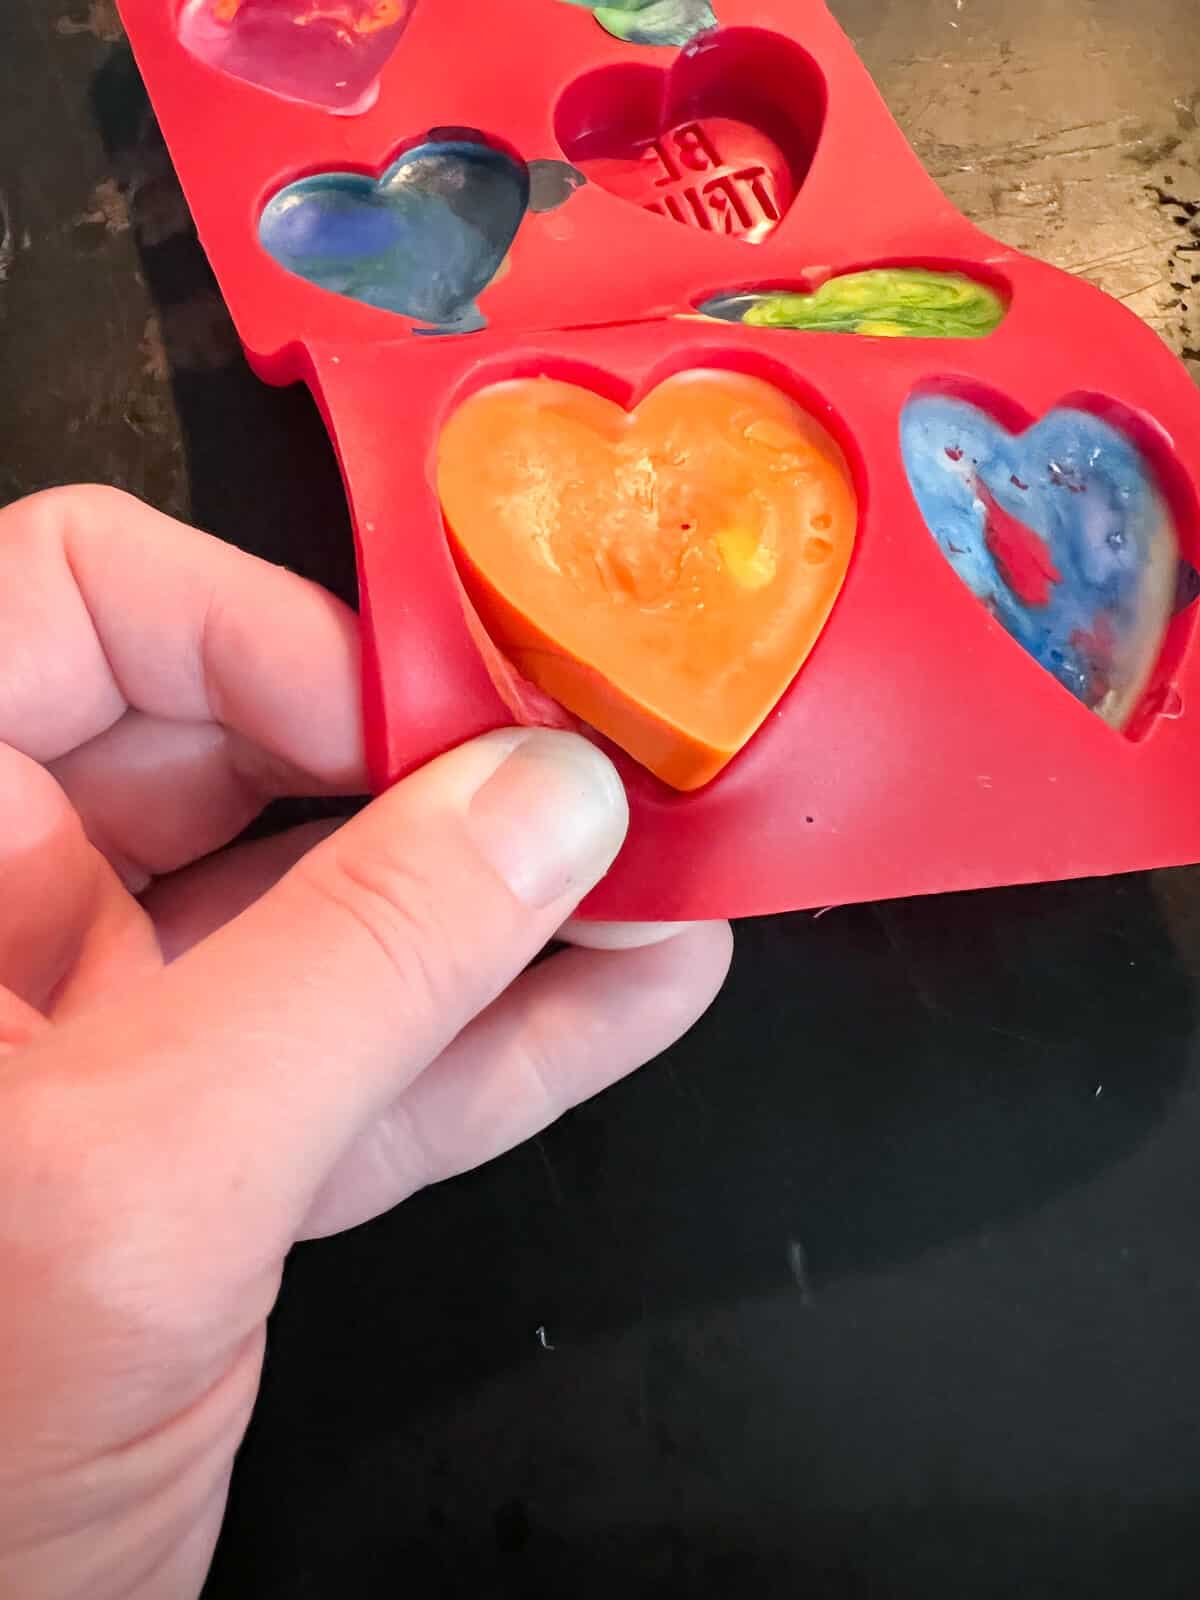
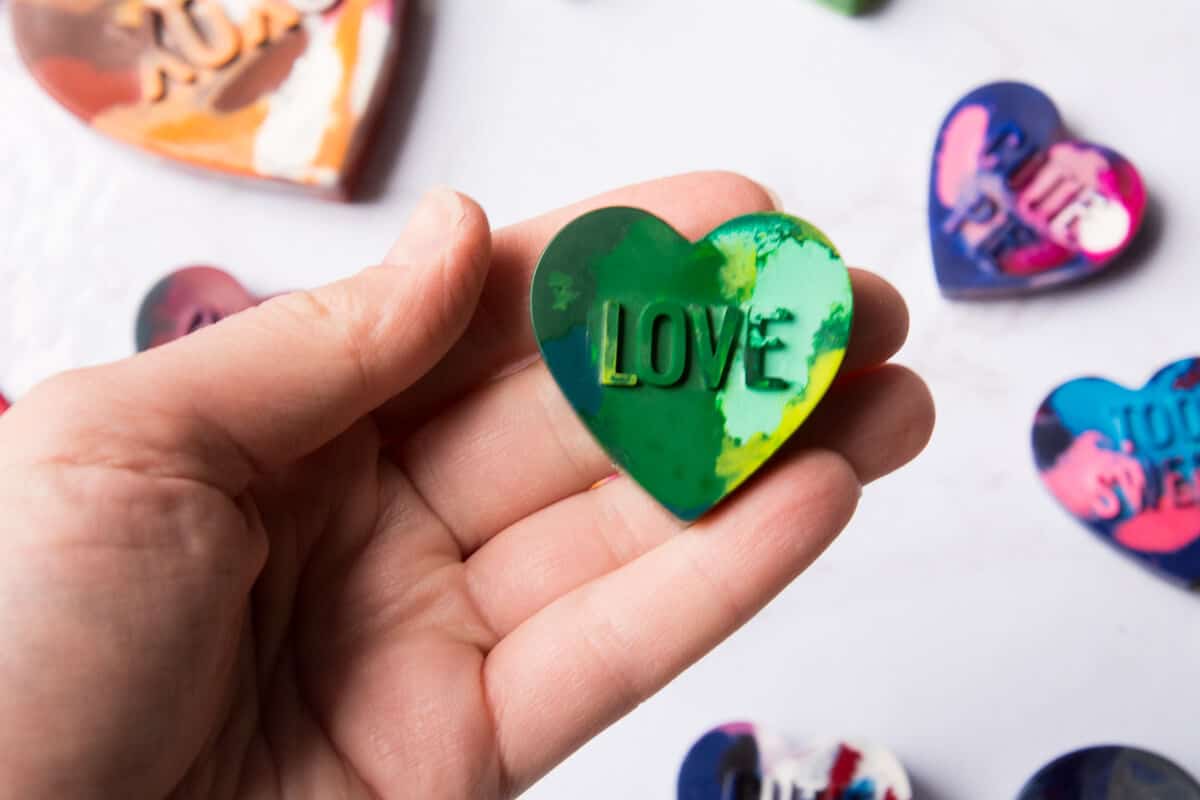
Step 6: Remove Them From The Mold
Once one is completely cool to the touch, you can carefully push it out of the crayon mold.
Adult Supervision Needed
Warning! My kids were very excited to see the crayons.
Even with me standing right there, they were tempted to touch the pan or the melted wax. It all looks very cool, but don’t let anyone touch the hot surfaces and wax.
Be careful when handling the baking sheet and crayon molds. Also, please don’t leave them unattended because you never know who might get curious.
Notes On Melting Times
- Our large molds took about 12 minutes at 300 F and about 30 minutes before I was comfortable pulling the crayons out of the molds.
- Let the wax fully cool: Do not rush this part. You don’t want to break your awesome creations.
- Use a toothpick: If one crayon isn’t melting quickly, you can take it out of the oven and stir it with a toothpick. The hot wax will help melt that stubborn piece.
OUR EXPERIMENT: We also tried to melt the crayons at 200 degrees F, but it took too long. We found the sweet spot at 275 degrees Fahrenheit. Remember, just like with baking, things can vary, so keep a close eye on your melted crayon wax as it happens.
Factors That May Change The Crayon Melting Time
- SIZE: Small crayon pieces will not take nearly as long to melt as larger pieces.
- MOLD SIZE: Larger molds will take longer for all the wax to melt.
- THE TYPE OF OVEN: Your oven runs differently than mine (sorry, I’m not a baker to tell you why).
- DIFFERENT BRANDS AND COLORS: In past crayon projects, we found that specific colors have a higher melting point than others.
Other Tips
- FOR STUBBORN WRAPPERS – Rub your hands over the paper to completely remove them.
- DON’T ADD TOO MANY COLORS – You can attempt to make a rainbow crayon, but be careful because the darker colors can overtake the brighter ones.
- USE SIMILAR COLORS – Colors next to each other in the color wheel seemed to work better.
- ADD A WHITE CRAYON – It can create a fabulous design in your DIY crayons.
Follow us on Pinterest, YouTube & Facebook for more free art and craft ideas!
Craft FAQs
Even the youngest children can help decide the colors for this fun project. Our oldest could even understand that red and green might not work out well because they are opposite on the color wheel.
Yes, make sure you purchase silicone molds that are oven-safe. Our molds said they were oven-safe, freezer-safe, and heat-resistant up to 450 degrees Fahrenheit.
Some cheaper molds are only ice cube trays and are not labeled oven-safe.
You could use a heat gun, microwave, or blow dryer to melt crayons. However, in our opinion, using the oven is the easiest way.
Our past experiences confirmed that Crayola crayons are the most vibrant and easiest to melt. Some other brands of crayons take a little longer.
Without even realizing it, our children were discussing the primary colors, similar colors, and color theory, trying to guess how their new crayons would look. It truly is so much fun and doesn’t cost much to do.
More Crayon Craft Ideas
- If you don’t have silicone molds, try melting crayons in old mini muffin tins or using old metal cookie cutters.
- Consider making new crayons in cupcake liners. You can find the complete tutorial in the link.
- Or get inspired with 18+ More Melted Crayons Craft
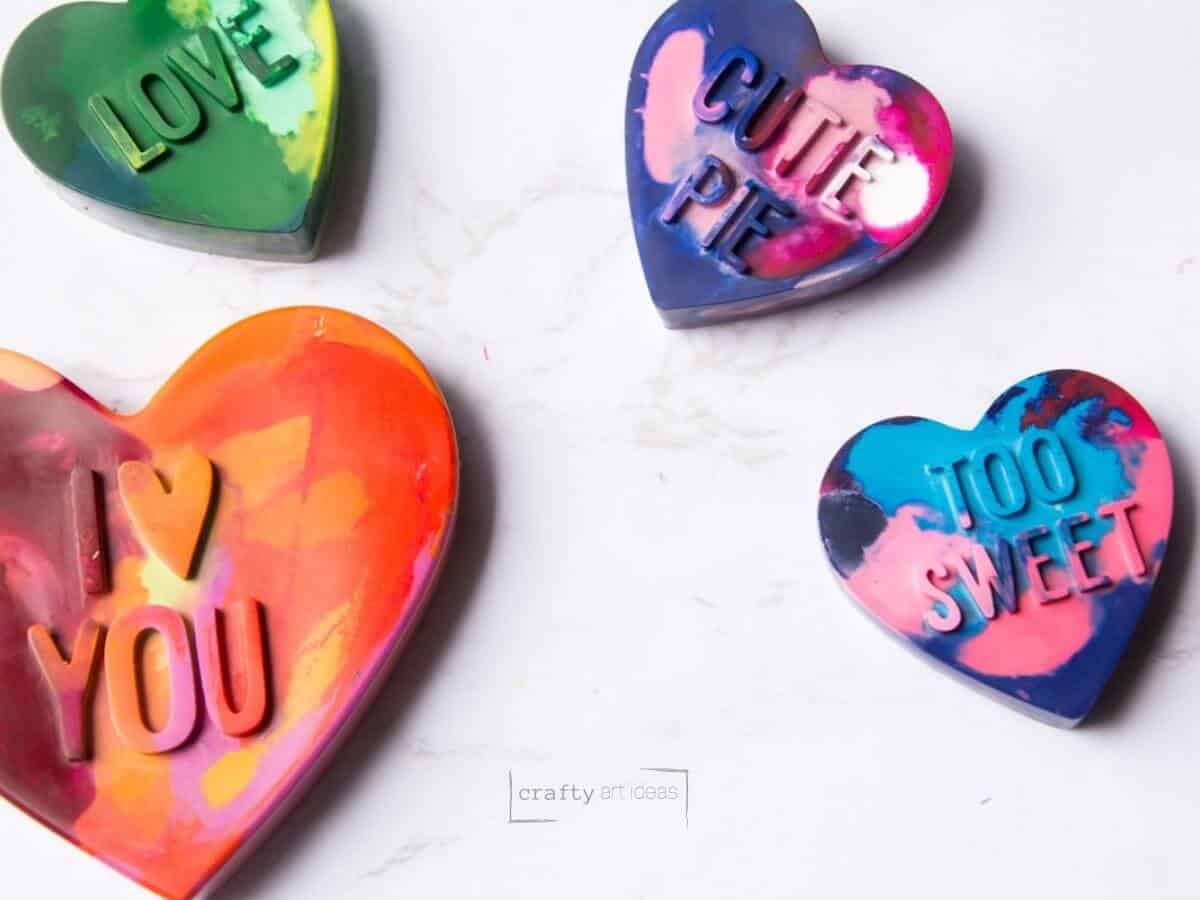
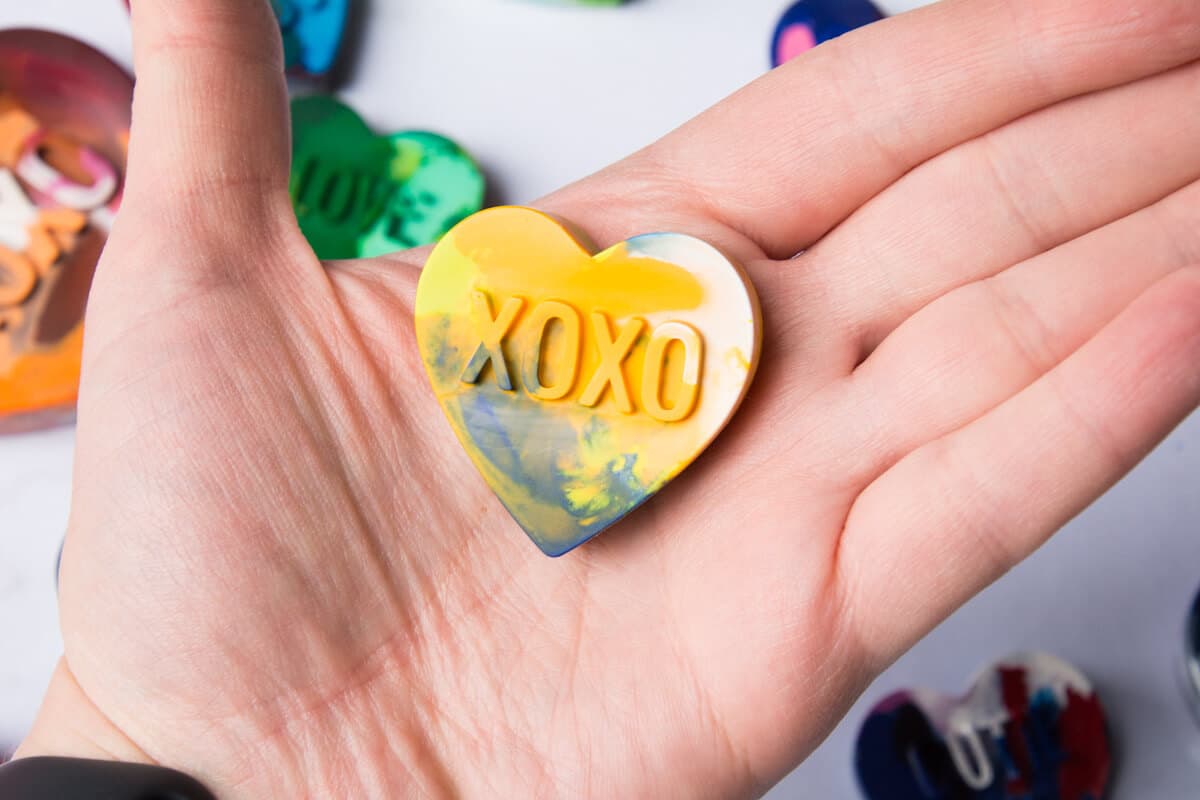
My family honestly couldn’t believe how awesome our homemade melted crayons looked once we could peel them out of the crayon molds!
Do you like this art project? Please give us a 5-STAR review below ⭐️⭐️⭐️⭐️⭐️ and have fun being creative with your family.
How To Melt & Make Crayons In Molds
Equipment
- Oven
- Cookie Sheet
- Cup of warm water
Supplies
- Old crayons
- Silicone Molds these are similar to the ones we used
Instructions
- Preheat the oven to 275 degrees Fahrenheit.
- Place peeled and broken crayon pieces in molds. Overfill the molds (especially if they are smaller hearts). The crayons melt to fill every empty space.
- Put silicone mold on a cookie sheet before putting it in the oven.
- Place in oven and cook for 8-12 minutes. Time may vary.
- Once you see that the crayons have fully melted, pull them out of the oven immediately.
- The wax will be very hot and liquid. How long your newly formed crayons need to cool will depend on the size of your molds.
- Once one is completely cool to the touch, you can carefully push them out of the silicone mold.
Video
Notes
- Adult supervision is required! Don’t leave young children unattended with hot wax.
- Pull out crayons as soon as you see the wax fully melted.
- The hot wax will take around 20-30 minutes to harden and cool.
- Cook time will vary depending on the size of your broken pieces and your oven settings.
- If there is one stubborn crayon with the melted wax, you can use a toothpick to stir the wax in the mold.
How do you clean any leftover crayon residue when you are finished? Thank you!
Hi Nicole. We only use our silicone molds for crayons so we just reuse them. However, I would think you could chip off the dried wax and wash with really hot water to get them clean again.
Do your crayons work the same as they did before you remade them into heart shape crayons? I feel like I’ve done this before and the crayons just didn’t work the same. They were crayolas. Have you ever experienced this?
Hi Chelsey. I think due to the shape sometimes the crayons work differently. The curved edge of the hearts makes them a little harder to use, but our kids love seeing the rainbow colors that they get.
This was a fun activity to do. Thanks
Hi Shanah. I am glad you had fun making your own homemade crayons!
Very easy to follow, the tip to get the paper off was really helpful!
Hi Beth! Yes, soaking the crayons is a must!!!!! I am glad your crayon-making was a success.
Have you had trouble getting the crayons out of the molds? Do the molds get stained?
I’ve done this before in metal tins but I love the idea of using fun shapes.
Hi Kathleen. The molds actually are pretty easy to get the crayons out of. There is definitely a little wax left on the mold, but you could easily get them clean. I only buy mine on sale and use them to make new crayons, so I don’t worry about getting them completely clean. Good luck with your crayon making!
We don’t have an oven at school. Do you think this could work in a microwave?
Honestly, I don’t know 100% if silicone molds can go in a microwave. You would also probably have to worry about splatter in the microwave and that could make a mess. I would love to hear if you figure this out, but I personally haven’t tried in the microwave.
Love these Crayon Molds! I made them with the kids I babysit and they were a hit. Great tutorial.
Thanks, Courtney! I am glad you loved melting crayon molds!
Awesome project my kids loved this project
Hi Starr! I am so happy that your kids loved making crayons in the oven! We always love how these turn out.