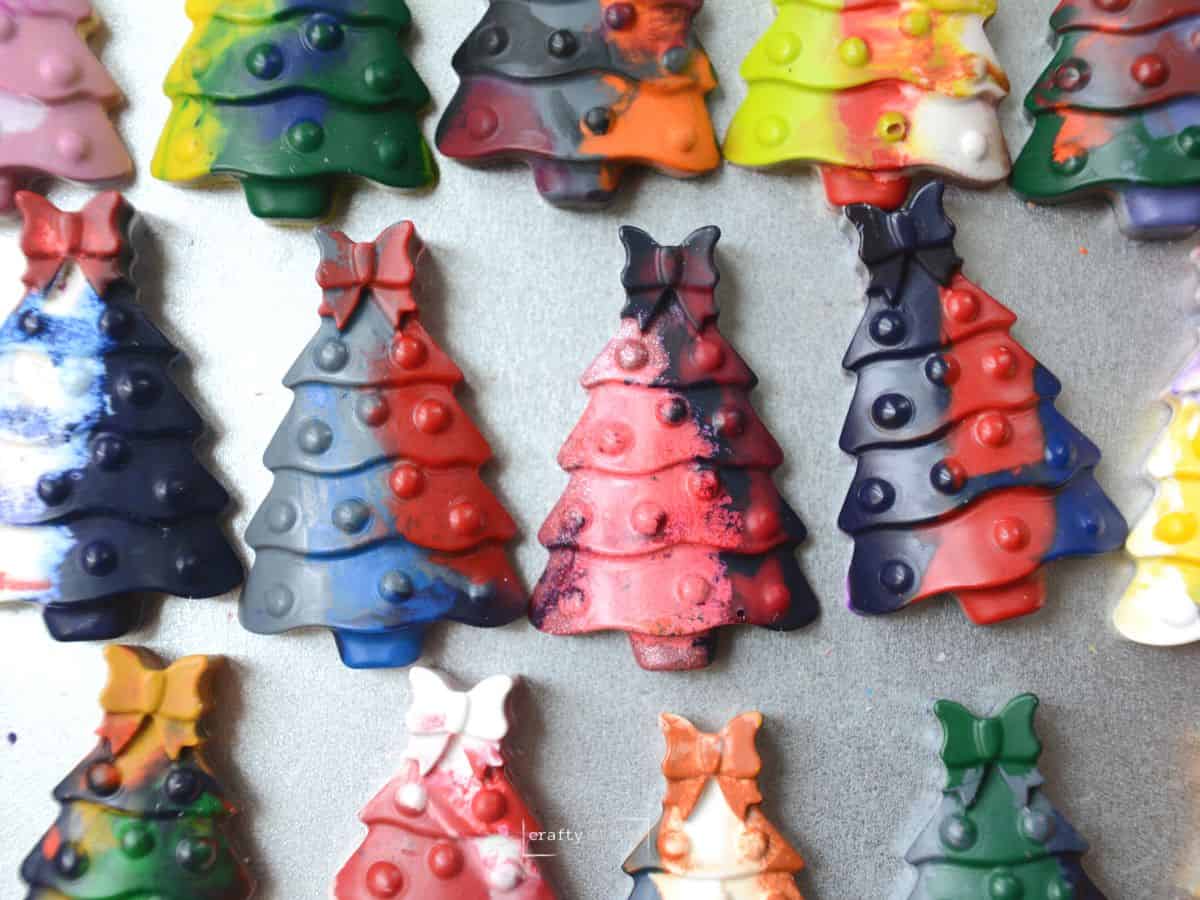
How To Make DIY Christmas Tree Crayons

Are you looking for a fun stocking stuffer or treat bag idea? Making homemade crayons never gets old. Our easy step-by-step tutorial will teach you exactly how to make Christmas-shaped crayons in less than 20 minutes!
This Christmas crayon craft tutorial has been a long-time reader favorite since it was published in December 2022. This tutorial was recently updated in October 2025 with more straightforward and precise instructions, along with my key takeaways.
Making DIY crayons in silicone molds is one of our favorite activities for kids. Children of all ages (with adult supervision) can melt old, broken pieces into new crayons.
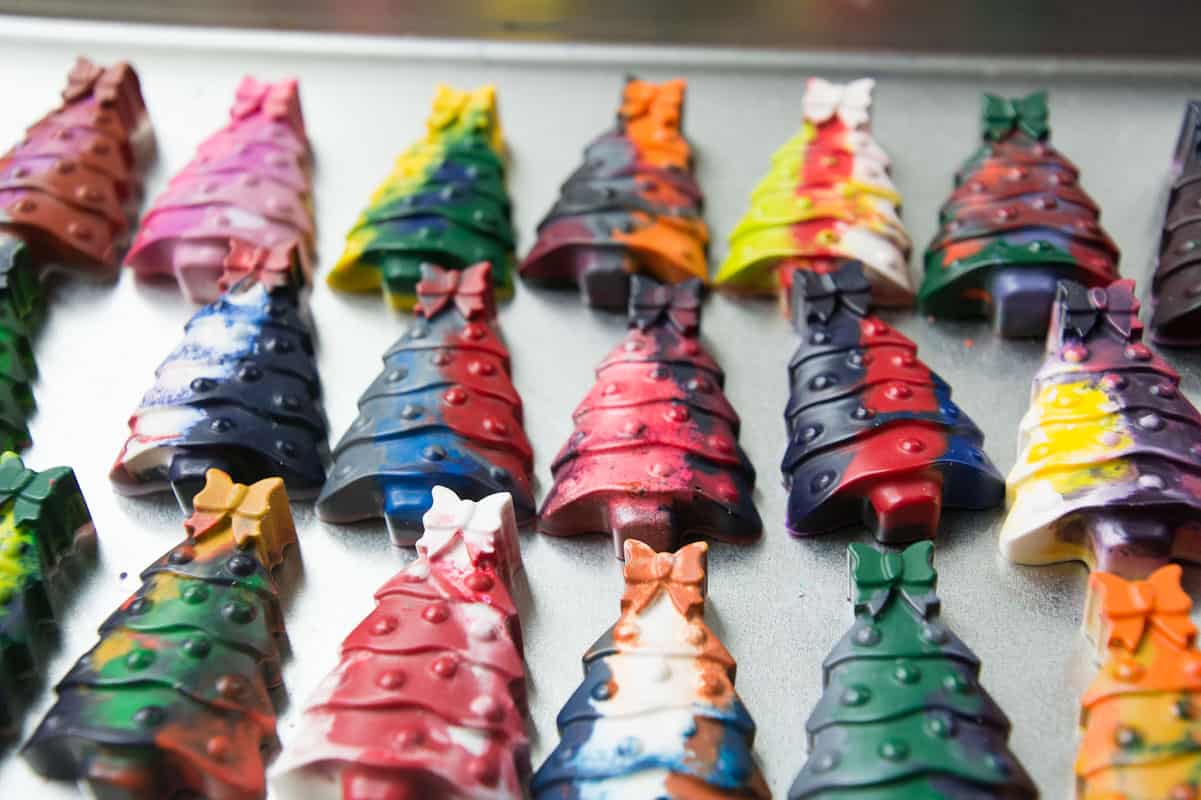
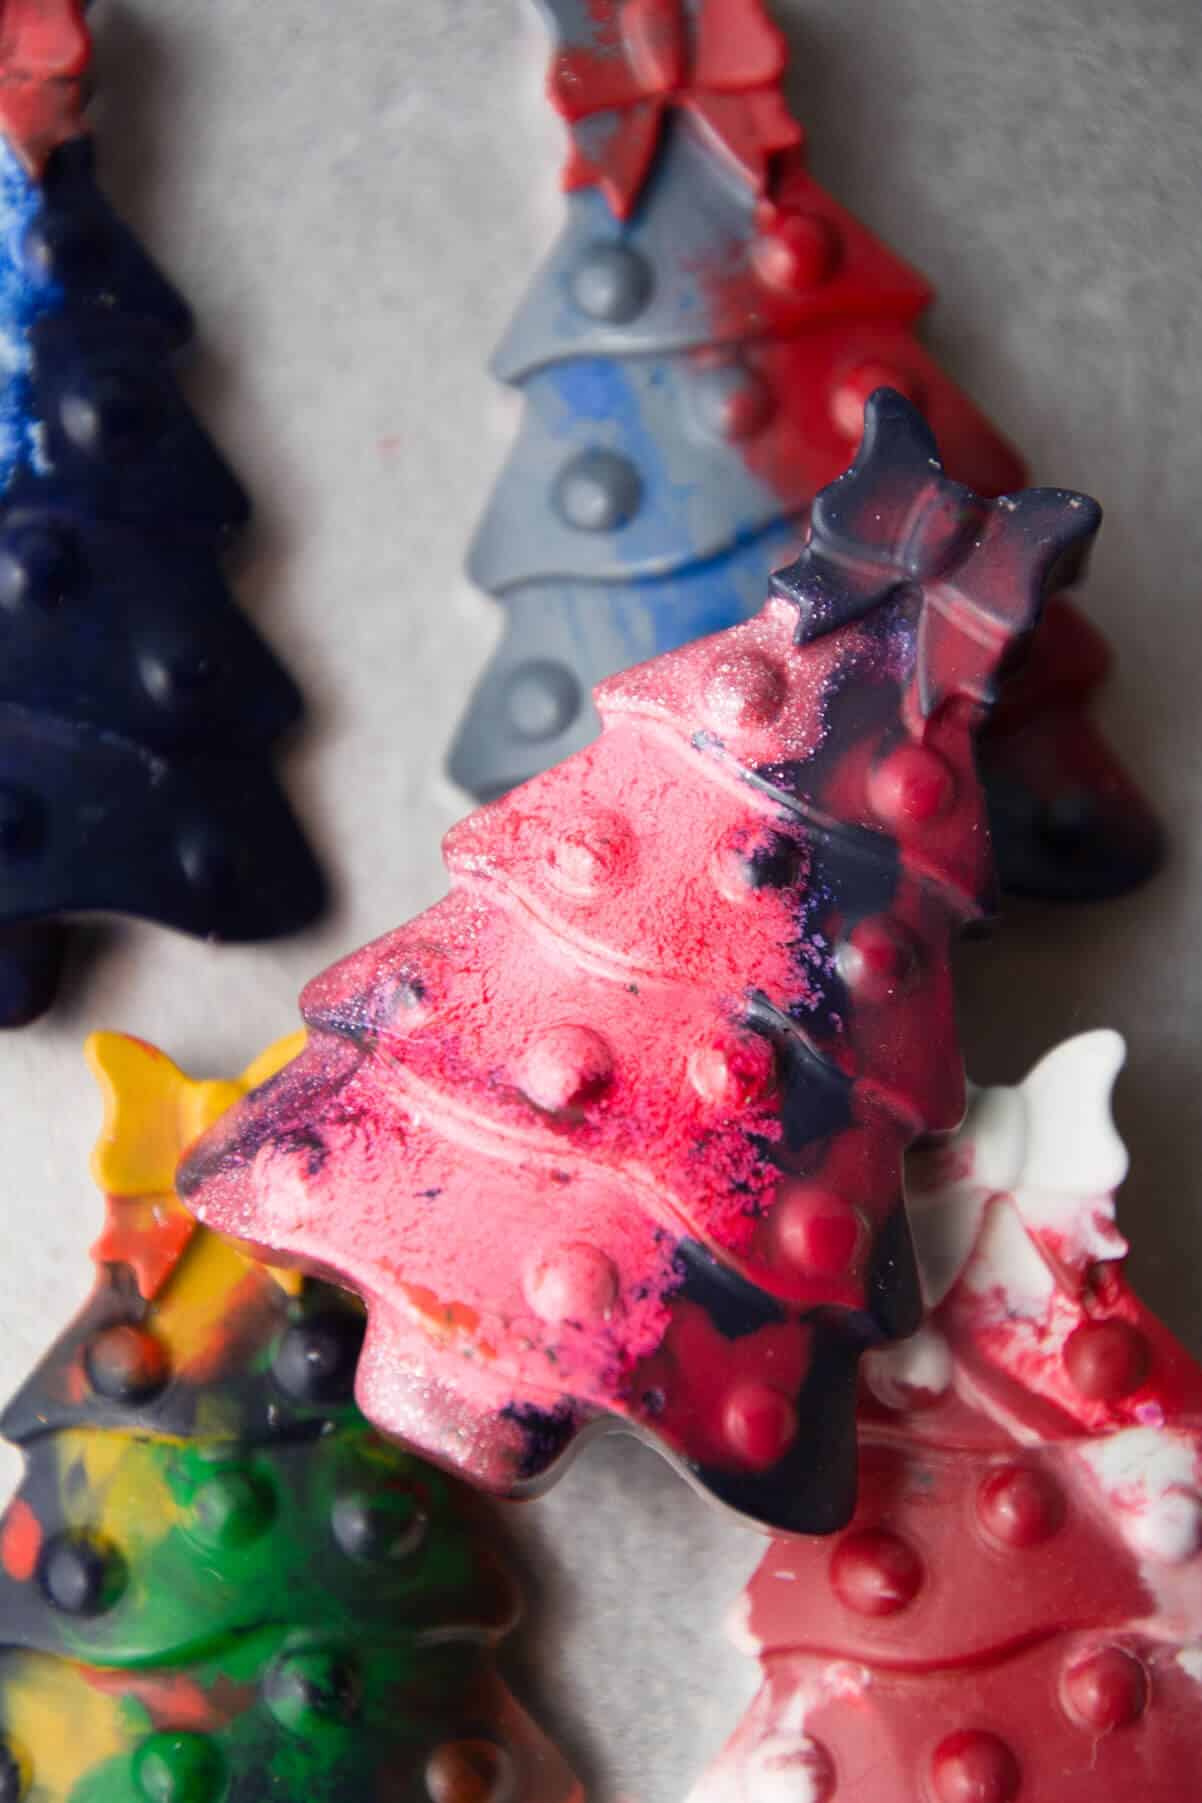
These melted Christmas tree crayons make the perfect stocking stuffer and budget-friendly gift. Start saving those old crayon pieces today!
Why You Will Love This Christmas Craft
Supplies You’ll Need
Disclosure: This post may contain affiliate links when clicked, we may earn a small commission at no additional cost to you. Read our full privacy policy.
*Crayola crayons melt the easiest and give the best colors. If you don’t want the hassle of peeling the wrappers off, you can consider buying bulk unwrapped crayons for easy crayon making.
BOOK IDEA – Read The Crayons’ Christmas before making Christmas-shaped crayons.
Other Christmas Molds To Purchase
When purchasing molds for crayons, make sure they are oven-safe. Some at different dollar stores are meant for ice cubes and are not oven-safe.
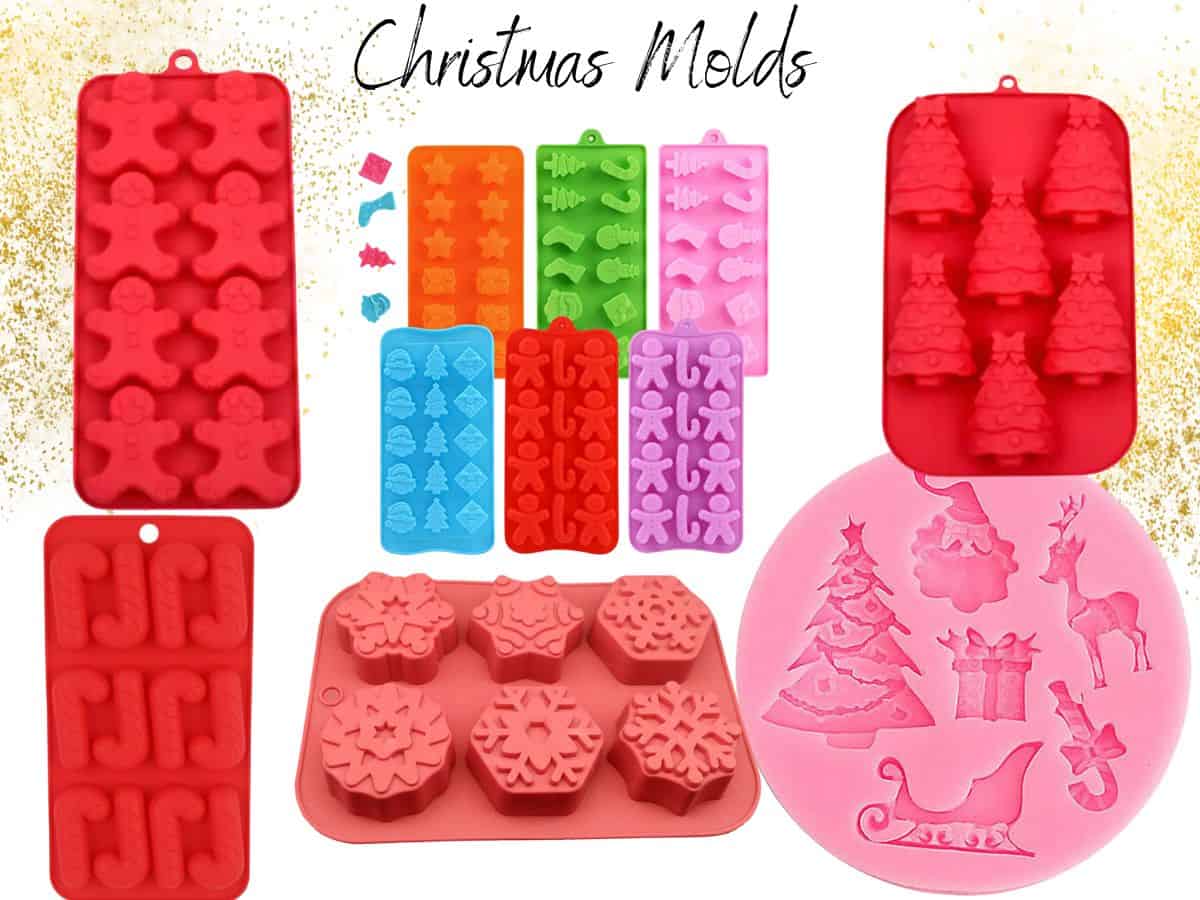
- 5-Pack Variety Molds Including Snowflakes, Candy Canes, Gingerbread People
- Larger Christmas Tree Molds: the same ones we used but with bigger Christmas trees
- Candy Cane Mold
- Gingerbread Men Molds: Same size as our Christmas trees
Before You Begin
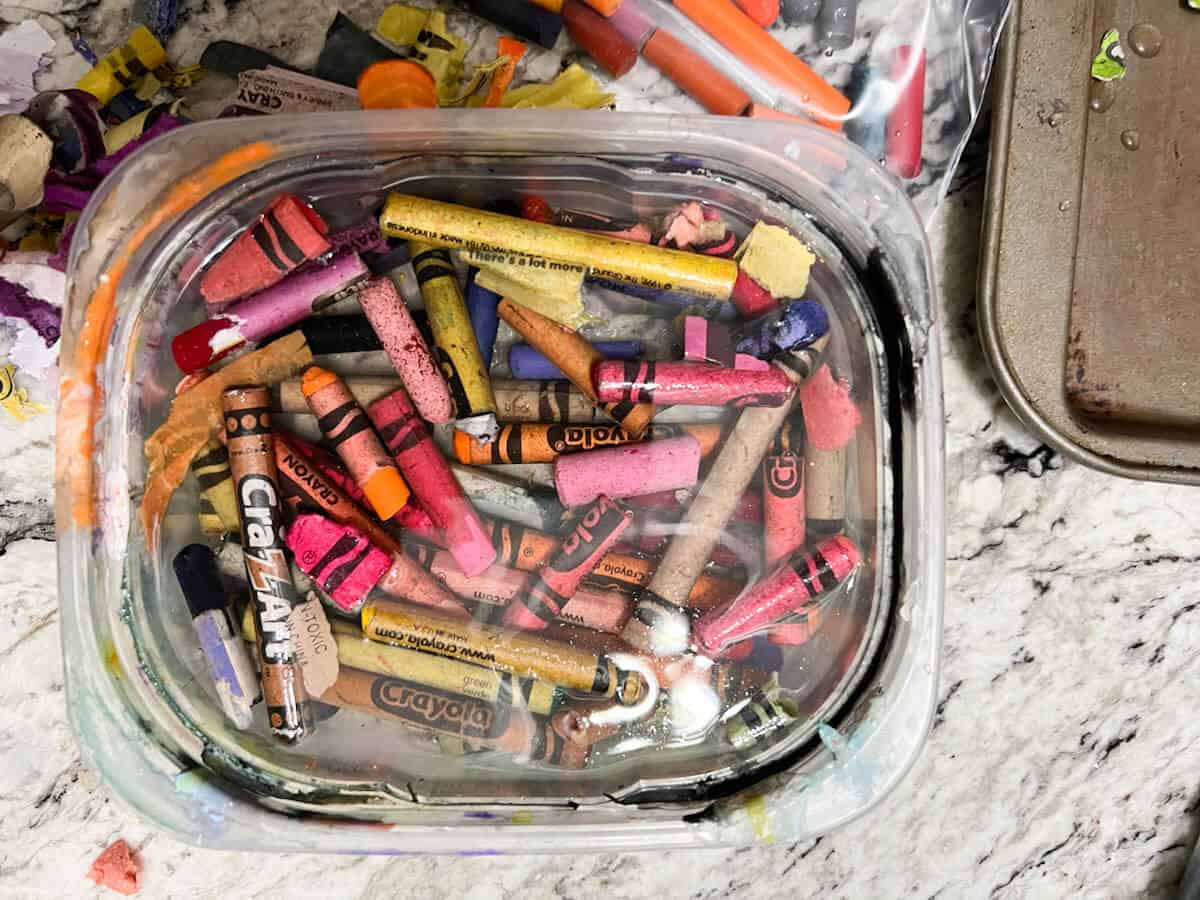
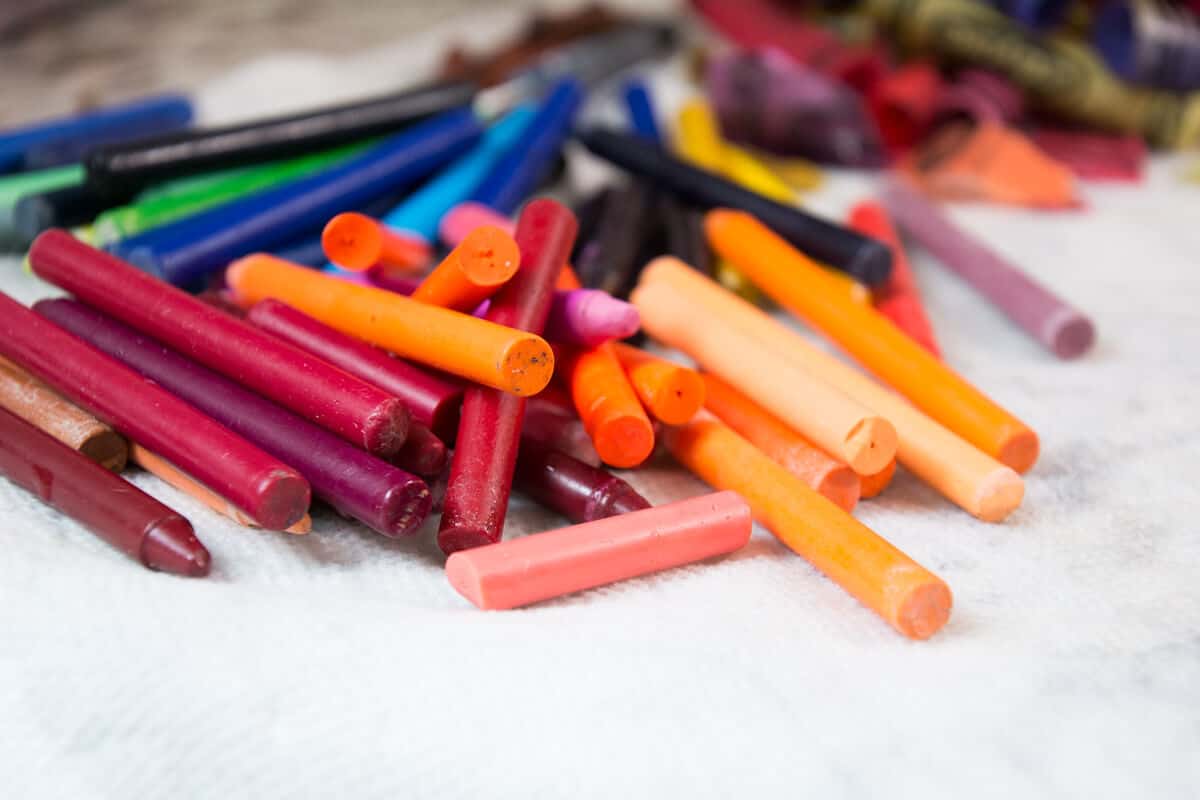
Soak the crayons in warm water for about 10-15 minutes. Some of the papers will just fall off, while others may need a little extra help. Twist your hands over the paper to help more crayon paper come off easily.
How To Make Christmas Tree Crayons
Step 1: Preheat The Oven And Organize Crayons
Preheat the oven to 275 degrees Fahrenheit and create piles of crayon pieces (no wrappers).
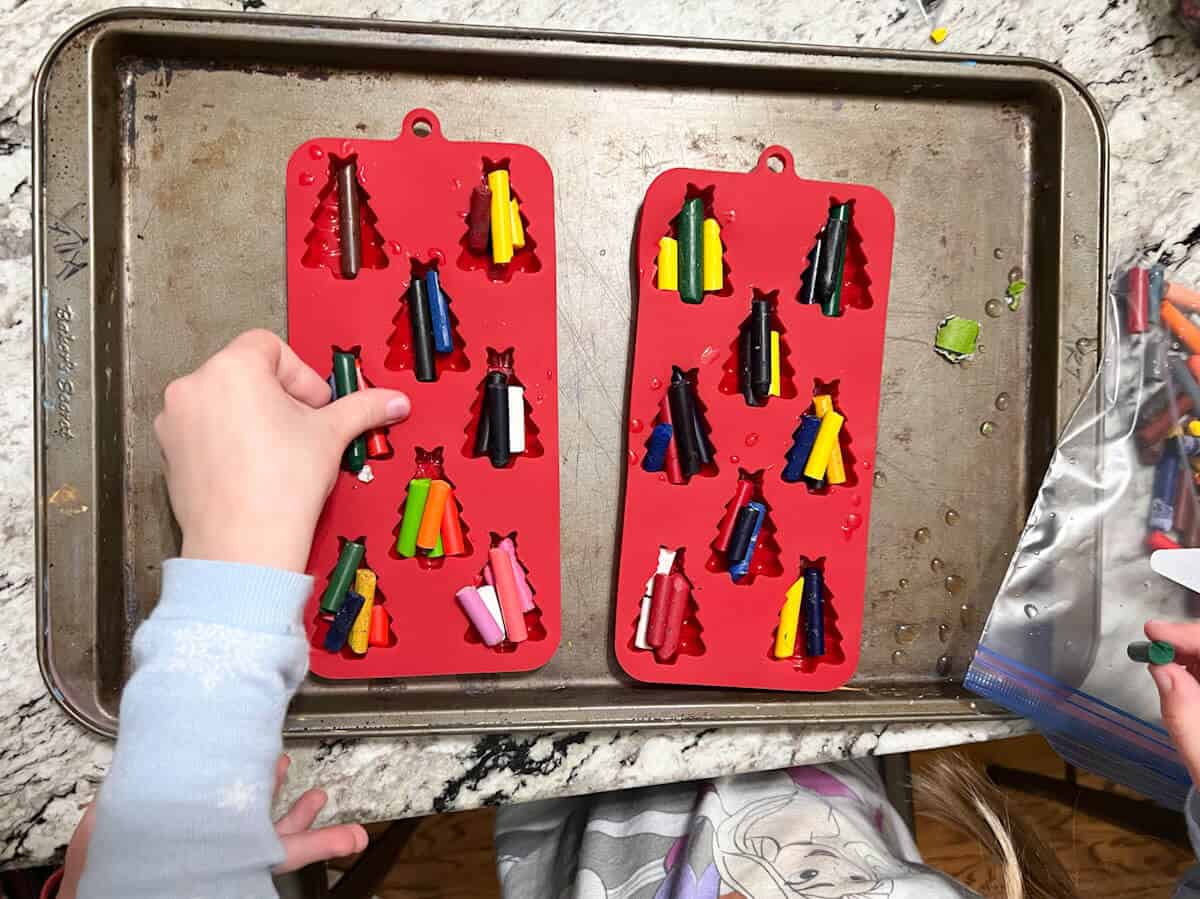
Step 2: Fill Christmas Molds
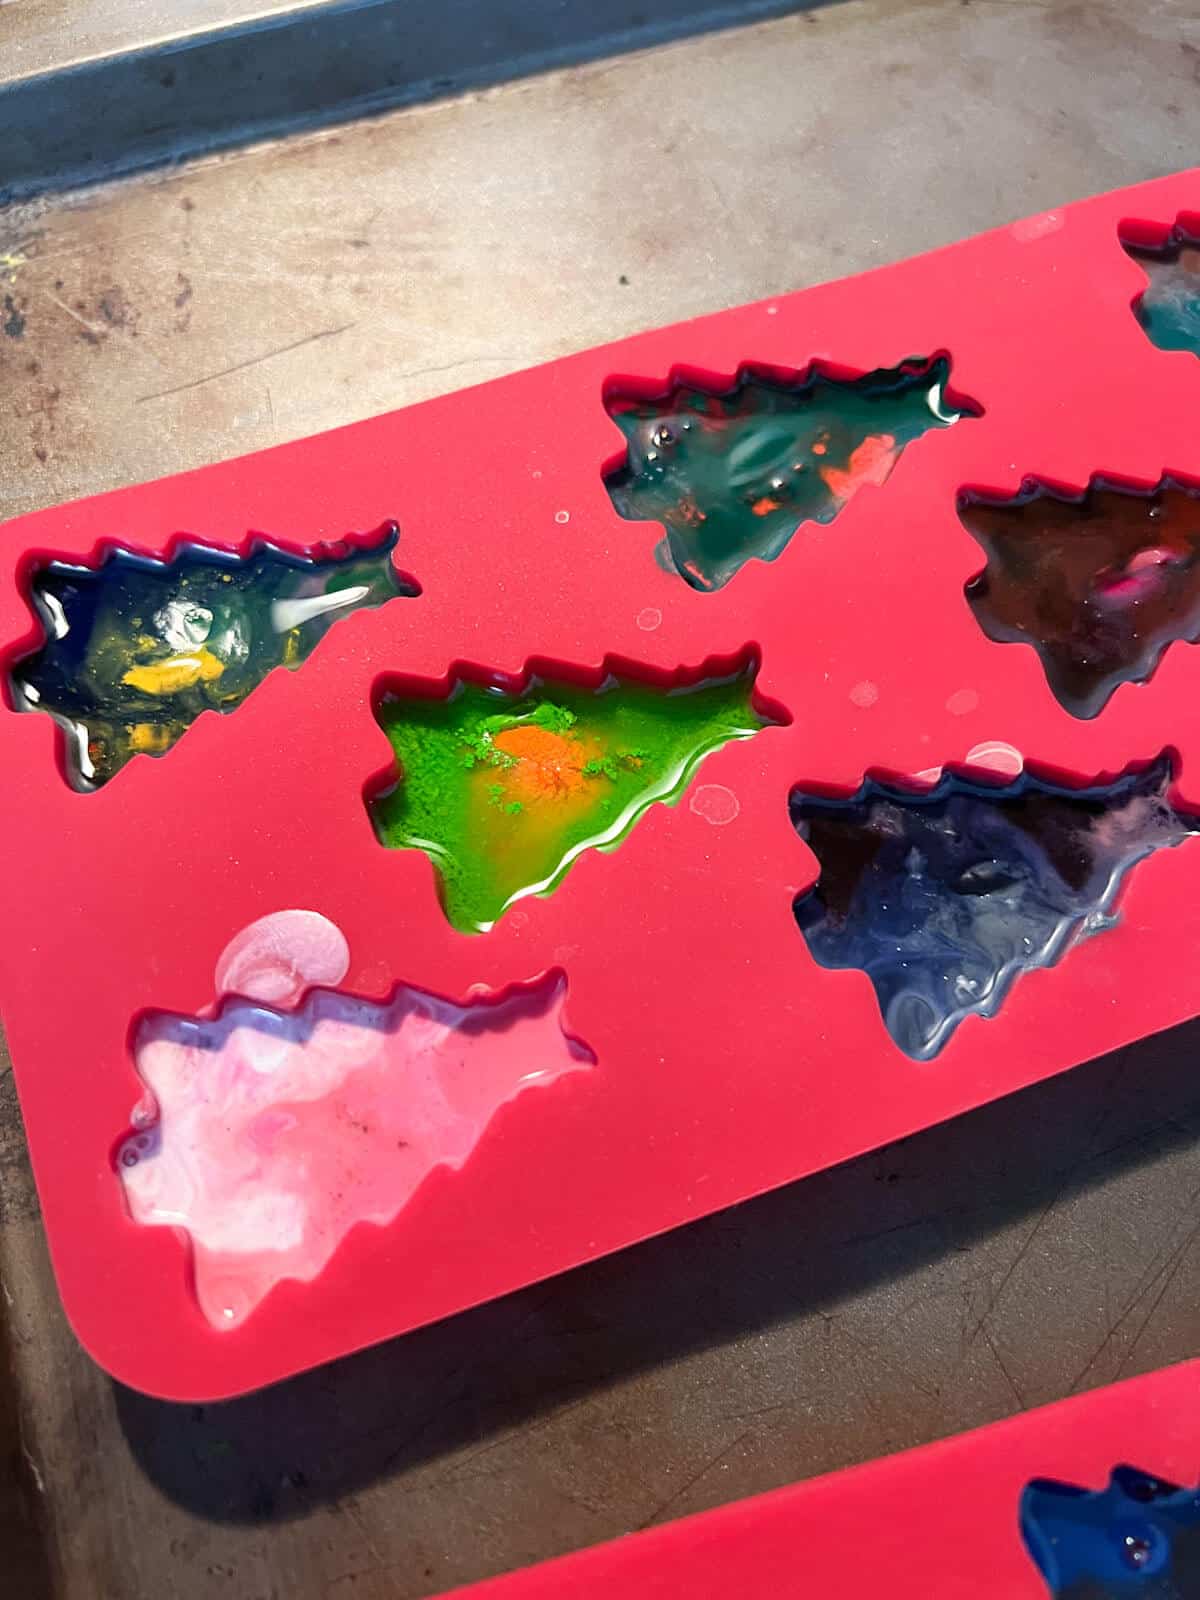
Place broken crayon pieces in molds. Fill in the trees as much as possible as the crayons melt to fill every space. This is a great step for kids to do!
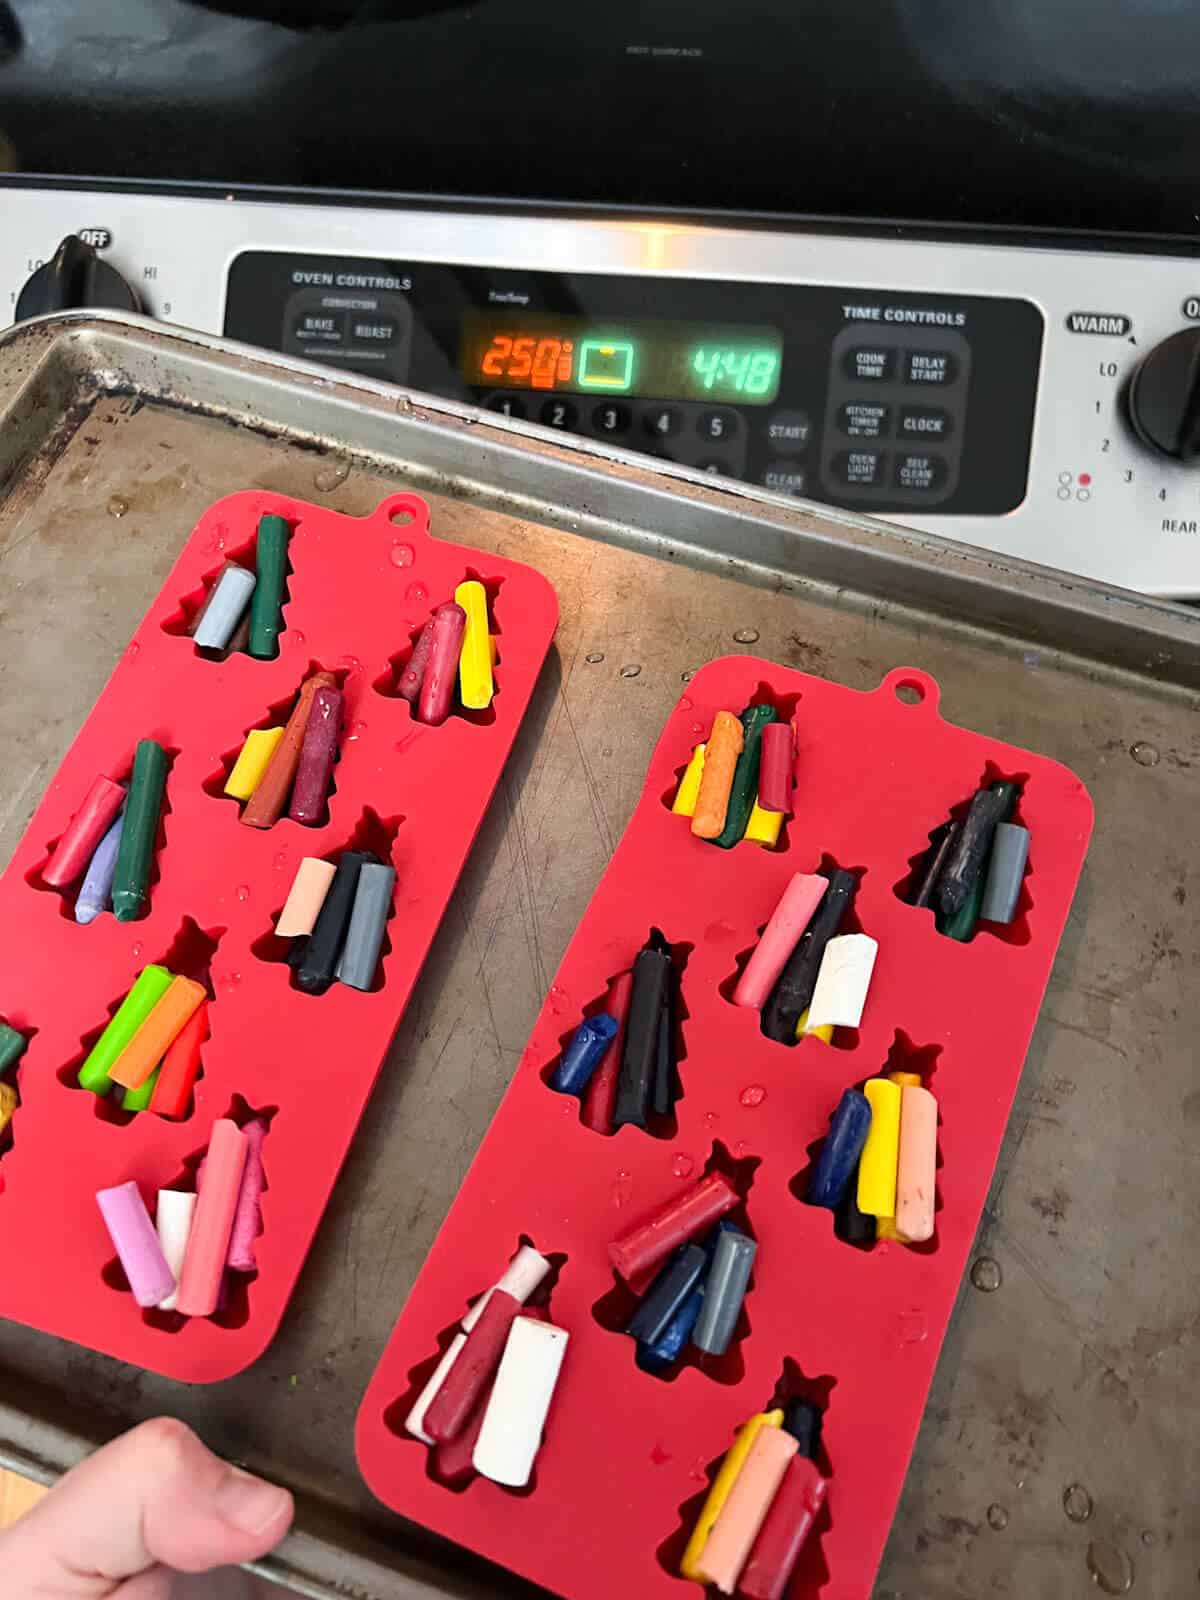
Step 3: Place In The Oven
Put your Christmas silicone mold on a cookie sheet before putting it in the oven.
Step 4: Bake & Watch
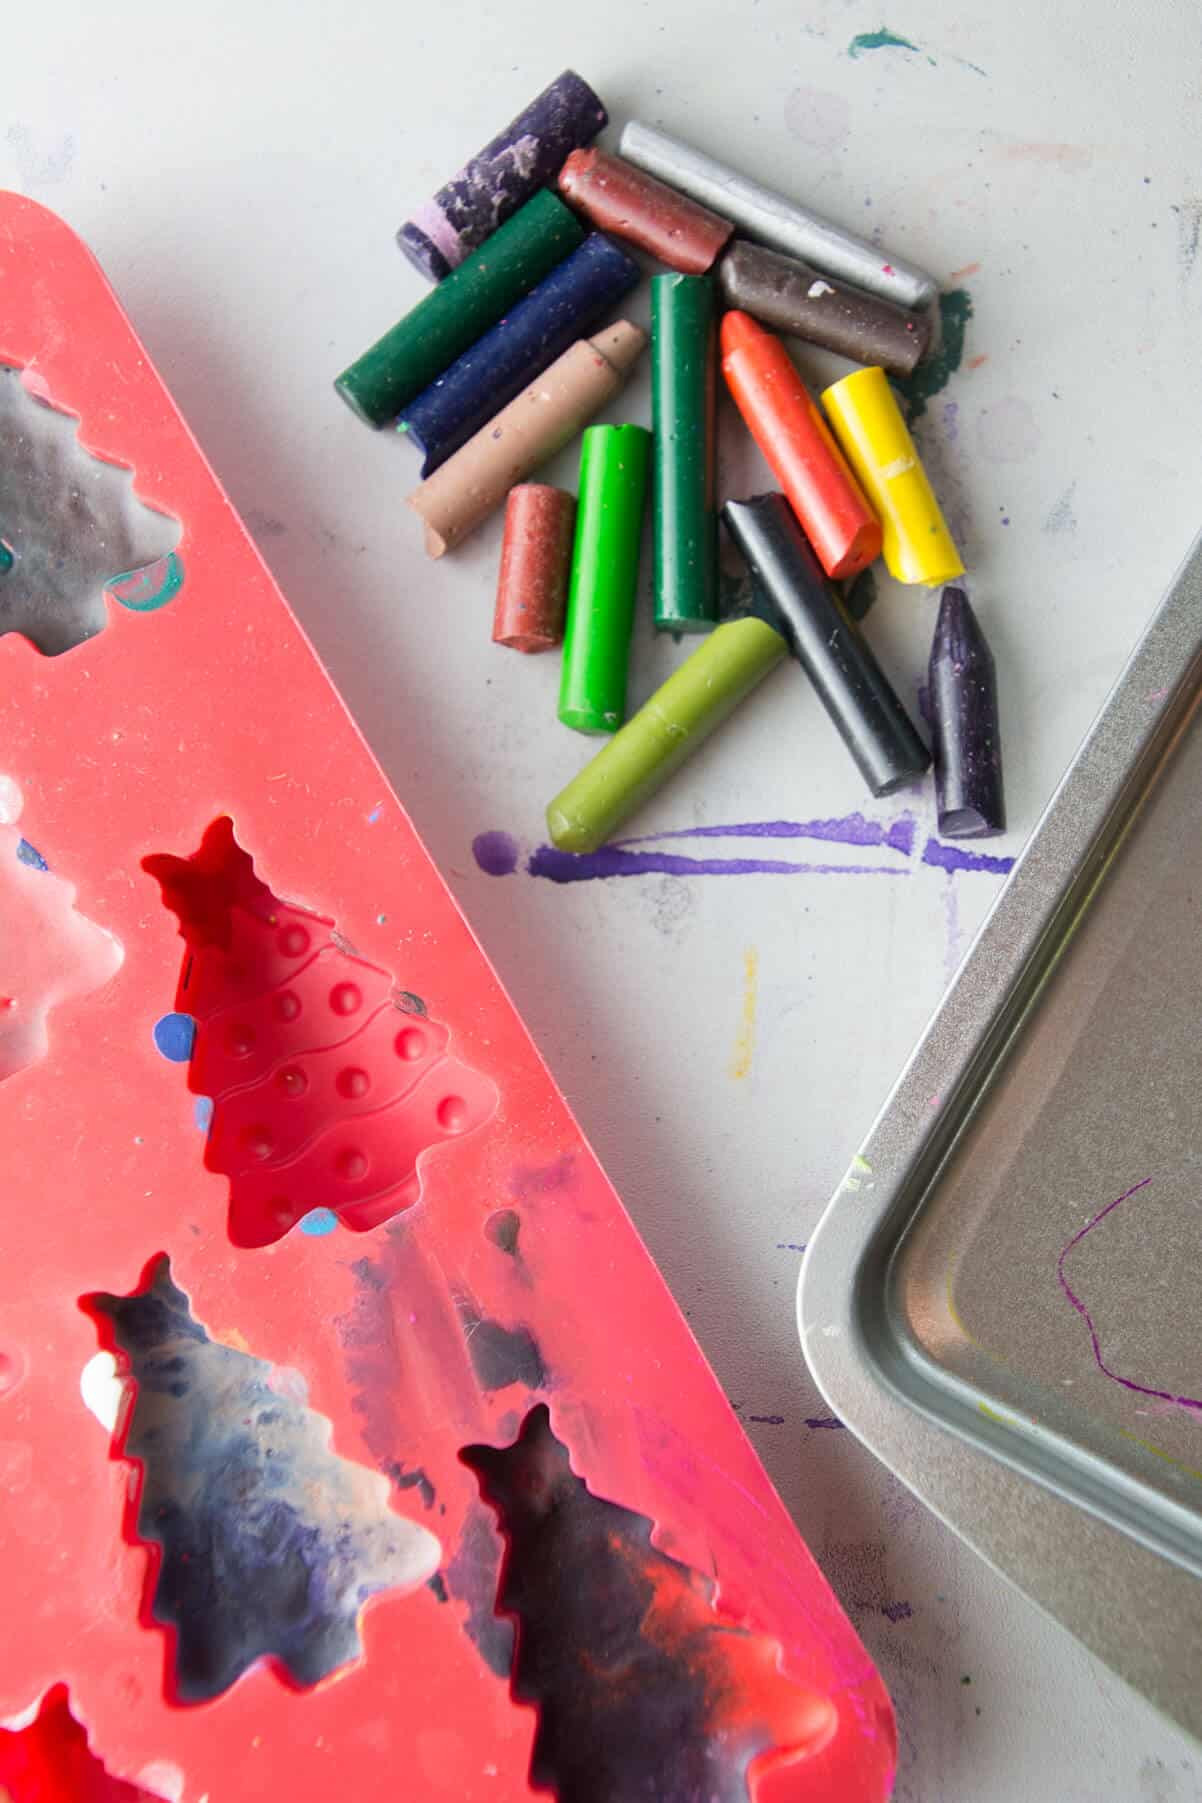
Bake for 9-11 minutes. Watch for when they are fully melted. You do not want to overcook them. The image above is after 5 minutes.
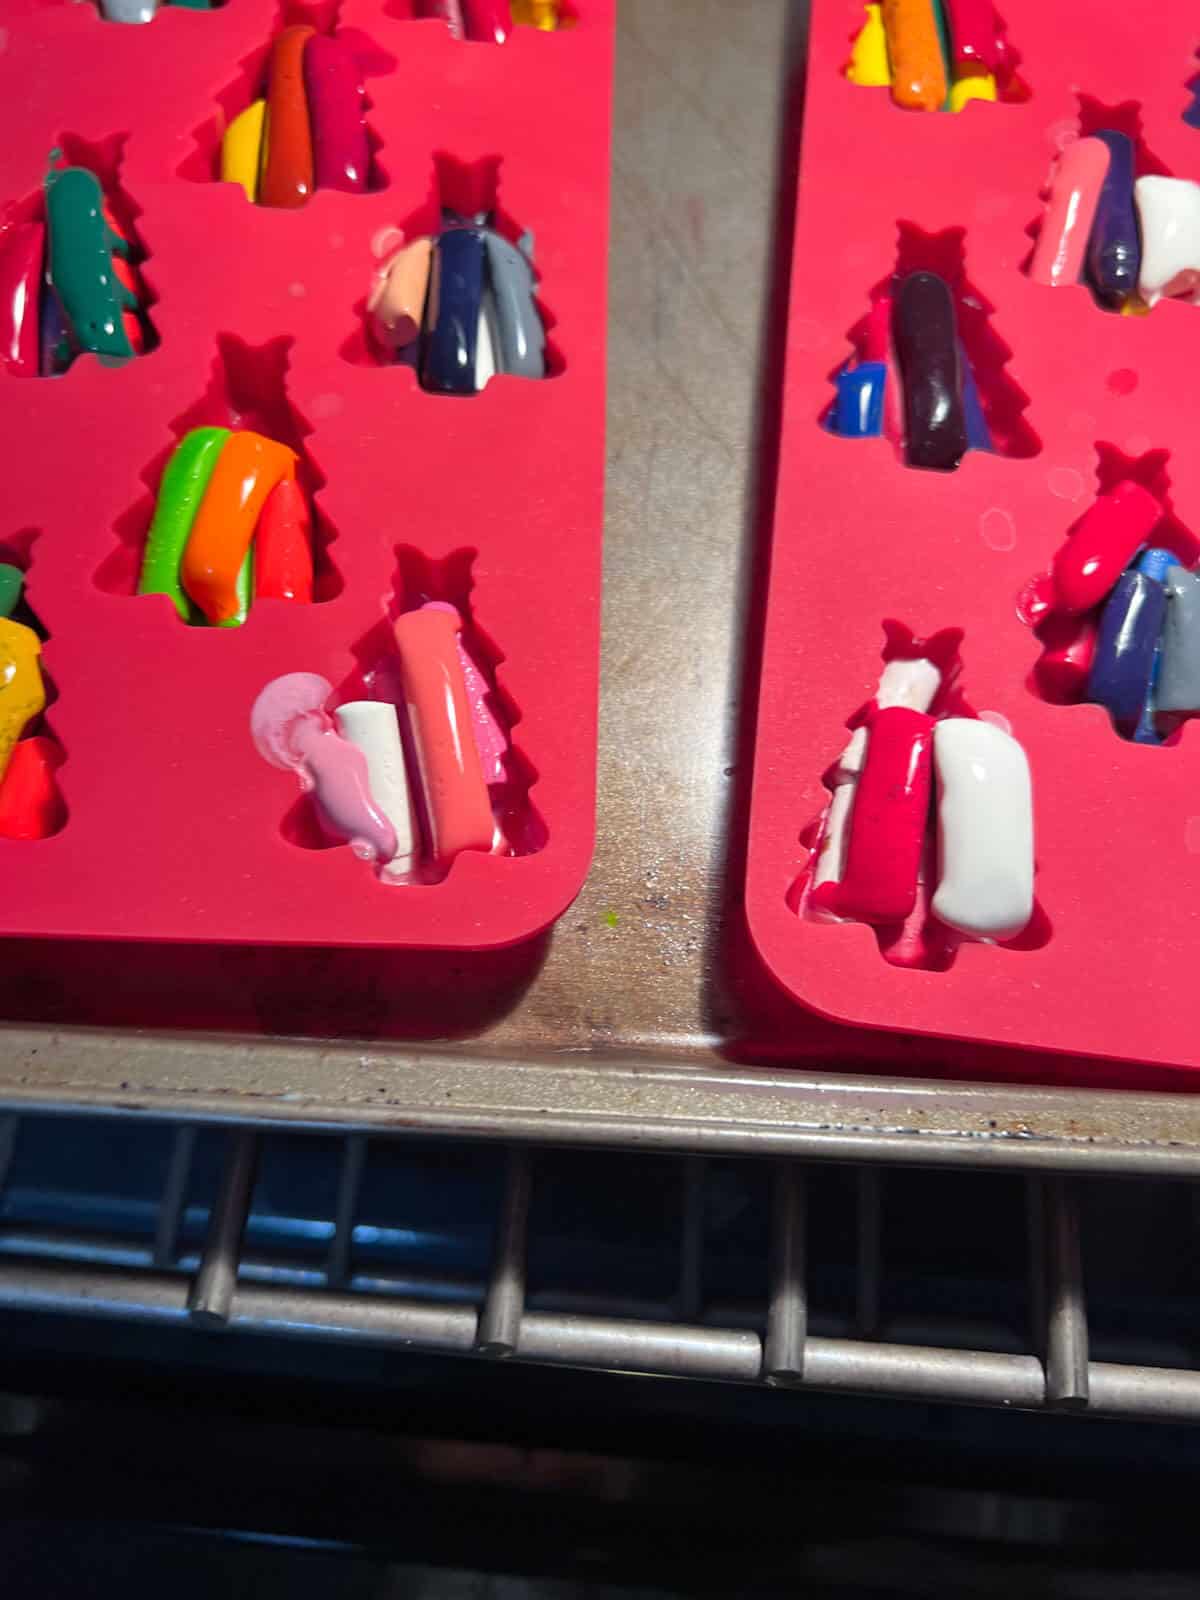
Step 5: Remove From The Oven
Once you see that the crayons have fully melted, pull them out of the oven immediately. The wax will be very hot and liquid.
Step 6: Let Crayons Cool Completely
The size of your molds will determine how long your newly formed crayons need to cool. They will be fully cooled when they are not warm to the touch and have a foggy appearance.
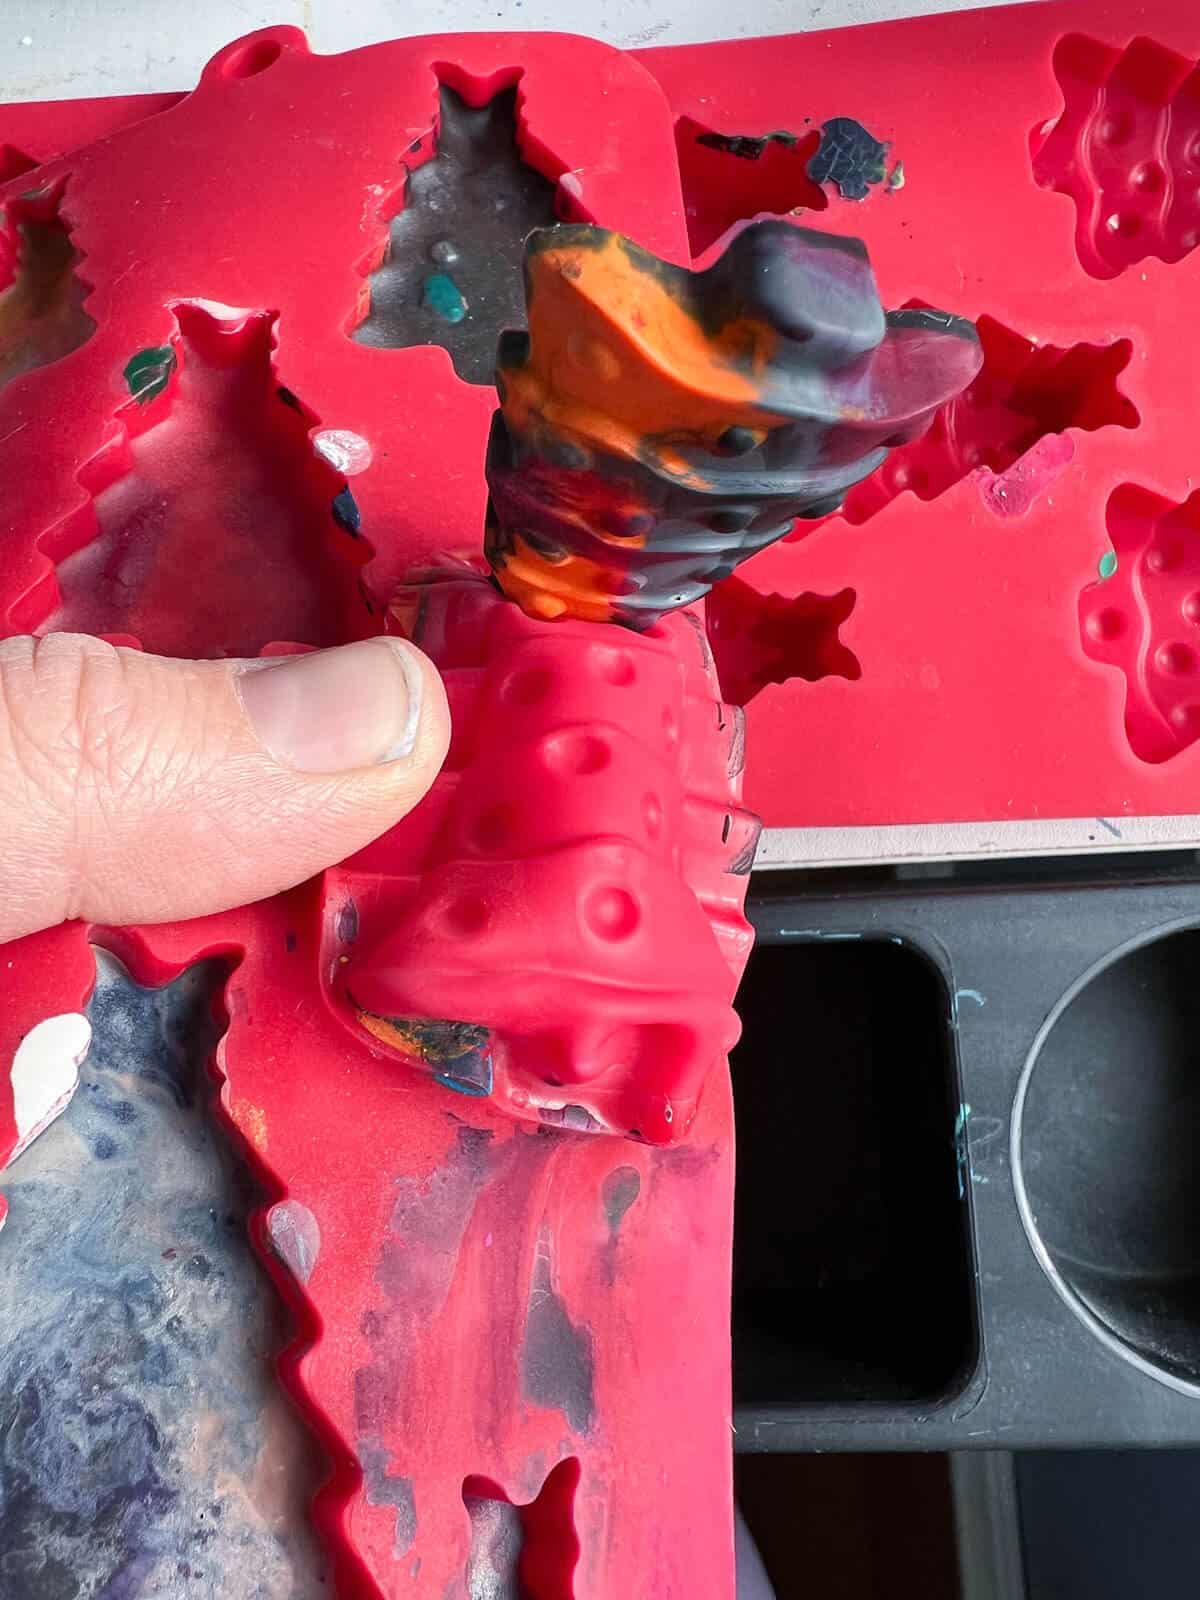
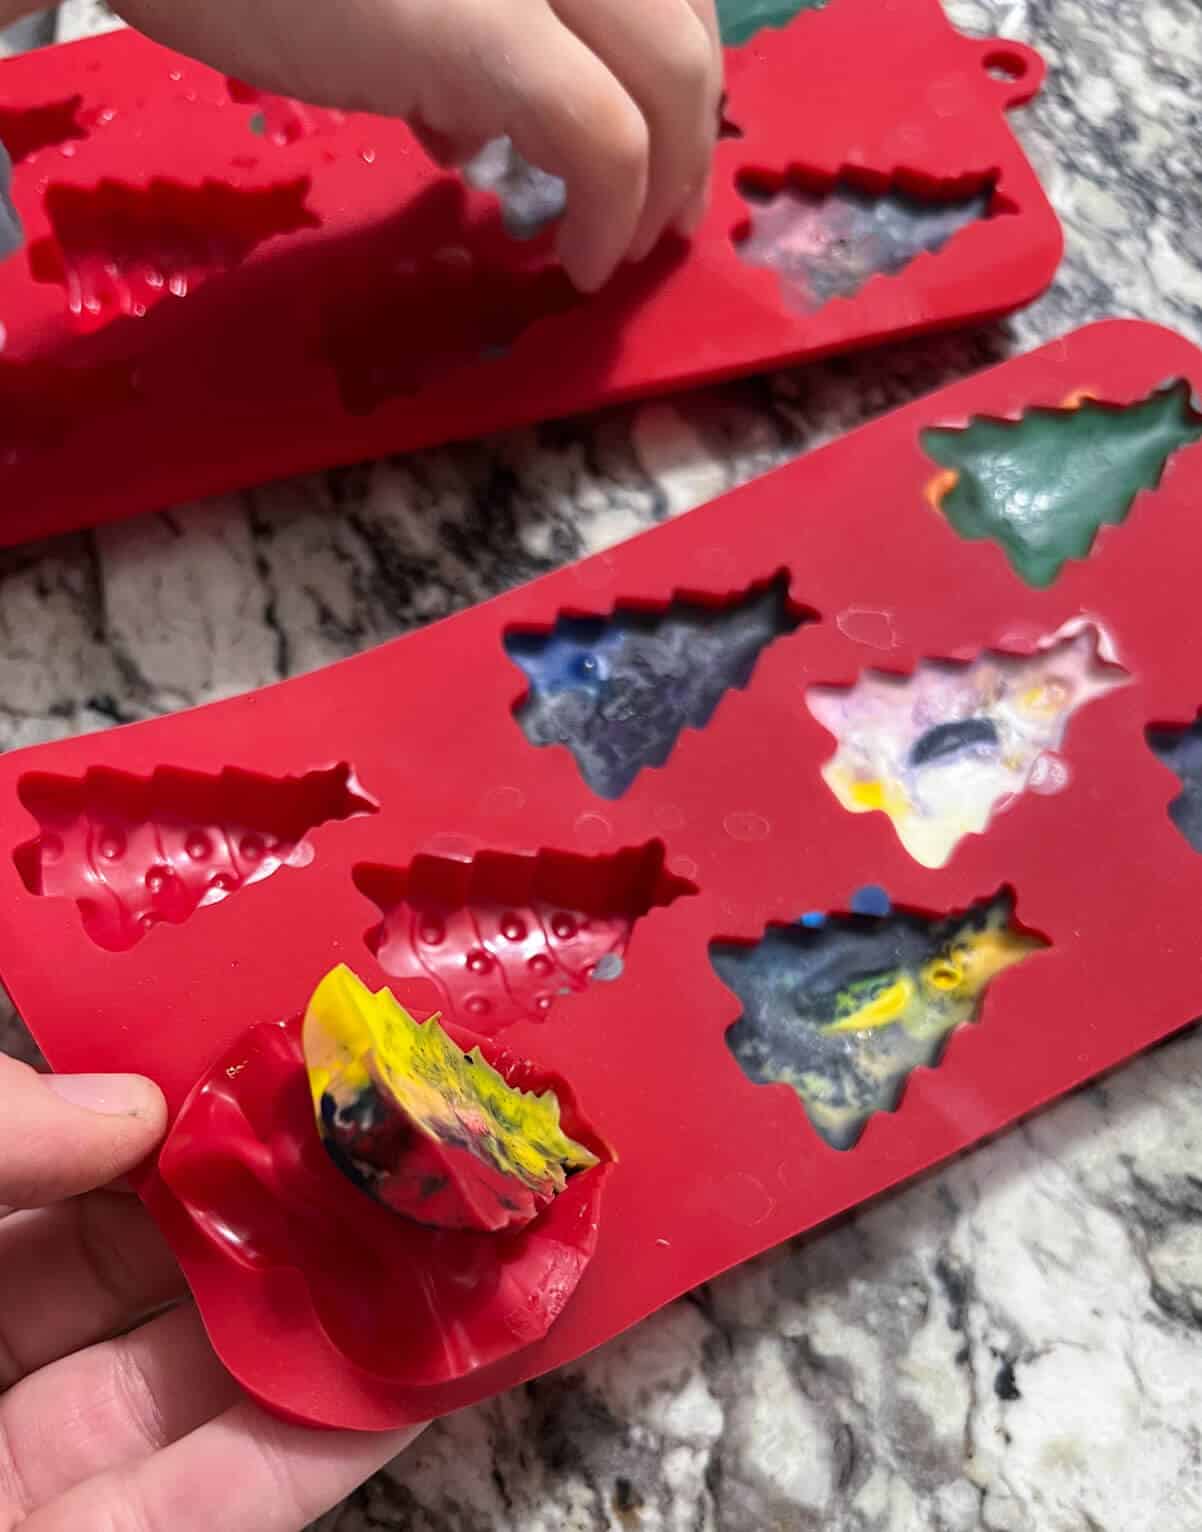
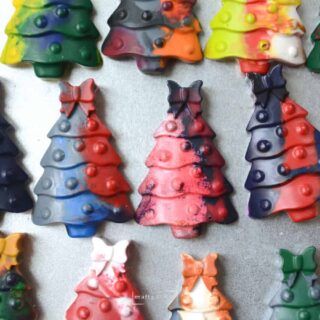
Step 7: Remove From The Molds
Pull the edges around the mold first to help loosen your new crayons. Once one is completely cool to the touch, you can carefully push it out of the Christmas mold.
ART TEACHER TIP: If needed, use an old vegetable peeler to round off any sharp edges.
Tips
- BREAK CRAYONS UP – Small pieces will not take nearly as long to melt as larger pieces.
- SEPARATE COLORS – Separating the crayons by color will help kids quickly fill the molds before melting.
- COOL-DOWN – To speed up the cool-down process, place the molds in the freezer once the wax has started to solidify.
- WATCH AS THEY MELT – Cooking time may vary due to different-sized molds, brand of crayons, and how your oven runs.
- USE A TOOTHPICK IF NEEDED – If you have one stubborn crayon that won’t melt, stir the hot wax with a toothpick to help it melt quickly.
- MONITOR CHILDREN – Do not let excited children touch hot melted wax.
Melting Crayons FAQs
While the wax is hot, carefully drape a string in the mold. The hot wax will form around the string to hold it in place. Once the wax has cooled, tie a knot and place it on your tree.
Any crayon brand will work. Note that each brand has a different melting time. Therefore, if you mix brands, you must watch them while in the oven.
You can make all sorts of colored Christmas crayons in less than 20 minutes and for under $5! We were lucky to score our Christmas tree mold on sale for $2.99!
If you remove the crayons from the mold too soon, they may break. Place the crayon back in the mold and reheat it until it has melted back together.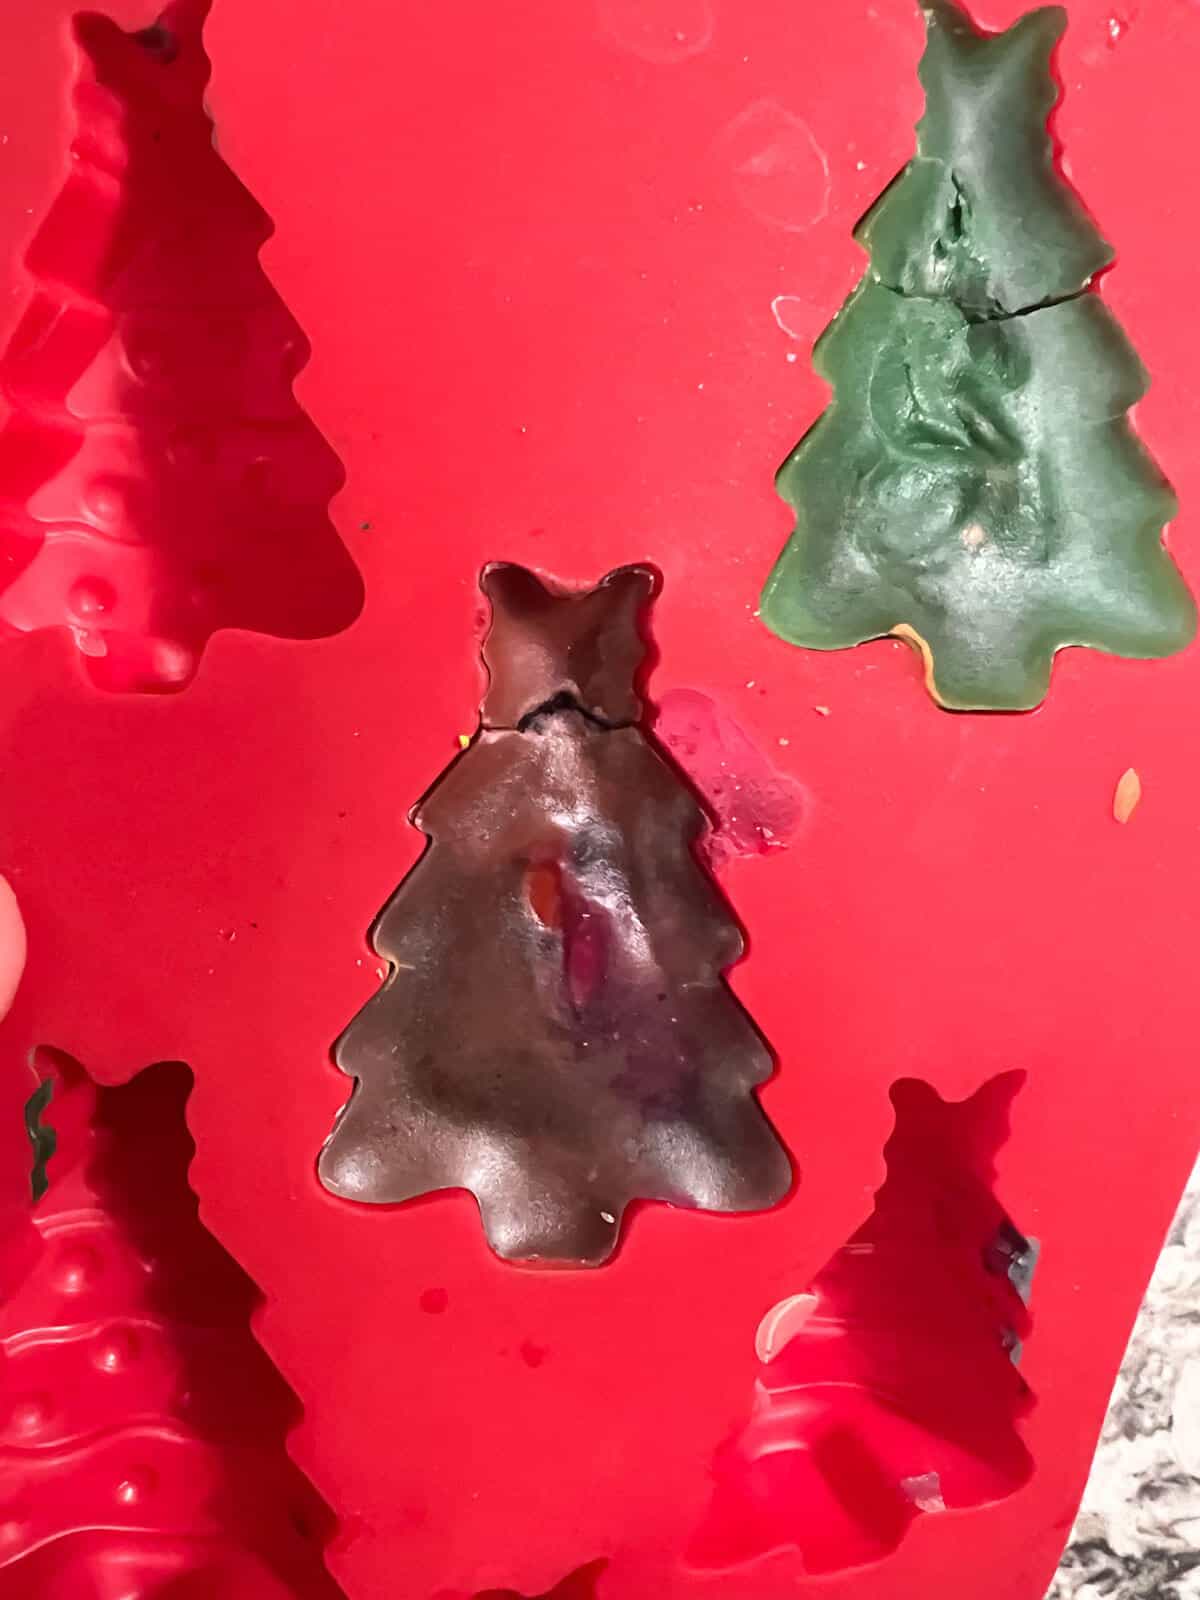
Follow us on Pinterest, YouTube & Facebook for more free art and craft ideas!
Our Favorite
Related Crayon Crafts
We hope your family enjoys making memories together while creating DIY Christmas tree crayons. I know our family loves making this easy Christmas craft to give to our family and friends.
Do you like this art project? Please give us a 5-STAR review below ⭐️⭐️⭐️⭐️⭐️ and have fun being creative with your family.
DIY Christmas Tree Crayon Tutorial
Equipment
- Christmas Tree Silicone Molds Similar to the one we used.
- Oven
Supplies
- Old Crayons
- Cup Of Water optional
Instructions
- Preheat oven to 275° F.
- Peel wrappers off of crayons.
- Place silicone molds on a baking sheet.
- Add broken crayon pieces in Christmas molds. Fill each mold as high as your can.
- Cook crayons for 9-11 minutes or until the wax is fully melted.
- Pull out of the oven as soon as you see the crayons melted.
- Let the crayons cool until the wax has solified.
- Carefully peel off liner or remove them from the molds and have fun drawing with your new crayons.
Notes
- All temperatures and times may vary due to your oven.
- Check your crayons as they are in the oven and pull them out as soon as they are melted.
- Use broken crayon pieces that you know will mix well together.
- It takes around 20 minutes for the crayons to cool down before being able to take off the liner.