How To Melt Crayons In The Oven
Making new crayons out of old broken pieces sure is fun! Our family loves recycling those old bits into awesome new creations. Come along for all of our tips on how to melt crayons in your oven.
Disclosure: This post may contain affiliate links when clicked, we may earn a small commission at no additional cost to you. Read our full privacy policy.
Ways To Mold Crayons
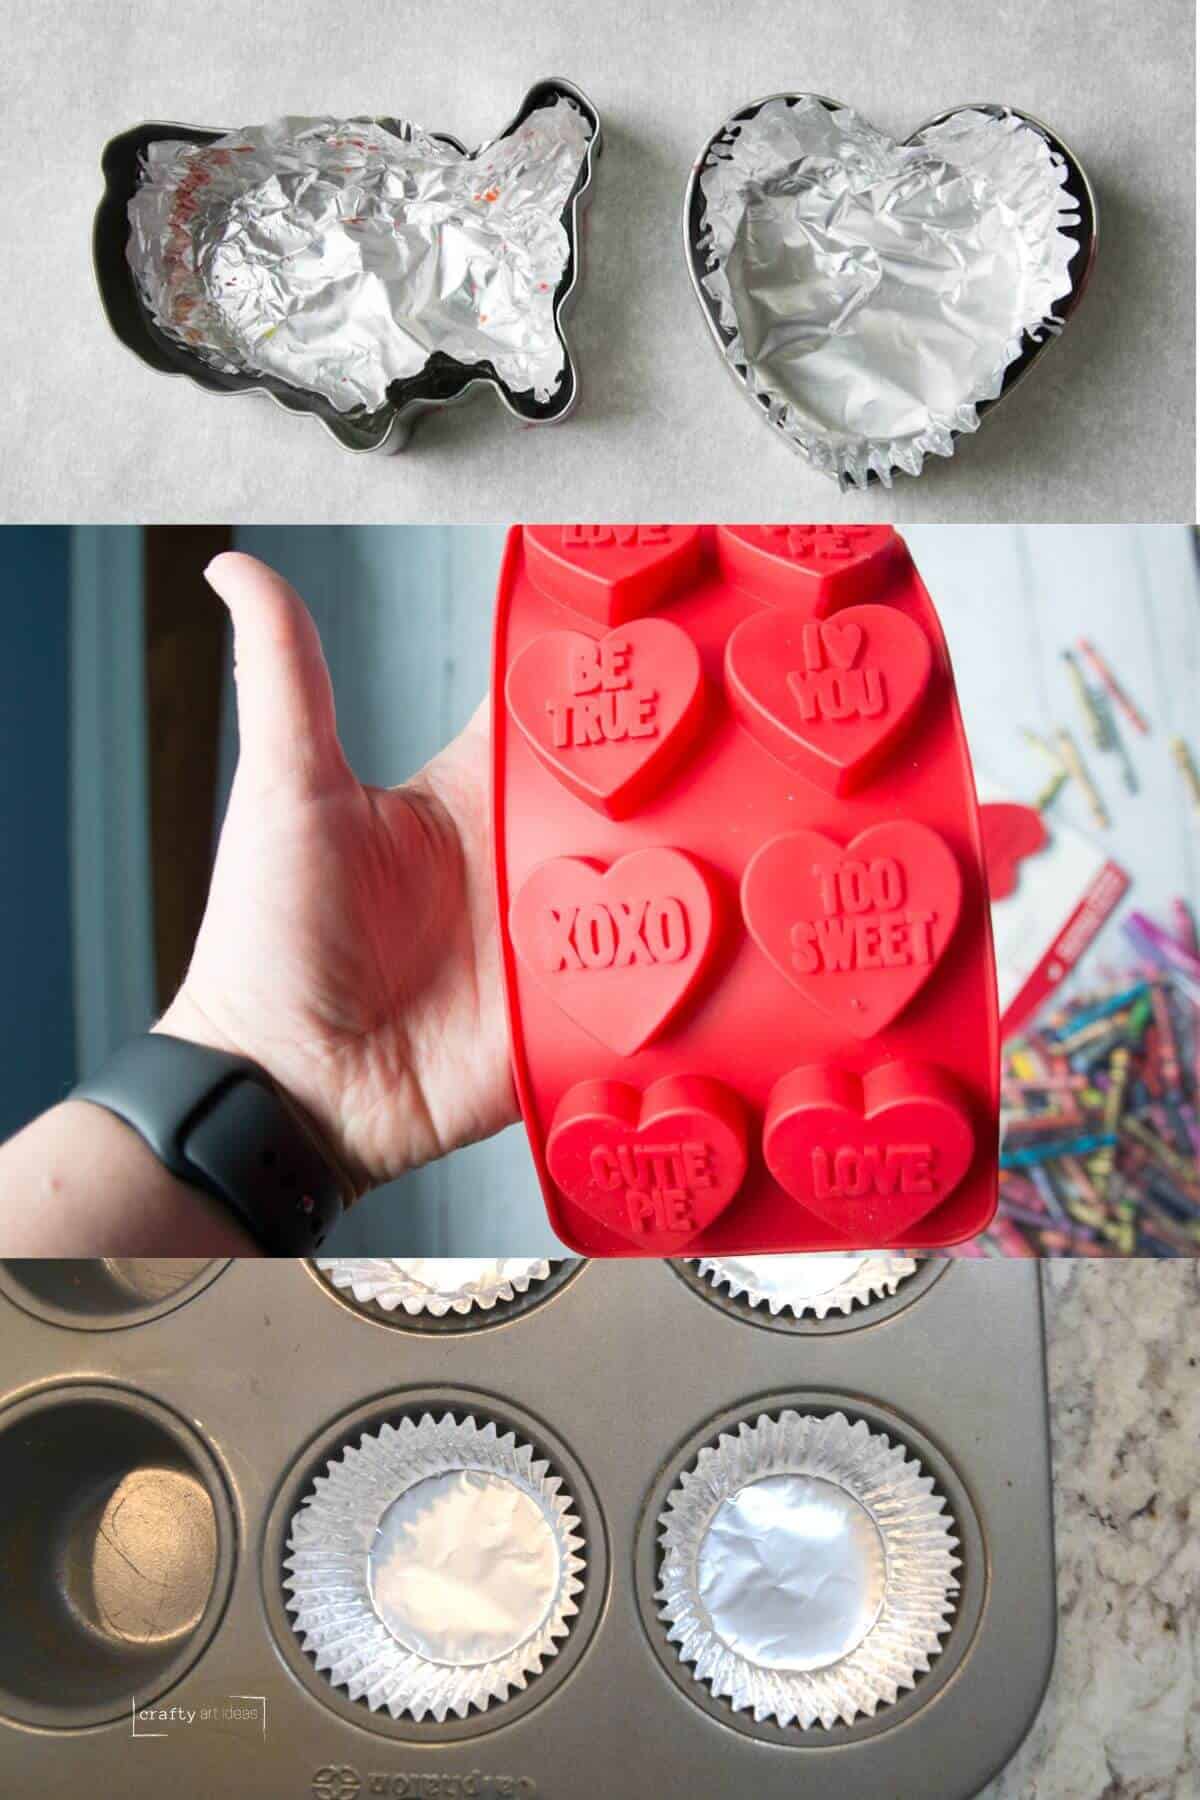
- Cookie Cutters-See our mess-free way to make new crayons using cookie cutters.
- Silicone Molds-There are so many fun shapes and molds out there. You can make large or small crayons for any holiday or special occasion.
- Muffin Tins-Regular sized muffin tins or mini muffin tins can create awesome chunky crayons.
- Foil Cupcake Liners-These are a lifesaver when making shaped crayons. It will help keep your crafting time a little more mess free.
- Small Foil Container-After you melt the pan of color, you can use a knife to cut new sticks to use.
Oven-Safe Molds and Containers
Really anything that is oven-safe and can act as a mold for your crayons. You just want to be able to pop out the wax at the end. The fun part about using broken crayons to make new ones is that you can make all sorts of fun shapes.

Recommended Supplies
These supplies will vary depending on which type of crayon you are making.
- Cupcake Liners, Cookie Cutters, Muffin Tin or Silicone Oven-Safe Molds
- Parchment Paper (not needed for silicone molds)
- Old Crayons
- Oven
- Cookie Sheet (not needed for muffin tin crayons)
- Optional: Cup For Water
Before You Begin
You will need to peel the wrapper off the crayons and break them into small pieces.
Use Water To Help Peel Off The Paper
Soak the crayons in warm water for about 10-15 minutes. Some of the papers will honestly just fall off. You can even twist your hands over the paper to easily get some of the more stubborn crayon papers to come off.
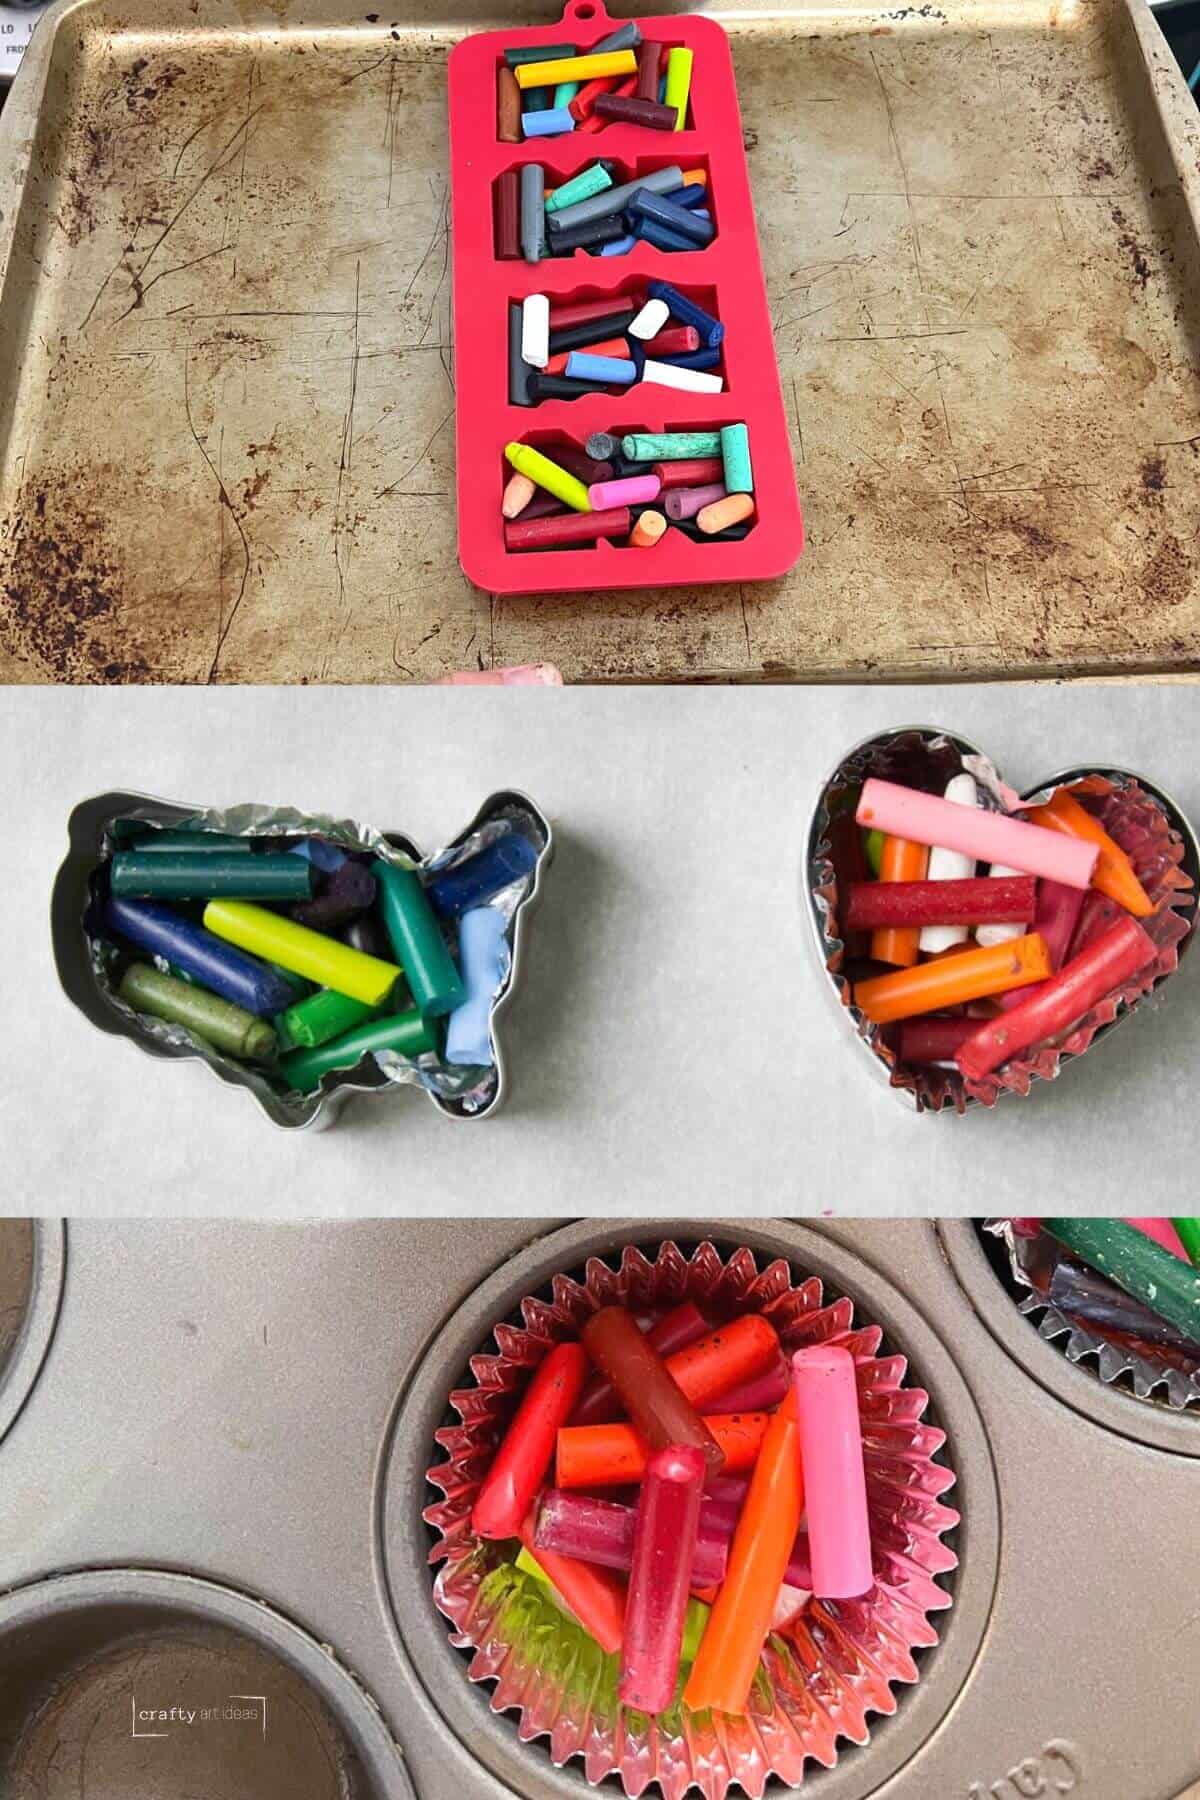
Break Crayons
Make small pieces and color piles to work from. The smaller the pieces the quicker they will melt.
Preheat your oven to 275 degrees F.
Melting Crayons In Oven
Step 1: Set Up Melting Station
For cookie cutter crayons and muffin tins, you would line the cookie sheet with parchment paper and add foil liners.
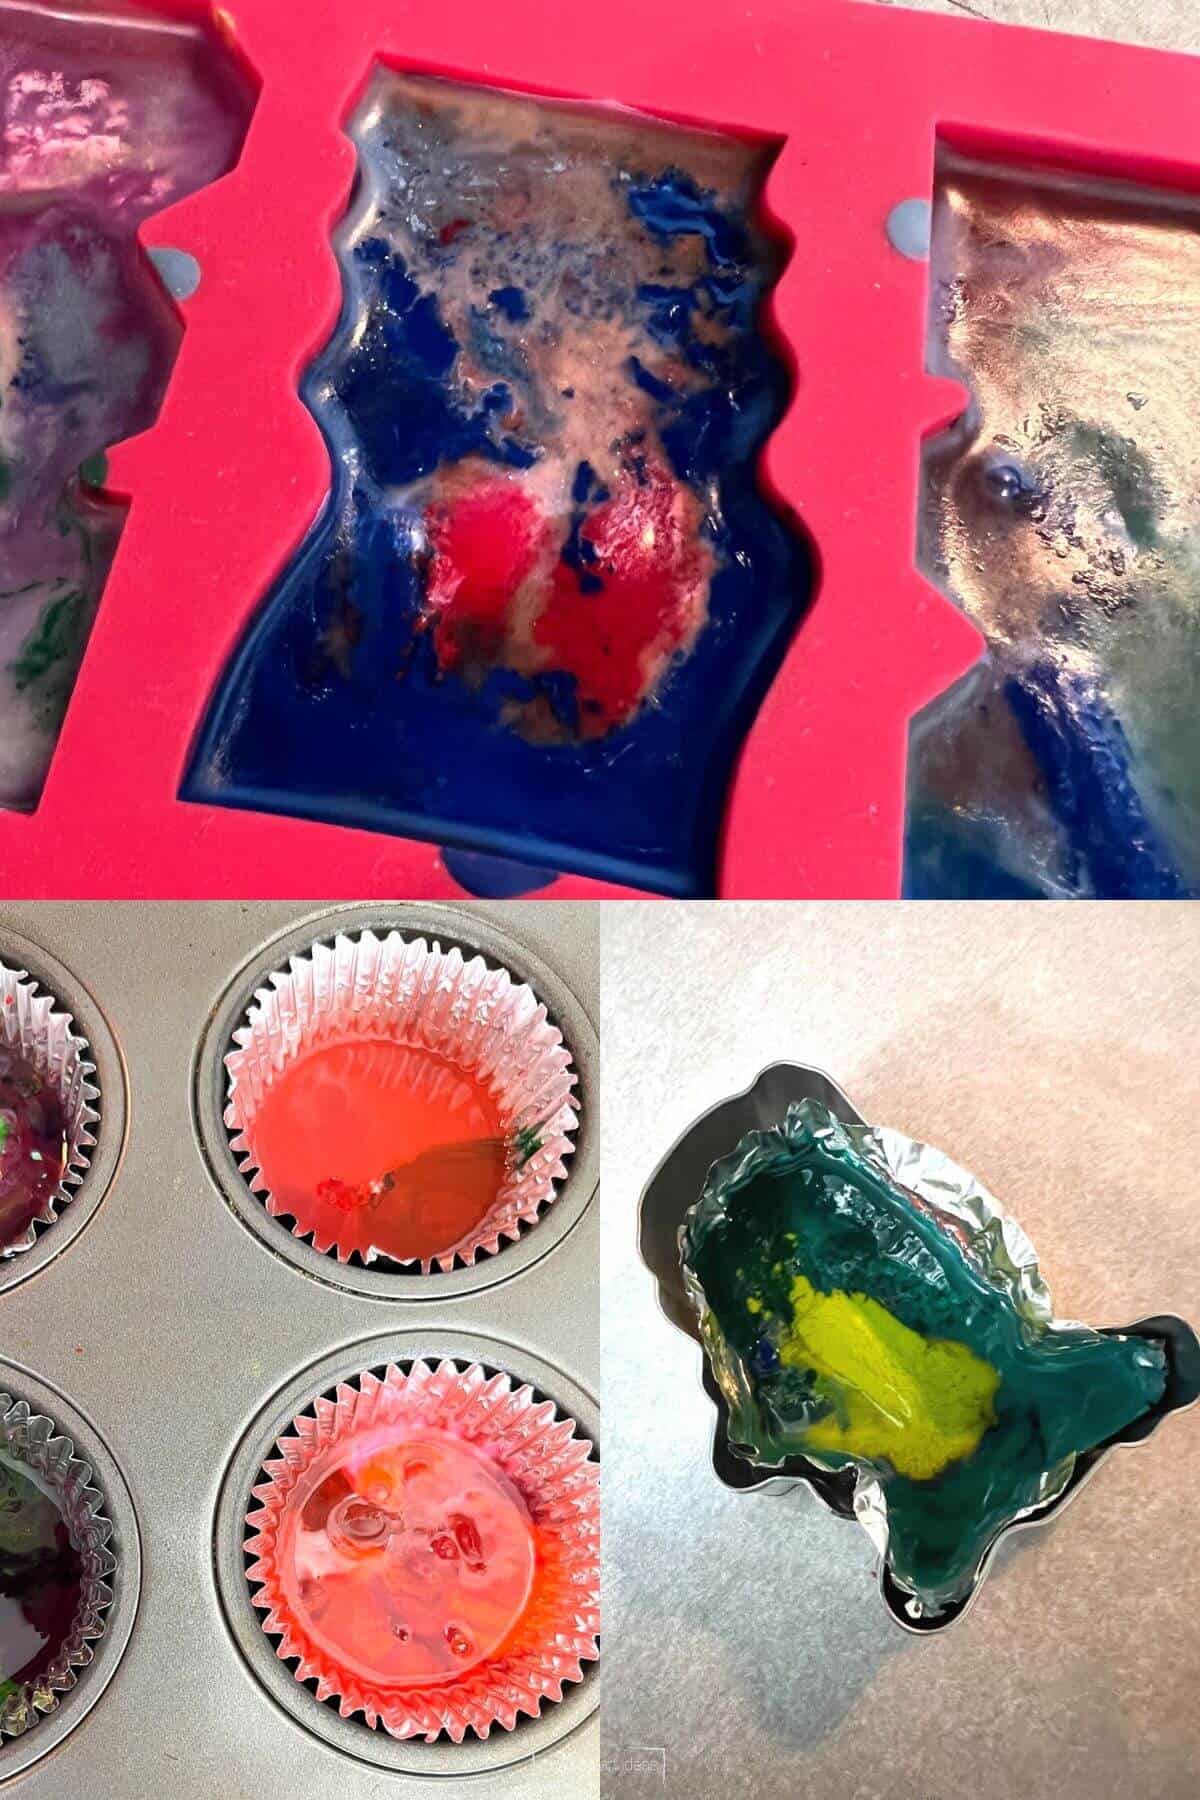
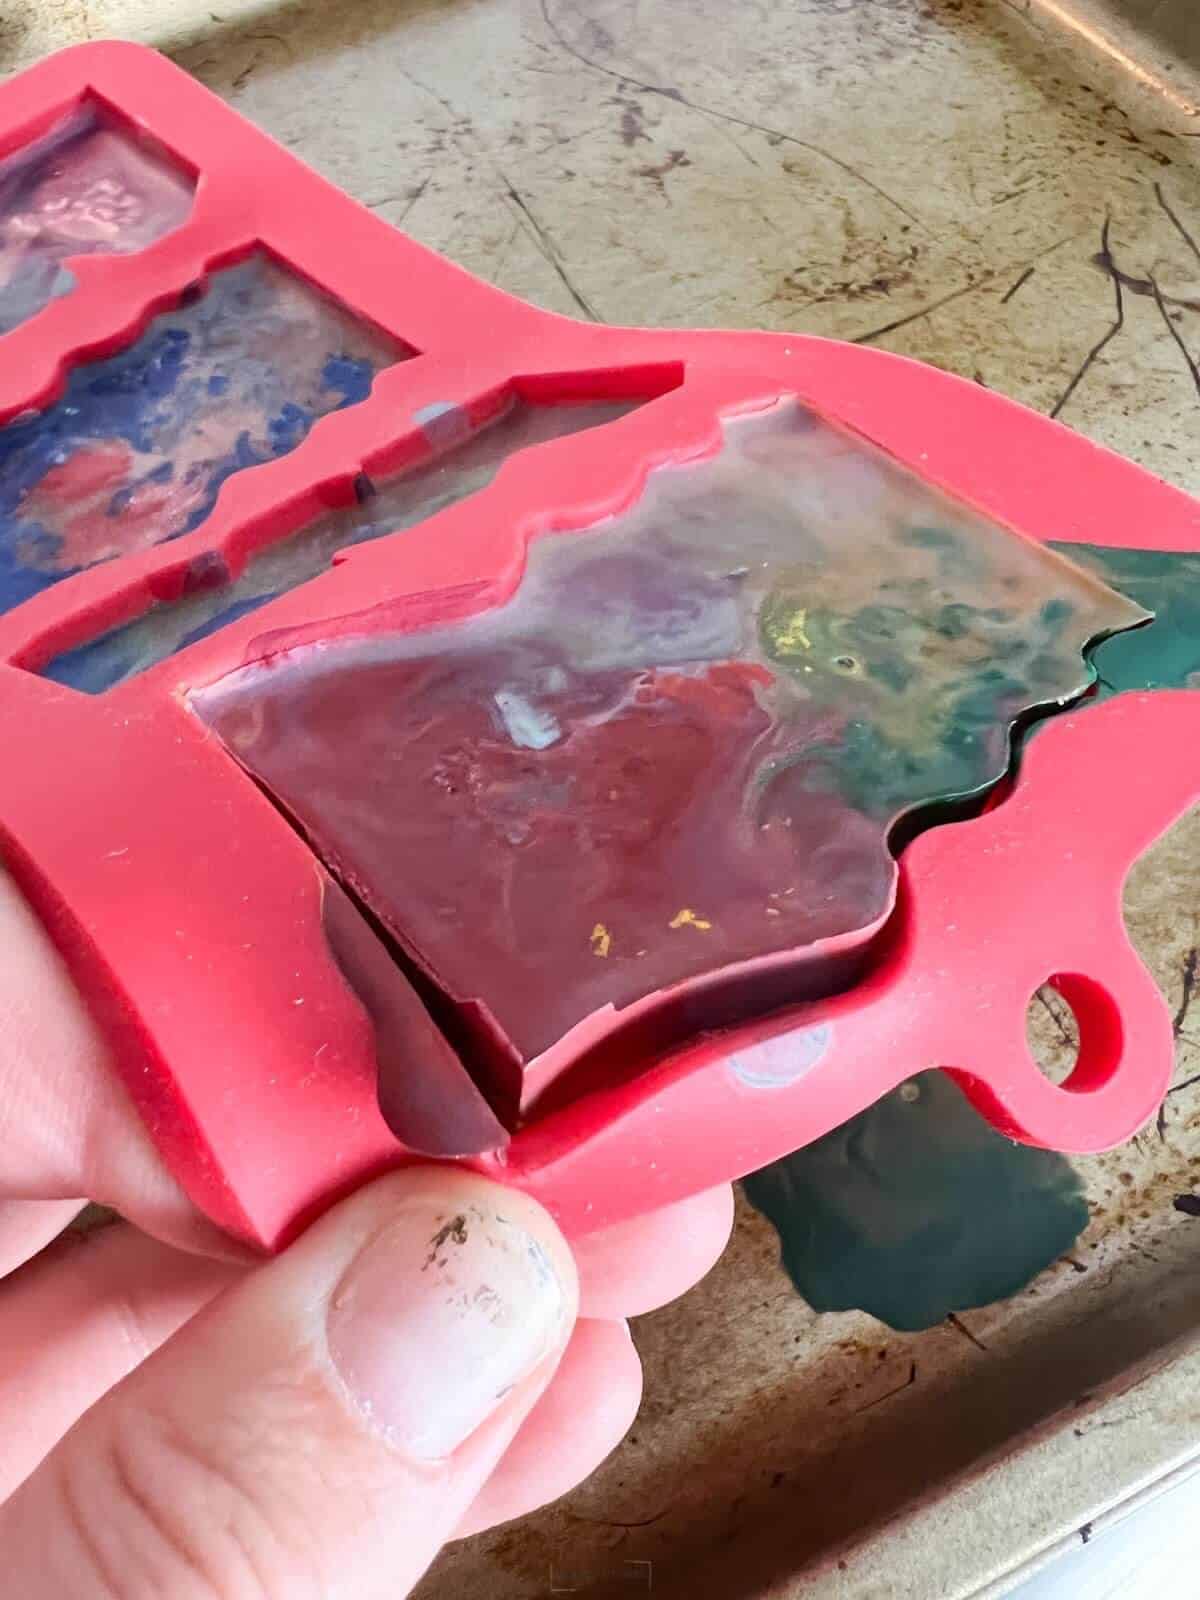
For silicone mold crayons you would place it on a baking sheet.
Step 2: Fill With Crayons
Add crayon pieces about 2/3 up for the muffin tins and cookie cutters and all the way for the molds. When the crayon wax melts it will become a lot more compact.
Step 3: Bake In Oven
Cook your crayons for 9-11 minutes. Watch for the wax to completely melt. You do not want to overcook your homemade crayons.
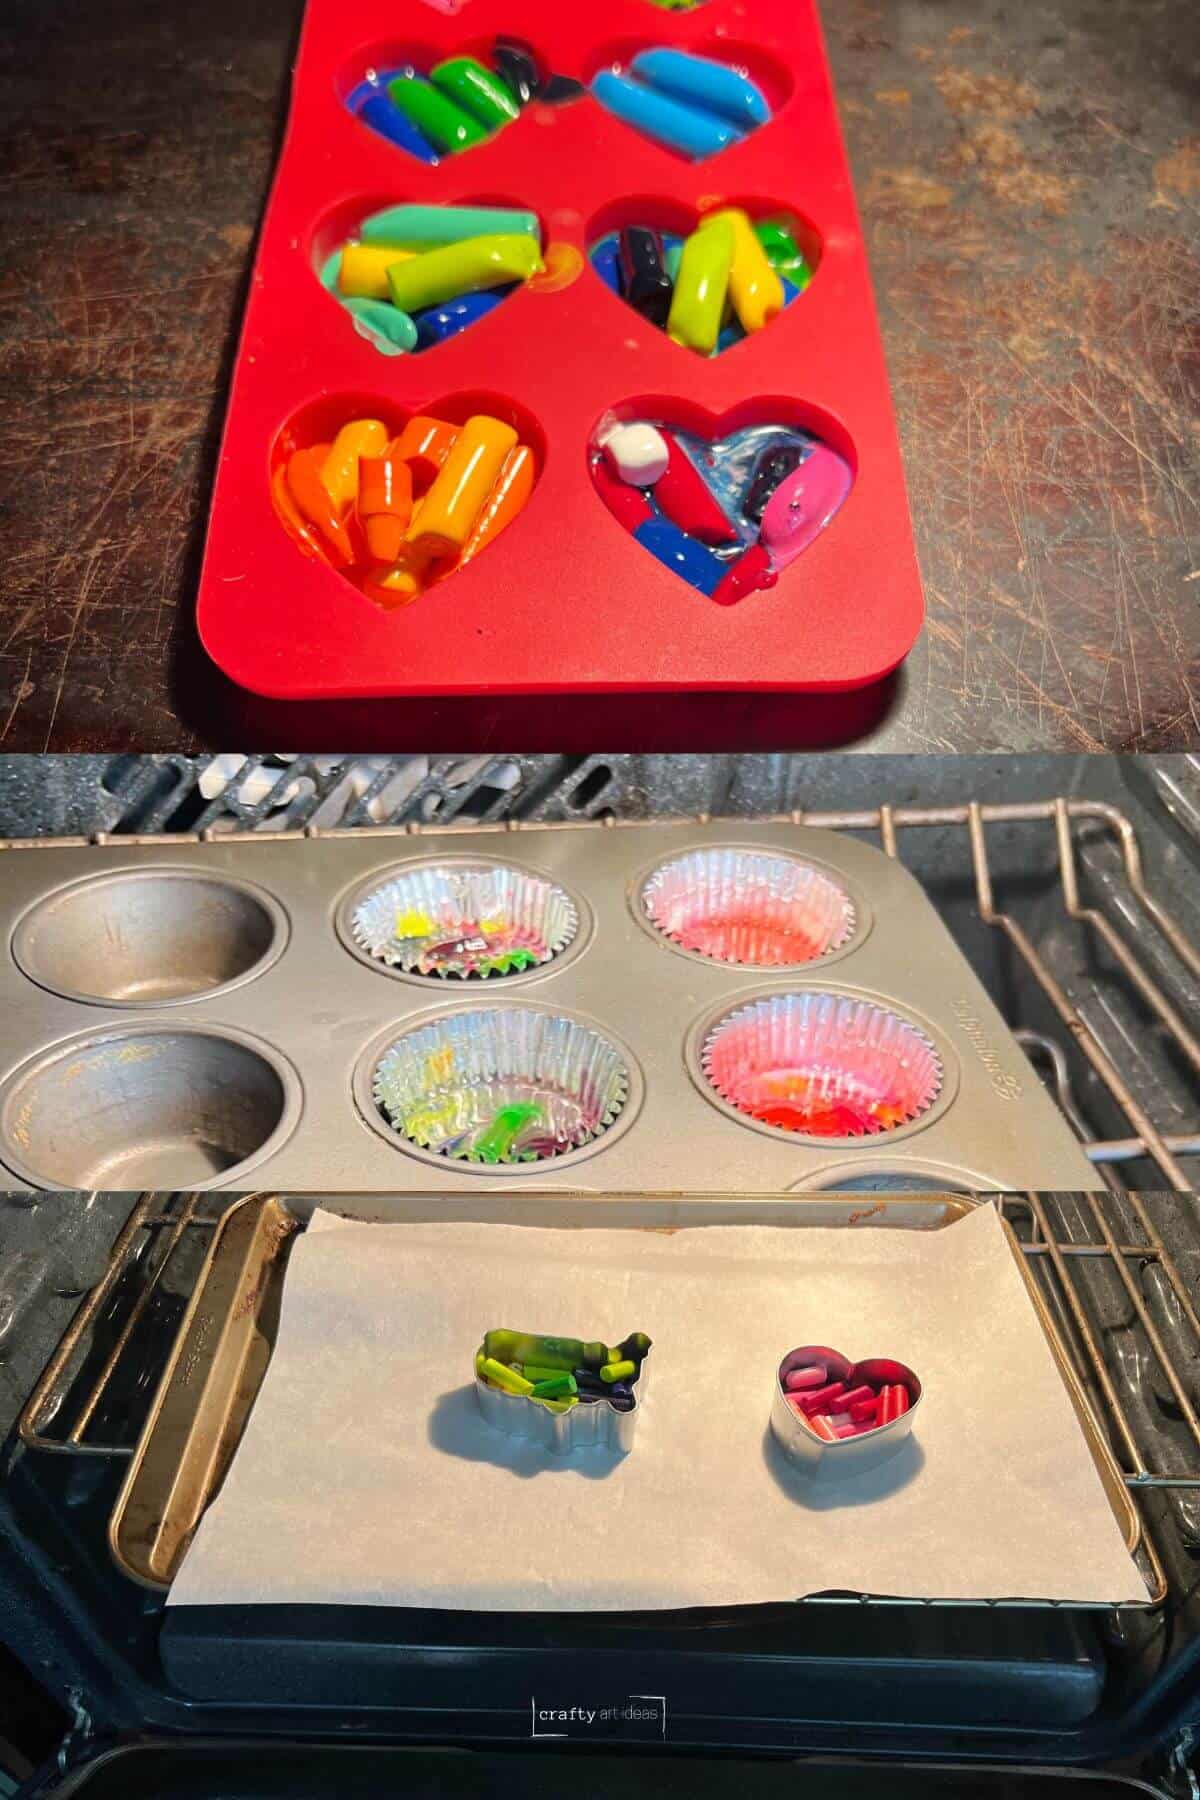
Step 4: Take Out Of The Oven
Be careful your crayons will be very hot.
Step 5: Let Cool
It will take around 20 minutes for your crayons to cool. You will see them become more solid and cool to the touch.
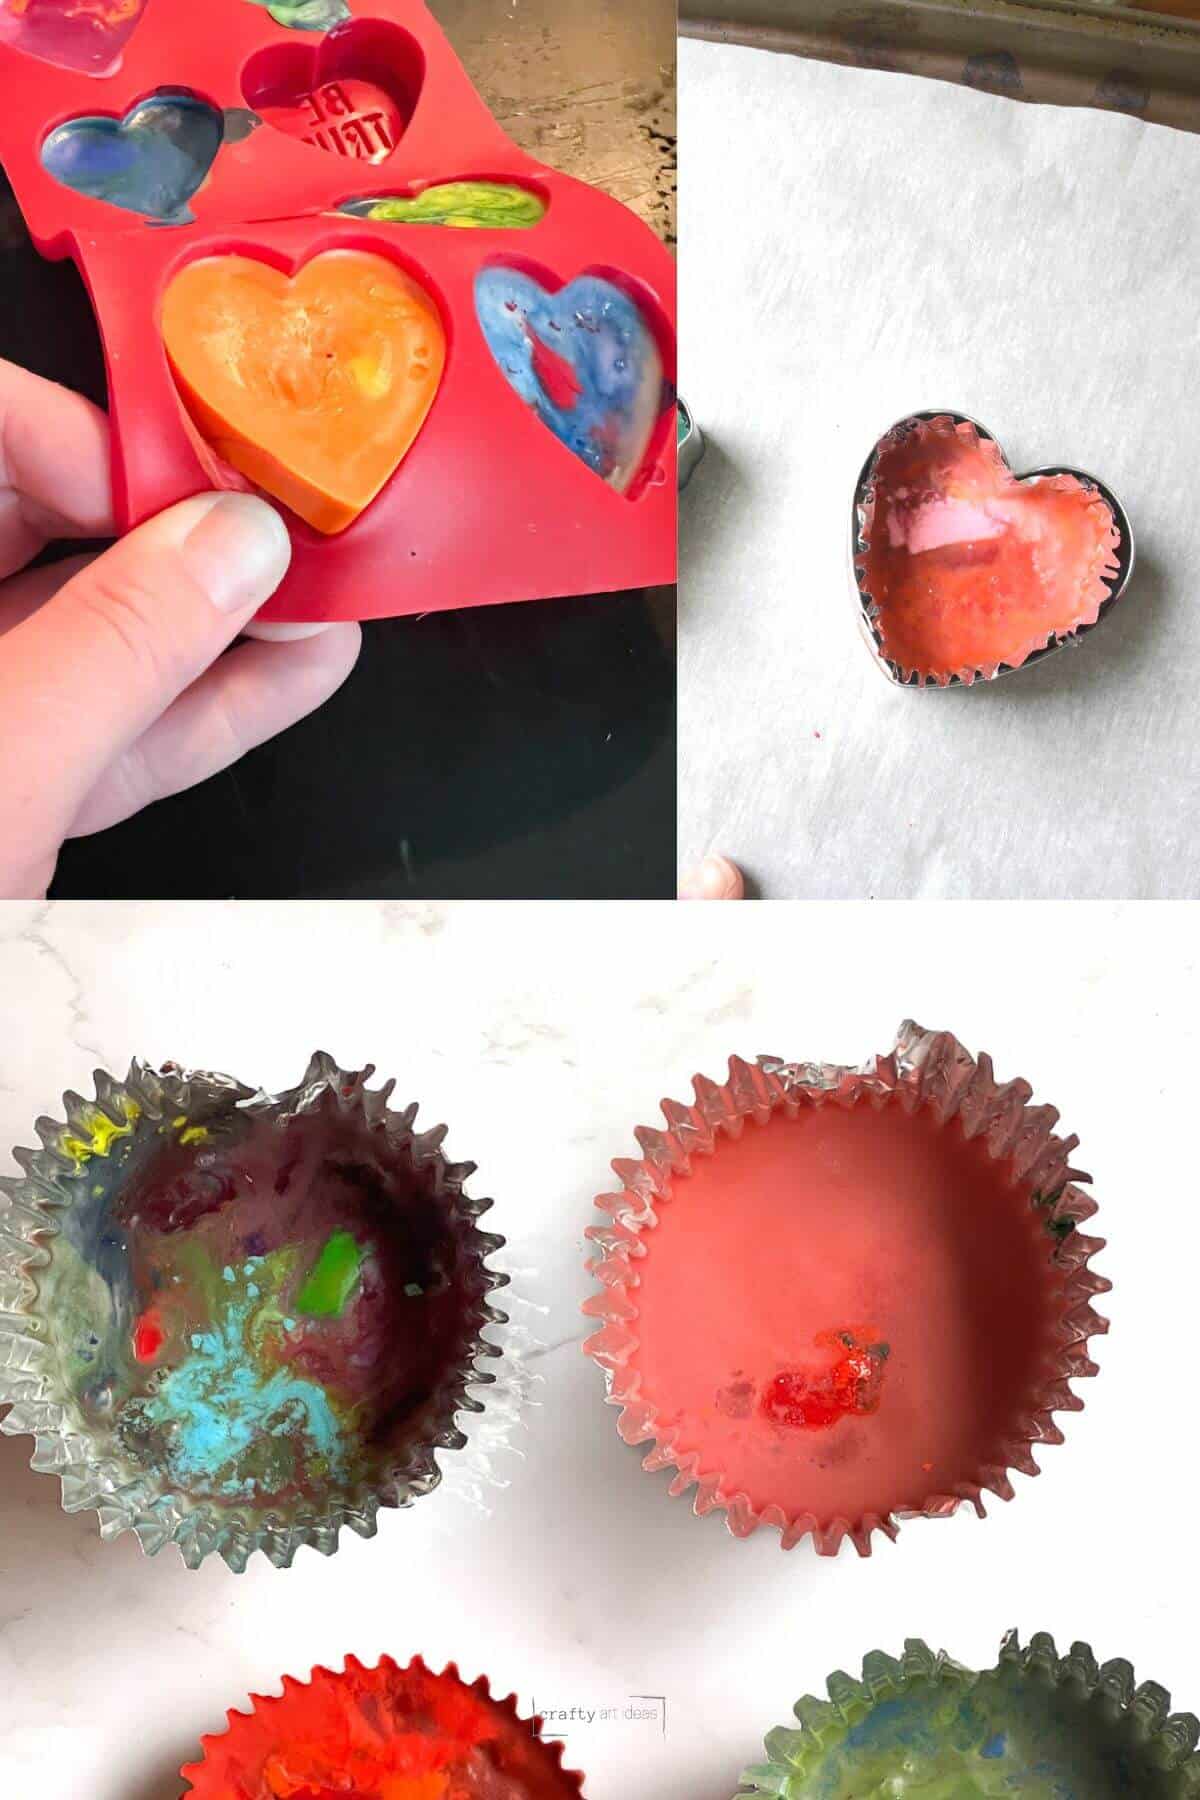
Step 6: Remove From Molds or Cupcake Liners
Carefully peel out the cool crayons.

You can lightly pull the edges of the molds and liners to help release the crayons.
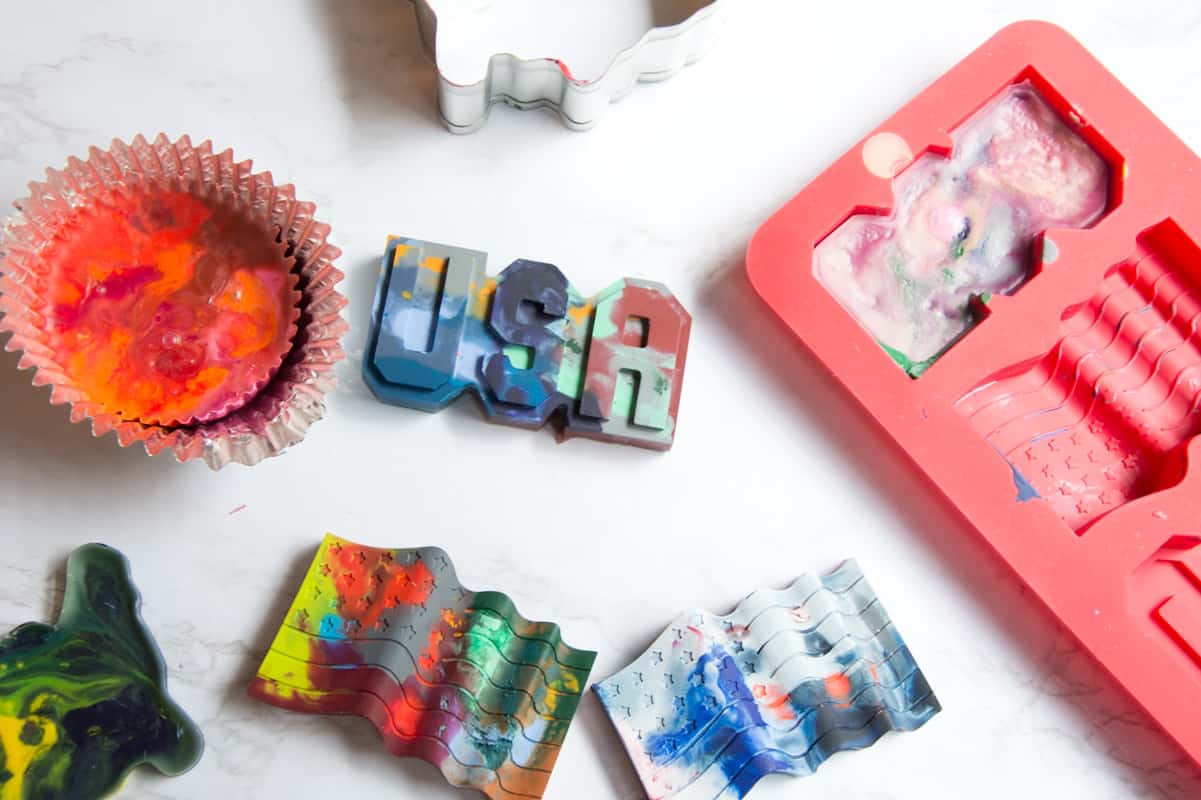
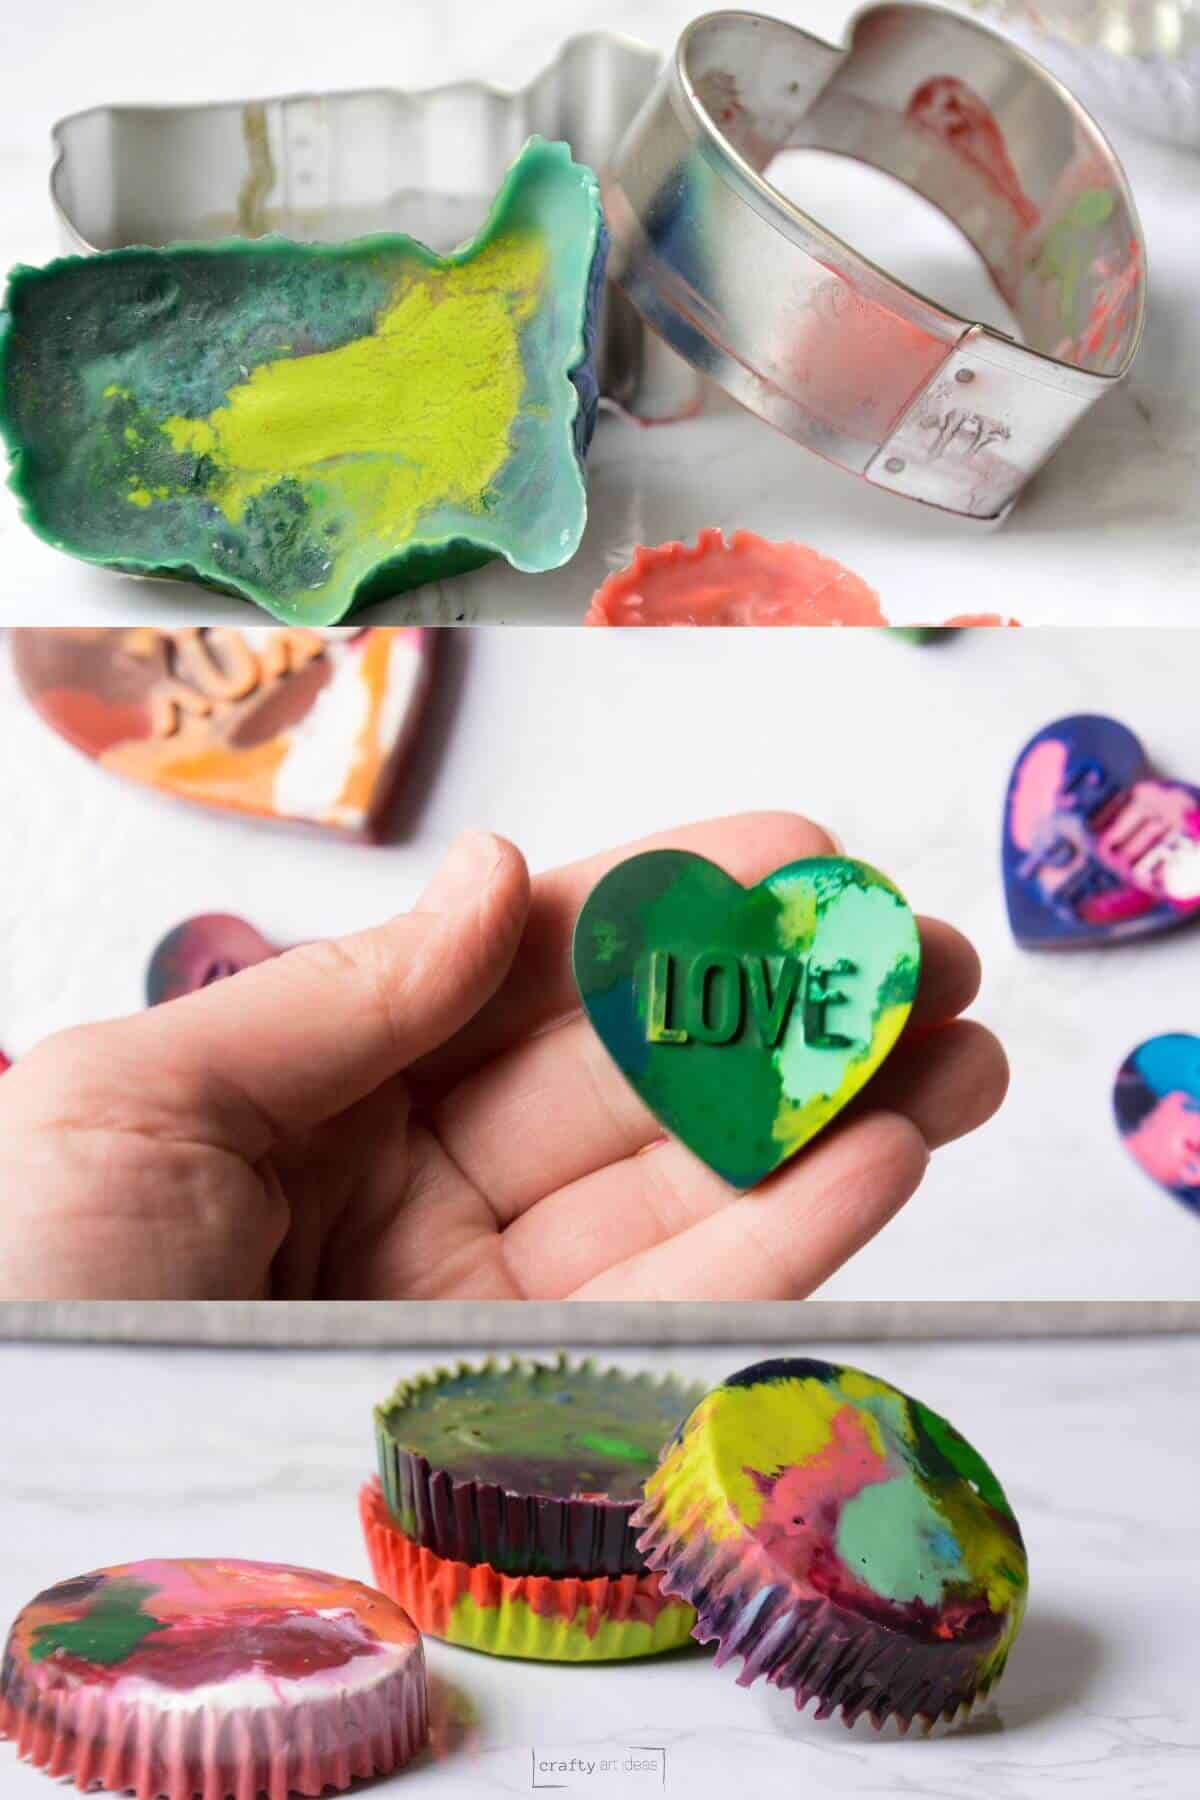
Step 7: Have Fun With Your New Crayons
Follow us on Pinterest, YouTube & Facebook for more free art and craft ideas!
Craft FAQs
The best way to make detailed and rainbow-type crayons is by melting them in your oven and in silicone molds. You will get a lot of detail and it is super easy and relatively mess-free.
We love using silicone molds and mixing colors. Just make sure to watch the crayons melt and pull out immediately once the wax has melted.
Anywhere from 200 degrees F to 300 degrees F will work for melting crayons. The smaller your crayon pieces are and higher temperatures will require less time. The sweet spot for our oven has been 250 degrees for 9-11 minutes.
Yes, it is recommended that you melt the crayons in a microwave-safe dish or cup first and pour the wax into a mold afterward.
Yes, they will give off an odor. If you can open a window and make sure that you pull out the crayons as soon as they have melted. Using very small pieces will also lessen cook time and the smell they give off.
Do you like this art project? Please give us a 5-STAR review below ⭐️⭐️⭐️⭐️⭐️ and have fun being creative with your family.

How To Melt Crayons In The Oven
Equipment
- Muffin Tin, Silicone Molds or Cookie Cutters
- Oven
Materials
- Foil Cupcake Liners not if doing them in silicone molds
- Old Crayons
- Cup Of Water optional
Instructions
- Preheat oven to 250° F.
- Peel wrappers off of crayons.
- Place foil liners in muffin tins, cookie cutters or place silicone molds on a baking sheet.
- Add broken crayon pieces in liners. Fill each cup about 2/3 of the way up.
- Cook crayons for 9-11 minutes or until the wax is fully melted.
- Pull out of the oven as soon as you see the crayons melted.
- Let the crayons cool until the wax has solified.
- Carefully peel off liner or remove them from the molds and have fun drawing with your new crayons.
Notes
- All temperatures and times may vary due to your oven.
- Check your crayons as they are in the oven and pull them out as soon as they are melted.
- Use broken crayon pieces that you know will mix well together.
- It takes around 20 minutes for the crayons to cool down before being able to take off the liner.