Melting Crayons In Oven With Cookie Cutters
Are you looking for a no-mess way to melt crayons in cookie cutters? We love making new crayons and this easy crayon melting tutorial will show you how.
Disclosure: We only recommend products we would use ourselves and all opinions expressed are our own. This post may contain affiliate links when clicked, we may earn a small commission at no additional cost to you. Read our full privacy policy.
Why use cupcake liners and cookie cutters?
This homemade crayon craft came about after trying to melt the crayons directly in the cookie cutters. Trust us, it doesn’t work. However, we came up with a brilliant solution to help you get the shape of the cookie cutter without the mess.
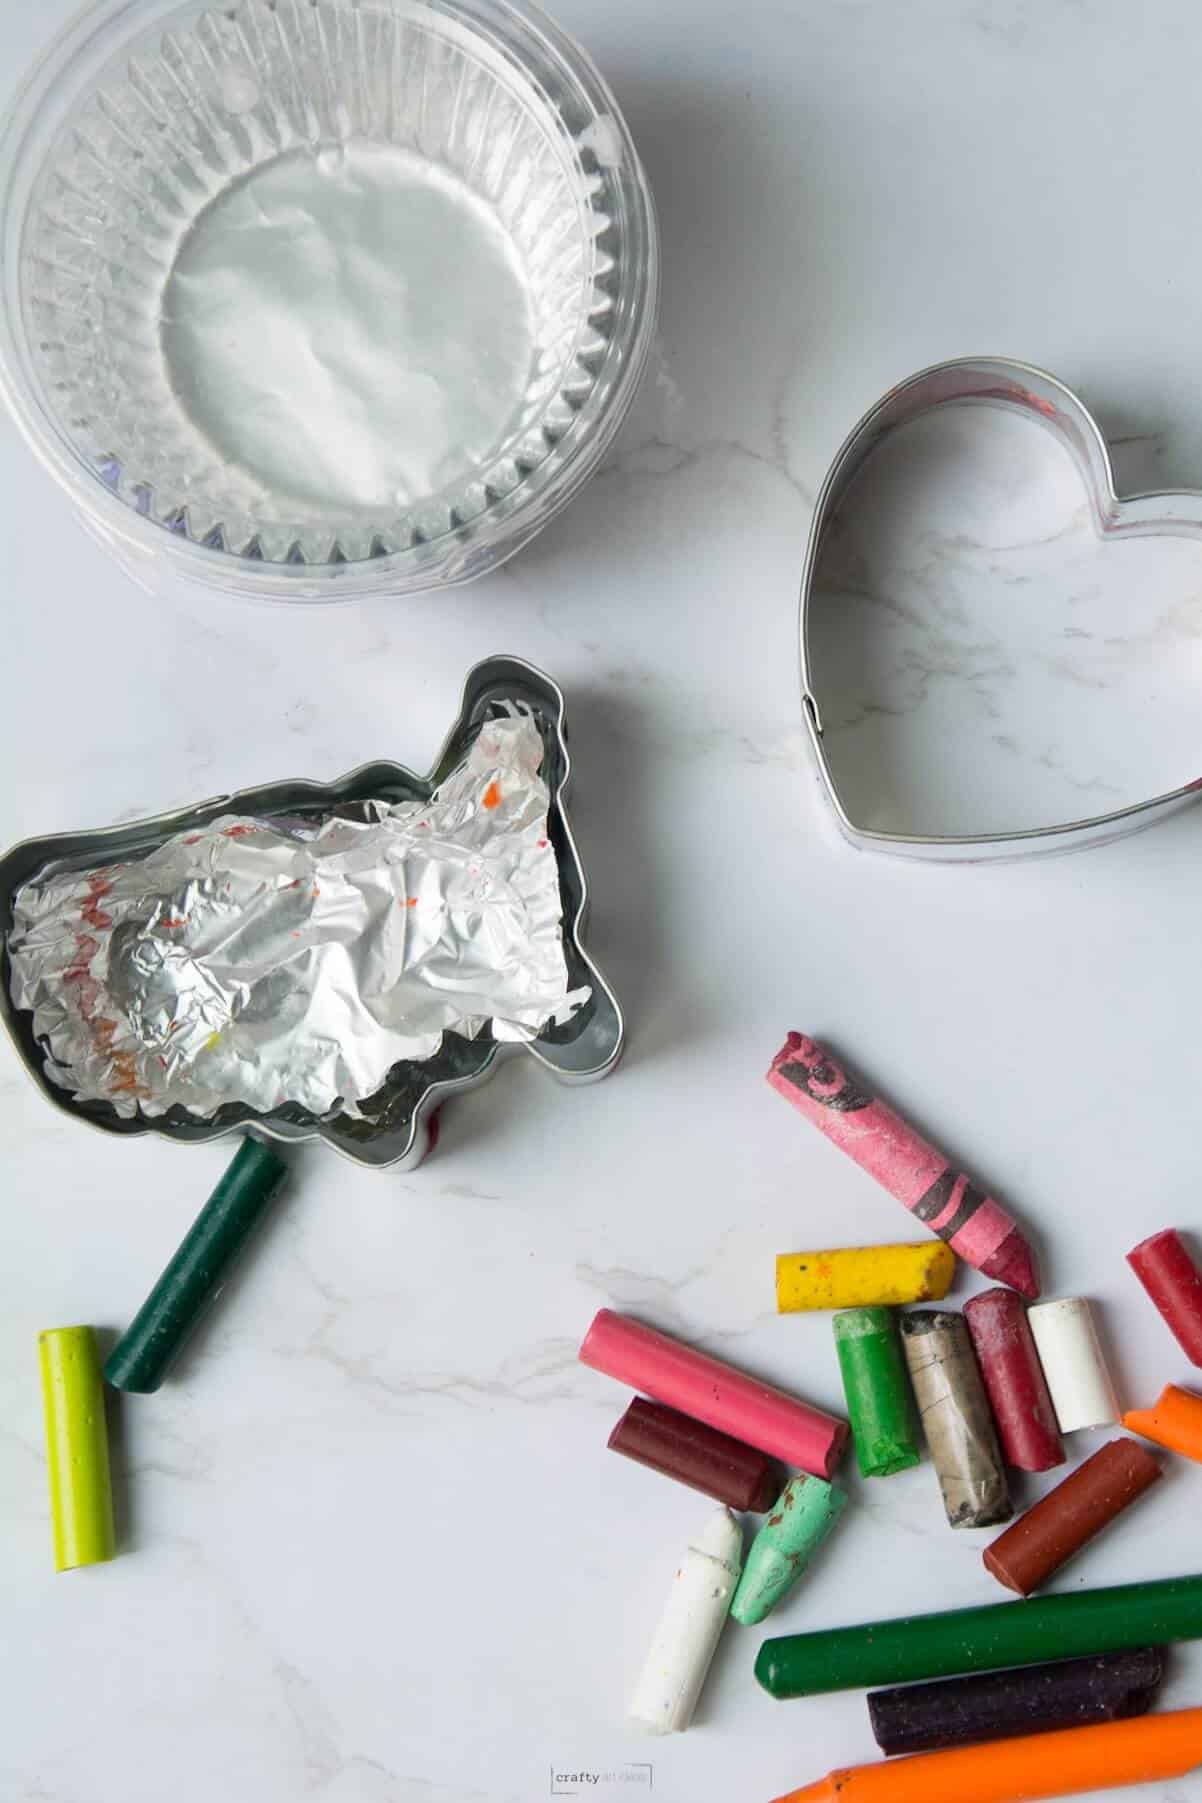
Recommended Supplies
- Cupcake Liners-you can make these directly in a muffin tin, but it is super convenient to do this with a foil liner
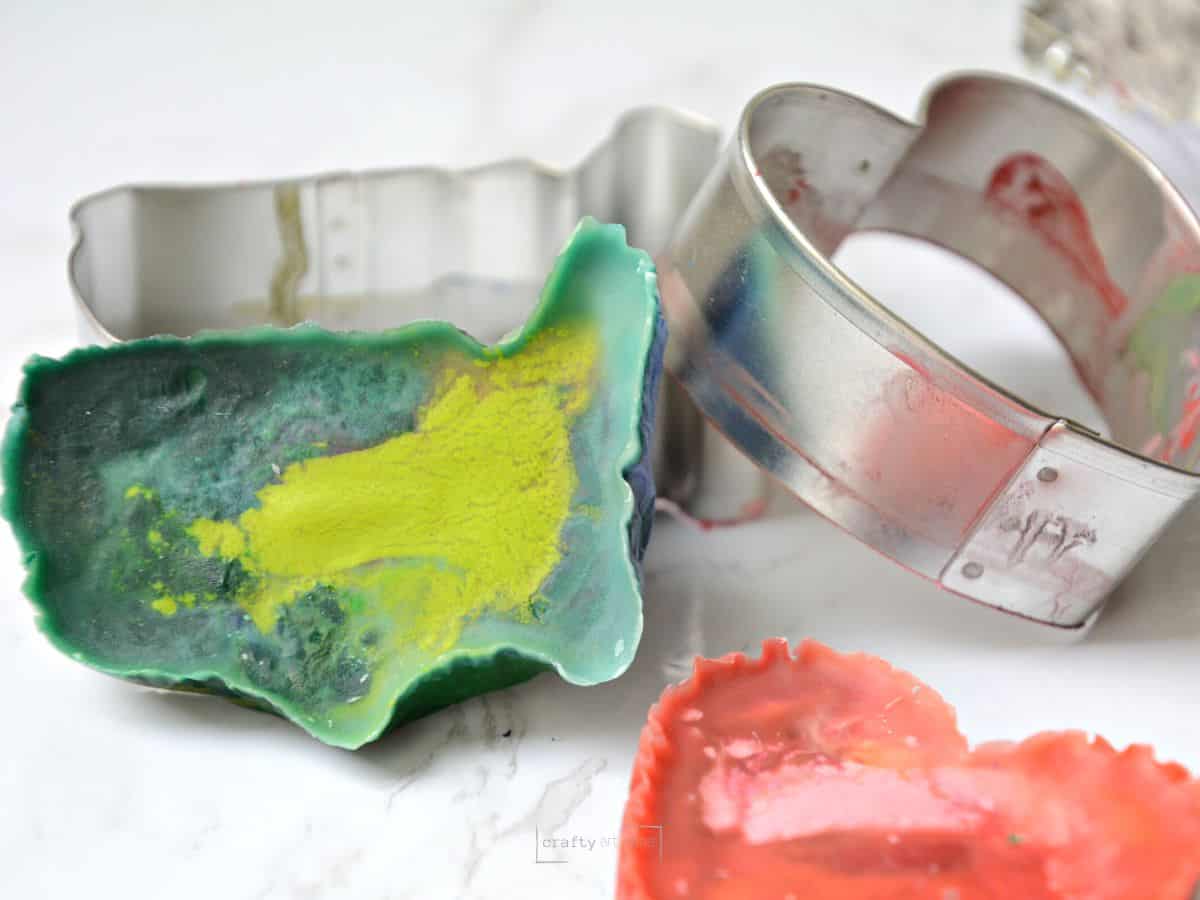
- Cookie Cutters-This is similar to our state cookie cutter. We got ours from Micheals and they always have a variety of seasonal cookie cutters to choose from.
- Parchment Paper
- Old Crayons
- Oven
- Cookie Sheet
- Optional: Cup For Water
Before You Begin
You will need to peel the wrapper off the crayons and break them into small pieces.
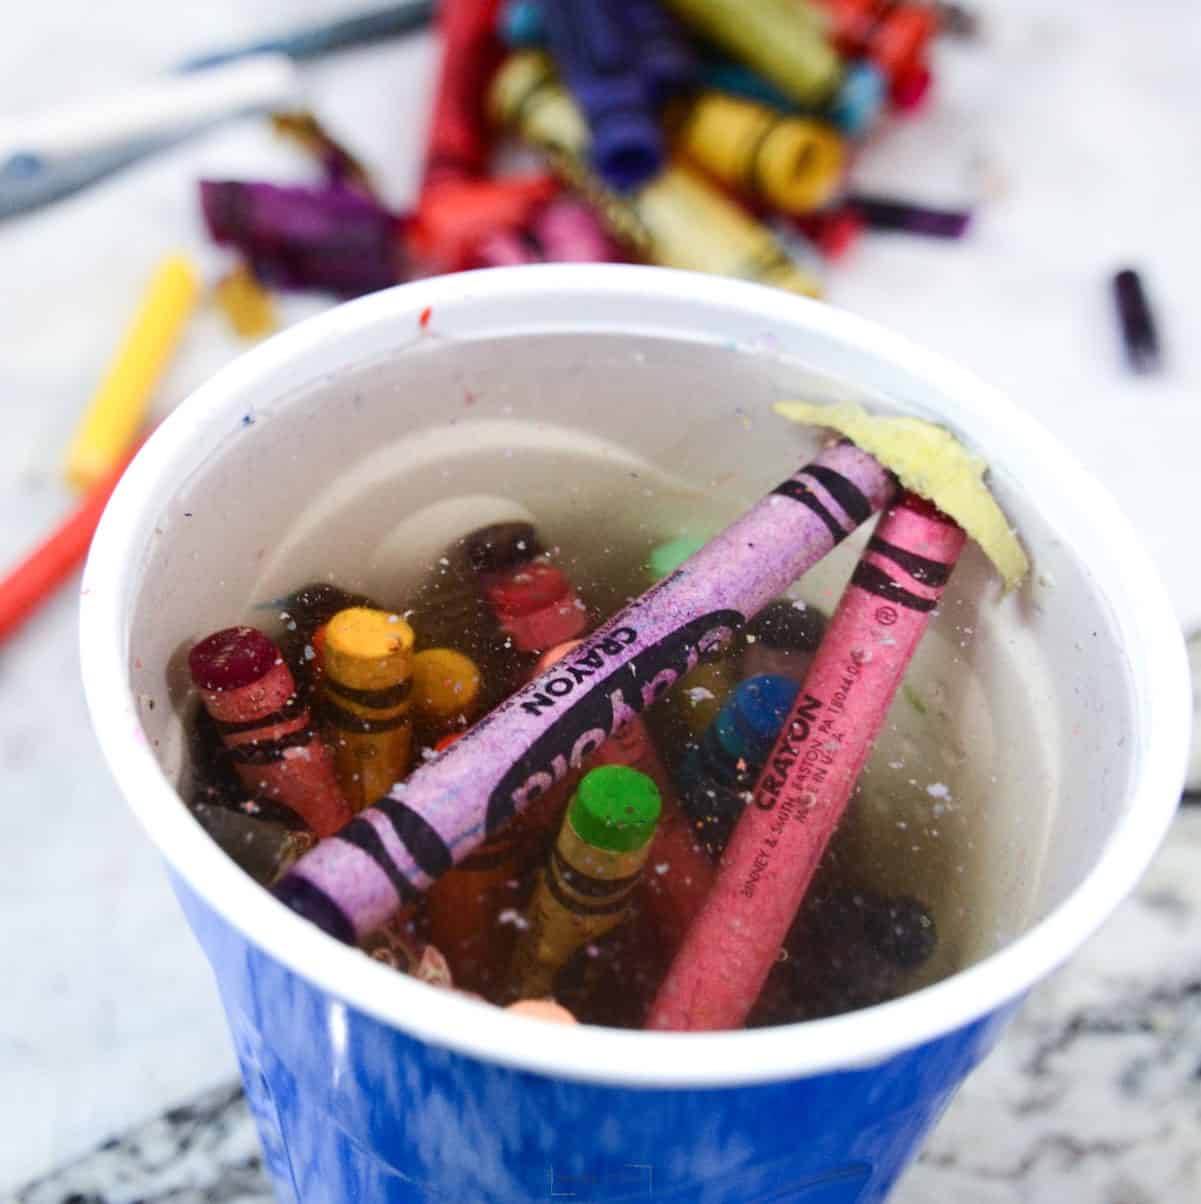
Use Water To Help Peel Off The Paper
Soak the crayons in warm water for about 10-15 minutes. Some of the papers will honestly just fall off. You can even twist your hands over the paper to easily get some of the more stubborn crayon papers to come off.
How To Make New Crayons With Cookie Cutters
Step 1: Preheat The Oven
For our oven, we have found that 250 degrees F is the perfect temperature. Just make sure you watch your crayons. No one wants the burnt wax smell in their home.
Step 2: Line A Cookie Sheet With Parchment Paper
Just as a precaution, we lined the cookie sheet with paper. If you could probably get away without doing this (especially if you don’t use the cookie sheet for real food).
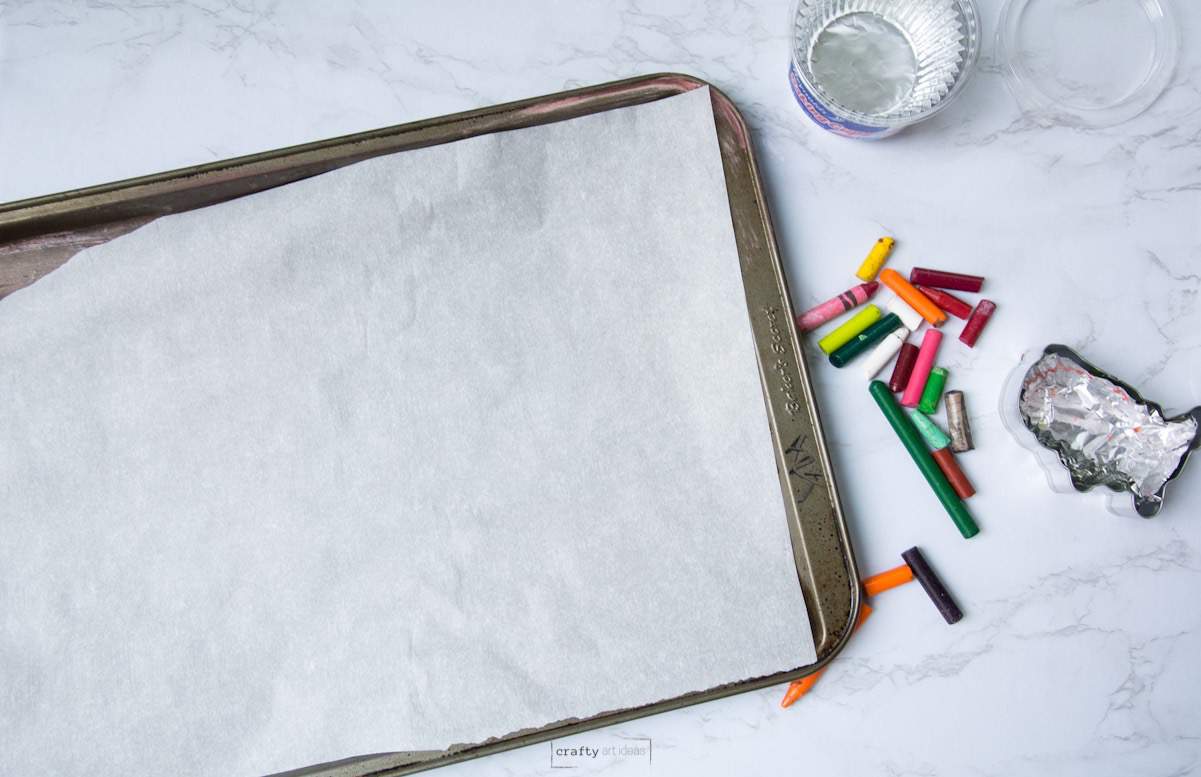
Step 3: Push Liner Inside Cookie Cutter
This is a little difficult. If you have a larger cookie cutter you may want to consider getting the extra large foil liners or trying non-stick aluminum foil.
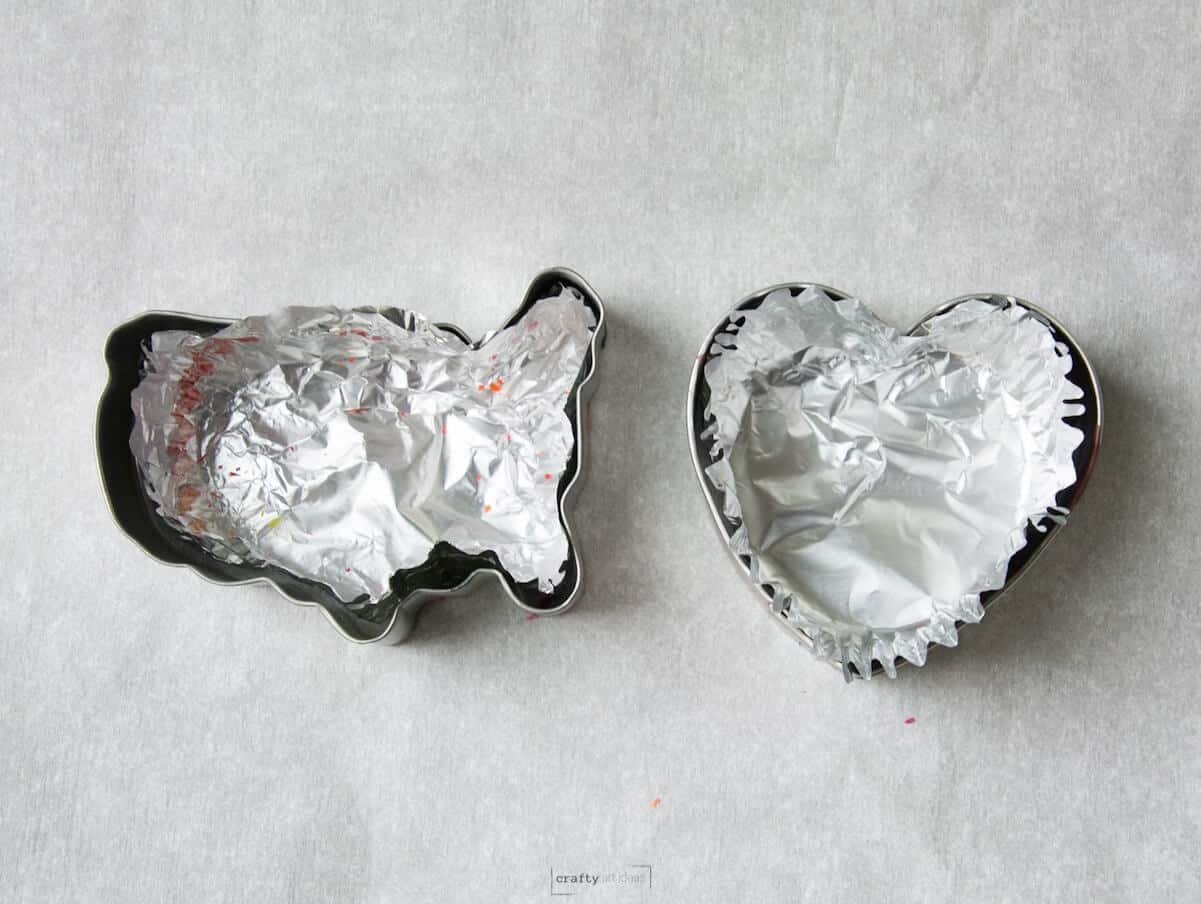
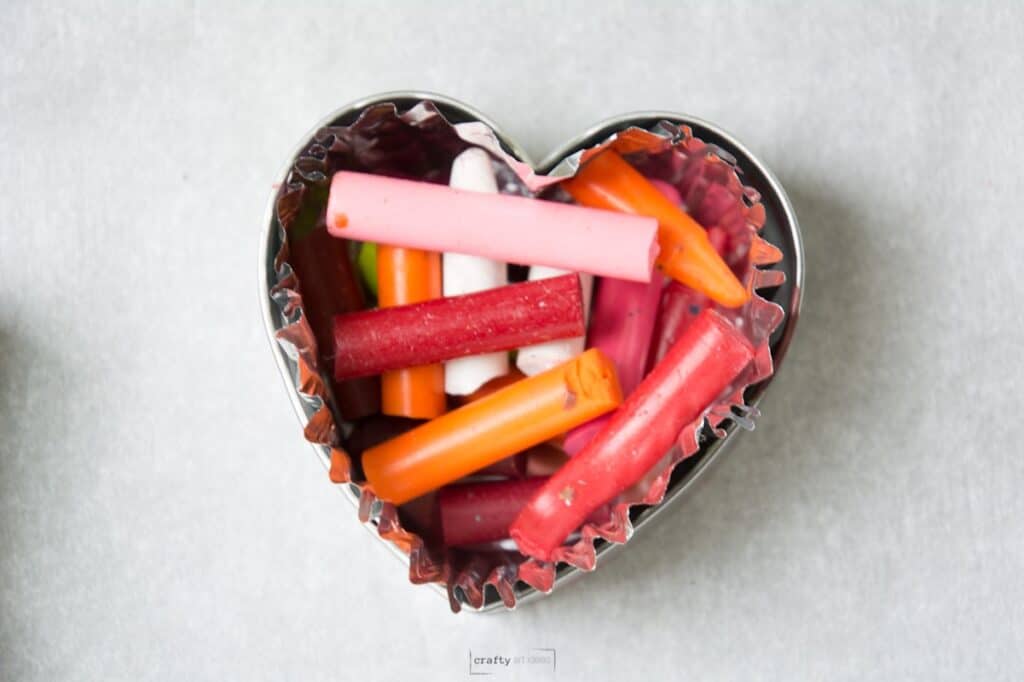
Step 4: Place Crayon Pieces In
You will want to fill your shape about two-thirds full. Use colors that you know will mix well together.
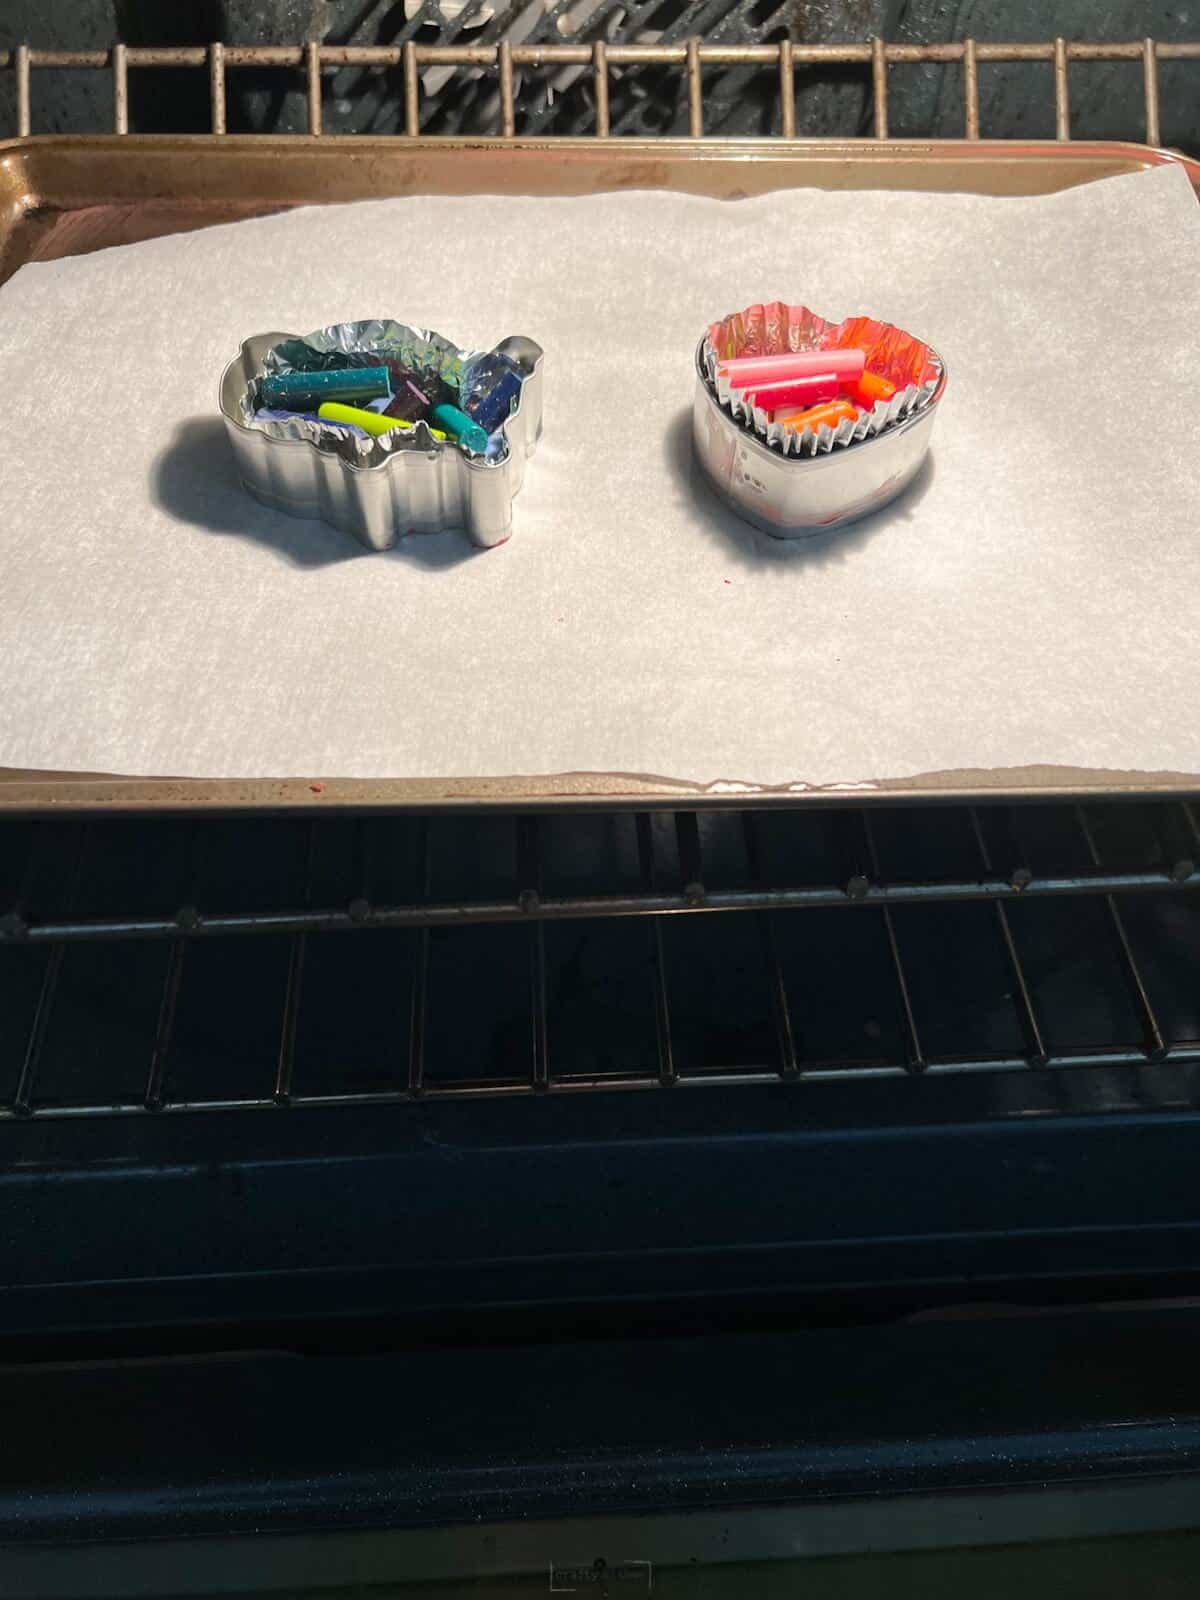
Step 5: Cook Crayons
Our wax took about 10 minutes at 250 degrees F to melt completely.
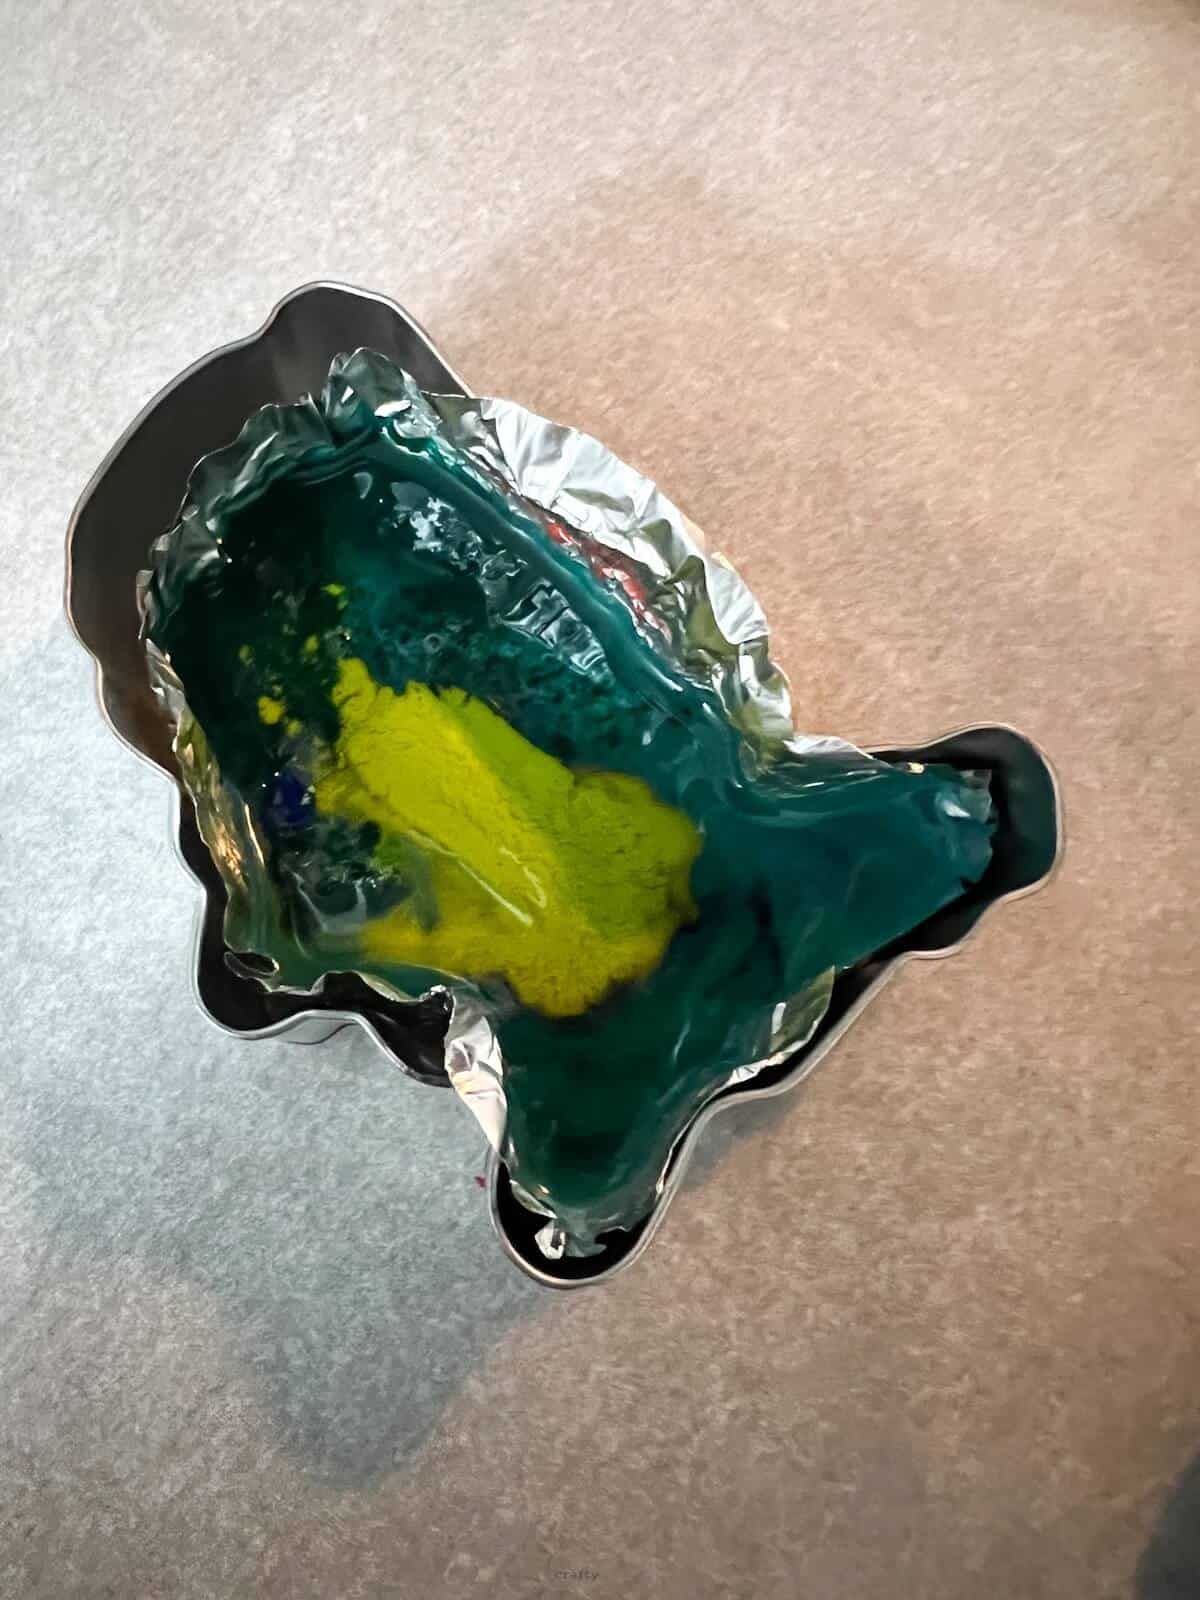
Step 6: Pull Out Crayons
Once you see that all the wax has melted pull out the crayons immediately. Be careful and also make sure young kids don’t touch the cookie sheet.
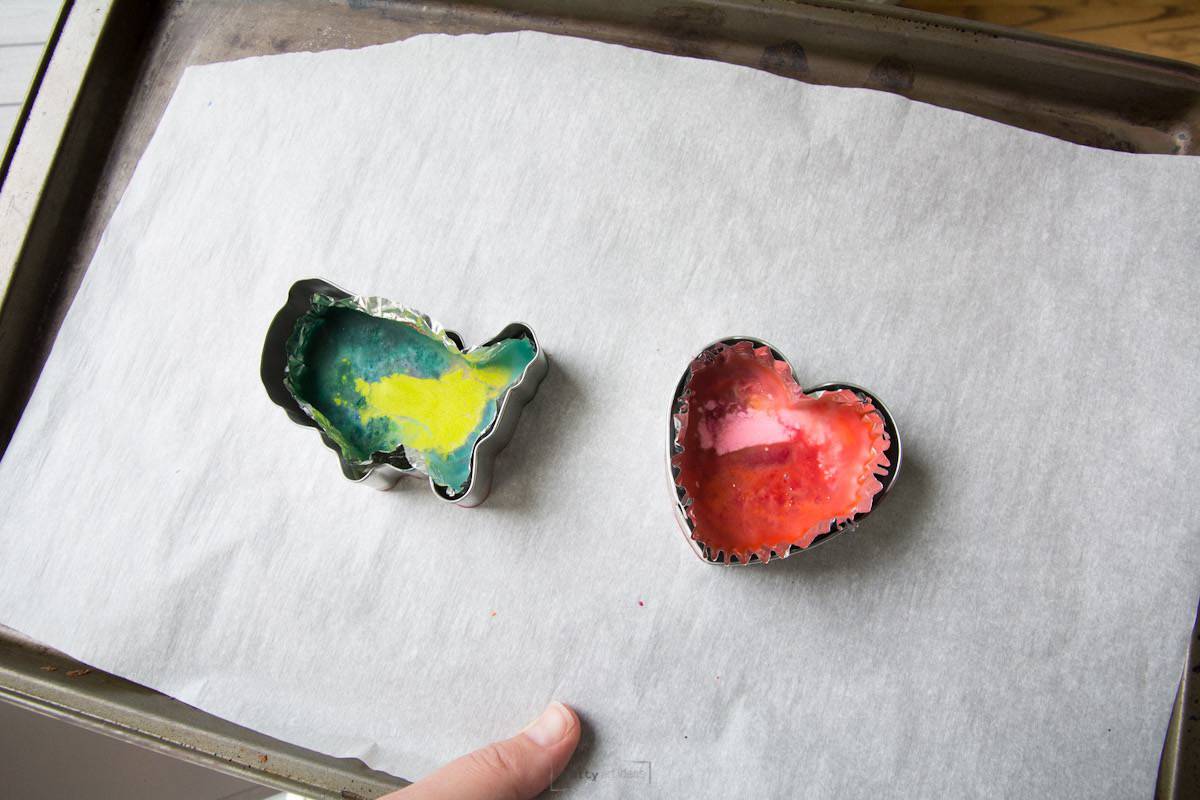
Step 7: Let Cool Completely
The melted wax will take about 20 minutes to cool completely. You will see it turn more solid and even get a little white appearance in some areas.
Step 8: Remove From Cookie Cutter and Liner
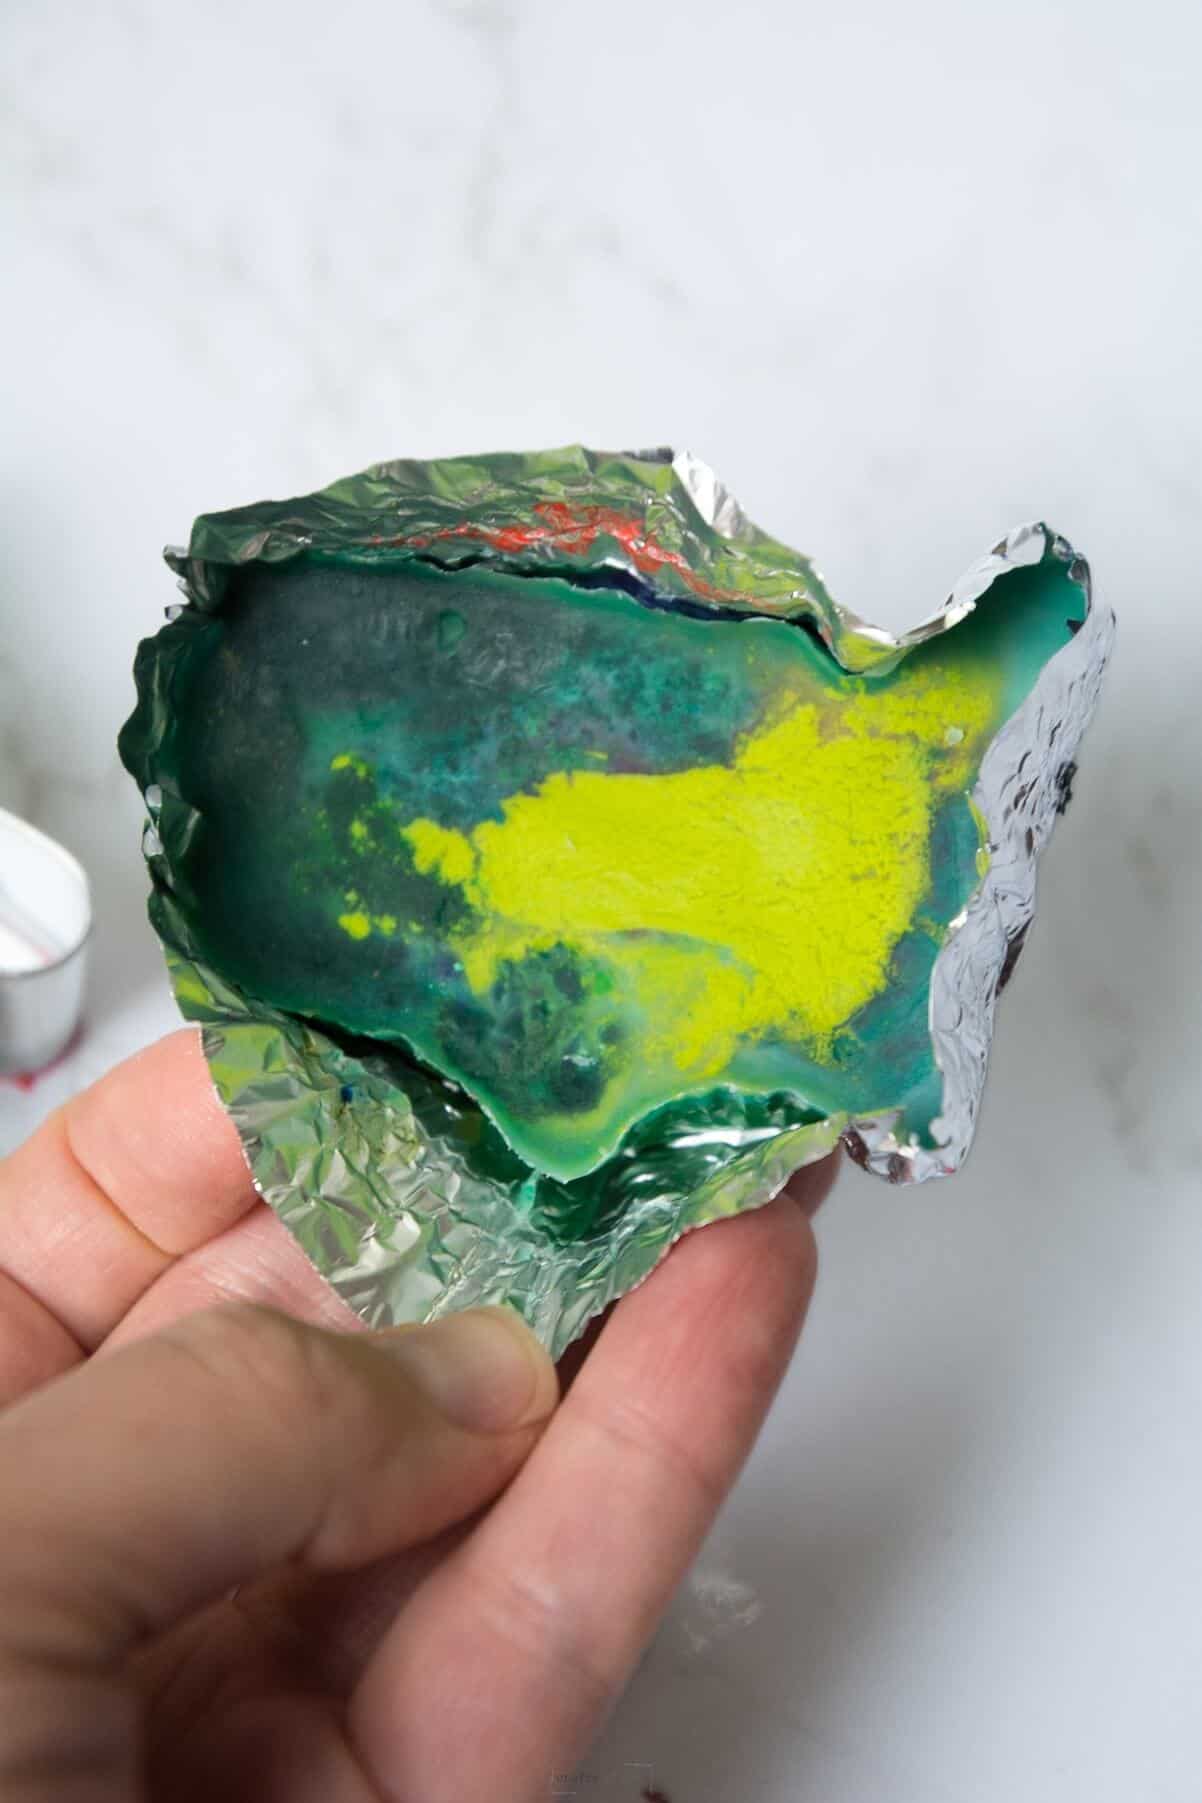
Carefully take the crayon off the cookie cutter and peel back the lining.
Step 9: Have Fun Drawing
Use your new crayons to create wonderful art projects with your kids.

How-To FAQs
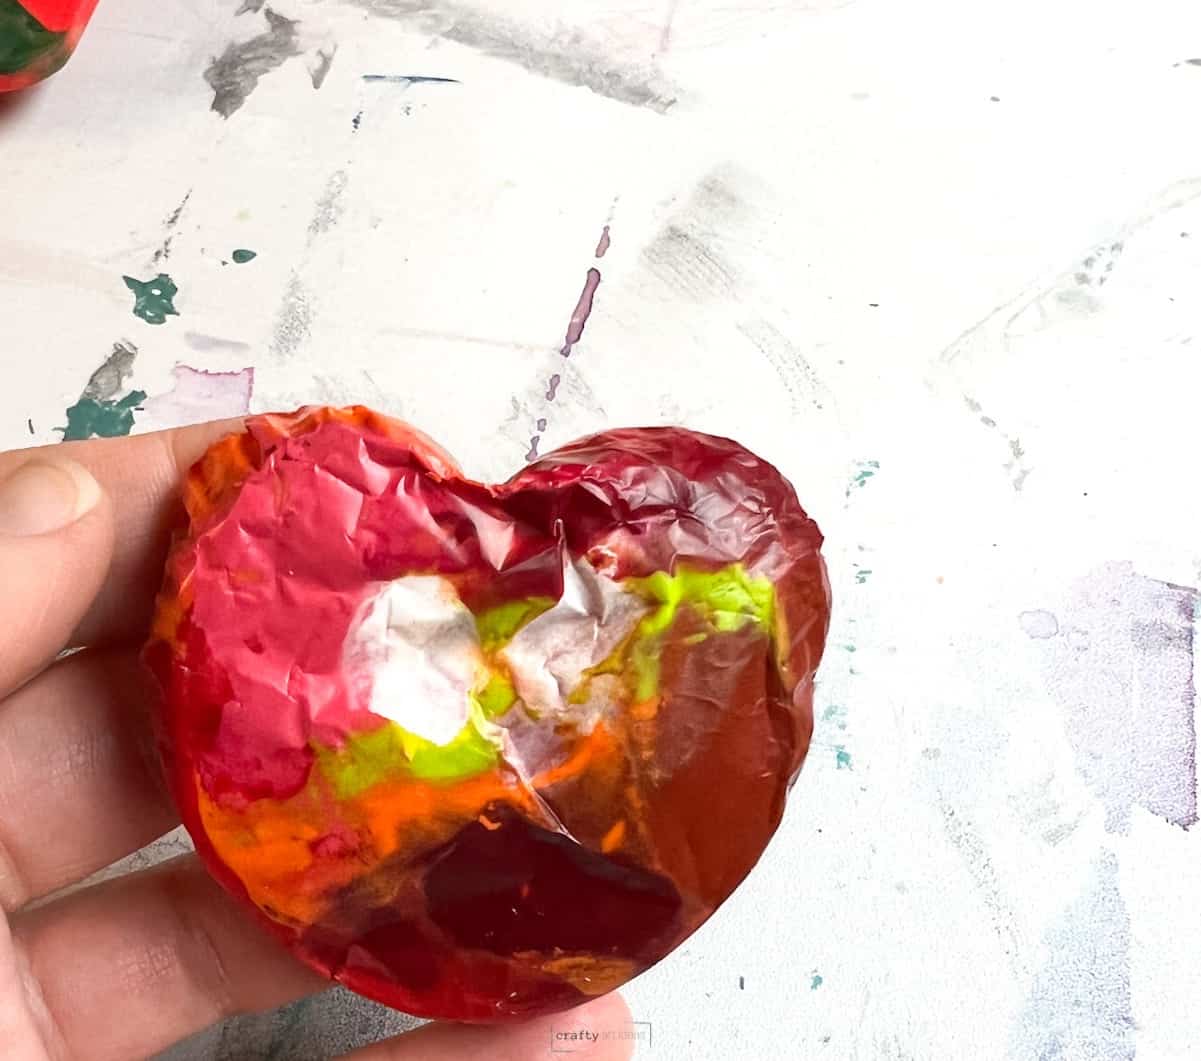
Here is the heart. You can see the texture that was created from the crumpled foil. If you don’t like this, you will have to try to keep the foil as smooth as possible.
You can use silicone molds, muffin tins or cupcake liners to make new crayons. We have also seen where people melt a whole pan of crayons and then use cookie cutters to cut the warm wax.
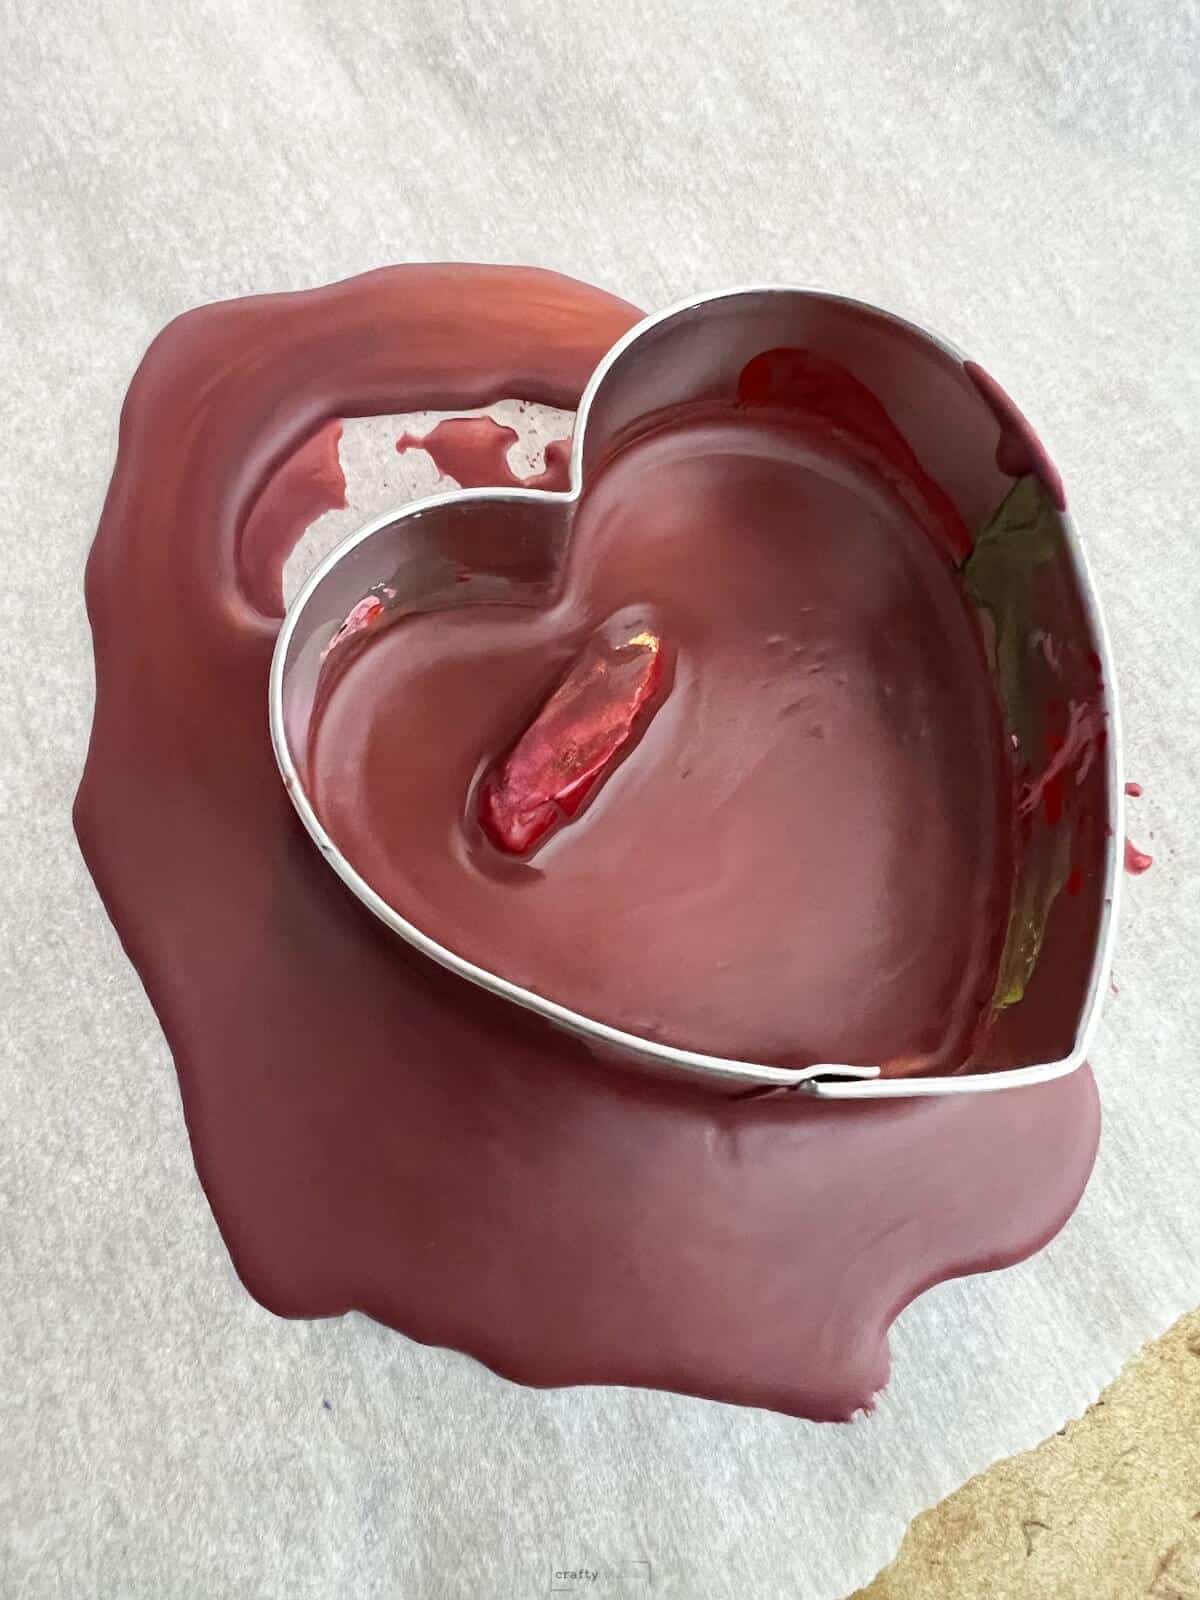
You will get a very big mess. The wax will melt under the cookie cutter. This can work sometimes if you are really watching when they melt or if your cookie sheet is really flat.
Related Easy Crafts For Kids
- 24+ Easy Homemade Playdough Recipes
- Color Monster Art Project
- Slow Cooker Playdough
- Ways To Make DIY Crayons
Melting Crayons In Oven With Cookie Cutters
Equipment
- Oven
- Cookie Sheet
- Optional: Cup For Water
Supplies
- Cupcake Liners
- Cookie Cutters
- Parchment Paper
- Old Crayons
Instructions
- Preheat oven to 250° F.
- Peel wrappers off of crayons.
- Cover cookie sheet with parchment paper.
- Push foil liners in cookie cutters and palce on cookie sheet.
- Add broken crayon pieces in liners. Fill each cup about 2/3 of the way up.
- Cook crayons for 9-11 minutes or until the wax is fully melted.
- Pull out of the oven as soon as you see the crayons melted.
- Let the crayons cool until the wax has solified.
- Carefully peel off the liner and have fun drawing with your new crayons.
Notes
- All temperatures and times may vary due to your oven.
- Check your crayons as they are in the oven and pull them out as soon as they are melted.
- Use broken crayon pieces that you know will mix well together.
- It takes around 20 minutes for the crayons to cool down before being able to take off the liner.

