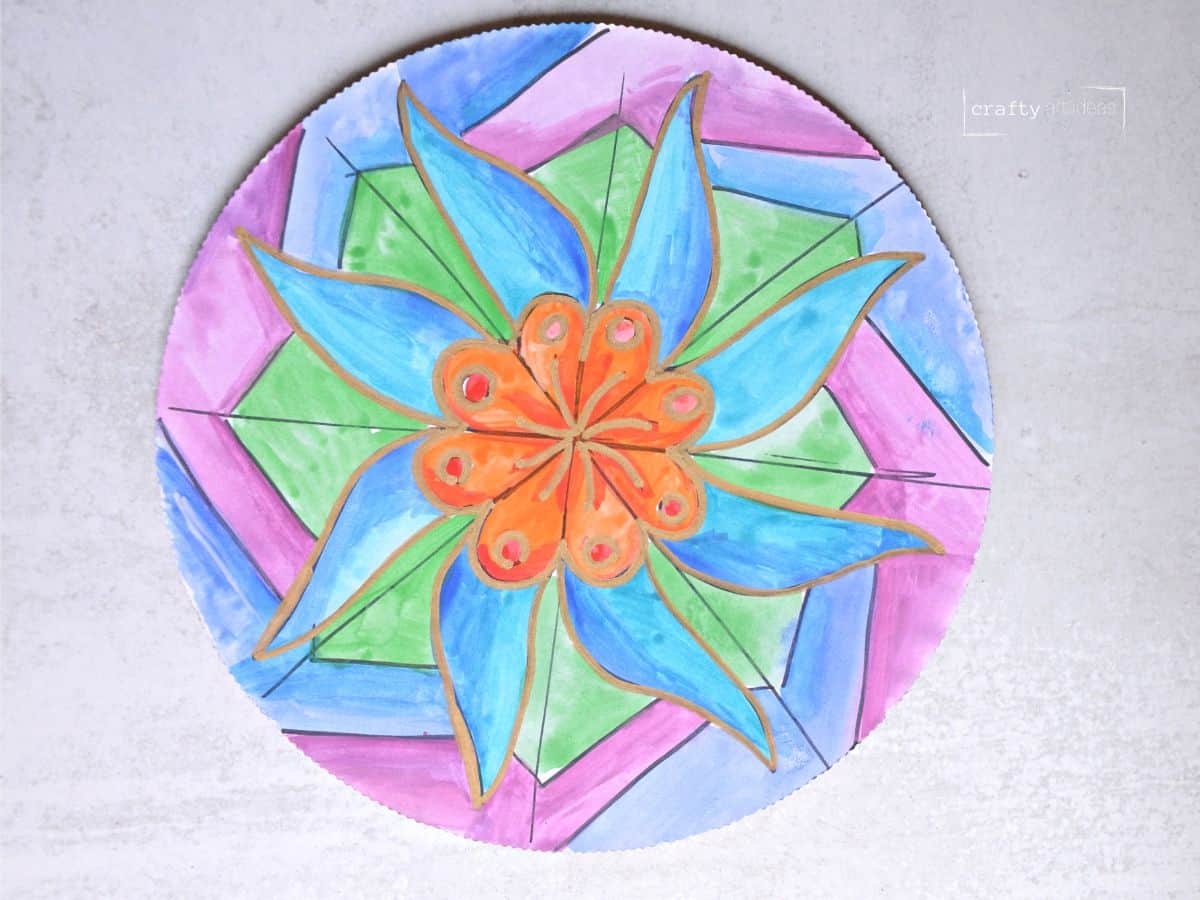
Easy Mandala Art For Kids and Beginners

This is such a fantastic and unique Mandala art lesson for children. Artists of all ages can easily follow our step-by-step tutorial to make a cool Mandala art project (no compass or protractor needed).
This art tutorial has been a long-time reader favorite since it was published in August 2022. This lesson was recently updated in March 2025 with more straightforward and precise instructions, my key takeaways, and a new how-to video. Happy creating!
There are many ways to create mandala artworks, and it is an excellent way for children to understand the art principle of balance while providing time to express creativity.
Why You Will Love This Art Idea

What is a mandala?
According to Adobe, “In ancient Sanskrit language of Hinduism and Buddhism mandala means “circle.” Traditionally, a mandala is a geometric design or pattern representing the cosmos or deities in various heavenly worlds.”
There is a meditative quality when drawing a mandala. Even our simple experience creating repetitive lines and shapes was calming during this fun art project.
Mandala History
In this video (which is fantastic for children to watch), they will see a sand Mandala being created. They talk about how nothing is permanent and that the process is just as important as the end results.
Buddhist monks create beautiful designs out of colored sand. Young artists will be amazed at the patience and different designs demonstrated in the video.
ART TEACHER QUESTIONS – As you watch the video, ask students questions like: Why would people erase all their art? What does that symbolize?
Supplies You’ll Need
Disclosure: This post may contain affiliate links when clicked, we may earn a small commission at no additional cost to you. Read our full privacy policy.
Get the full list of supplies and materials at the end of this post.
*Make sure that cardboard circles are uncoated. You will see some brown examples where we accidentally ordered those. They still worked, but the colors will not be as bright.
ART TEACHER TIP – Add Math vocabulary to this lesson. You can have kids discuss equal and unequal fractions as they draw these designs. There is always a way to tie Math and Art together!
How To Make An Easy Mandala
These drawings will be mostly symmetrical, but won’t be perfect.
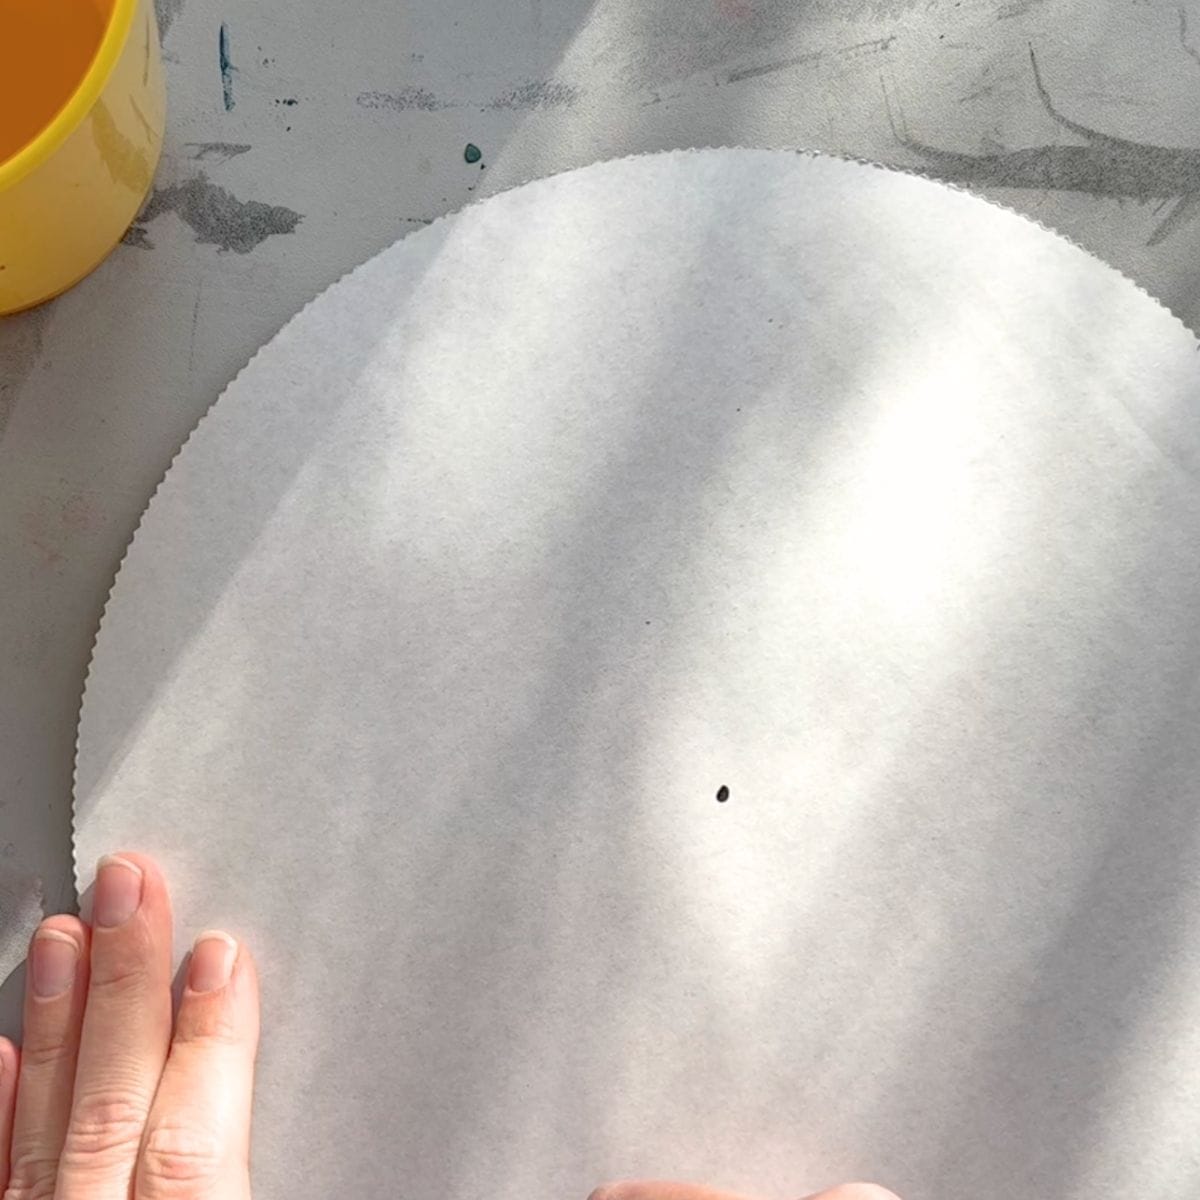
Step 1: Add Dot
Put a dot in the center of the circle.
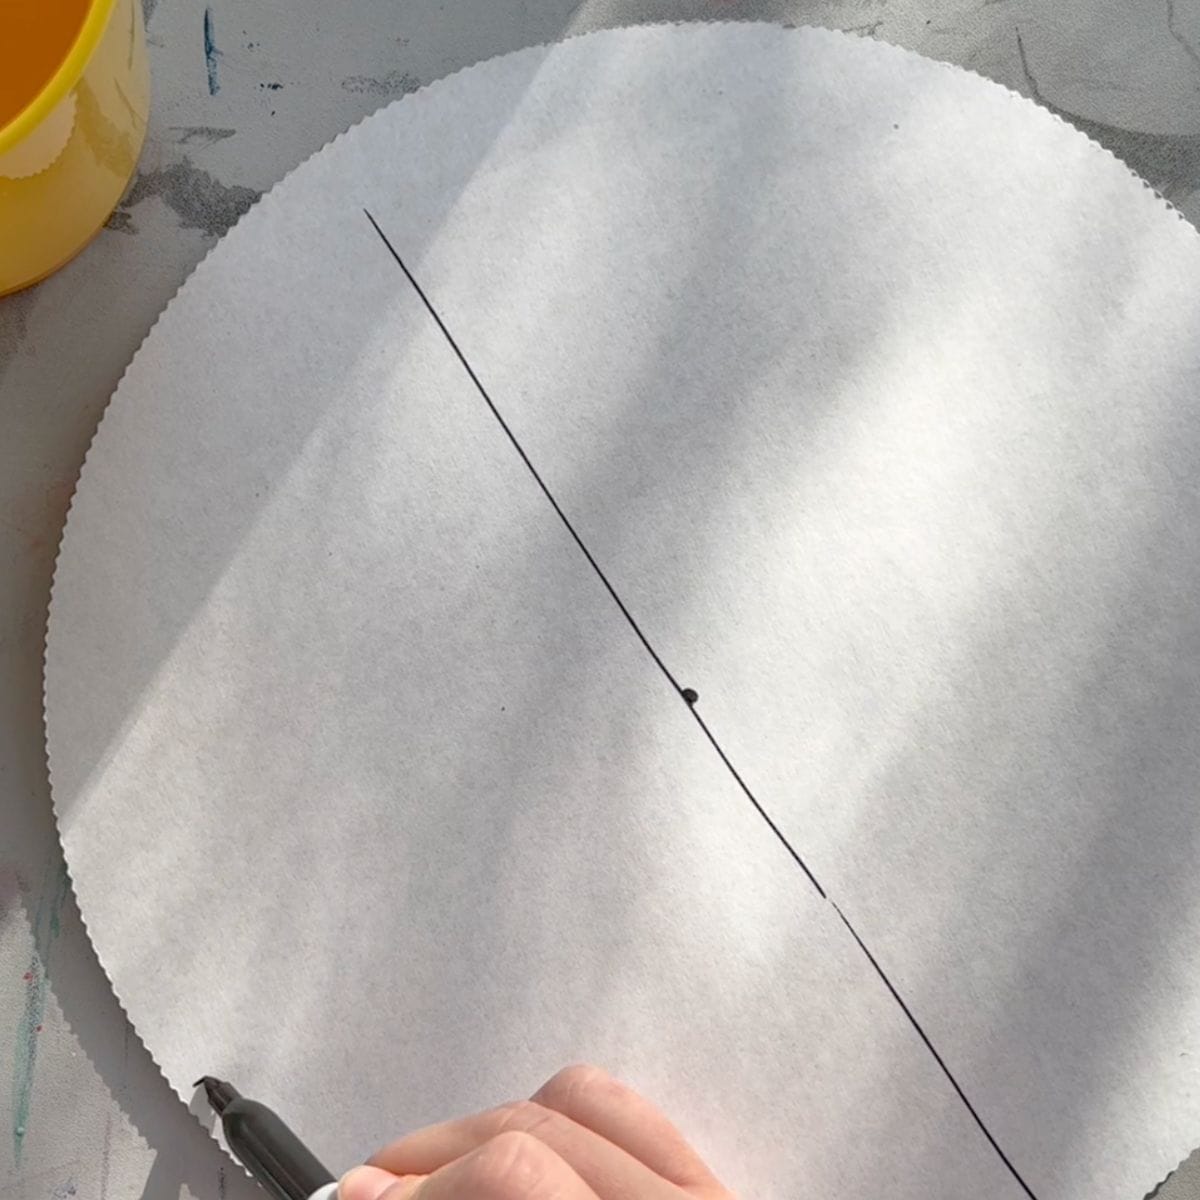
Step 2: Draw A Line In the Middle
Divide the circle in half so that your line is touching the center of their mandalas.

Step 3: Divide Circle Into A Fourth
Rotate the circle to draw it in half again to make fourth.
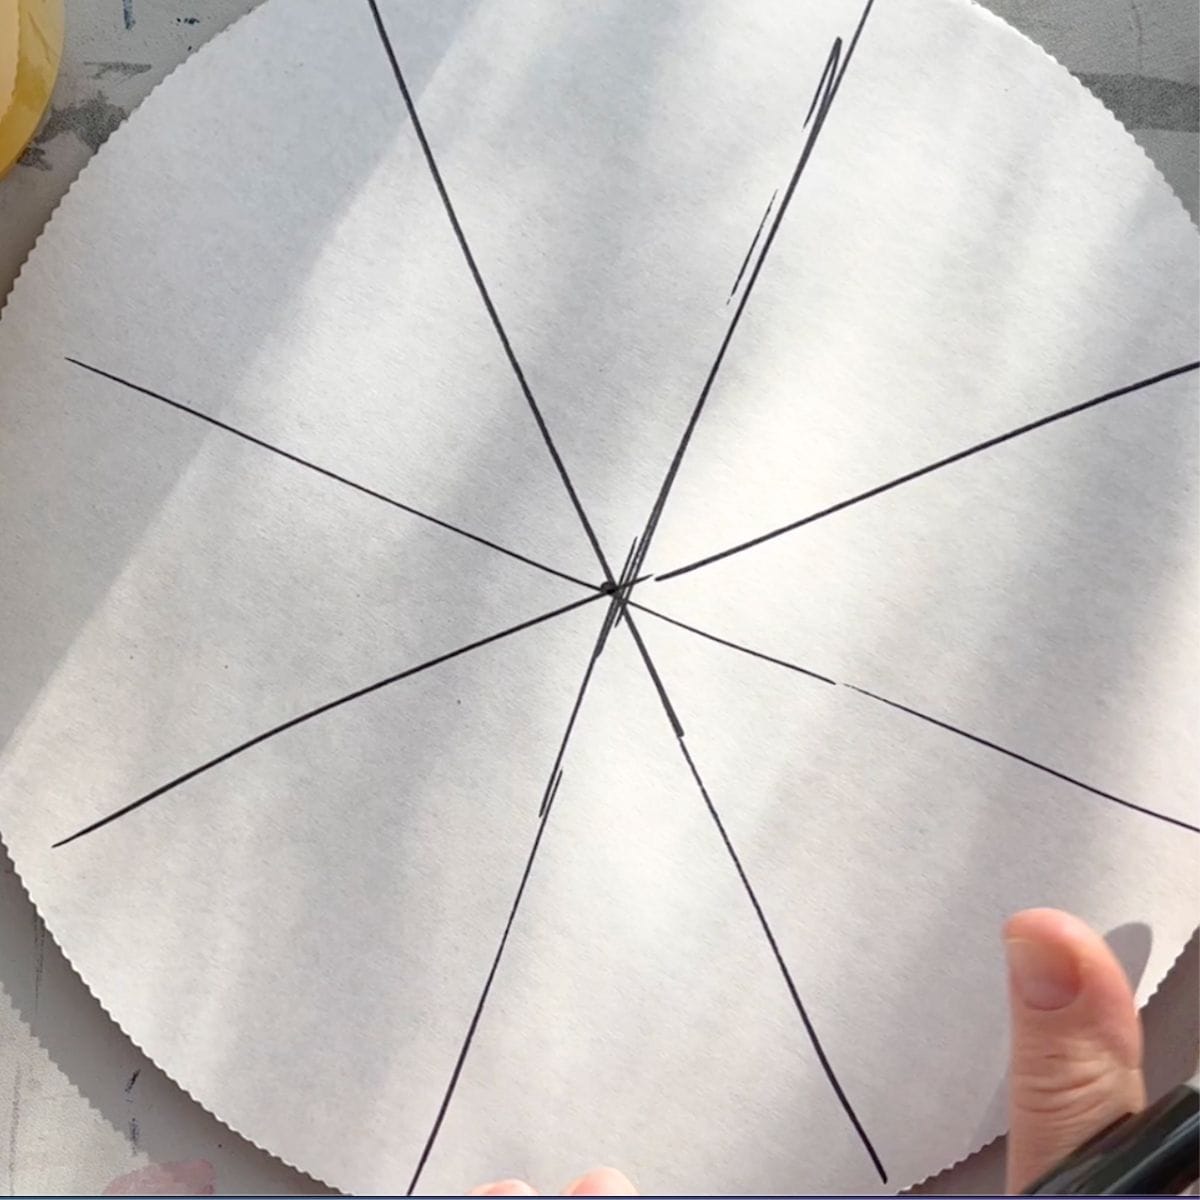
Step 4: Create 8 Equal Sections
Draw an two lines in an X to make 8 pieces of the pie.
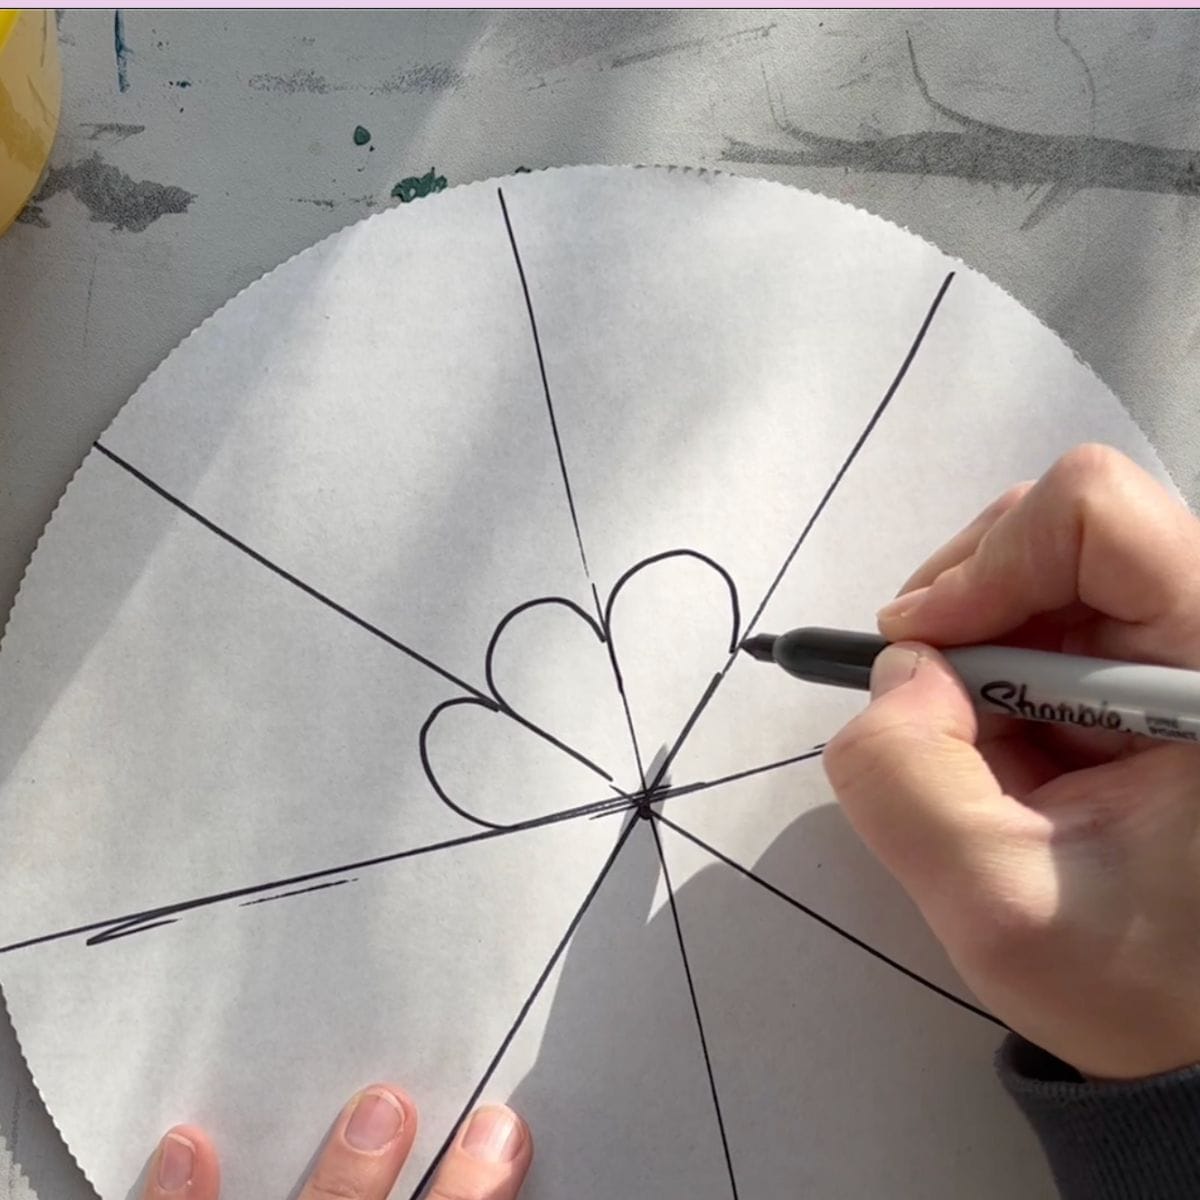
Step 5: Start Creating Designs
Start in the center of the mandala with one piece of the pie. Draw a shape in one part of the pie (or pizza slice) and then repeat the shapes in all of the pieces in the same spot on all pieces.

Step 6: Repeat To Finsh Designs
For each circular layer, use simple lines and shapes to create a fun radial design. Keep adding different mandala patterns and simple shapes until your circular pattern is completed.

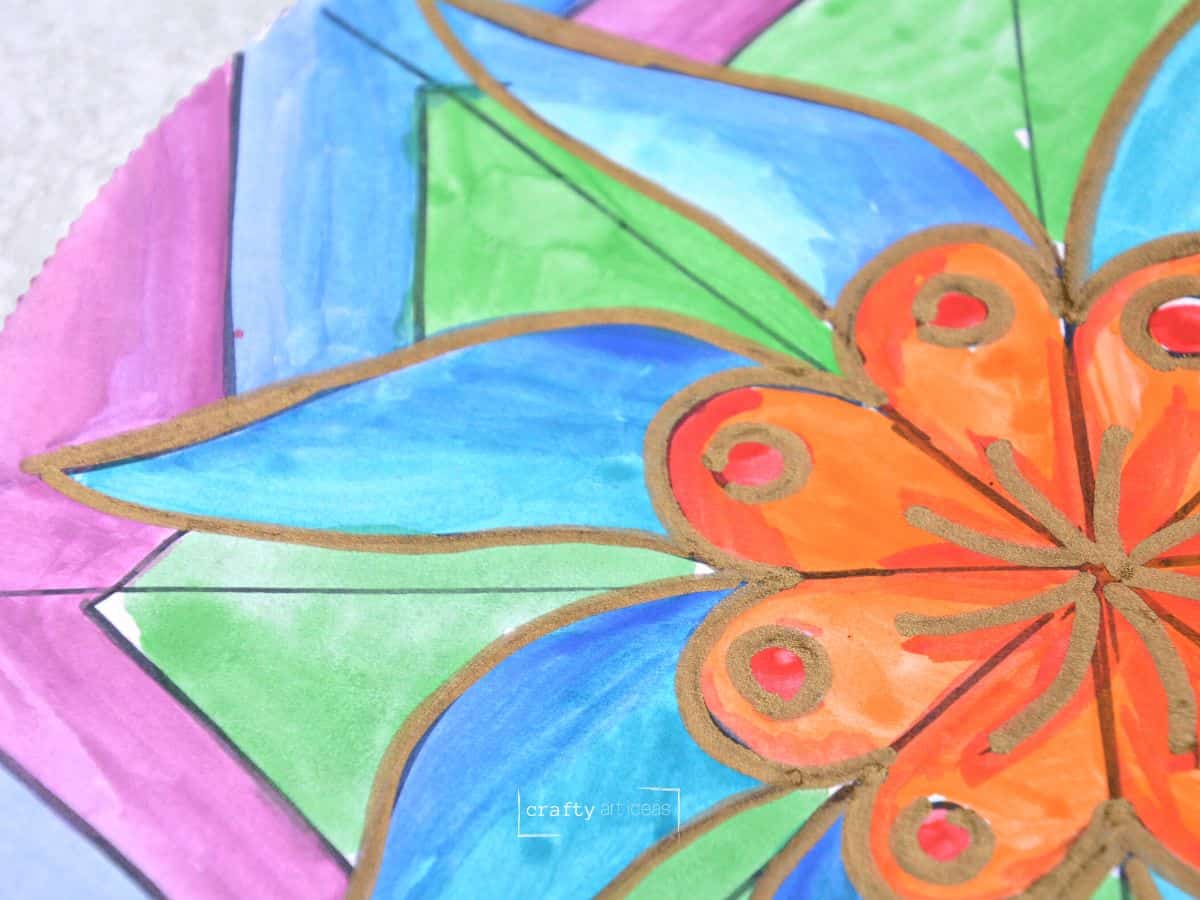
Step 7: Outline Designs (optional)
Trace the designs in with a black permanent marker. This will help them see their designs better when using tempera paint.

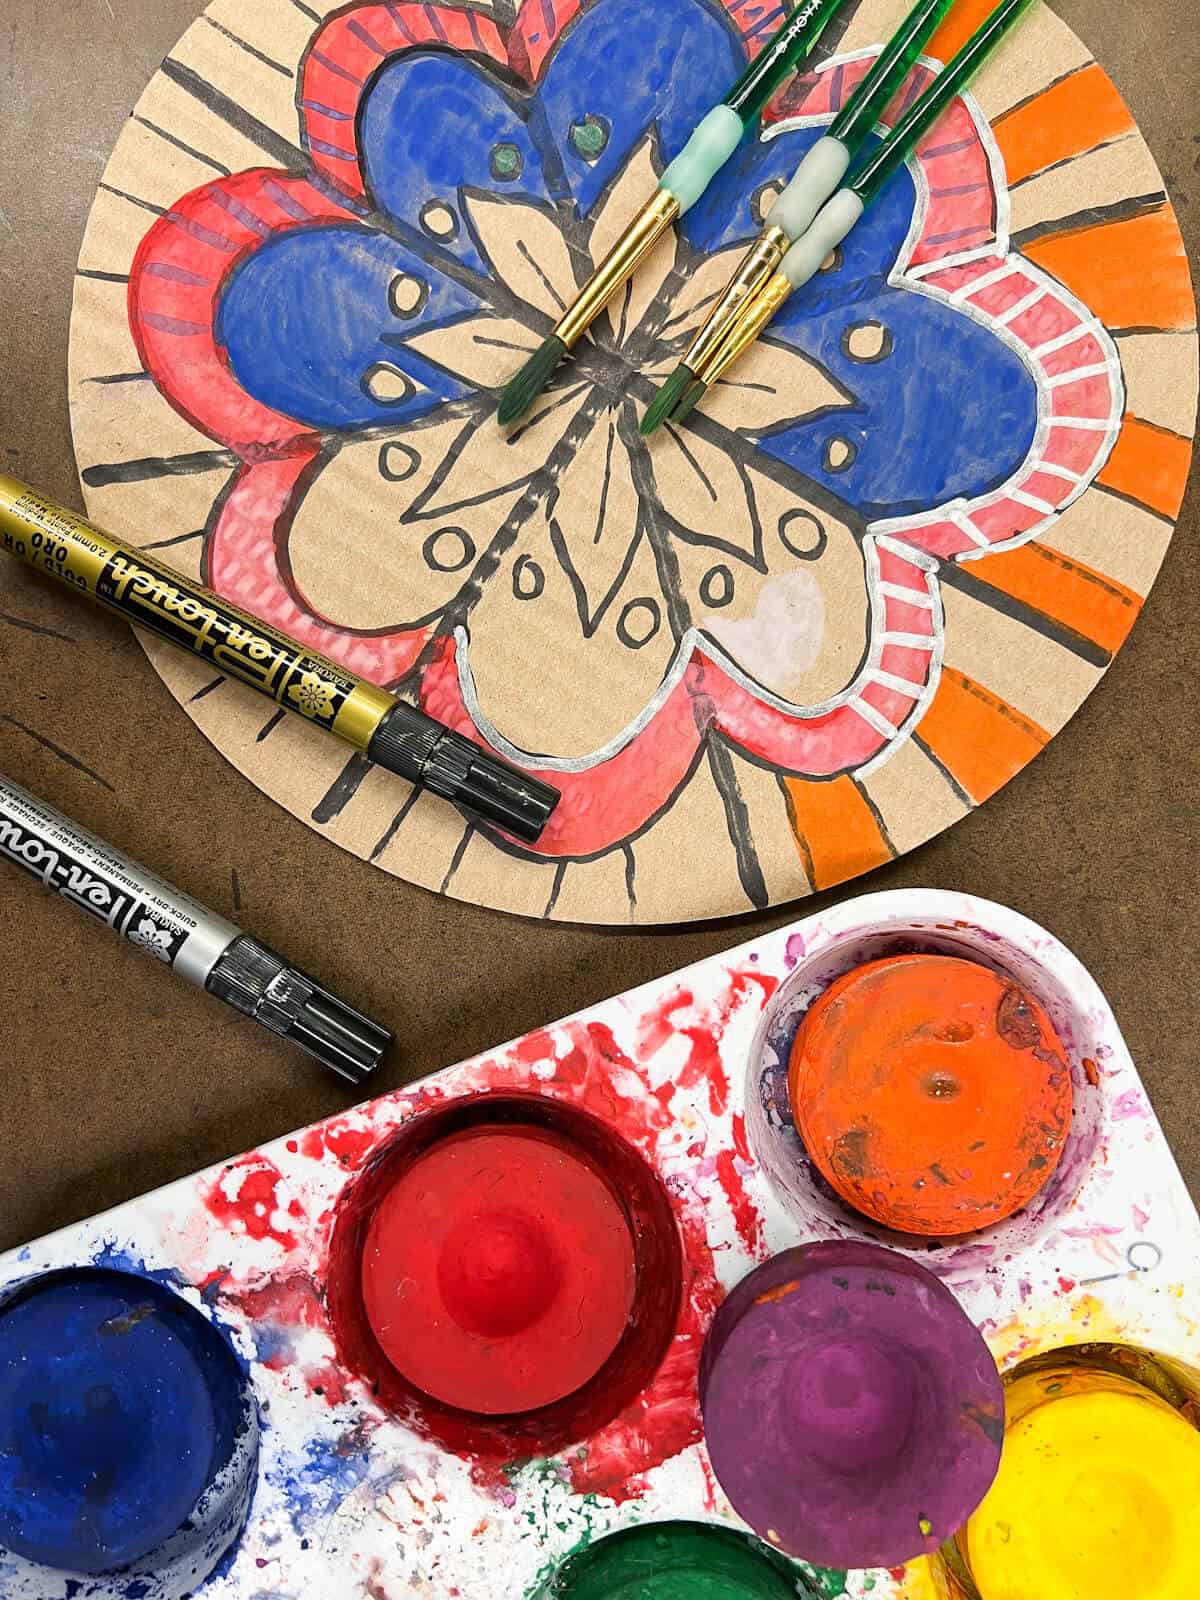
Step 8: Add Color
Get our tips below for using tempera cakes with beginners. Once dry, you can also use a paint marker, black Sharpie, or colored Sharpies to add more designs.
Tips For Using Tempera Cakes
- Show how to activate the tempera cakes by adding water.
- If kids have too much water, show them how to scrape off the excess paint from the edge of the water container or paint palette.
- You can choose to paint in a symmetrical pattern or allow creative freedom. We have done it both ways, and kids like the results of this easy mandala art.
- Some children may need to add a second coat over dry tempera paint to get a pop of color.
- Use a small brush to add extra details and designs.
Project Tips
- Their circular design won’t be 100% accurate. You can even do some simple snowflake drawings to help them understand radial balance.
- Their artworks should also represent them. If they want to add baseballs into their artwork to show his/her favorite sport, let them.
- Remember, this kid art idea isn’t about recreating what’s already been done, but about creating art that represents the artist (or the child).
Art Lesson FAQs
You can encourage creative expression by having kids choose their own themes or incorporating personal elements into their mandalas. Remind beginners that while symmetry helps to provide structure when drawing, they can still add unique elements, colors, or details to make their mandalas stand out.
In a larger classroom setting or even just at home, tempera cakes are a great way to have a little less mess while providing color options for kids. When used properly, the tempera cakes can show up on both colored cardboards, but you will get brighter colors on the white base.
You could use a fishing line to hang them as a mobile, prop them on small easels, pin them to boards, or add each one to a large doll rod to display multiple in a row.
Follow us on Pinterest, YouTube & Facebook for more free art and craft ideas!
More Upper Elementary Art Projects
- Easy Food Sculptures with Radial Symmetry on the plates.
- Fun Watercolor Winter Landscape Painting For Beginners
- Folk Art Landscapes That Glow-in-the-Dark
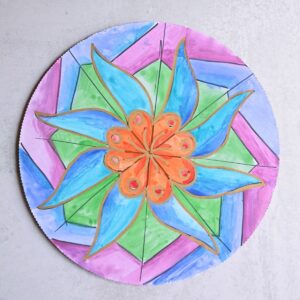
Display each mandala craft with pride and love for what your young artists created. Mandalas are the perfect subject matter for kids to draw, paint, and express creativity.
Do you like this art project? Please give us a 5-STAR review below ⭐️⭐️⭐️⭐️⭐️ and have fun being creative with your family.
Easy Mandala Art Idea For Kids
Equipment
- Water container
- Pencils
Supplies
- Tempera Cakes or Regular Tempera Paint
- Cardboard Circles or you could use paper plates
- Permanent Markers
- Optional: Paint Markers
Instructions
- Put a dot in the center of the circle.
- Divide the circle in half so your line touches the center of your mandala.
- Rotate the circle to draw in half again to make four equal parts.
- Rotate the circle again and draw in line.
- Rotate one more time to make 8 equal parts all touching the center dot.
- Draw a shape in one part of the pie (or pizza slice) and then repeat the shapes in all of the pieces in the same spot on all pieces.
- Repeat lines and shapes in the same spot on each piece until you have finished your design. Optional: You can outline with a black permanent marker,
- Use tempera cakes to paint your cardboard circle.
- Once dry, use makers to add extra details and designs.
Video
Notes
- You may want to practice working with tempera paints before painting your mandala.
- These drawings will be mostly symmetrical but not perfect. If you want ideal symmetry, you will need to use a compass and measure.
- You can modify any of these supplies to make this mandala art project work.
If possible, could mandala art be done on more of a permanent medium and then used outside on a walkway or as tiles on the bottom of a small building in order to have a unique and beautiful/ colorful addition to a home, building, etc.? If so, does anyone have any suggestions how to do this (what paints) and what to seal it w/ so it would be sustainable? Thanks for any ideas.
Hi Linda. It is hard to say depending on the surface you are painting on. I would think tiles would be a little difficult but if you could get a primer to stick then acrylic would work. Adding a non-yellowing topcoat would also be very important.
I would recommend going to even a local paint store for homes and showing pictures to see what they think. As with any outdoor mandala painting project, as prepping the surface, priming and sealing will be the most important. Let us know what you end up trying.
Amazing job
Thanks for the kinds words!