Easy Model Magic Food Sculpture Art Project
Are you looking for an easy sculpture project for kids? Model magic is the perfect material to work with, and we found the perfect subject matter. You will have fun seeing your kids’ creativity while they build their own food sculptures.
Model Magic is so easy to work with that it is also a favorite of parents at home. Beginner artists will love creating fun miniature “clay” meals at home without making a huge mess.
Why You Will Love This Art Lesson
Materials You’ll Need
Disclosure: This post may contain affiliate links when clicked, we may earn a small commission at no additional cost to you. Read our full privacy policy.
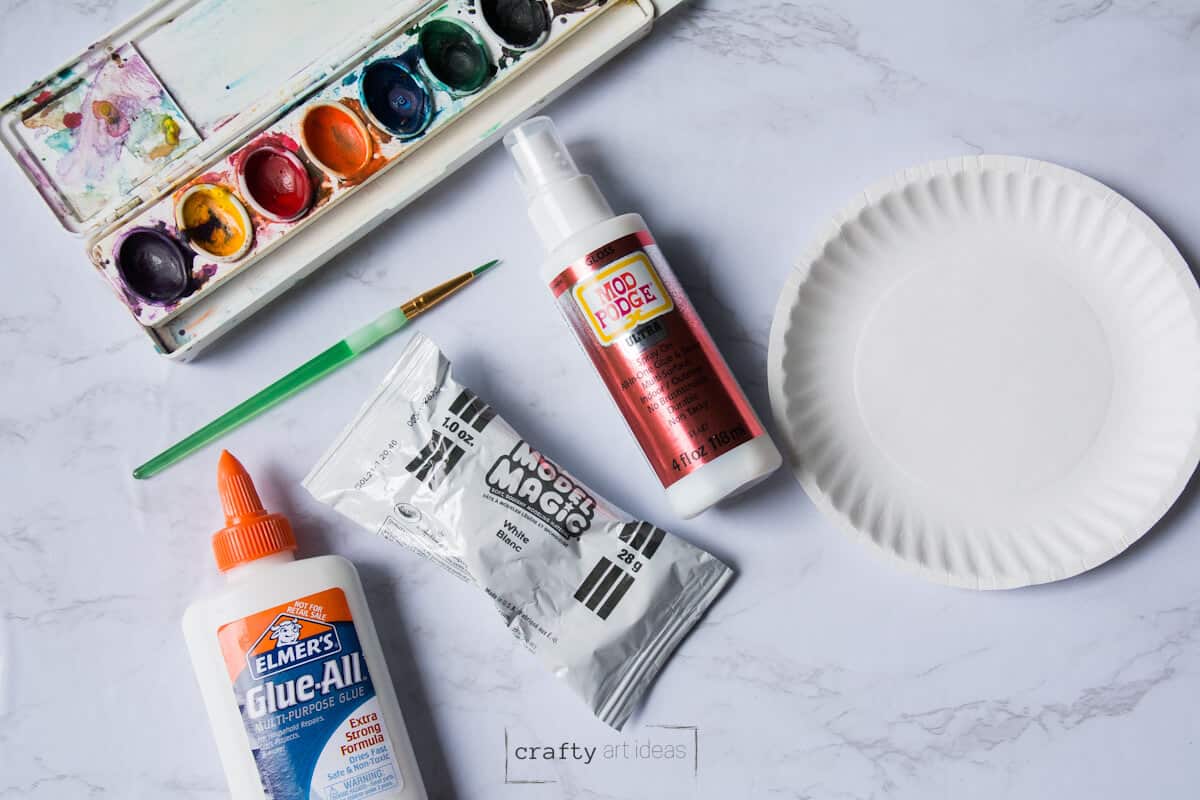
You can get the full list of supplies in the printable how-to card at the end of the post.
RELATED PROJECT – Easy Model Magic Caterpillar Sculptures (great for K-2)
Food Sculpture Art Lesson
This art project can take 1 to 1 1/2 hours to complete or 3 to 4 classes.
Day 1: Introduce Wayne Thiebaud’s Art and Sketch
Step 1: Watch the CBS video and discuss the artwork you see. For this art project for kids, you can use Wayne Thiebaud as inspiration. There is an excellent CBS Sunday Morning clip about him on YouTube.
ART TEACHER ALERT! You can pause the video near the end if you don’t want children to notice a nude painting in the background at an art gallery. It is totally up to you; just make sure you preview the video first to find out what I am talking about.
Questions To Ask
- How did he create texture?
- What would have happened if he had given up?
- Why do you think he chose food as his subject matter?
- What food would you like to make Art about? Why?
- Why do you think he chose to create paintings about food?
Step 2: Pass out sketch paper and have children draw at least three sketches of what they want to create a sculpture of.
Day 2: Build With Model Magic
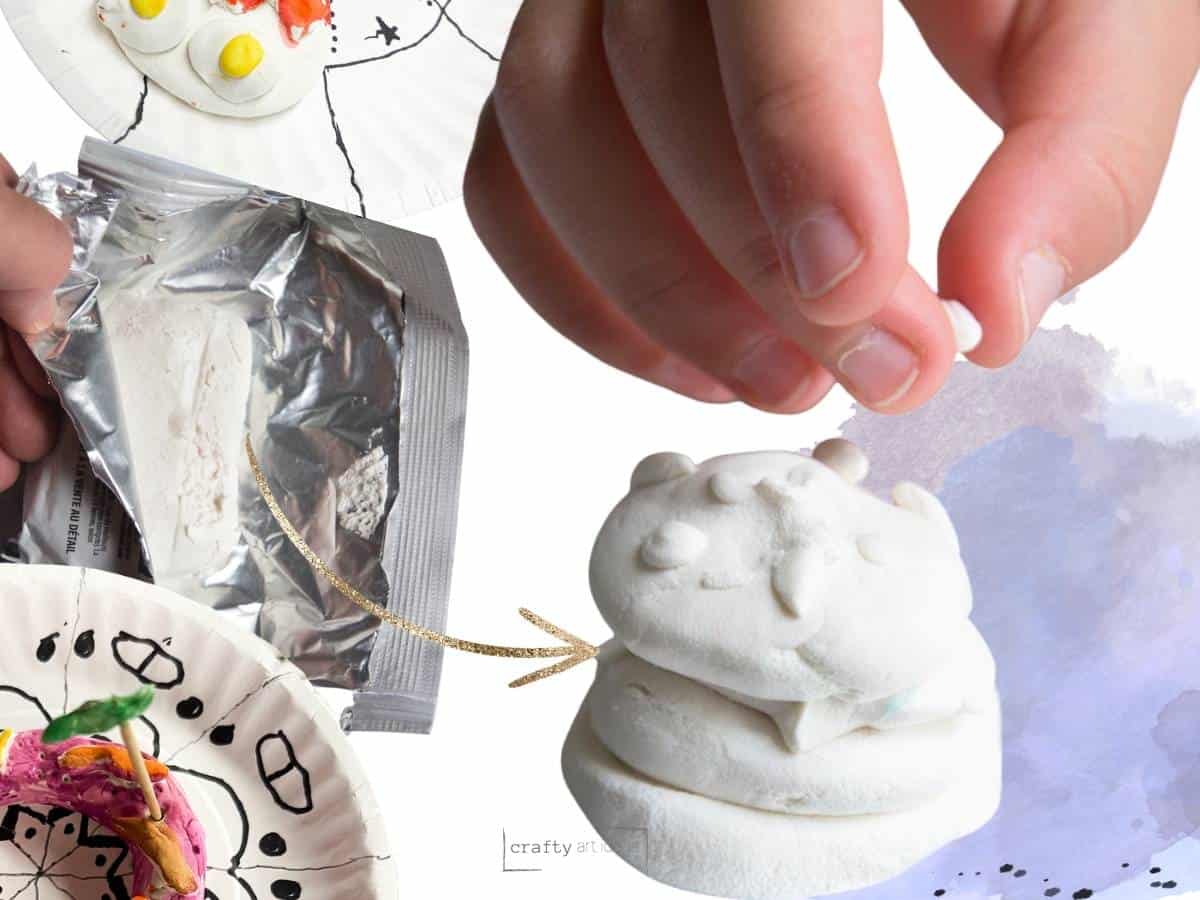
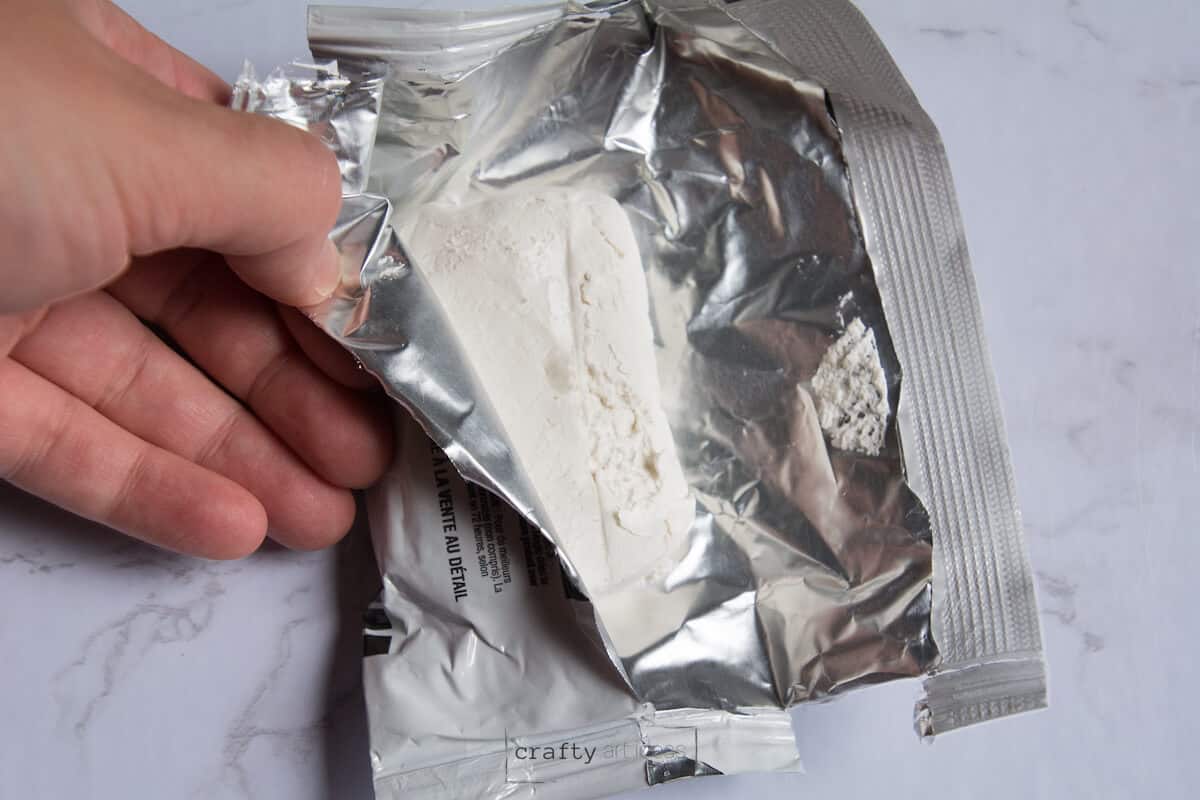
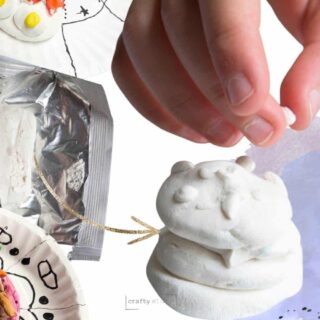
Step 3: Each child will need a 1-ounce pack of Model Magic and a toothpick.
Step 4: Have the children open the package so that the silver part is completely open and use a sharpie to write their names. While this seems odd to give this instruction, the inside of the pack is the perfect work surface for kids.
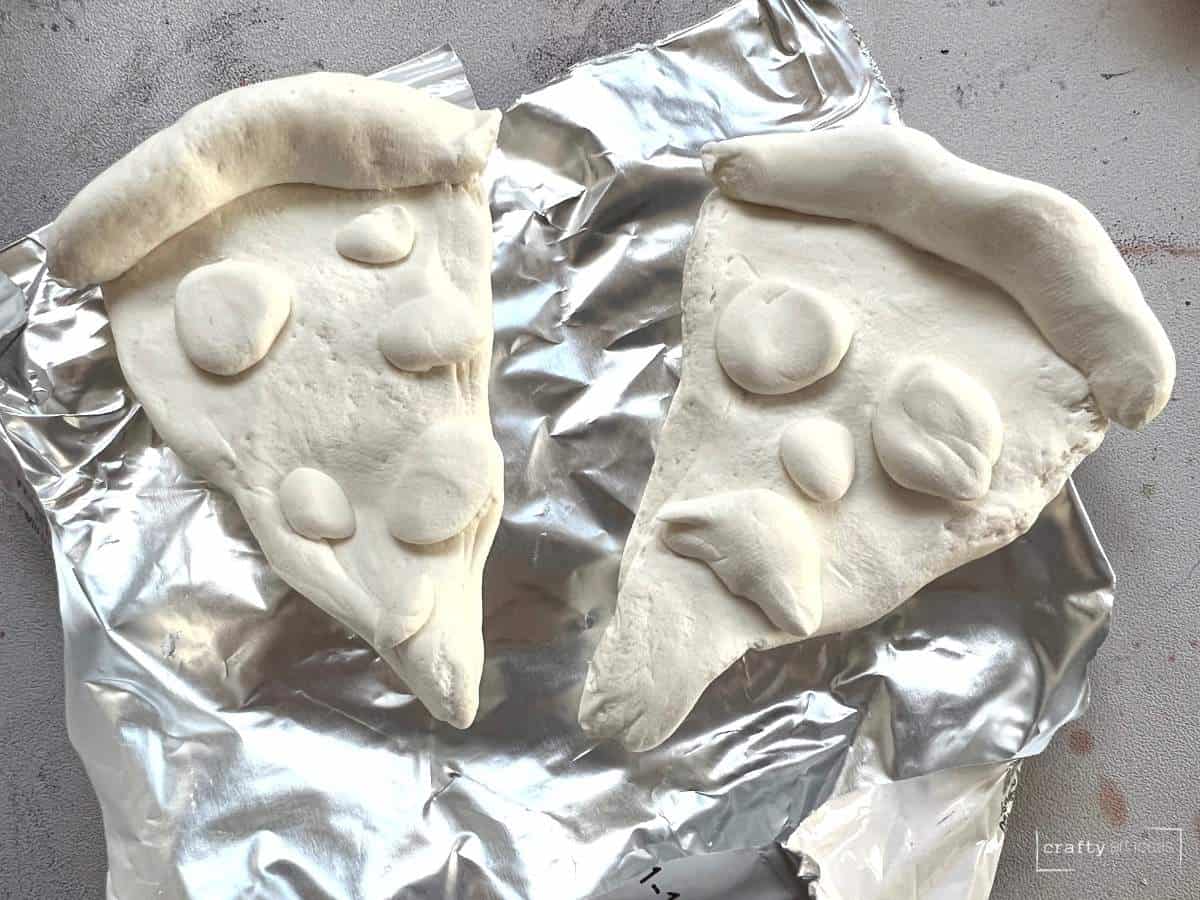
Step 5: Have the children build a food sculpture of their choice. Encourage them to make only 1-3 items out of the pack. If they end up making more, the sculptures will be too small.
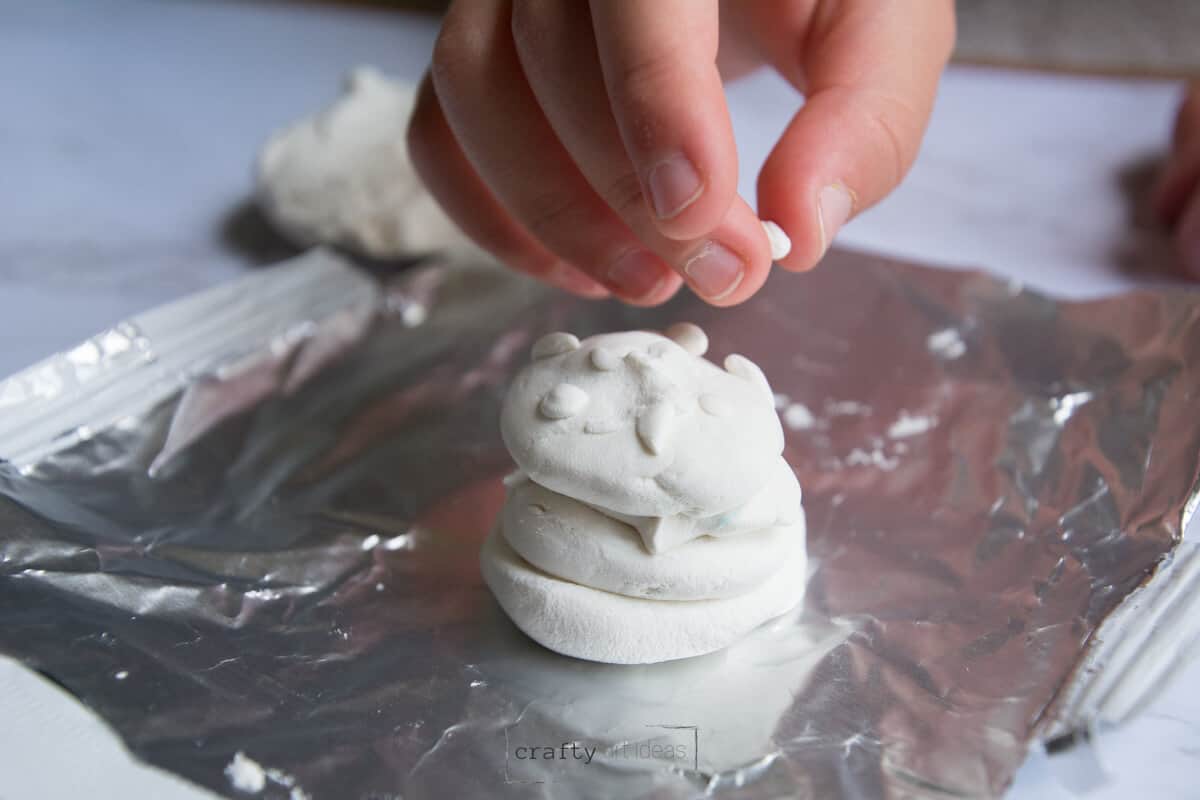
Step 6: Use the toothpick to help add texture or sculpt their small model magic sculpture.
Step 7: Let dry overnight.
Day 3: Paint the Sculpture
Step 8: Use a watercolor or tempera paint palette and a small brush to paint the sculpture.
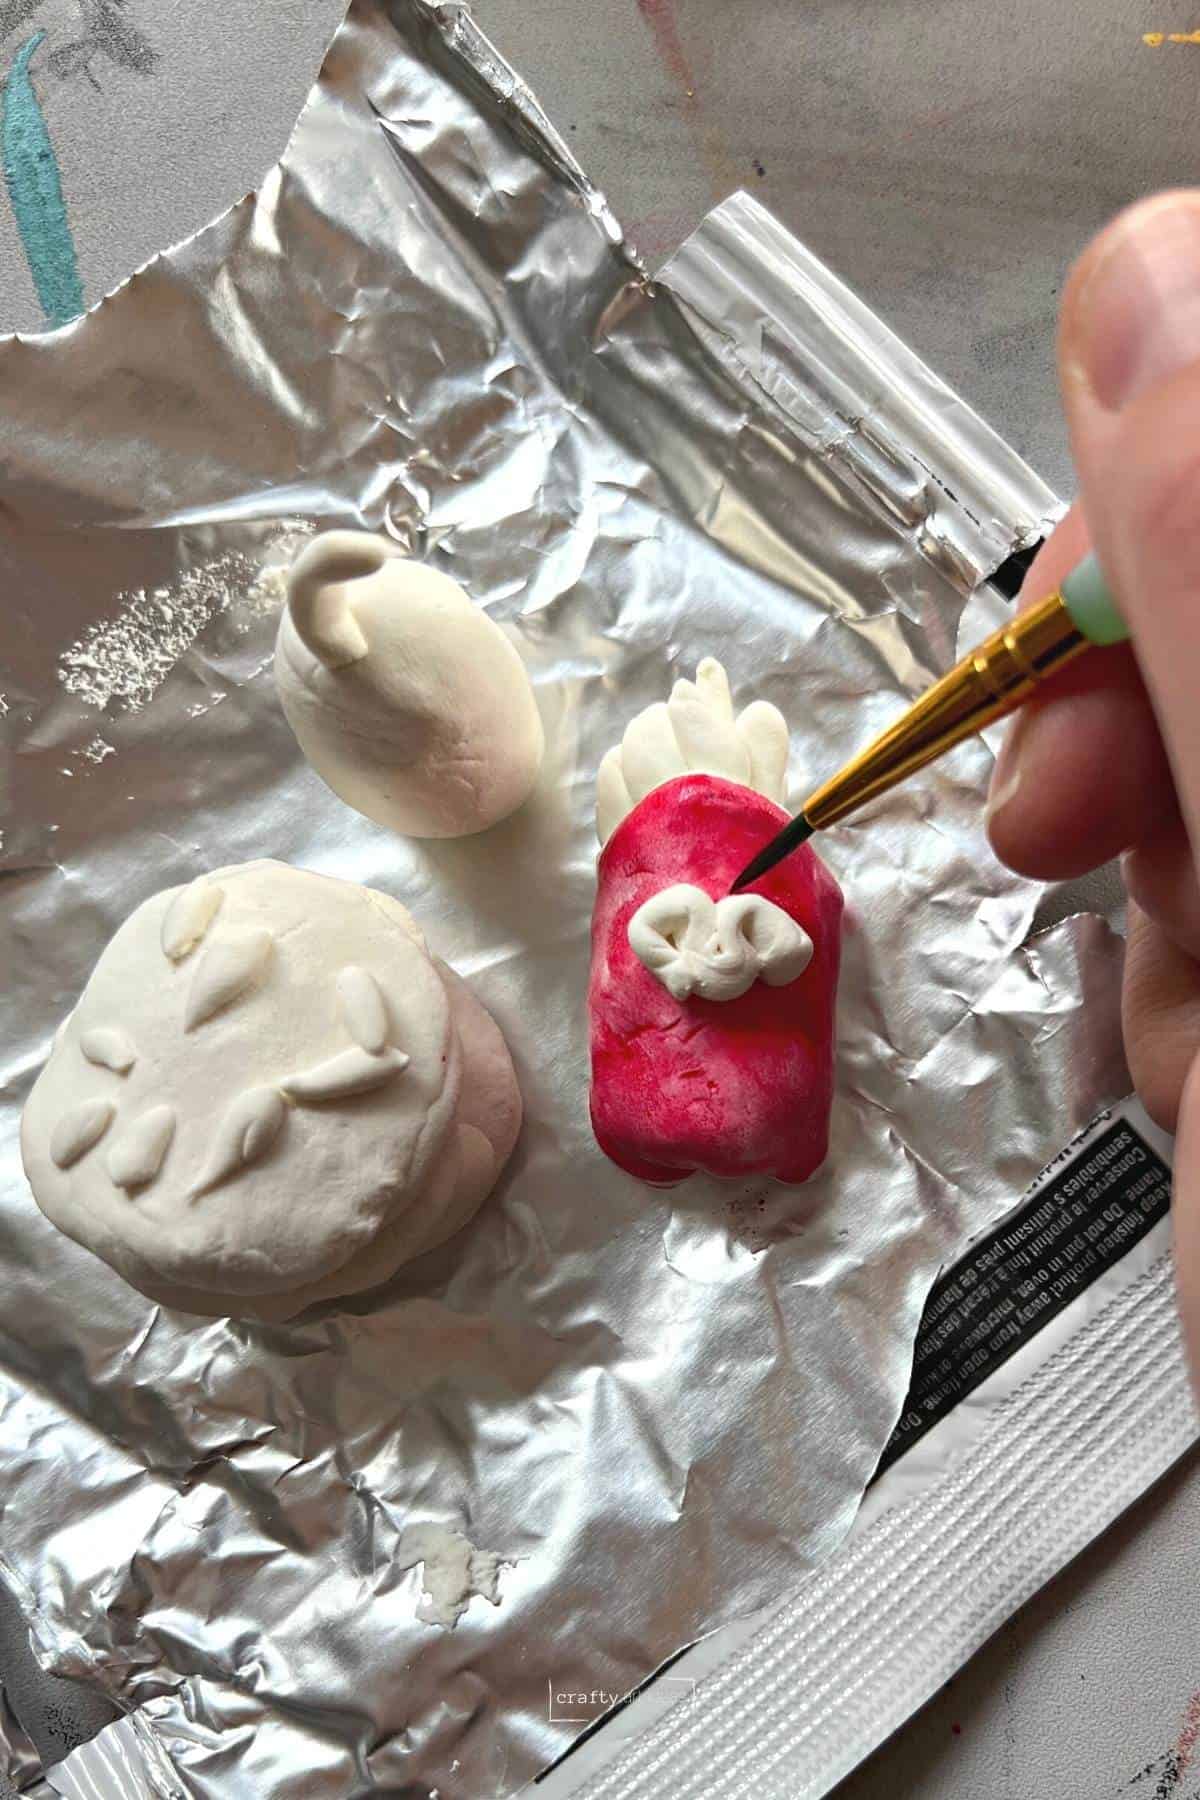
Make sure kids are correctly using watercolor paint. If they have too much water on their brush, it will drip. However, remind them that watercolor paint is supposed to be see-through or transparent.
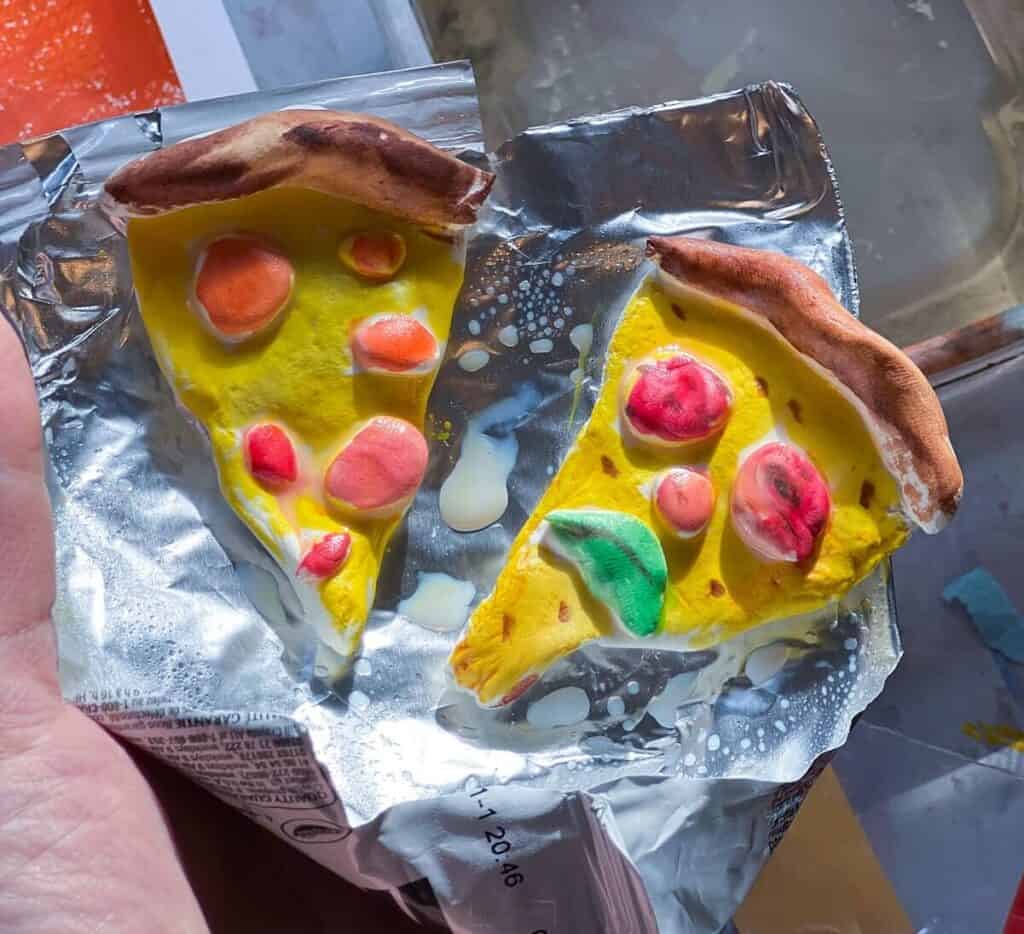
Optional: Spray the food sculptures with Mod Podge or another clear coat to help protect them and give the sculpture a little extra shine.

Day 4: Design the Plate
Step 9: Each child will design a small paper plate with a radial black and white design. Click the link to get our step-by-step instructions for this.
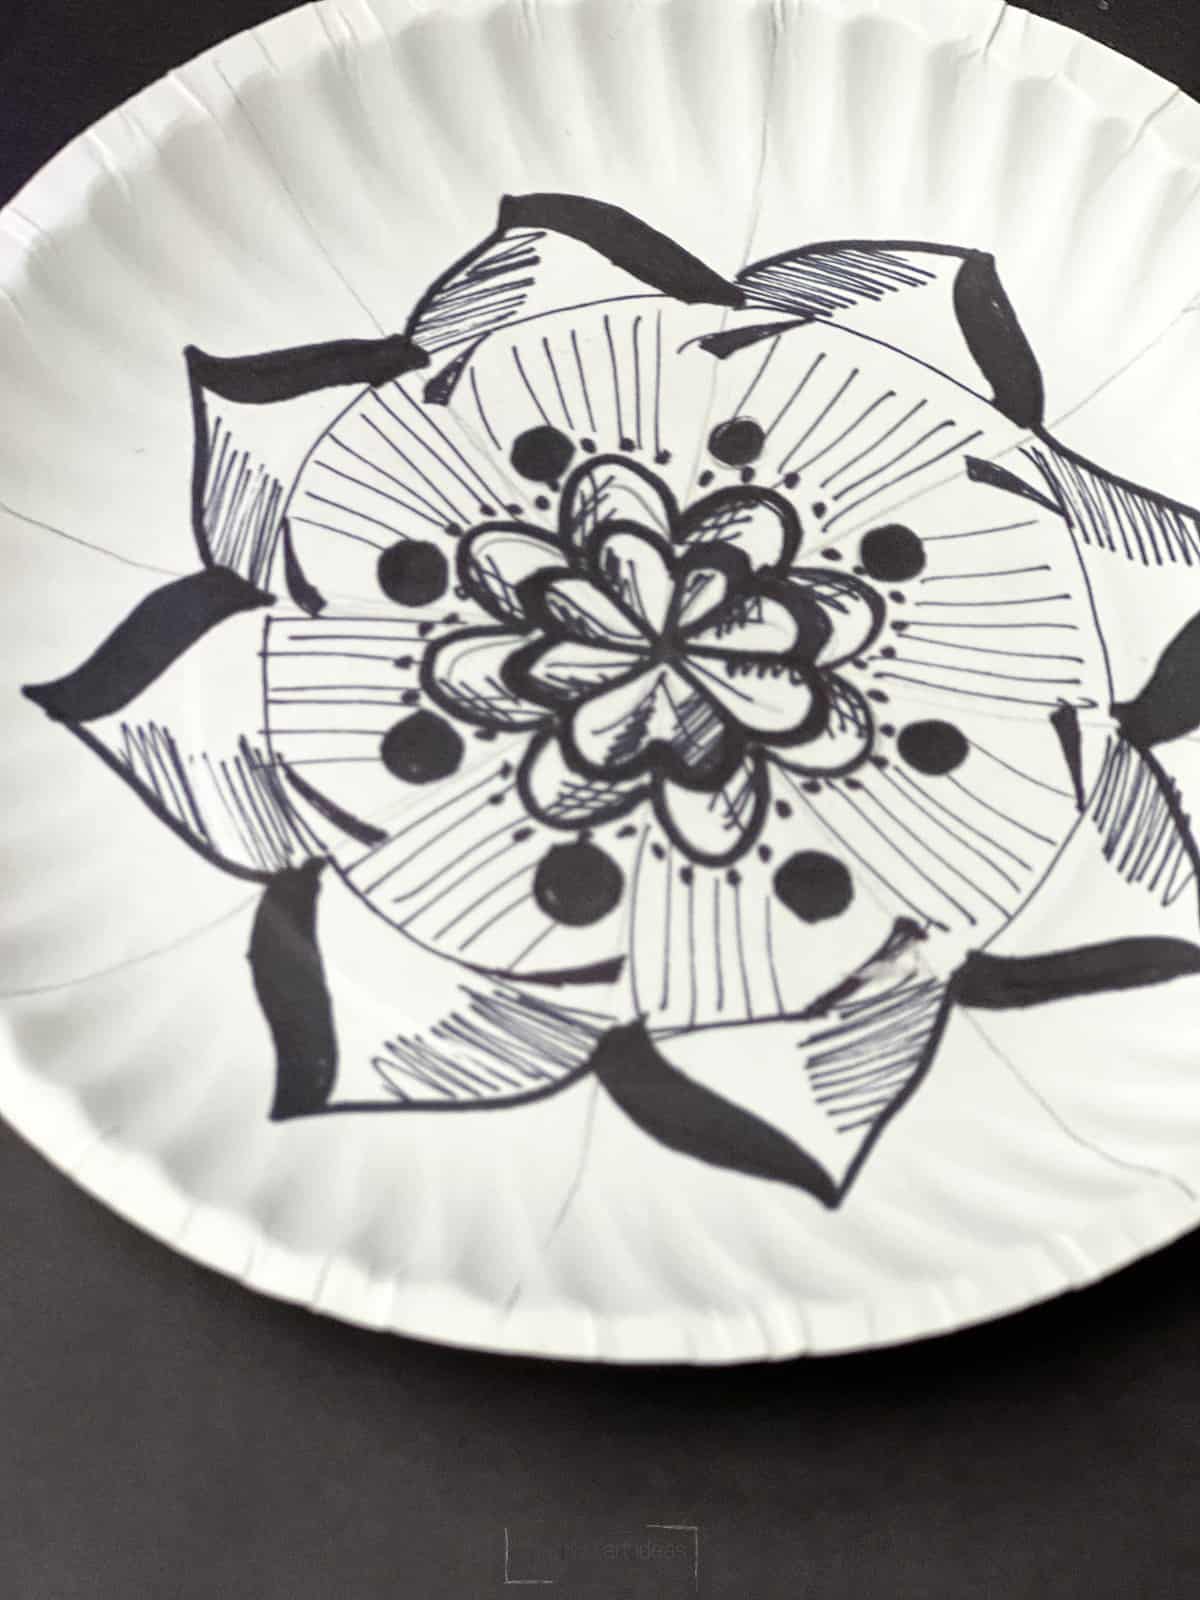
This radial design method is excellent for kids about 8 and older. If doing one-on-one with a child, any age could complete.
Modifications For Younger Students
If you are doing this with a younger class (say, under 3rd grade), I would just let them design the plate however they want, but only in black and white. You can still encourage them to create variety by color in and around the shapes.
Step 10: Use a hot glue gun to attach the Model Magic food sculpture to the plate.

Tips
- If you do this sculpture project at home, you could purchase a larger individual pack. Just note that Model Magic will start to dry if not kept in an airtight container or baggie.
- Adding a clear coat once the Model Magic is dry (and done being painted) helps them last a little longer.
- Depending on the child’s age, you can change the plate design to any contrasting design.
Follow us on Pinterest, YouTube & Facebook for more free art and craft ideas!
Art Lesson FAQs
If you don’t want to paint your Model Magic, you can use washable markers before or after painting. If you want a watercolor look without using paints, you can also paint water with a small brush on top of the marker. Sharpies or other permanent markers can also add color.
Model Magic is a sculpture-building material with a proprietary recipe that feels like light playdough. It can be purchased in white or different colors. The most significant disadvantage of using model magic is that it is not as sturdy as other sculpture materials, such as regular clay.
Model Magic will dry after 24 hours, but will not be as hard as other air-dried clays. It will continue to be airy and spongy even when it is dry. Model Magic air dries and hardens over time, but it may take longer to dry than other air-dried clays and may be more prone to cracking if it is not handled with care during the drying process.
We do not recommend painting your sculpture for at least 24-48 hours after it has been made. Children must also be very careful when painting so their sculpture parts do not break off.
If part of the sculpture breaks, you can reattach the missing parts using regular or low-temperature hot glue.
More Art Lessons For Grades 3-5
You can search all of our famous artists’ lessons here.
- Heather Galler Inspired Art Lesson (A landscape art project that glows in the dark)
- Clay Pinch Pot Ideas For All Ages
- Easy Black and White Art Op Tutorial
Children love how unique each sculpture is, and adults love how easy this food sculpture art project can be made!
Do you like this art project? Please give us a 5-STAR review below ⭐️⭐️⭐️⭐️⭐️ and have fun being creative with your family.
Model Magic Food Sculpture Art Project
Equipment
- Pencil
- Toothpick
- Small Paint Brushes
Supplies
- White Model Magic
- Watercolor Paint
- Small Paper plates
- Extra Fine Tip Permanent Marker
- Glue Gun or Glue All
Instructions
- Have children draw at least 3 sketches of what they would like to create a sculpture of.
- Each child will need a 1-ounce pack of model magic and a toothpick.
- Open the package so that the silver part is completely open and use a sharpie to write their name.
- Build a food sculpture of their choice. Encourage kids to only make 1-3 items out of the pack. If they end up making more, the sculptures are too small.
- Use the toothpick to help add texture or sculpt their small model magic sculpture.
- Let dry overnight.
- Use a watercolor paint palette or tempera paint and a small brush to paint the sculpture.
- Design plate with a sharpie. See directions on how to help make radial designs on the plate above.
- Use hot glue or Glue-All to attach the food sculpture to the plate.
Notes
- You can spray sculptures (before attaching them to the plate) with Mod Podge Clear Coat for extra shine and protection.
- If you are doing this with younger children, I would let them design the plate however they want in black and white. You can still encourage them to create variety by coloring in and around the shapes.