How To Draw Easy Radial Symmetry Art For Kids
This easy step-by-step tutorial will help children (and adults) learn how to create radial balance. It is so fun seeing what kind of designs you can come up with.
Disclosure: This post may contain affiliate links when clicked, we may earn a small commission at no additional cost to you. Read our full privacy policy.
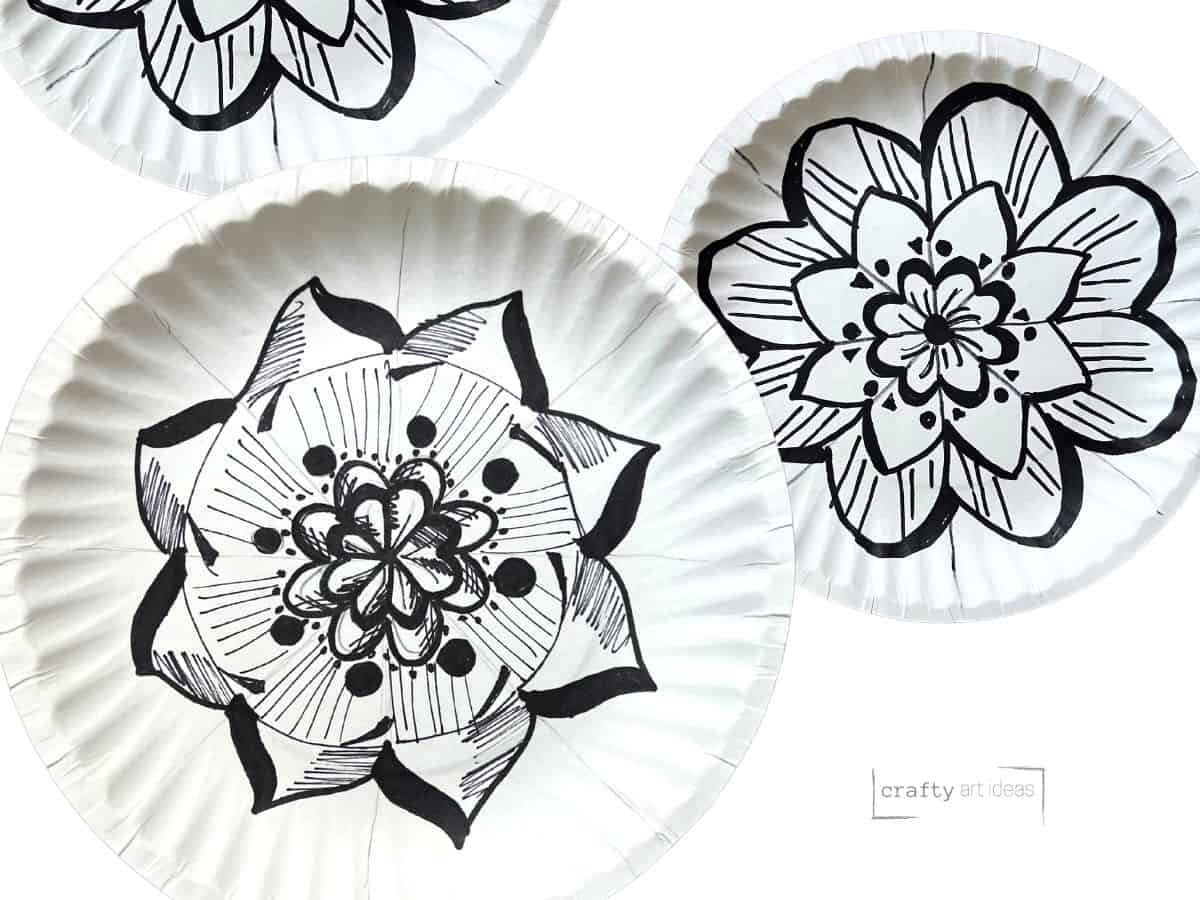
These steps were used to create interesting and contrasting radial designs on paper plates for our easy Model Magic food sculptures. Now kids can use these steps to create their own radial designs on a plate, circle paper, or any other circular material (like cardboard).
What does it mean for an artwork to have balance?
Balance is one of the Art Principles of design. A great way to explain to kids is for them to think of a seesaw. They understand that if an adult is on one end and a kid is on the other it would not be balanced.
You can then tie that to art by saying what if the adult was the only red in the painting. Would that create balance? When artists create balance they are trying to not let the other parts of the art overshadow other parts. In this case, the red would be too strong and would not create balance.
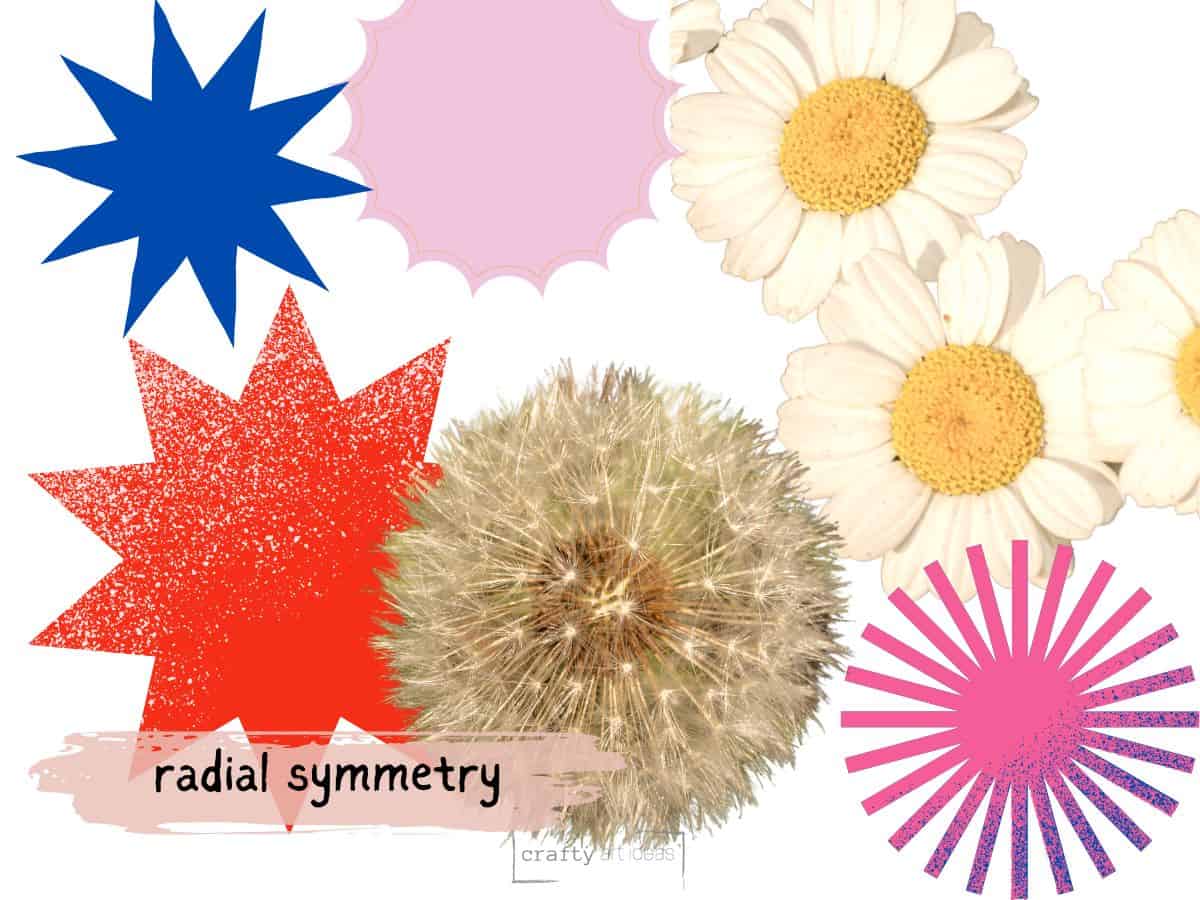
What is radial symmetry?
Symmetry helps create balance because of repetition on the page. Furthermore, radial symmetry comes from the center. Radial symmetry can appear in natural and man-made objects and artworks.
Sculpture Project Idea
You certainly can use this radial symmetry drawing lesson on its own. However, we have used this plate design in our Model Magic food sculpture art project. If not using this plate in that project, feel free to add color to make it your own. You can even turn this drawing into a mandala art.
Before designing a plate, students should understand why they are only going to do black and white. If not, you will for sure have kids ask, why can’t I use color?
Here are a few questions to help them come to their own conclusions about contrast.
- What would happen if my plate and sculpture are both super colorful?
- Would I see the sculpture?
- Show an example of radial symmetry. Kids will not create a “perfect” radial symmetrical design, but you can use the following steps to get a cool black-and-white plate design.
How To Draw An Easy Radial Design

Step 1: Draw a dot in the middle of the plate (or as close to it).
Step 2: Draw a line with a pencil that divides the plate in half.

Step 3: Rotate the plate and draw another line that divides in half again. Don’t be scared to talk about fractions. We love when art and math go together!
Step 4: Rotate the plate so that you see an “X”. Draw a line that touches the dot again. Rotate the plate to finish the guidelines so that there are 8 equal places.

Step 5: Begin designing the plate. If you draw a shape or line in one triangle, you have to repeat it in every triangle.
Step 6: Encourage kids to add thicker lines and color in different shapes to create variety in their radial designs.

Step 7: Each child can design their plate in this way and then outline with a pen sharpie.

Encourage kids to create variety in their plate design by also coloring some shapes in or even coloring the negative space (space around the shapes) in their final design.
Follow us on Pinterest, YouTube & Facebook for more free art and craft ideas!
Related Art Lessons
- Georgia O’Keeffe inspired art lesson for kids
- Easy Paper Plate Flower Craft (perfect for preschoolers and kindergarteners)
- Easy Op Art Line Drawing Idea For Beginners
Free Printable Instructions
Use this radial symmetry drawing lesson to create all sorts of fun and balanced drawings.
Do you like this art project? Please give us a 5-STAR review below ⭐️⭐️⭐️⭐️⭐️ and have fun being creative with your family.
How To Draw Easy Radial Symmetry

Equipment
- Pencil
- Pen Sharpie
- Thicker Black Permanent Marker optional
Supplies
- Paper Plate
Instructions
- Draw a dot in the middle of the plate (or as close to it).
- Draw a line with a pencil that divides the plate in half.
- Rotate the plate and draw another line that divides in half again. Don’t be scared to talk about fractions. We love when art and math go together!
- Rotate the plate so that you see an “X”.
- Draw a line that touches the dot again.
- Rotate the plate to finish the guidelines so that there are 8 equal places.
- Begin designing the plate. If you draw a shape or line in one triangle, you have to repeat it in every triangle.
- Each child can design their plate in this way and then outline with a pen sharpie.
- Encourage kids to create variety in their circle design by also coloring some shapes in or even coloring the negative space (space around the shapes) in their final design.