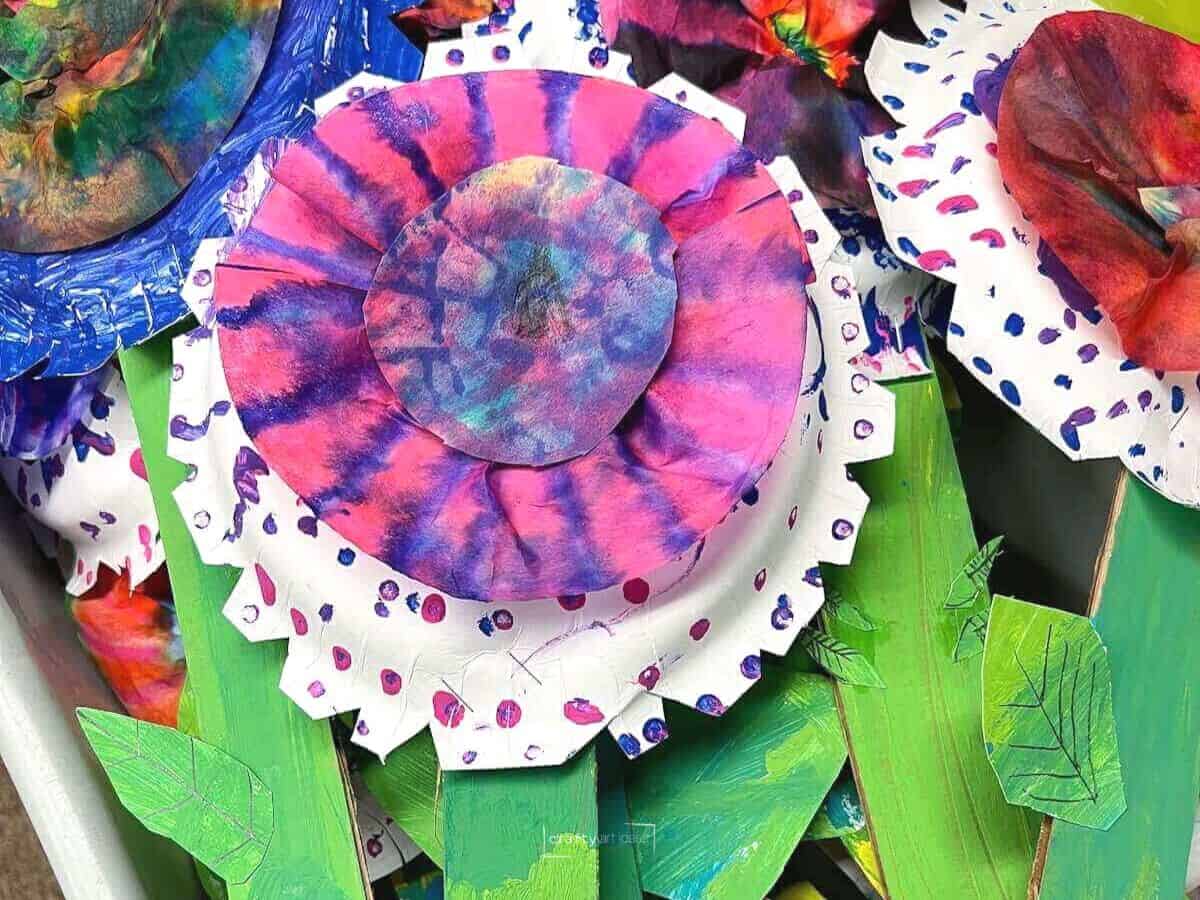
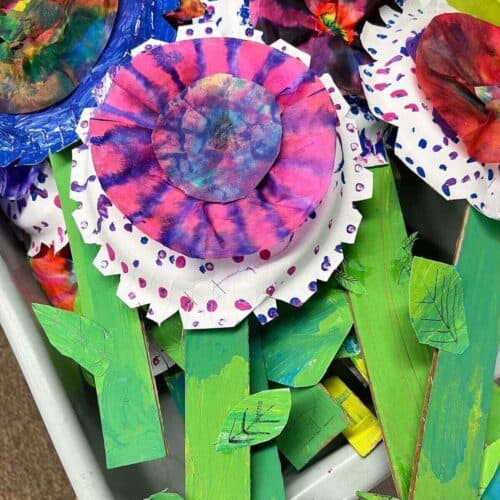
Paper Plate Flower Craft For Kids
This easy paper plate craft is perfect for children of any age. We love that every child will make a unique flower while working on their fine motor skills.
Disclosure: This post may contain affiliate links when clicked, we may earn a small commission at no additional cost to you. Read our full privacy policy.
Skills Taught
This seemingly easy flower craft actually covers a lot of skills and concepts for young artists.
- Exploring Color Mixing: When painting stems and seeing colors mix on the coffee filters.
- Stippling or Pointillism: You can show images of Seurat and other pointillism artists before they paint their paper plates with Q-tips. We love using this Art with Mati and Dada to help with this.
- Fine Motor Skill Development: Cutting is a skill that we have seen digress over the years. This project forces little ones to work on their hand strength while cutting the flower design on the plate.
What age is this project best for?
This easy flower art project is perfect for any age elementary student. The examples you will see in this post are done by Kindergarten students that are 5 or 6 years old.
Depending on the thickness of your plates some younger students will have difficulty cutting. However, that is one of the reasons you are doing this project.
Continue to encourage little ones to squeeze and use the whole scissor to cut.
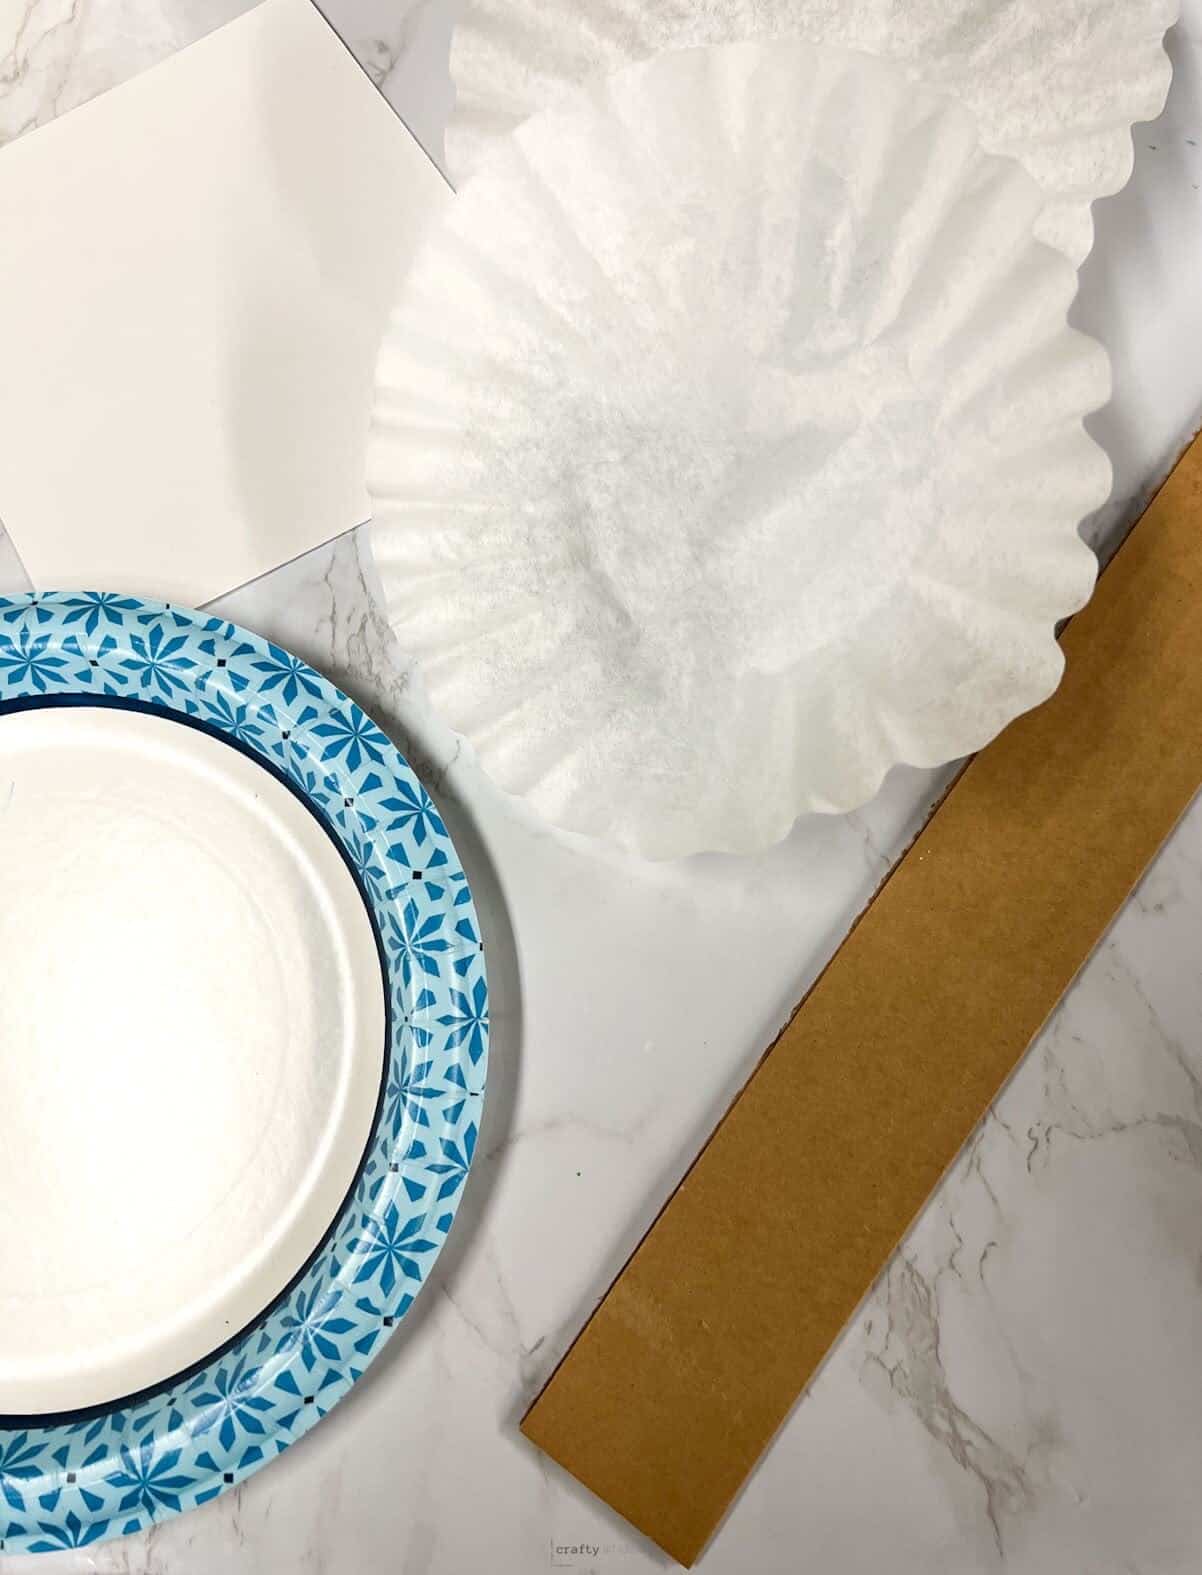
Recommended Materials and Supplies
For The Flower
- Paper plates
- Q-tip
- Coffee Filters (with paper underneath)
- Washable or Watercolor Markers
- Water
- Water Container
- Paint Tray
- Scissors
- Scrap paper (optional)
Don’t have coffee filters? You could use tissue paper or bleeding tissue paper for the center of your flower.
For Stems and Leaves
- Cardboard-You should precut these in strips for stems.
- 6″ x 6″ White Tagboard-this will be cut by the students to create a leaf or two leaves to add to the stem
- Paint Brush
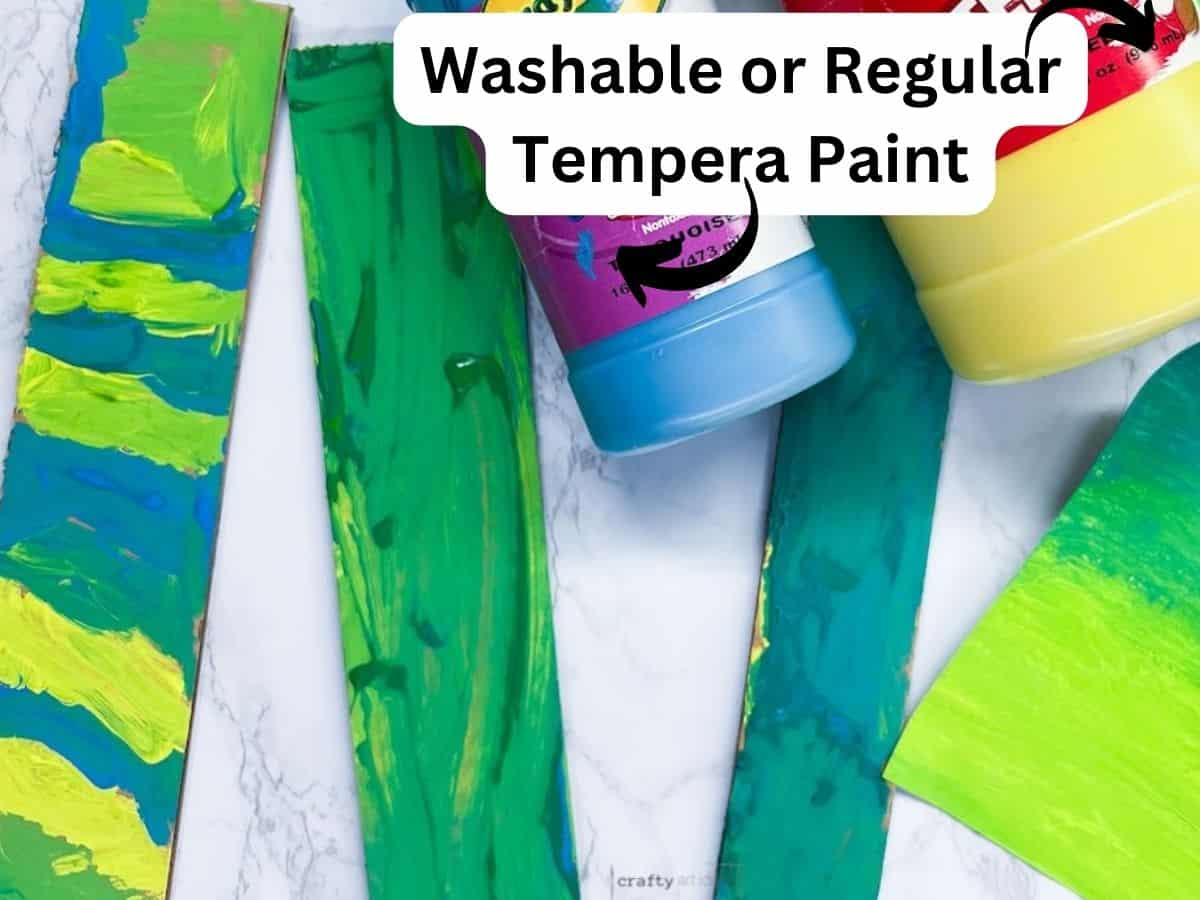
- Turquoise or Blue and Yellow Tempera Paint
- Paint Palette (foam tray or another plate)
- Black Crayon (optional)
- Stapler-This stapler will make it easier for an adult to help put everything together.
Please note: Depending on your class time, you can create some of the parts in a different order. As always, make an art lesson work for you and your situation.
How To Make An Easy 3-D Flower Craft
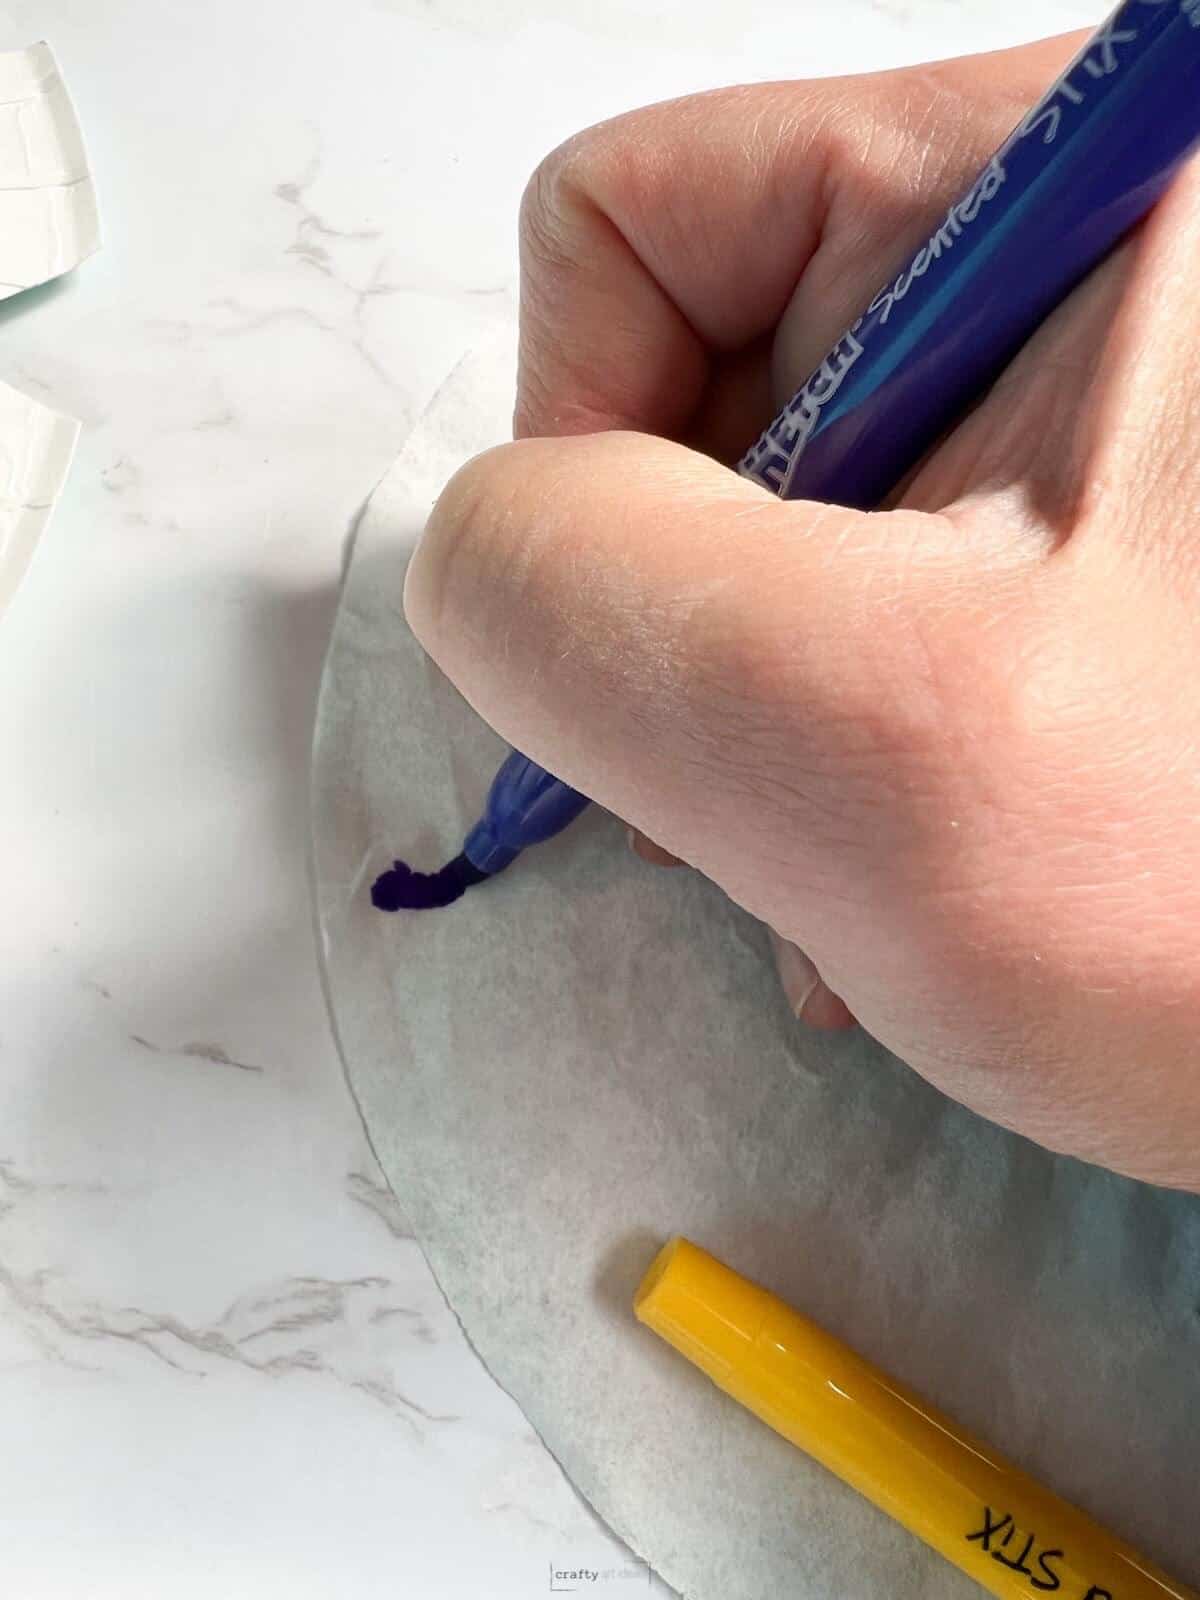
Step 1: Color Coffee Filter
Use washable markers to design a coffee filter. Add as much color as possible.
Step 2: Add Water To The Coffee Filter
You will want to have a piece of paper underneath before painting or spraying water on the coffee filter.

Kids will love seeing the colors blend on the coffee filter.
Step 3: Let Dry
Place the coffee filter and the paper somewhere to dry. It is best if children don’t pick up their coffee filters (even though they will want to).
Step 4: Begin Plates By Stippling Two Colors
Give each child a plate and Q-tip. Discuss what stippling is and encourage them to decorate their plate by only dotting.

Encourage the whole plate to be covered (even if their hand gets tired).

Step 5: Paint Cardboard Stems and Leaves
Give each child or table a palette of green and blue paint.
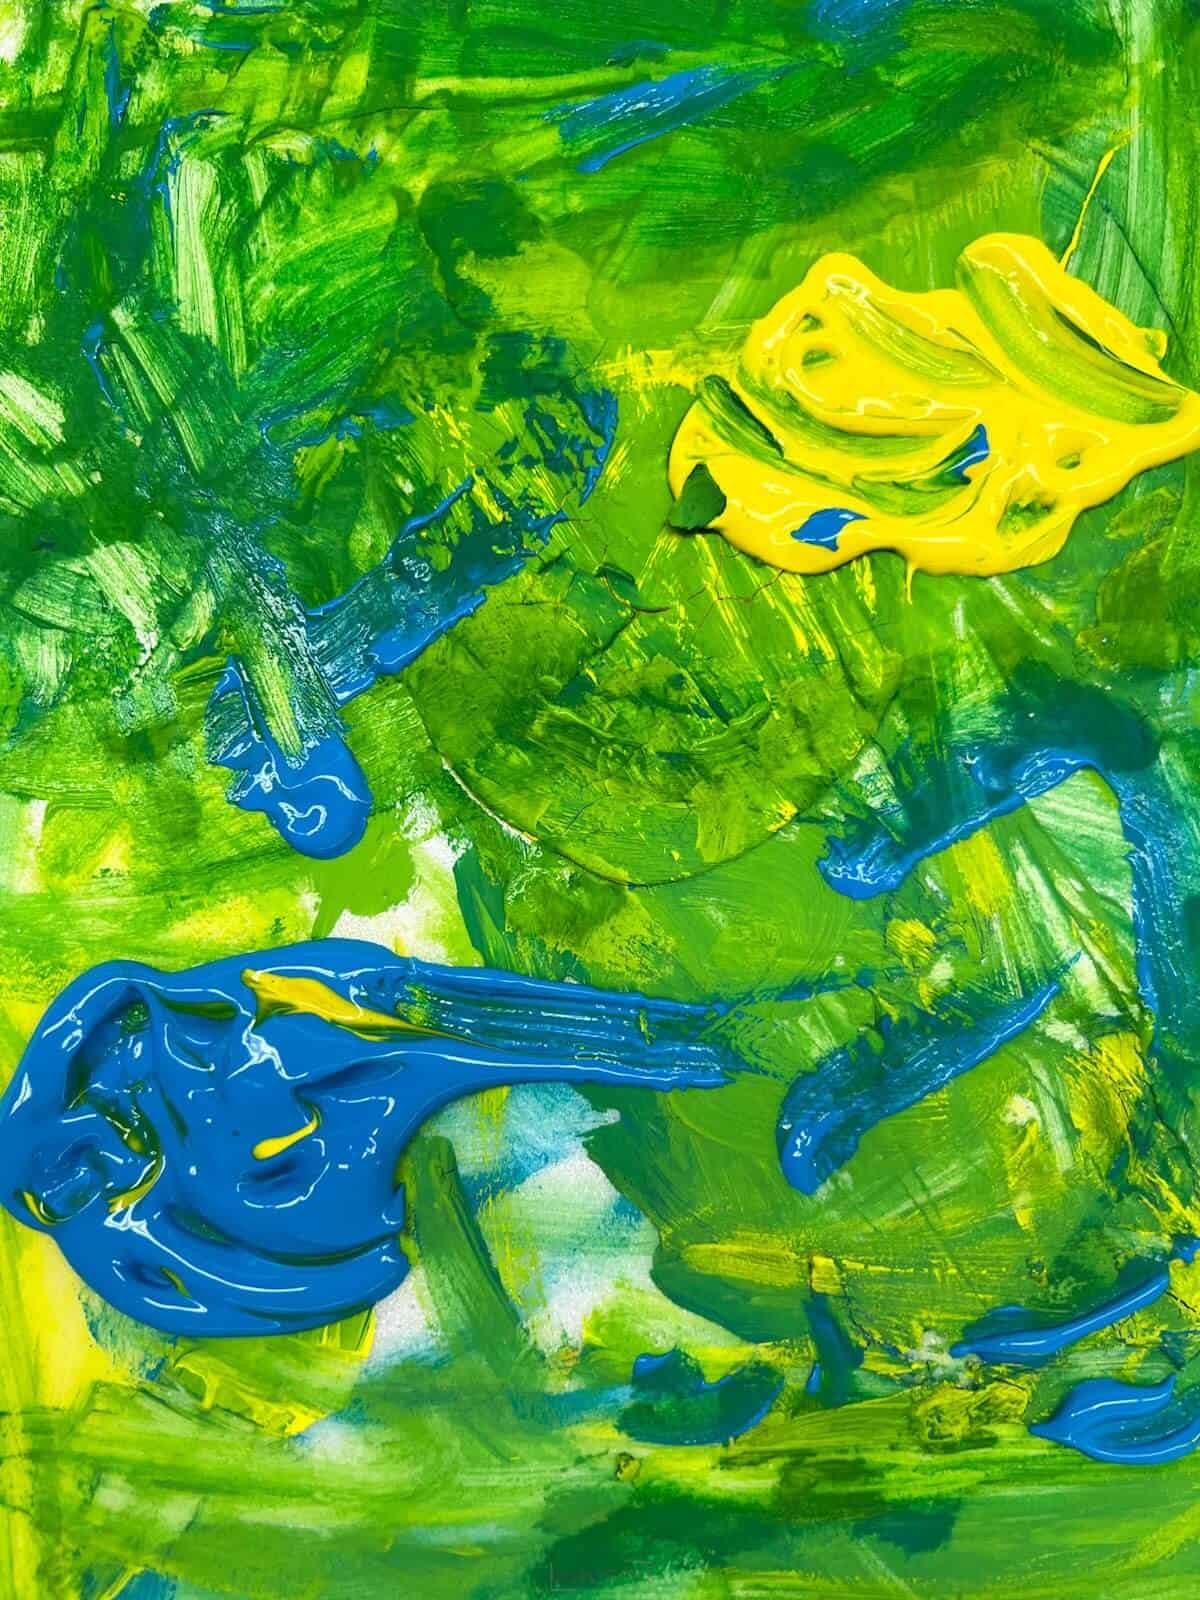
Encourage children to have fun painting their stems and 6″ x 6″ tagboards.
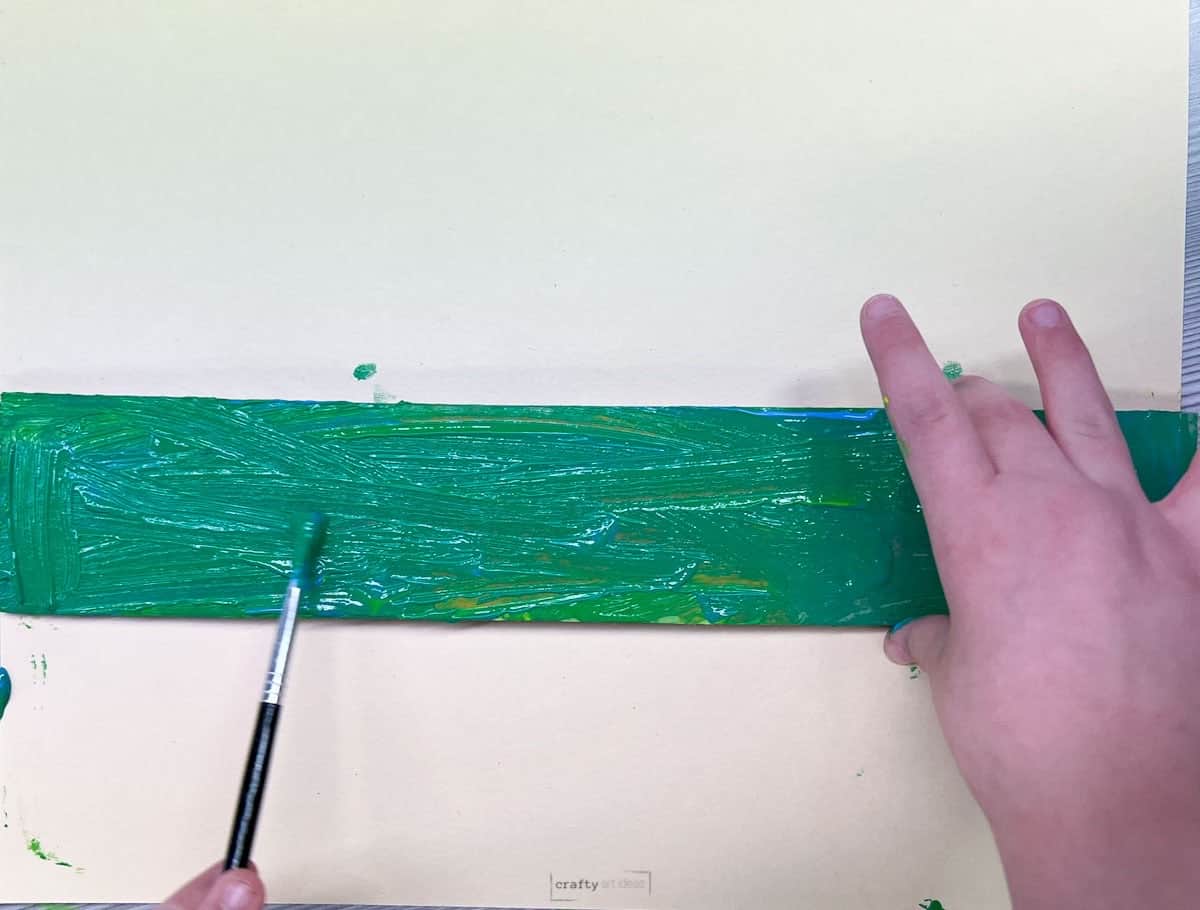
Continue painting the leaf paper. Students should have the freedom to add patterns and colors as they see fit.
Step 6: Let Plates & Stems Dry
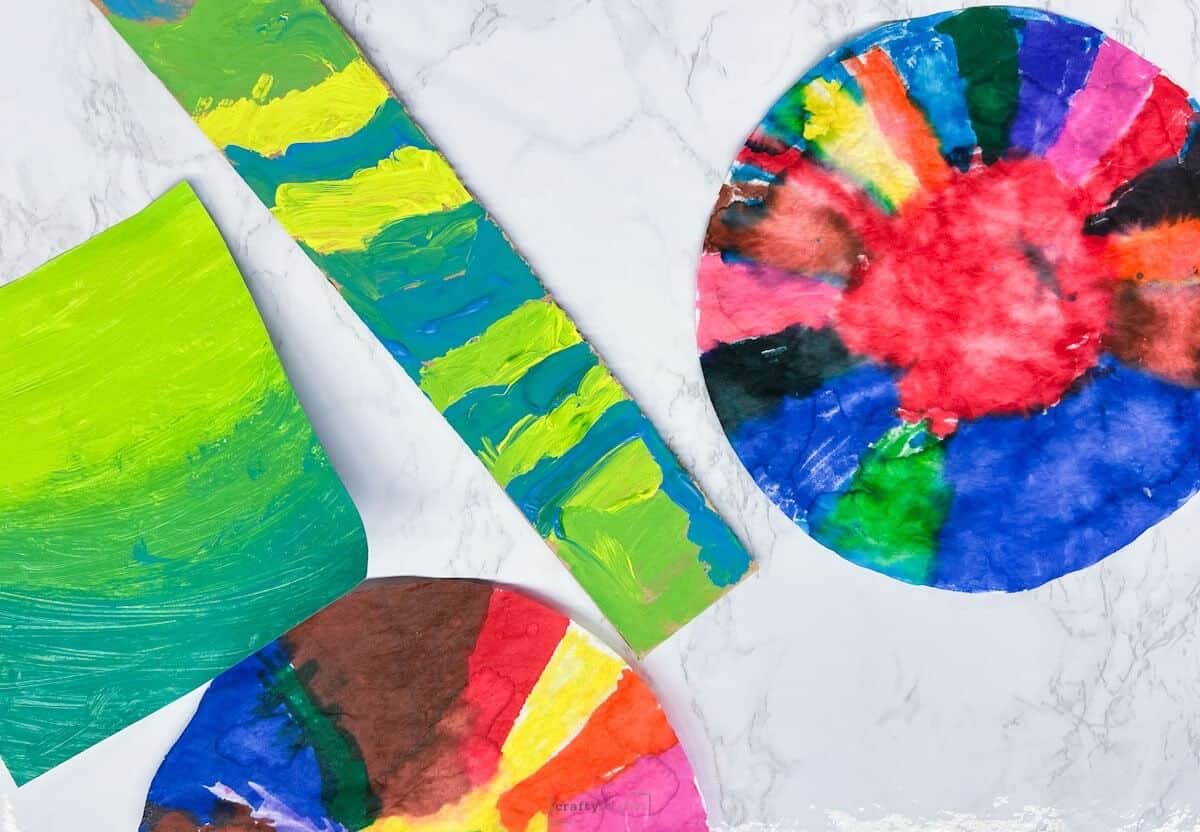
Step 7: Gather All Flower Parts

You will need to give each child the following items:
- Cardboard Stem
- Tagboard painted green
- Coffee Filter
- Plate
- Extra scrap paper (optional)
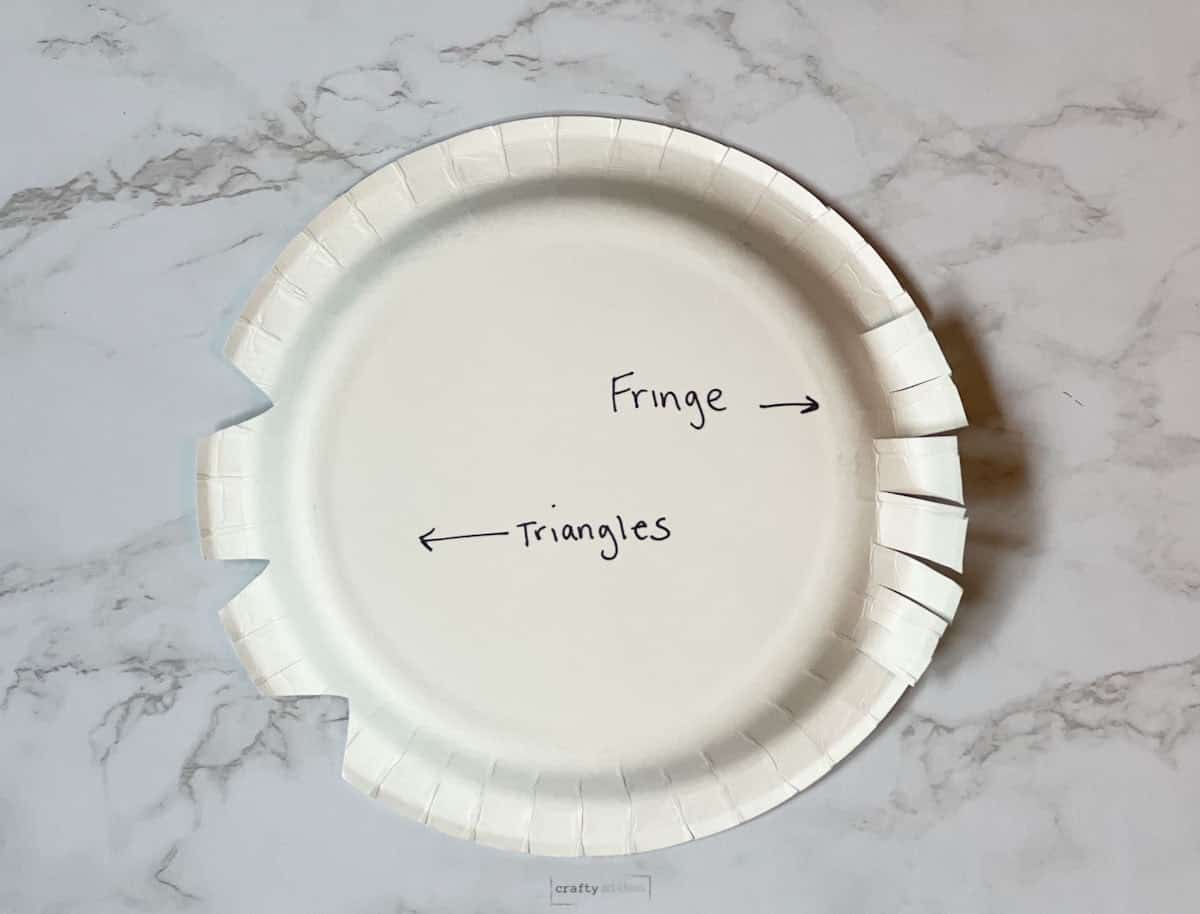
Step 8: Cut Flower Edge Design
Cut little triangles or fringe to make your flower petals on the plate. Kids should also draw and cut 1 or 2 leaves out of the green tagboard.
Step 9: Assemble Flower
- Children can glue their leaves to the cardboard stem.
- An adult should help staple the coffee filter to the plate and the stem to the plate
- Students can use extra paper to glue a different center on the flower to complete it.

Expert Tips

- Anytime you are placing a paint tray on a table, put 2 or 3 paint colors you know will mix well together. It is very hard for the table to not mix it all up as they work.
- Take your time with kids when doing each part. You can stretch this flower lesson to include other color-mixing activities and books.
Craft FAQs
We found that you get some really great greens when you use Crayola Premier Tempera or Washable Tempera in yellow and turquoise.
No, the flower design would still work if a child is unable to cut the plate.
You want to scrunch the coffee filter as you are stapling it onto the plate. Then staple that part to the stem.
Having a long-reach stapler will make this easier.
We love using Mr. Sketch markers with children. They will give you the vibrant colors you are looking for.
Follow us on Pinterest, YouTube & Facebook for more free art and craft ideas!
Related Easy Crafts For Kids
Do you like this art project? Please give us a 5-STAR review below ⭐️⭐️⭐️⭐️⭐️ and have fun being creative with your family.
Easy Paper Flower Craft For Kids
Equipment
- Paint Palette or tray
- Washable Markers
- Water
- Water container
- Paint Tray
- Scissors
- Stapler
Materials
- 1 Paper plates
- 1 Q-tip
- 1 Coffee Filters with paper underneath
- 1 Cardboard Strips
- 1 6" x 6" Tagboard
- Blue and Yellow Tempera Paint
- Black Crayon
- Scrap paper optional
Instructions
- Use washable markers to design a coffee filter. Add as much color as possible.
- Add water to coffee filter so that colors blend together.
- Let coffee filters dry.
- Begin adding dots to paper plate with q-tip and paint.
- Paint cardboard stem and tagboard with yellow and blue tempera paint.
- Let plate, cardboard and tagboard fully dry.
- Cut flower petals out of plate.
- Cut 1 or 2 leaves out of the painted green tagboard.
- Assemble flower by having an adult staple all parts together.
- Children can add an extra center to the flower with scrap paper and glue stick to cover the staples.
Notes
- Anytime you are placing a paint tray on a table, put 2 paint colors you know will mix well together. It is very hard for the table to not mix it all up as they work.
- Take your time with kids when doing each part. You can stretch this lesson to include other color-mixing activities and books.
- Depending on the thickness of your plates. some younger students will have difficulty cutting.
- Continue to encourage little ones to squeeze and use the whole scissor to cut.