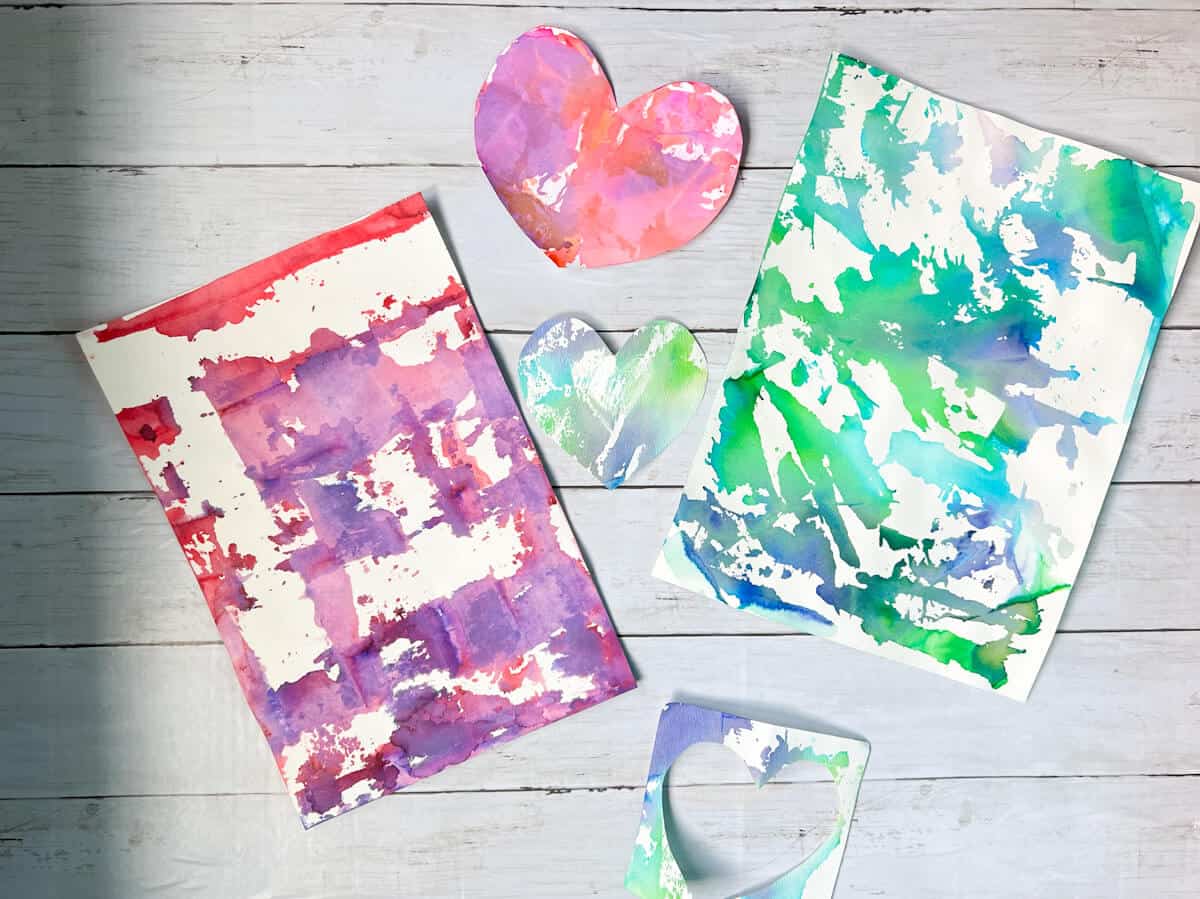
How To Paint With Tissue Paper
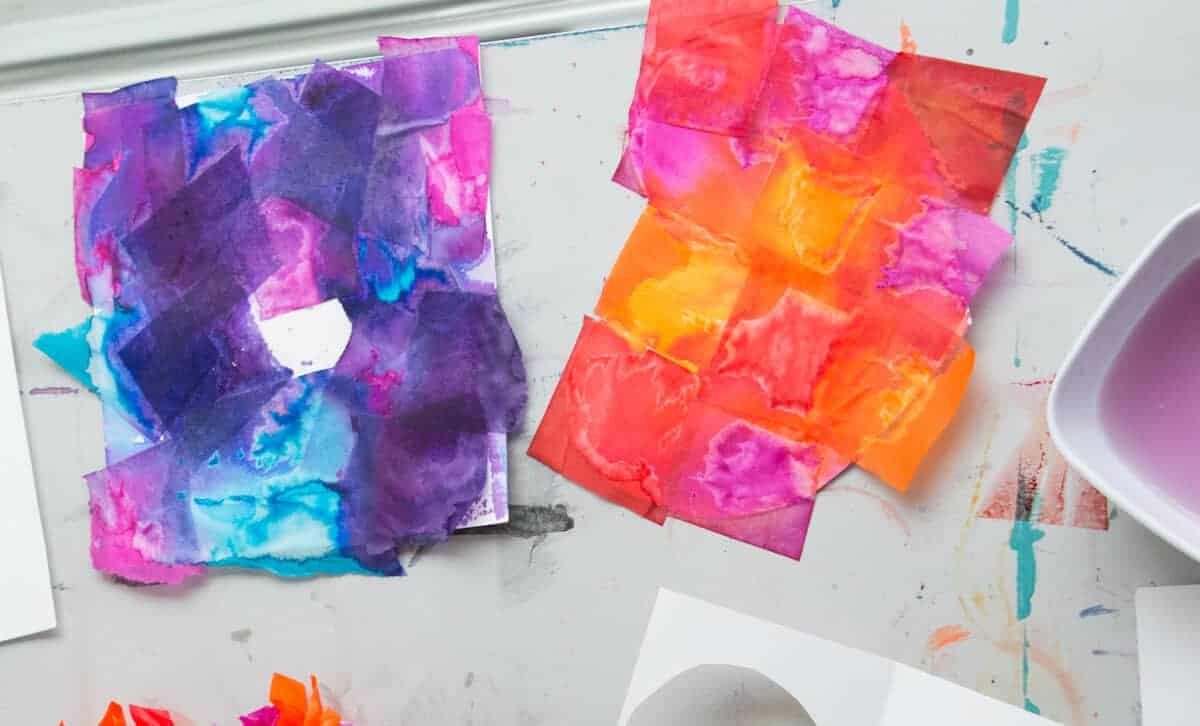
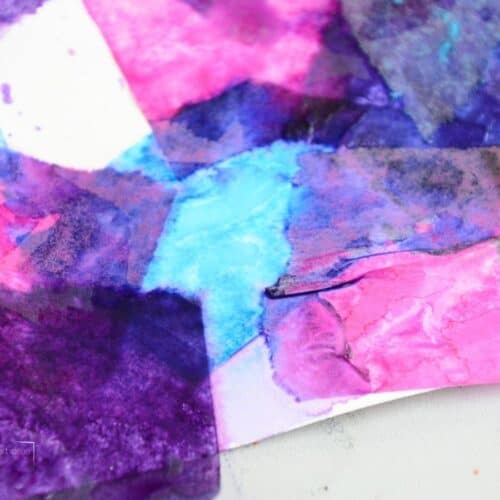
Painting with tissue paper can be an absolute blast for adults and kids, alike. There is a certain level of mystery. It is so fun when the bleeding tissue paper finally dries and you can pull the paper off to see what happened.
Disclosure: This post may contain affiliate links when clicked, we may earn a small commission at no additional cost to you. Read our full privacy policy.
There are a few ways you can paint with tissue paper. Our favorite tissue paper technique involves using bleeding tissue paper because the colors will mix together.
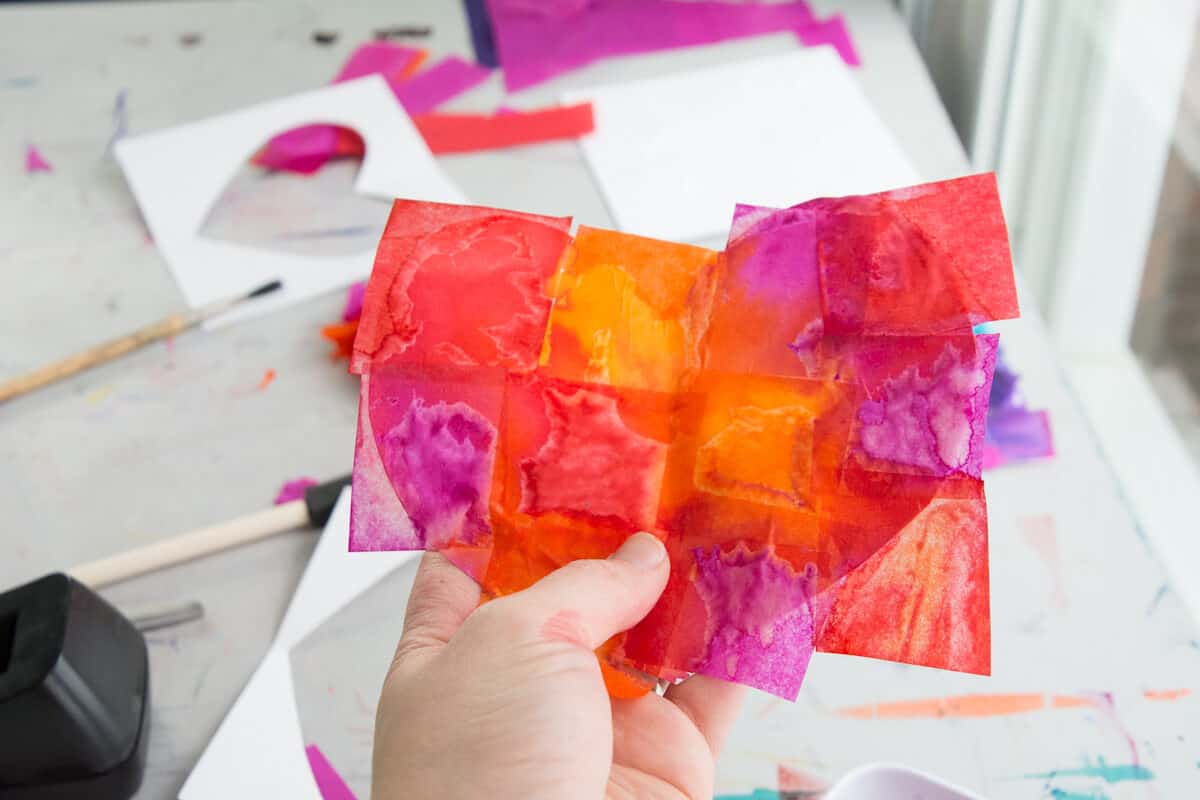
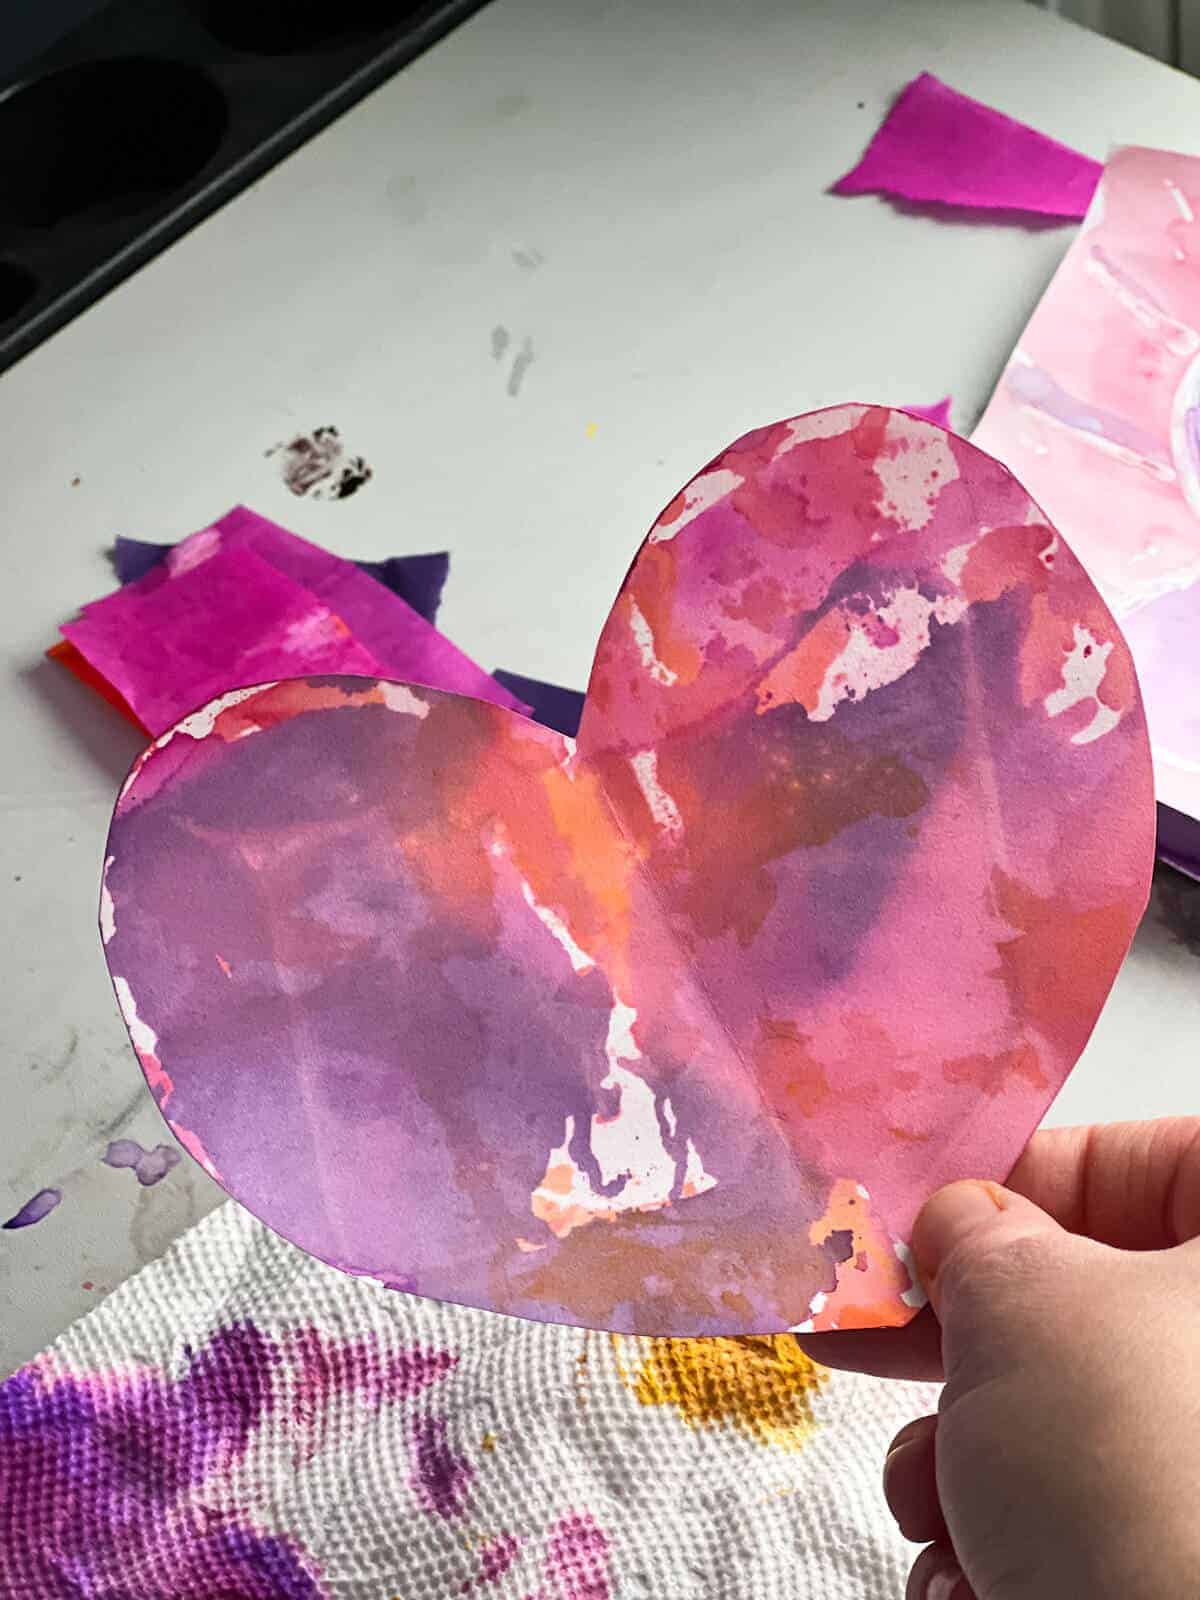
Since Valentine’s Day was right around the corner, we decided to show you how painting with bleeding tissue paper can work with even the simplest of shapes (a heart of course).
What is bleeding tissue paper?
The bleeding refers to the color not being permanent. When it gets wet, you will see the colors come off (so be careful). The dye is water soluble making it the perfect art material to use for backgrounds and fun artwork.
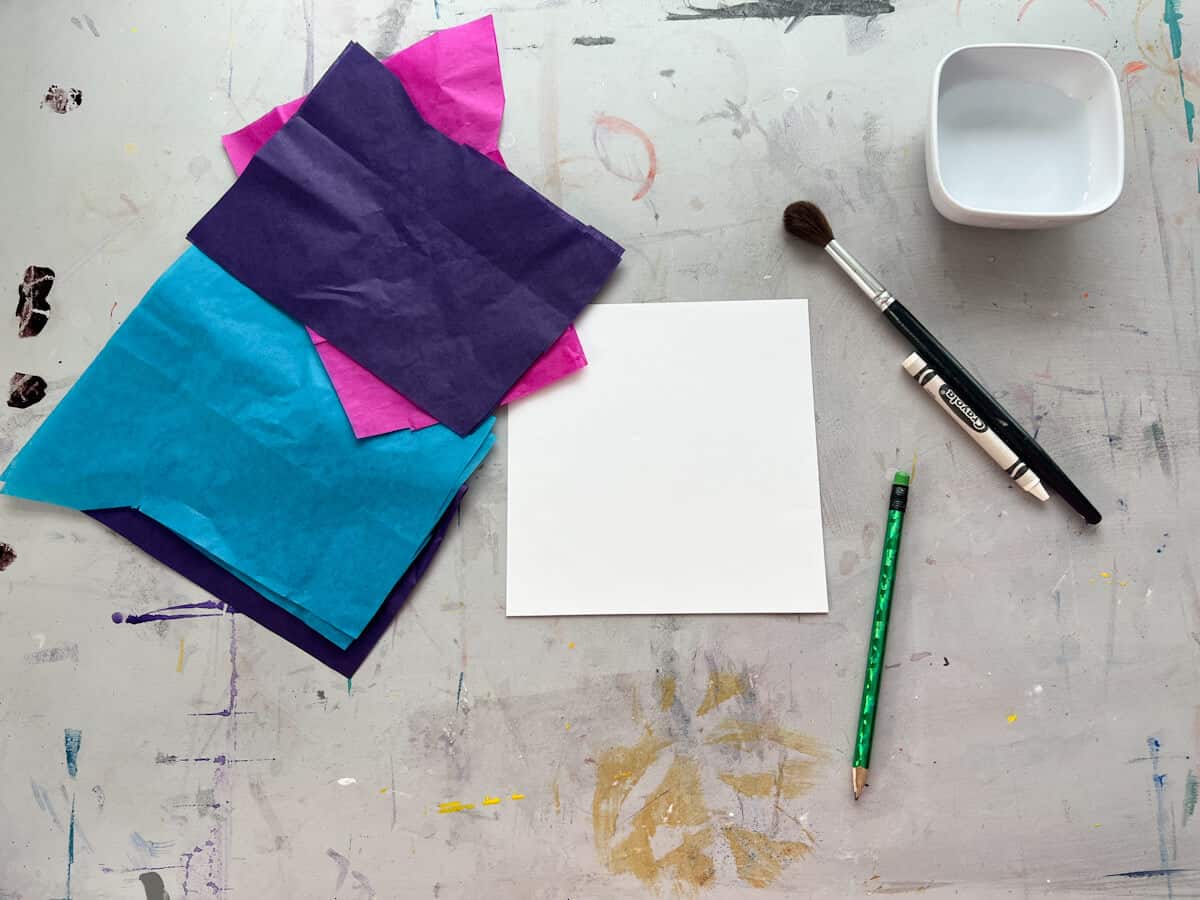
Recommended Supplies
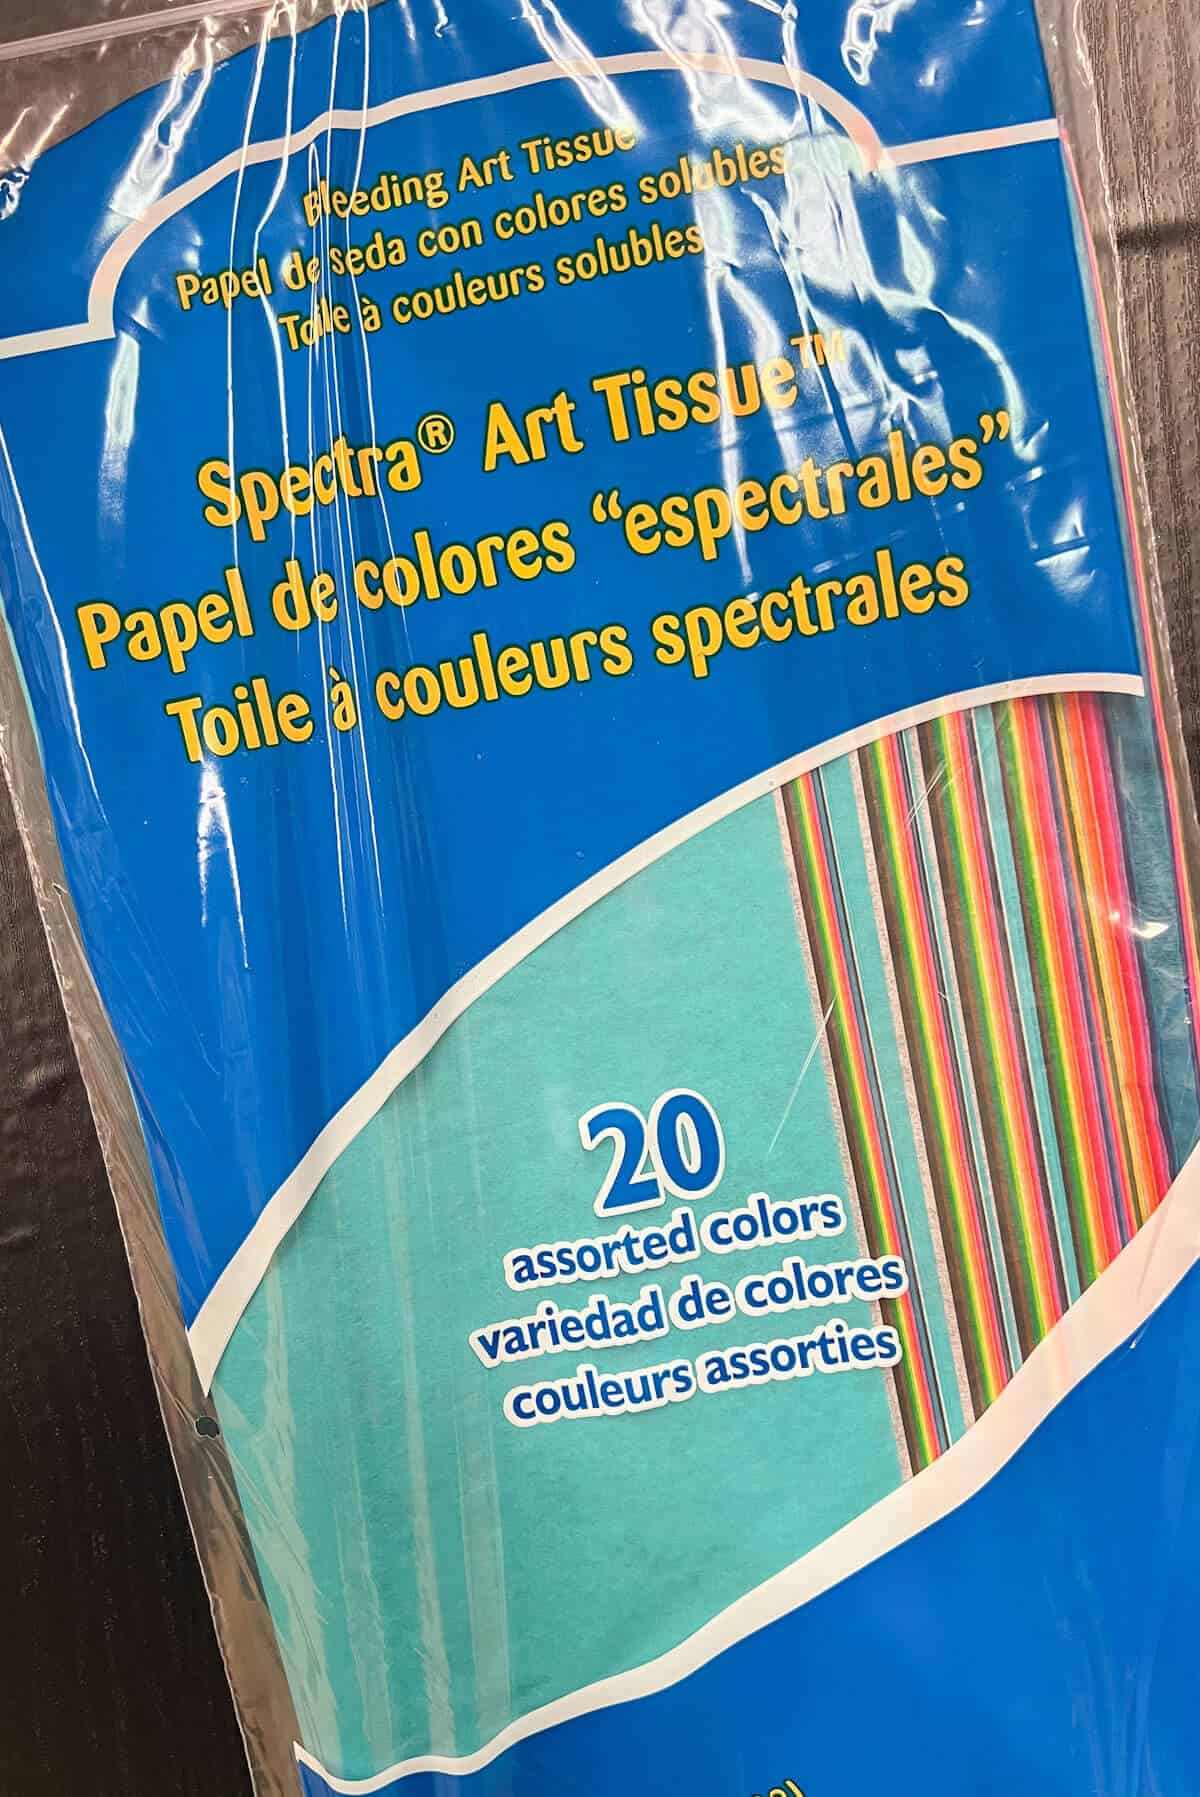
- We normally purchase the Spectra bleeding tissue as it comes in a variety of bright colors and works well for all sorts of bleeding tissue paper crafts.
- Water
- Paintbrush
- Heavy drawing paper, cardstock or watercolor paper
How do you know if you have bleeding tissue paper?
- Make sure the package says bleeding on it.
- If you don’t have the package, you could get a small piece of tissue paper wet. If the color comes off on your fingers, then you have bleeding tissue paper. If it does not, then you just have regular tissue paper.
How To Paint With Tissue Paper
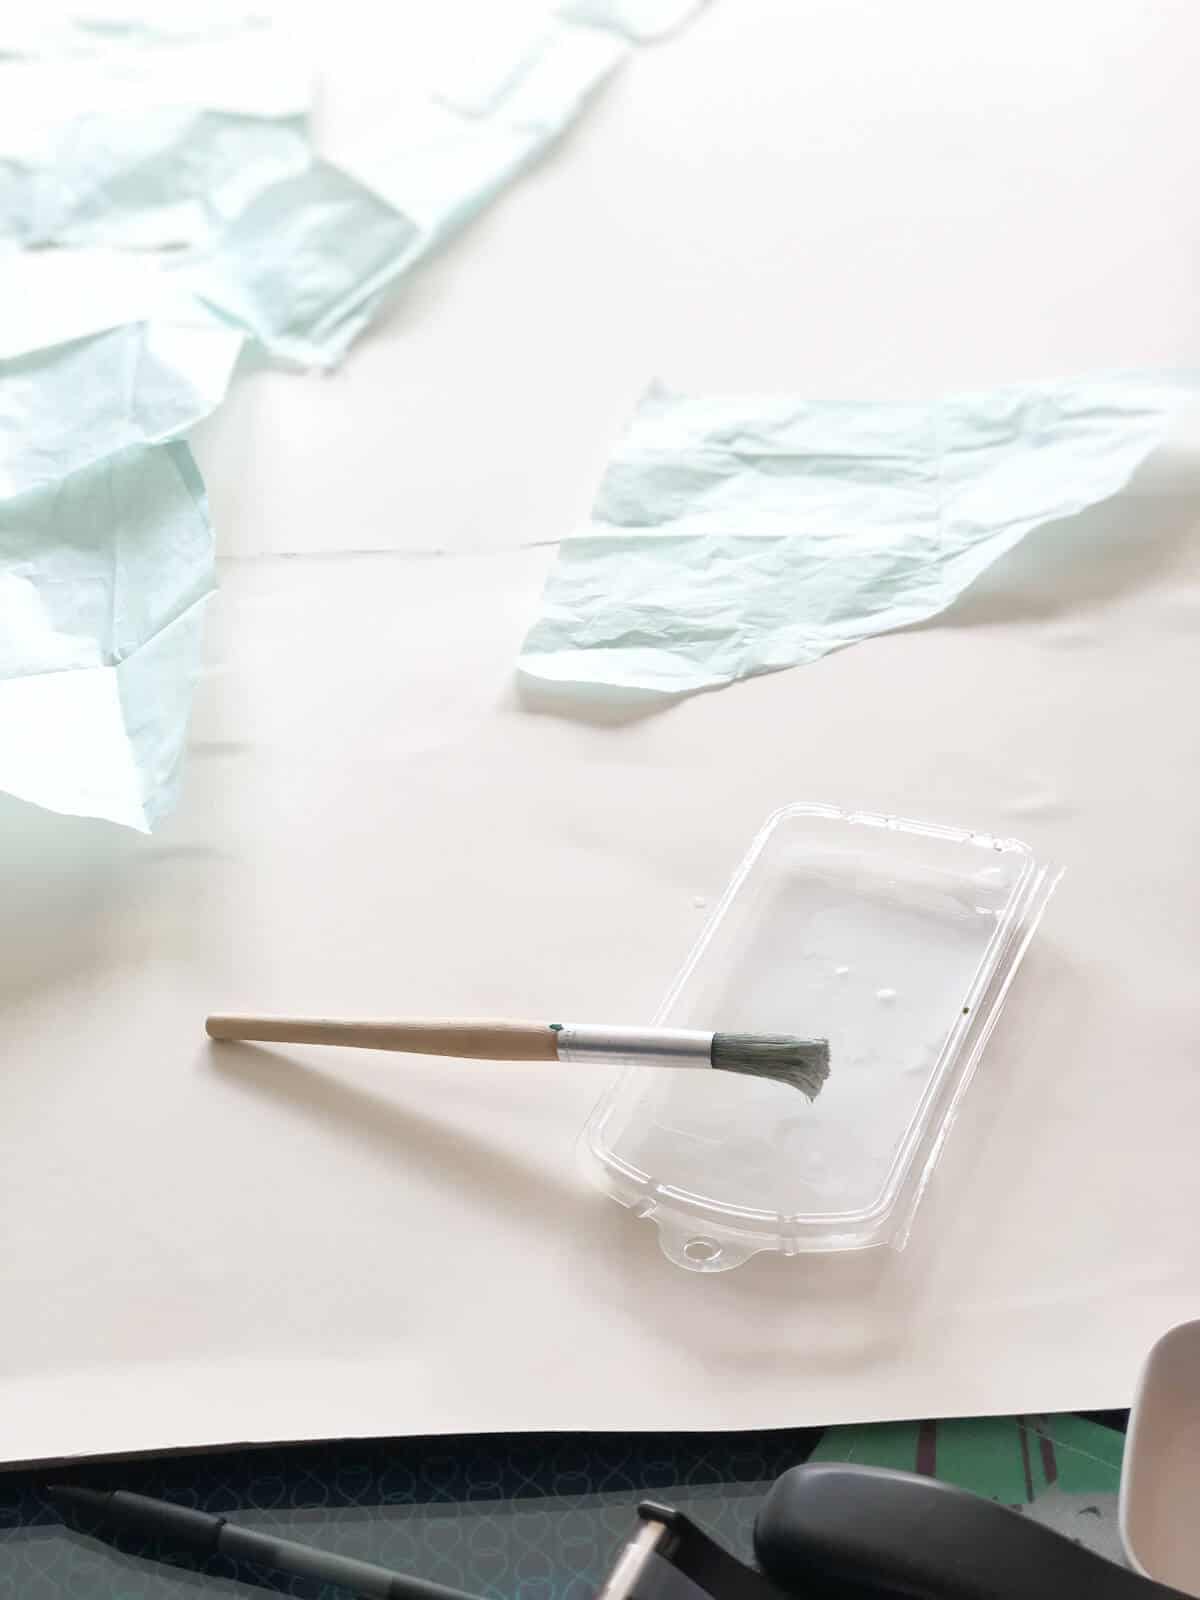
Step 1: Wet The Surface
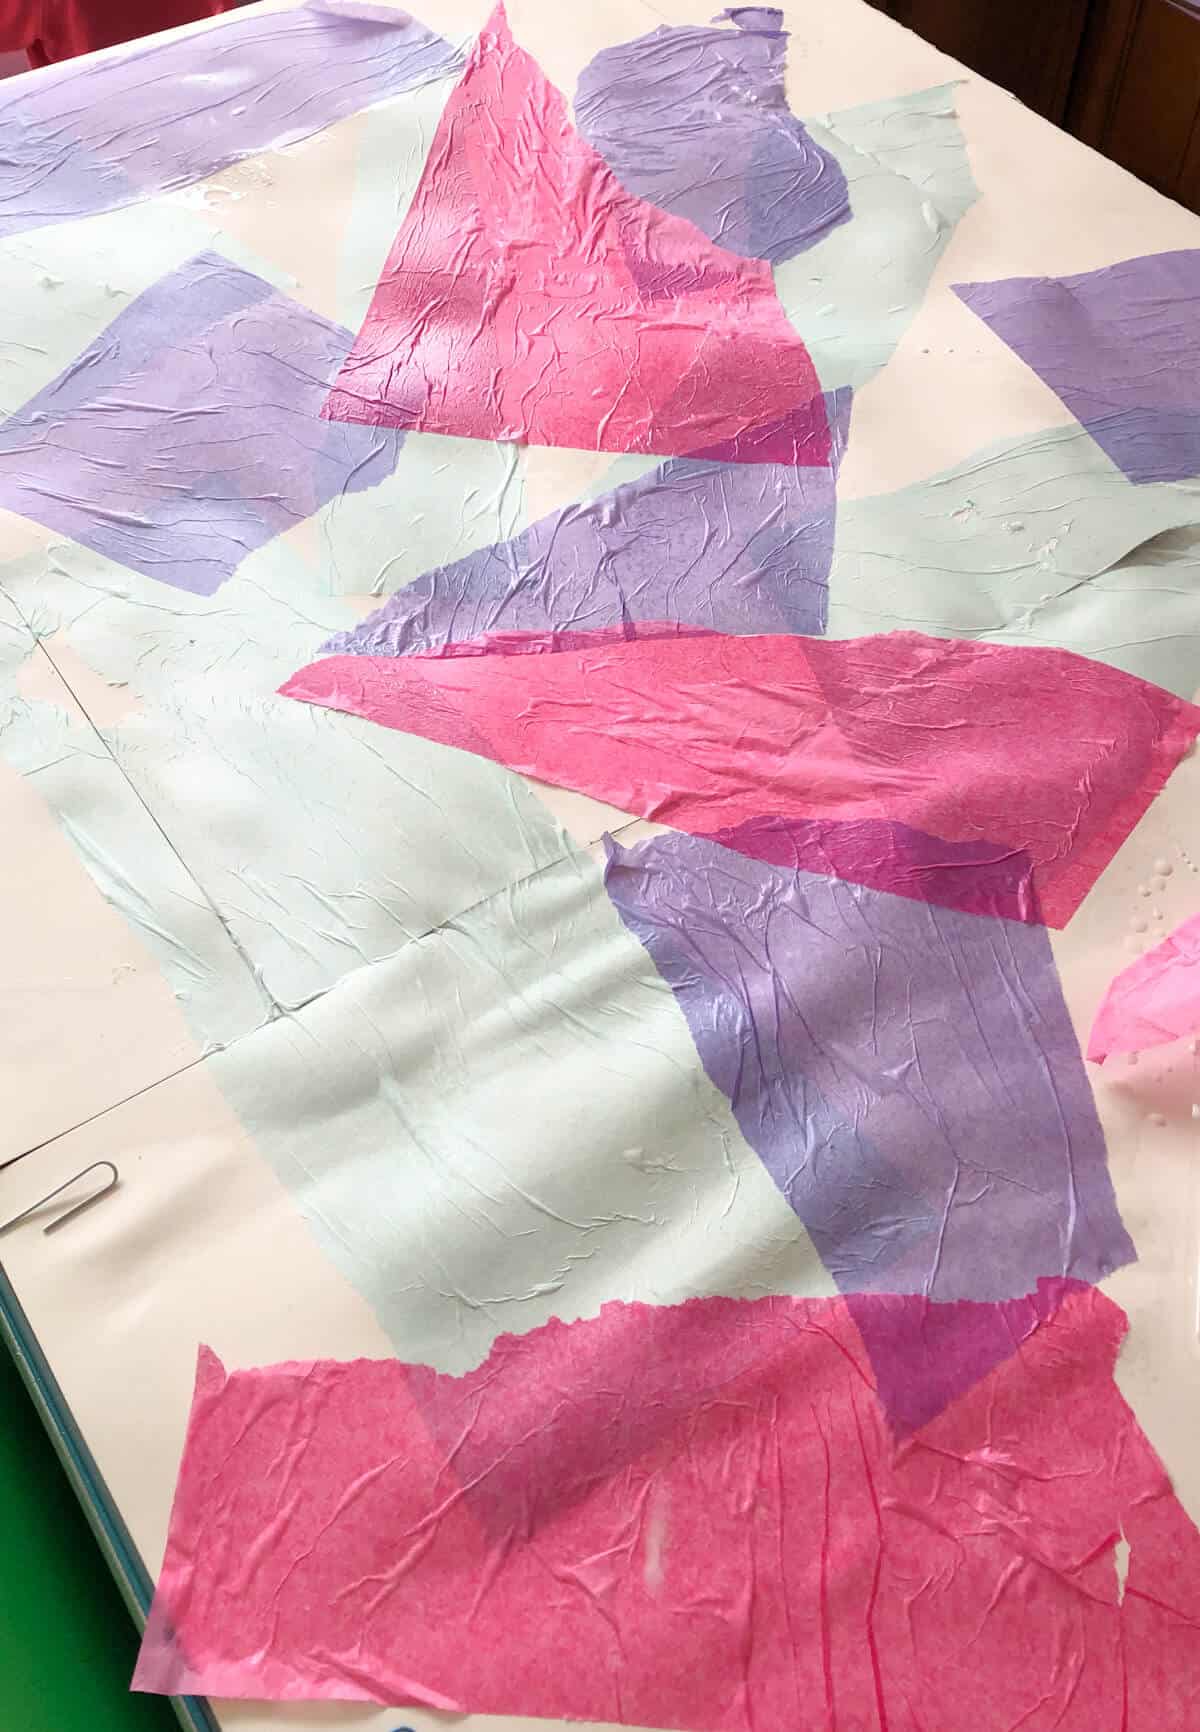
Step 2: Add Tissue Paper
Keep the tissue paper flat and brush water on top. You want to fully saturate the tissue.
If you are working on heavy paper or watercolor paper you can let the tissue paper fully dry.
Step 3: Let Dry
If you are working on a canvas with bleeding tissue paper, you may find it is best to pull the tissue paper off after about an hour.
Other Tissue Paper Painting Designs
- Criss-cross longer tissue paper strips
- Use white oil pastel or white crayon design before adding paper
- Add gold or silver paint markers for extra details once your painting is dry.
- You can also collage with a glue and water mixture as we did for this Monet-inspired background.

Use A Spray Bottle
Use a spray bottle to pre-wet the whole surface of your paper. Lay squares or rip tissue paper pieces on the already wet surface. Then use a spray bottle again to really get those colors to bleed.
How to “Paint” with Regular Tissue Paper (non-bleeding)
This is more of a collage technique but can have a similar feel. You can see how children were able to use this tissue paper collage technique to make fun and colorful word art collages and how we added decoupaged tissue paper to clay.
Step 1: Rip or cut the paper into shapes.
Step 2: Mix ½ water and ½ glue.
Step 3: Paint that mixture on top of the tissue paper shapes.
Step 4: Layer it on top of one shape at a time. Let dry and see that you have almost created a brand-new piece of paper. You will not pull the paper off as you do when you are painting with bleeding tissue paper.
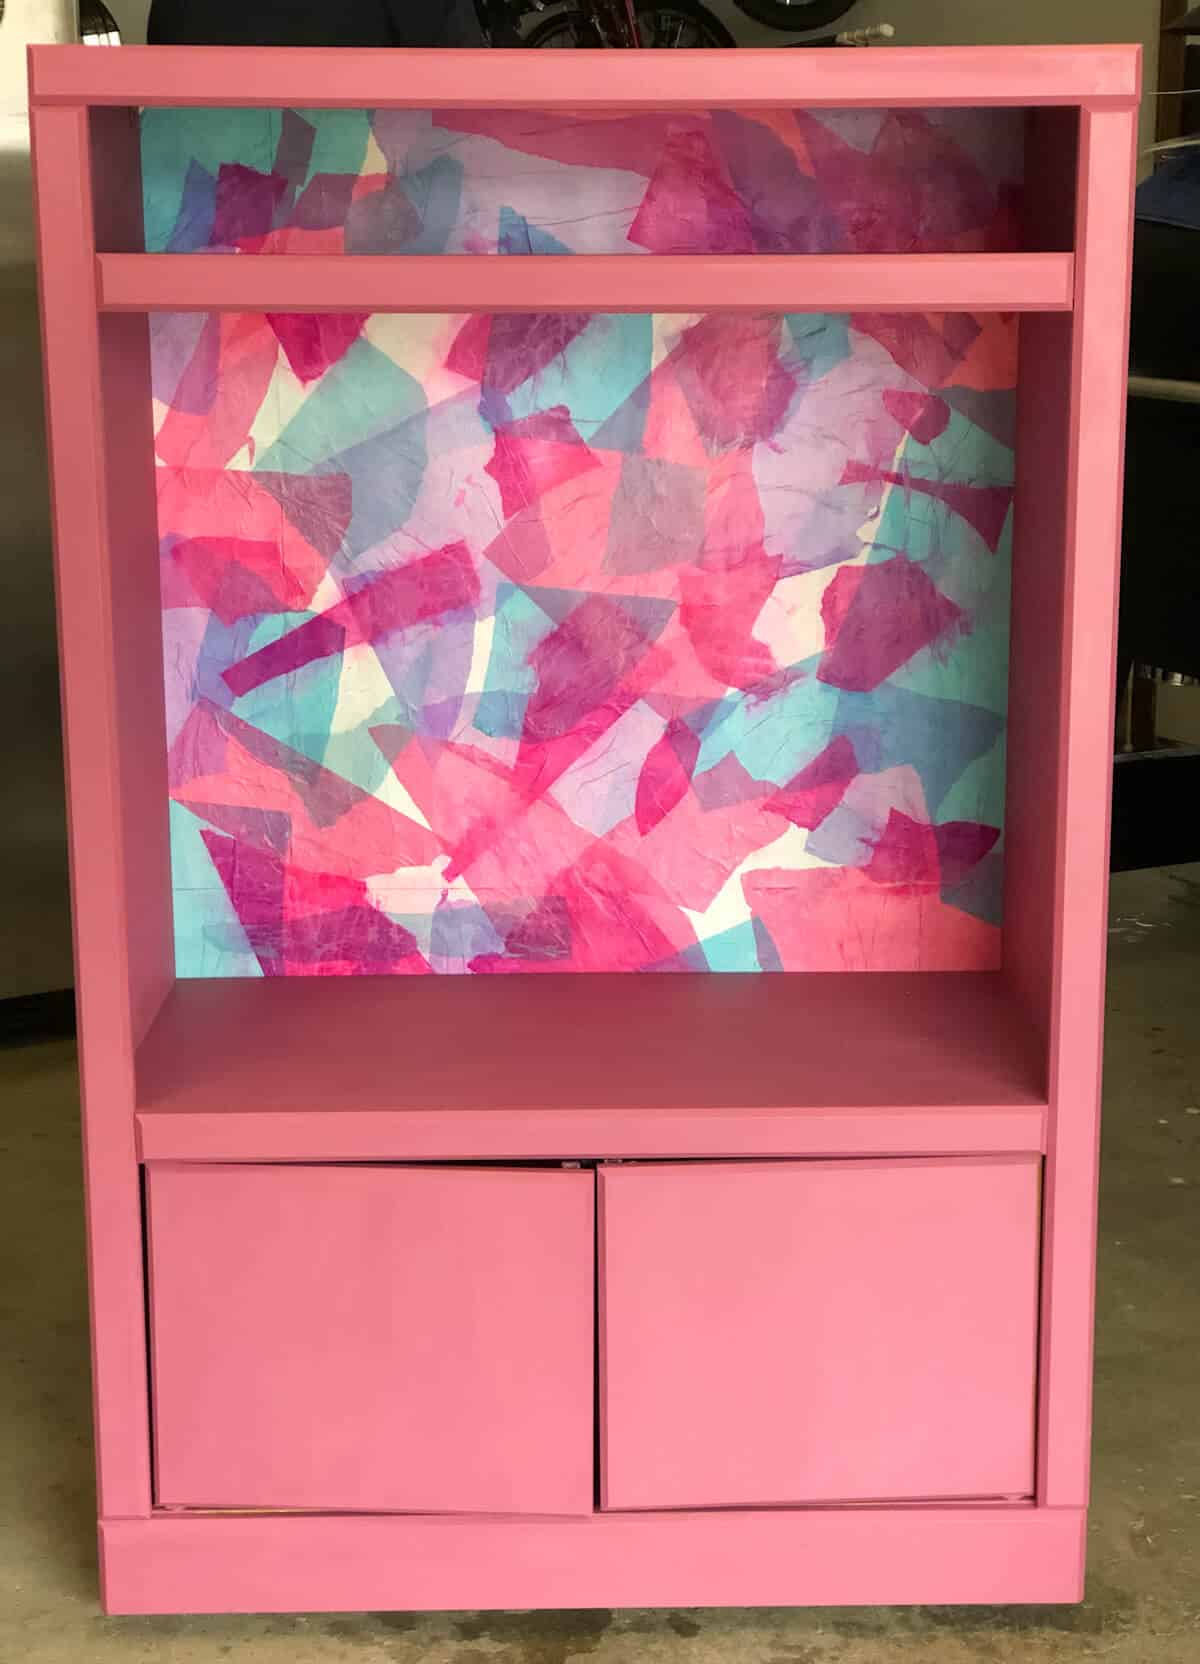
The back of this repurposed entertainment center turned dress-up clothes storage was even created by painting tissue paper and sealing with mod podge.
Technique FAQs
No, you will not get the colors to blend together. To get the dye to come off the tissue paper you want to make sure that you are using bleeding tissue paper. You can collage with regular tissue paper to get a fun effect.
Water or anything mixed with water (like glue and water) will make tissue paper bleed to get a unique colorful artwork that kids love.
Follow us on Pinterest, YouTube & Facebook for more free art and craft ideas!
More Fun Painting Ideas
- Fun Word Art Project For Kids: another great project using bleeding tissue paper.
- Easy Flower Painting
- Paper Plate Flower Craft
And most importantly, enjoy the process of painting with tissue paper.
Do you like this art project? Please give us a 5-STAR review below ⭐️⭐️⭐️⭐️⭐️ and have fun being creative with your family.
Painting With Bleeding Tissue Paper
Equipment
- Paint Brush
- Spray Bottle With Water Optional
- Water
Supplies
- Spectra Bleeding Tissue Paper
- 80 lb. Drawing Paper
- Optional: Watercolor Paper
Instructions
- Pre-wet the paper with a brush or spray bottle. The wetter your paper is the more the colors will bleed.
- Simply rip your pieces in a variety of shapes and place on white paper or watercolor paper.
- Use a brush and paint water over each piece. You actually want your tissue paper to be pretty wet so that the colors start to “bleed” or soak on to the paper.
- Overlap the next color slightly and paint water on top of the shapes.
- Let dry.
- Pull off paper and reveal your awesome painted paper.
- If you have too much white, like we did, just put another layer of tissue paper ontop and let it work its magic.
Notes
- Any white paper may work, but you will have the best results with watercolor paper (doesn’t have to be the most expensive).
- Use colors of tissue paper that you know will mix well together such as colors next to each other on the color wheel.