Unique and Easy Snowflake Canvas Painting For Kids
This fun snowflake canvas is fun for all ages and even our 4-year-old could do it with a little help. Have fun making your own snowflake painting in a unique way this afternoon.
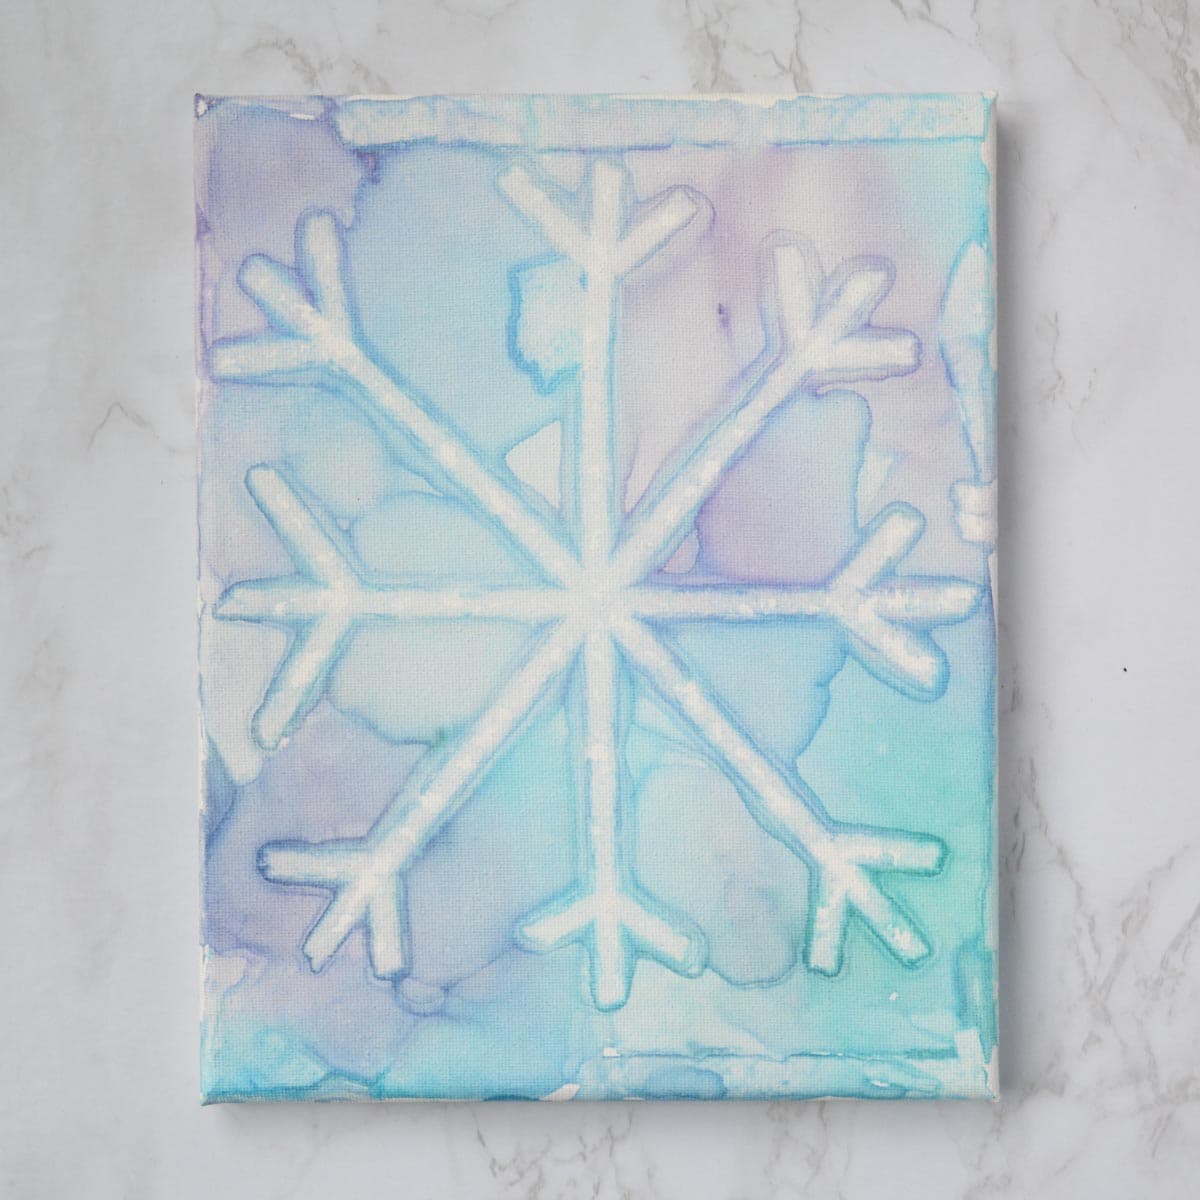
Why You Will Love This Art Idea
We completed this snowflake painting easily in 20-30 minutes (with a 4-year-old). The hardest part was letting the tissue paper dry a little on the canvas before removing it to see the awesome designs.
Supplies You’ll Need
Disclosure: This post may contain affiliate links when clicked, we may earn a small commission at no additional cost to you. Read our full privacy policy.
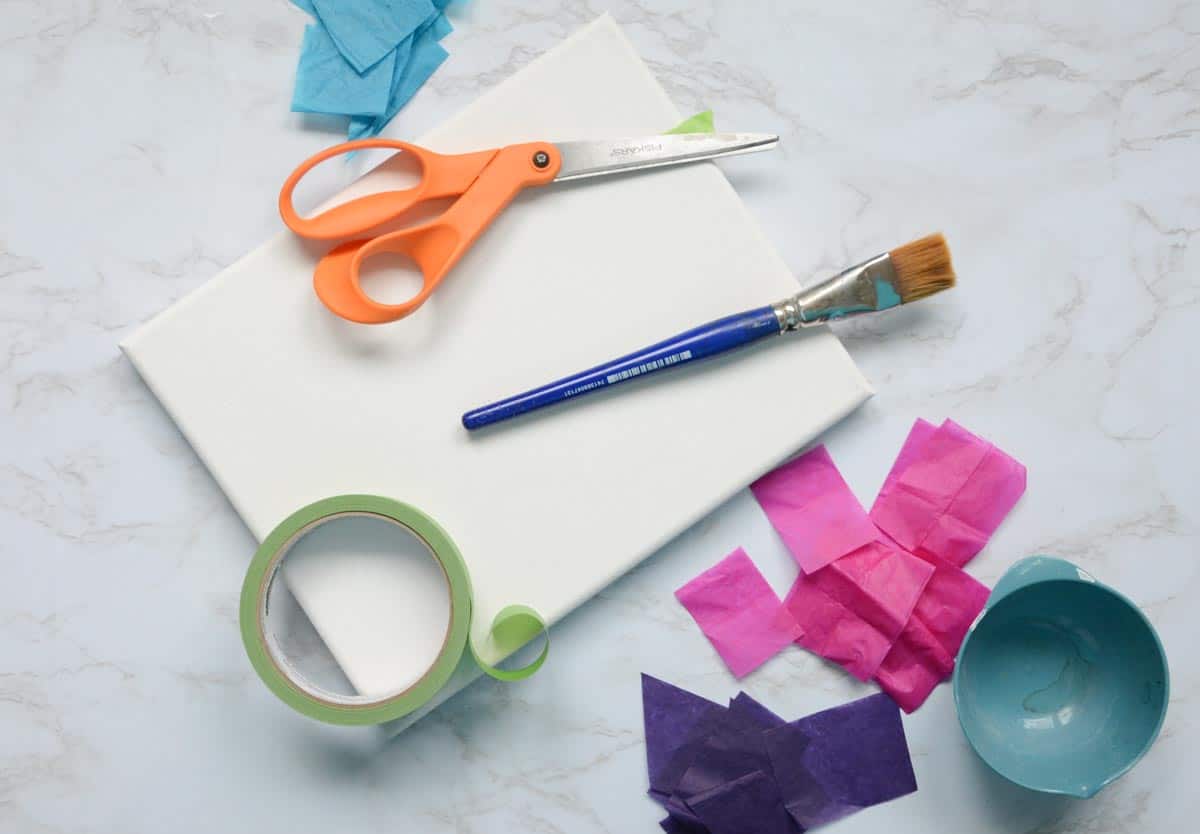
*Notes About Supplies
- You may need to add a base coat of gesso or white acrylic paint and let it dry. Our canvases were pre-primed.
- You can also create bleeding tissue art on heavy watercolor paper or canvas boards.
How To Make Your Snowflake Painting
Before You Begin
- Cover your work area. Using bleeding tissue paper can get messy.
- If you do not want dyed hands, consider wearing gloves.
- Precut bleeding tissue paper before you begin.
Step 1: Tape Out Your Design
You can see different ways to draw simple snowflakes. We like using extra thin painter’s tape because you can get a detailed and fun design.

Step 2: Pre-Wet Canvas
Add a water on top of the canvas.
Step 3: Add Bleeding Tissue Paper
Keep the tissue paper flat and place it on top of the wet canvas. Use your paintbrush to carefully paint another layer of water.
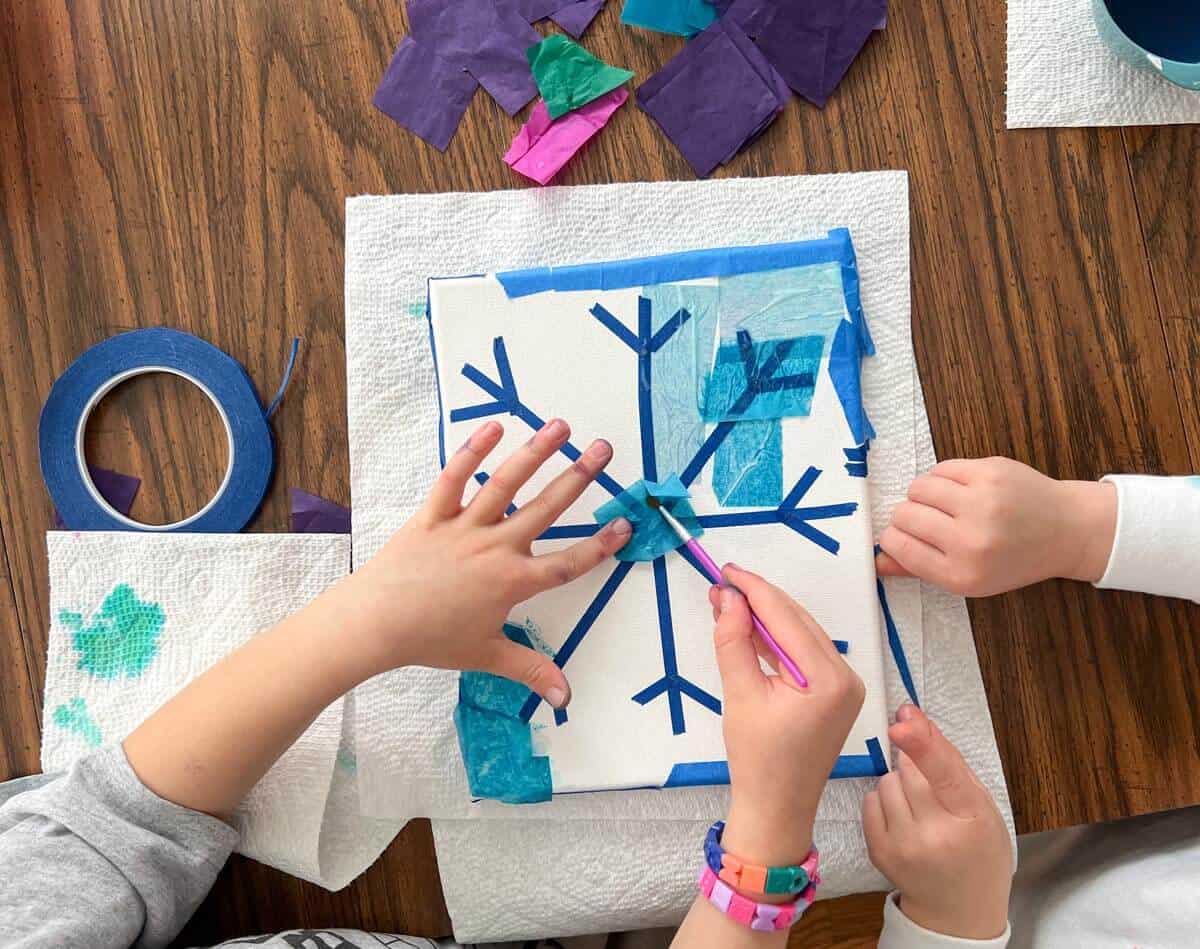
Step 4: Overlap Tissue Paper Squares
Continue working to cover the whole canvas with tissue paper. We used light blue, purple and some dark green bleeding tissue paper. This is our favorite pack with vibrant colors.
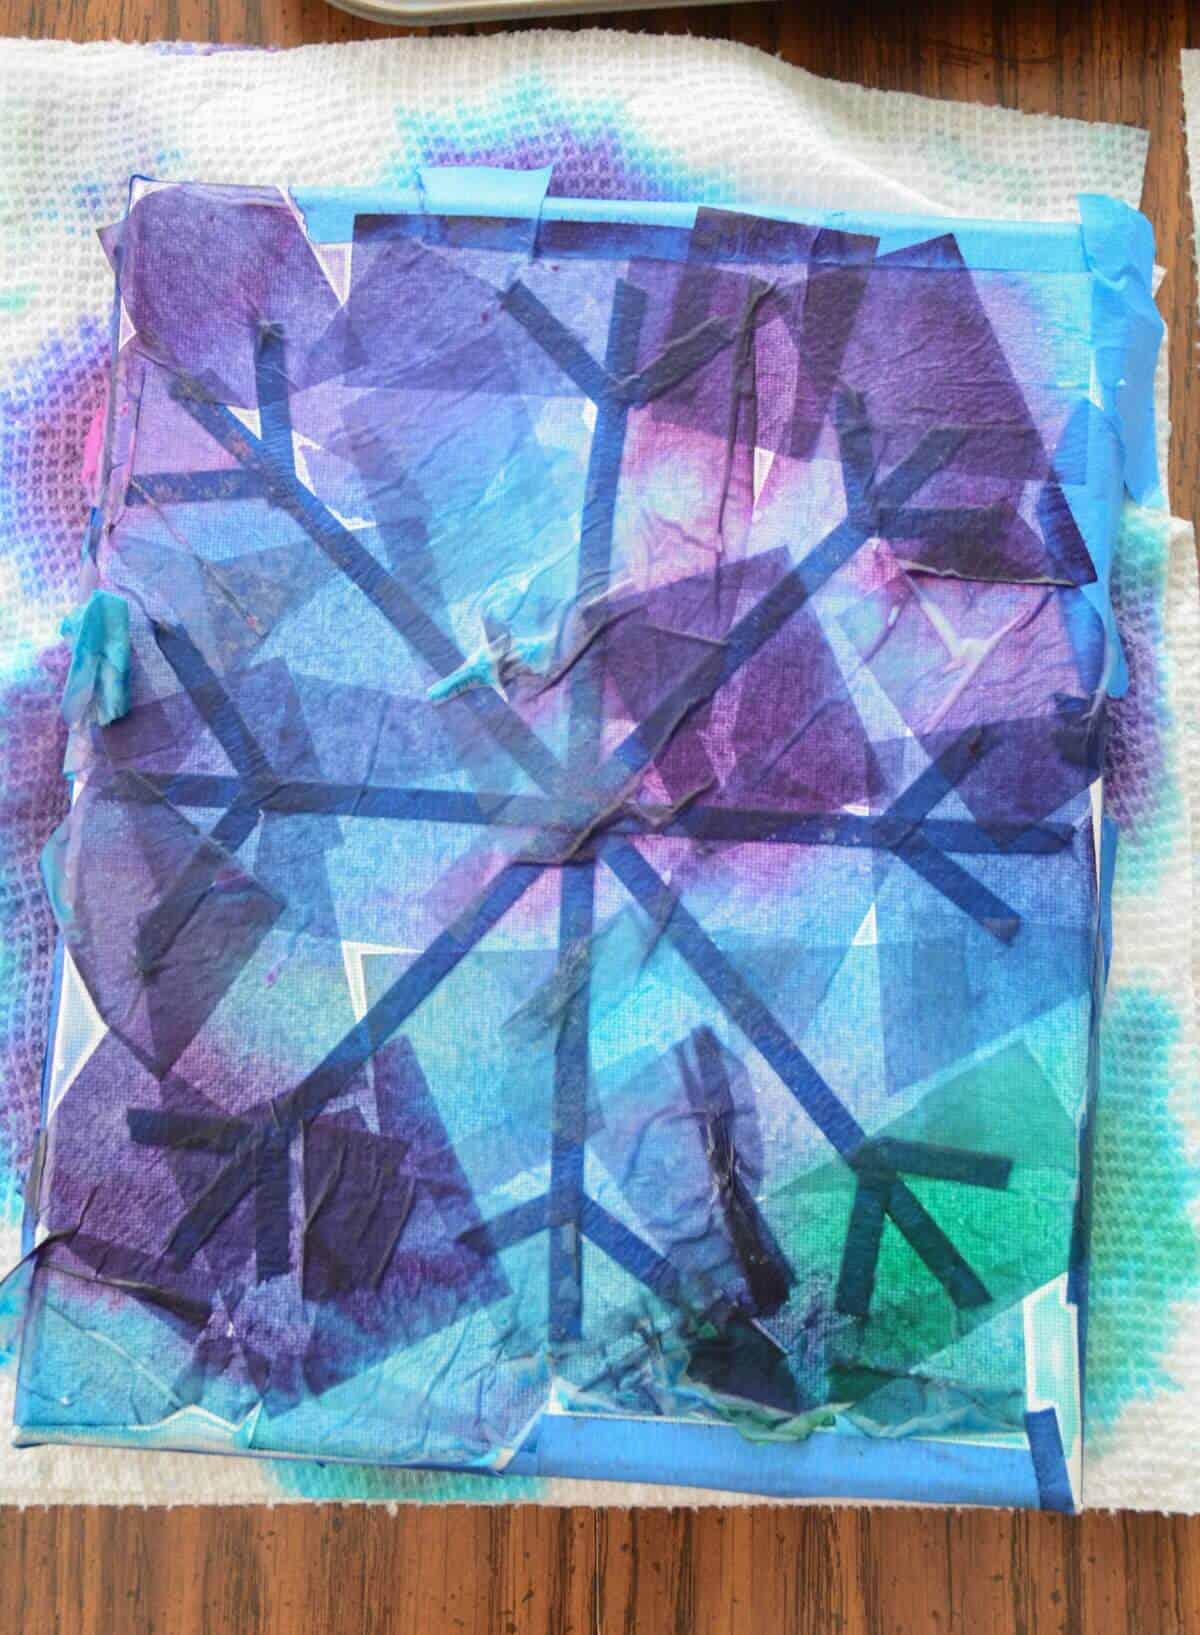
Step 5: Let Dry For About An Hour
You may want to check your project. We found that unlike paper, you don’t want to let the tissue dry completely on the canvas. We removed our tissue paper after about an hour while it was still damp.
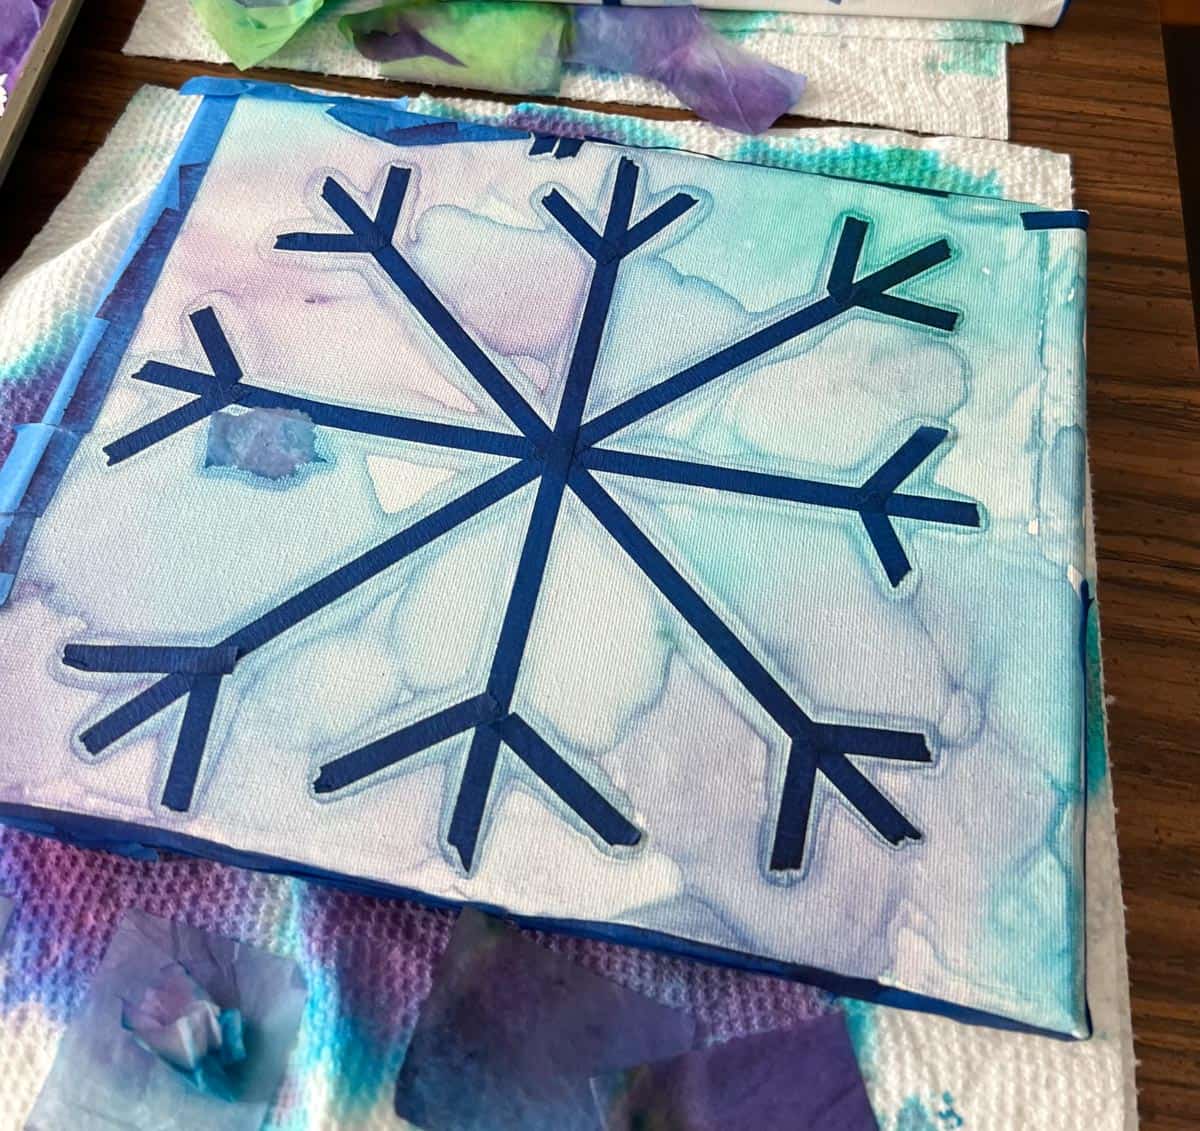
Step 6: Remove Tape
Do not rush this part. You want your snowflake painting to be completely dry before removing the tape.

Tips
- You may want to pull the tissue paper off while damp.
- If you are unhappy with the vibrance of the colors, you can always do two layers.
- You need more water than you think. Having a child use a larger brush can help.
- You can also use thicker tape or repeat this same tape idea using acrylic paint instead of bleeding tissue paper.

Follow us on Pinterest, YouTube, Facebook & Flipboard for more free art and craft ideas!
Art Project FAQs
More Bleeding Tissue Art Ideas
- Monet Inspired Waterlilies
- Fun Word Art Project For Kids
- 8+ Fun Bleeding Tissue Paper Art Ideas To Try
Now is your time to get creative with your next easy painting idea. Your family will love making memories together.

