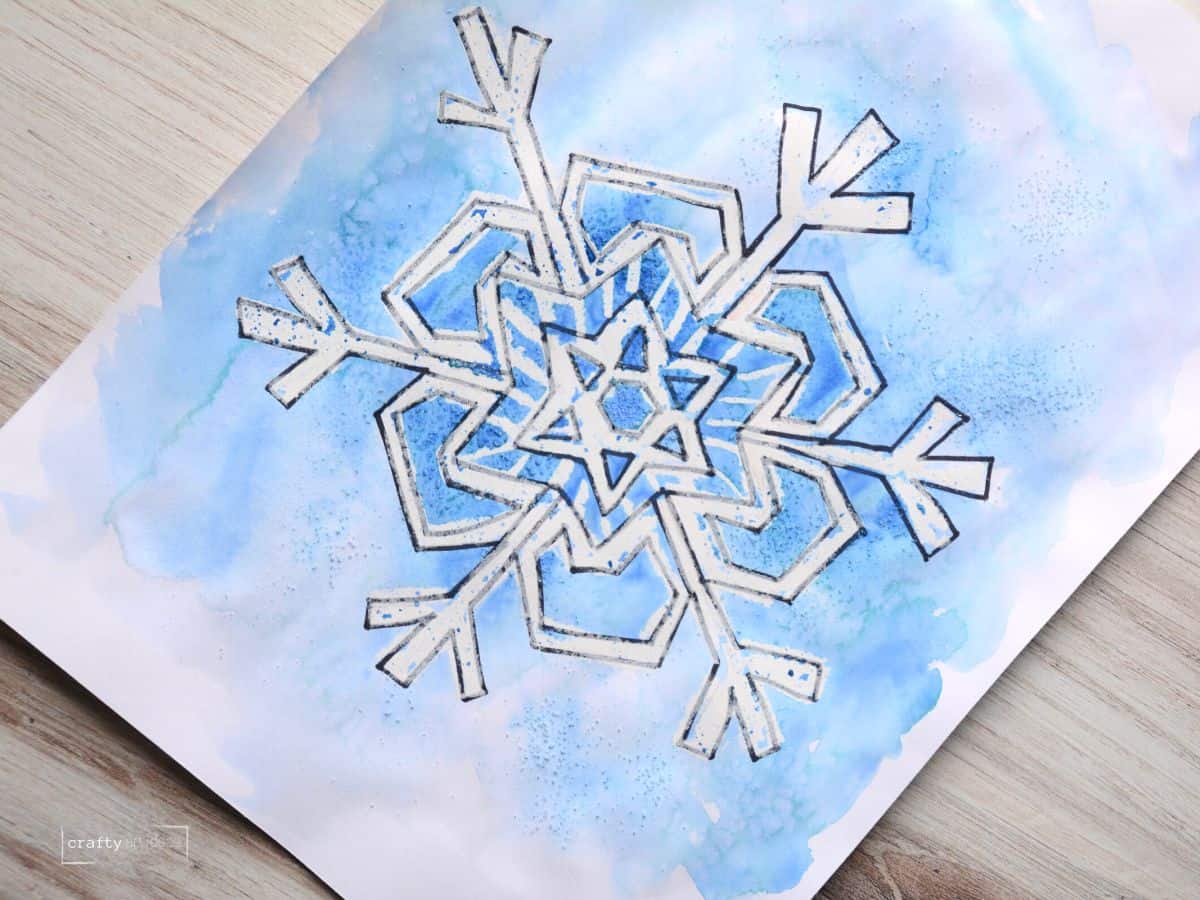
How To Make A Simple Snowflake Drawing
Learn how to draw easy snowflakes with our simple step-by-step drawing tutorial. These snowflake doodles are perfect for Winter art projects, art journal sketches, and more!
This drawing tutorial was originally published in December 2022. This post was updated in January 2026 with a more straightforward format and a printable PDF worksheet.
I love drawing and making paper snowflakes because they turn out different every time. Use our basic step-by-step instructions to help make a creative snowflake of your own.
Snowflake Design Ideas
- Look at real snowflakes for inspiration. Here are high-resolution, realistic snowflake images from Smithsonian Magazine.
- Use simple lines and shapes to help create your six-sided sketch
Supplies You’ll Need
Disclosure:This post may contain affiliate links when clicked, we may earn a small commission at no additional cost to you. Read our full privacy policy.
Optional Supplies
- Permanent Marker or Pen
- Coloring Materials Of Your Choice: We chose to outline our snowflake with black, color with white crayon, and paint the background for a fun watercolor paint resist. You can do anything you want with your snowflake drawing!
Easy Step-by-Step Snowflake Drawing Tutorial
ART TEACHER TIP – Make sure you lightly sketch your pencil lines. You may not want to keep all the guidelines you sketch at first.
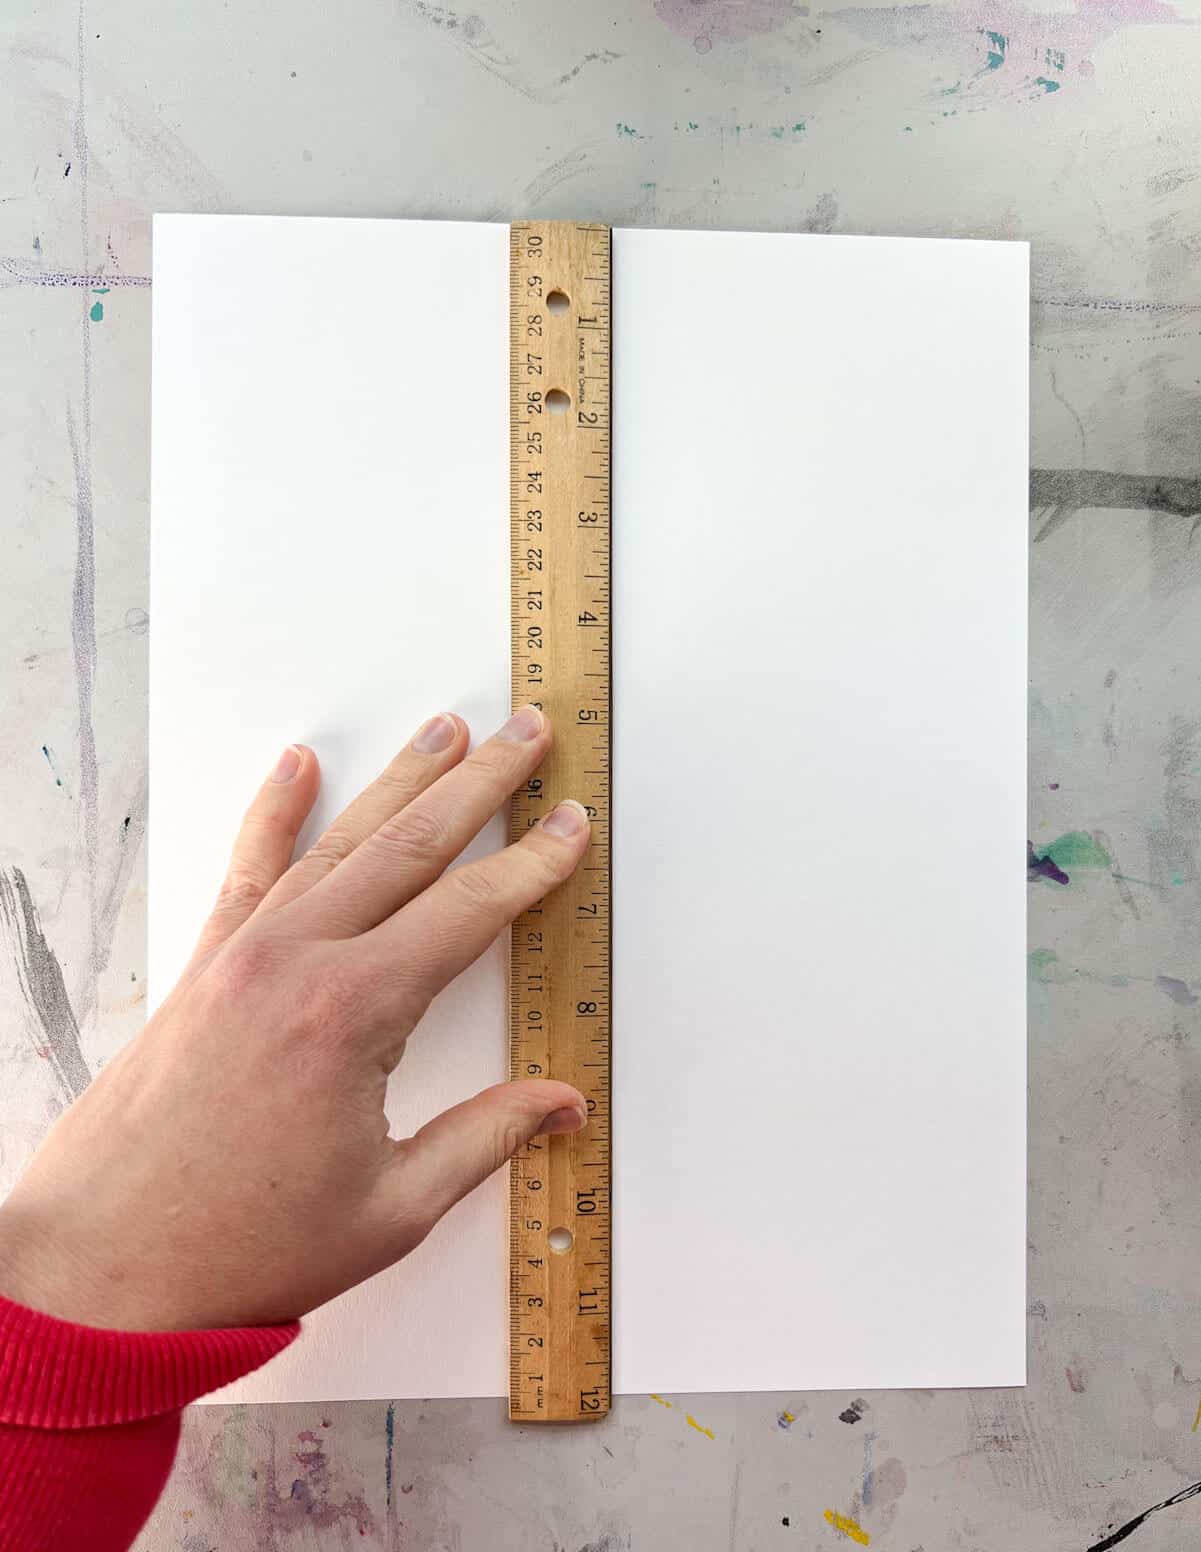
Step 1: Draw A Vertical Line
All your lines will be of similar size. The first line you want to draw is just straight up and down. We made our lines 7″ long.
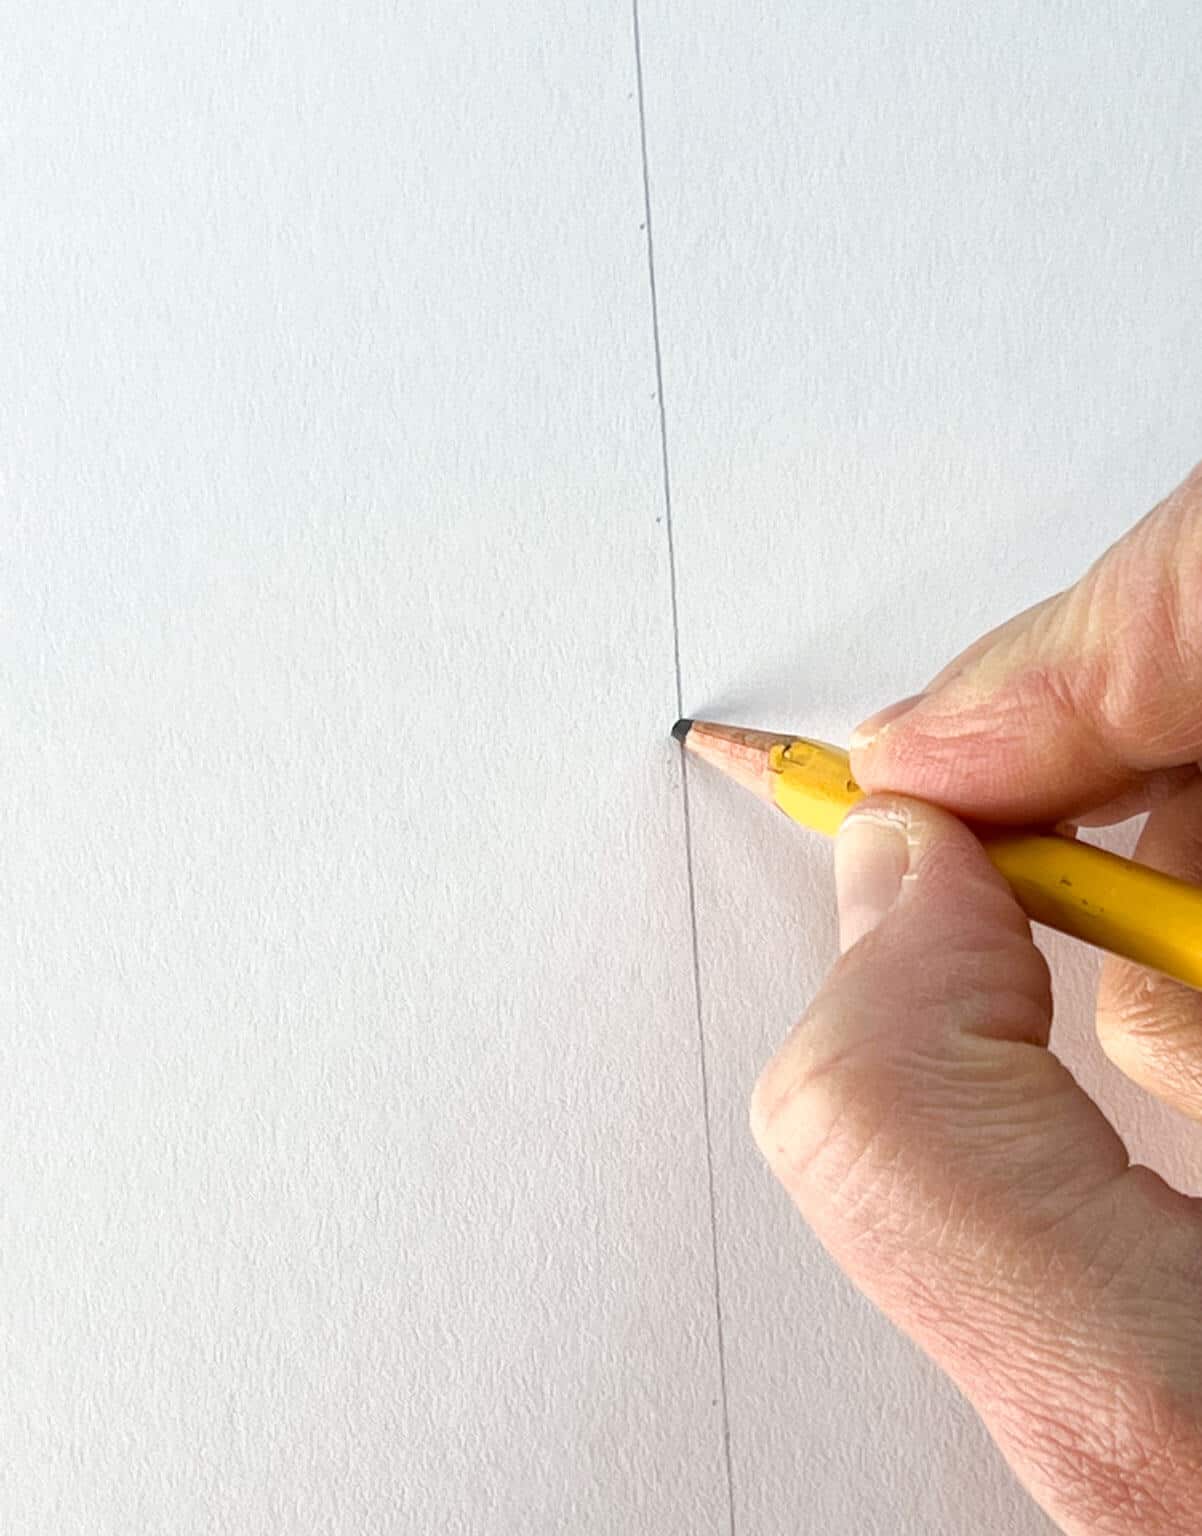
Step 2: Mark The Center Of The Line
Put a small circle or dot on the line as close to the middle as you can.
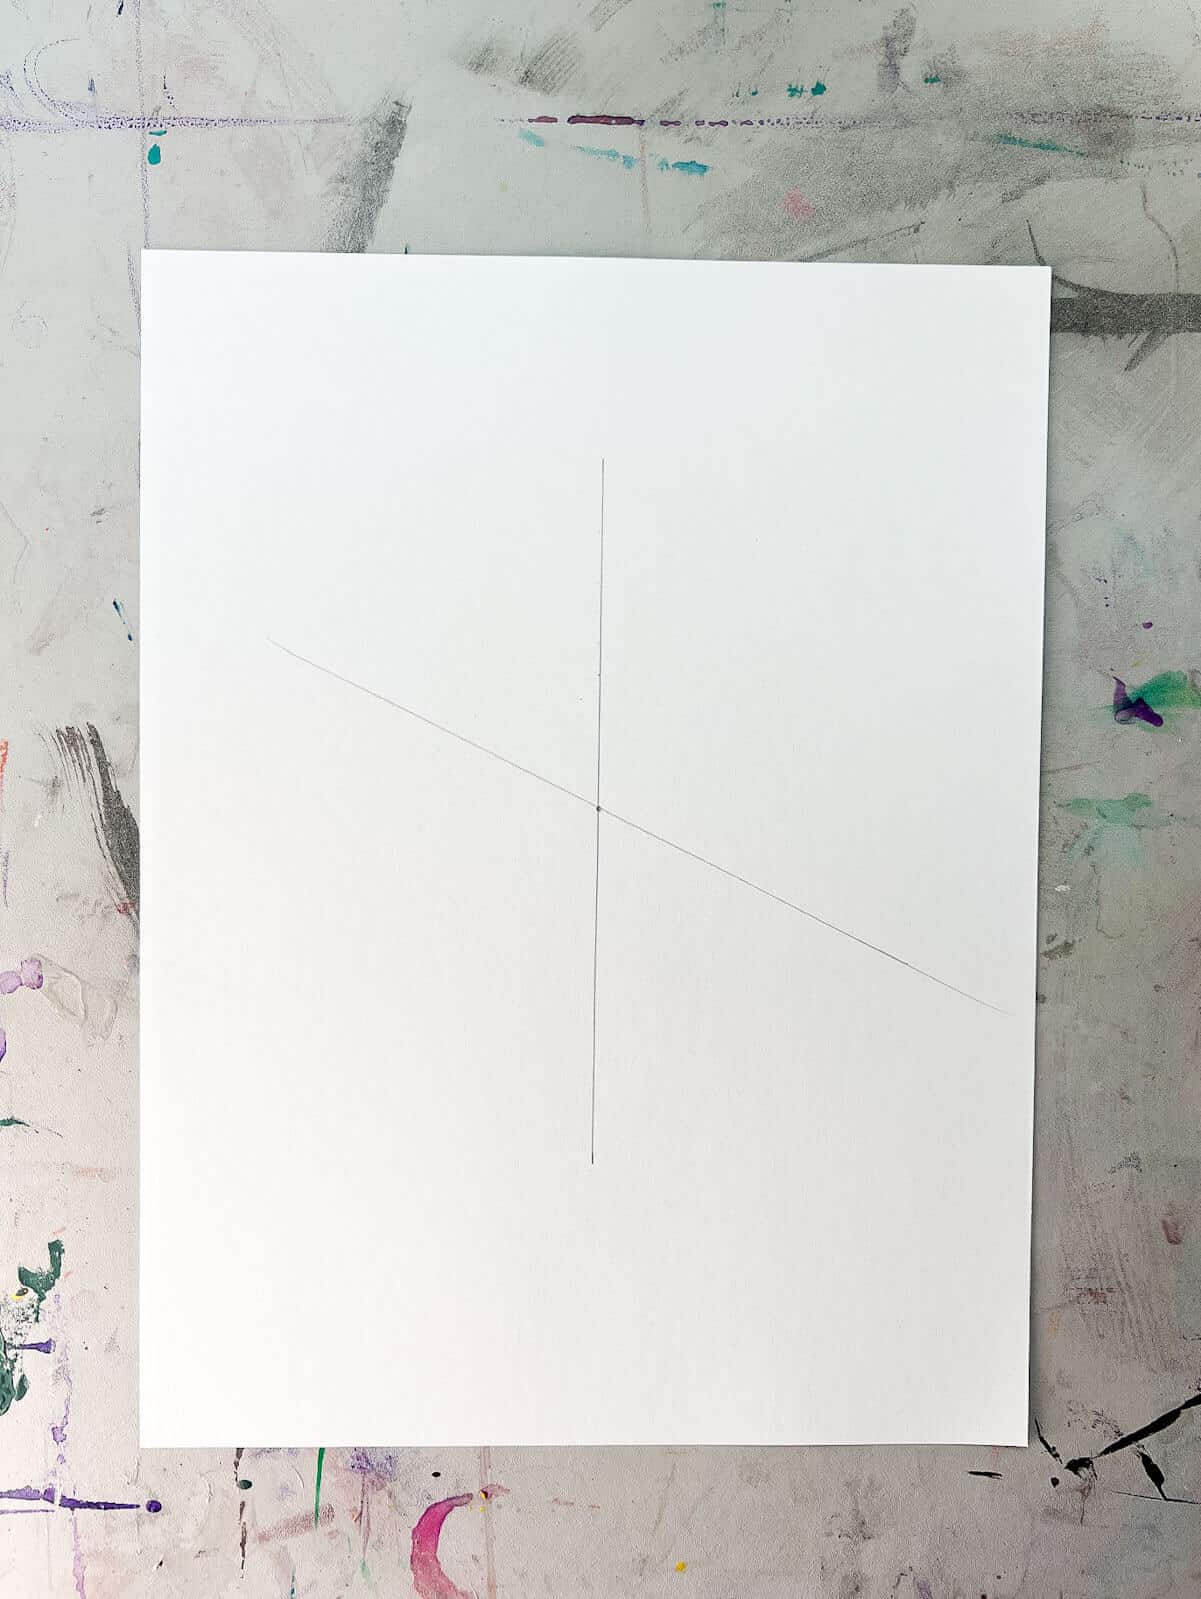
Step 3: Make An “X” Shape
Draw one diagonal straight line that intersects with the dot.
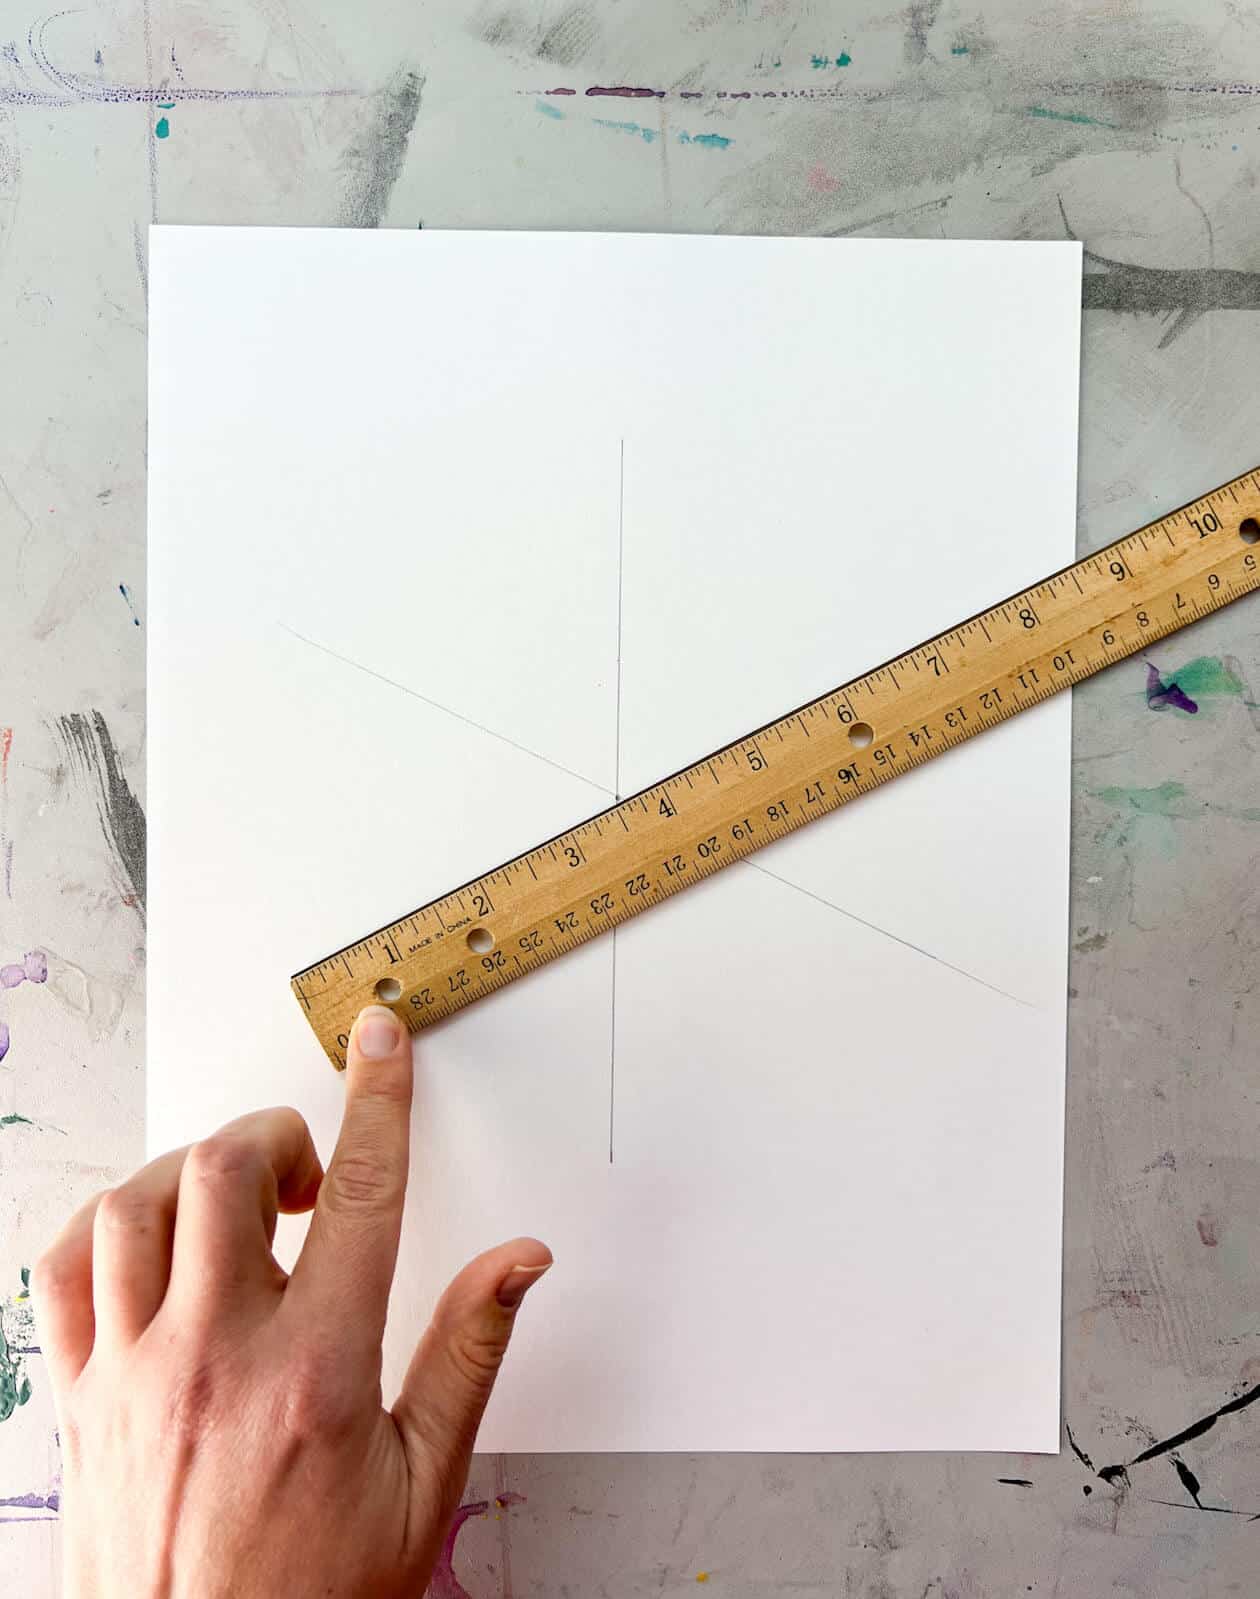
Step 4: Repeat
Add another line on the opposite side, at an equal distance, to create your x.
Your goal is to try to make six equal sections with the extra lines. You can even tell kids that you are trying to make every piece of pizza to be the same size.
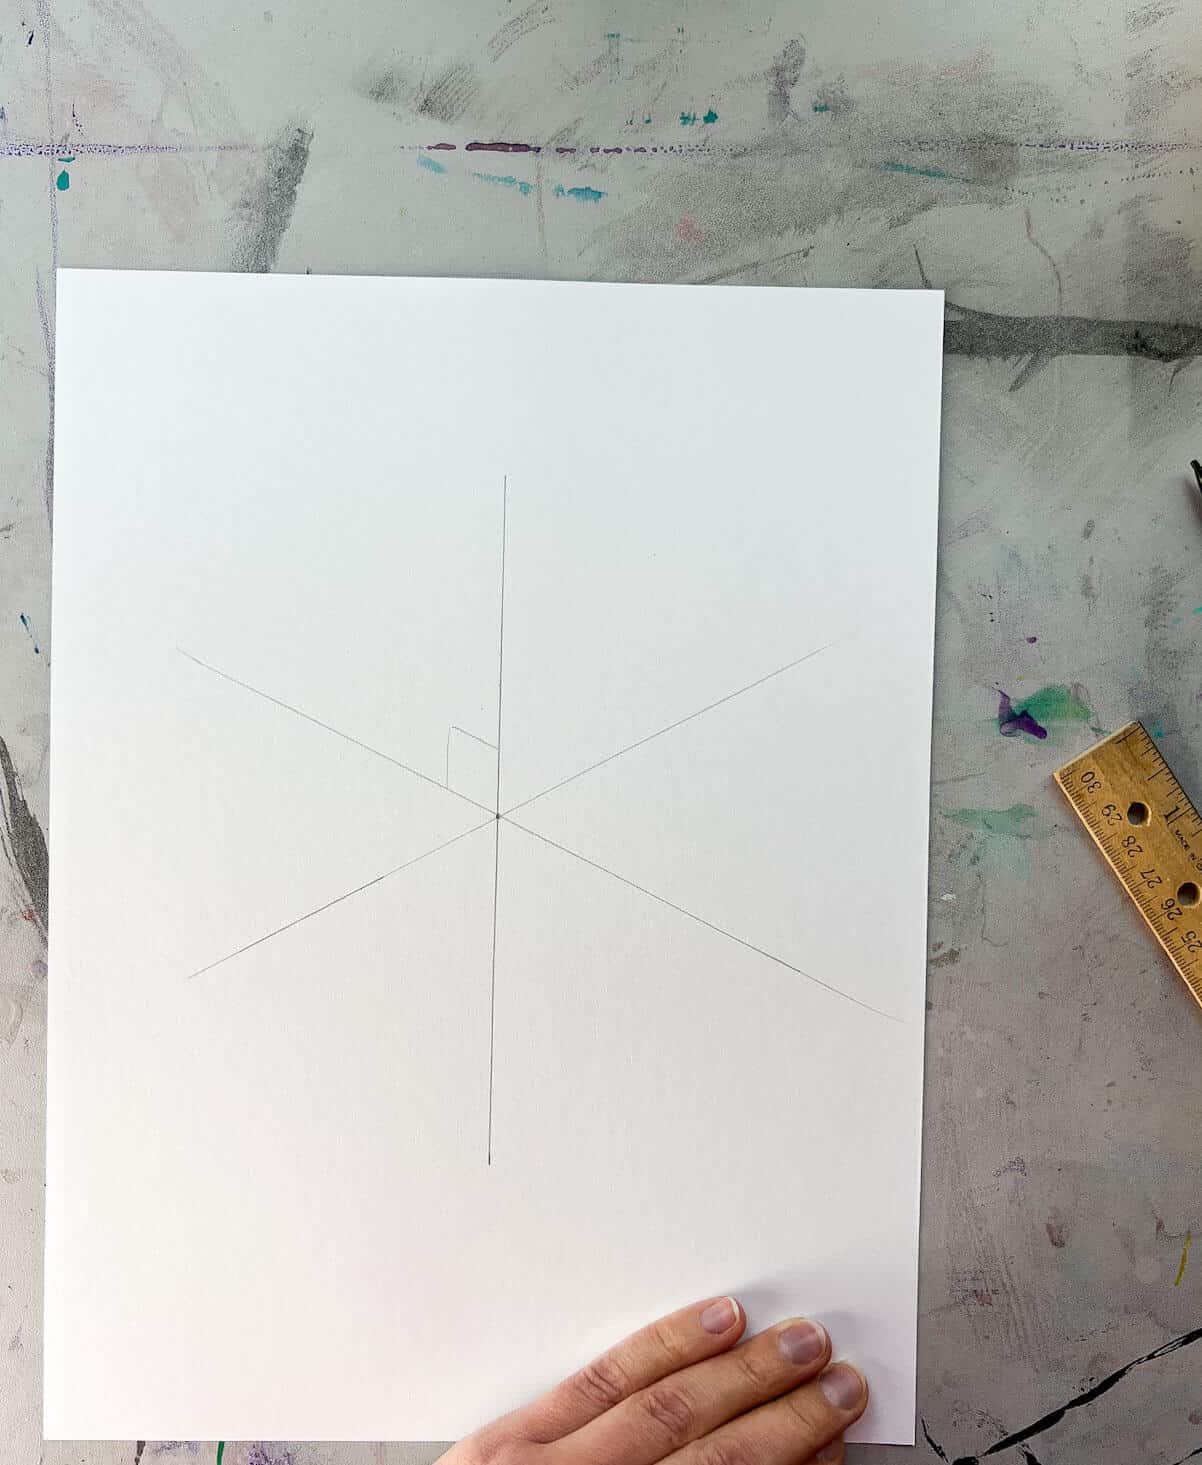
Step 5: Create The Center
Repeat the same line in each section.
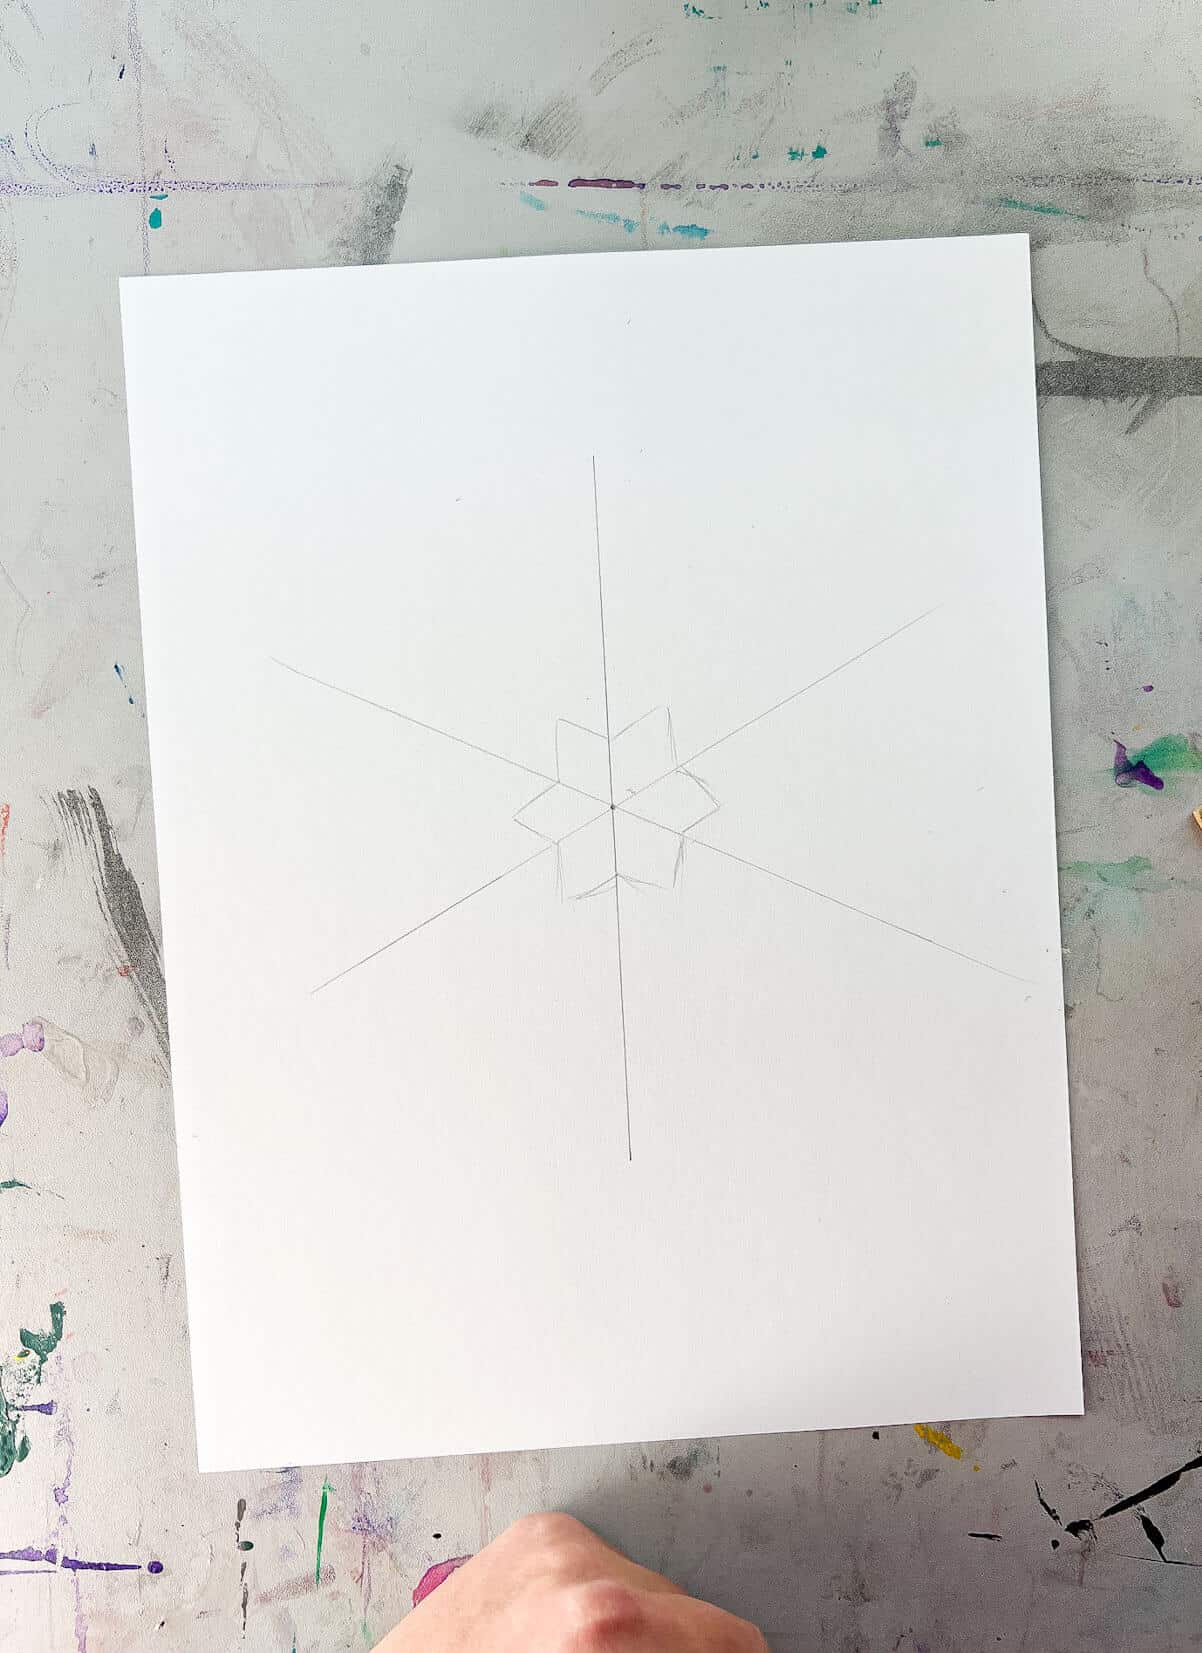
Step 6: Add Extra Details & A Base
These lines will connect to each other to make a fun symmetrical shape.
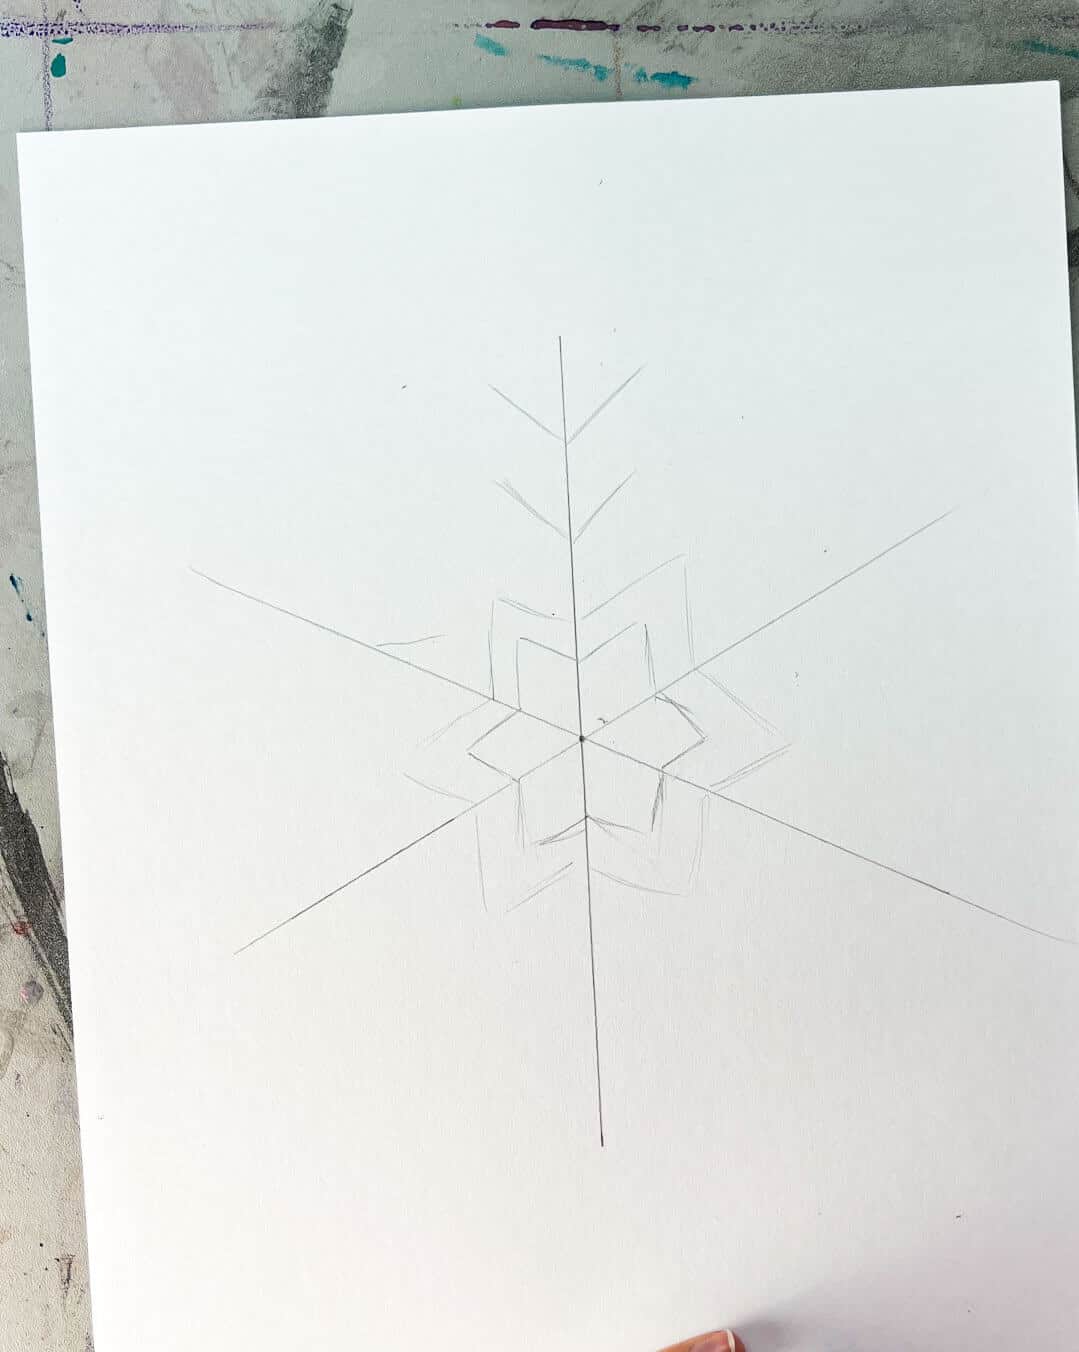
Step 7: Add More Shapes and Lines
Keep repeating the lines and shapes in each section to create your easy snowflake sketch.

Optional: Trace Lines
If tracing around a line design, you can create a thicker design by tracing on both sides.

Step 8: Adding Finishing touches
Erase extra pencil lines and add extra details.
RELATED PROJECT – 23+ Creative Snowflake Art Ideas For Kids
Simple Art Idea
Create a fun, magical oil pastel resist with watercolor painting of your finished snowflake sketch.

Tips
- USE A RULER – This is especially helpful for the guidelines.
- NO NEED TO BE PERFECT – Wherever you add something, you have to do it in the same spot. Your snowflake drawing will still look cool even if you aren’t completely accurate.
- KEEP IT SIMPLE – For younger kids, add short lines and small dots to create their snowflake shape.
- DOODLE AND DOODLE – these are the perfect sketches to try over and over to get cool drawings.
Snowflake Drawing FAQs
Snowflakes are hexagonal or six-sided in shape. The ice crystals form radial patterns.
You need to sketch lines to create 6 different sections to work from. Your goal is to have a six-sided snowflake with symmetry coming from the center point.
Try starting by drawing the “x” and then adding a horizontal line that touches the middle.
Follow us on Pinterest, YouTube & Facebook for more free art and craft ideas!
Do you like this art project? Please give us a 5-STAR review below ⭐️⭐️⭐️⭐️⭐️ and have fun being creative with your family.
How To Draw Easy Snowflakes

Equipment
- Pencil
- Ruler Optional: You can also draw by free hand.
- Pen
Supplies
- White Paper
Optional
- 1 White Oil Pastel
- Blue Watercolor Paint
Instructions
- Draw vertical line.
- Put a dot at the halfway point on the line.
- Create 6 equal sections by drawing two diagonal lines that intersect at the middle dot.
- Design the middle of your snowflake by repeating the same line in each section.
- Continue to create symmetrcial designs by repeating lines and shapes in the same spot in each of the six sections.
- Optional: Trace around the snowflake and lines with a marker. Erase extra pencil lines.
Notes
- Look at real snowflakes for inspiration.
- Use simple lines and shapes to help create your six-sided sketch
- Sketch lightly with your pencil because you may not keep all lines you draw.
- Using a ruler can help you set up your six sections as equally as possible.
- You can still have a fun snowflake drawing even if you eyeball it and it is not perfect.