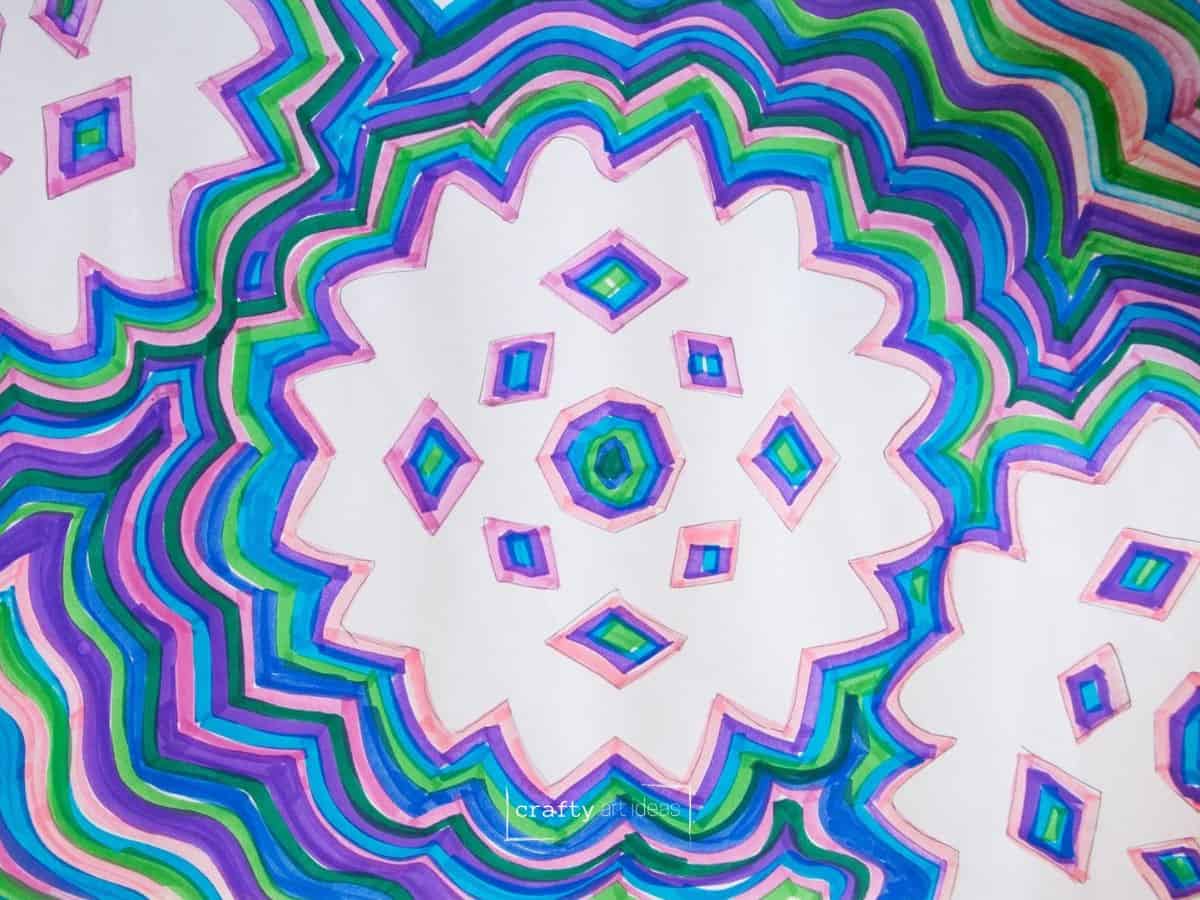
Snowflake Line Drawing Art Project

Do you love making paper snowflakes and want to turn them into a fantastic Winter art project? Our snowflake line-drawing project is great for first grade and up!
I have done this art project with students for over 10 years and orginally shared this lesson in November 2022. This post was recently updated in Novemeber 2025 with more straightforward and precise instructions and my key takeaways.
I love fun and simple drawing art projects for kids. Sometimes you need a break from all the clean-up, and this fun marker project can do just that this Winter!
Why You Will Love This Art Idea
What age is this project for?
We have done this project with the 1st grade and older. Younger elementary students may need a little help cutting the snowflakes. We use these simple snowflake steps to create two paper snowflakes for students to use in their line drawing.
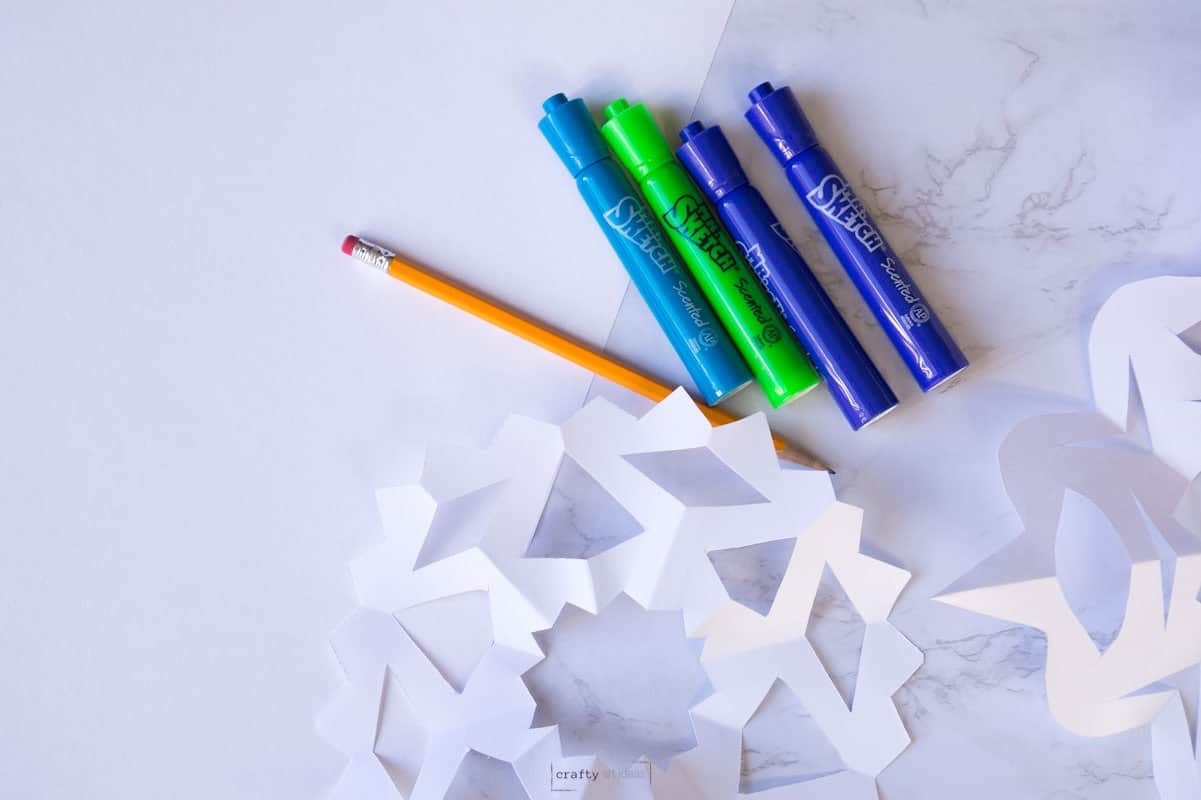
Supplies you’ll need
Disclosure:This post may contain affiliate links when clicked, we may earn a small commission at no additional cost to you. Read our full privacy policy.
Notes On Supplies
- MARKERS: Any marker will work, but we find that the chisel tip gives a variety of lines and colors.
- PAPER: To save time, you could make this on 9″ x 12″ white paper. You would need to make smaller snowflakes.
- SNOWFLAKES: Learn how to make an easy 6-pointed paper snowflake here.
ART TEACHER TIP – If doing this with a large class, have small groups work with you to make the paper snowflake templates before beginning. You will be surprised how many children have never made a paper snowflake before.
For this project, we discuss balance, repetition, pattern, composition, negative space, and line. This project is a great way to get kids to discuss the Elements and principles of art and composition.
Creative Snowflake Art Project
BEFORE YOU BEGIN: Add a little piece of tape to help students keep their paper snowflakes in one place. The first snowflake should be taped somewhere on the page so the entire design shows.
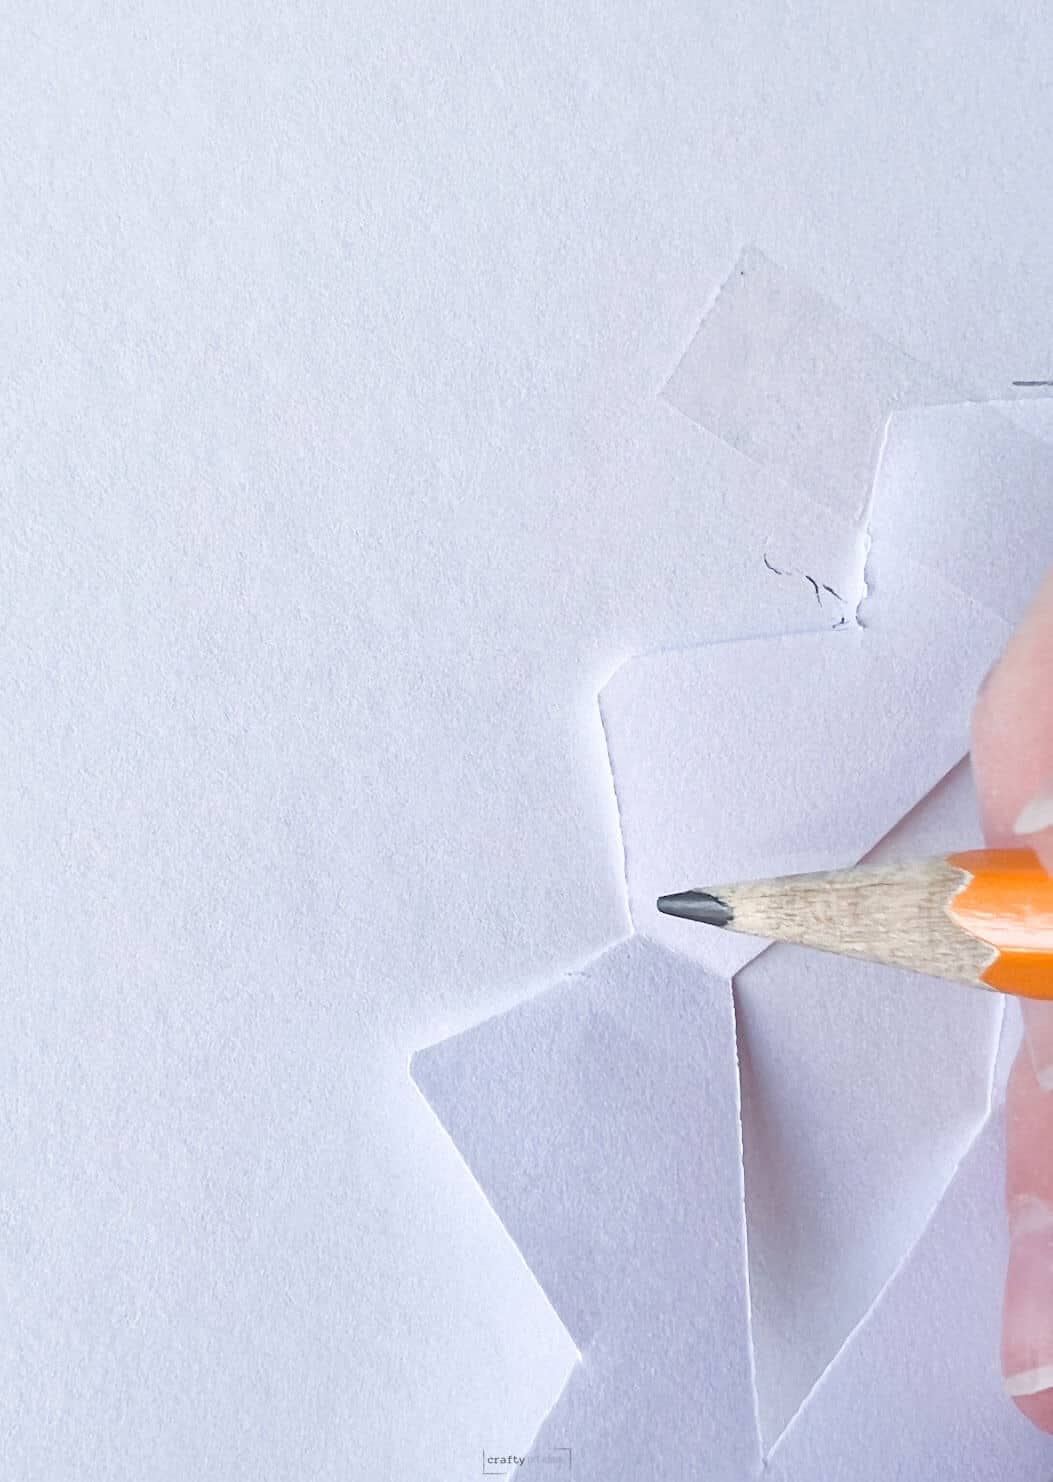
Step 1: Trace Around The Snowflake
Children should use a pencil to carefully trace around their snowflakes. They should double-check that they have traced all parts before removing the tape.

Step 2: Repeat Tracing Partial Snowflake
Kids will do this two more times, however, they will trace part of their snowflake on the page. The idea is to create a balanced composition that may look like the snowflakes are falling.
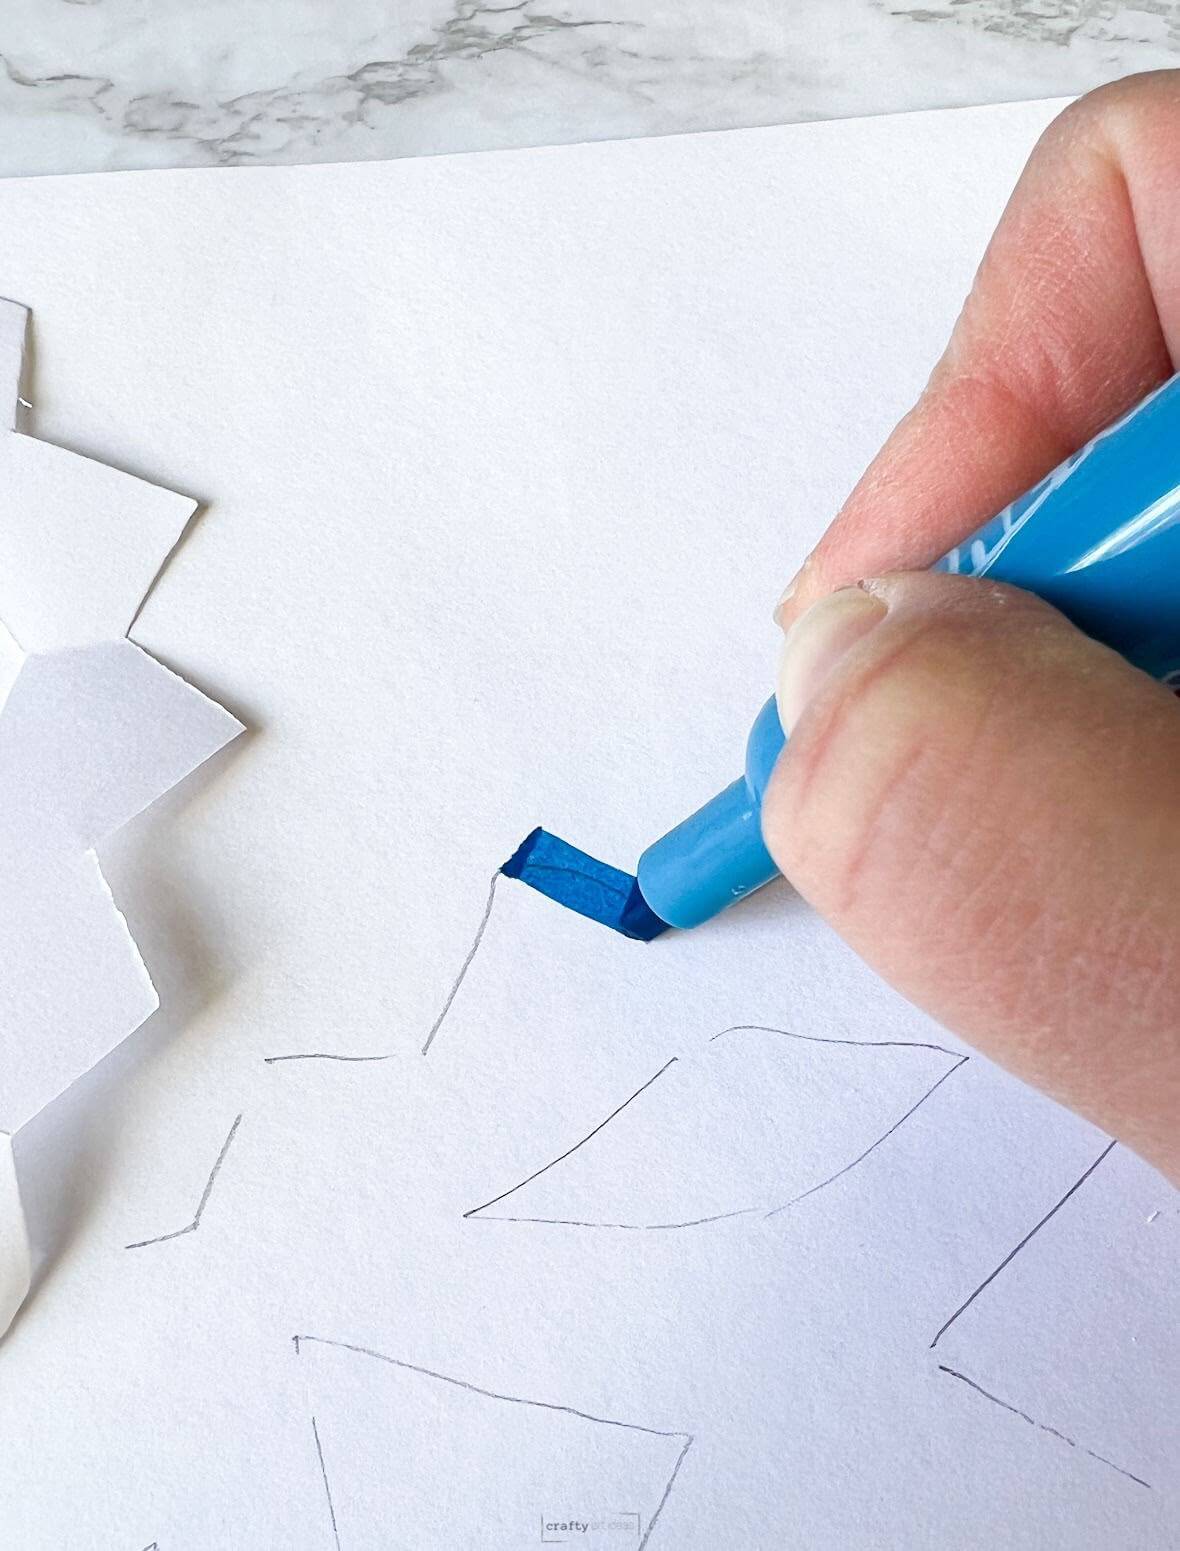
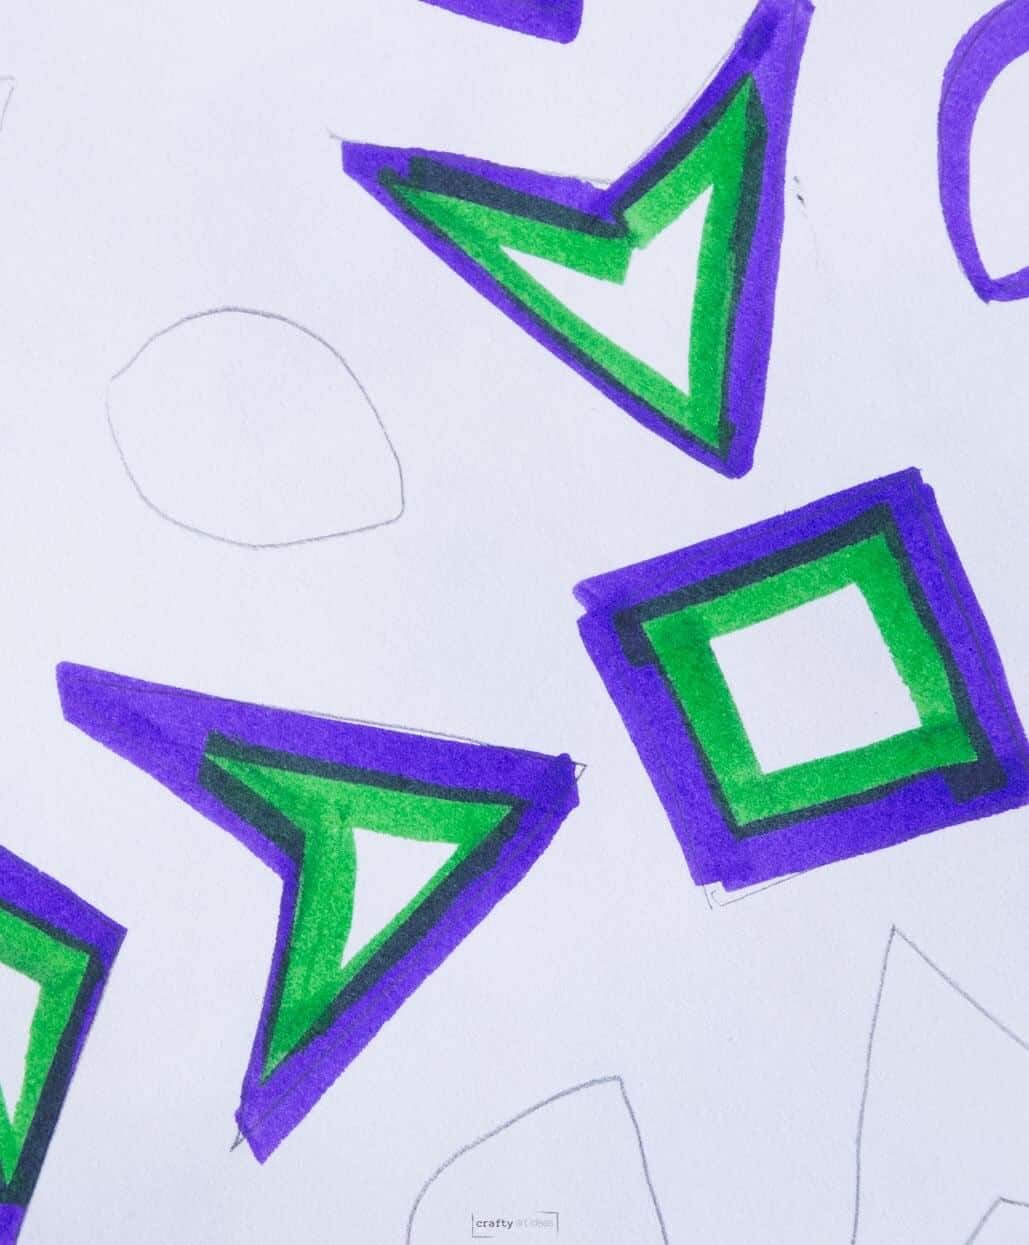
Step 3: Begin To Use Markers
Use one chisel-tip marker and trace around the outside edge of the snowflake. You are adding coloring to the negative space or background, not to the snowflakes.
Step 4: Repeat
Repeat tracing in the background space with any pattern or colors. Don’t forget about the negative space inside the snowflakes. Use the same colored marker to trace.
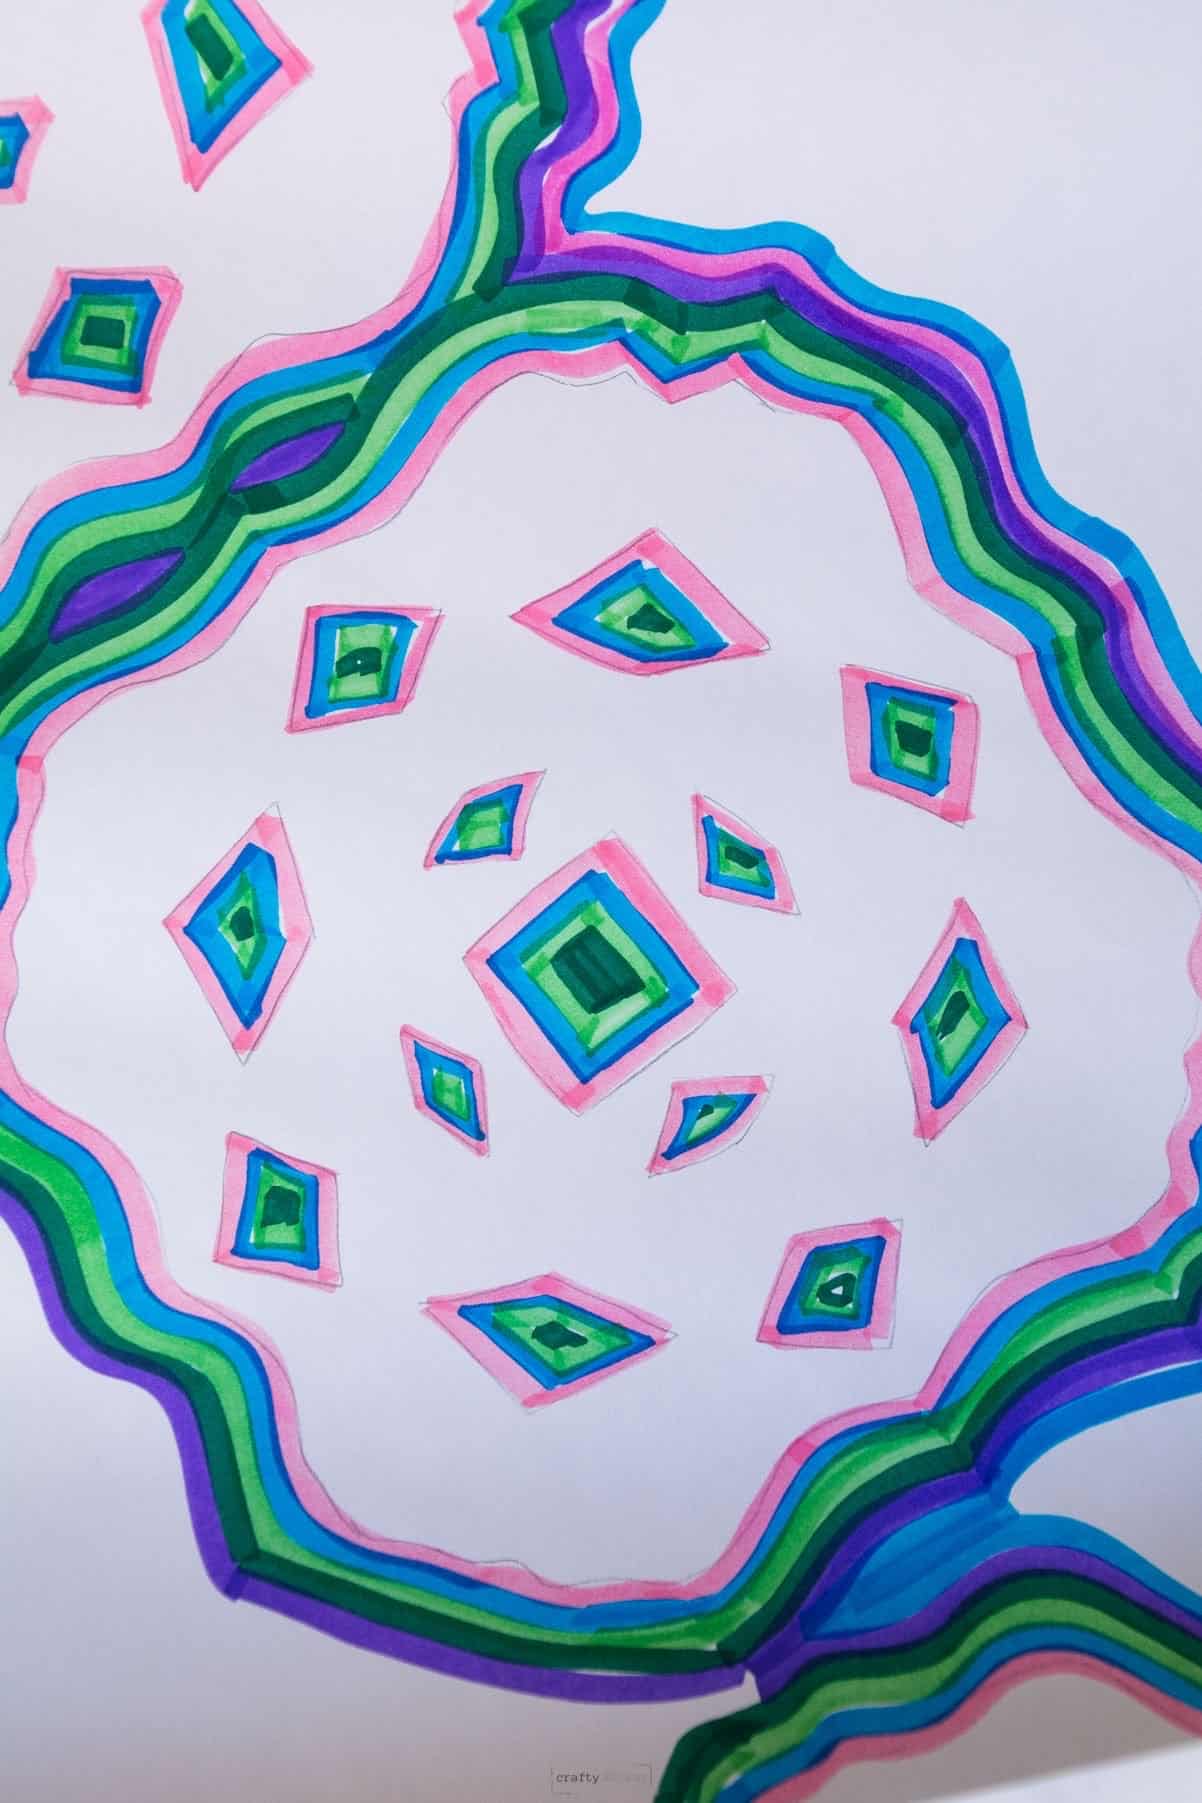
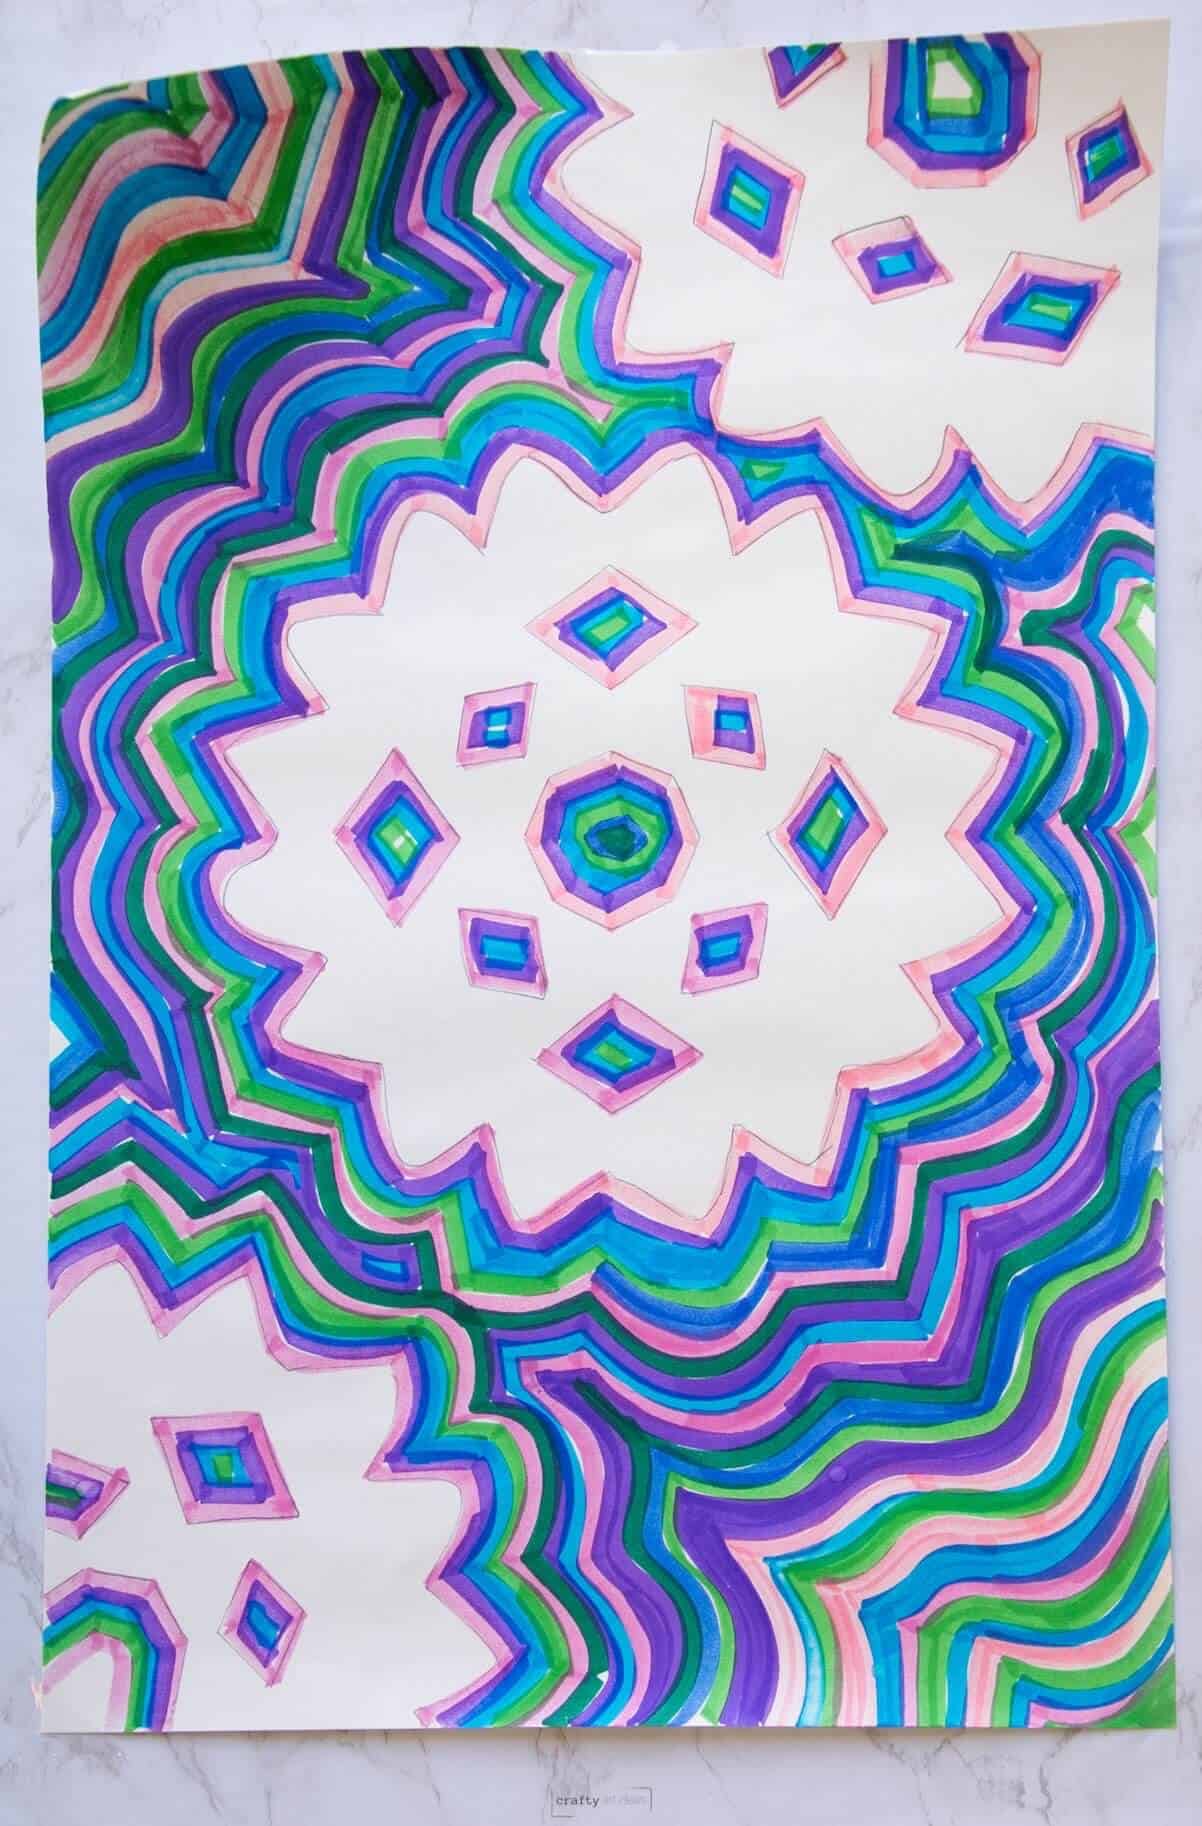
Step 5: Keep Drawing Until All Negative Space Is Covered
Continuously work with lines to fill all the negative space. If the lines converge, you can create a pattern by stopping the other tracing.
Optional: Erase Any Extra Pencil Lines
Tips
- LIMIT SMUDGING – If students are smudging markers with their hands, you can give them a paper towel to rest their hands on.
- CHISEL TIP – Encourage students to use the wide part of the marker whenever possible (but it is okay if they don’t always)
- MODIFICATION – If a child is struggling to repeat the lines, they can also split the negative space and color their own designs or color blocks.
Art Project FAQs
If you are doing this in a class setting, we recommend making the paper snowflake in a small station. This way, you can help students check if they are making them correctly. You would be surprised at the number of young children who have never made a paper snowflake before.
No, for this project, you could make a variety of paper snowflakes.
Follow us on Pinterest, YouTube & Facebook for more free art and craft ideas!
More Winter Art Ideas
- Simple Watercolor Christmas Card Design Ideas
- Easy Radial Symmetry Drawing For Beginners
- How To Draw Easy Snowflakes
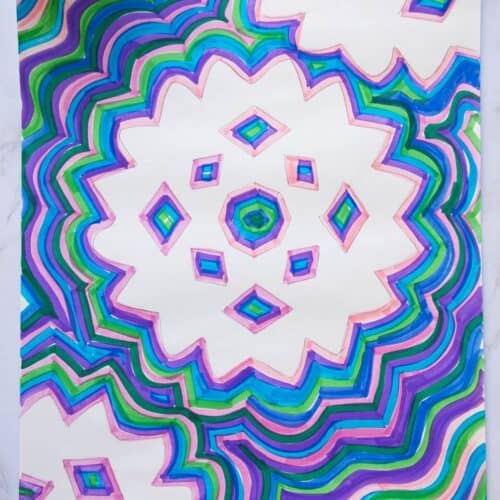
Not only is this a fun Winter drawing idea, but there are so many different Elements and Principles of art that will be applied as children work.
Do you like this art project? Please give us a 5-STAR review below ⭐️⭐️⭐️⭐️⭐️ and have fun being creative with your family.
Easy Line Snowflake Art Project
Equipment
- Mr. Sketch Chiseled Markers (any marker will work, but we find that the chisel tip gives a variety of line and color)
- Pencil
Supplies
- 1 piece 12" x 18" White Heavy Drawing Paper
- Snowflake template made from square white copy paper
Instructions
Before You Begin
- You will need to make a classic paper snowflake to use as a template. You can make these as complicated or as simple as you want.
Creating Snowflake Line Art Project
- Tape snowflake template to white drawing paper.
- Use a pencil to lightly trace around the snowflake.
- Remove template.
- Trace snowflake at least two more times. Only parts of the snowflake will snow on the paper.
- Use one colored chisel tip marker and trace along the pencil line and in the negative space. Trace right next to every single pencil line on the page.
- Switch colors and continue to trace around the previous line to create a fun line pattern.
- Repeat tracing until the whole background is done.
- Optional: Use an eraser to clean-up any residual pencil lines.
Notes
- If students are smudging markers with their hands, you can give them a paper towel to rest their hands on.
- Encourage students to use the wide part of the marker whenever possible (but it is okay if they don’t always)
- If a child is struggling with repeating the lines, they can also split up the negative space and color their own designs or color blocks.