How To Make Paper Snowflakes In 5 Minutes (With Step-By-Step Pictures)

Are you looking for a simple tutorial for making paper snowflakes? Use either folding method to make simple paper snowflakes in under 5 minutes.

Why You Will Love Easy Craft
You would be amazed at the number of young children who have never made a paper snowflake. It is a super fun Winter craft, and it really works on those cutting skills.]
I used to think I couldn’t make paper snowflakes in an Art class, but I soon realized it was a missing experience that kids need.
Supplies Needed
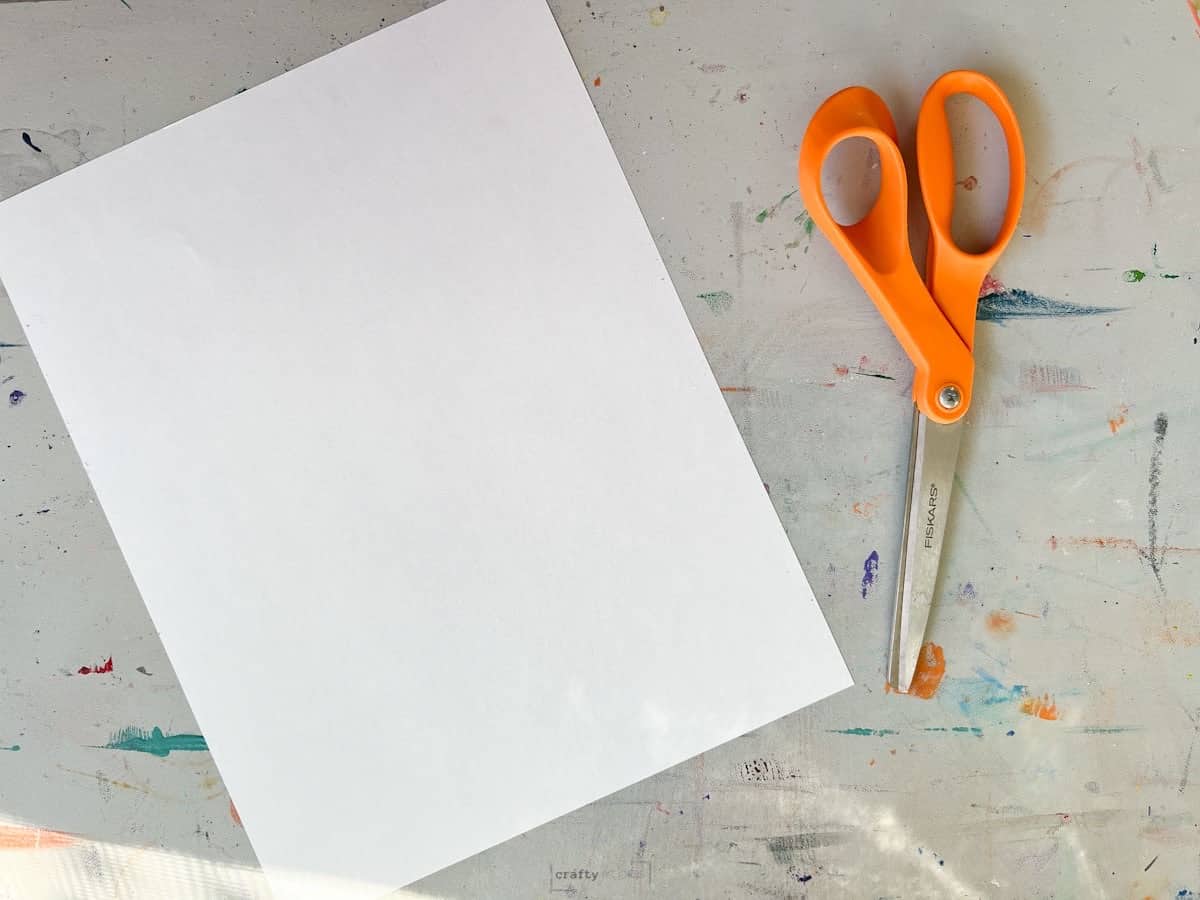
In nature, snowflakes are 6-sided. This folding technique will teach you to make a snowflake with a hexagon base shape using 8.5″ x 11″ piece of paper and scissors.
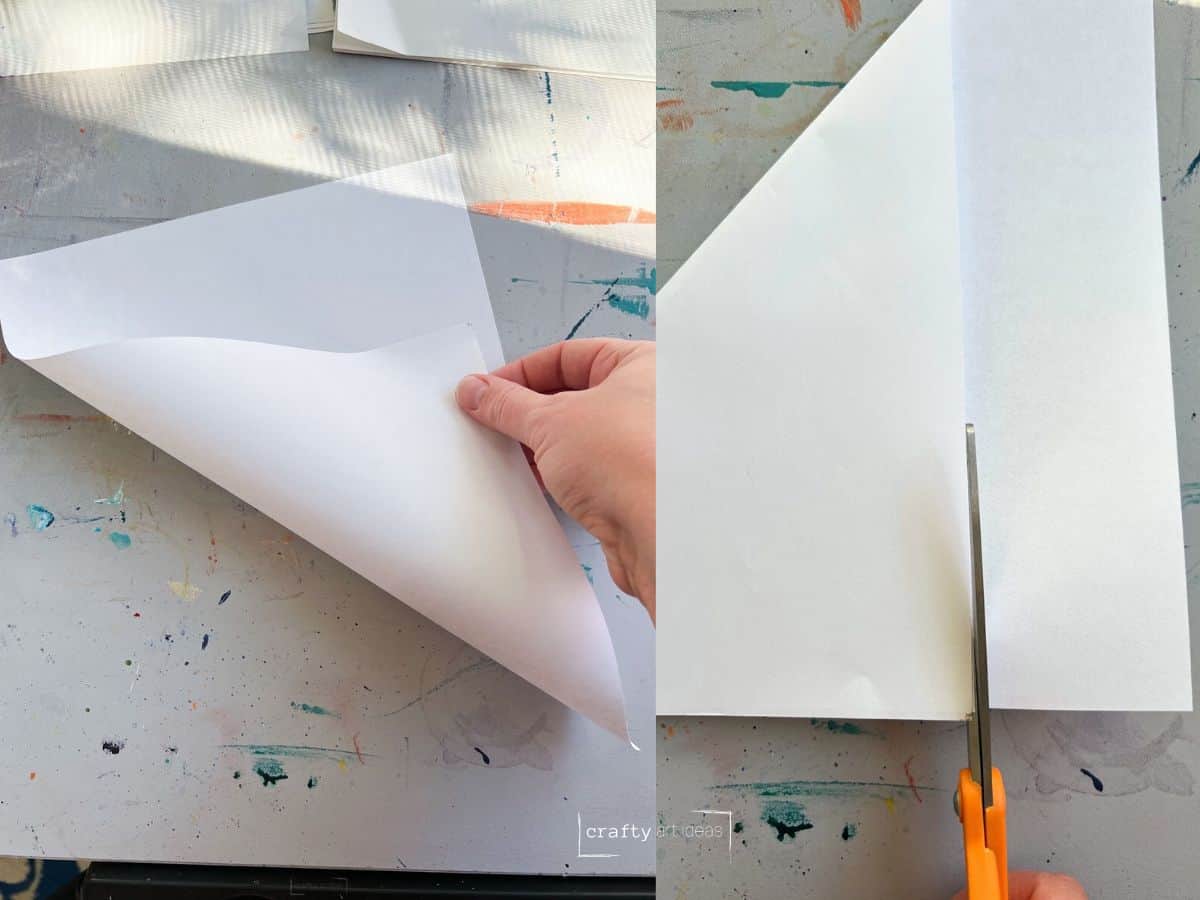
Before You Begin
You need to start with a square piece of paper. If starting with a rectangle, fold the corner to the edge and trim the excess paper off.
How To Cut A Simple Snowflake
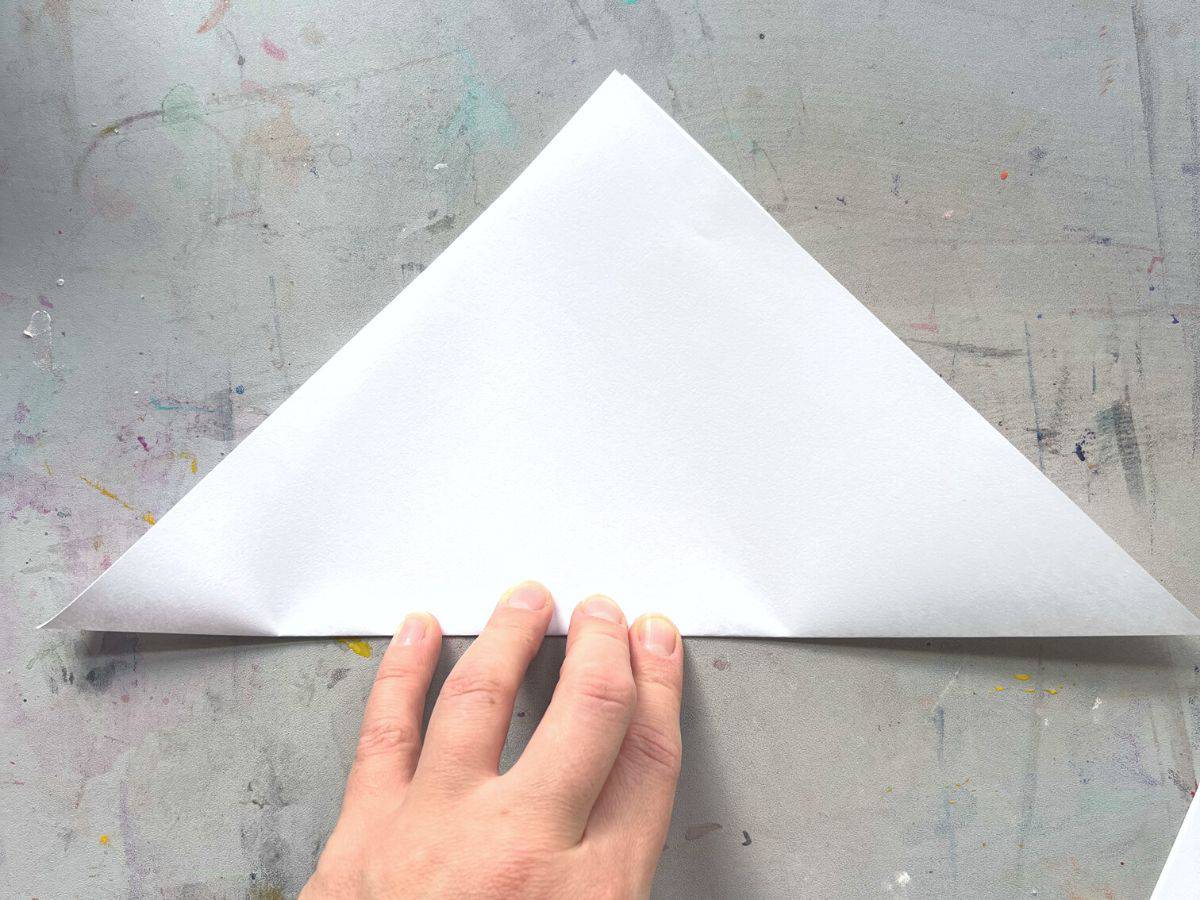
Step 1: Fold The Square In Half Into Triangles
Pull the bottom corner up to the top corner and crease your paper.
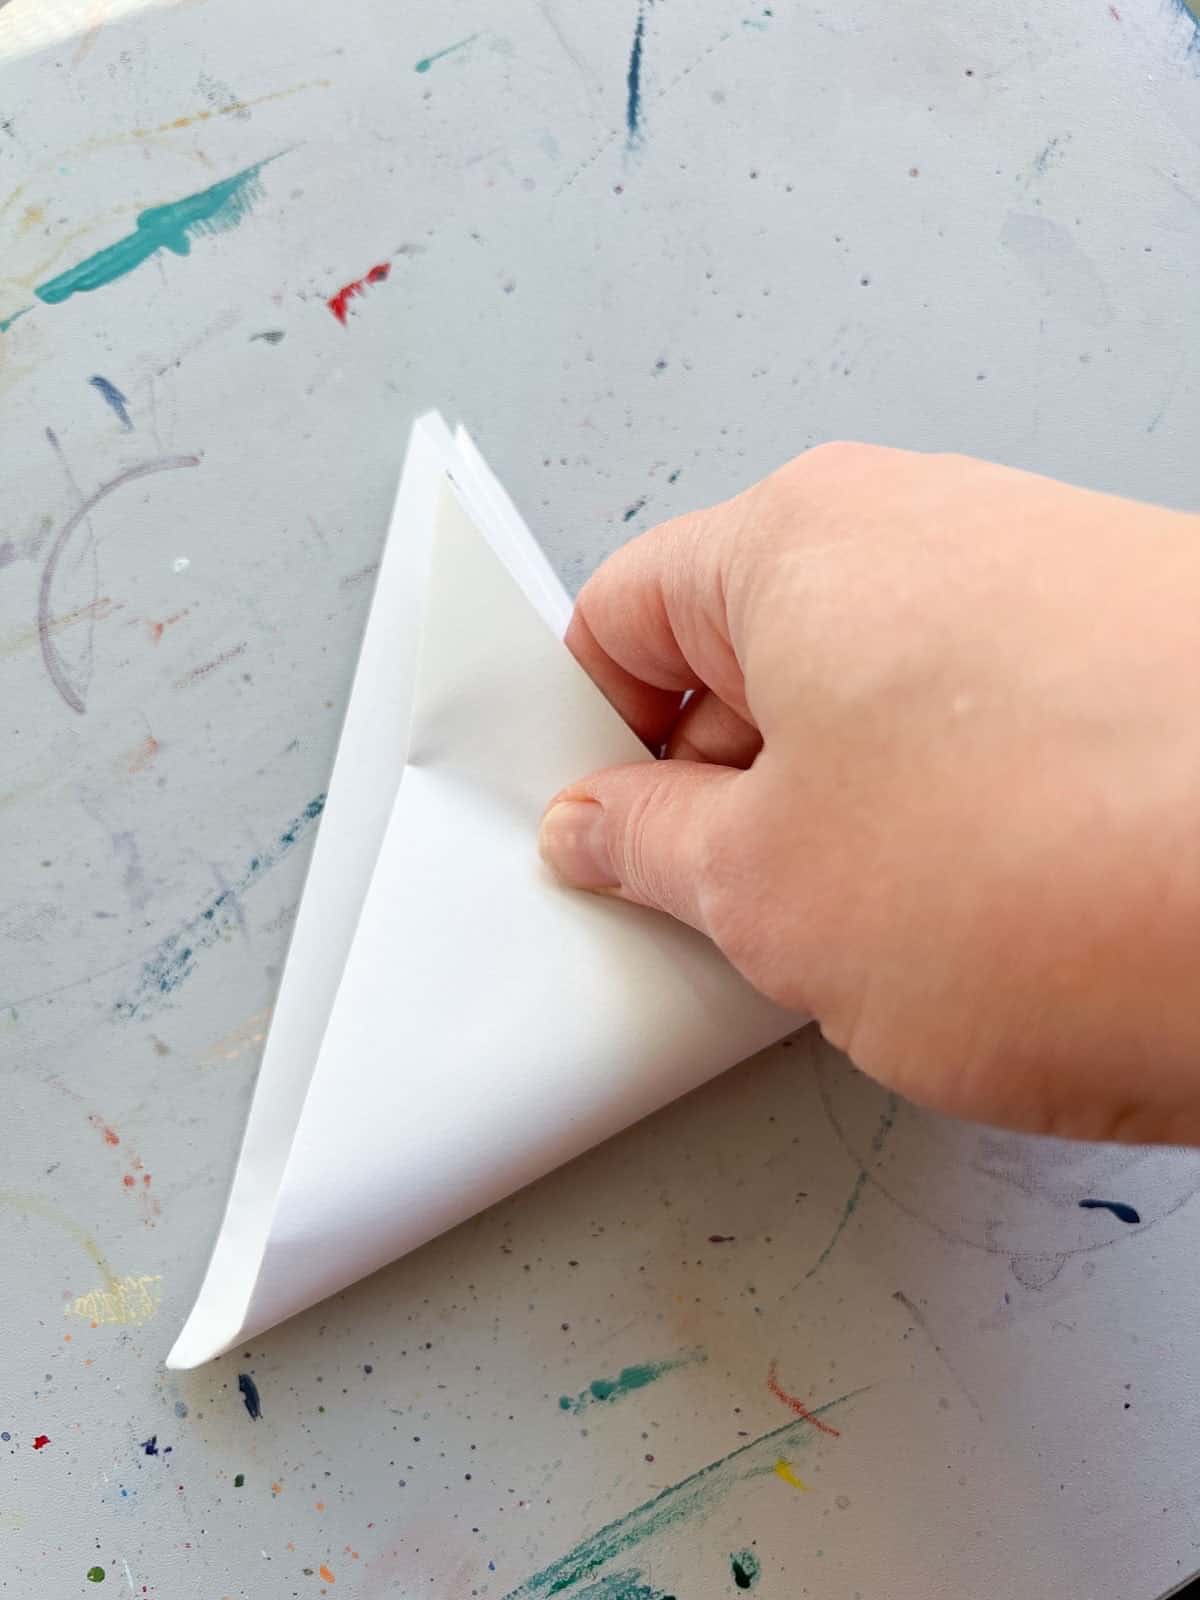
Step 2: Fold The Triangle In Half Again
Pull one corner to the other to make a right triangle.

Step 3: Fold One Side 1/3 Of The Way In
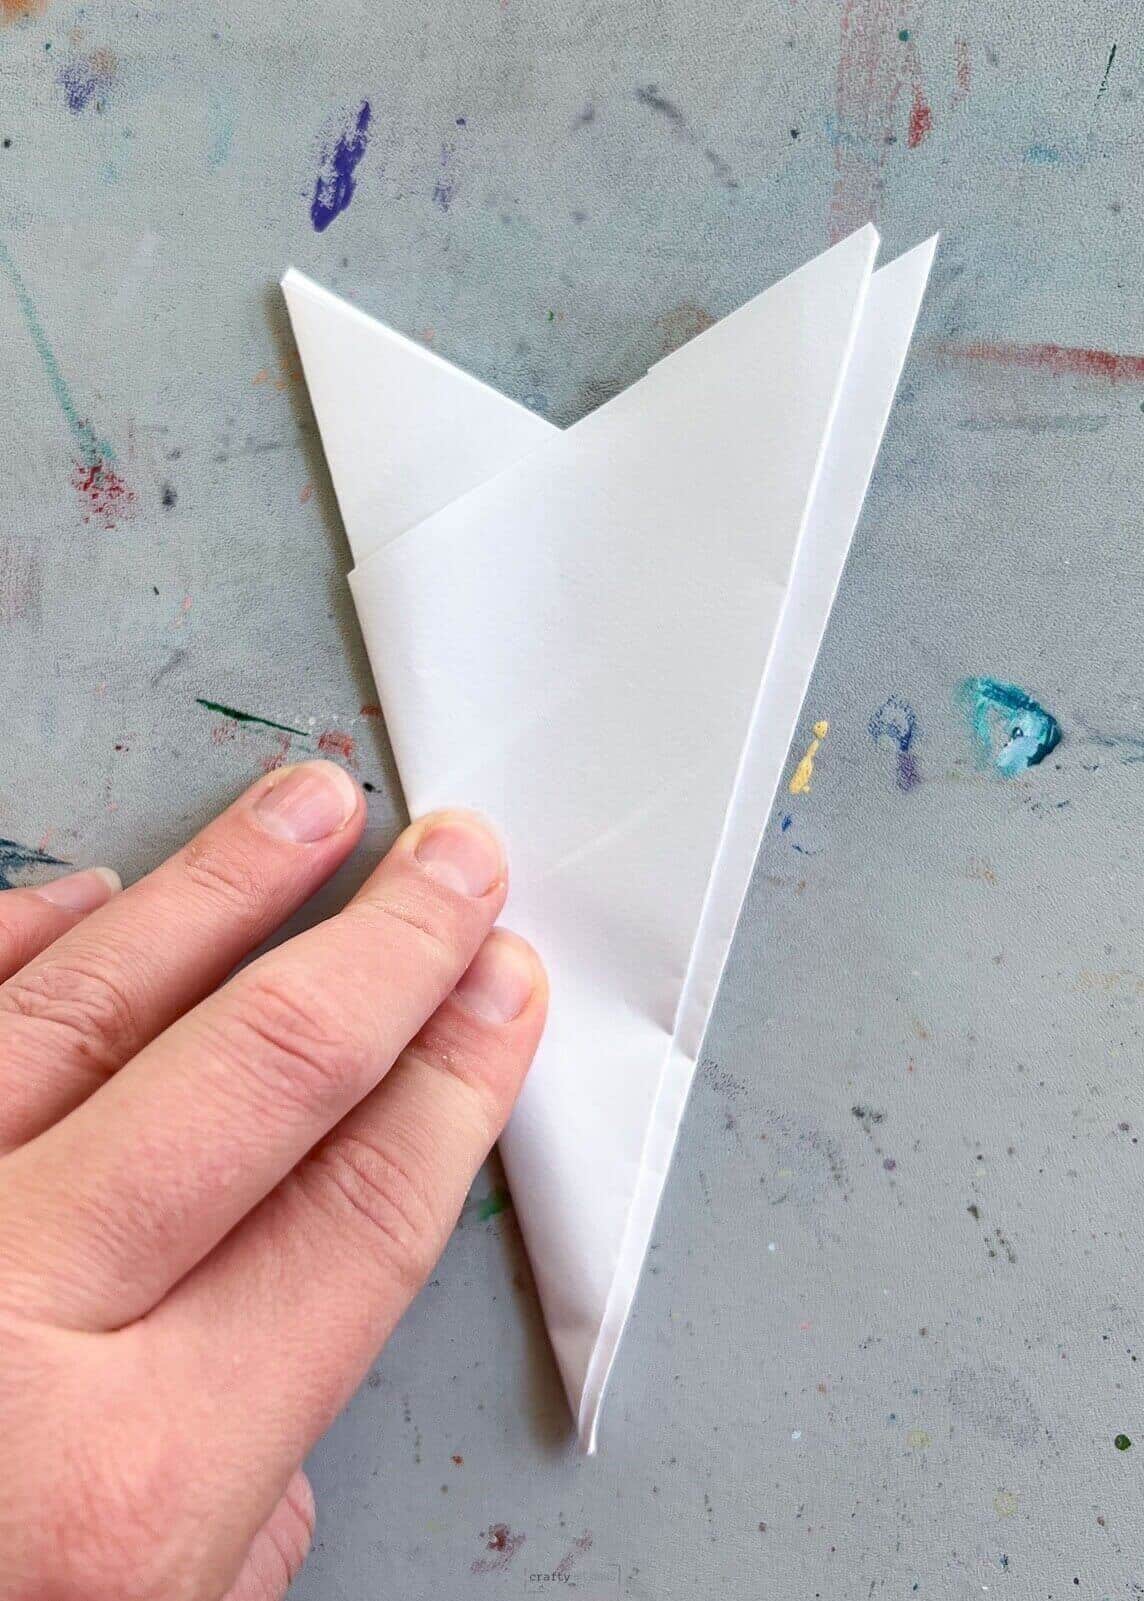
Step 4: Repeat For The Other Side
You may need to adjust the folds to line up together. You can see that this one doesn’t line up perfectly, but it still works. Just have fun with your designs.
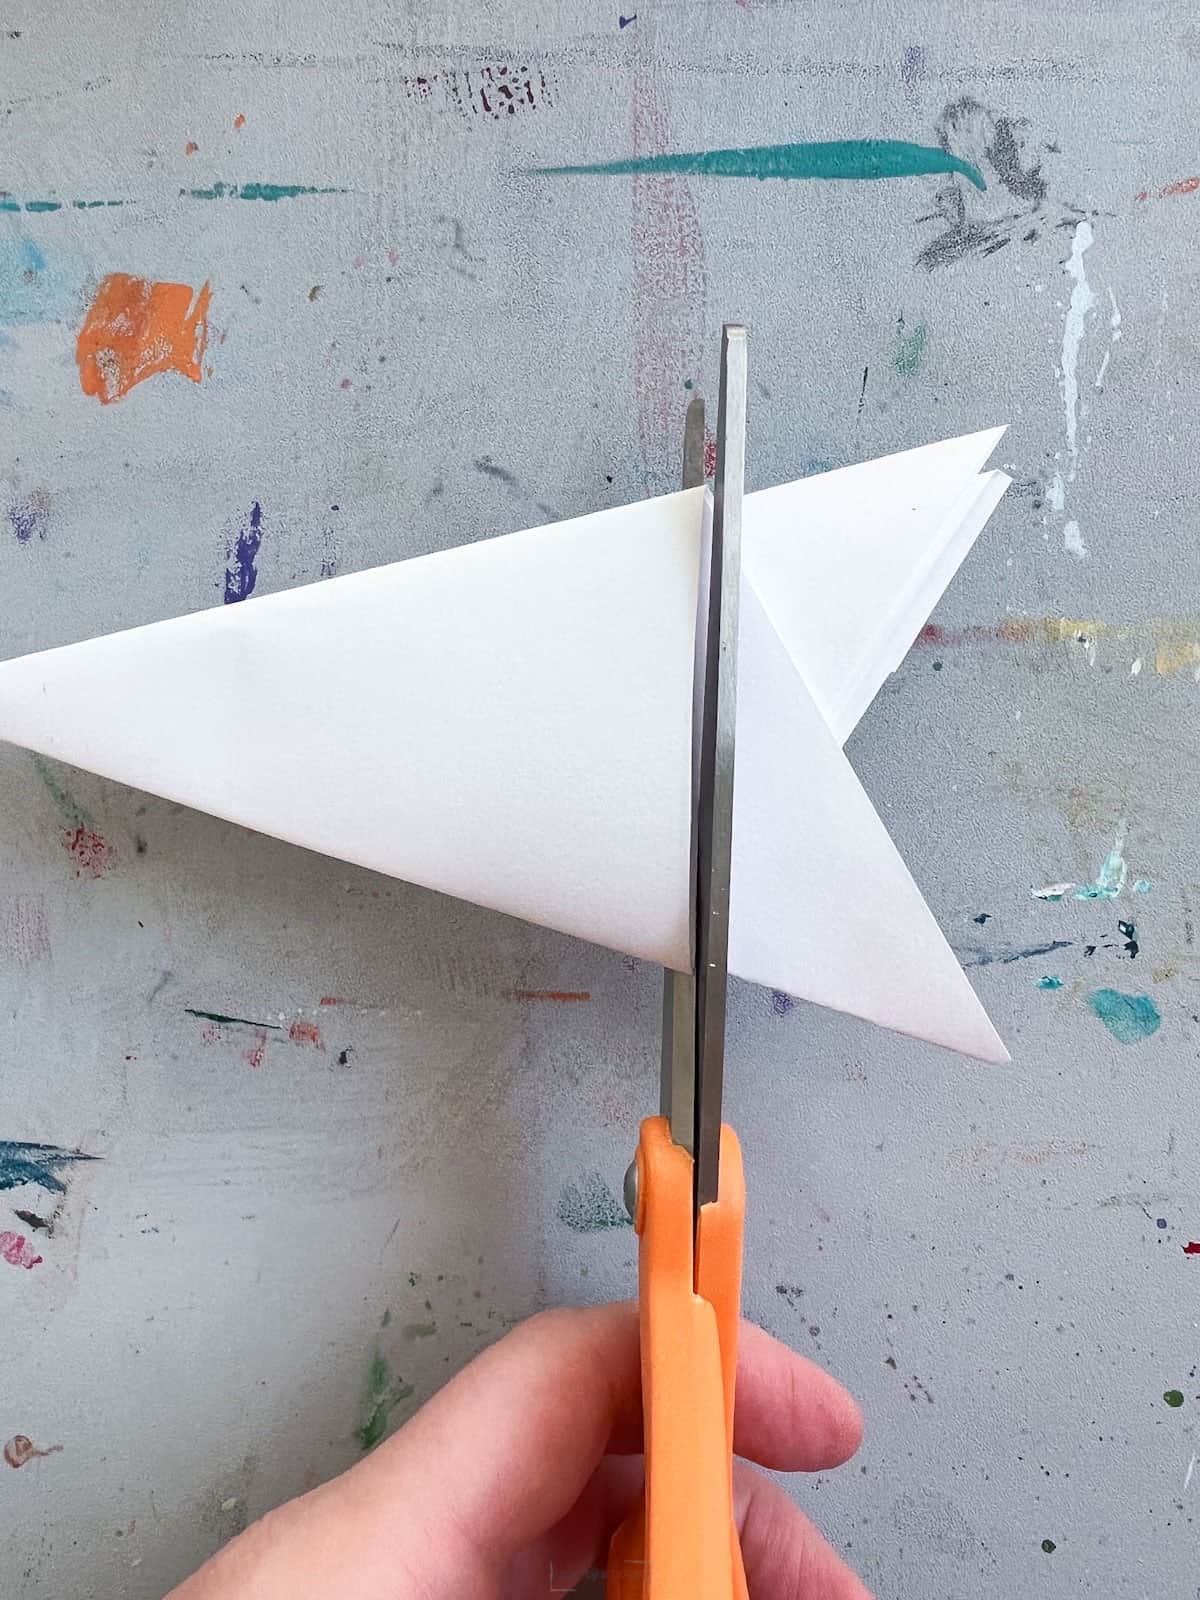
Step 5: Trim Off Extra Paper
Turn the paper over to see where to cut the extra paper off.
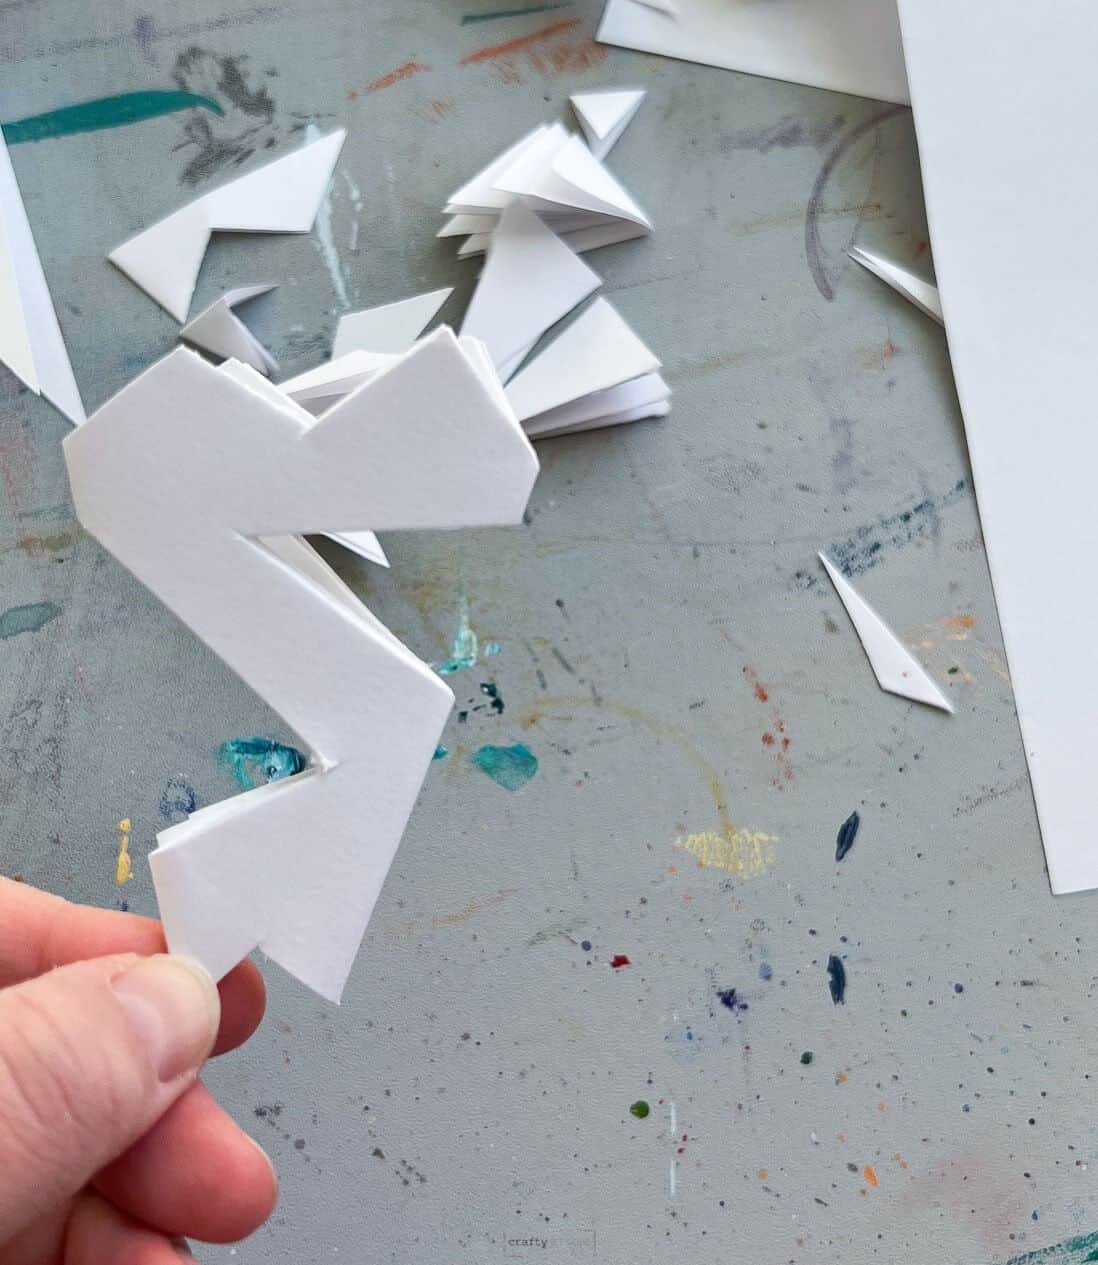
Step 6: Cut Designs
These can be as complex or as simple as you want. Just be careful not to cut a whole folded seam off.
Step 7: Continue Cutting
Cut different designs on the sides of the snowflake.
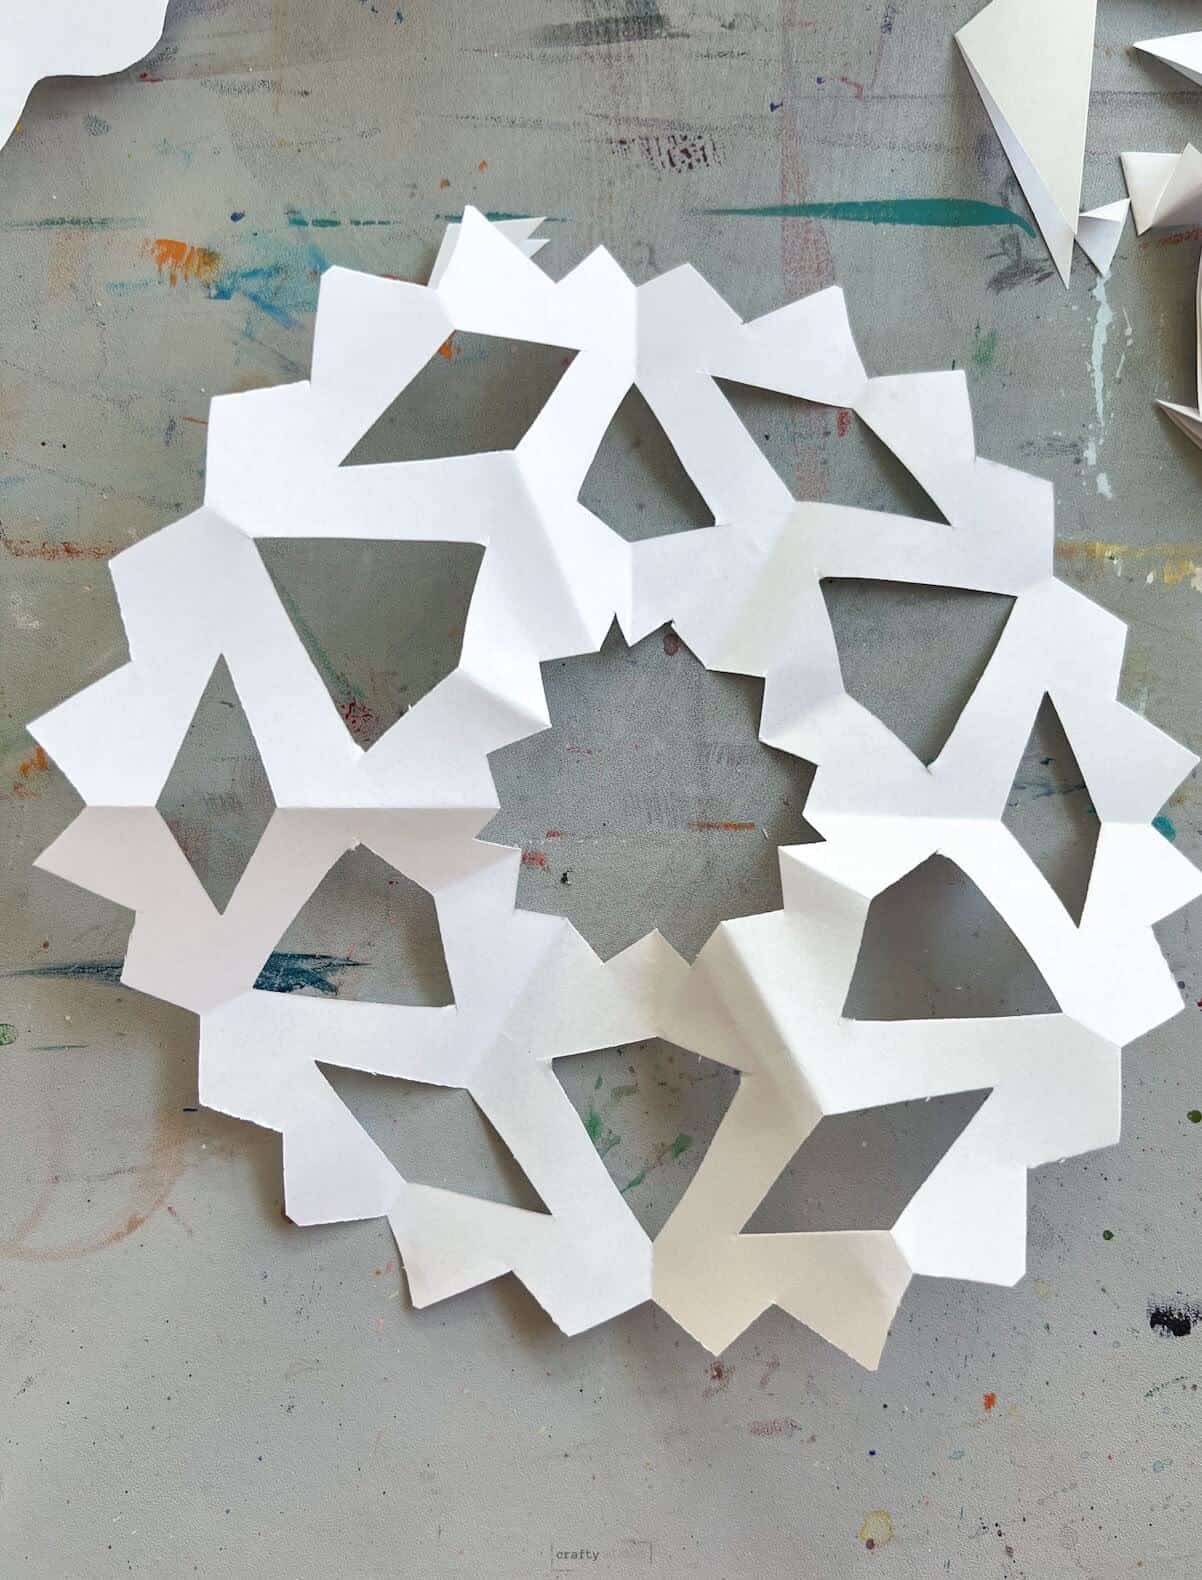
Step 8: Open It Up
If you want to get rid of creases or flatten your paper snowflake you could stick them flat in a book overnight or try to iron them on very low heat to help get rid of the creases.
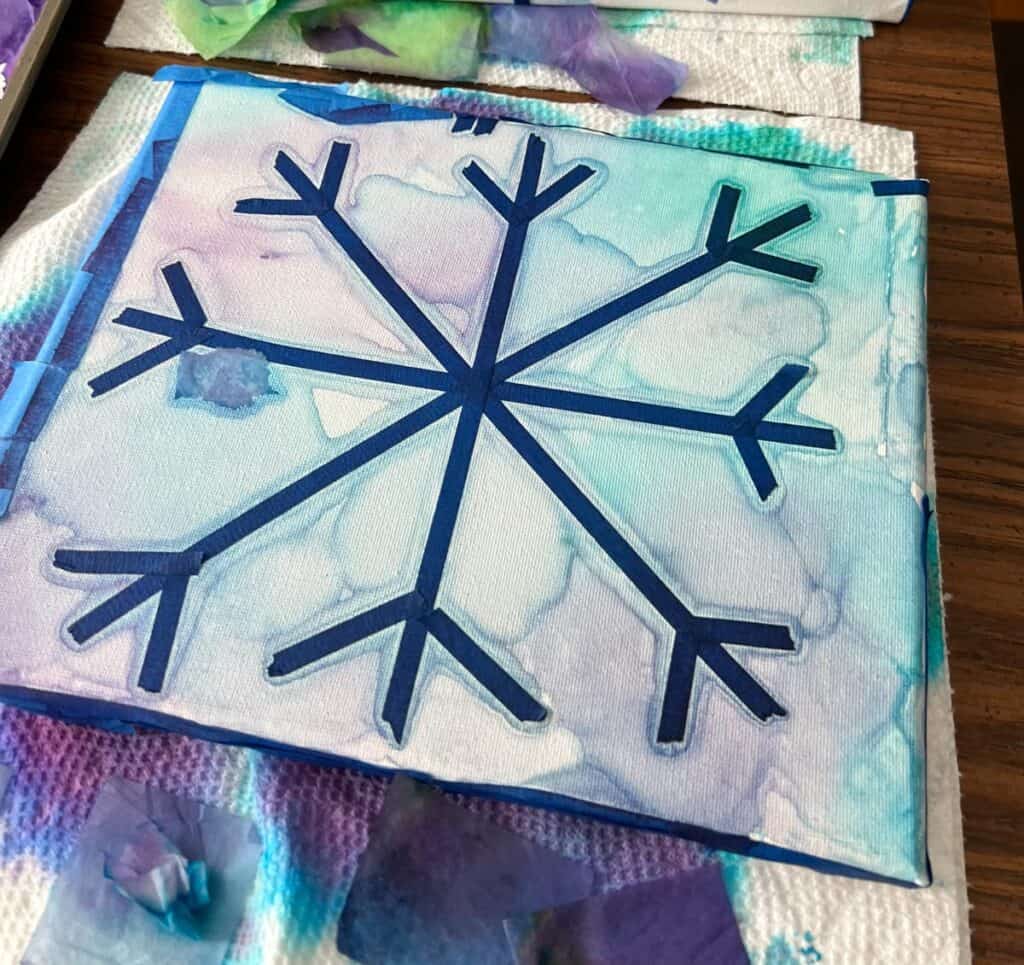
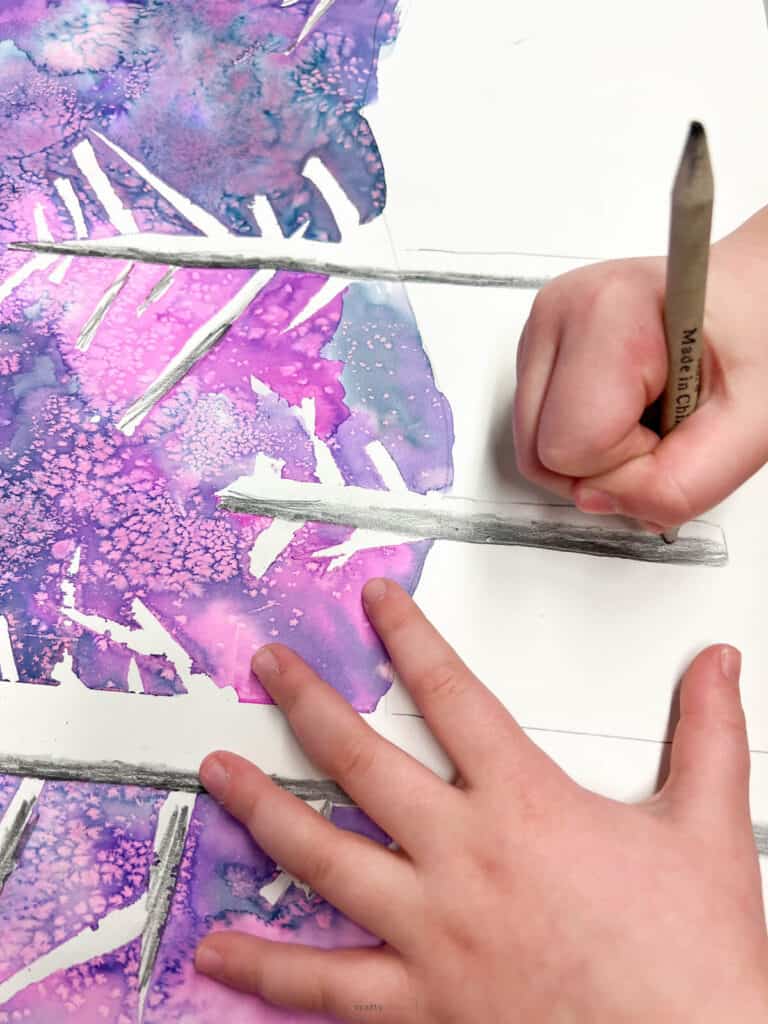
Once you have your paper snowflake, consider using one as a template for this fun marker line snowflake drawing. We love it when you can get two projects out of one idea.
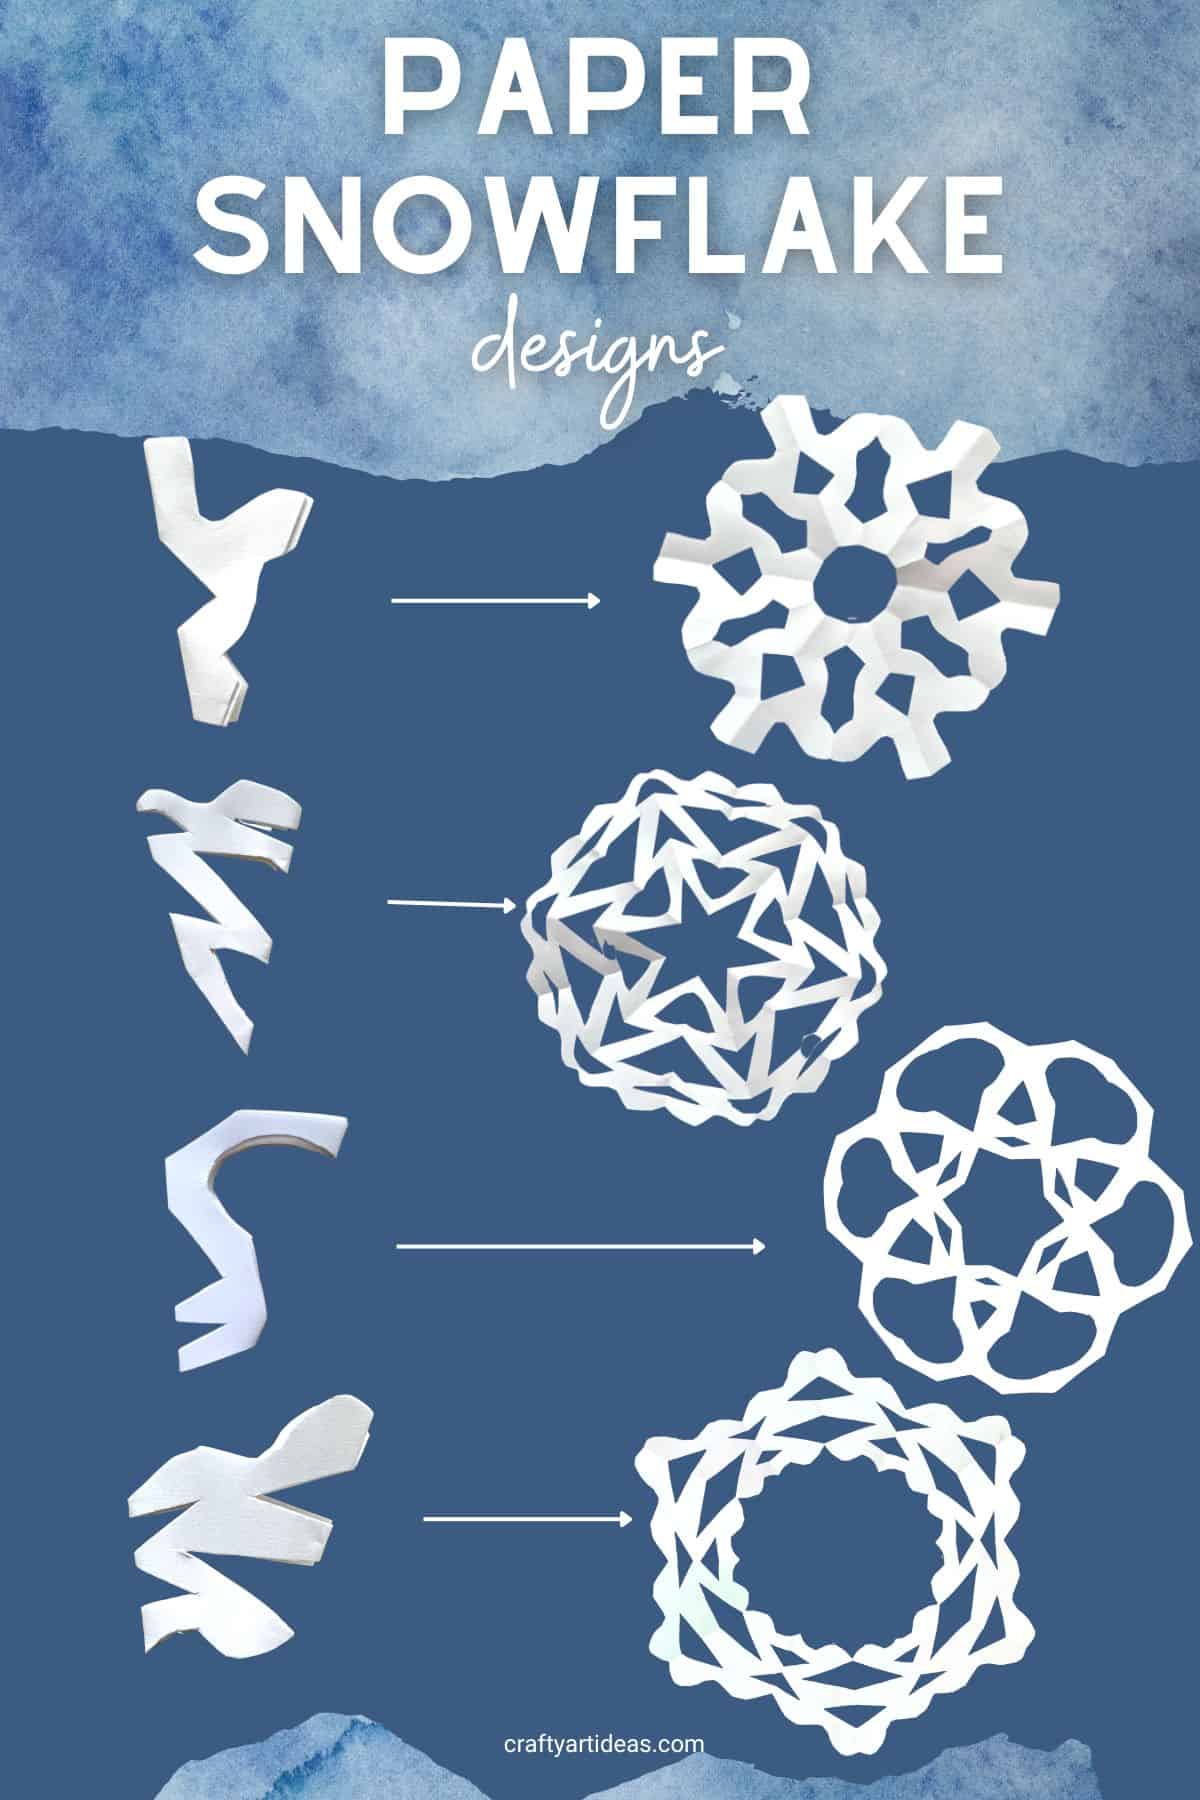
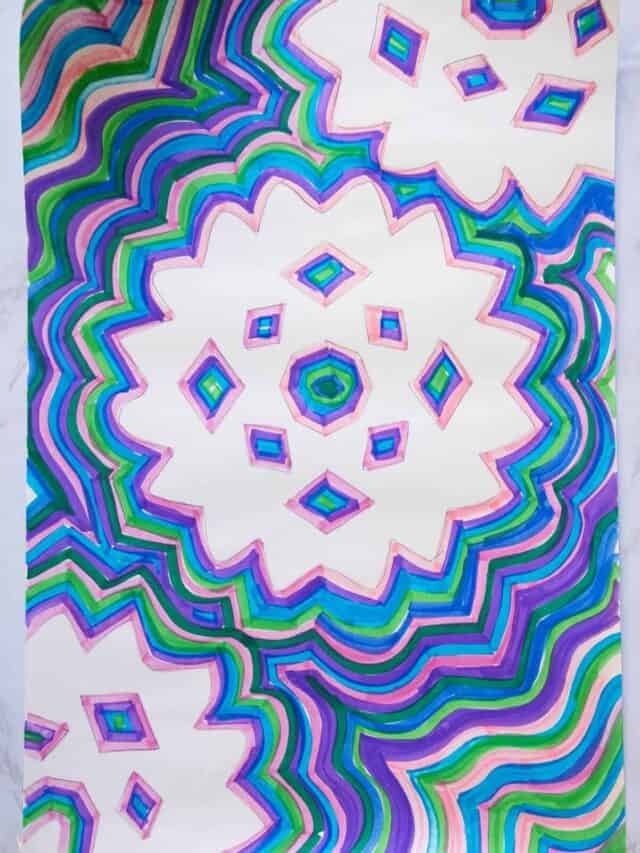
Snowflake Design Ideas
In the image below, you can see how if you cut different designs and the outcome you may get.
Follow us on Pinterest, YouTube & Facebook for more free art and craft ideas!
Tips
- If children struggle to cut the folded paper, encourage them to use the inside alligator mouth of the scissors. A lot of times, children will just use the tip of the scissors and they become frustrated.
- Try to do these in a small group with step-by-step instructions.
- After step-by-step help, let children make multiple independent attempts and encourage mistakes. Mistakes are part of learning.
- Children can first draw designs on folded paper, but this might actually make it harder. This particular craft is better if you “draw” with scissors first.
Tutorial FAQs
Instead of folding it in thirds, we will fold the triangle again so it is a right triangle. The children still love the paper snowflake designs that they can create. The biggest challenge is not having them cut on the fold. You can also draw the line they must cut first so they do not accidentally cut across their snowflakes.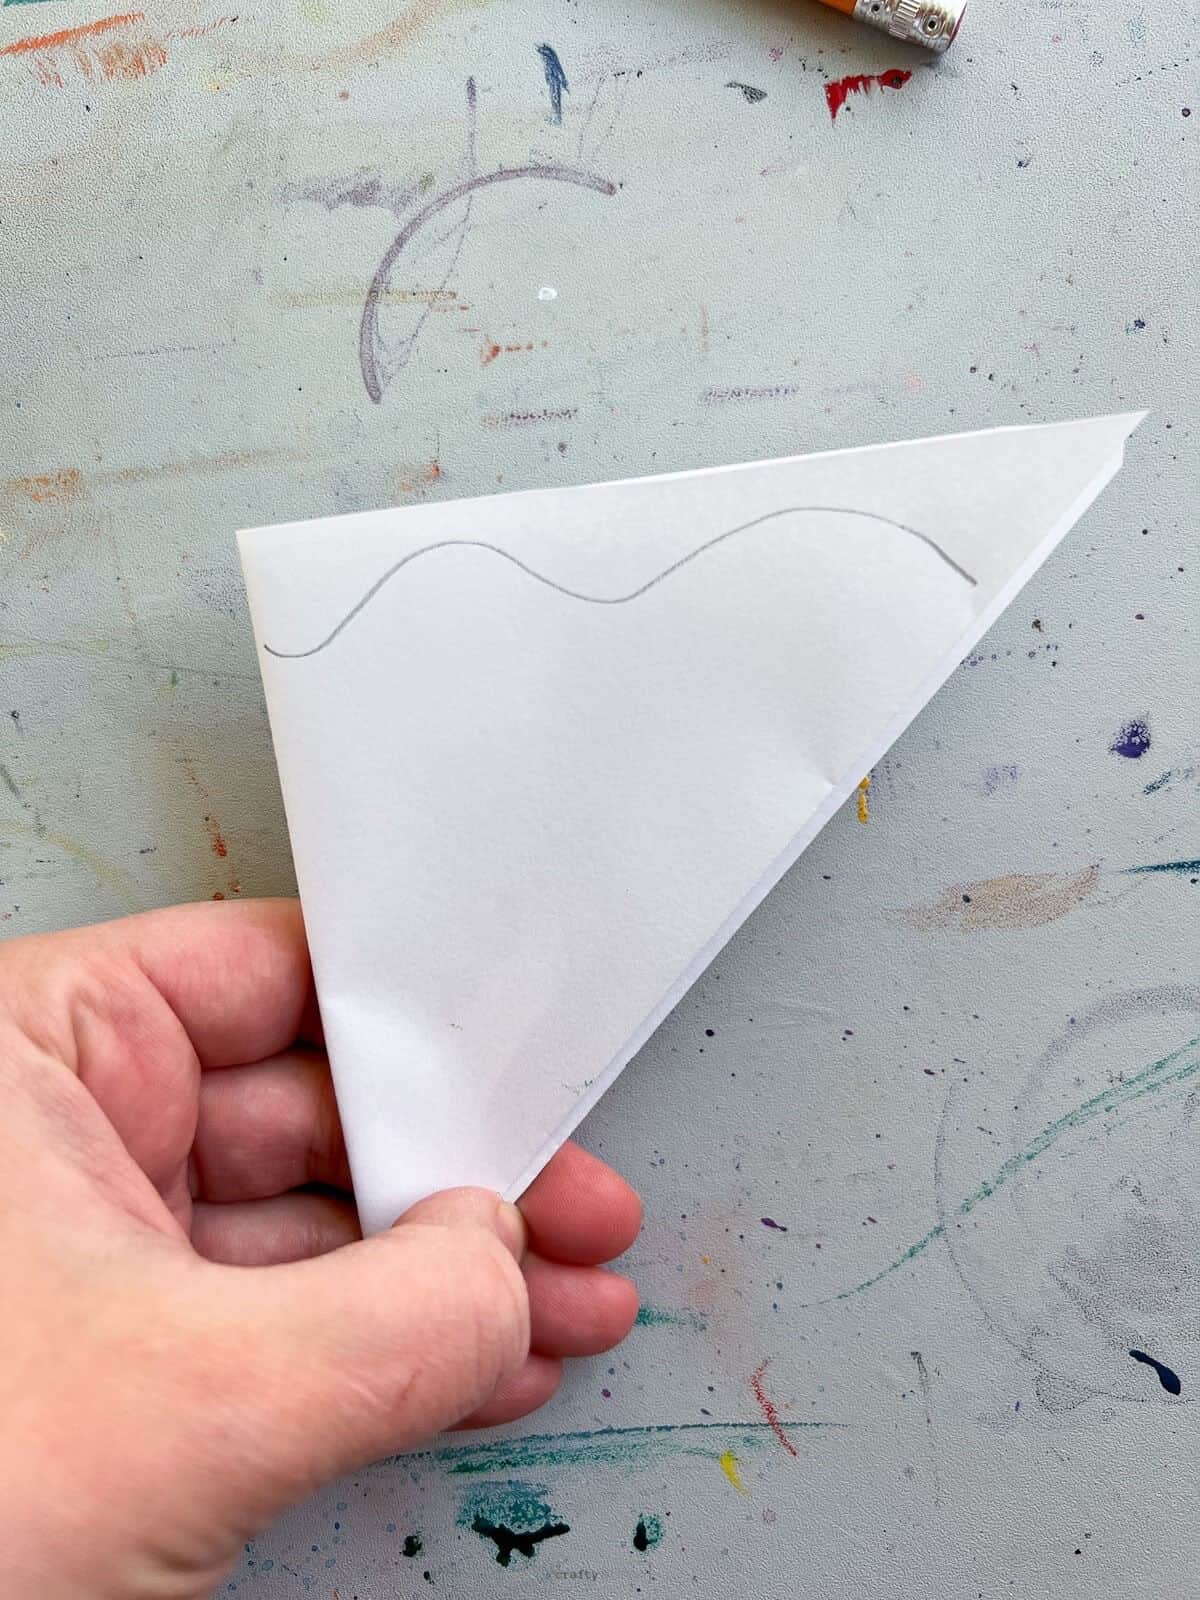
You need to cut more shapes carefully. The challenge is not letting your paper rip while making your cuts.
Yes, even though in nature snowflakes are 6-sided, creating symmetrical 4 or 8-sided snowflakes can be a fun project. 4-sided snowflakes may be easier for the youngest children to do as the 6-sided folding can be tricky for young hands.
More Winter Art Ideas
- FAVORITE WINTER PAINTING: Winter Birch Tree Landscape
- EASY WINTER DIY: How To Make Christmas Tree Crayons
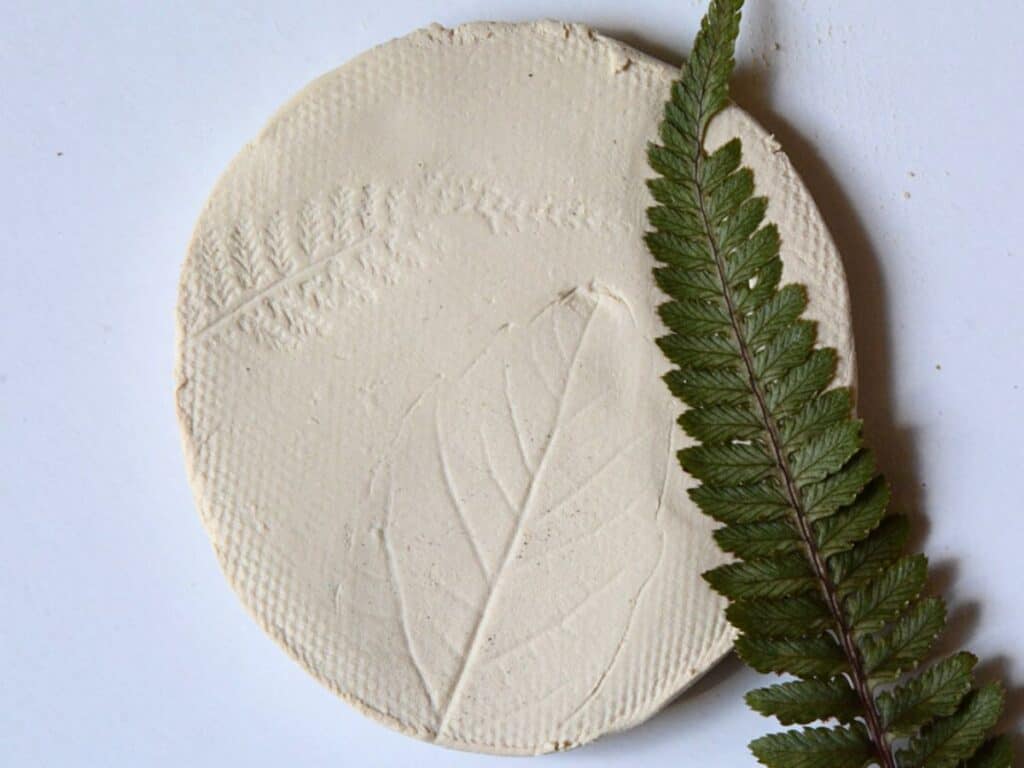
- EASY WINTER CLAY IDEA: Clay Leaf Impression Ornaments
You will love seeing the joy on a child’s face the first time they make a snowflake out or paper all by themselves. I know I still love making them as an adult!
Do you like this art project? Please give us a 5-STAR review below ⭐️⭐️⭐️⭐️⭐️ and have fun being creative with your family.

Equipment
- 1 Pair Of Scissors
Supplies
- Paper You can use any size as long as you make it a square to start.
Instructions
Before You Begin
- Make paper square by folding the corner and cutting excess off.
How To Fold 6-sided Snowflake
- Fold one corner of the square across to the other corner to make a paper traingle.
- Fold the triangle again to make a smaller right triangle.
- Fold one side of the corner 1/3 of the way in.
- Repeat on the other side.
- Flip your folded paper over and cut off excess paper.
Cut Snowflake Design
- Begin to cut designs out of your folded paper. Be careful not to cut a whole folded seam or your snowflake will fall apart.
Notes
- If children are struggling to cut the folded paper, encourage them to use the inside alligator mouth of the scissors. A lot of time children will try to just use the tip of the scissors and they become frustrated.
- Try to do these in a small group with step-by-step instructions.
- After step-by-step help, let children get multiple attempts on their own and encourage mistakes. Mistakes are part of learning.
- Children can draw designs first on folded paper, but it might actually make it harder. This particular craft is better if you just “draw” with scissors first.