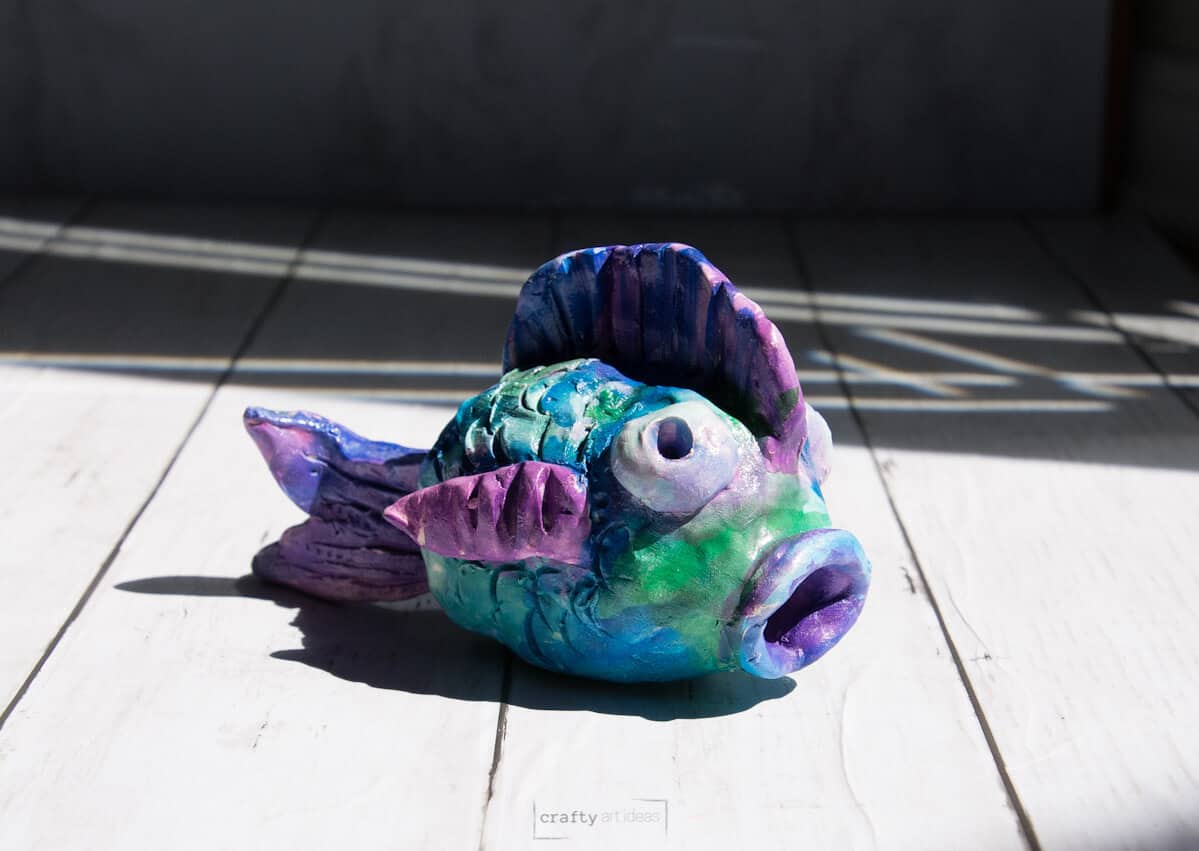
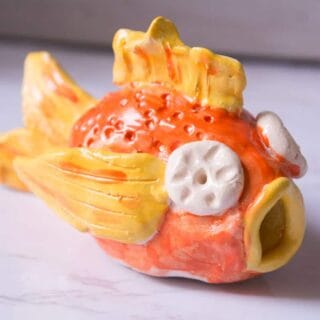
How To Build A Clay Fish Sculpture For Kids

Do you want to build an easy 3-D fish pinch pot sculpture with your art class? Our detailed step-by-step clay fish art lesson is for you (plus a few Art teacher tips along the way).

This craft tutorial has been a long-time reader favorite since it was published in April 2022. This post was recently updated in January 2025 with more straightforward and precise instructions and my key takeaways.
Why You Will Love This Art Idea
Using clay with children is super fun. In addition to this fish build, you can check out some of our other favorite elementary ceramic lessons, such as our clay turtles, clay cats and fun clay monsters.

Why does the clay fish body have to be hollow?
It is essential to teach kids about how a kiln works. You want to explain that if you just put a big chunk of clay in the kiln, it will explode. Kids are fascinated by this. This visualization allows them to understand that they have to have a hollow shape for the body and that their fish details cannot be too thick.
Before You Begin
- SKETCH – Students should create a fish sketch with details before building.
- PREPARE CLAY AND WORK AREA – Pre-cut clay with a wire cutter and set up placemats for kids to work on.
ART TEACHER TIP – We always recommend children draw at least three different sketches before committing to the final design. To help with this, look at examples of real fish and ask students to observe the details that make up a fish.
I always tell kids that artists make multiple sketches because their first idea is not always their best idea. And if your first idea is the best, you will know it after drawing the others.
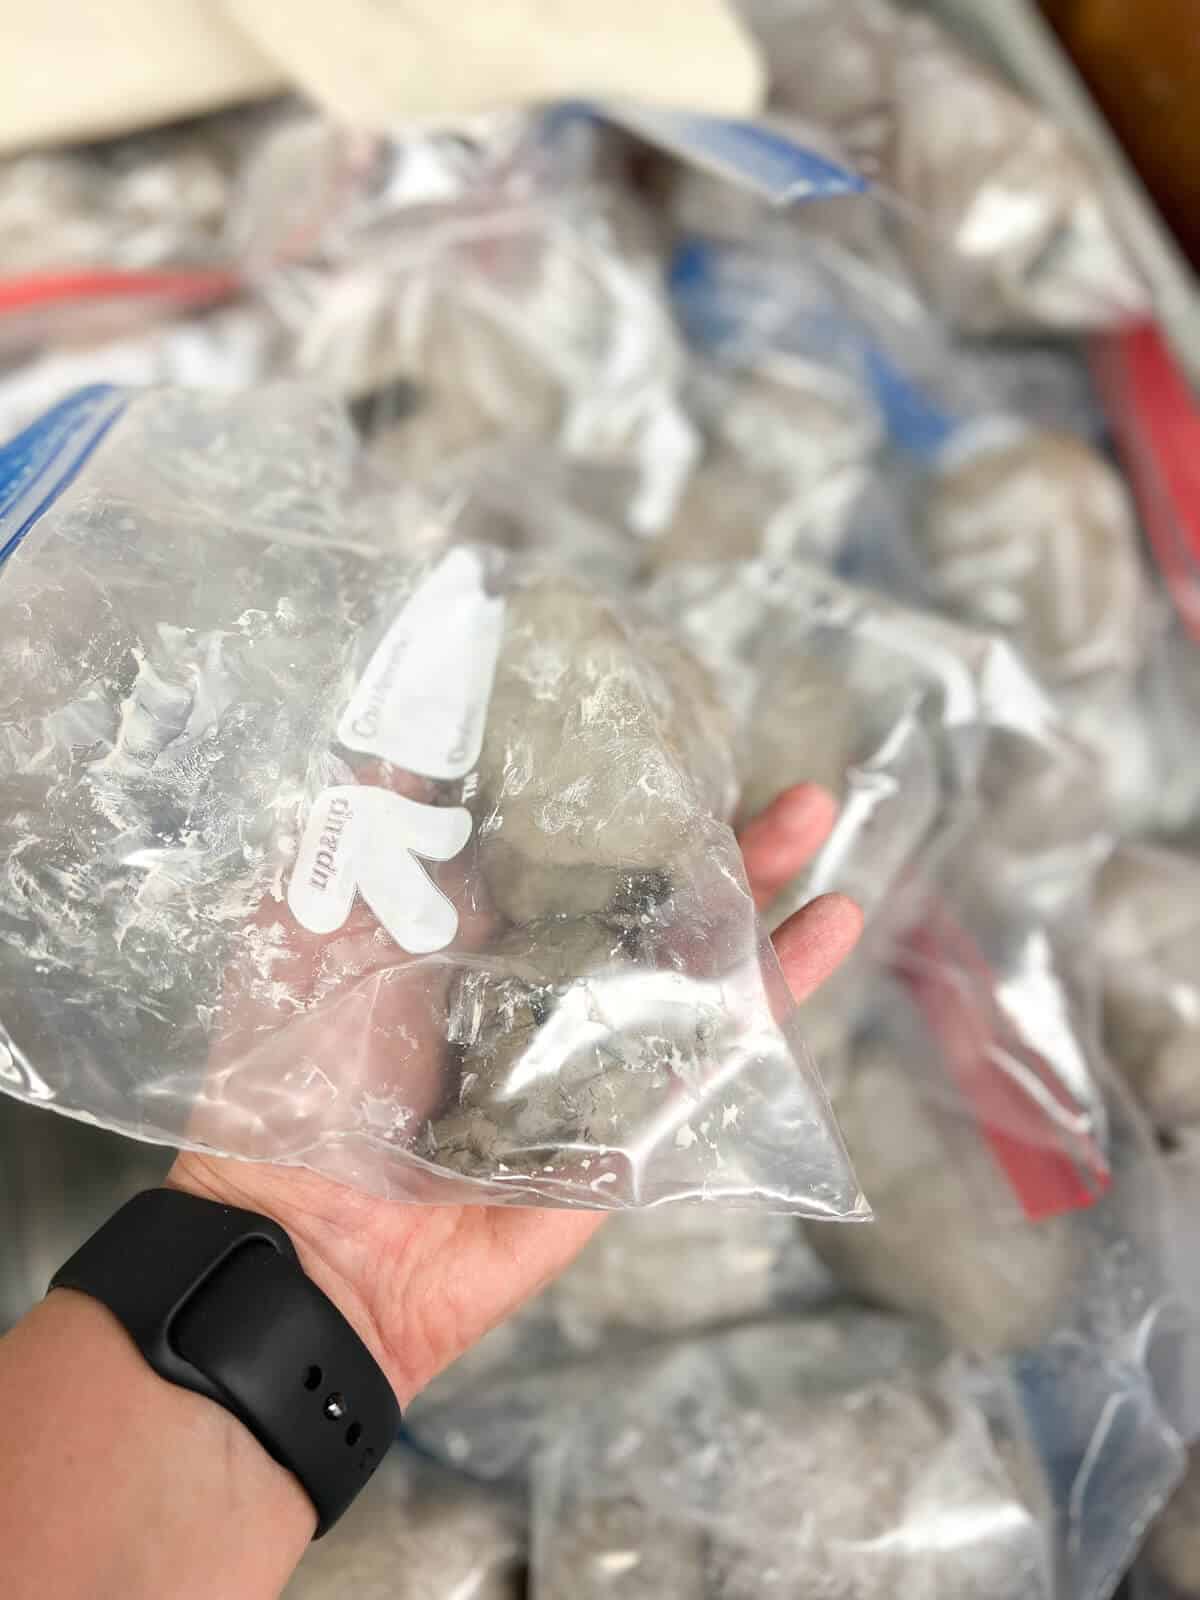
Clay Storing Tips
- Pass out large gallon-sized bags and label them with the child’s name and class (if doing this with a large group)
- Pass out all clay needed for the whole build
- All clay will be stored in the bag for the next time
- Have kids flick 3 “flicks” of water on their fingers before closing the bag completely
- Show kids how to carefully zip part of the bag and gently push out the air before zipping it completely
- Model to kids how to carry the bag by holding clay projects and wrapping the plastic back around the projects
Supplies you’ll need
Disclosure: We only recommend products we would use ourselves and all opinions expressed are our own. This post may contain affiliate links when clicked, we may earn a small commission at no additional cost to you. Read our full privacy policy.
*We like this type for class clay builds with elementary-aged kids
How To Make A Fish Out Of Clay
*Note each of these builds is based on a 40-minute class time. Days may vary, especially if this art project is done with a smaller group.

Step 1: Divide Clay
Split the clay into 3 close to equal sections and roll 2 of them into spheres (notice I say sphere instead of balls..it just is easier than the giggles).

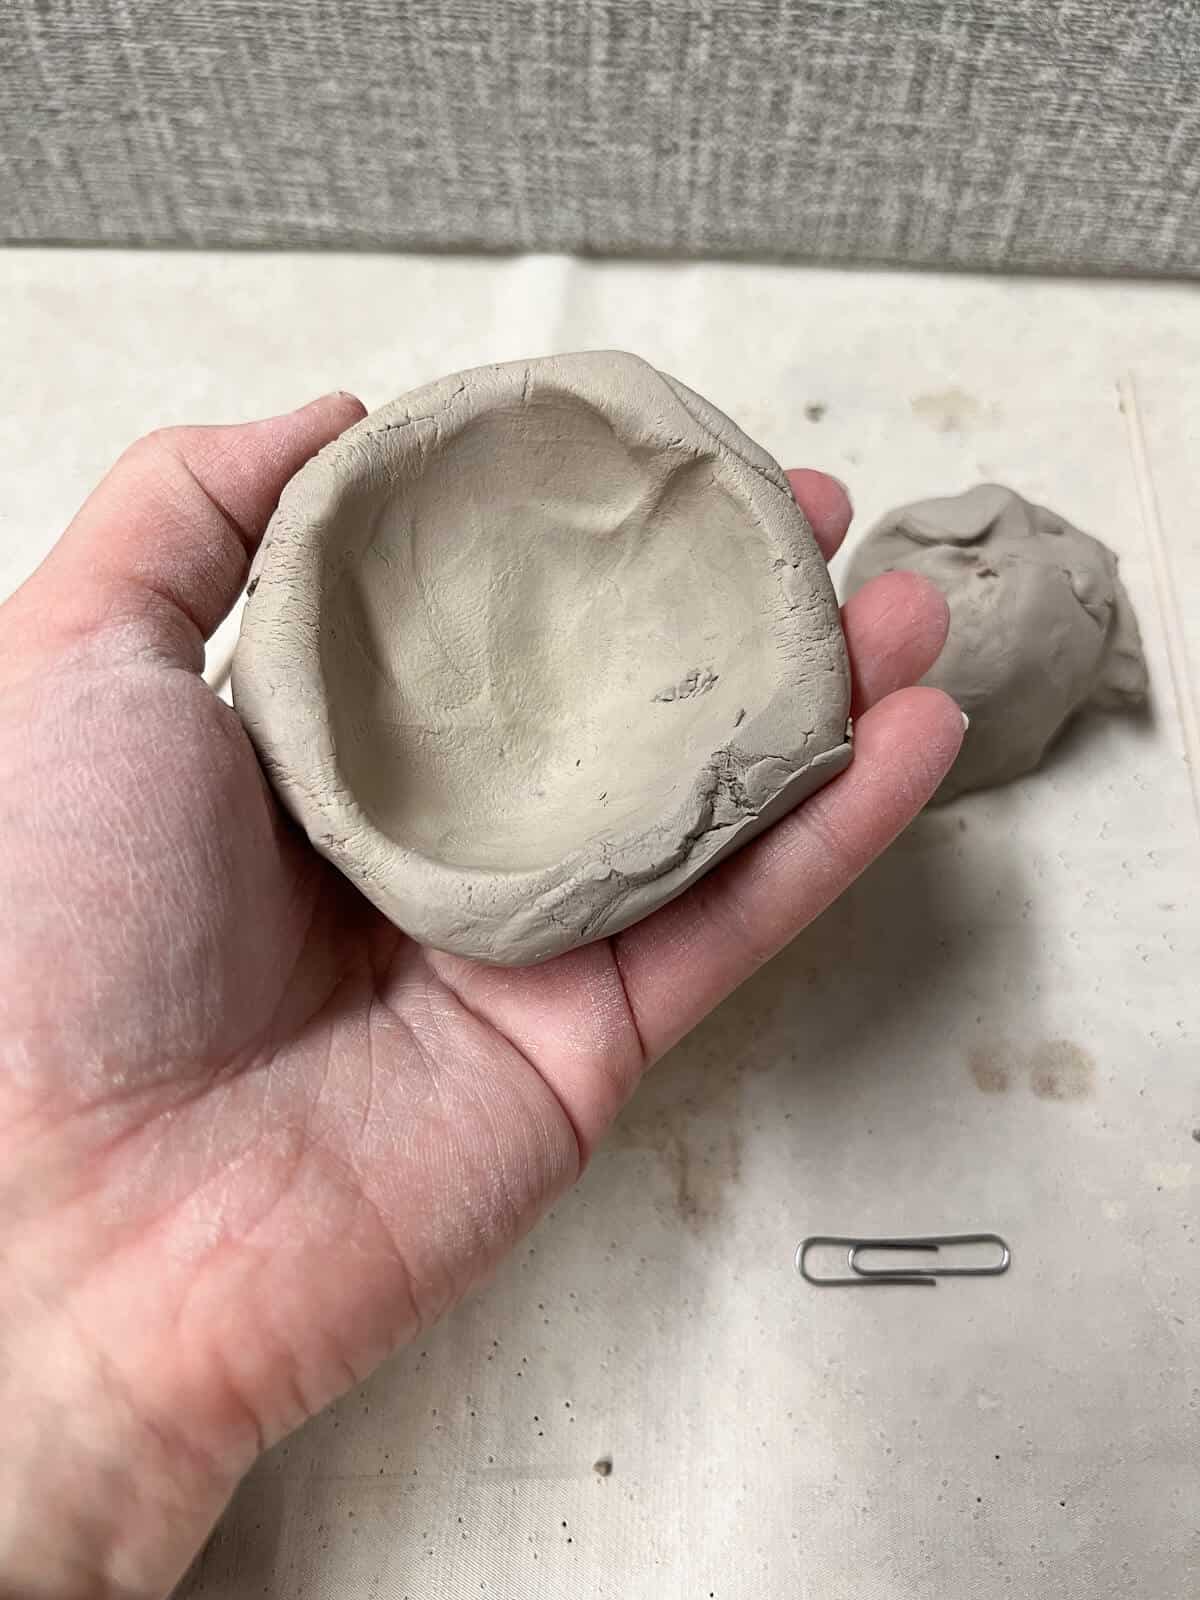
Step 2: Create 1 Pinch Pot
Push your thumb into one sphere as far as it can go without going all the way through. Create a pinch pot but make sure kids do not make the walls to thin.
Step 3: Create 2nd Pinch Pot
Repeat pinch pot steps to create a matching pinch pot.

Step 4: Repeat For The Other Side
Score the edges of each clay pot.

Step 5: Add Water
Rub water along the two edges using one finger.

Step 6: Make Hollow Body Shape
Put pinch pots together. Use your finger to blend the seams. Be careful not to push too hard so as to collapse the fish body.

Step 7: Poke Hole For Mouth
Use the skewer to put a hole for the mouth. Students can make their fish mouths in a variety of sizes. I like to have all fish have mouths to help with airflow in the kiln.
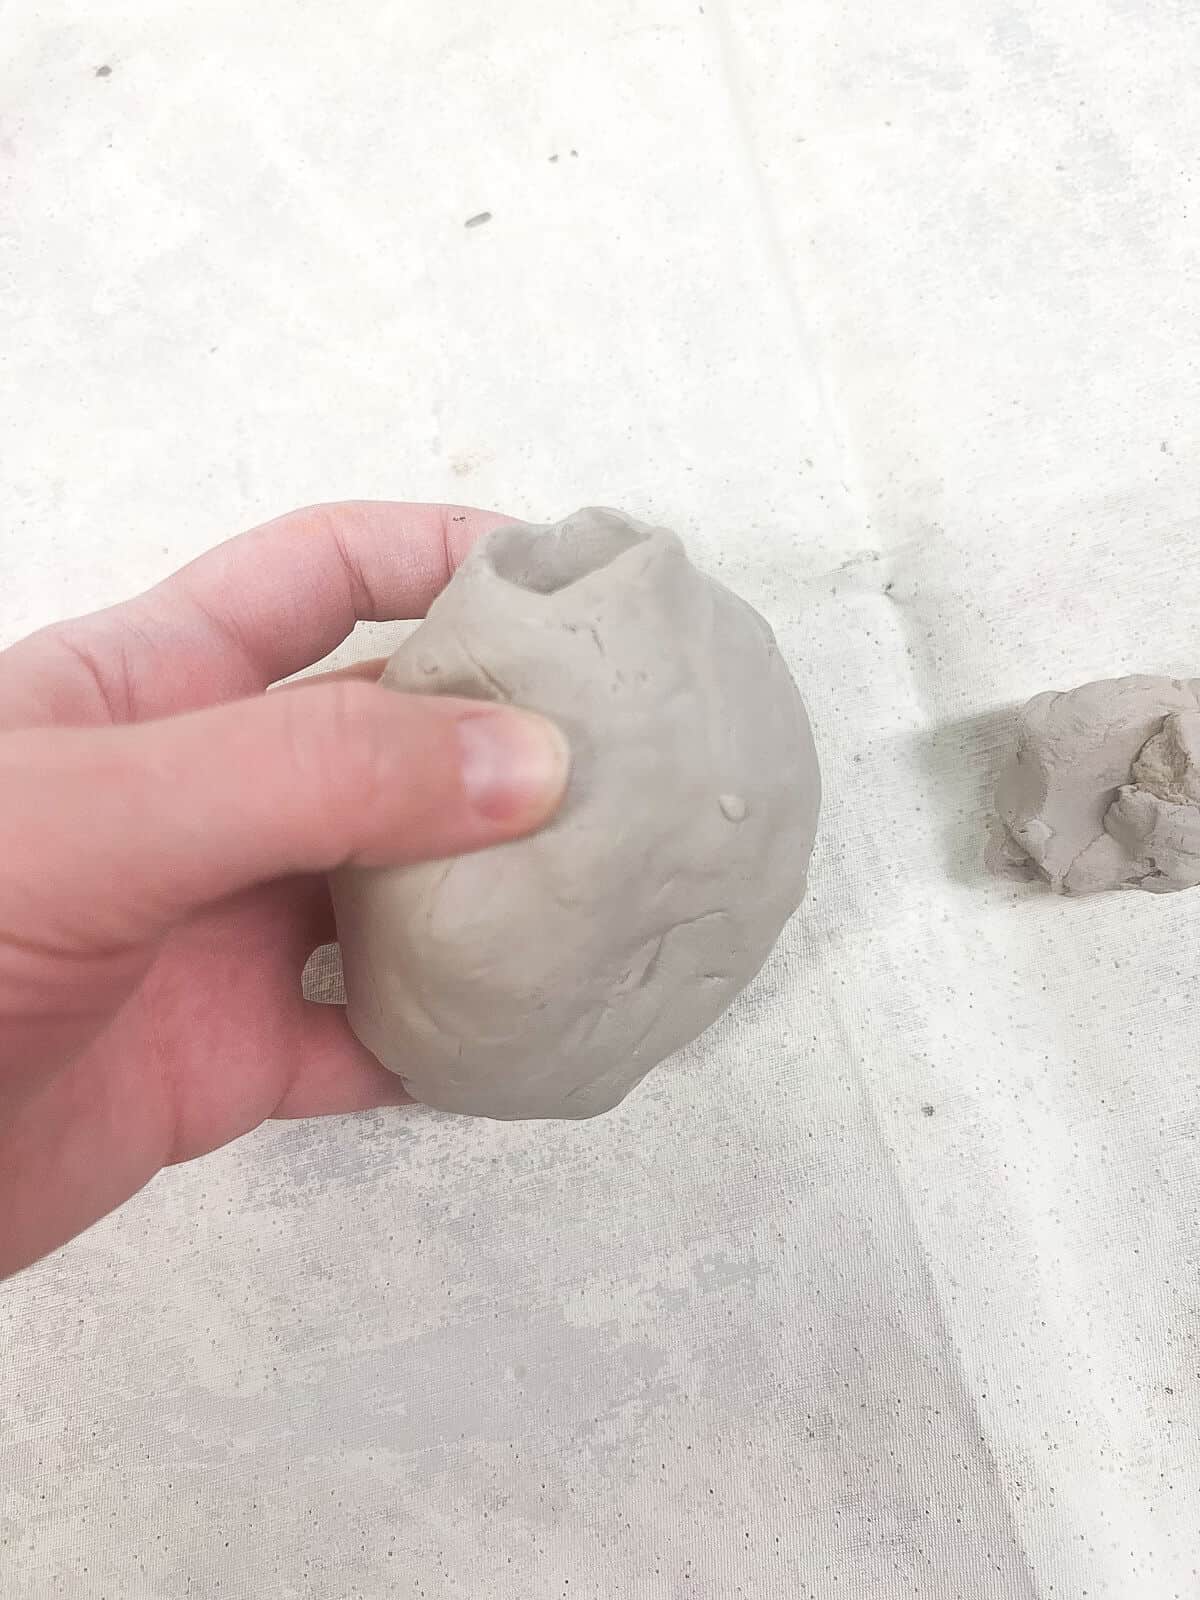
Step 8: Open It Up
Use fingers to sculpt a fish mouth and/or use your finger to pop any spots that may have collapsed.

Step 9: Make Details
Make details such as fins and eyes by making a small slab and cutting through the clay in the desired shapes.

Step 10: Score and Attach
We also recommend using your finger to blend the seam of the clay on large items like fins.

Step 11: Continue Building, Scoring and Attaching Fish Details
Build fish eyes, side fins, tail fins, and any other details they want to add. Make sure children score and add water to items they are attaching.

Step 12: Add Extra Texture
Use a skewer, popsicle stick or clay tools to add extra fish-like textures.

Step 13: Let Dry
Write the child’s name on the bottom of the fish.

Step 14: Fire In The Kiln
Follow your firing instructions for your kiln and clay type.
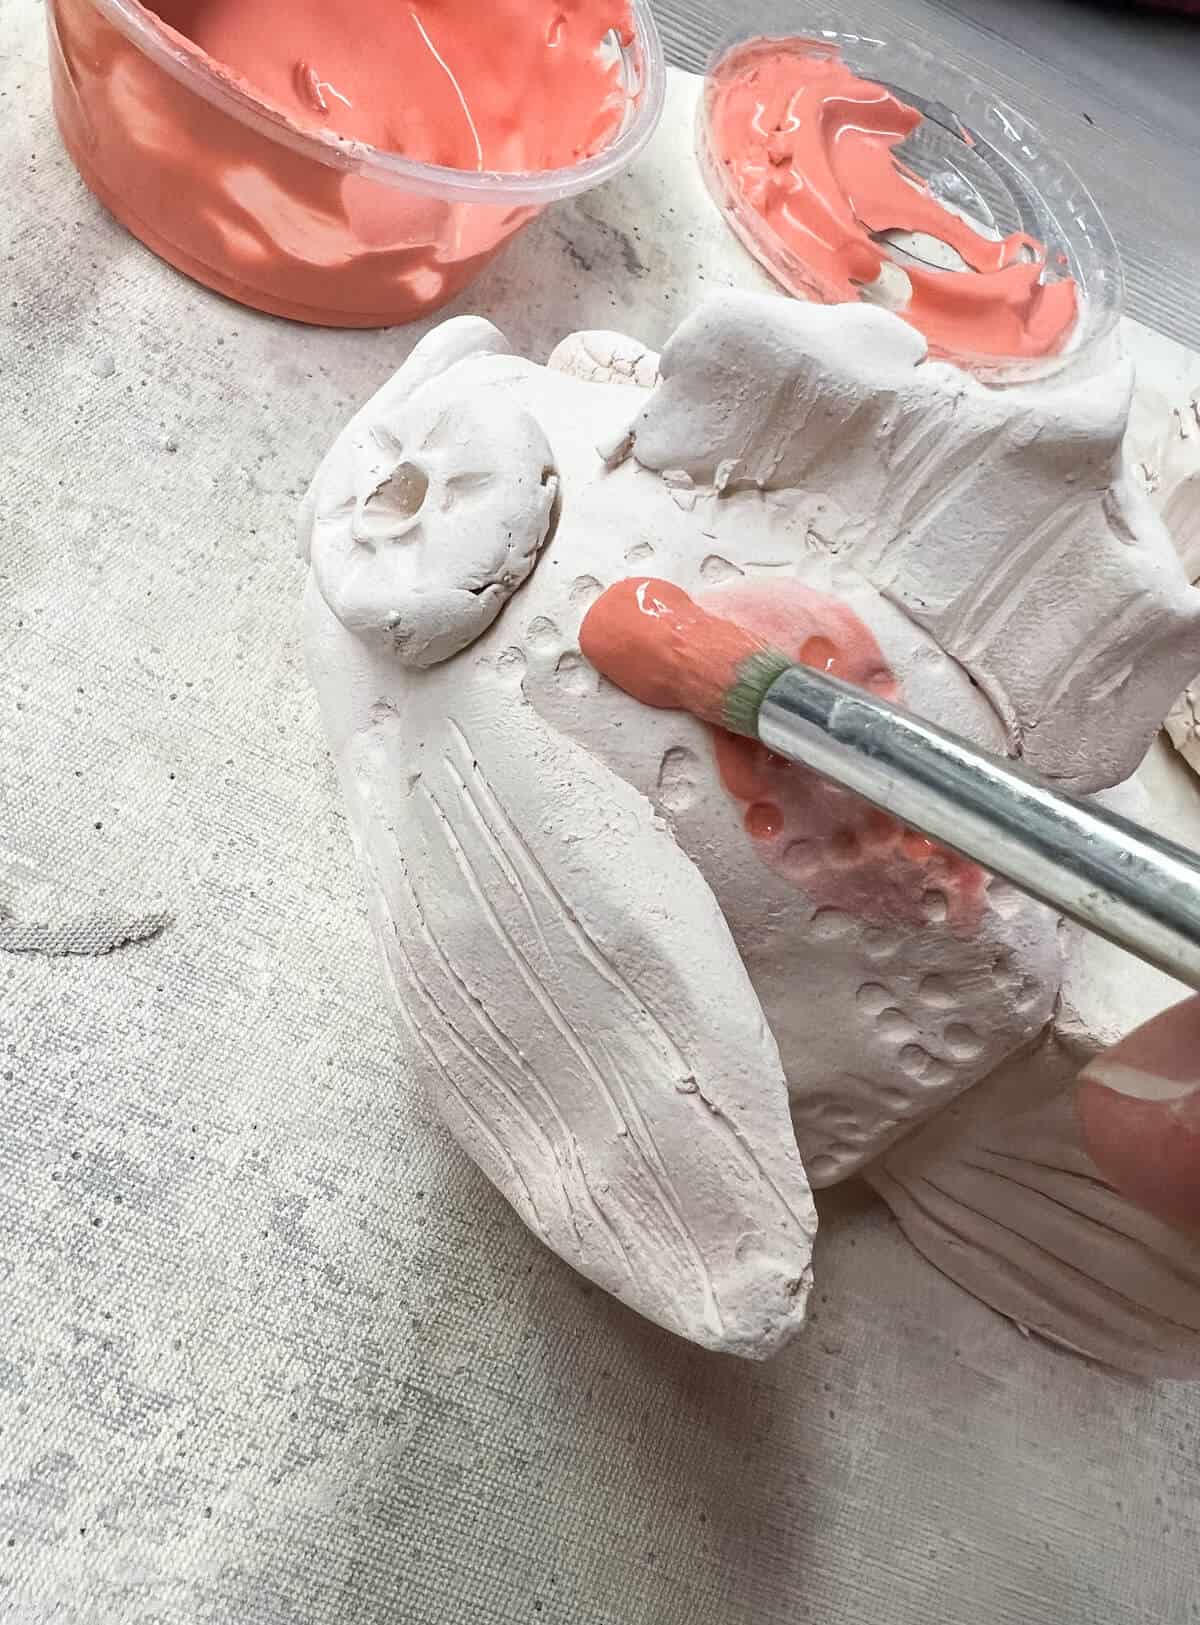
Step 15: Add Color
Use glaze by adding 3 coats of the same color glaze and rinsing brush in between.

Step 16: Finish & Fire In The Kiln
Follow your firing instructions for your kiln and glaze type.
ART TEACHER TIPS – We wrote a whole post on tips and tricks to use glazes with children successfully. The kids are always so amazed when they see their finished glazed clay fish.

More Tips
- LET THE CLAY FULLY DRY – Wait at least a week. Some of these fish may take that long to dry, depending on the thickness of the clay and how much they add. It is always better to be safe than sorry.
- LABEL WITH NAMES – I always think having an adult do this is best. You can use a skewer, but a nice needle tool will help you draw a fine line.
- OUR FAV GLAZES – I like using Mayco glazes with elementary artists.
- DON’T GLAZE THE BOTTOM – With large groups, it is easiest not to let kids glaze the bottom of their projects so that you do not have to use kiln stilts.
Follow us on Pinterest, YouTube & Facebook for more free art and craft ideas!
Art Project FAQs
You can have students blend the seams with their fingers to help make sure items won’t fall off.
Yes, most regular clay projects can be done using air-dry clay as well.
We know better than anyone that sometimes glaze just isn’t in the budget. Other options for adding color to clay include: watercolor paint, acrylic paint, oil pastel with black ink resist, or just a simple clear coat.
As with most art projects for kids, this one allows kids to add details based on their level and abilities. You can teach kids about basic art elements like form and texture but also add extra vocabulary like movement.
More Clay Lessons
We love opening the kiln and seeing the fantastic clay fish projects! And if you can’t use a kiln, you can paint your fish for an equally cool clay art idea.
Do you like this art project? Please give us a 5-STAR review below ⭐️⭐️⭐️⭐️⭐️ and have fun being creative with your family.
How To Build A Clay Fish
Equipment
- Wooden Skewer
- Clay Needle Tool
- Clay Placemats
- Clay Needle Tool (For adult)
- Kiln
- Paint Brush
- Optional: other clay tools
Instructions
- Split the clay into 3 close to equal sections.
- Roll 2 of them into spheres (notice I say sphere instead of balls..it just is easier than the giggles).
- Create 2 matching pinch pots.
- Score the edges of each clay pot and rub water along the two edges.
- Put pinch pots together.
- Use your finger to blend the seams. Be careful not to push too hard so as to collapse the fish body.
- Use the skewer and fingers to help sculpt fish mouth.
- Build fish eyes, side fins, tail fins and any other details they want to add.
- Use a skewer, popsicle stick or clay tools to add extra fish-like textures.
- Write the child’s name on the bottom of the fish.
- Run a bisque fire in your kiln according to recommendations.
- Repeat glazing process until all white areas are covered.
- Run projects in kiln following instructions on the glaze you are using.
Notes
- Make sure kids score first and then add water no matter what they are attaching.
- Using double-pinch pots helps the inside of the fish stay hollow.
- Allow proper dry time to ensure all moisture is out of the clay before firing. We would like to wait a week before performing a bisque fire for a class ceramic project.
This looks like so much fun and a great beginner project for working with clay. Thanks for sharing your cute fish! <3
Thanks Tania! Yes, this clay fish project is a perfect beginner clay art project.