How To Build Clay Pinch Pot Animals

Kids, clay, pinch pots, and animals all go hand in hand. These pinch pot animals are great for upper elementary-aged children. Follow along to see how a simple pinch pot can become a unique clay animal with our detailed step-by-step tutorial.
This clay tutorial has been a reader favorite since its publication in May 2022. This post was recently updated in September 2025 with more straightforward and precise instructions, as well as my key takeaways.
As a former art teacher who never shied away from working with clay, I was always eager to engage all students. I love using pinch pots as a starting point for several different projects – whether a basic clay flower or a more advanced clay monster and these pinch pot animals are one of my favorites with older kids!
Why You Will Love This Art Idea
Before You Begin
Previous knowledge of how to attach clay will be beneficial. Concepts to model, demonstrate and practice are:
- How to score and “slip” to attach the clay together
- Practice making clay details not too thick or too thin
- How to blend seams with fingers to help ensure attachment
- How to refine a clay project by using water and tools to help smooth out rough or dry areas
The biggest challenge to this clay elephant is that they have to create balance to get the elephant to stand on its feet. Some beginners may require additional support with this.
ART TEACHER TIP – If a kid is struggling to get the clay sculpture to stand, you can help them change the design to have the animal lie down. Make the pinch pot touch the table, like this pinch pot turtle. Naturally, a few of their designs may do this, making it easier.
Supplies you’ll need
Disclosure: This post may contain affiliate links when clicked, we may earn a small commission at no additional cost to you. Read our full privacy policy.
How To Build A Pinch Pot Animal
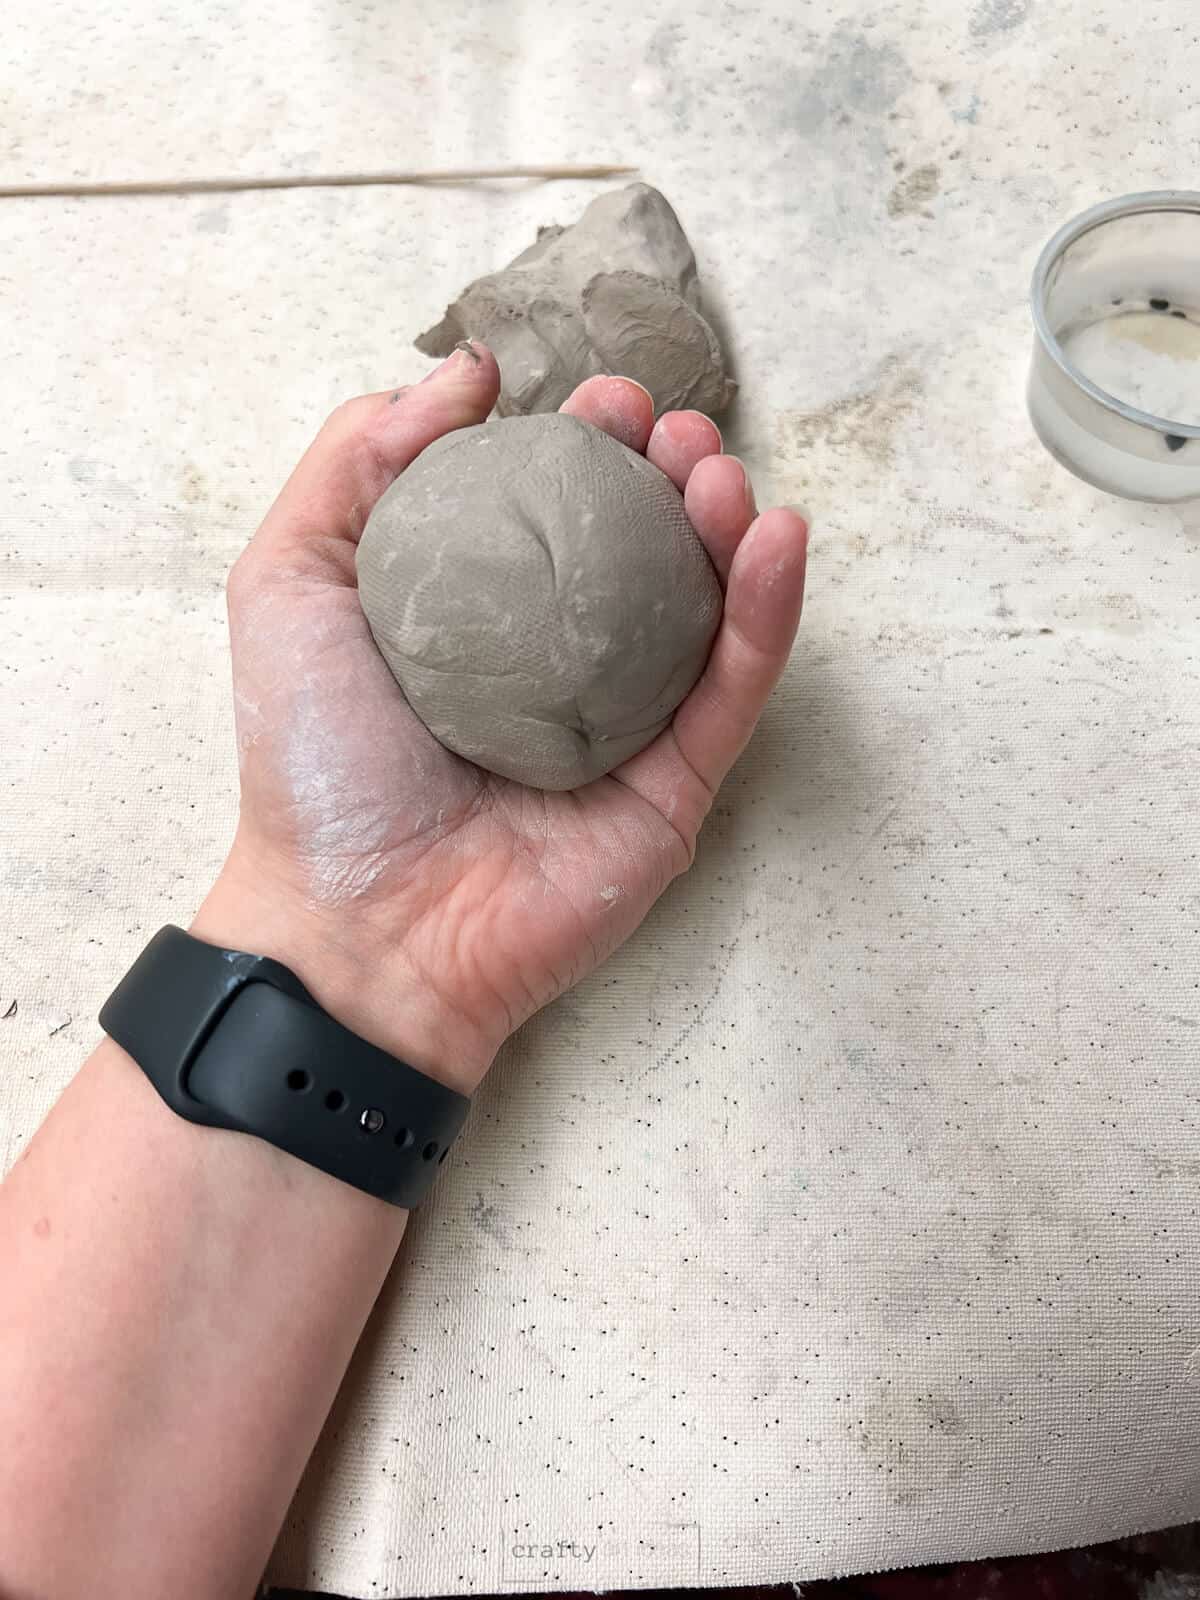
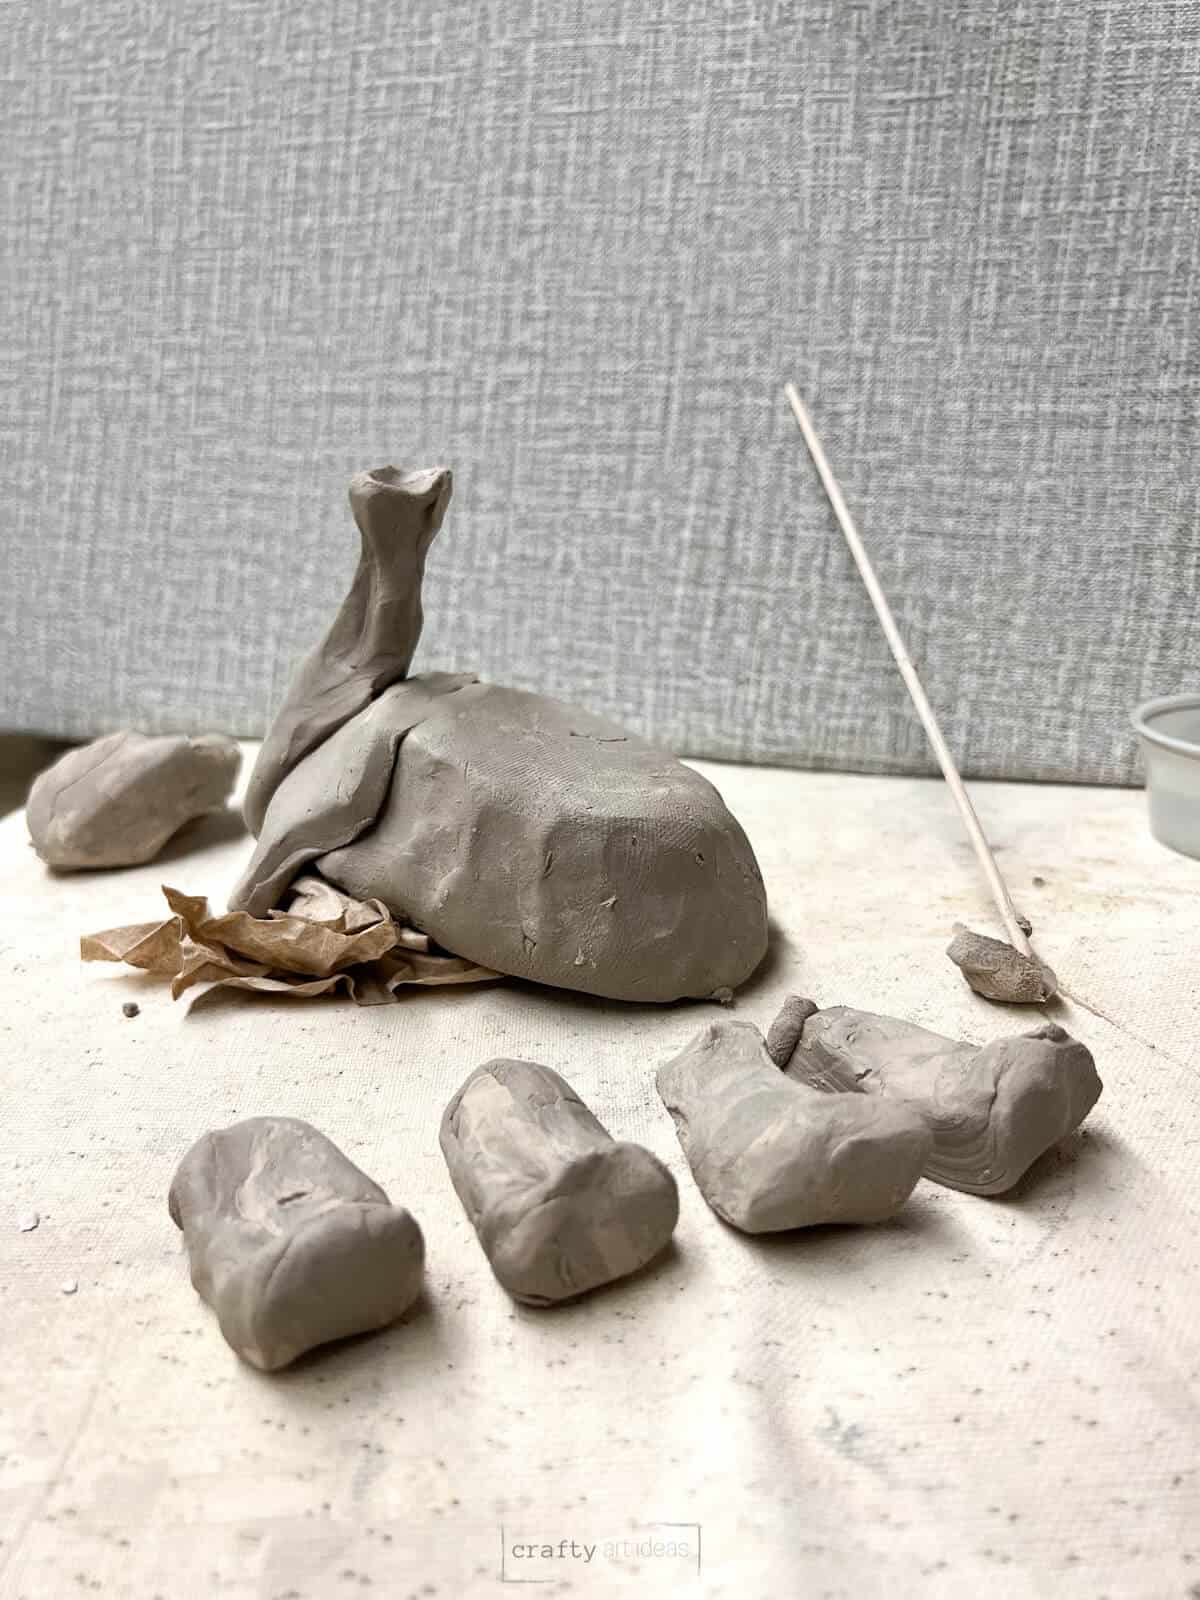
Step 1: Divide Clay
Start with a larger ball of clay that can fit inside a child’s hand. Split a little bit off the hunk of clay. The bigger chunk of clay can be rolled into a ball.
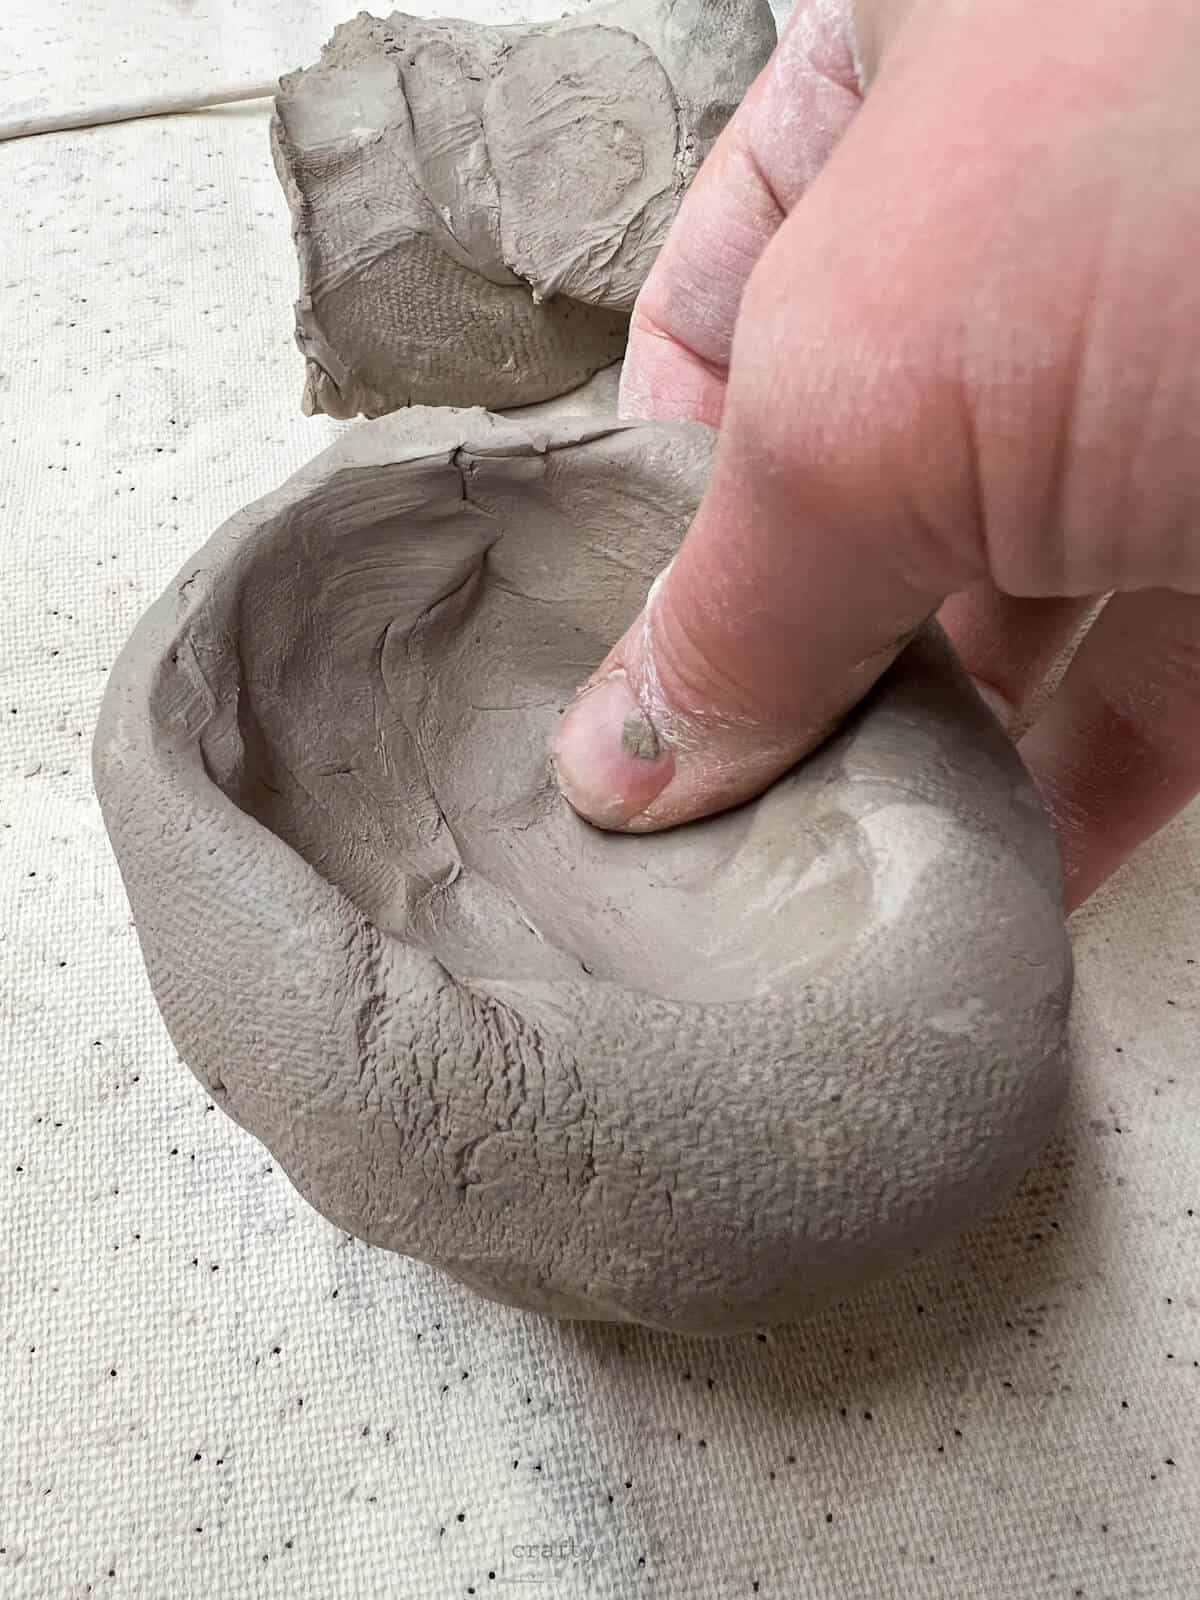
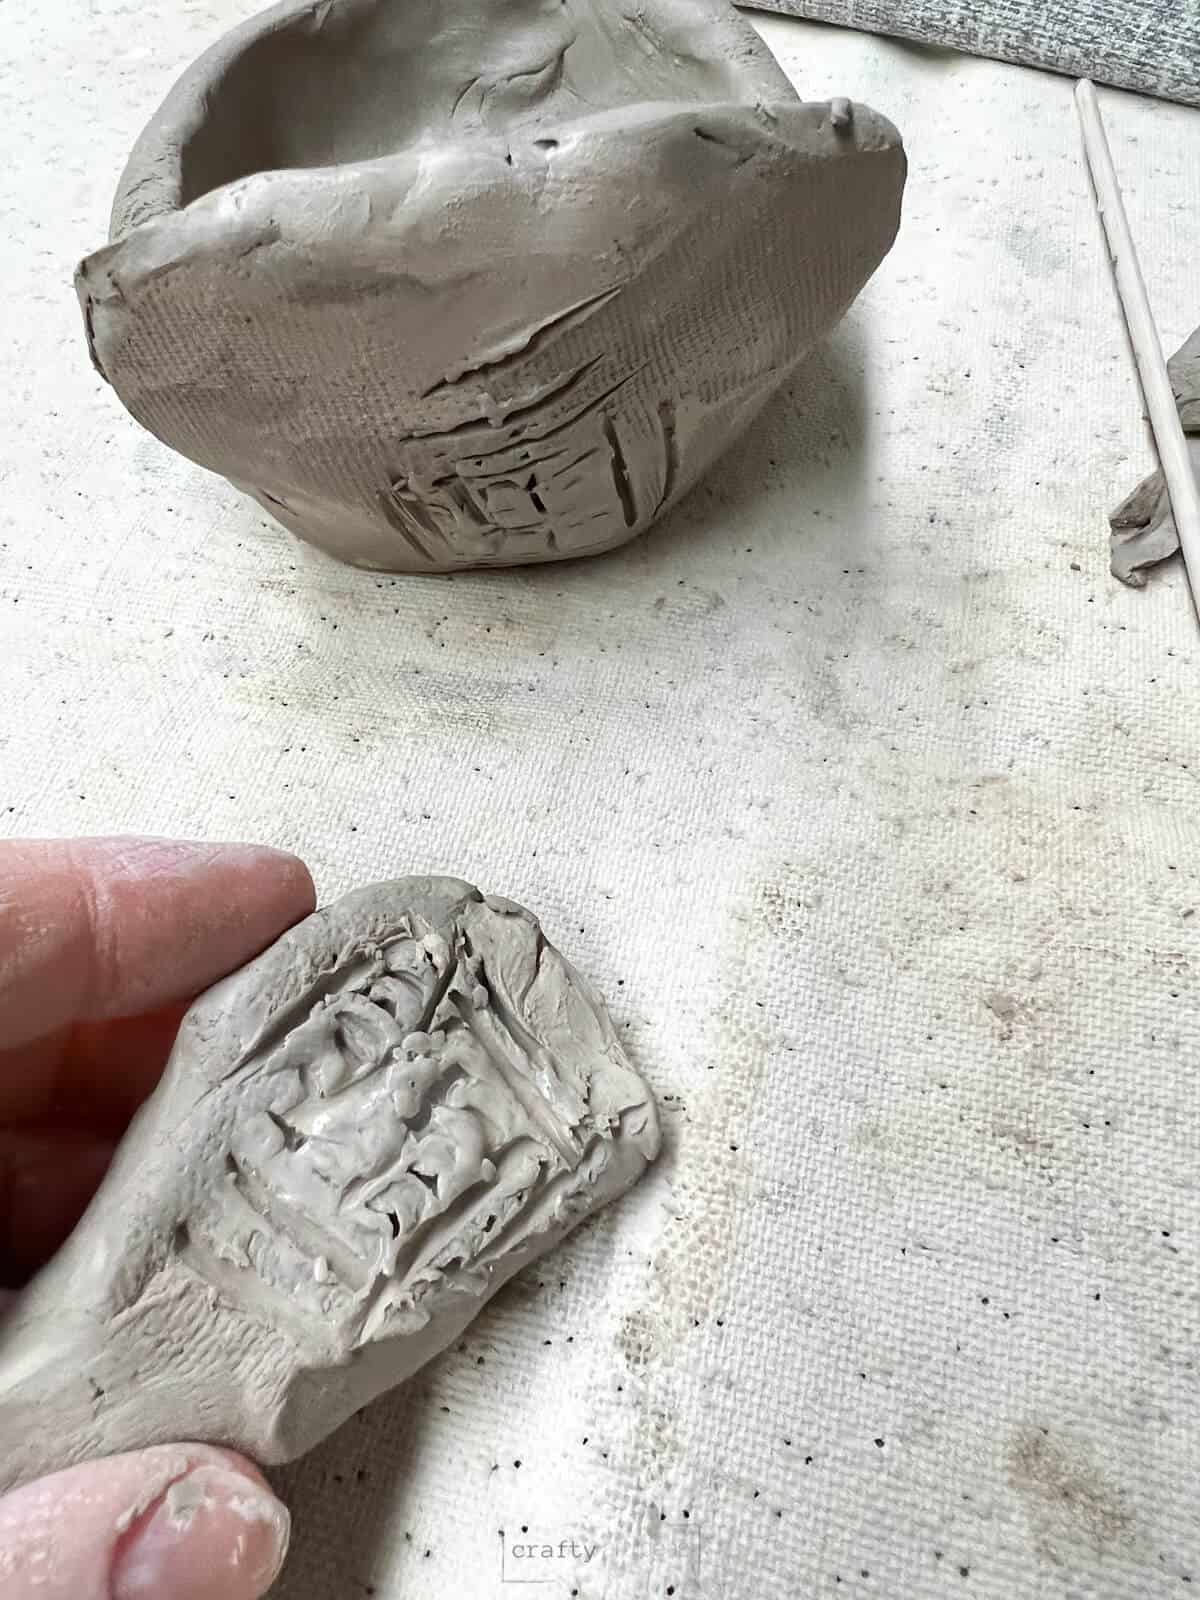
Step 2: Make A Pinch Pot Base
Push your thumb into one sphere as far as it can go without going all the way through. Create a pinch pot but make sure kids do not make the walls to thin.
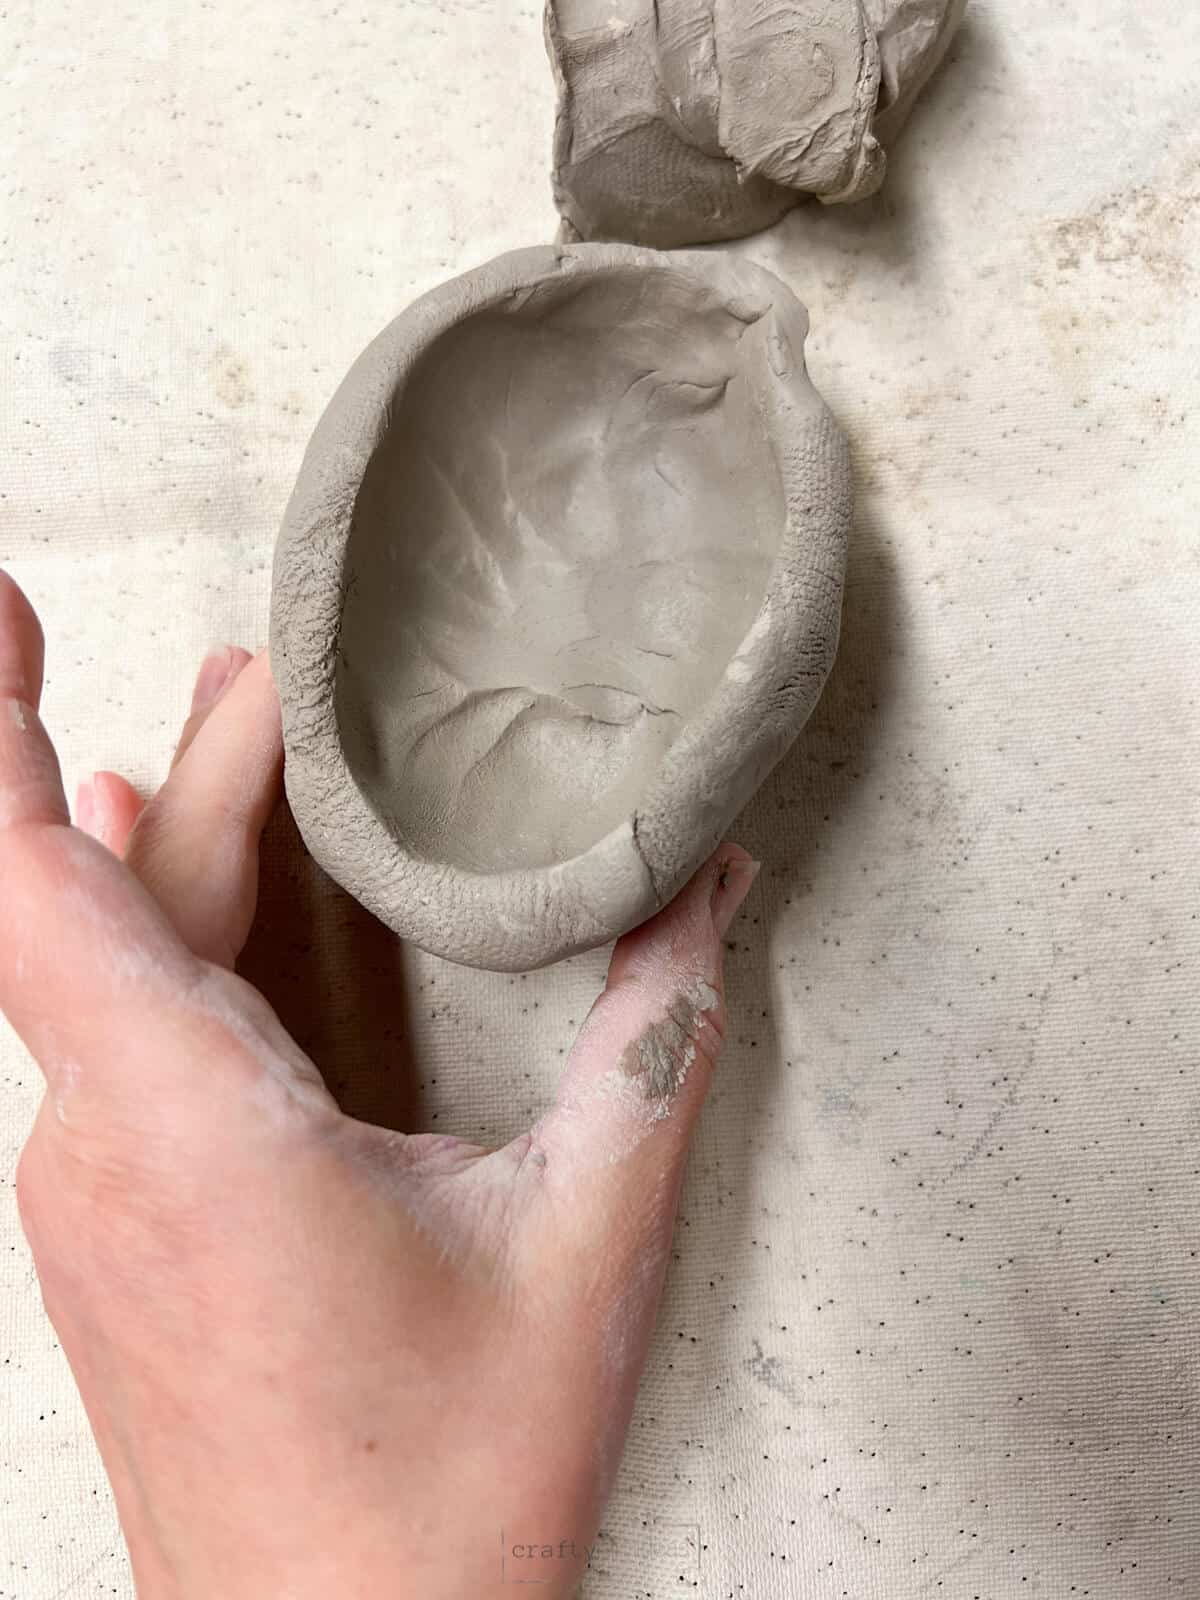
Step 3: Squeeze Pinch Pot
Depending on the type of animal, squeeze the shape of their pinch pot to make it a little longer, like the actual body of that animal.
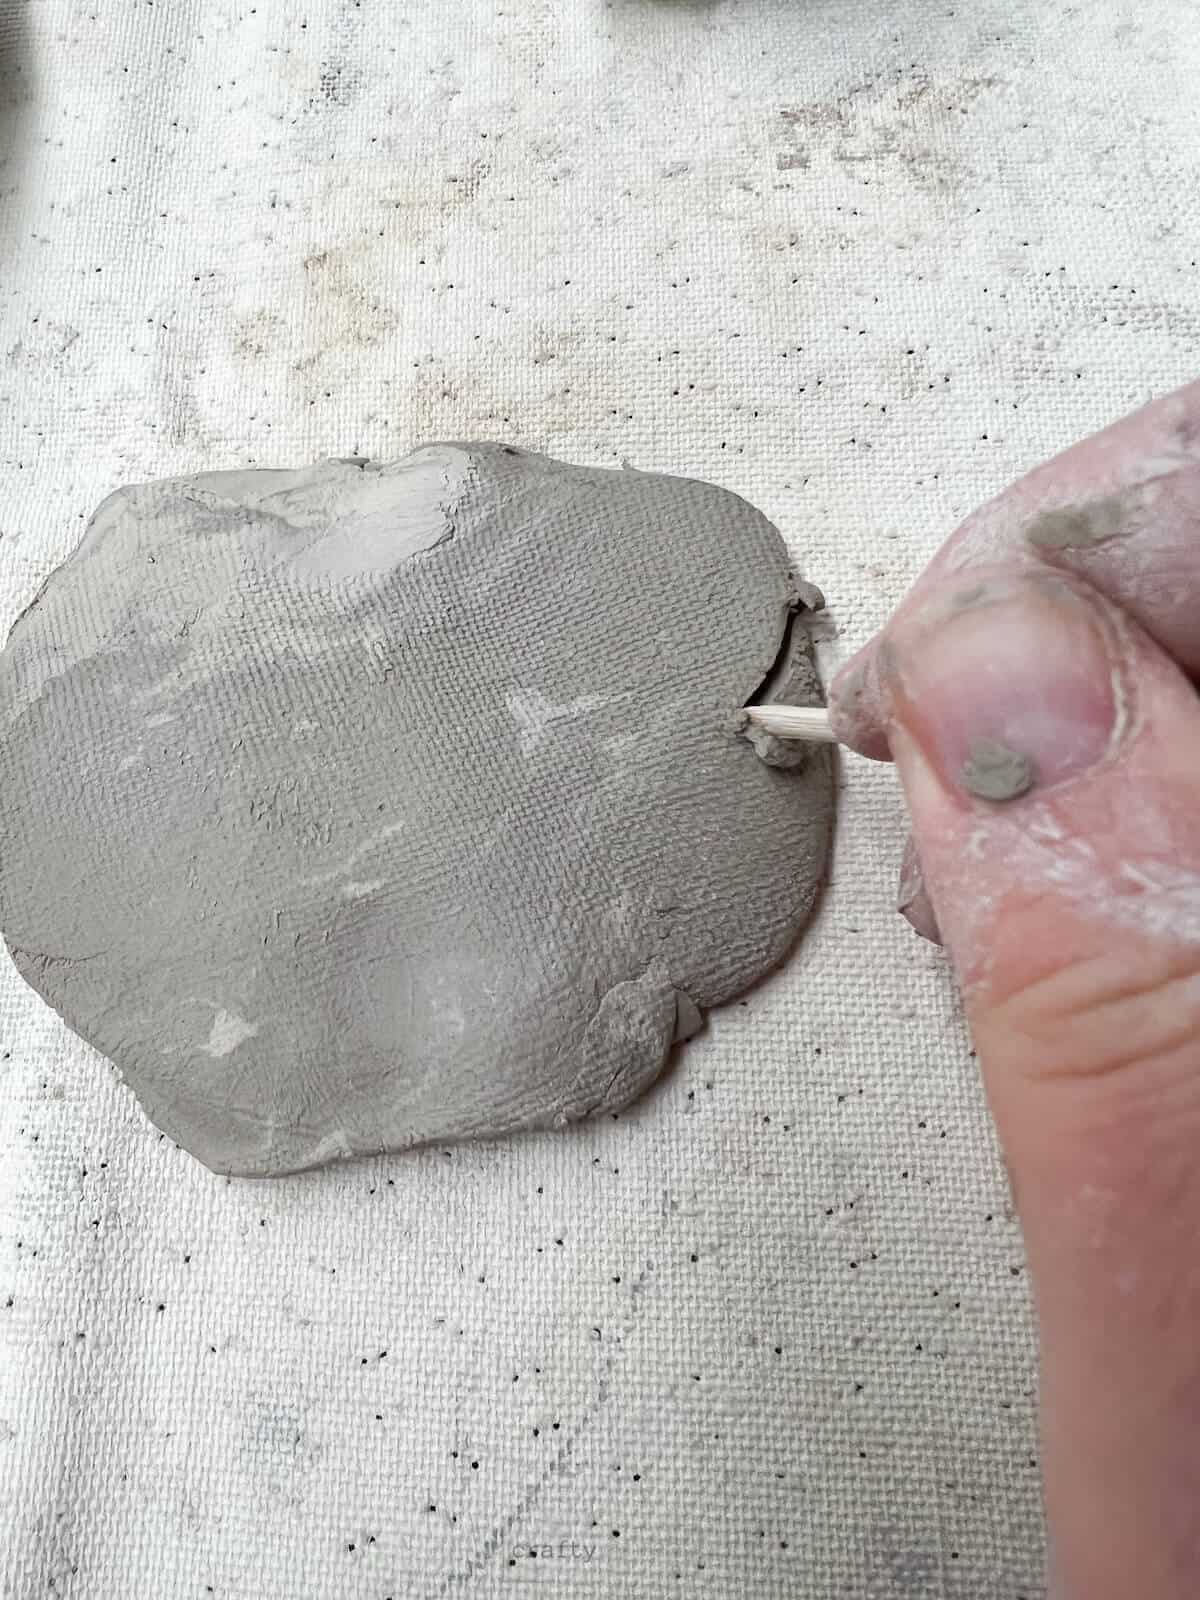
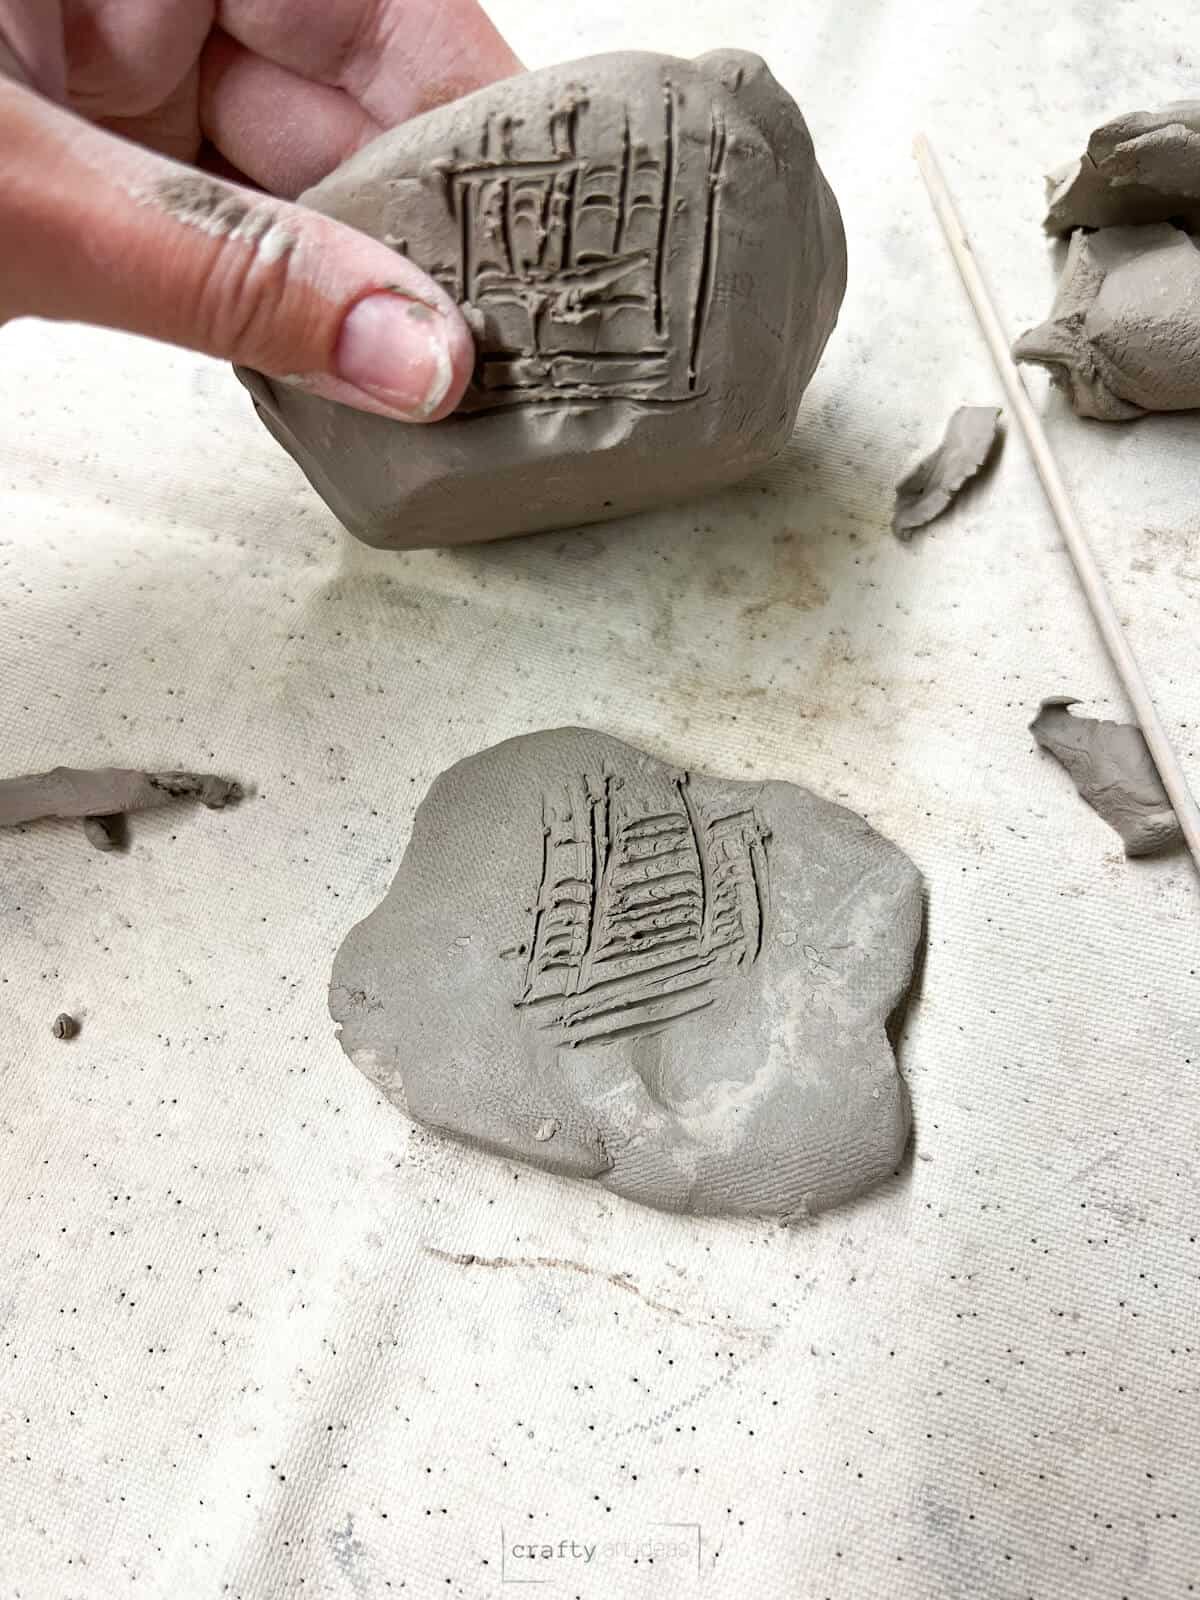
Step 4: Create Clay Details From A Slab
Begin creating the head of your elephant by creating a small slab with some of the extra clay. Use a wooden skewer to cut out the basic ear shape.
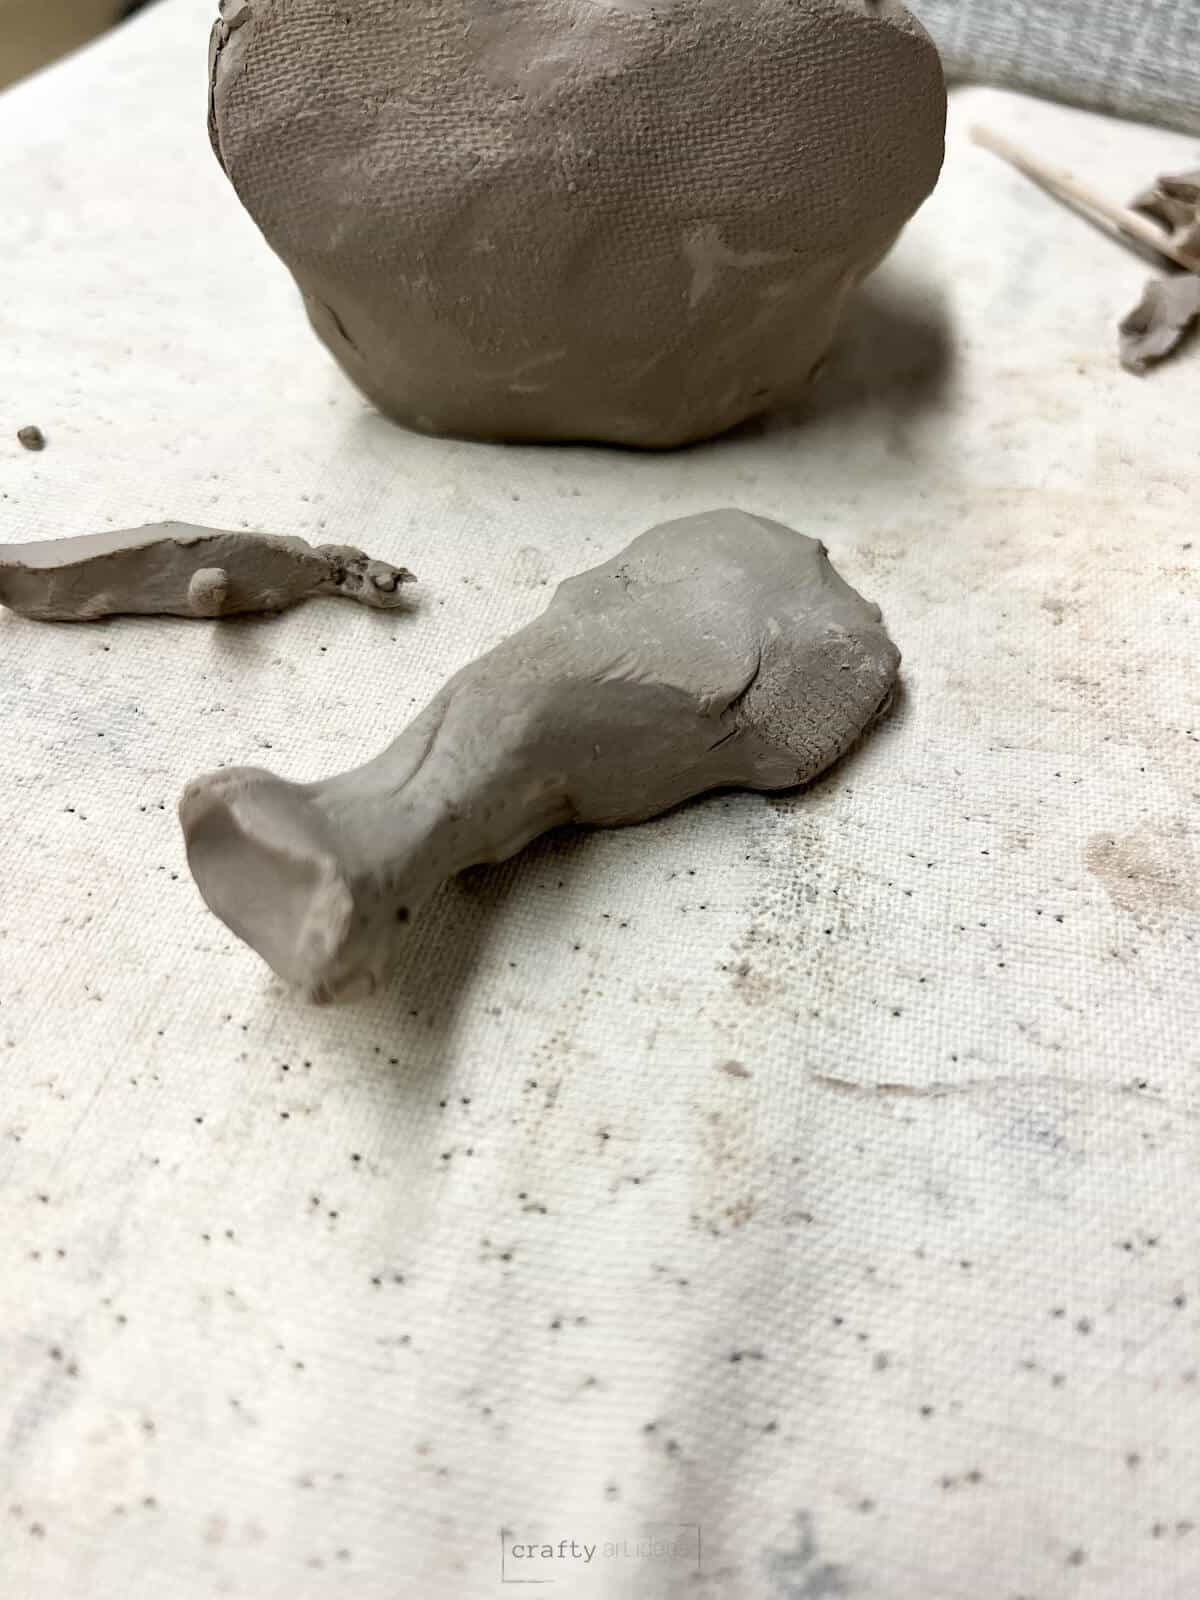
Step 5: Build A Head And Trunk
Construct a head and trunk out of more clay.
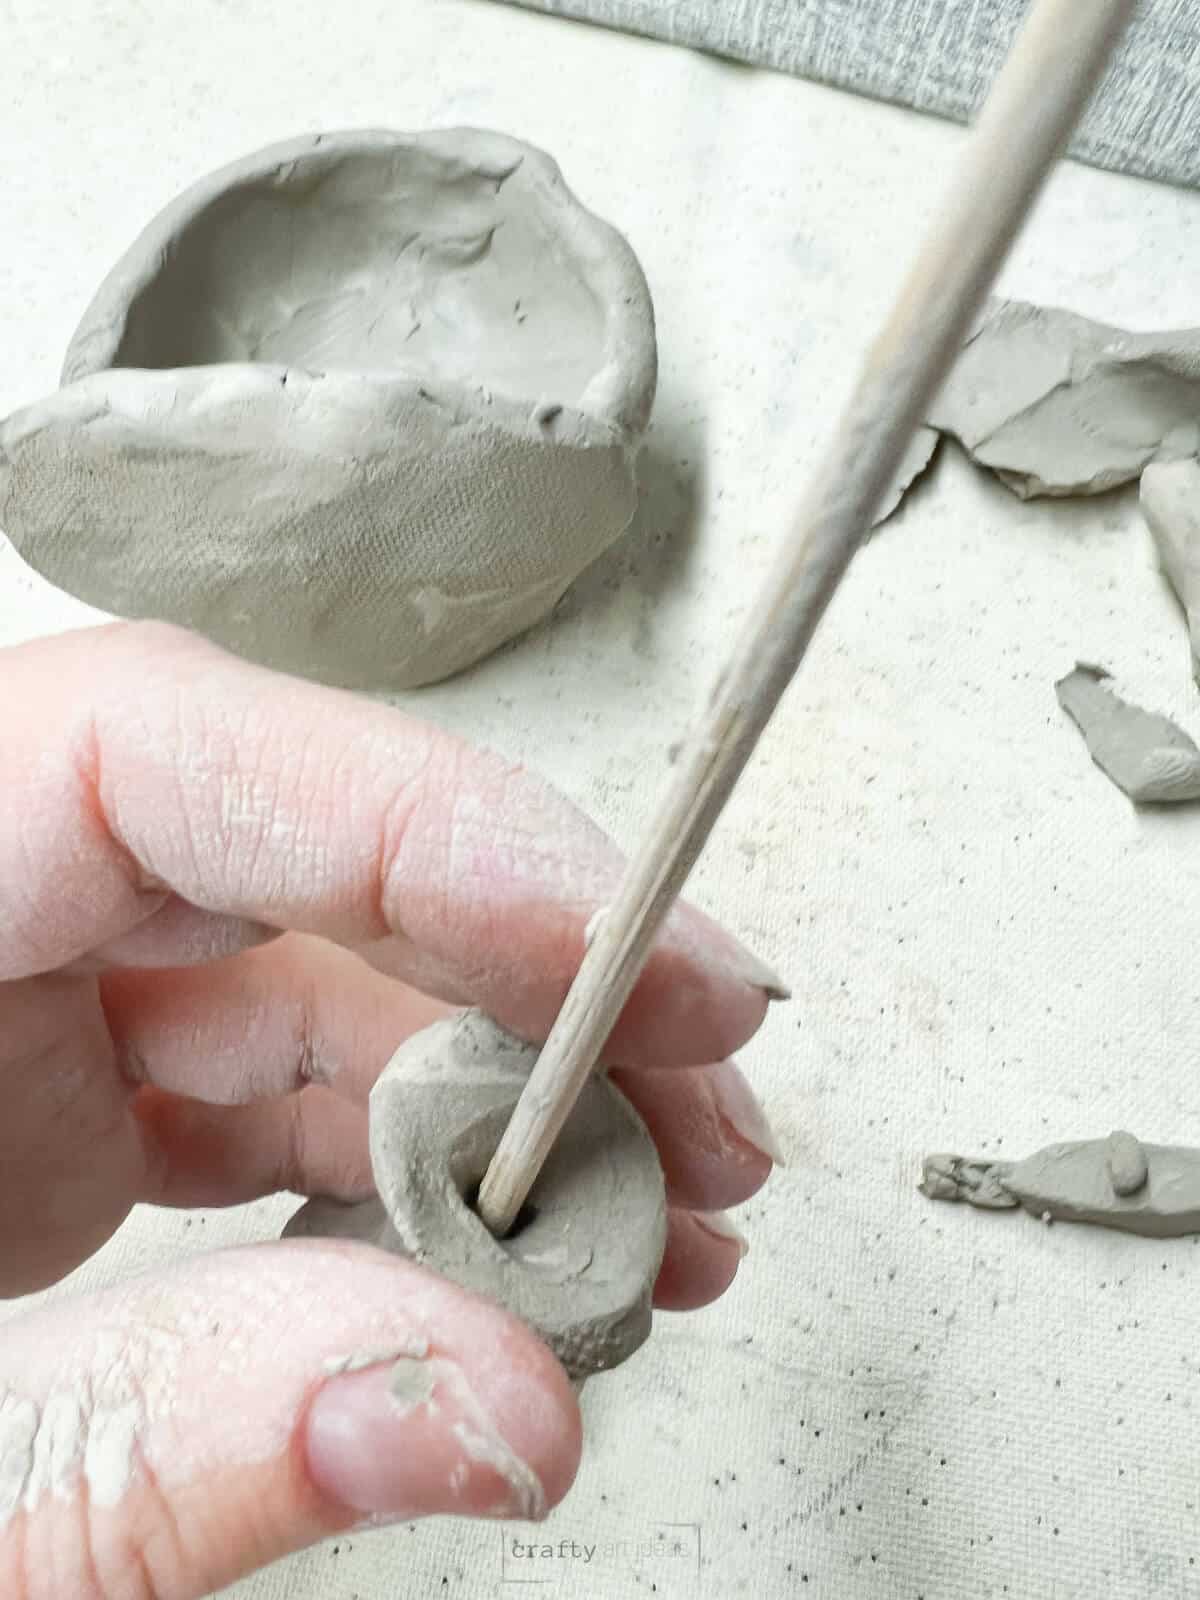
Step 6: Continue Sculpting Details
Use a skewer and fingers to pinch the end of the trunk for a more realistic feel.
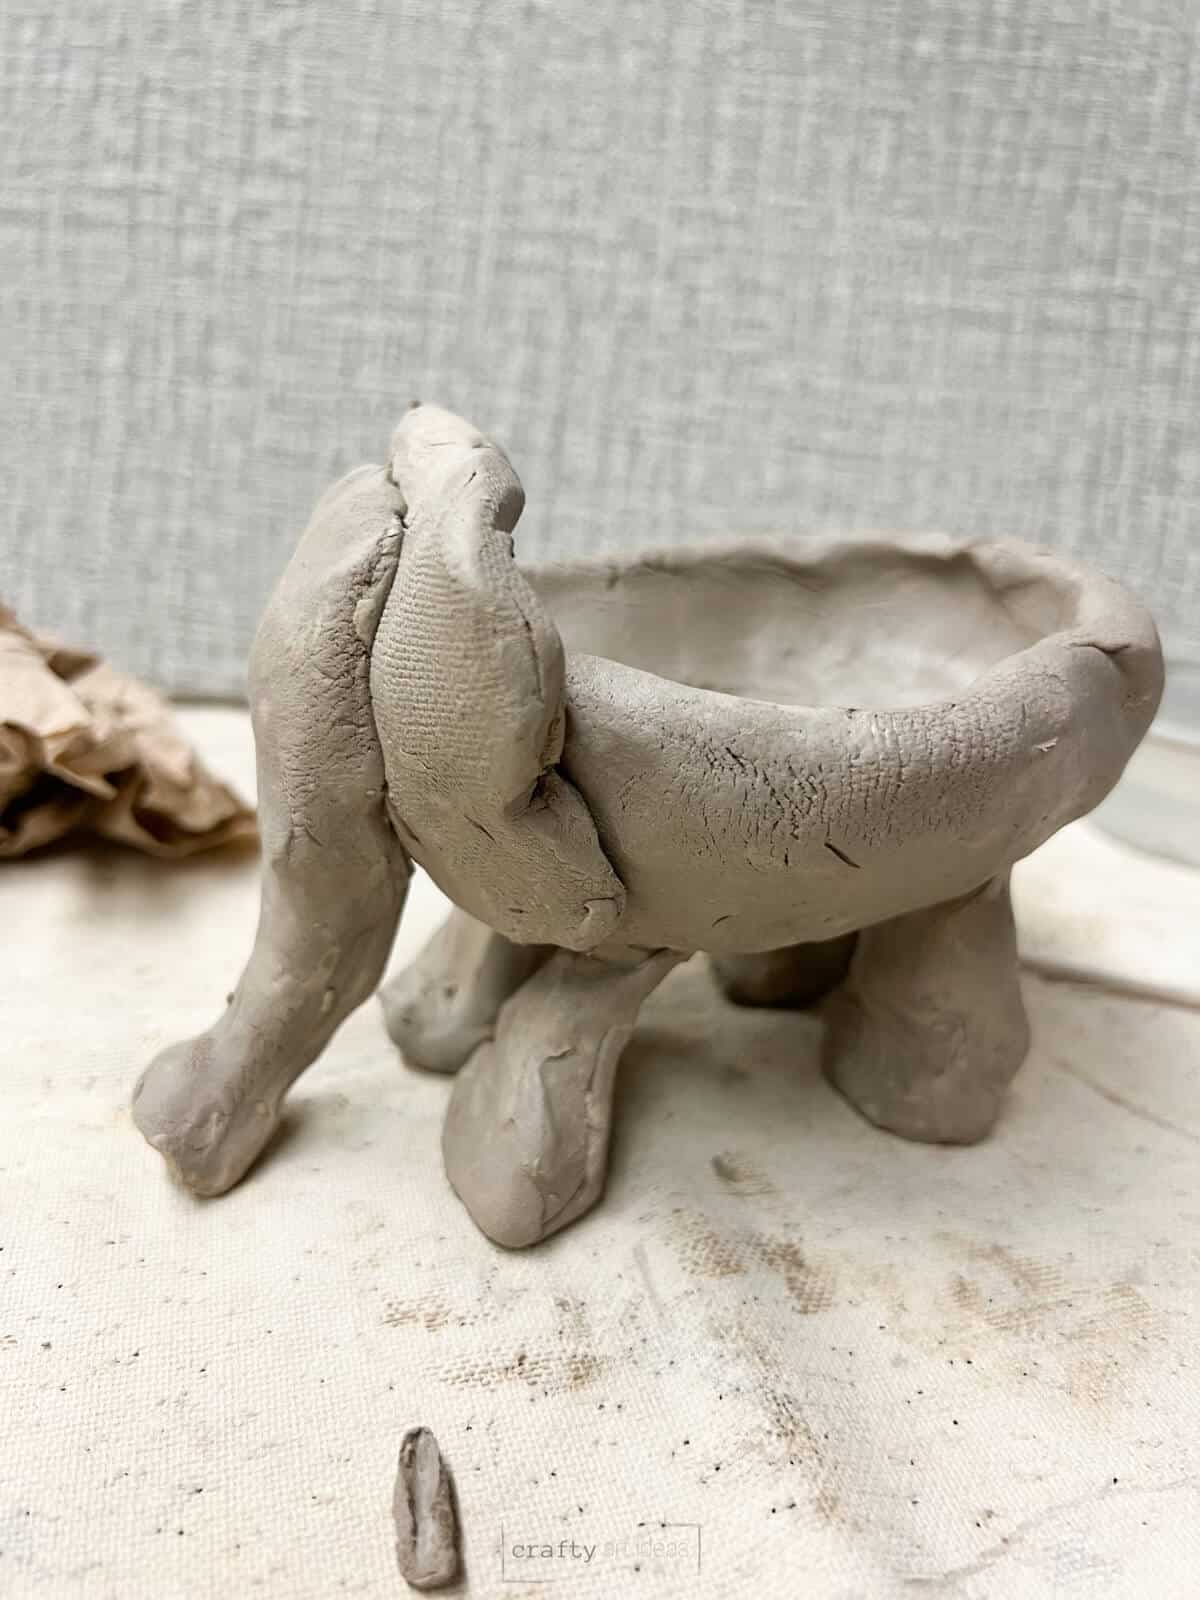
Step 7: Attach The Head and Trunk
Add score lines to the back of the head and elephant ears. Use a little water to create “fake slip” and attach the head and trunk. Follow the same scoring method with water to attach the head to the pinch pot.
Step 8: Build The Feet
Carefully flip the clay project over. We supported our elephant with paper towels so that we could work on making clay feet without smashing the head.
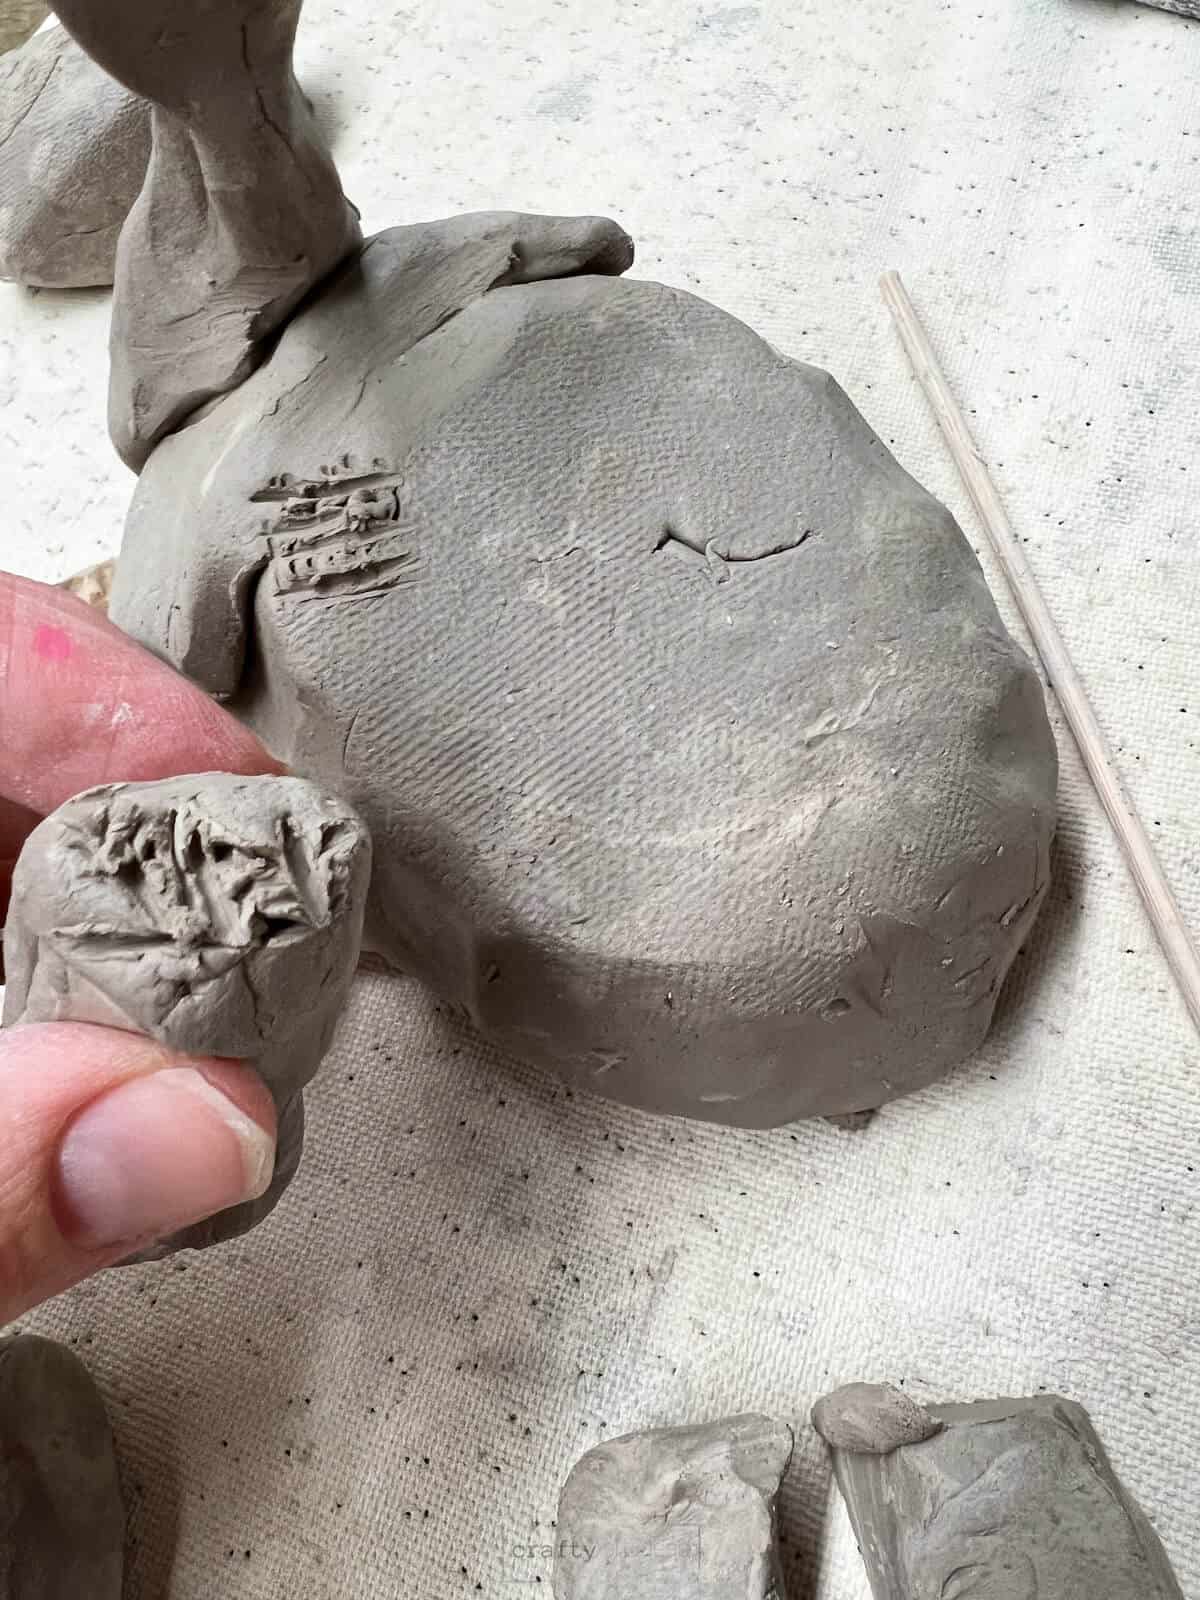
Step 9: Attach Feet
Use our score and “slip” method. Attach clay feet to the bottom of your pinch pot. Make sure that you put the front feet as far up the pinch pot as possible.
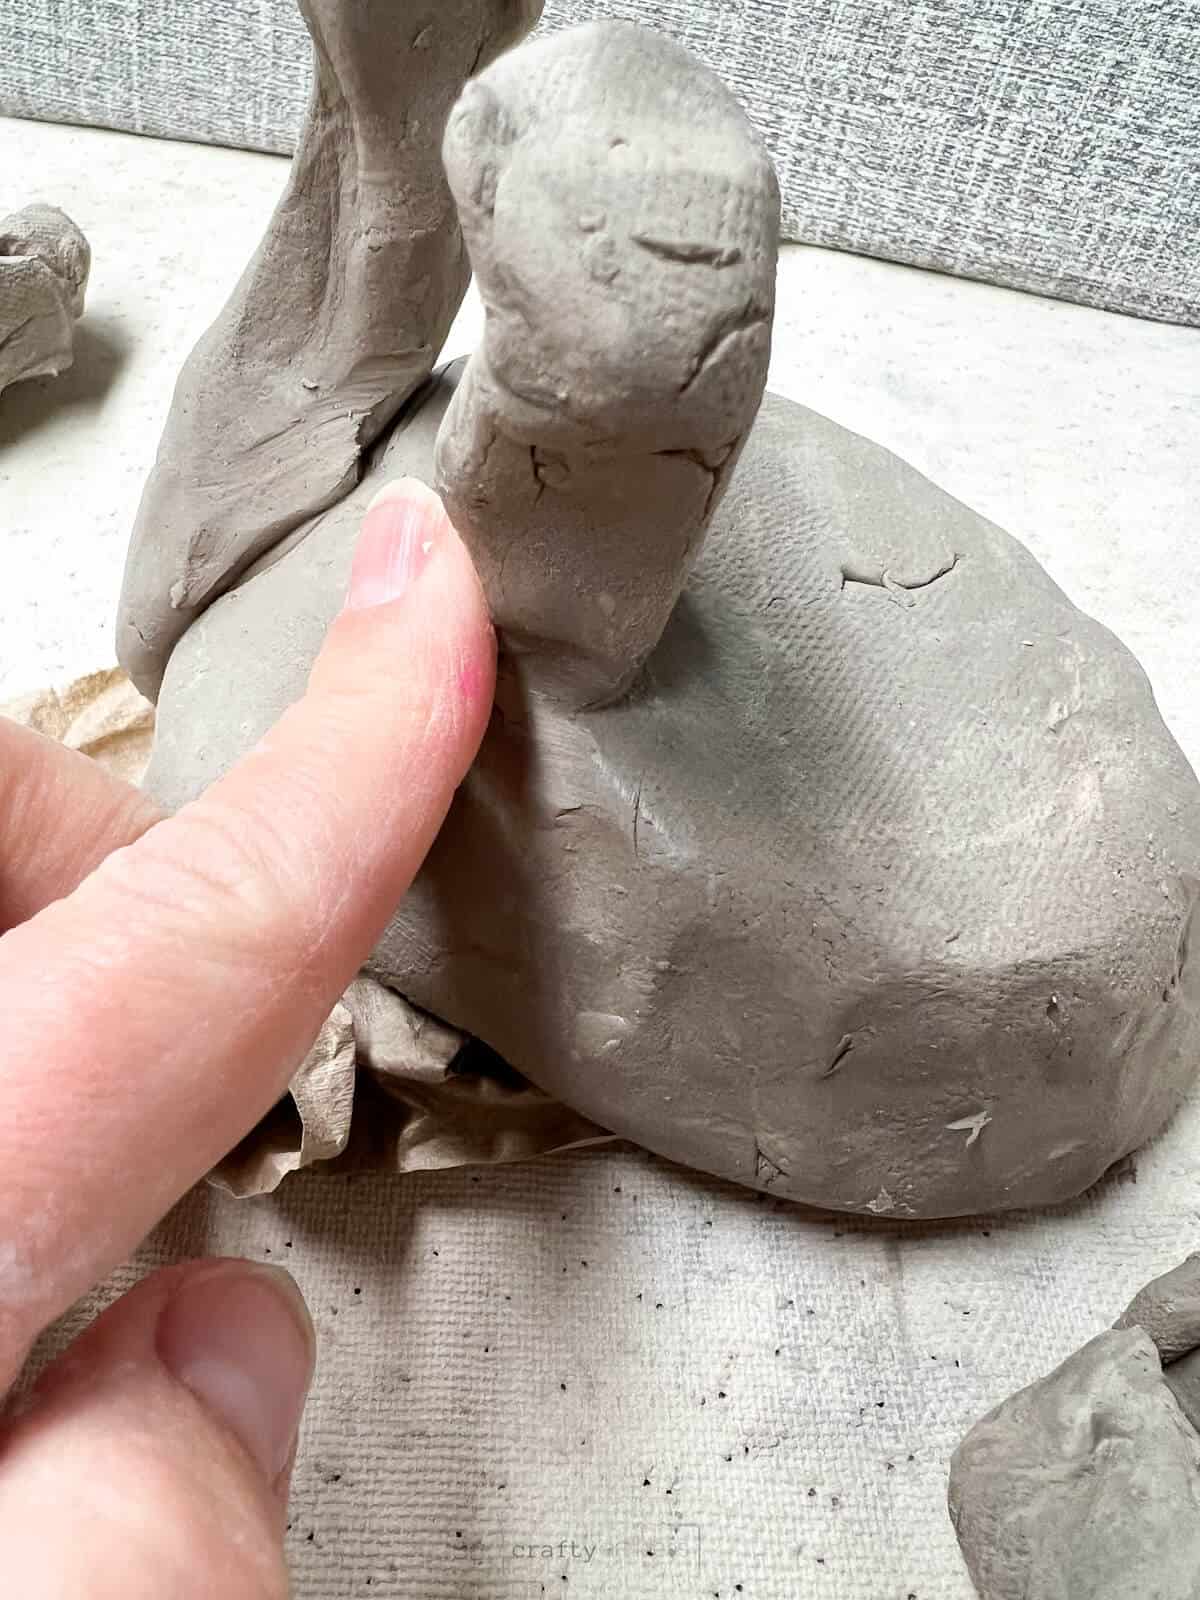
Step 10: Blend Seam
Make sure the clay legs are attached completely. Blending the seam with your finger should help.
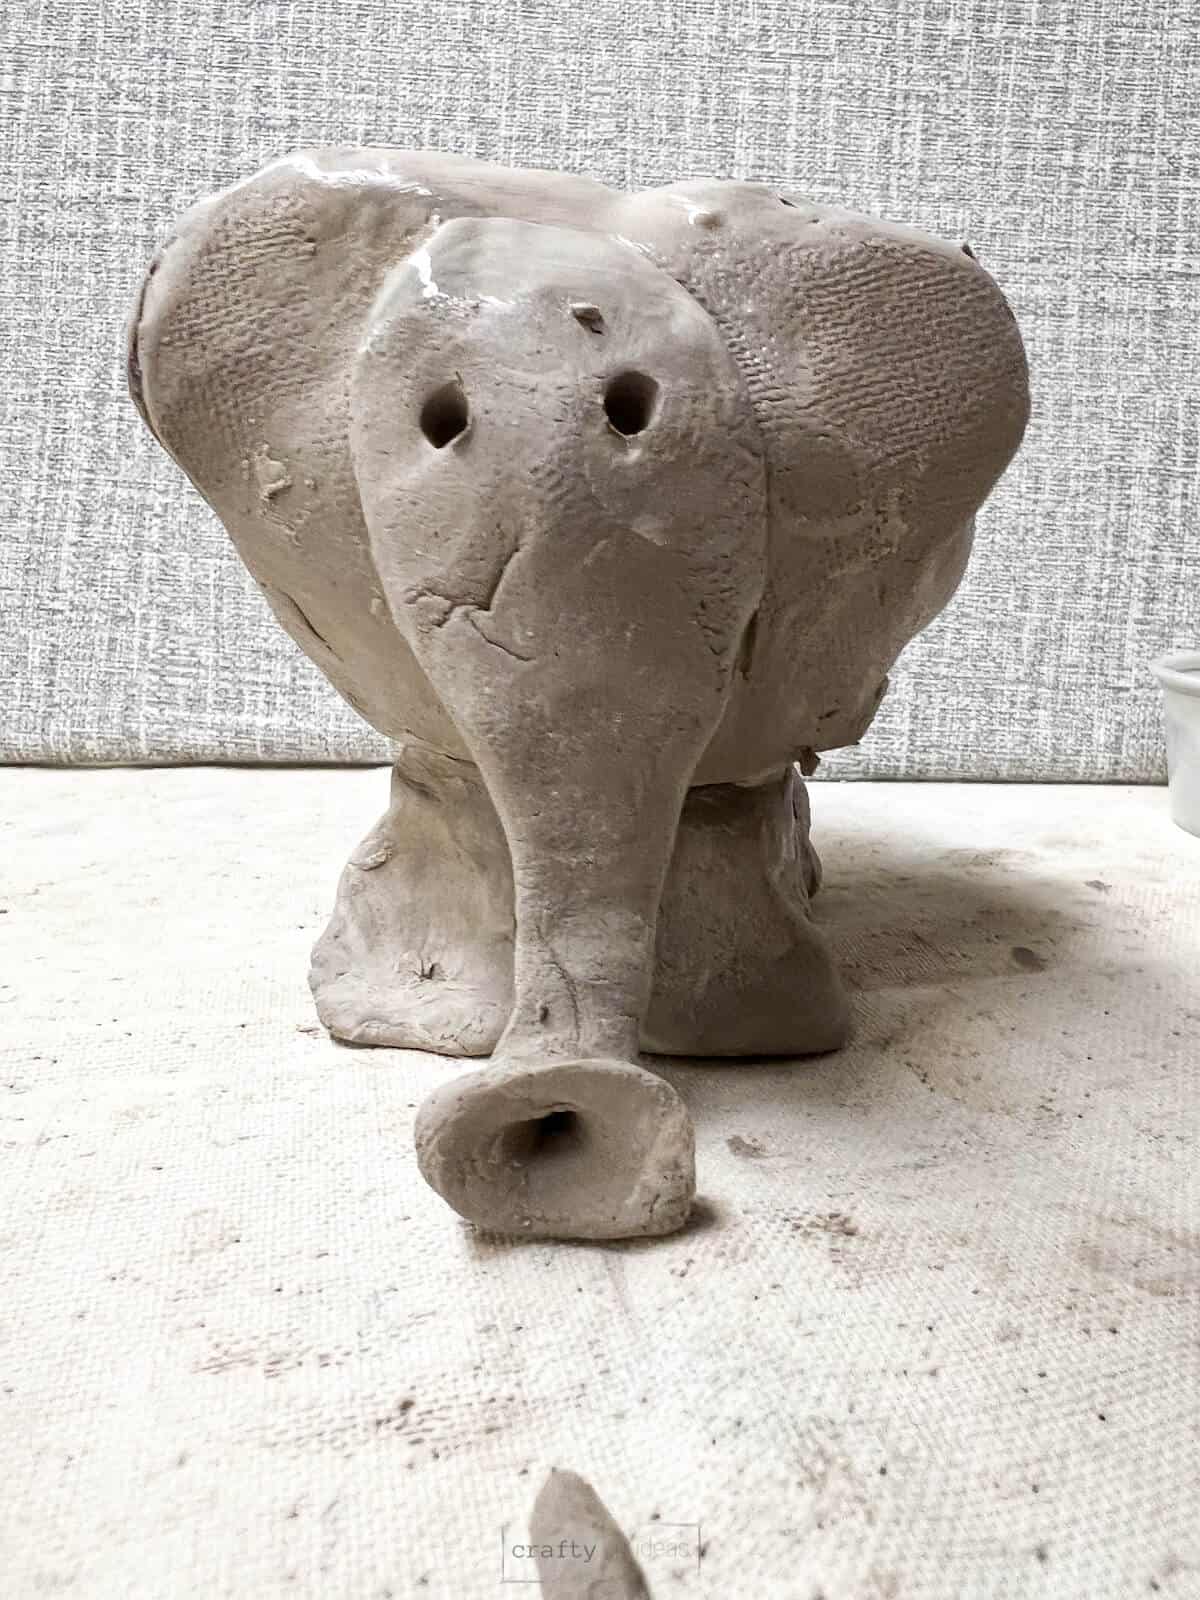
Step 11: Check For Balance
Once all feet are attached well, flip the clay elephant over and adjust the feet as needed to balance the weight.
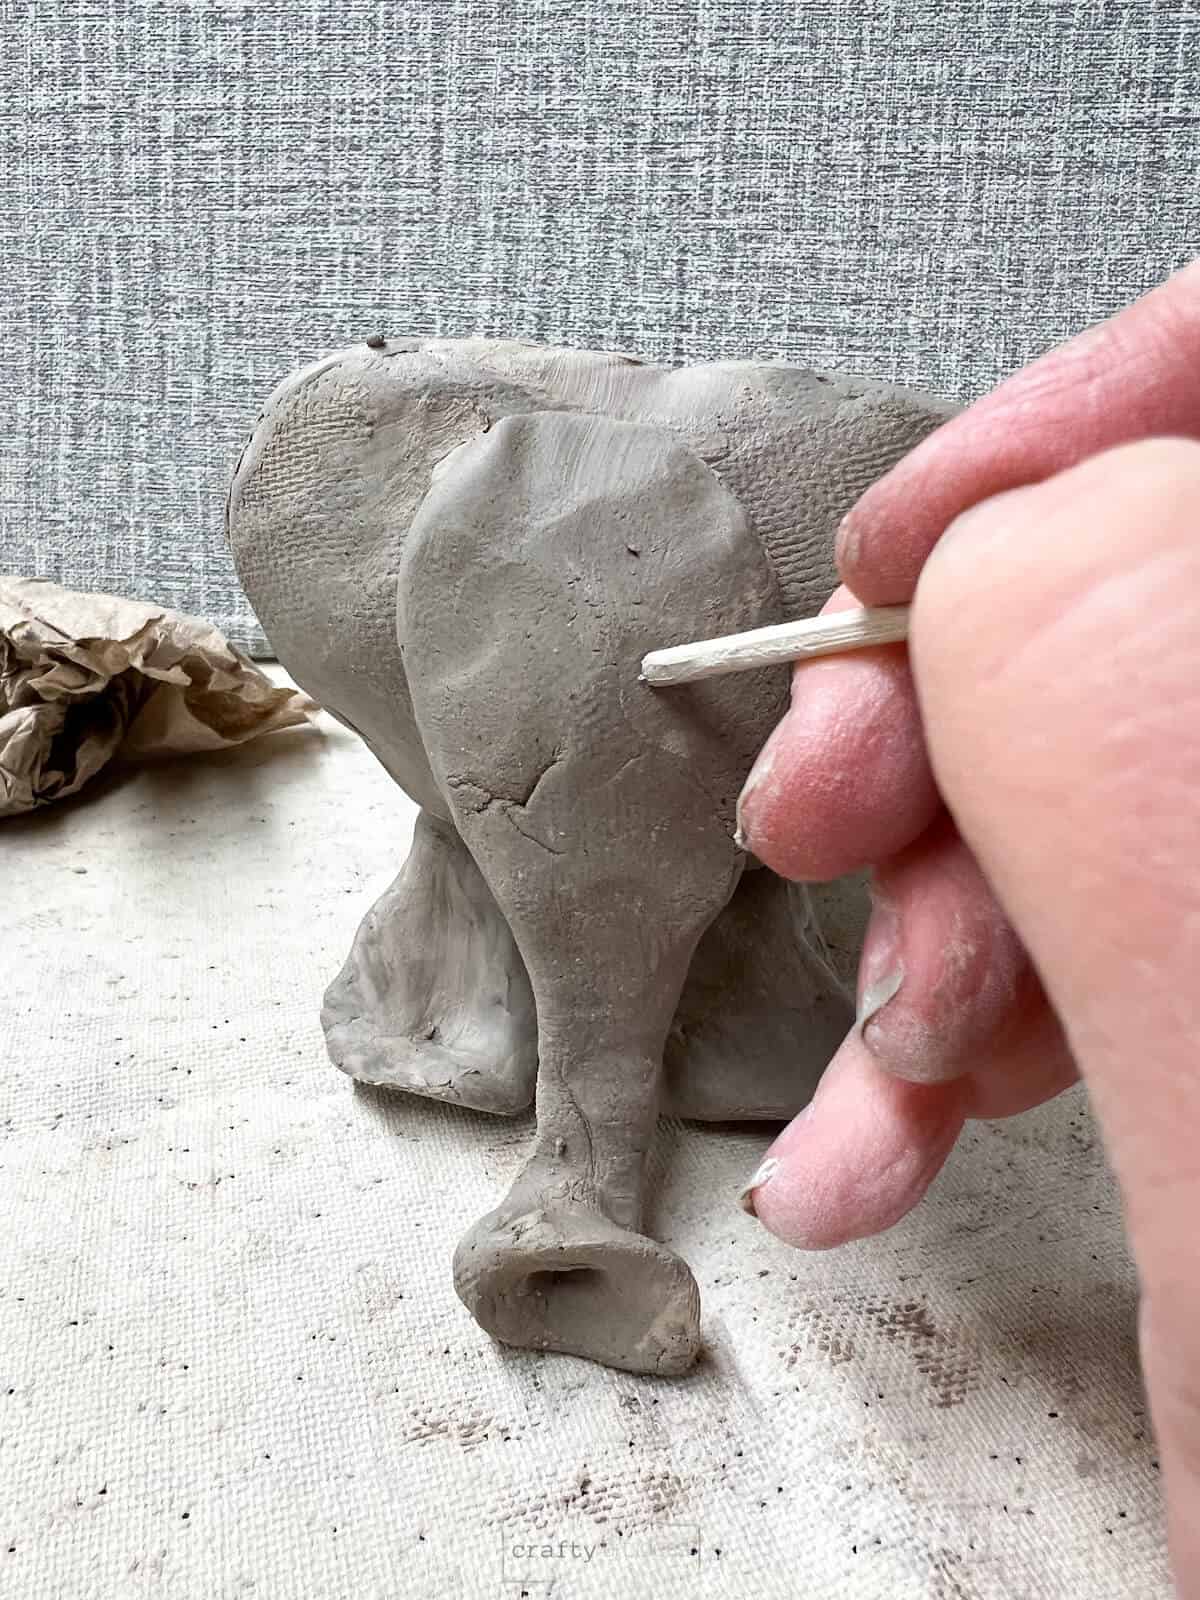
Step 12: Add Finishing Details
Kids can use water to smooth out any rough areas and add details such as eyes. We always instruct them that a little goes a long way and to not make “mud pie”.
Step 13: Let Dry and Fire
Let dry for about a week. Once the clay is not cool to the touch, run a bisque fire in your kiln.
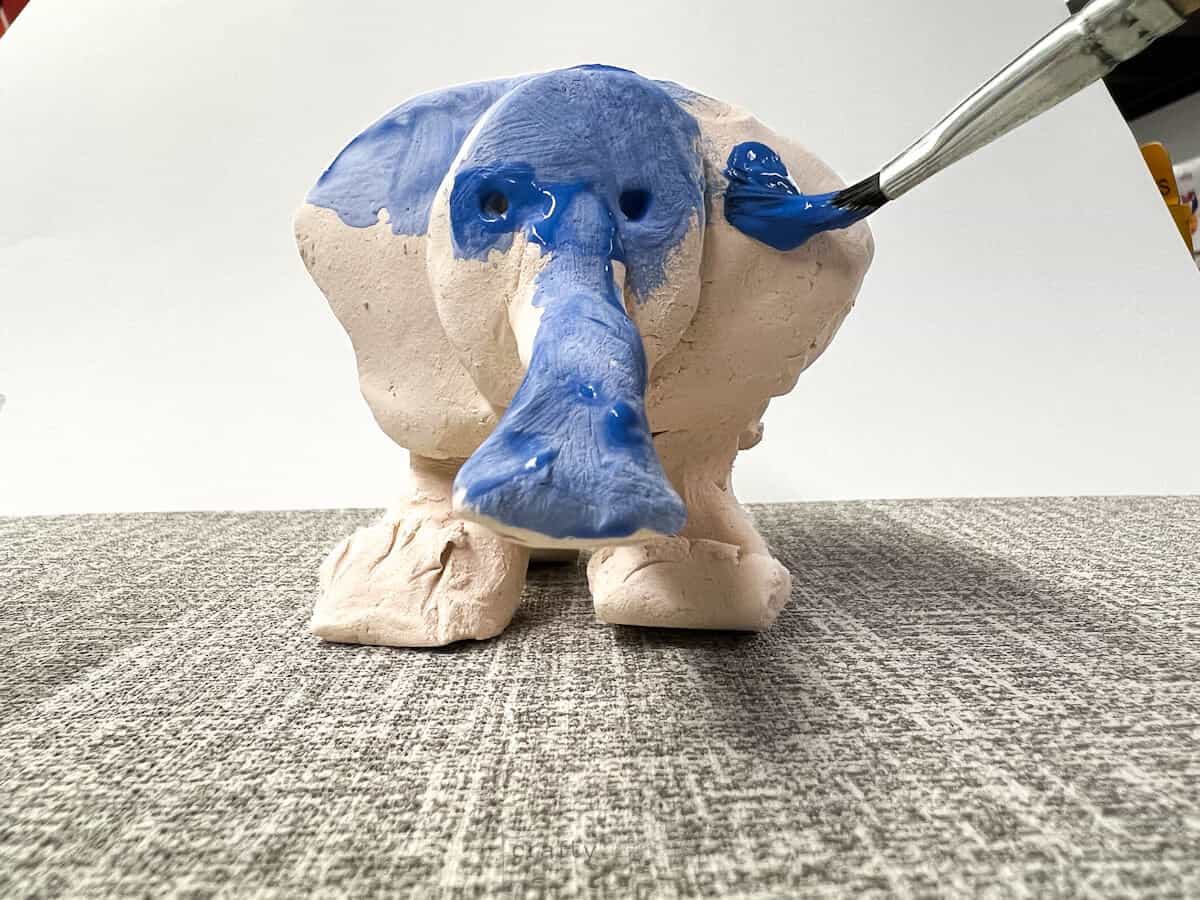
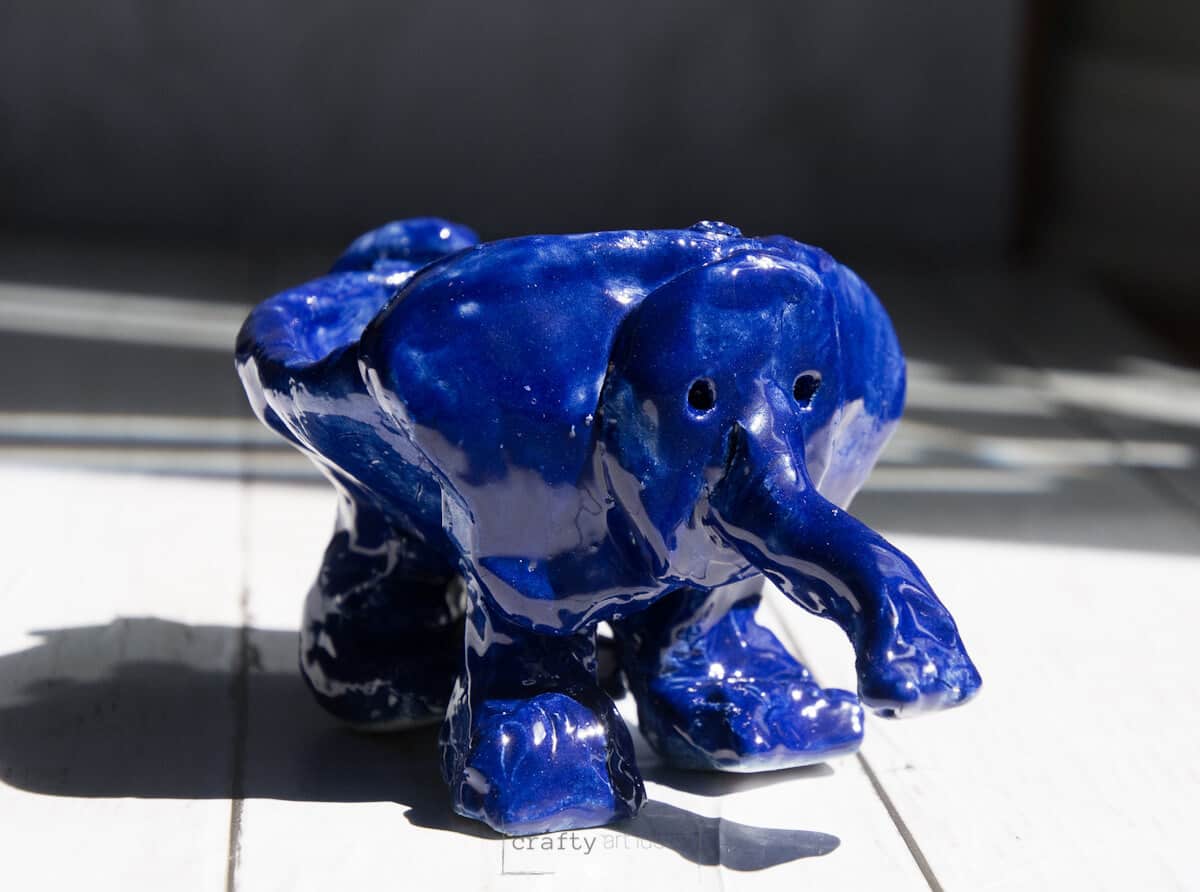
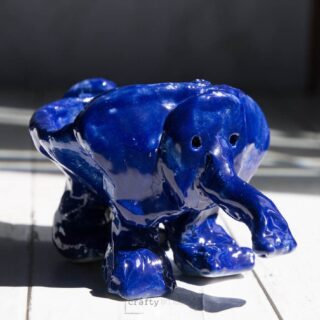
Step 14: Add Color
Glaze bisque-fired clay or paint. We used Mayco Stroke and Coat in Moody Blue. The simplistic nature of just using one color works well for this ceramic project. However, it is really up to the artist to make that decision.
Follow us on Pinterest, YouTube & Facebook for more free art and craft ideas!
Tips
- The walls should probably be around 1/8” thick to support the shell when flipped on its side.
- You can have students blend the seams with their fingers to help make sure items won’t fall off.
- Build similar sized clay feet that will be able to support the weight of your clay pinch pot and head.
- An adult should write the kid’s name on the bottom of the pinch pot with a sharp skewer or needle tool.
Pinch Pot Animal FAQs
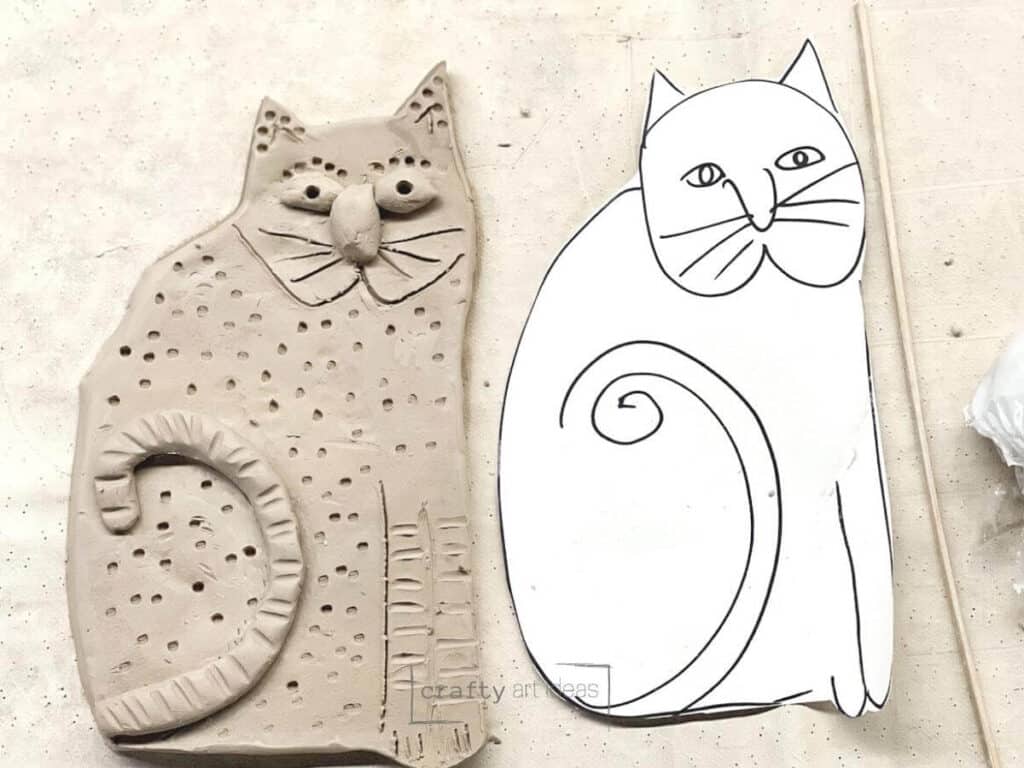
Absolutely not. Older children should be able to come up with their own animal pinch pot idea. First, I would have them create at least 3 different sketches. The hardest part for kids during this project is getting their clay project to stand.
In 14 years, the method of just scoring and adding water has worked very well for these simple clay art ideas. The primary reason this would not work is if your clay is not sufficiently moist. Fresh clay or even clay from the previous year should work.
In clay, you score or make small lines on the pieces you are attaching. This helps the pieces stay attached during the firing or drying process.
We like using a simple color for this project. You can let children use as many glaze colors as possible, but this clay build looks awesome with just one color, like Moody Blue glaze. Just make sure they glaze everywhere with three coats of glaze except the bottom of the feet.
More Clay Art Projects
We love creating all sorts of clay projects. Get our free tutorials.
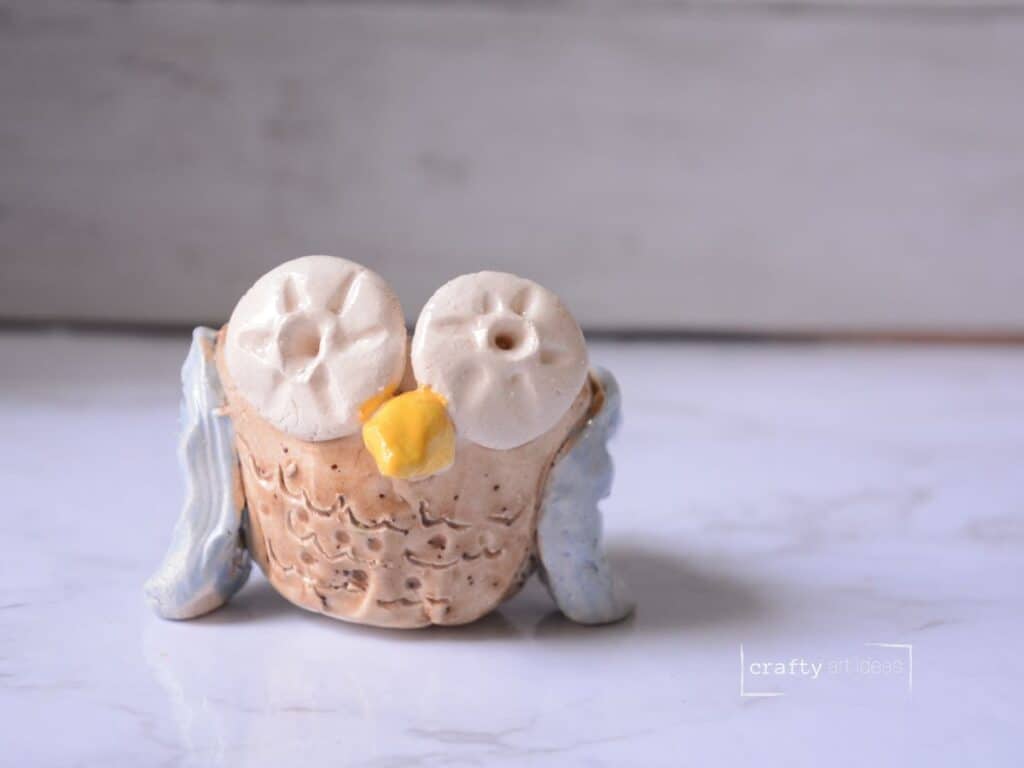

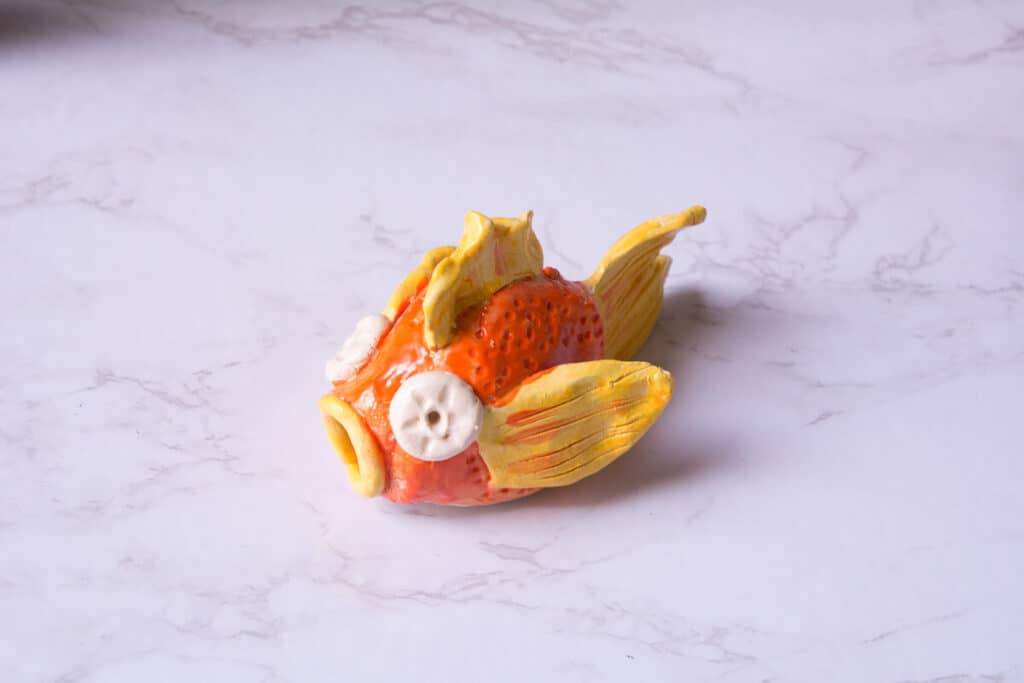
Pinch pot animals combine one the oldest clay building techniques with your student’s imagination to create all sorts of creative ceramic clay animals.
Do you like this art project? Please give us a 5-STAR review below ⭐️⭐️⭐️⭐️⭐️ and have fun being creative with your family.
Clay Pinch Pot Animal
Equipment
- Wooden Skewer
- Work Surface or placemat
- Small container of water
Supplies
- White Low-Fire Art Clay
- Clay Glaze
Instructions
- Start with a larger ball of clay that can fit inside a child’s hand.
- Split a little bit off the hunk of clay. The bigger chunk of clay can be rolled into a ball.
- Have kids push one hole with their thumbs as far as they can go without going through.
- Use hands to pinch around the edge and make sure not to make walls too thin. The walls should probably be around 1/8” thick to support the shell when flipped on its side.
- Kids can squeeze the shape of their pinch pot to make it a little longer like an actual body of an animal.
- Begin creating the head of your elephant by creating a small slab with some of the extra clay. Use a wooden skewer to cut out the basic ear shape.
- Construct a head and trunk out of more clay. Use a skewer and fingers to pinch the end of the trunk for a more realistic feel.
- Add score lines to the back of the head and elephant ears. Use a little water to create “fake slip” and attach the head and trunk.
- Follow the same scoring method with water to attach the head to the pinch pot.
- Carefully flip the clay pinich pot over. We supported our elephant with paper towels so that we could work on making clay feet without smashing the head.
- Build similar sized clay feet that will be able to support the weight of your clay pinch pot and head.
- Attach clay feet to the bottom of your pinch pot. Make sure that you put the front feet as far up the pinch pot as possible.
- Flip the clay elephant over and adjust the feet as needed to balance the weight. The ends or feet of your elephant may become a little larger, but that works if it is supporting the weight.
- Kids can use water to smooth out any rough areas. We always instruct them that a little goes a long way and to not make “mud pie”.
Notes
- If building a different pinch pot animal, create at least 3 different sketches before beginning.
- The hardest part for kids during this project is getting their clay project to stand. Therefore, if a child is having difficulty consider creating an animal that is laying down with its feet out in front.
- An adult should write the kid’s name or initials on the bottom of the pinch pot with a sharp skewer or needle tool.
I just love the idea! I will try to make one soon with yellow color as I love yellows! Ty Erin.
So cute!
Thanks, Connie!