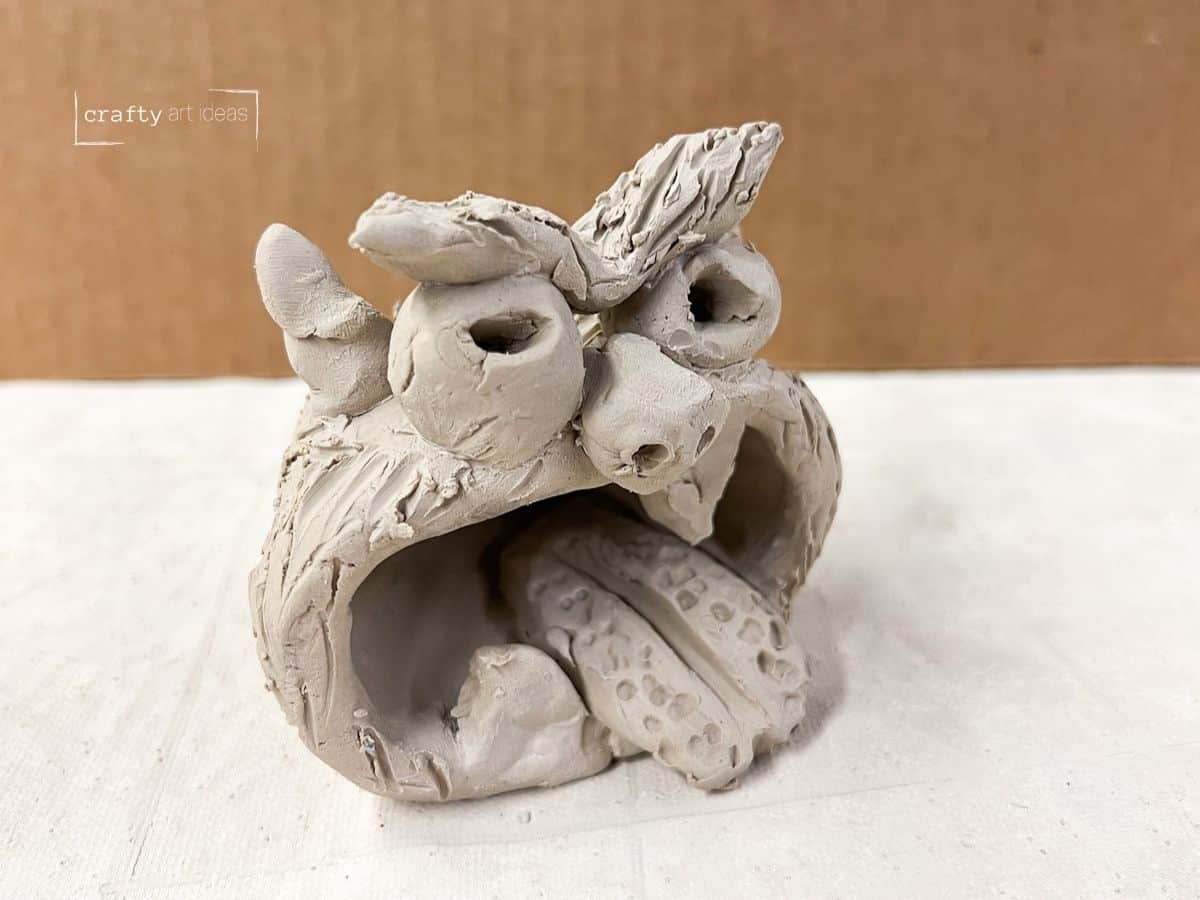
How To Build Clay Monster Pinch Pots for Kids

Do you need another fun ceramic project for kids? Look no further. We have yet to meet a kid who hasn’t liked making this clay pinch pot monster.
This ceramic tutorial has been a long-time reader favorite since its publication in April 2022. This post was recently updated in August 2025 with more straightforward and precise instructions, as well as Erin’s key takeaways.
Have you ever seen the excitement on a child’s face when they learn it is clay day? From simple clay owls to more advanced clay fish art projects, clay can be used to unleash children’s creativity. Building this clay monster from a basic pinch pot is no exception.
Why You Will Love This Art Idea
ART TEACHER TIP – Practice building clay monsters with playdough before actually using clay.
Notes On Supplies You’ll Need
Disclosure: This post may contain affiliate links when clicked, we may earn a small commission at no additional cost to you. Read our full privacy policy.
You can get the full list of supplies in the printable how-to card at the end of the post.
Can you use air-dry clay? *
Yes, most regular clay pieces can be done with air-dry clay. You would use acrylic paint to add color, rather than glazes.
READ MORE – 12+ Pinch Pot Art Lessons For Kids
How To Build Pinch Pot Monsters
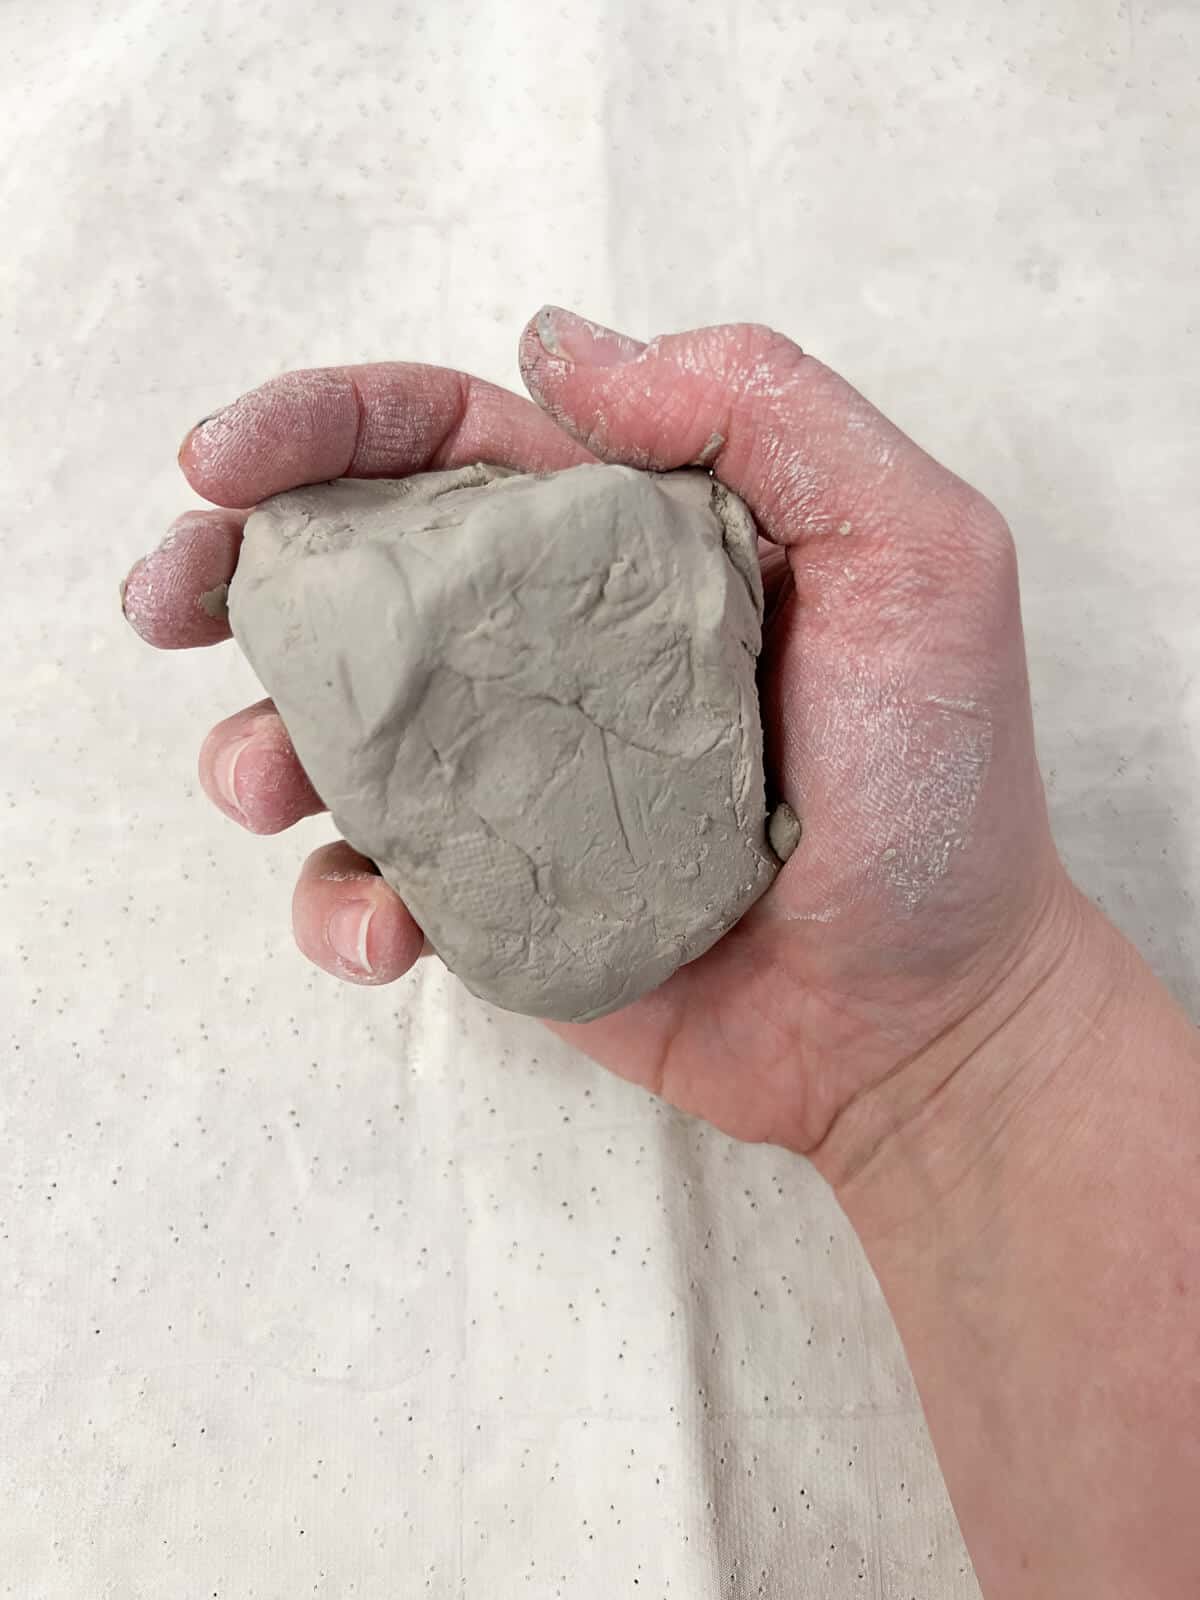
Step 1: Pass Out Clay
Start with a ball of clay that can fit inside a child’s hand.
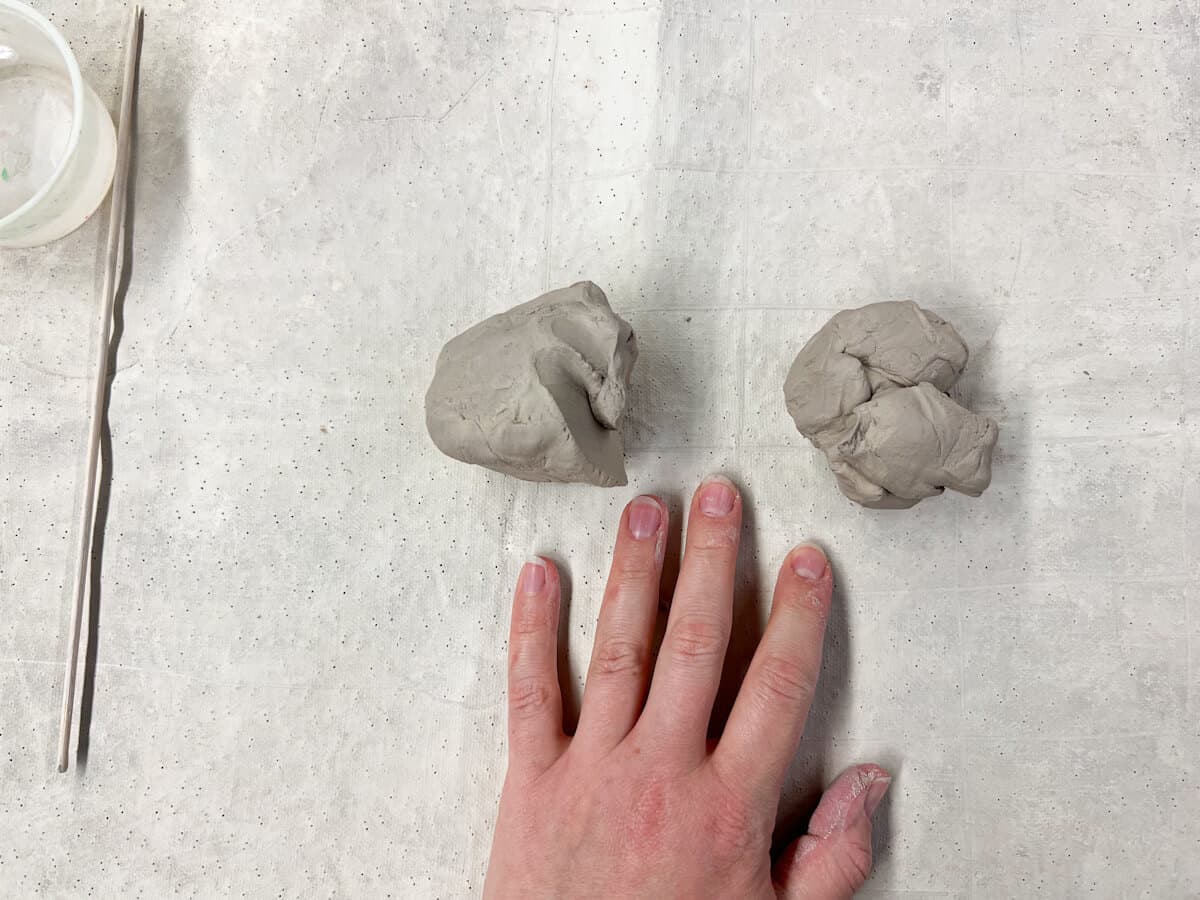
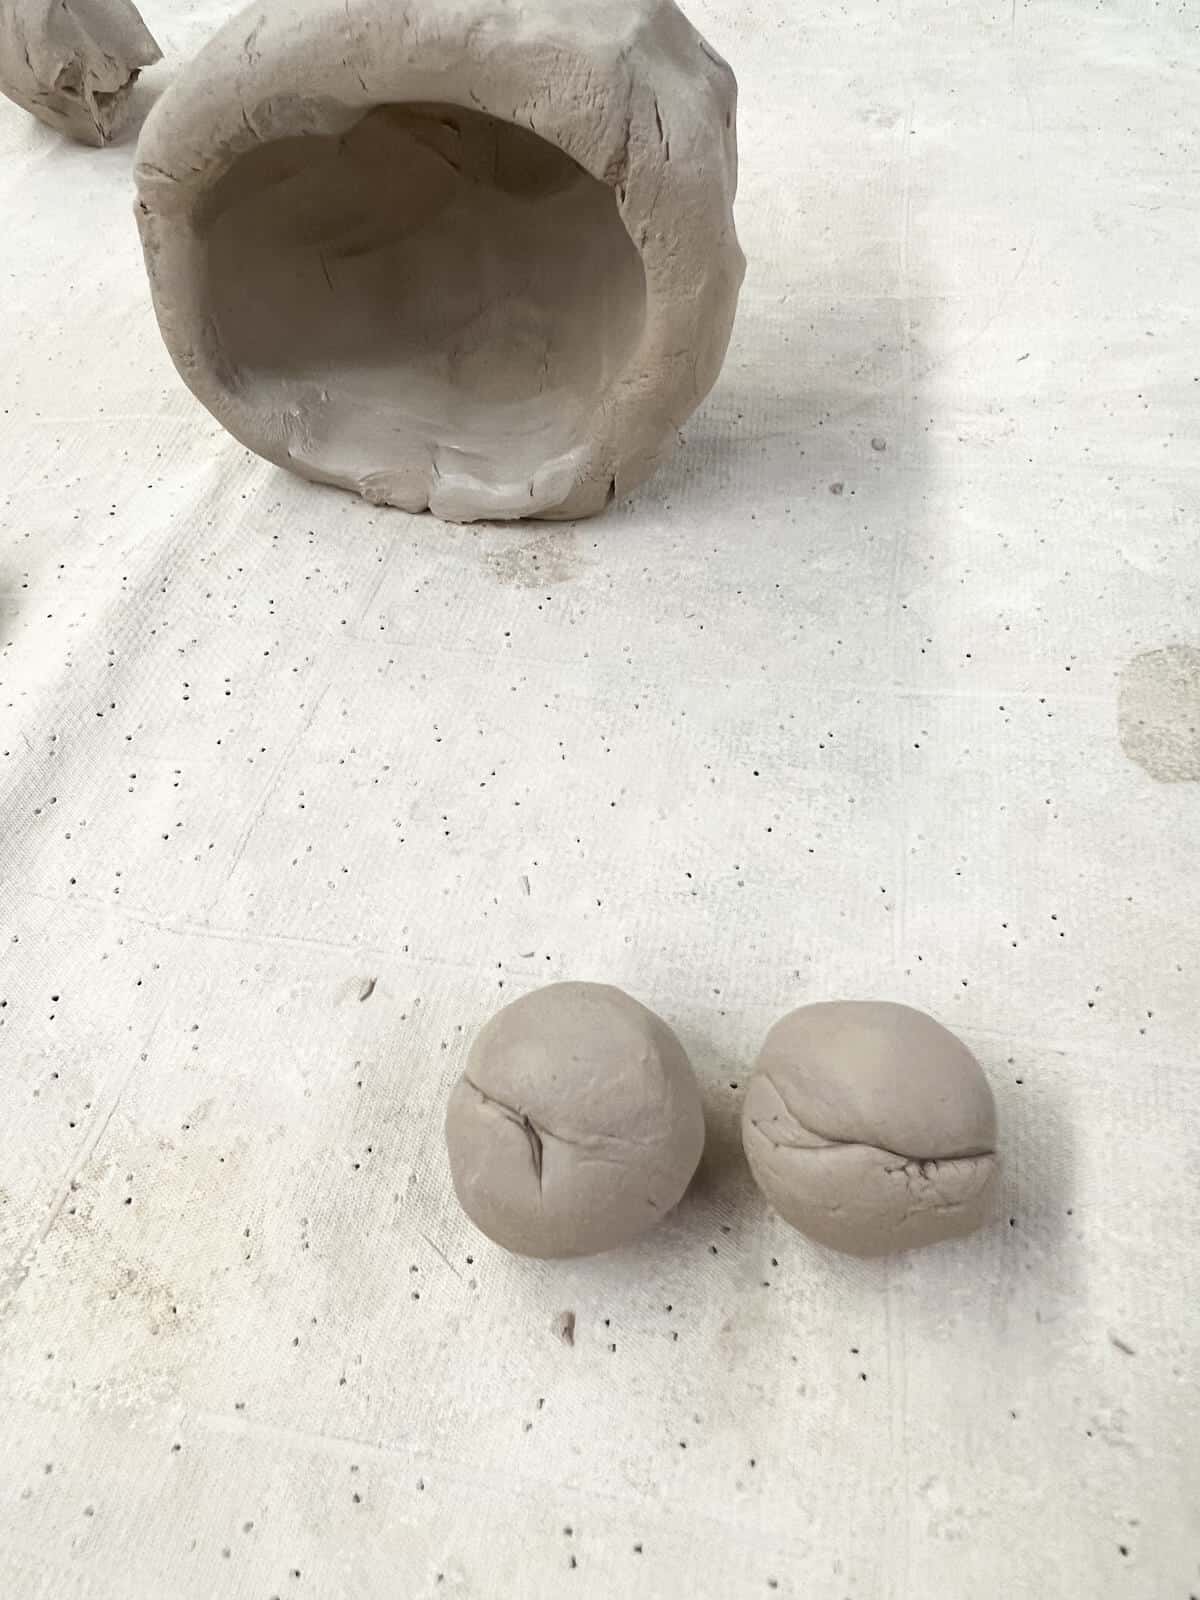
Step 2: Split Clay Into 2 Parts
One section of clay should be larger than the other. The bigger chunk of clay can be rolled into a ball.
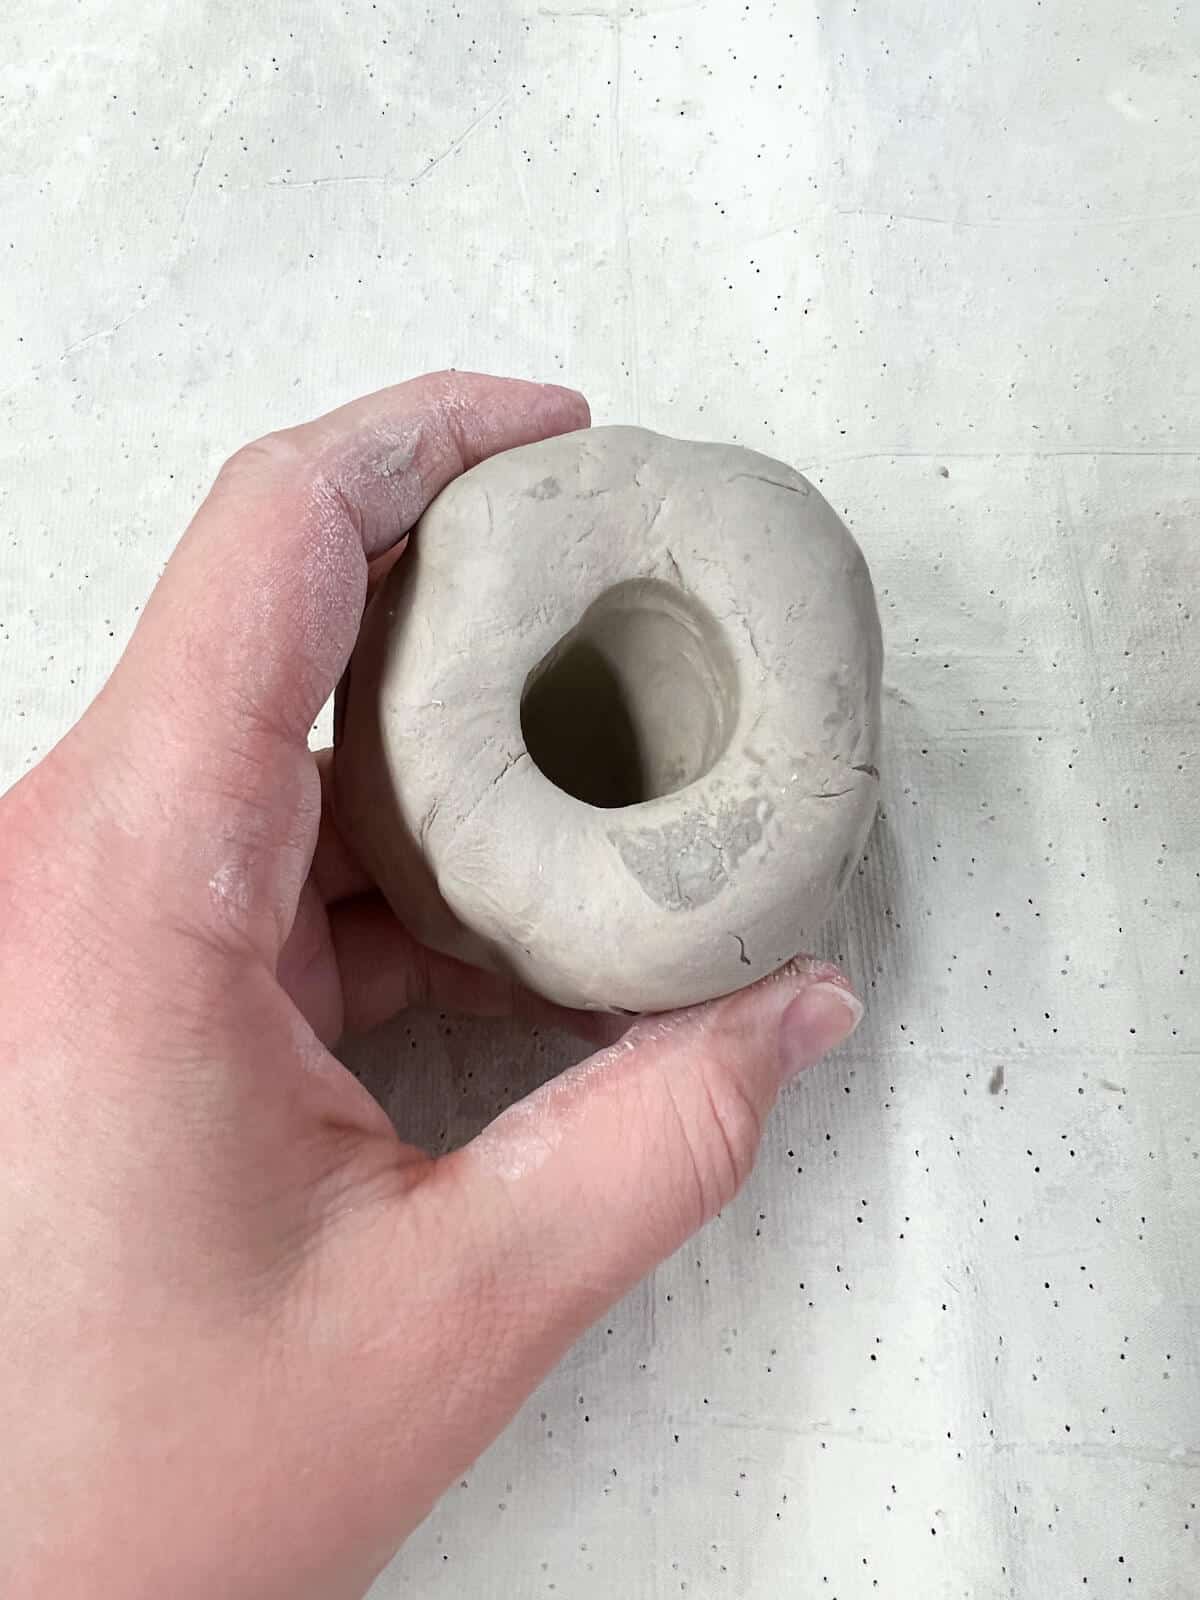
Step 3: Push Thumb In
Have kids push one hole with their thumbs as far as they can go without going through.
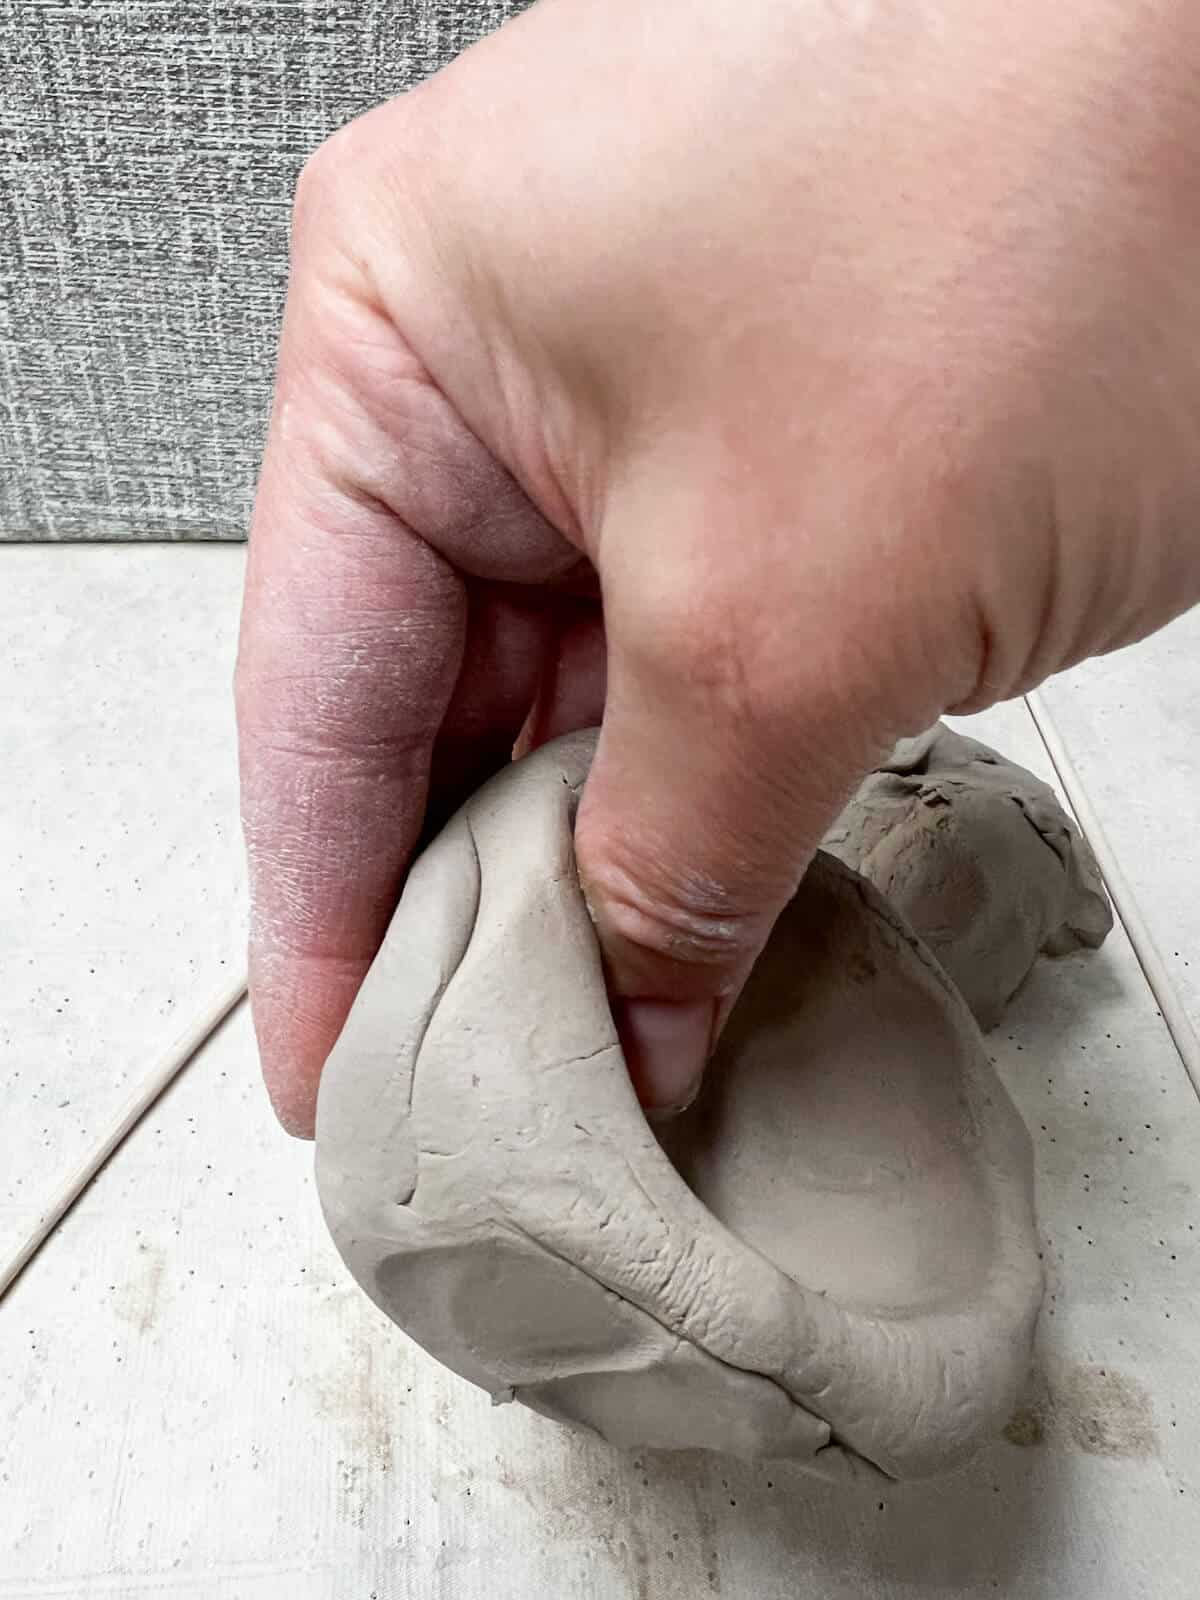
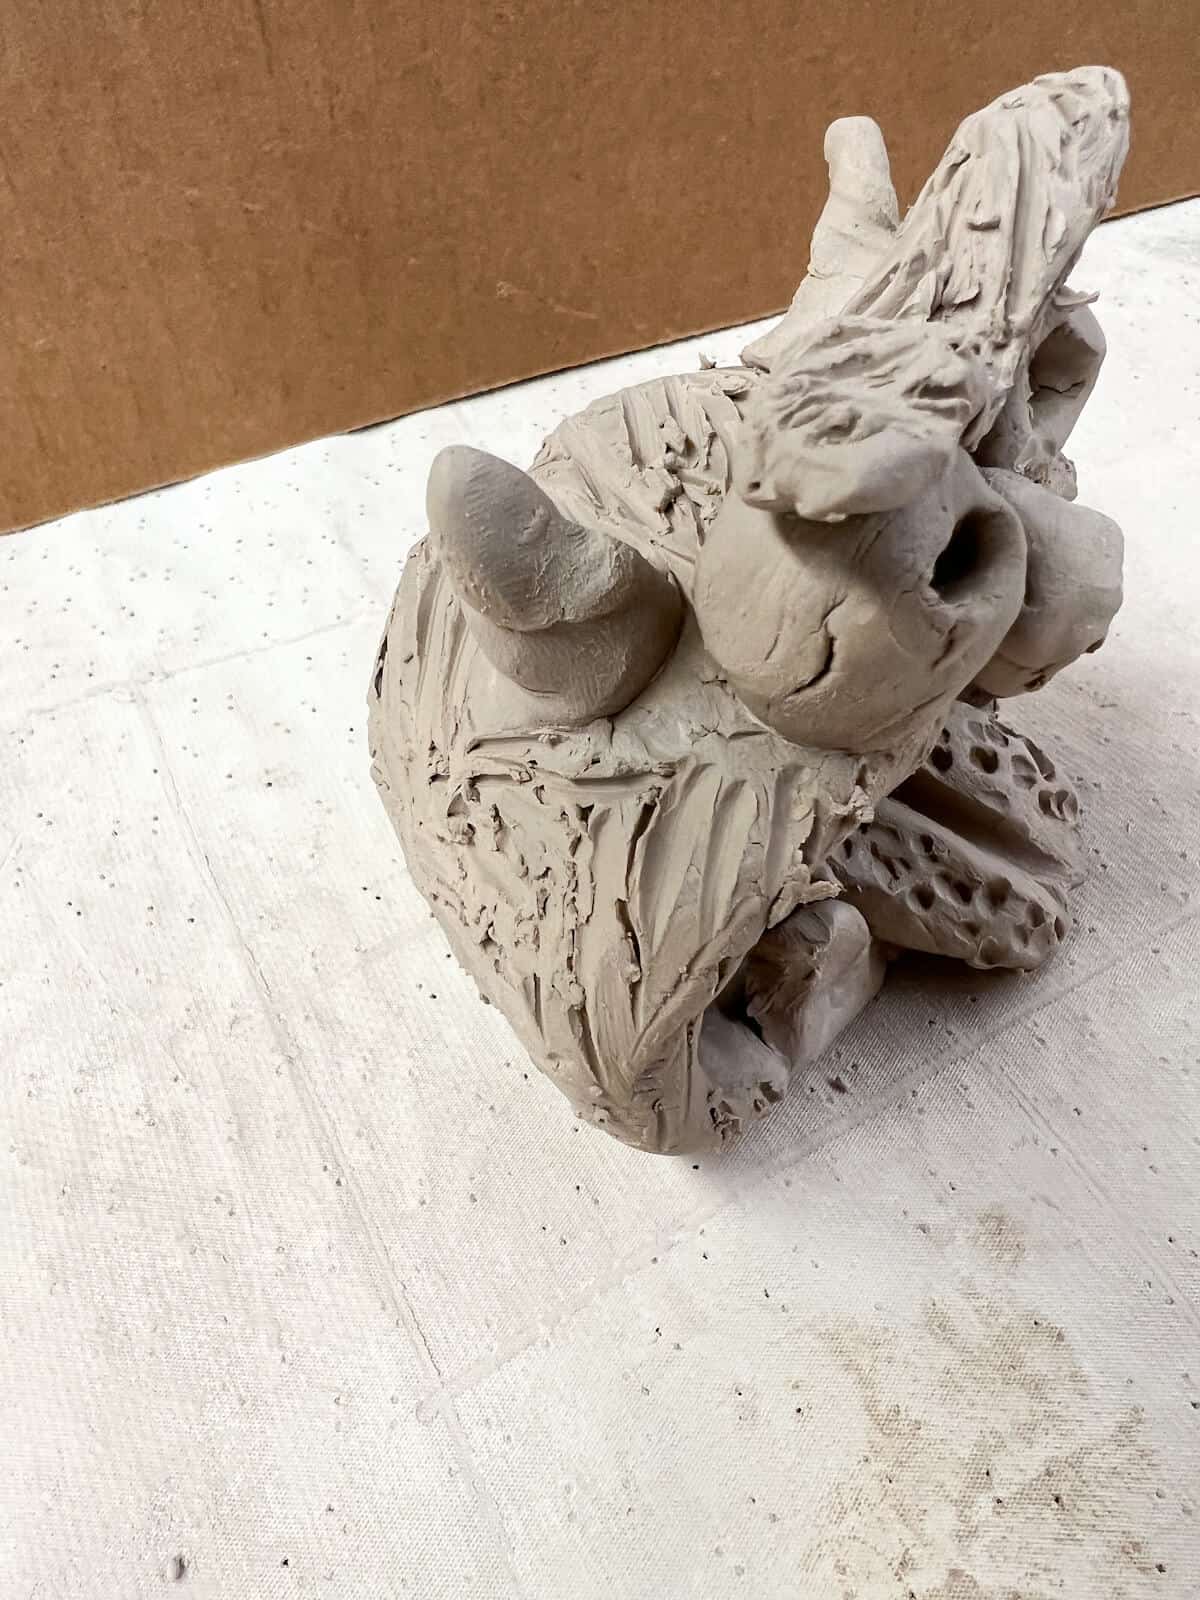
Step 4: Make A Pinch Pot
Use your hands to pinch around the edge and make sure not to make walls too thin. The walls should probably be around 1/8” thick to support the shell when flipped on its side.

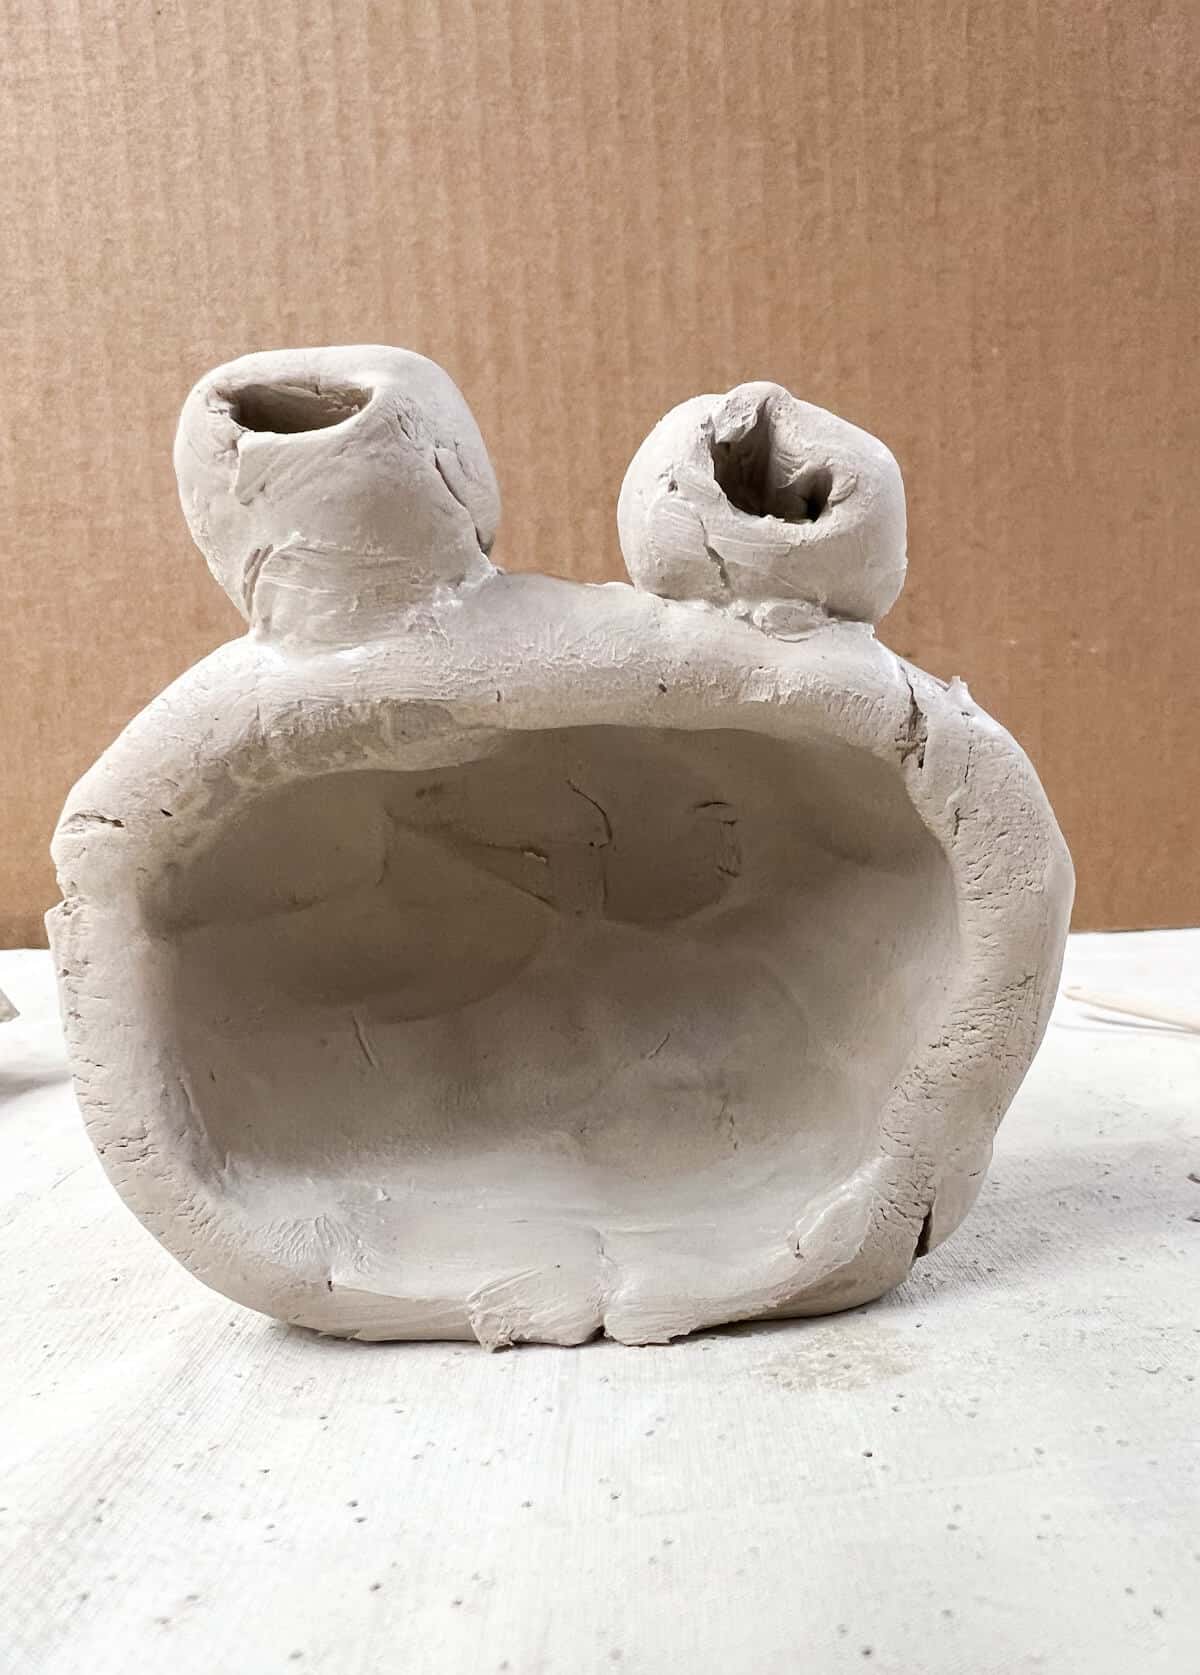
Step 5: Flip The Pinch Pot
Put the clay pinch pot on its side.
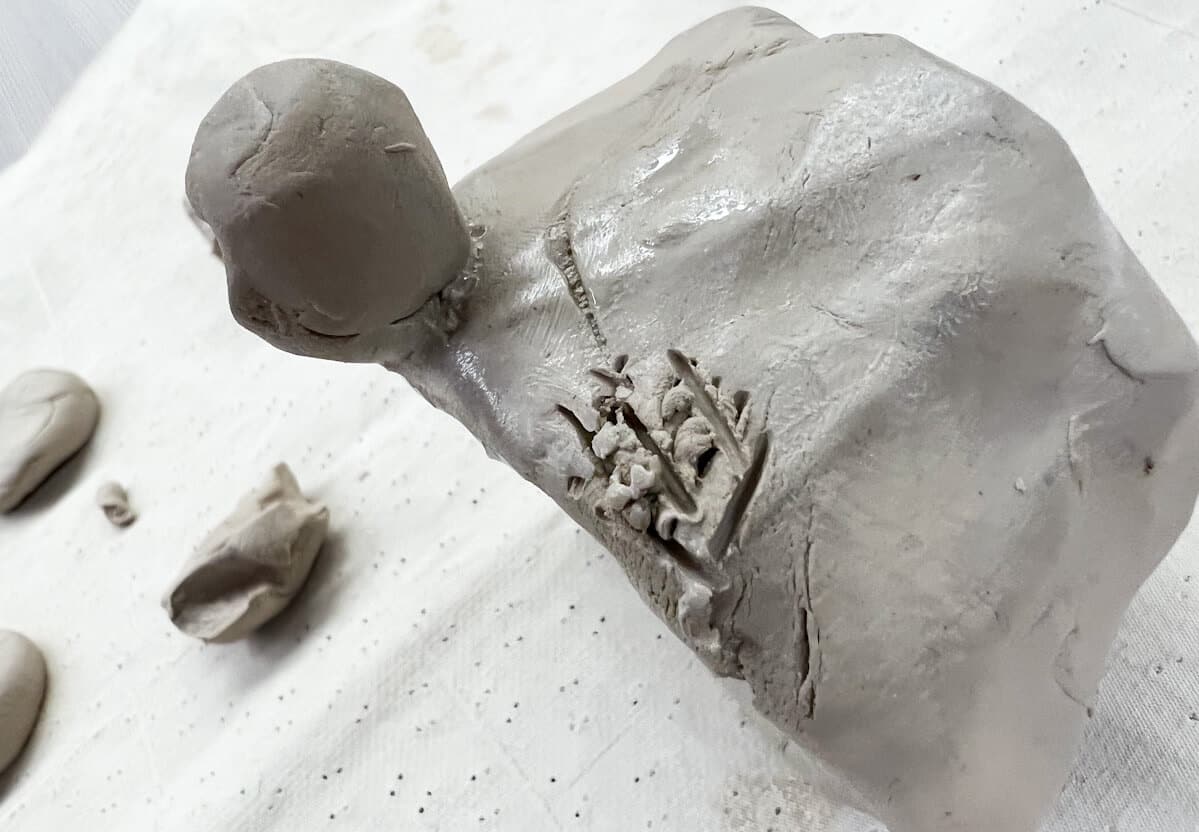
Step 6: Sculpt Eyes And Other Details
Begin sculpting eyes for your monster. Make sure the eyes are not too thick. Use a skewer to poke in the pupils. This will also help to ensure eyes are not too thick.

Step 7: Score Details
Draw score lines where you are attaching details together.

Step 8: Add Water
Use one finger dipped in water to add “slip” and secure.
Step 9: Attach Together
Use your finger to help blend the seam where the eyes are going if possible.

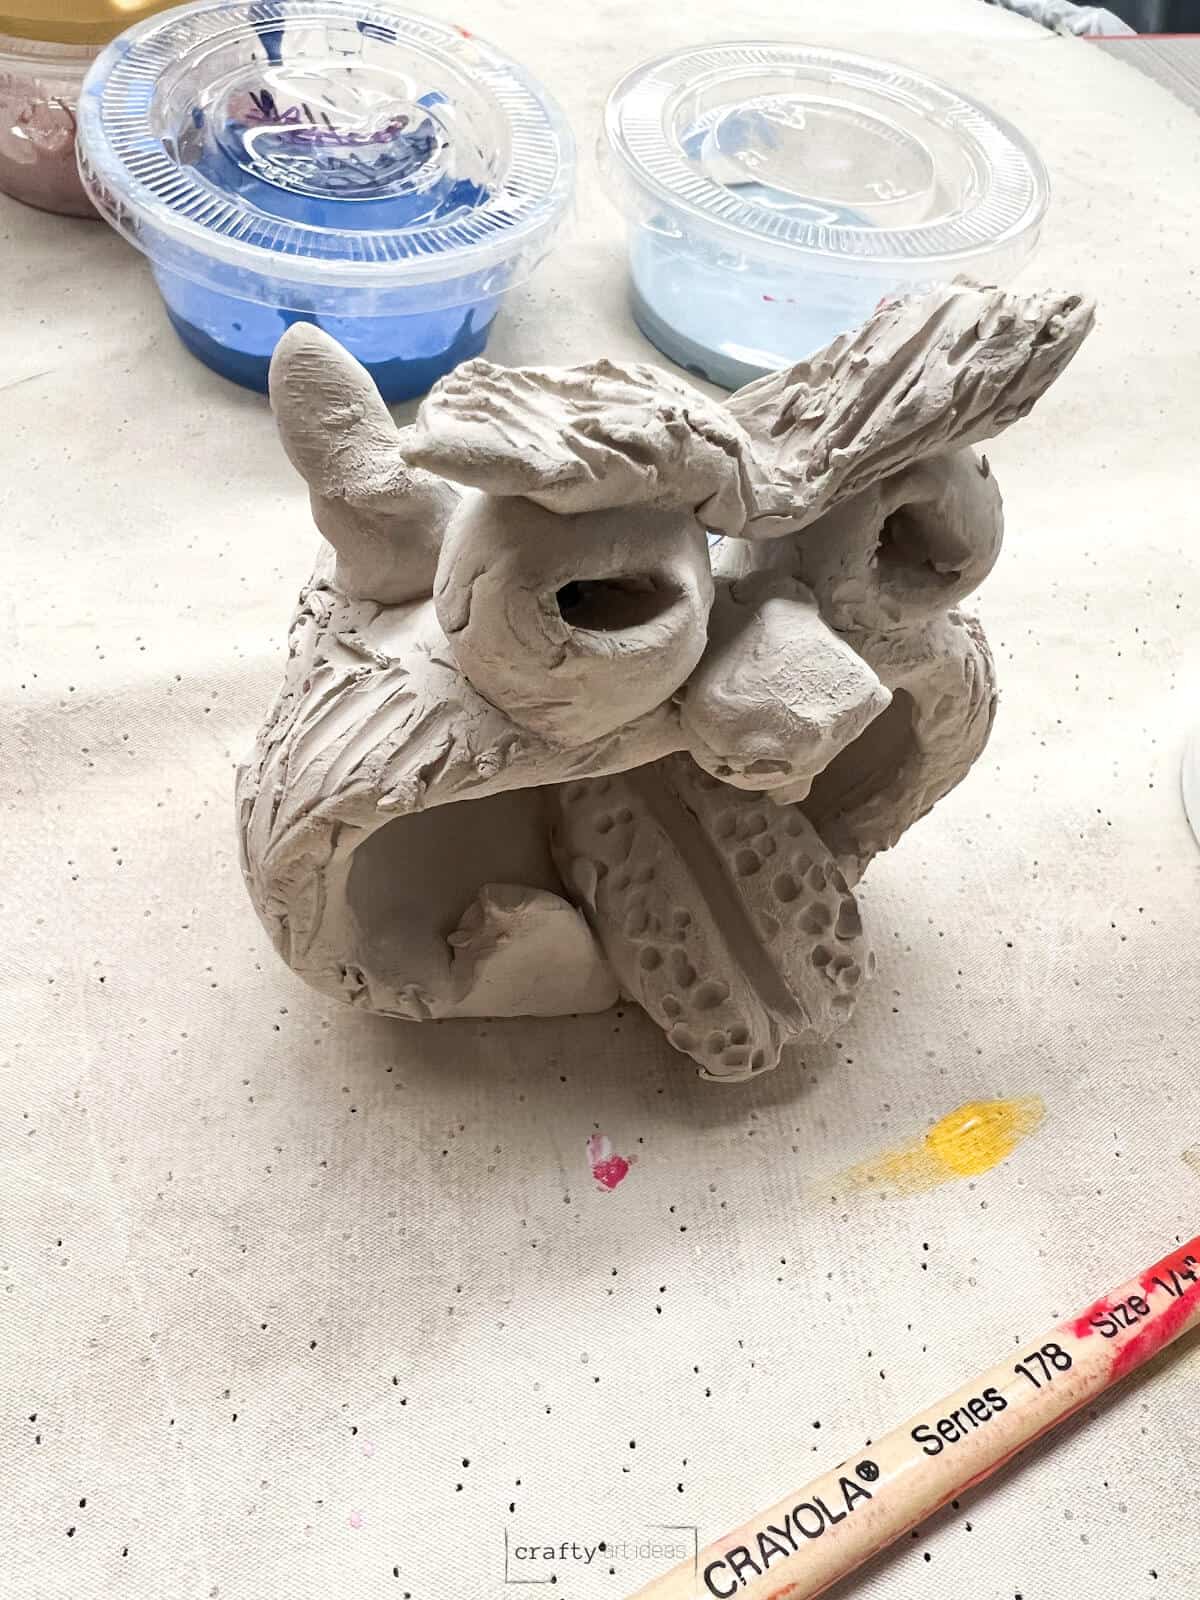
Step 10: Sculpt An Eyebrow
Roll a coil for eyebrows. Add texture by drawing lines with a skewer. Make sure to score and add water when attaching to clay.

Step 11: Repeat
Add other details such as horns, teeth, tongue. Make sure to score and add water!
Step 12: Draw Textures
Use a skewer, popsicle stick or clay tools to add extra spooky or hairy textures.
Step 13: Let Dry
Write the child’s name on the bottom of the fish.

Step 14: Fire In The Kiln
Follow your firing instructions for your kiln and clay type.
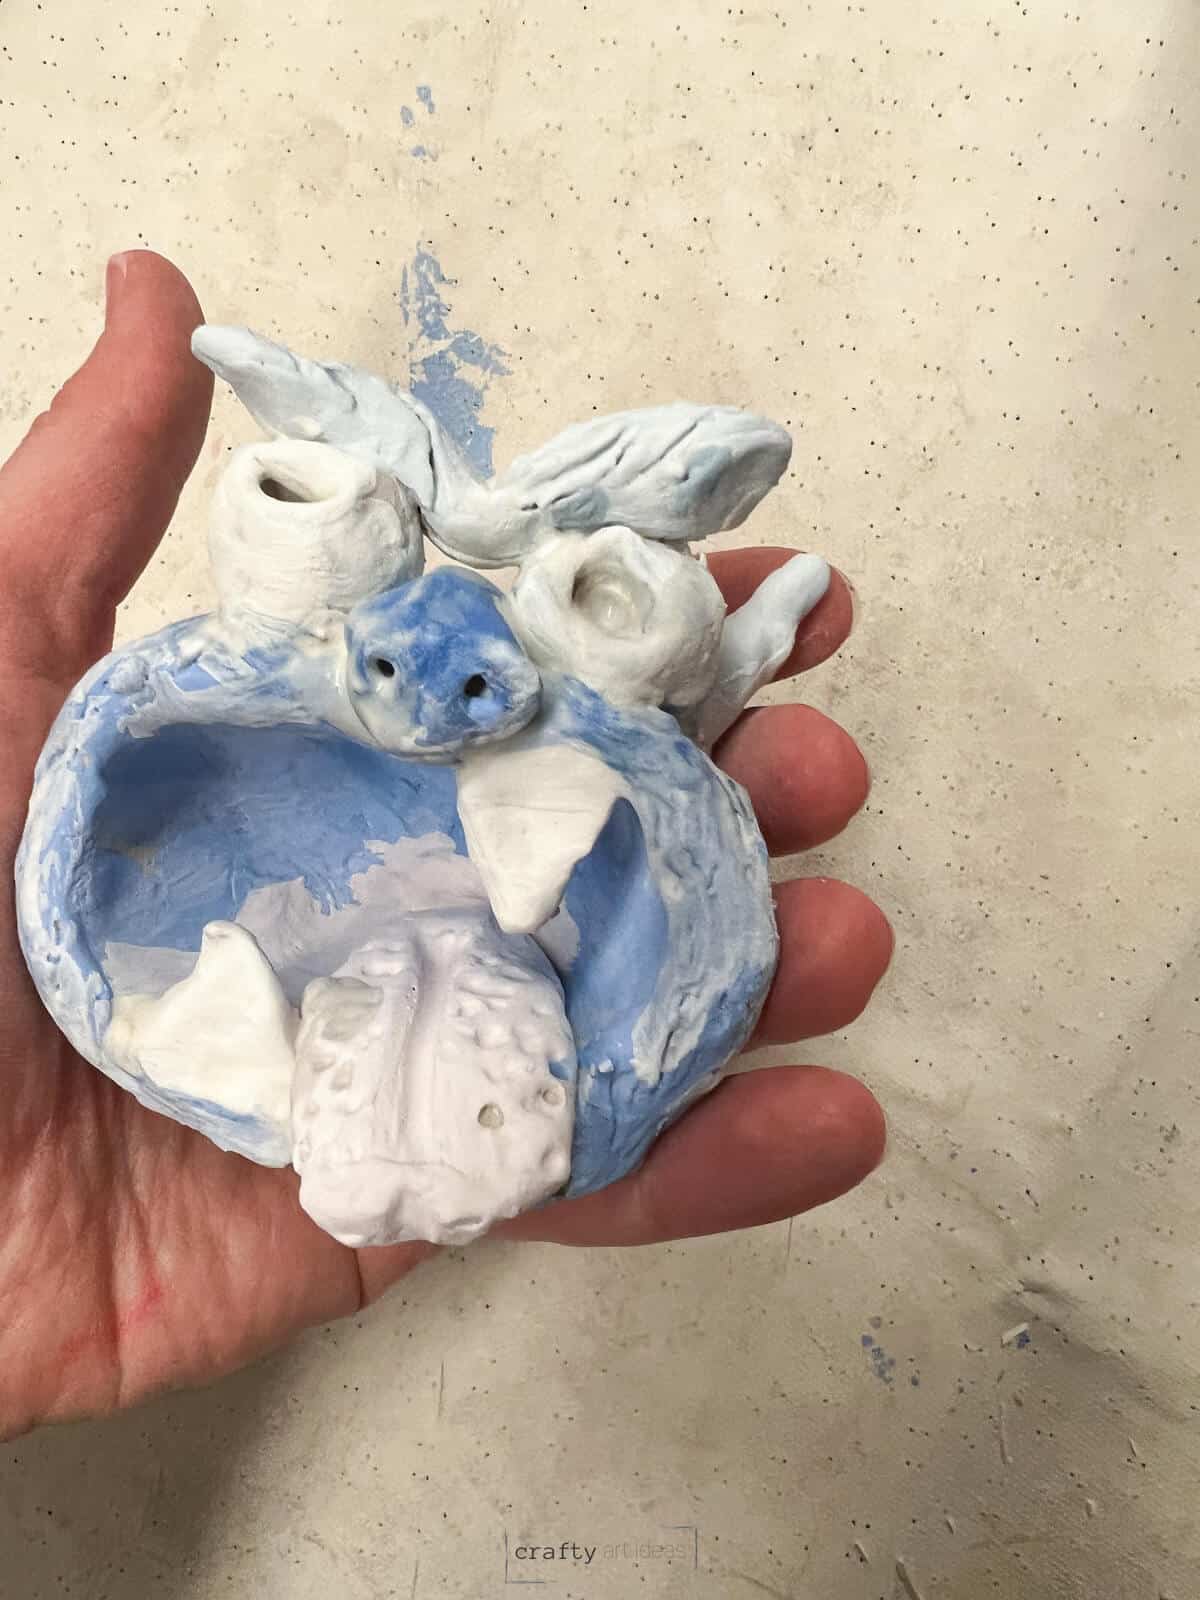
Step 15: Add Color & Fire
Use glaze by adding 3 coats of the same color glaze and rinsing brush in between. Follow your firing instructions for your kiln and glaze type.
ART TEACHER TIP – See our tips for using clay glaze with children. Trust me, I have seen it all!
Other Ways To Add Color To Clay
You can choose to glaze, but we understand that not everyone has access to that option. Therefore, acrylic paints, oil pastel, and ink resist, or even watercolor paint, can be used to finish your clay monsters.
Tips
- KEEP WALLS THICKER – Make sure pinch pots are not too thin, but still create a hollow form to start with. If they are too thin, it will be challenging to attach facial items.
- ADD LOTS OF TEXTURE – Encourage kids to add texture to their monsters. A simple wooden skewer and/or popsicle stick will work or you can also provide other clay tools if you have them.
- SCORE & USE WATER – Kids should create homemade slip when attaching items by wetting score lines on both items before attaching.
- BLEND SEAMS – If possible, students should blend the seam with their fingers after attaching the clay.
- DRY TIME – Let projects fully dry before loading them into the kiln. Make sure they are not cool to the touch before running the kiln.
Clay Project FAQs
Follow us on Pinterest, YouTube & Facebook for more free art and craft ideas!
More Pinch Pot Project Ideas
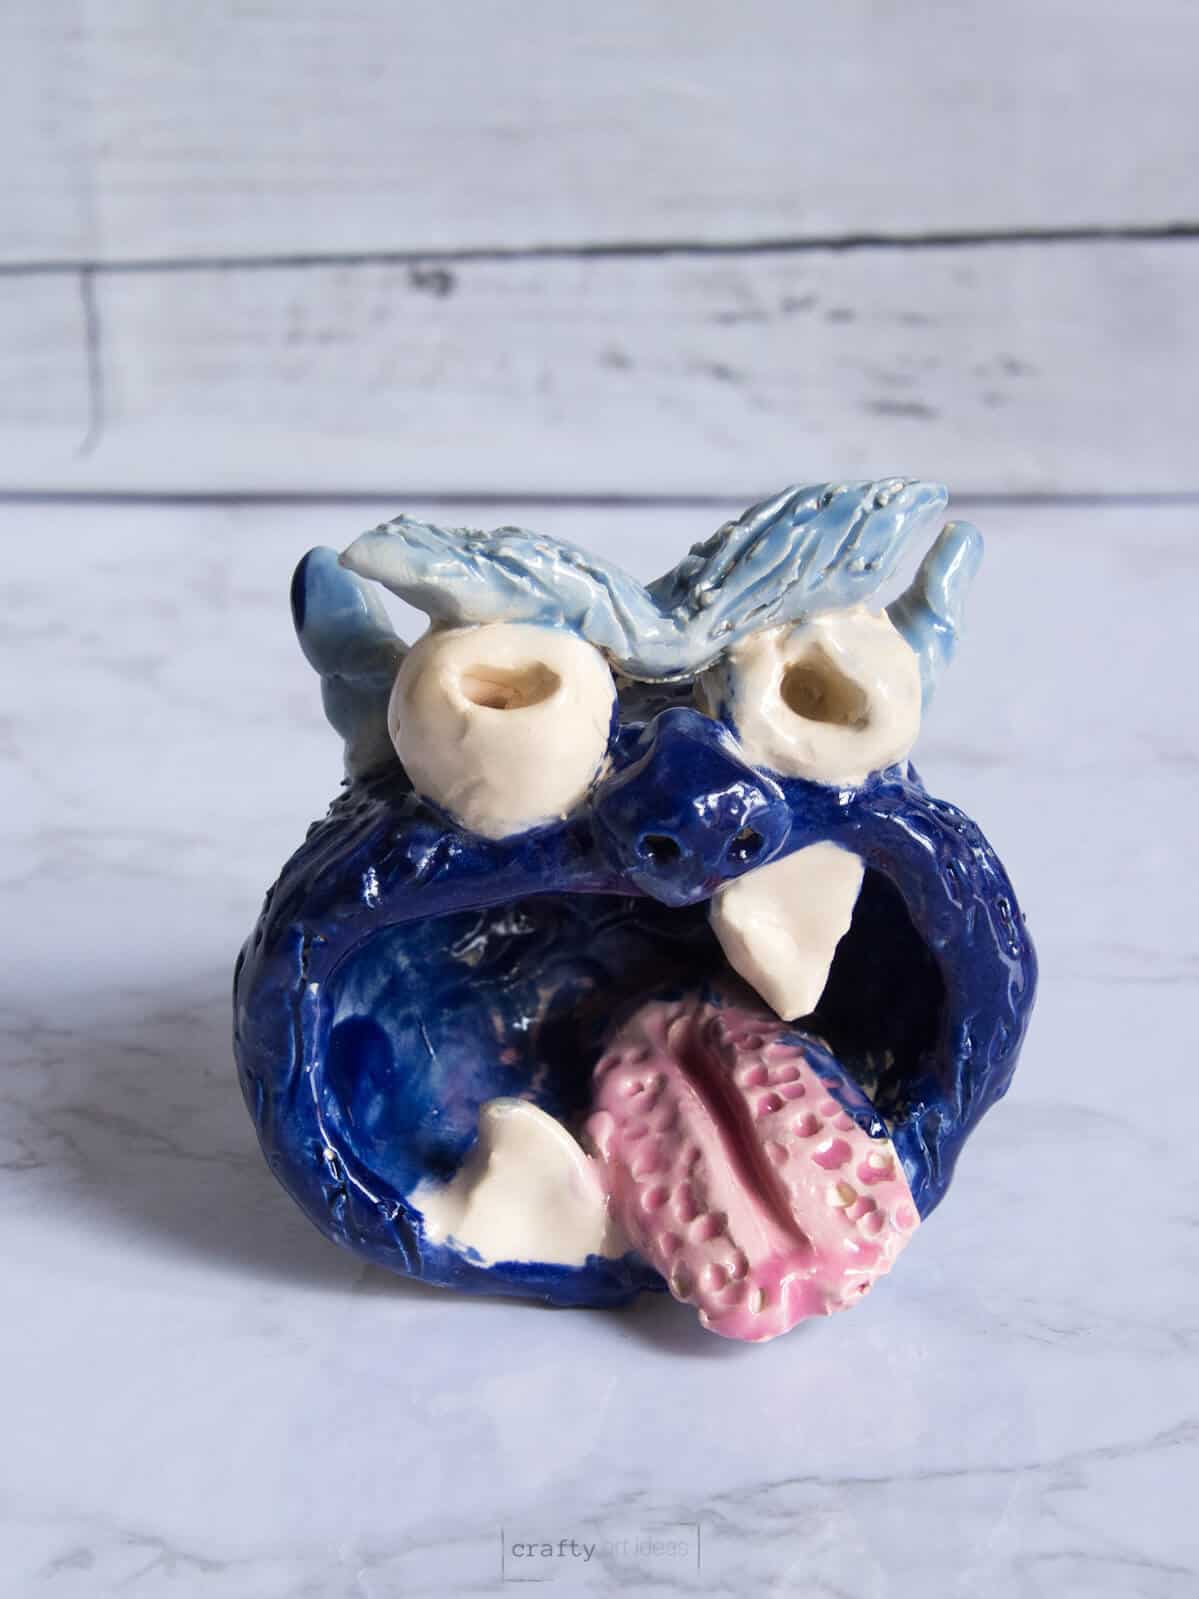
The best part about this ceramic project is that every single final product will come out so differently. They always make us laugh.
Do you like this art project? Please give us a 5-STAR review below ⭐️⭐️⭐️⭐️⭐️ and have fun being creative with your family.
Pinch Pot Monsters
Equipment
- Wooden Skewer
- Optional: Variety of other clay tools
- Needle Tool (best for adult to write names)
- Small container of water
- Clay placemat or work surface
Supplies
- White Art Clay
- Variety of Clay Glazes
- Acrylic Paint optional if not glazing
Instructions
- Start with a ball of clay that can fit inside a child’s hand.
- Split a little bit off the hunk of clay. The bigger chunk of clay can be rolled into a ball.
- Have kids push one hole with their thumbs as far as they can go without going through.
- Use hands to pinch around the edge and make sure not to make walls too thin. The walls should probably be around 1/8” thick to support the shell when flipped on its side.
- Put clay pinch pot on its side.
- Begin sculpting eyes for your monster. Make sure the eyes are not too thick. Use a skewer to poke in the pupils. This will also help to ensure eyes are not too thick.
- Attach eyes to pinch the pot monster's face by scoring the eyes and where you are attaching to the face of the monster. Use one finger dipped in water to add “slip” and connect. Use a finger to help blend the seam where the eyes go.
- Create monster details such as horns, eyebrows, tongue and teeth. Roll a coil for eyebrows. Add texture by drawing lines with a skewer. Make sure to score and add water when attaching to clay.
- Finally, add any extra texture to the monster.
- Kids can use water to smooth out any rough areas. We always instruct them that a little goes a long way and not to make “mud pie”.
- Glaze or paint monsters after a bisque fire.
Notes
- An adult should write the kid’s name on the bottom of the monster with a sharp skewer or needle tool.
- Let projects fully dry before putting them in the kiln. The clay should not be cool to the touch at all.
- Don’t build anything too large or skinny off the monster’s body. This will help ensure that it does not break.