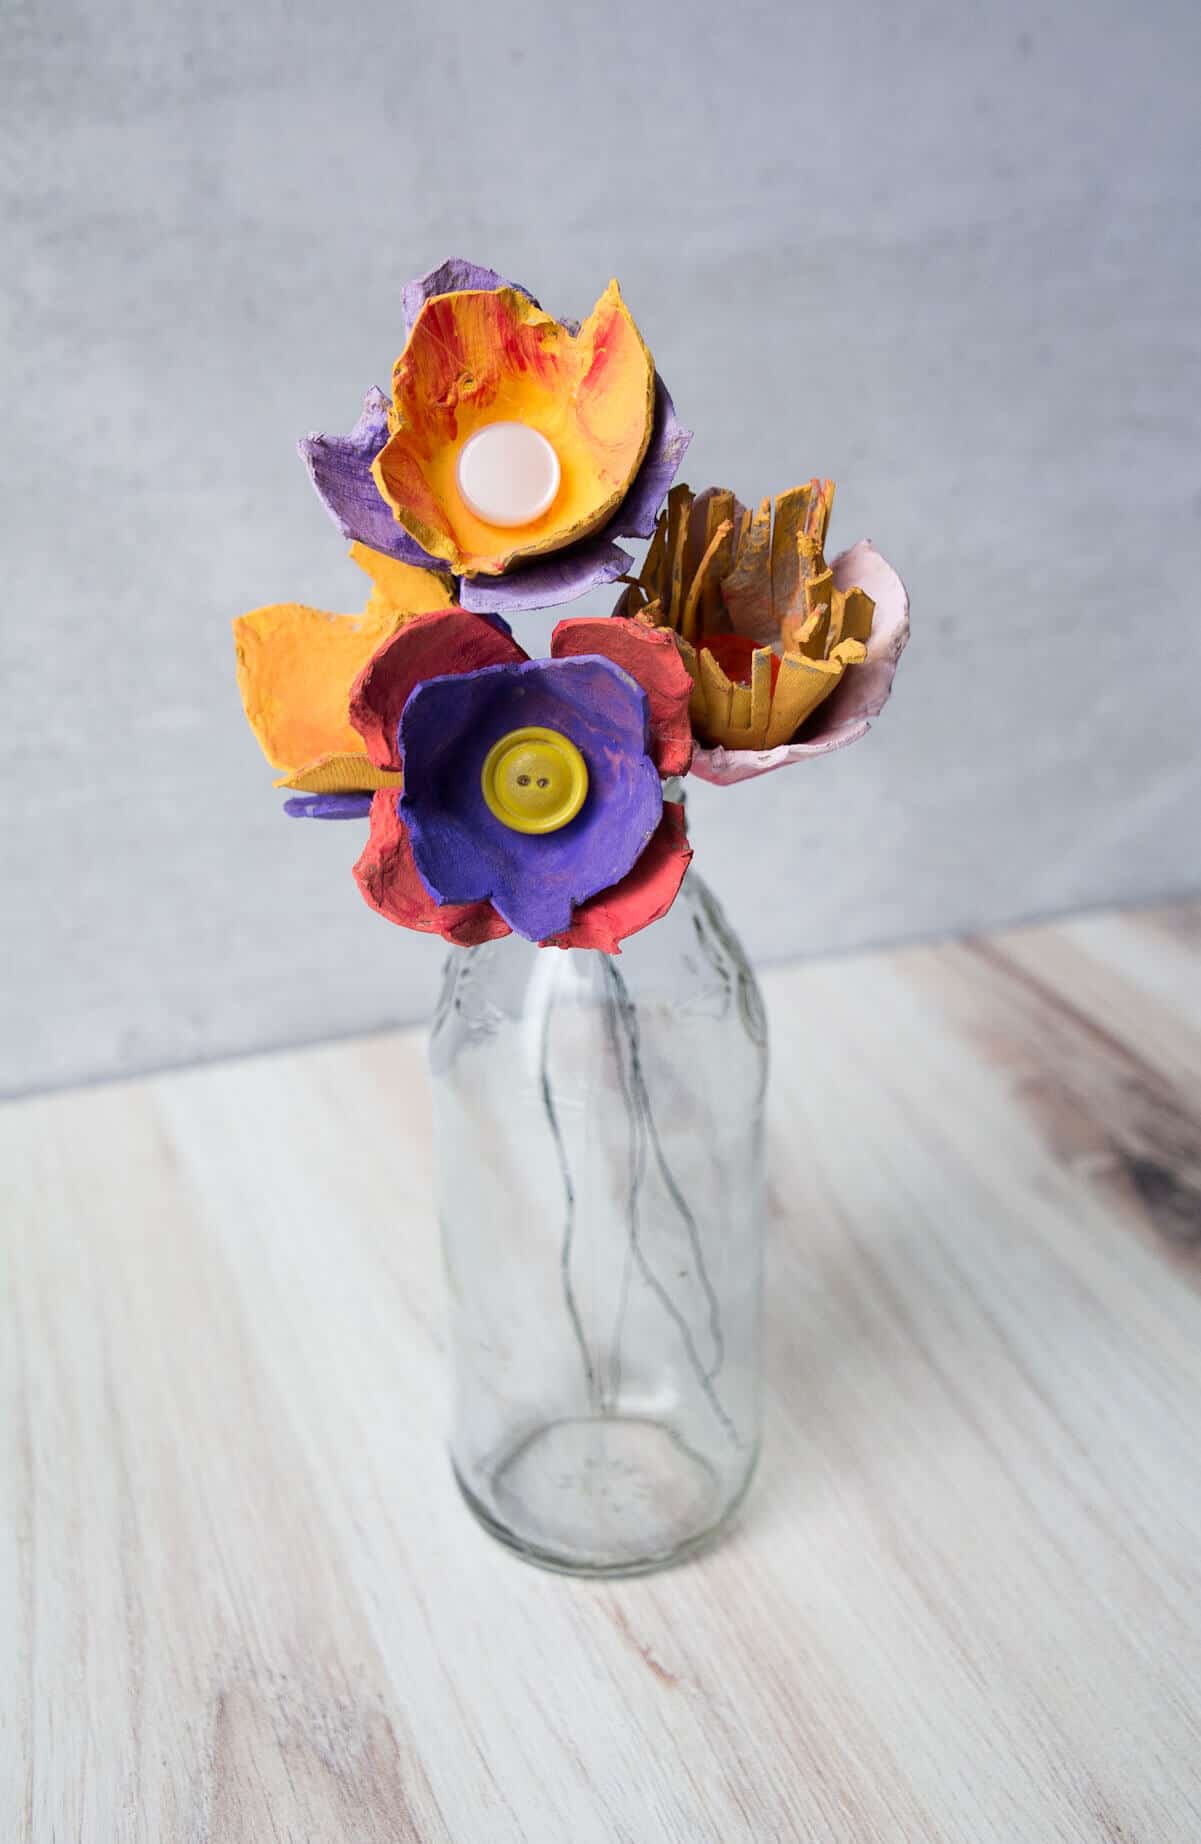
Create DIY Egg Carton Flowers With This Easy Tutorial

Egg cartons are the perfect material to repurpose into a new craft. This egg carton flower craft tutorial is fun for an older child or adult who is just looking to get creative.

This flower craft tutorial was originally published in February 2023. Erin updated it in March 2026 with more precise step-by-step instructions and tips.
Our house has been using up all those old egg cartons recently. We love making adorable egg carton kid crafts such as this egg carton butterfly, turtle and even a really cool DIY bird mask.
Once I was creating with my kids, I realized how fun it is to work with recyclable materials. I wanted to make more realistic flowers out of egg cartons.
Supplies You’ll Need
Disclosure: This post may contain affiliate links when clicked, we may earn a small commission at no additional cost to you. Read our full privacy policy.
What could you use instead of floral wire?
Anything sturdy enough, like a doll rod or bent pipe cleaner, will work. If you are just making egg carton flowers with preschoolers and young children, you could use a craft stick or omit the stem altogether.
Making Flowers From Egg Cartons
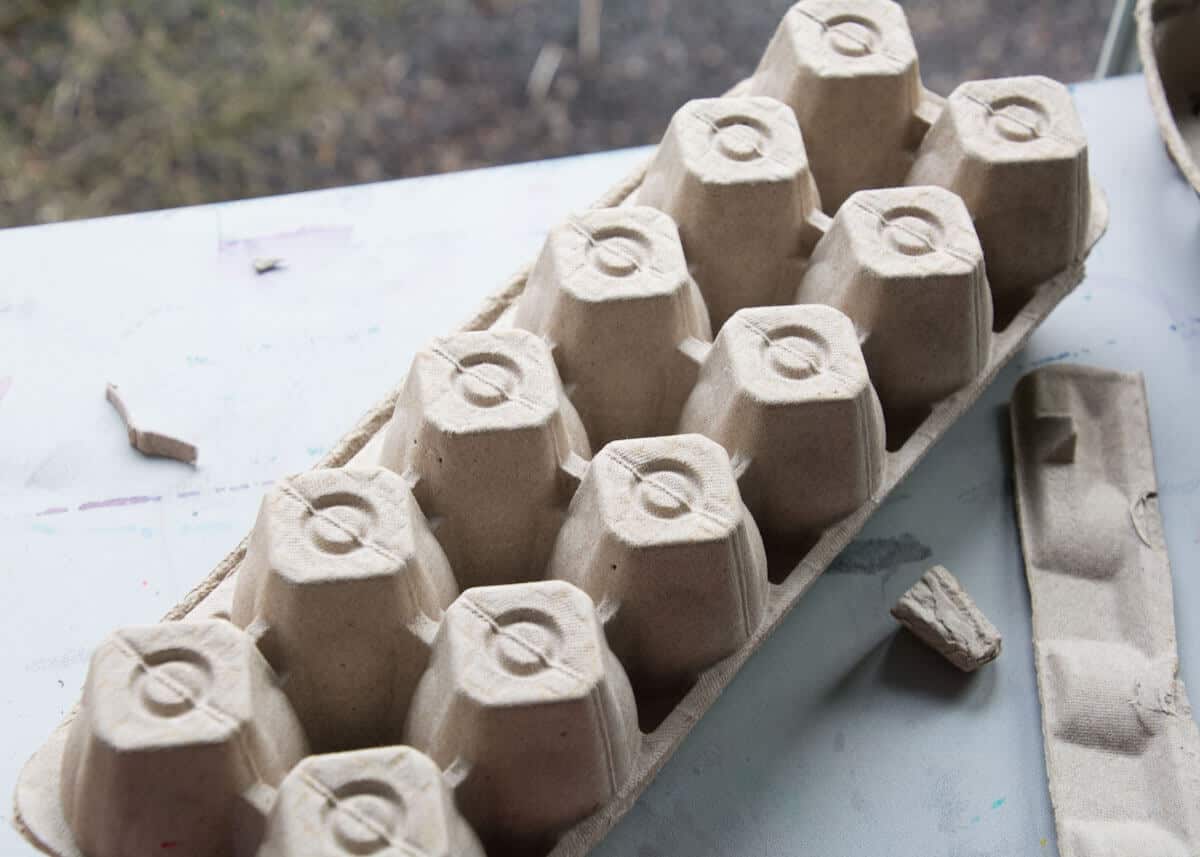
Step 1: Cut Apart Your Egg Tray
Each flower will consist of at least two cups. You need to cut the 12 cups apart in a regular cardboard egg carton.
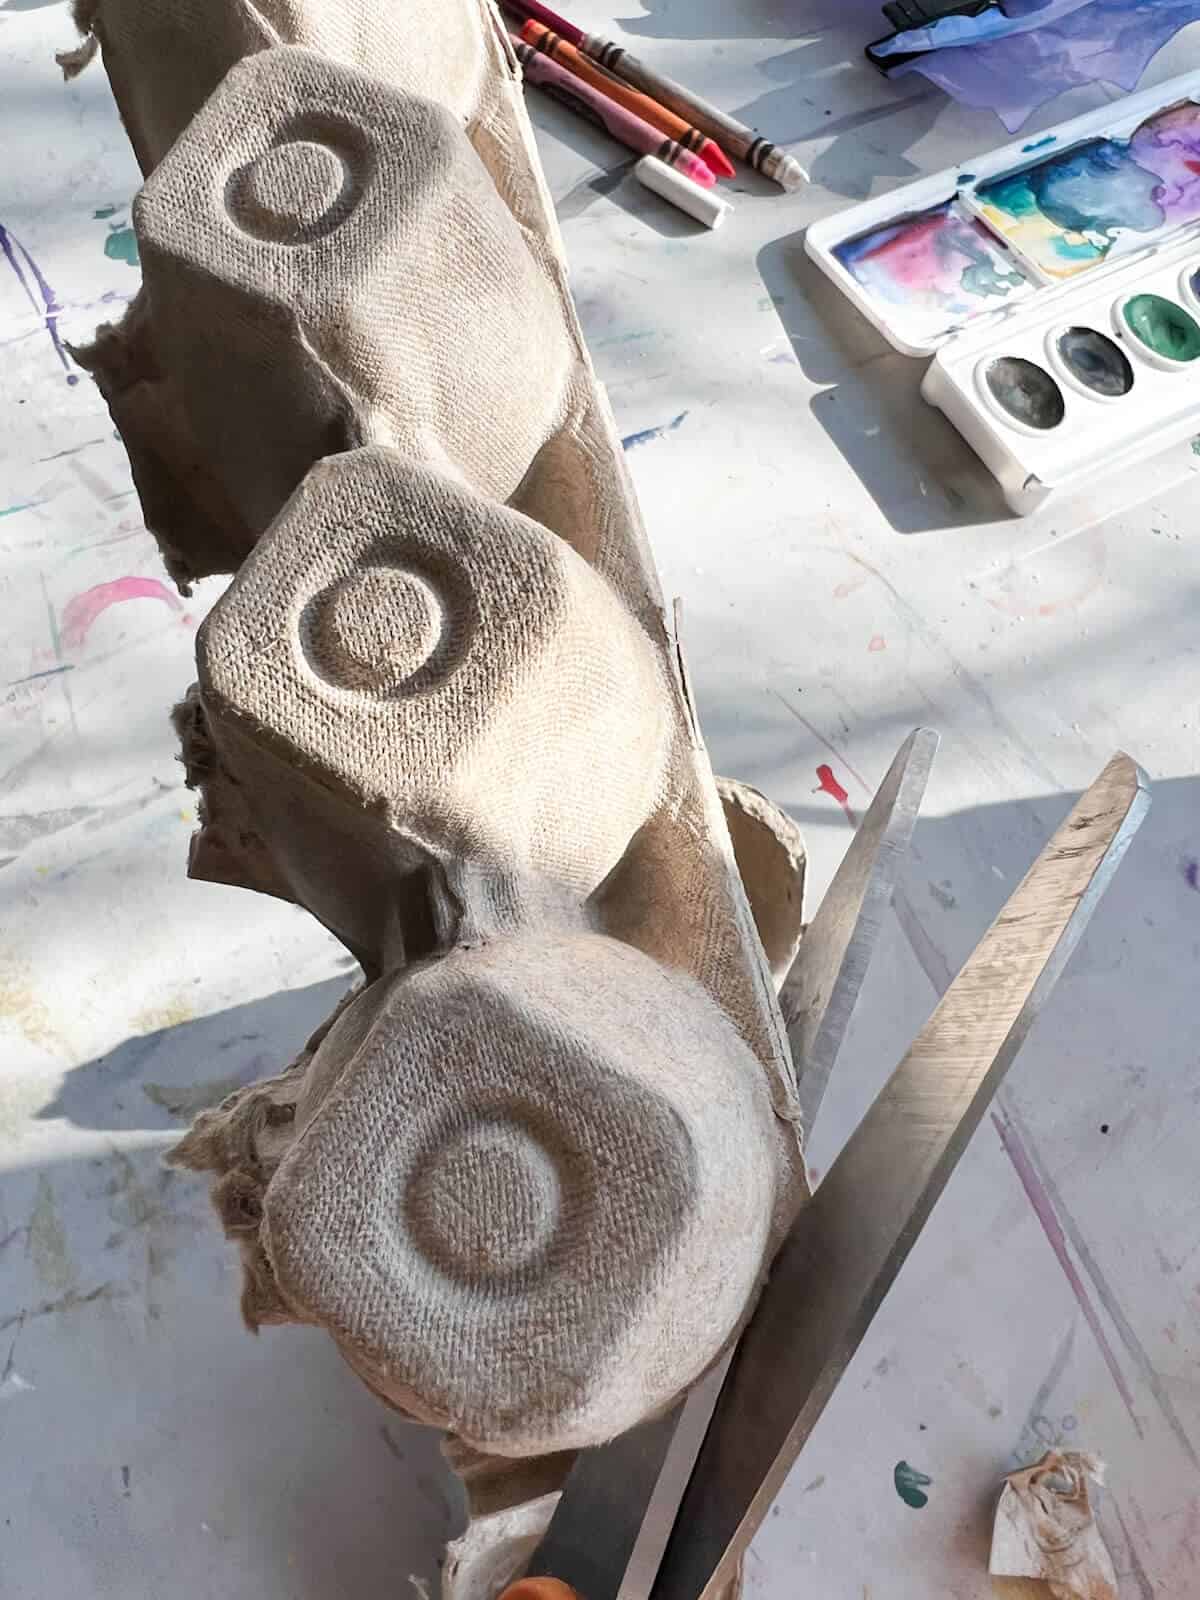
Step 2: Cut Natural Looking Petals
You can think of what flowers naturally look like and try to mimic some of the shapes you may see.
Cutting in “v’s” or slits in between petals will help your egg carton open up more.
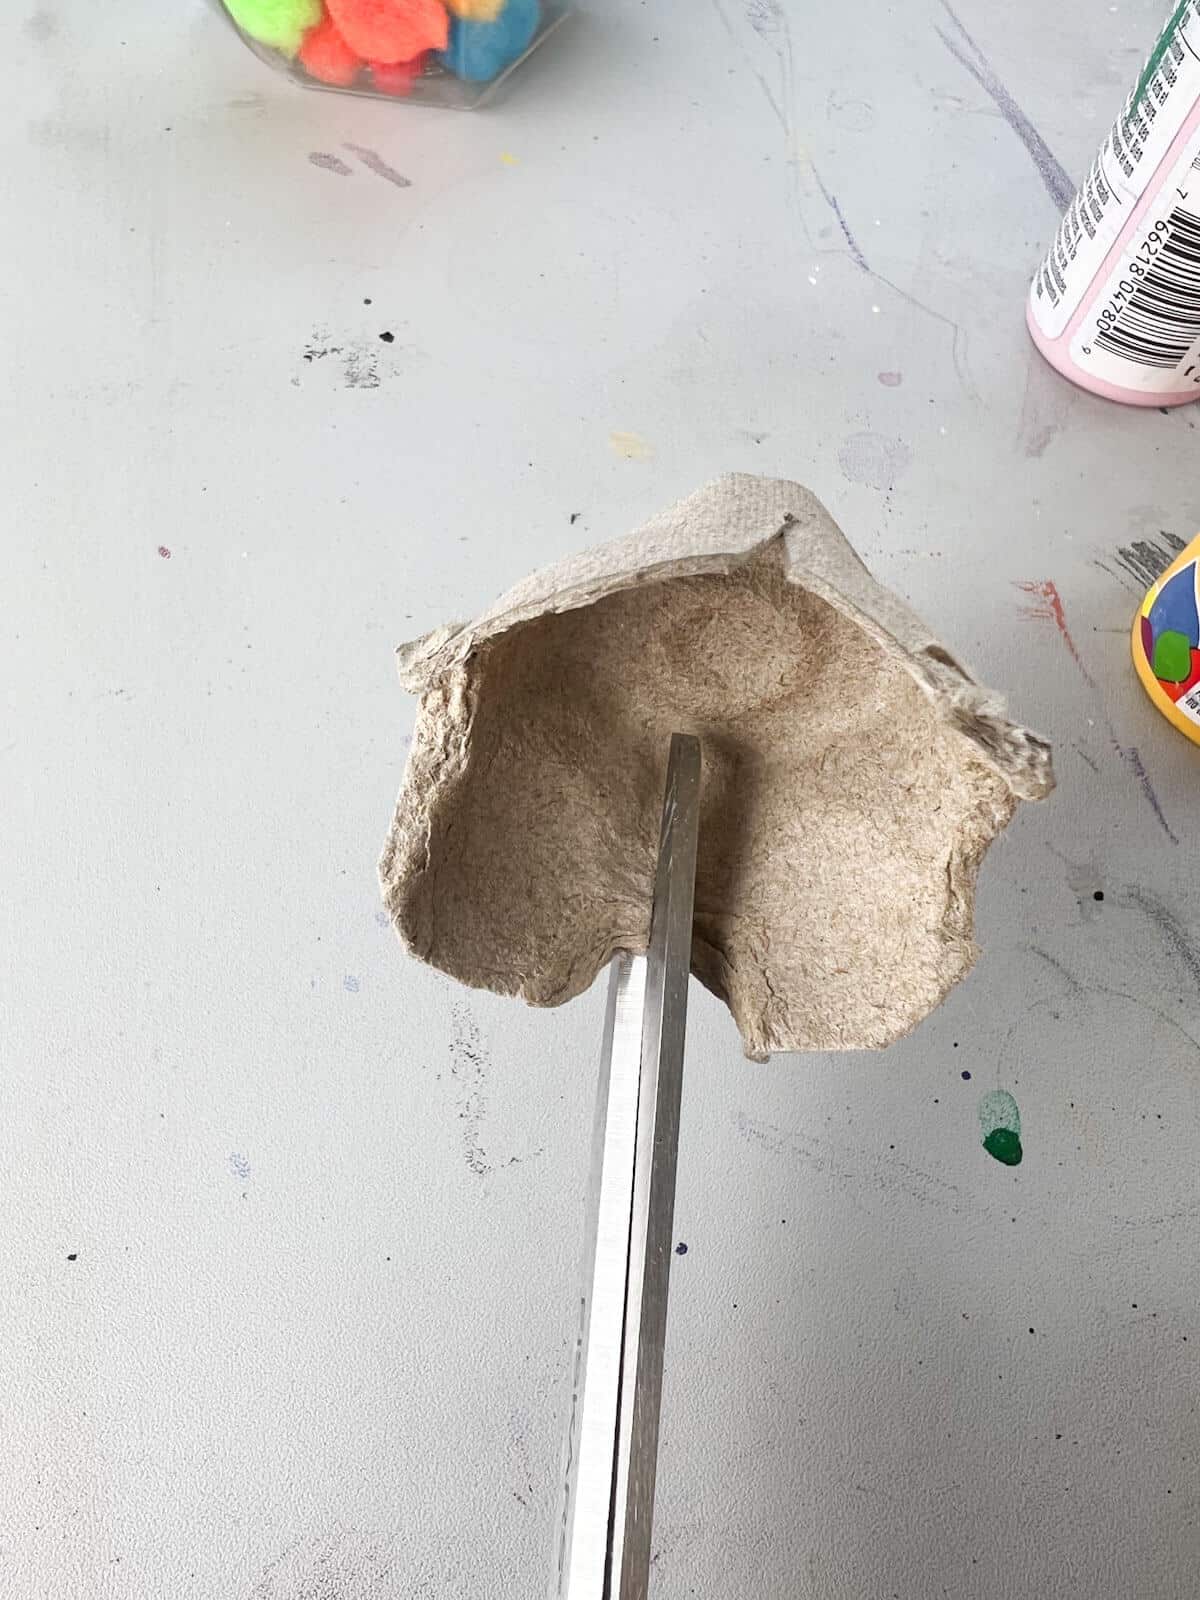
Step 3: Continue Cutting 2 Cups Per Flower
Create different shapes and designs with your scissors. Match two different cut egg carton cups together to make your flower base.
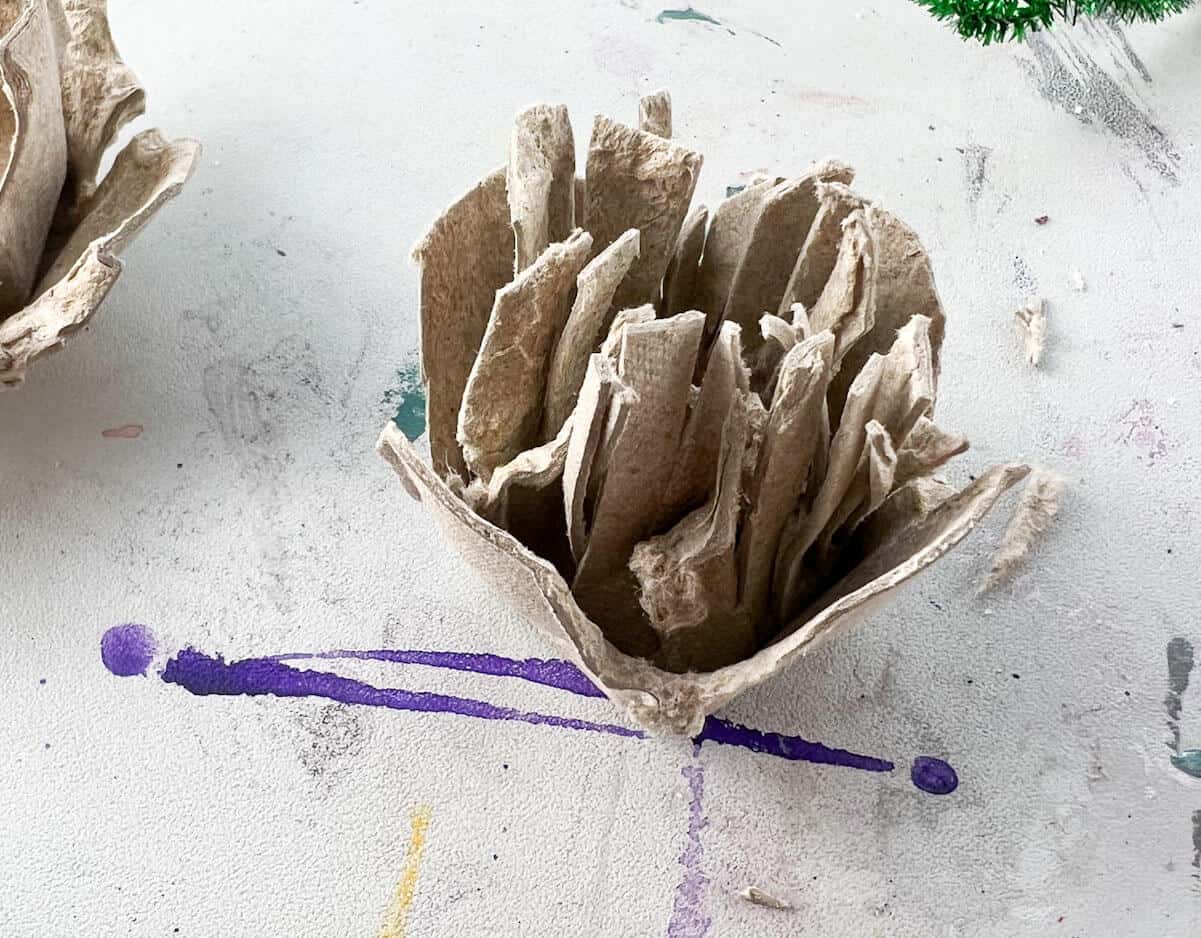
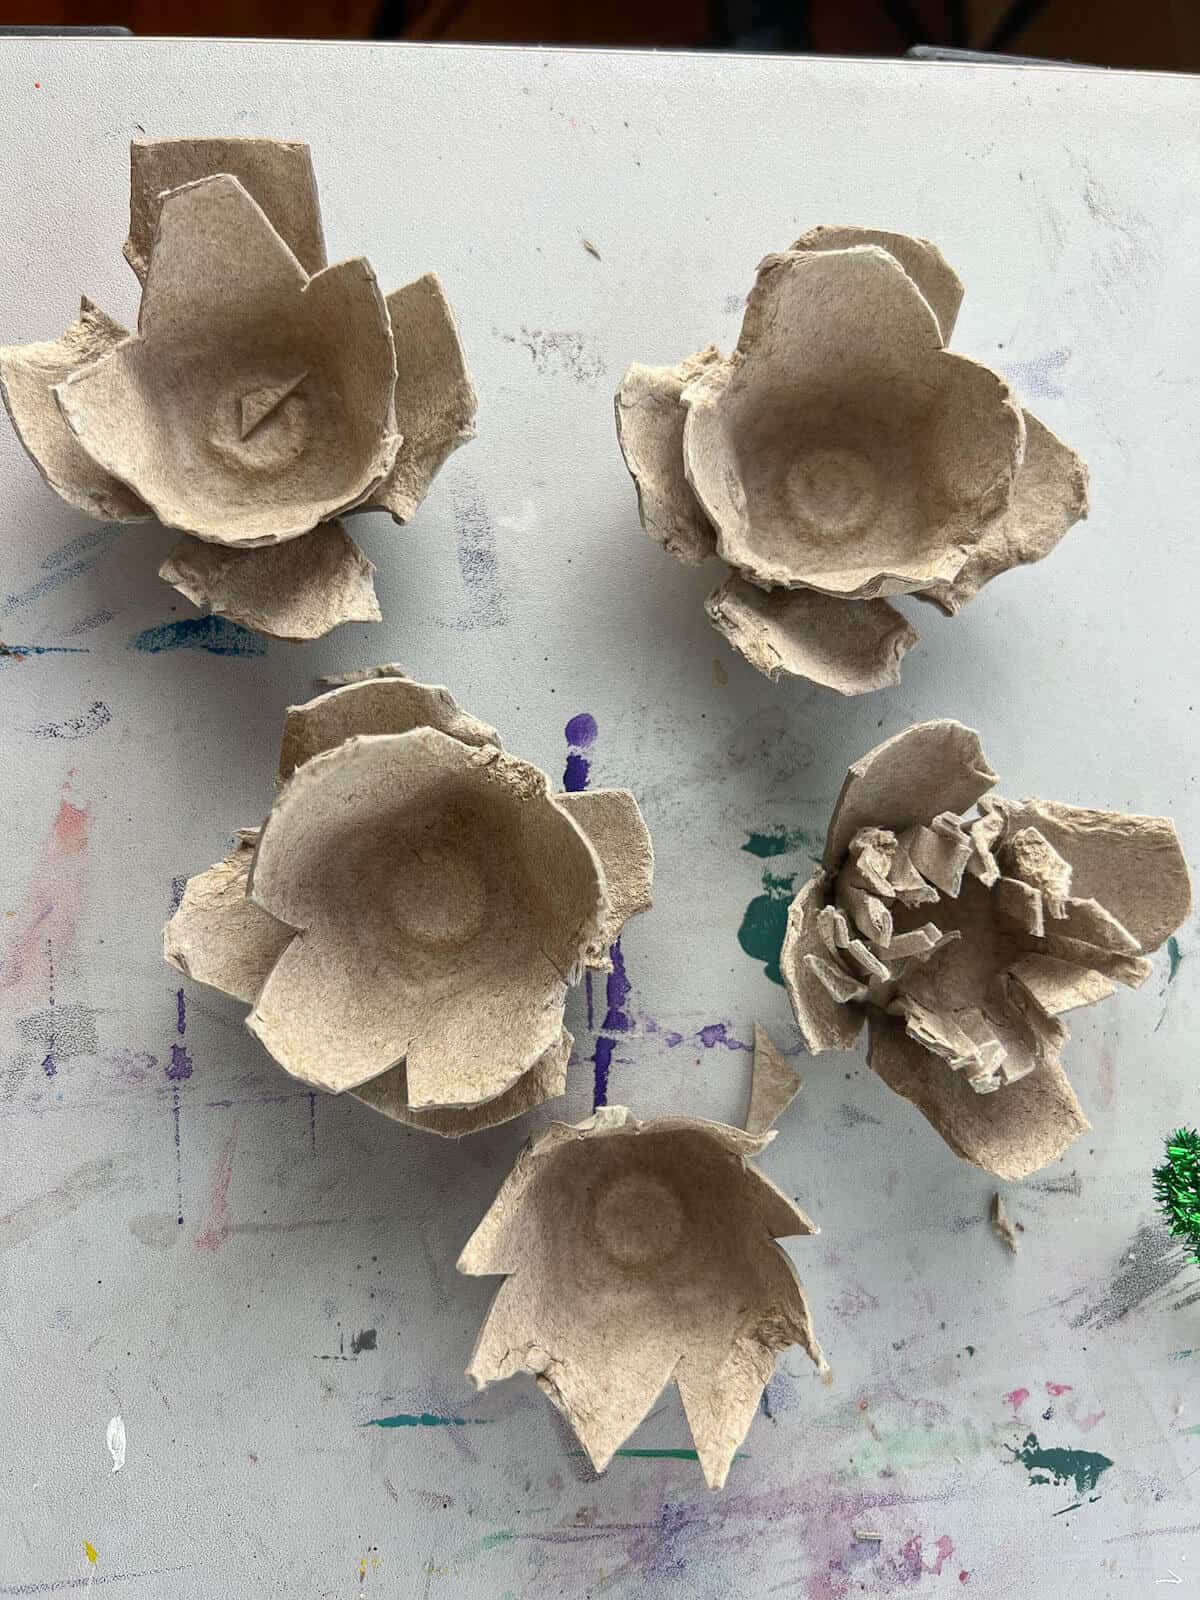
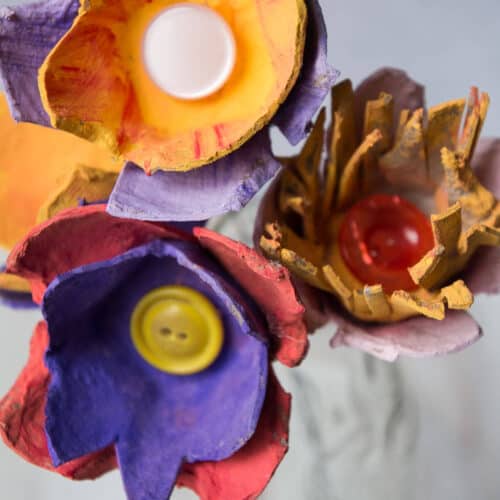
Step 4: Create Fringe Centers
One of our favorites was a fringe-type design that created a fun texture for the center.
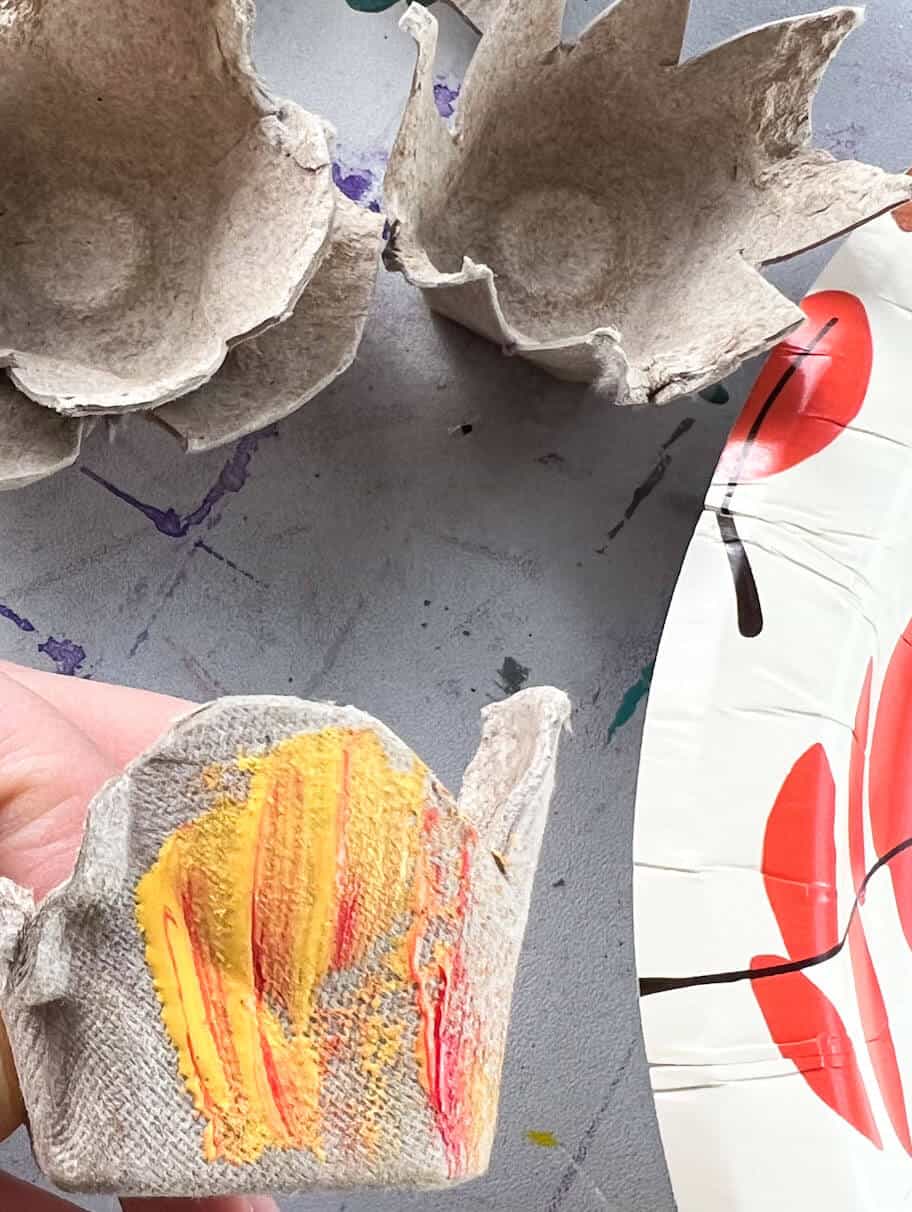
Step 5: Paint Your Flowers
Have fun with the colors. Consider creating a fun two-toned look by dipping your brush into two acrylic paint colors before painting.

Step 6: Let Dry
Let your painted egg carton flower cups fully dry. You can have fun with the paint colors or try to mimic color combinations you would see in nature.
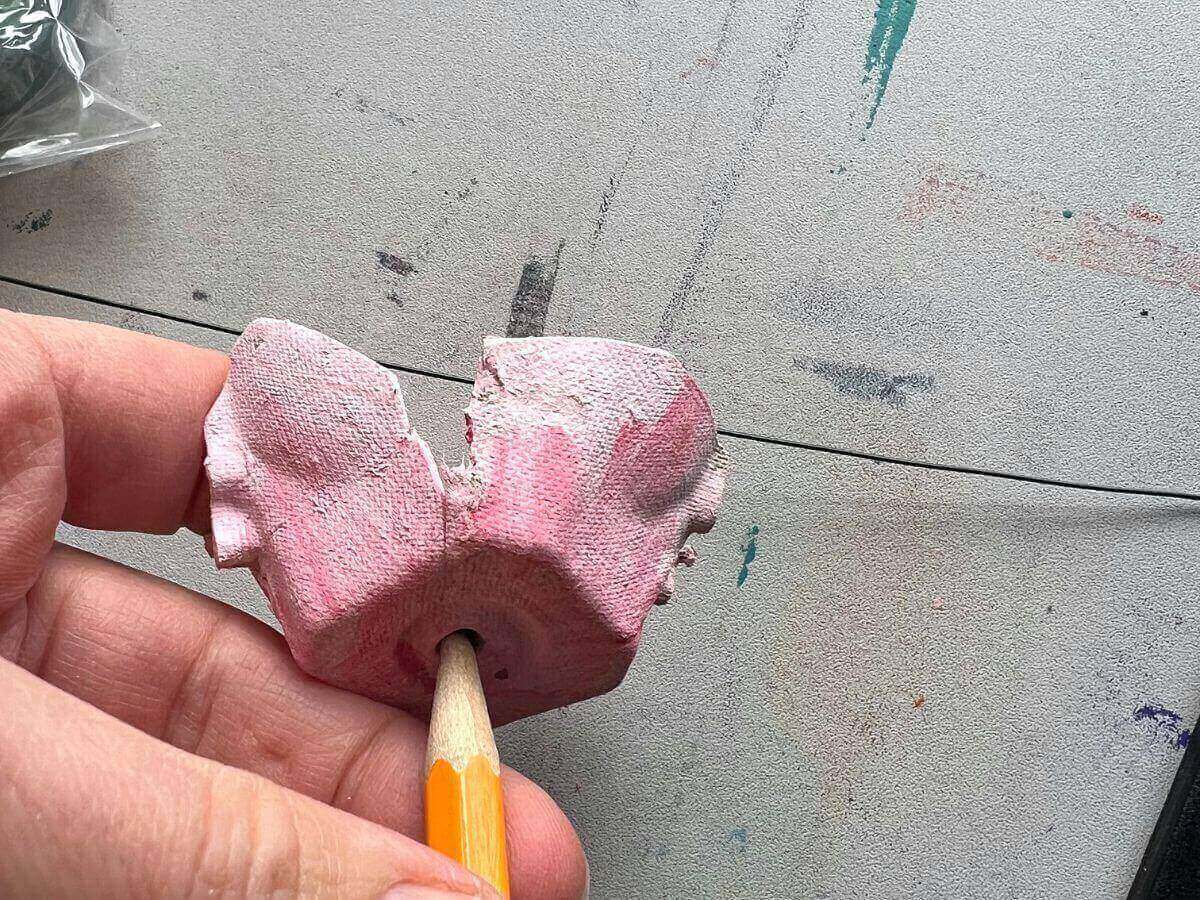
Step 7: Poke Hole For Stem
You want this hole to be rather small. You can use a sharp pencil to help poke through the cardboard.
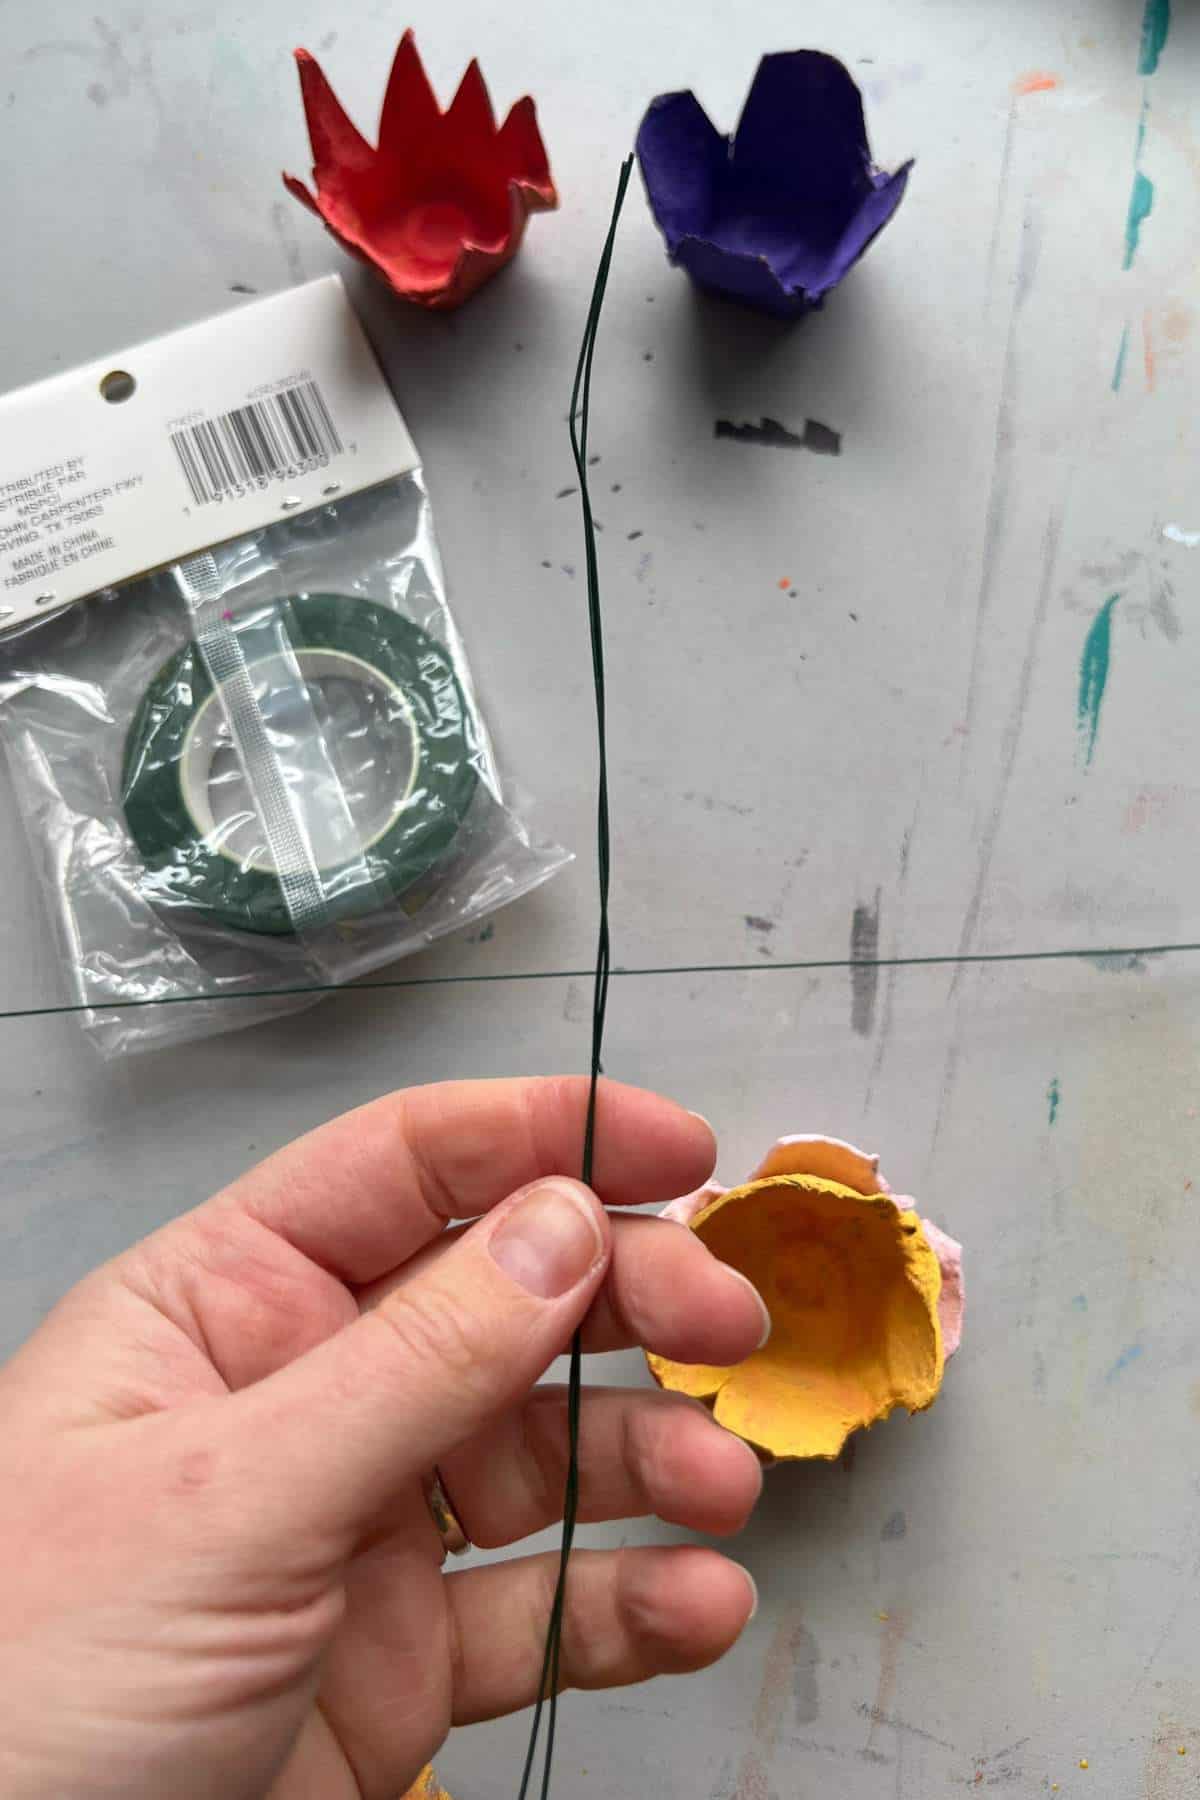
Step 8: Make Your Stem
Fold the wire in half.
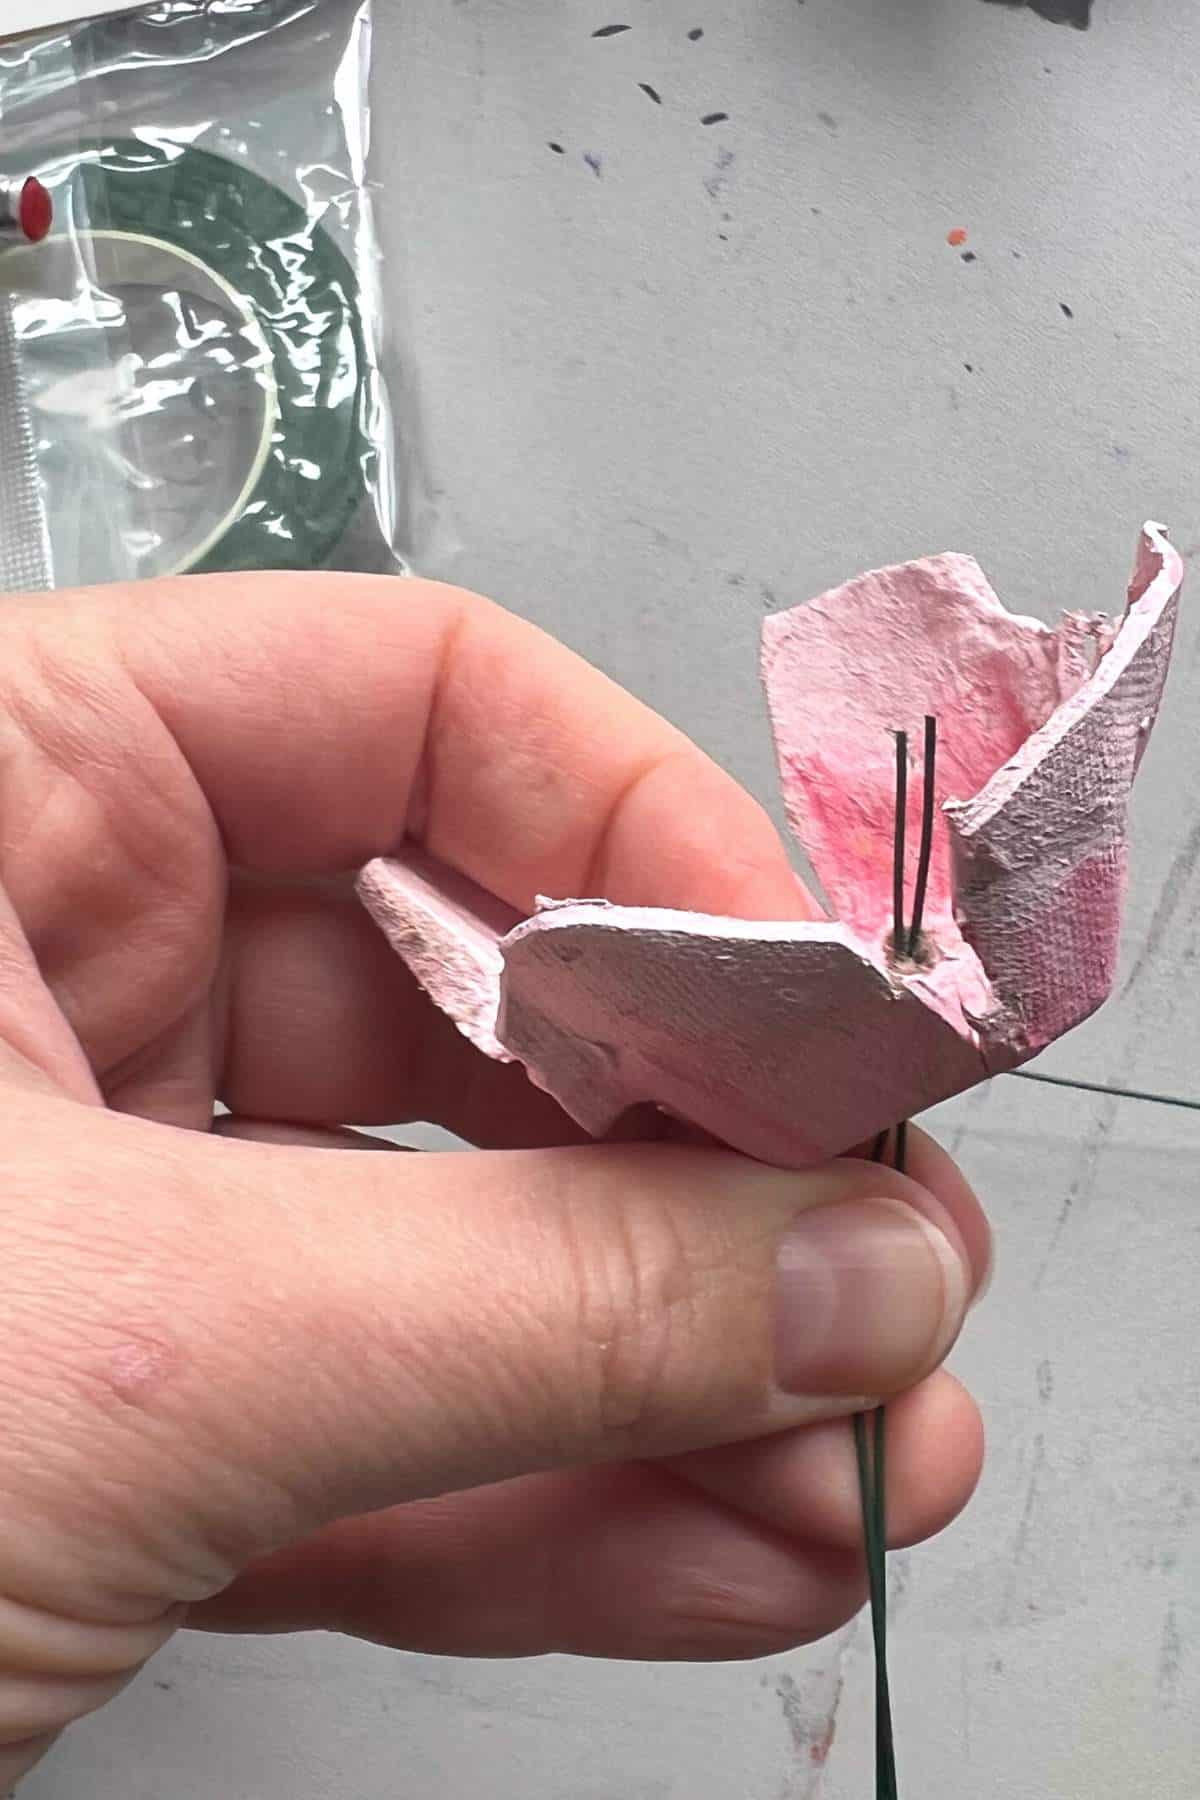
Step 9: Add The Stem
Put the wire it through the small hole you poked and bend the two ends. Add hot glue to secure the wire inside the flower. You can also add a drop of hot glue to the bottom of the flower where the wire is coming out.

Step 10: Glue Second Cup Inside The Flower and Button
Use hot glue to add a second cup and a center for your flower.
Tips
- MATCH SHAPES TOGETHER AS YOU WORK – You will layer the flowers together, so you might want to cut and match the cups together to see if your designs make sense.
- MAKE YOUR STEM SECURE – When adding hot glue for the first time, don’t worry if it is messy. You will add another cup and a button on top to finish your flowers.
- OTHER IDEAS – create other fun-shaped petals, add your color choices, or even use these flowers for a DIY flower crown or wreath.
DIY Flower FAQs
Yes, you could keep layering the egg carton cups to make a more realistic-looking flower.
Double up the wire and add a drop of hot glue on the outside where the wire comes through the hole. This helps support the weight of the egg carton.
Follow us on Pinterest, YouTube & Facebook for more free art and craft ideas!
We just love this recyclable flower craft. These might even be a great gift idea for your loved ones. We could see our family working together for Mother’s Day or other holidays.
Do you like this art project? Please give us a 5-STAR review below ⭐️⭐️⭐️⭐️⭐️ and have fun being creative with your family.
How To Make Egg Carton Flowers
Equipment
- Scissors for adults to cut egg carton
- Glue Gun For adults only
Supplies
- Pre-Cut Egg Carton 2 cups per flower craft
- Acrylic Paint you can use any colors you want
- 1 Button
Stem
- 1 piece Floral Wire
Instructions
Prep Egg Carton
- Cut a cardboard egg carton so that you have 12 cups from each carton (assuming that your carton was for a dozen eggs).
Making Your Flower
- Cut egg cartons to resemble flower petals. Consider cutting a fringe design, larger petals or slits in between petals. This will help the egg carton cups open up a little more.
- Match two different cut egg carton cups together to make your flower base.
- Use acrylic paint to paint the egg carton flower petals.
- Let the painted egg carton fully dry.
- Poke a small hole in the bottom of one egg carton flower cup.
- Bend the floral wire in half.
- Poke the wire through the hole so that 1/4"-1/2" is sticking out. Bend the ends and hot glue.
- Add a small dab of hot glue on the bottom of the egg carton flower to help support the weight of the egg carton.
- Hot glue a button in the center of your flower craft.
Notes
- You will layer the flowers together, so you also might want to cut and try to match the cups together to see if your designs make sense.
- Cardboard egg cartons will be easier to work with instead of styrofoam (and better for the environment, too).
- You can add more than 2 cups per flower depending on the look you are going for.