Easy Marble Shaving Cream Paper Tutorial

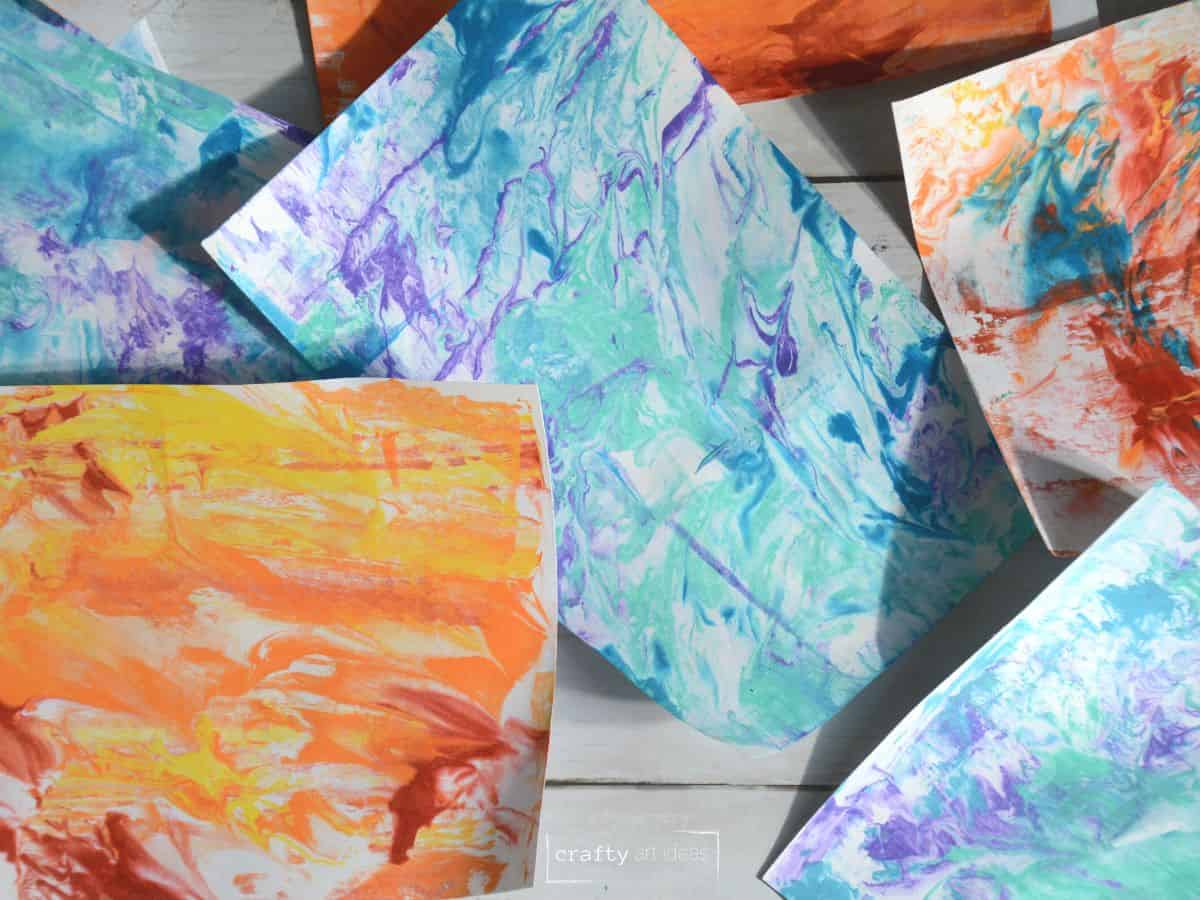
Do you want kids to be amazed by their fabulous marbled paper? This quick and easy printing technique is perfect as a stand-alone project or as one part of an art lesson. Learn to create beautiful shaving cream art on paper in less than 5 minutes.
After years of guiding students through this process, this art process tutorial was initially published in November 2022. Erin has updated it with a clearer format, a video tutorial and new takeaways in October 2025.
Why You Will Love This Painting Idea
Notes On Supplies You’ll Need
Disclosure: This post may contain affiliate links when clicked, we may earn a small commission at no additional cost to you. Read our full privacy policy.

You can get the complete list of supplies in the printable how-to card at the end of the post.
Note: We chose to use acrylic paint for the examples below but have had great success with food coloring or liquid watercolor in the past.
ART TEACHER TIP – If you frequently work on art projects at home or school, consider designating a baking sheet for use only with art projects. Clearly label it and store it away from your kitchen.
How To Paint With Shaving Cream On Paper
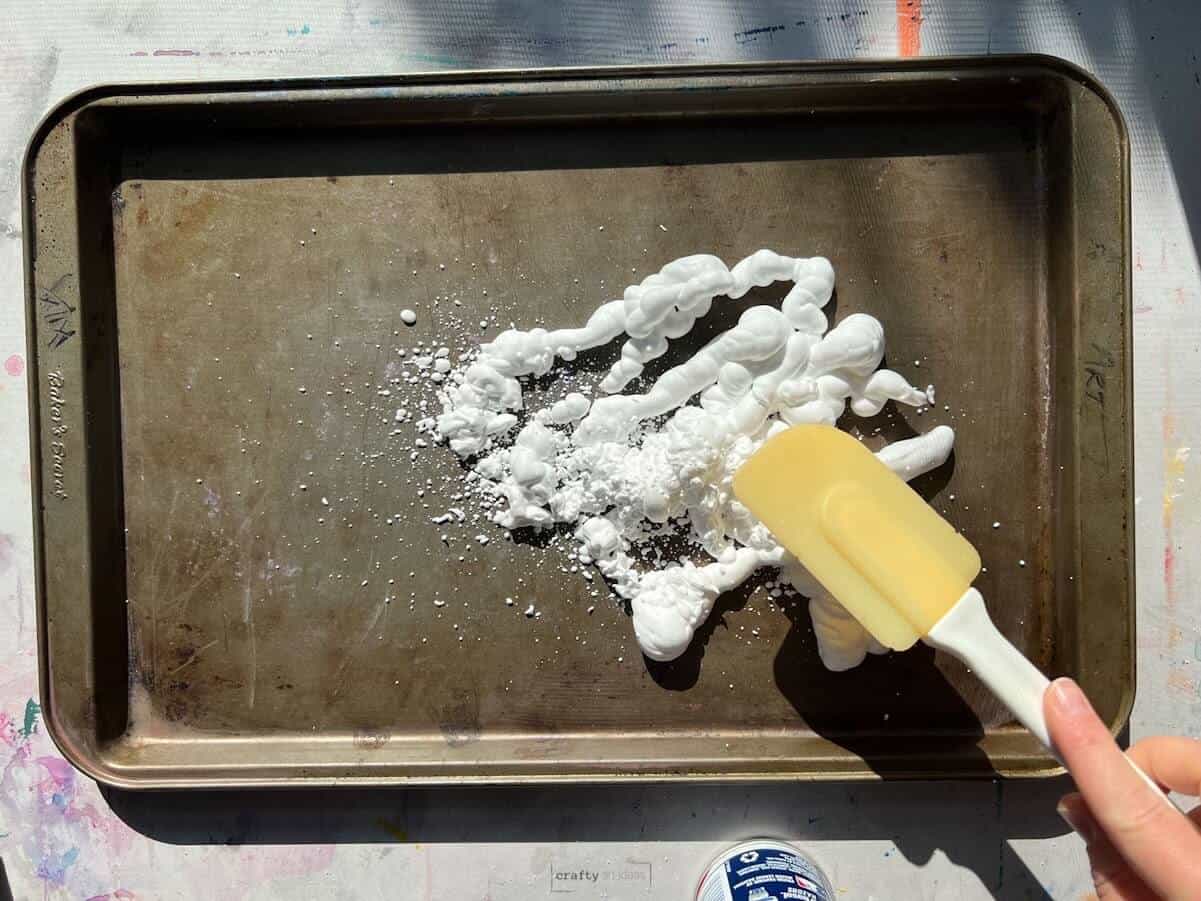
Step 1: Spread Shaving Cream
Add shaving cream a tray or baking sheet that is bigger than the paper you are printing on. You need a thin layer of shaving cream at the bottom before you begin. You can use a spatula or fingers to smooth it out if you want.
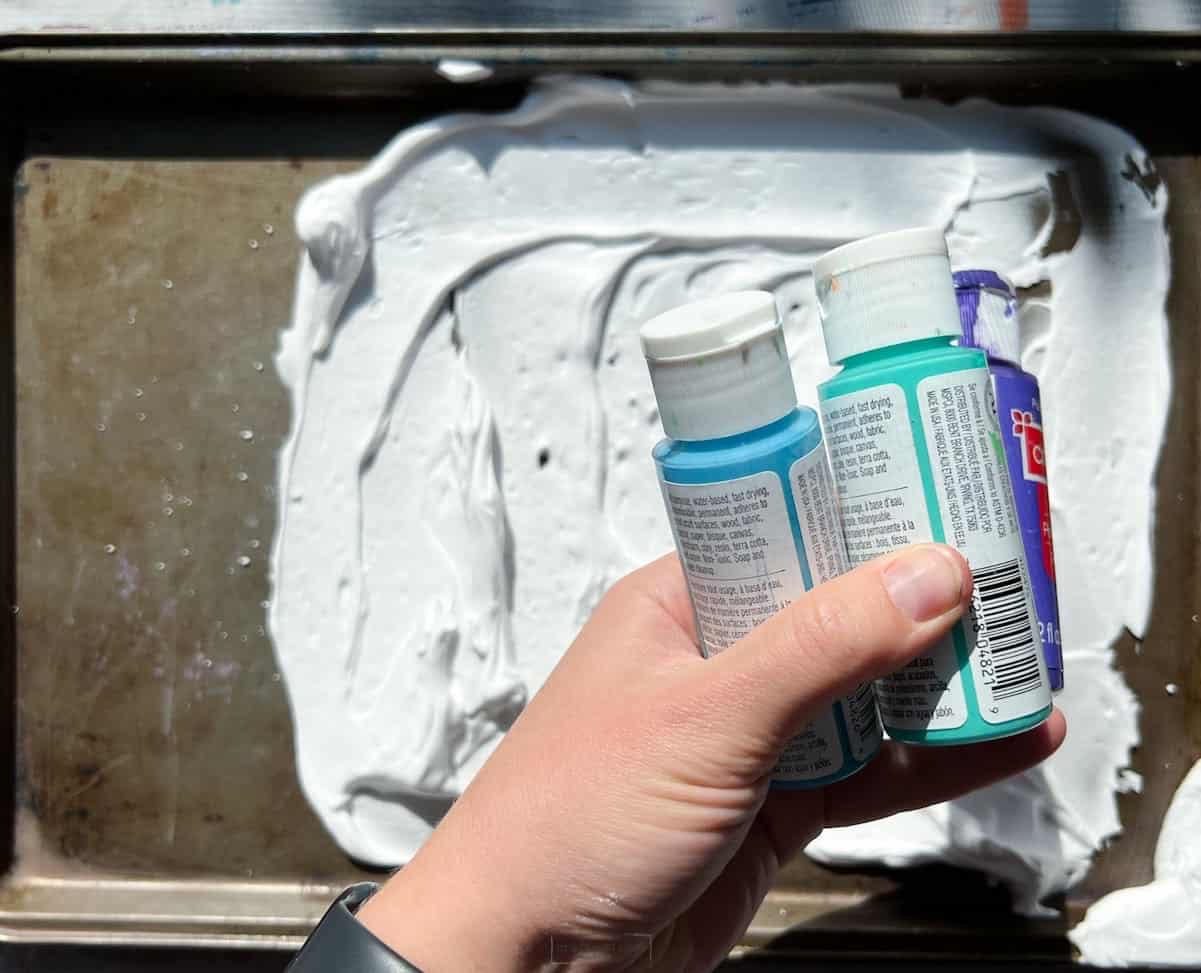
Step 2: Add Color
Add drops of liquid watercolor, food coloring or acrylic paint. For these particular prints, we used cheaper similar colored acrylic craft paint.

Step 3: Swirl The Colors
Use a toothpick, fork or the end of a paintbrush to swirl the shaving cream and paint around until you like what it looks like.
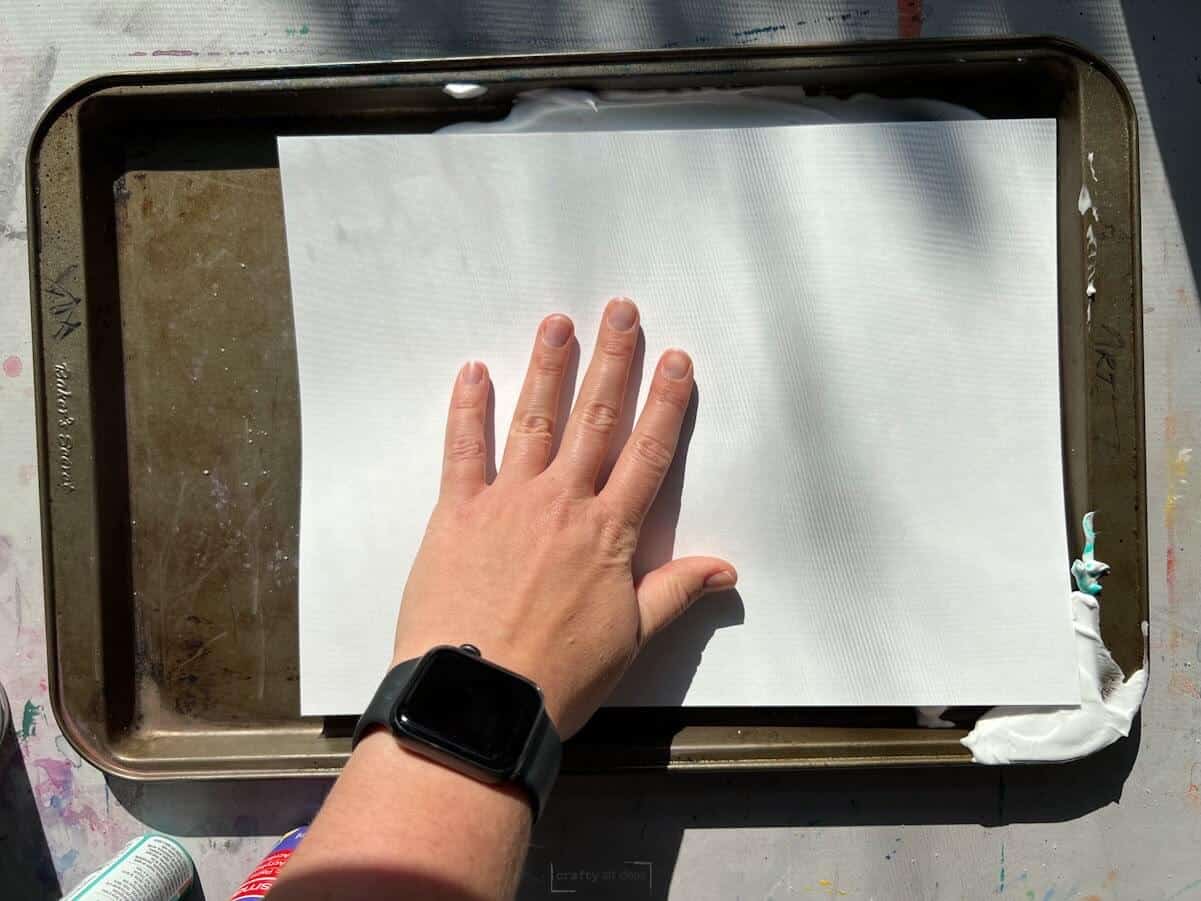
Step 4: Print The Paper
After you have swirled, take your paper and press it down lightly and rub the back of the paper.

Step 5: Pull The Paper Off
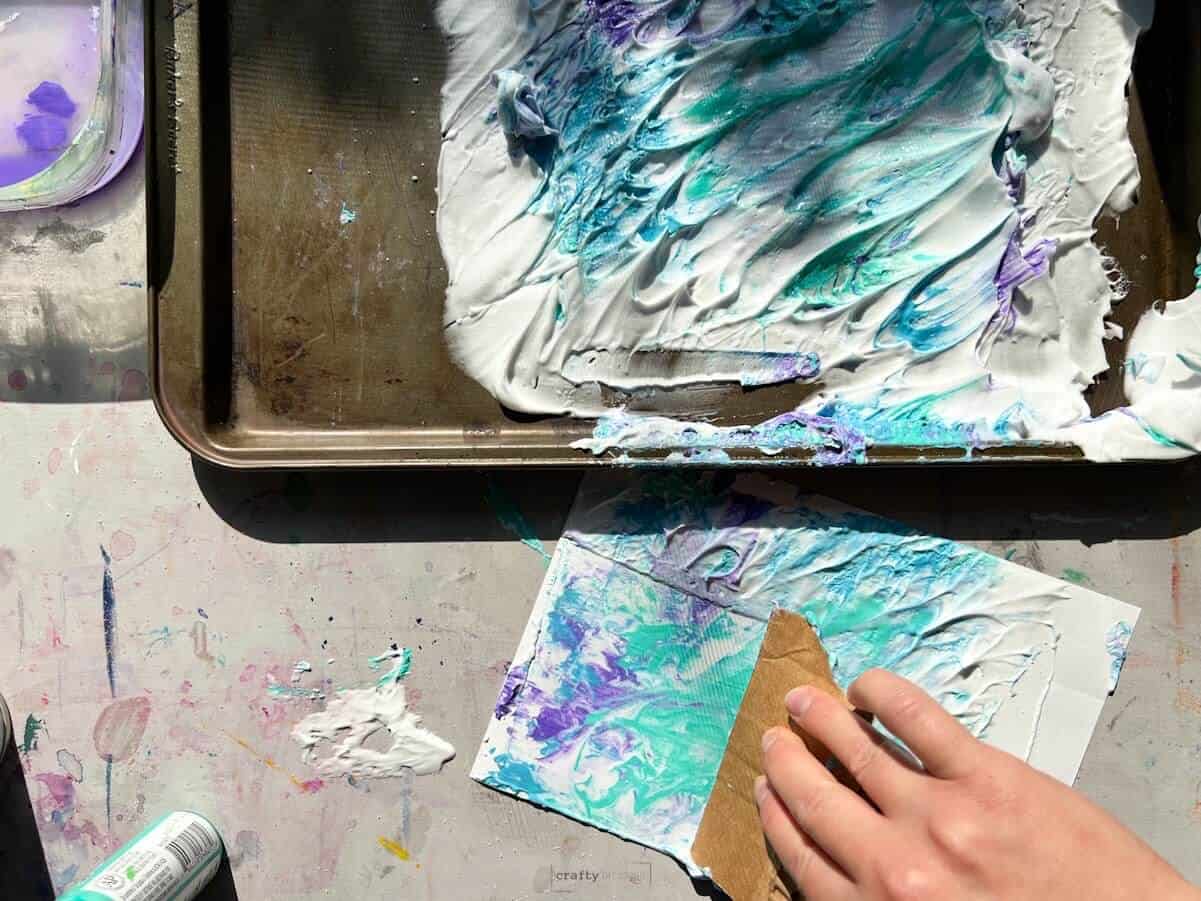
Step 6: Scrape Off Shaving Cream and Paint Mixture
Using a scraper such as an old credit card or piece of cardboard to lightly take off excess shaving cream to reveal the awesome shaving cream art.
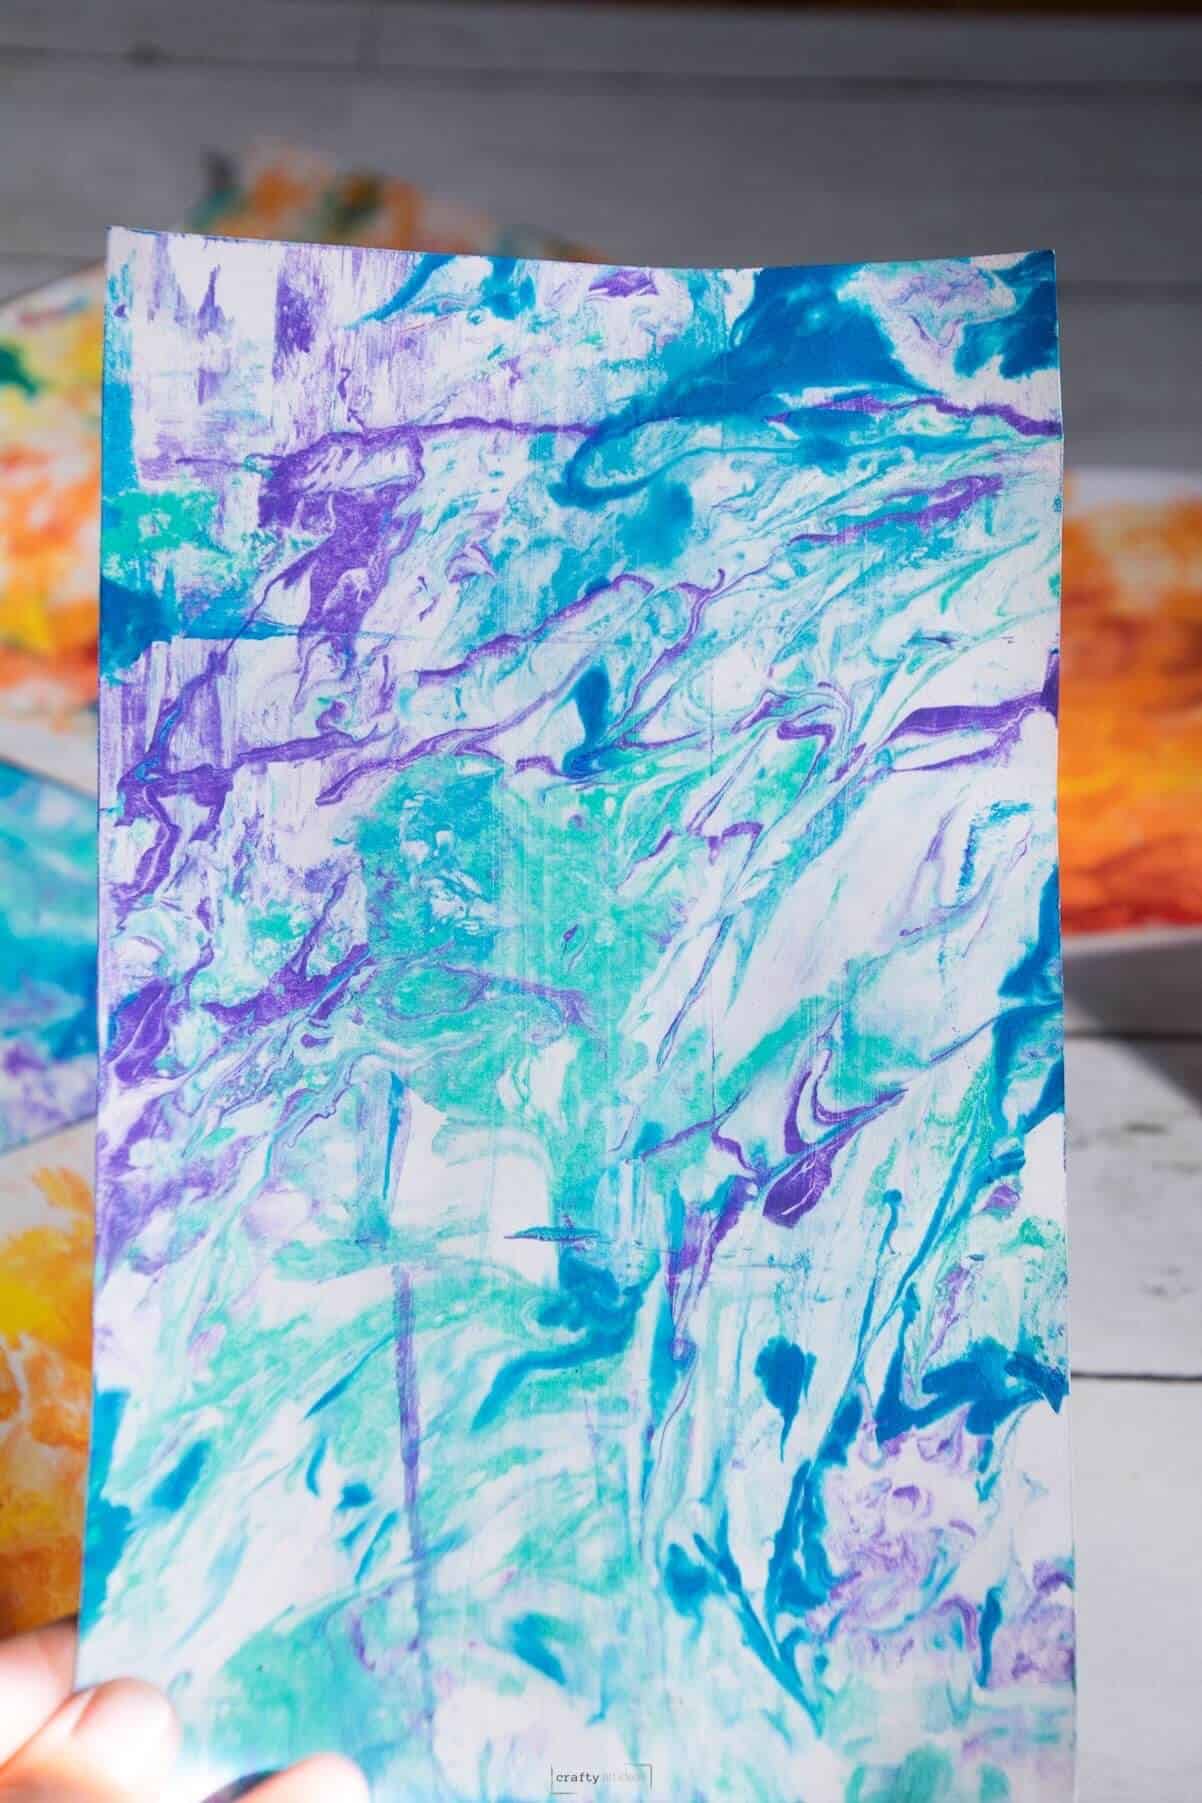
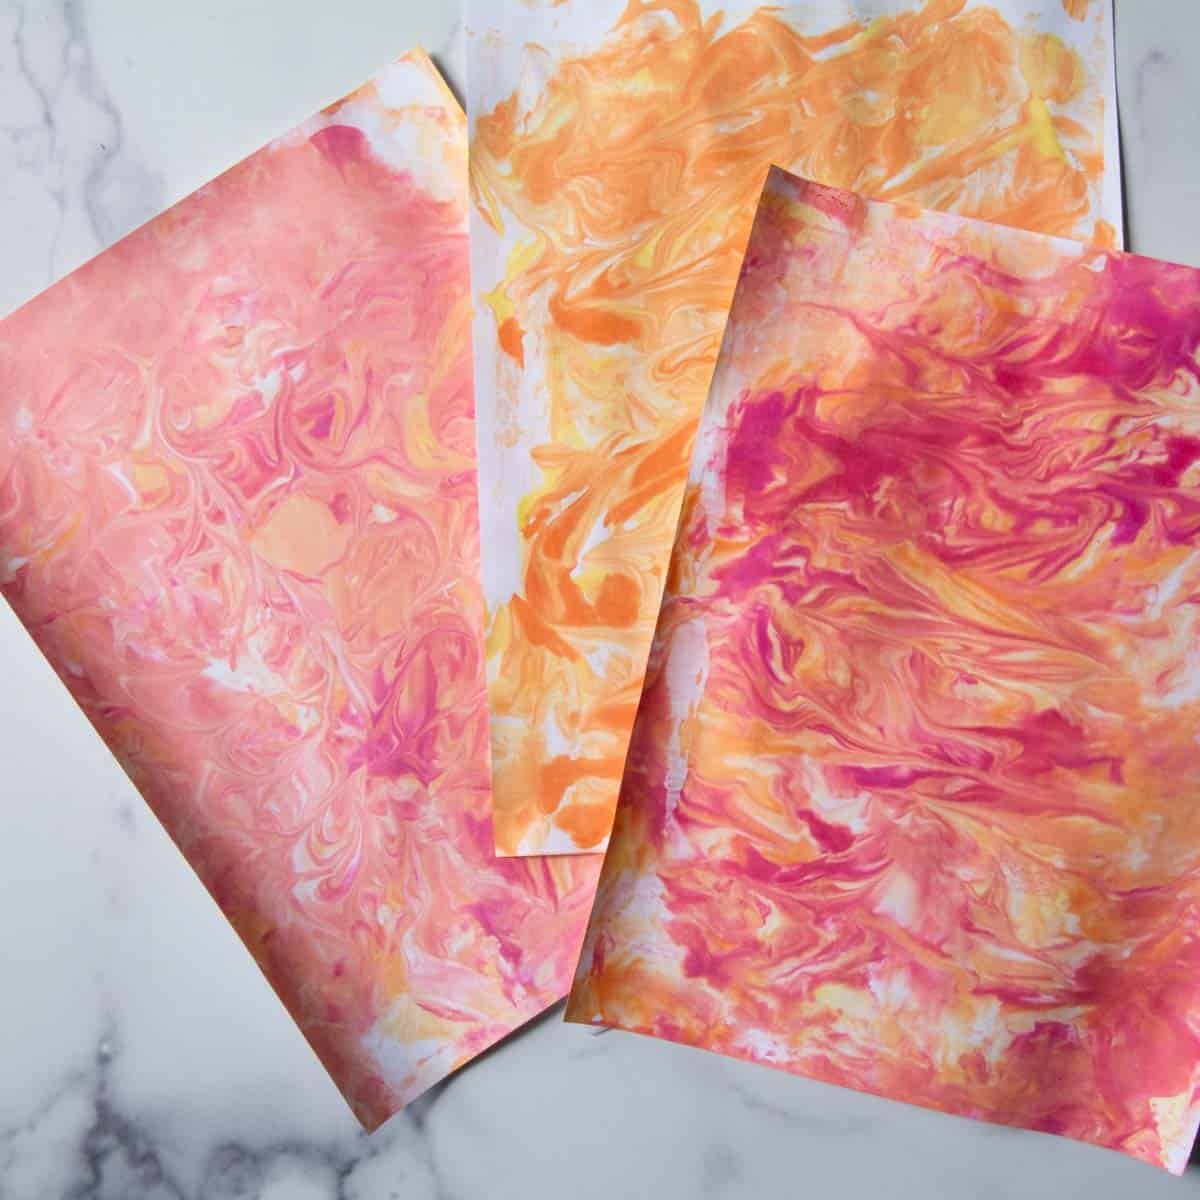
Watercolor vs. Acrylic Paint
The main reason we recommend liquid watercolor or food coloring is that it scrapes off more easily and does not leave lines in the design. In the picture below, you can see the really neat marble effect that you can achieve using warm-colored liquid paints.
Tips
- PICKING COLORS – Experiment with colors, but you will want to choose colors that mix well together. Avoid using opposite colors like green and red.
- DON’T OVERMIX – The more you swirl the shaving cream and paint, the more the paint mixes and becomes one color.
- SHAVING CREAM – don’t buy shaving cream with gel in it. Basic, plain old shaving cream is what you need.
Follow us on Pinterest, YouTube & Facebook for more free art and craft ideas!
Painting FAQs
More Kid Painting Projects
- Easy Jackson Pollock-Inspired Straw Paintings
- Glue and Watercolor Resist Art Lesson
- How To Paint With Tissue Paper
- Easy Flower Painting For Beginners
Do you like this art project? Please give us a 5-STAR review below ⭐️⭐️⭐️⭐️⭐️ and have fun being creative with your family.
How To Make Shaving Cream Marbling Paper With Paint

Equipment
- Scraper this can be a squeegee, piece of cardboard or old credit/gift card
- Baking Sheet
- Toothpick or Pencil
- Spatula
Supplies
- Liquid Watercolor Paint recommended
- Shaving Cream (not gel) the cheapest will do
- Heavy Paper Cardstock, Watercolor Paper or at least 80 lb. Drawing Paper
Instructions
- Add shaving cream to a tray or baking sheet.
- Spread shaving cream out to a thin layer.
- Add drops of paint or food coloring to the shaving cream.
- Swirl paint and shaving cream around with a toothpick or old fork.
- Lay paper on the mixture and lightly press the back of the paper.
- Carefully pull up paper.
- Use an old gift card or credit card to scrape away the shaving cream and paint.
- Let your awesome marbled paper dry.
Video
Notes
- Food Coloring, Acrylic Paint or Liquid Watercolor will work to help dye the shaving cream.
- Liquid watercolor paints will give you the most vibrant colors. Do not dilute them.
- You can repeat printing from the same mixture as many times as you like.
- Experiment with colors, but try to pick colors that you know will mix well together.