Unique Tree Of Life Art Project For Creative Kids
This is one of those easy kid art project ideas that always get stunning results. Get all our tips for creating unique tree-of-life paintings with 2nd graders on up!
This art tutorial has been a class favorite when I have completed it with 100s of students over the years. This tutorial was originally published in November 2022 and recently updated in May 2026 with more straightforward and precise instructions and my key takeaways.
I love creating famous artist-inspired lessons for elementary students. It is always fun to hear their thoughts and ideas before actually starting to create. This lesson allows for some choice, but limiting supplies helps young children create easily.
Why You Will Love This Art Project
Questions To Ask Kids About Klimt’s Artworks
- Why do you think Klimt used a tree in his works?
- What do you notice on the branches?
- Does this look like a real tree?
- What would you add to your tree of life? Would you have a lot of branches or just a few?
- Would your tree be big or small?
What Tree of Life Painting Should I Show?
We have found over the years that the view of L’Arbre de Vie, Stoclet Frieze (The Tree Of Life, Stoclet Frieze) painting is easier to discuss with elementary-aged children. This example shows only the tree, not the people on the side, which may distract from the discussion of the tree.
You can choose to show children any painting, which lets them focus on the tree rather than on what is happening with the people.
Supplies You’ll Need
Disclosure: This post may contain affiliate links when clicked, we may earn a small commission at no additional cost to you. Read our full privacy policy.
You can find the full list of supplies and equipment at the end of the post.
Notes About Supplies
- Do not try to use copy paper when creating shaving cream prints. You must use heavier paper to avoid ripping.
- Liquid watercolor works best for a cool marbling effect.
Tree of Life Art Project Tutorial
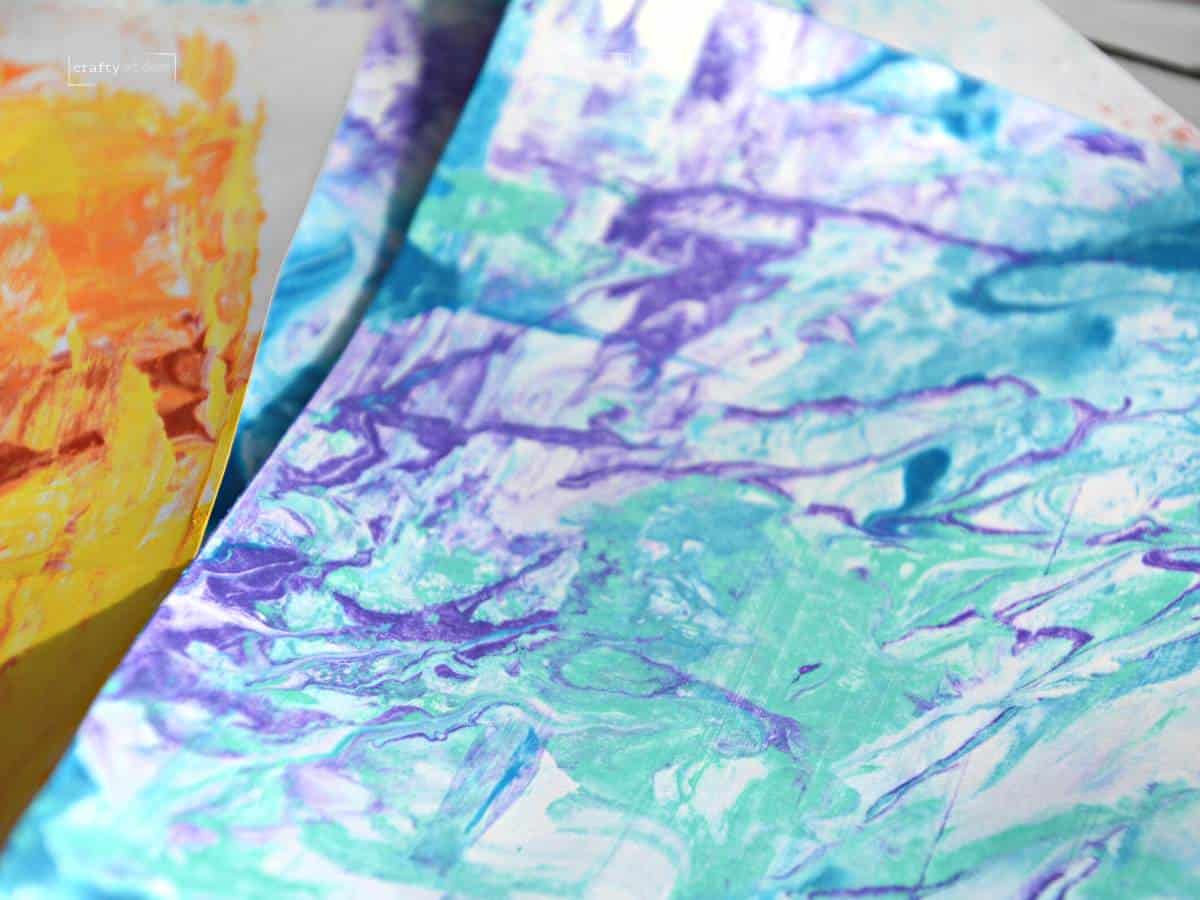
Step 1: Create Shaving Marble Cream Background
We have a detailed post on how to make shaving cream art papers. But here are the basic steps.
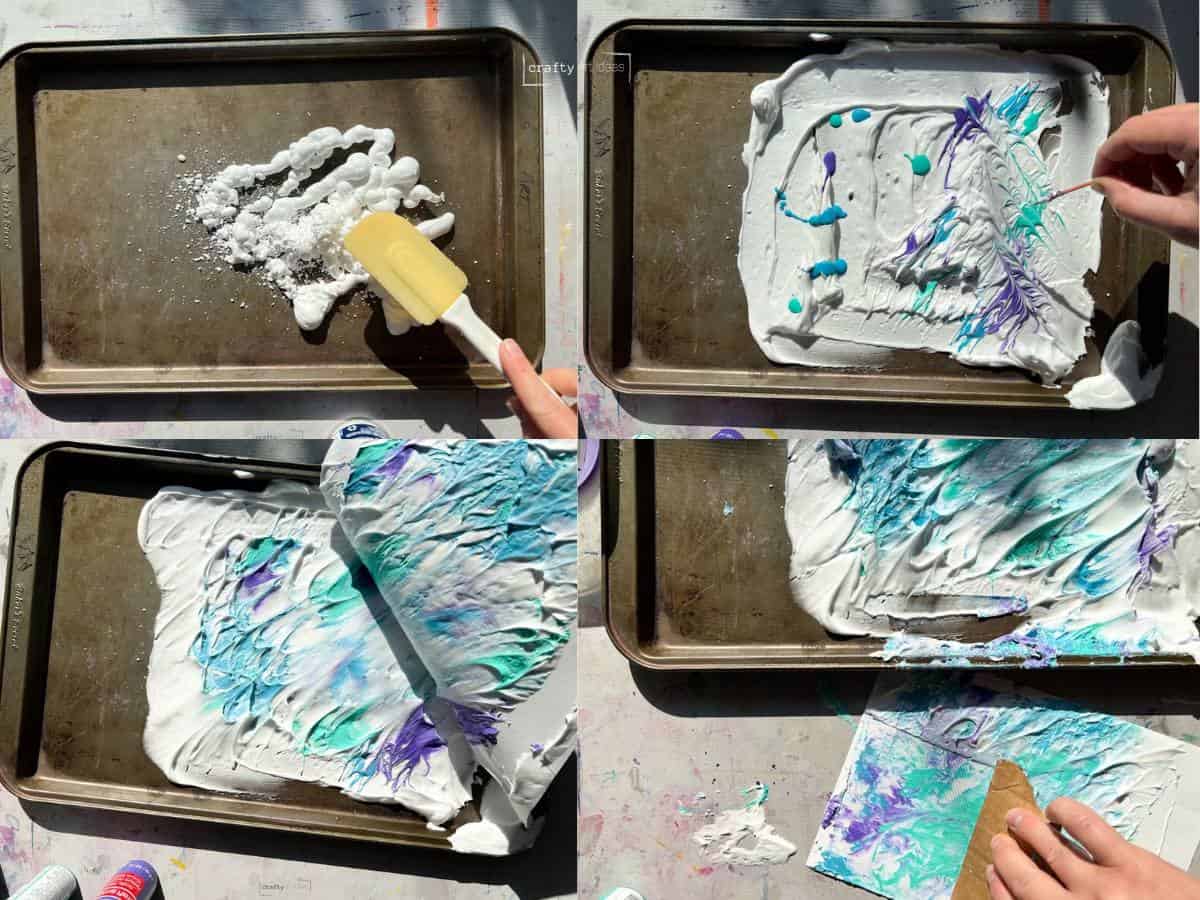
- Place shaving cream on a cookie sheet or tray.
- Smooth out with a spatula or cardboard so you have a thin layer bigger than your paper.
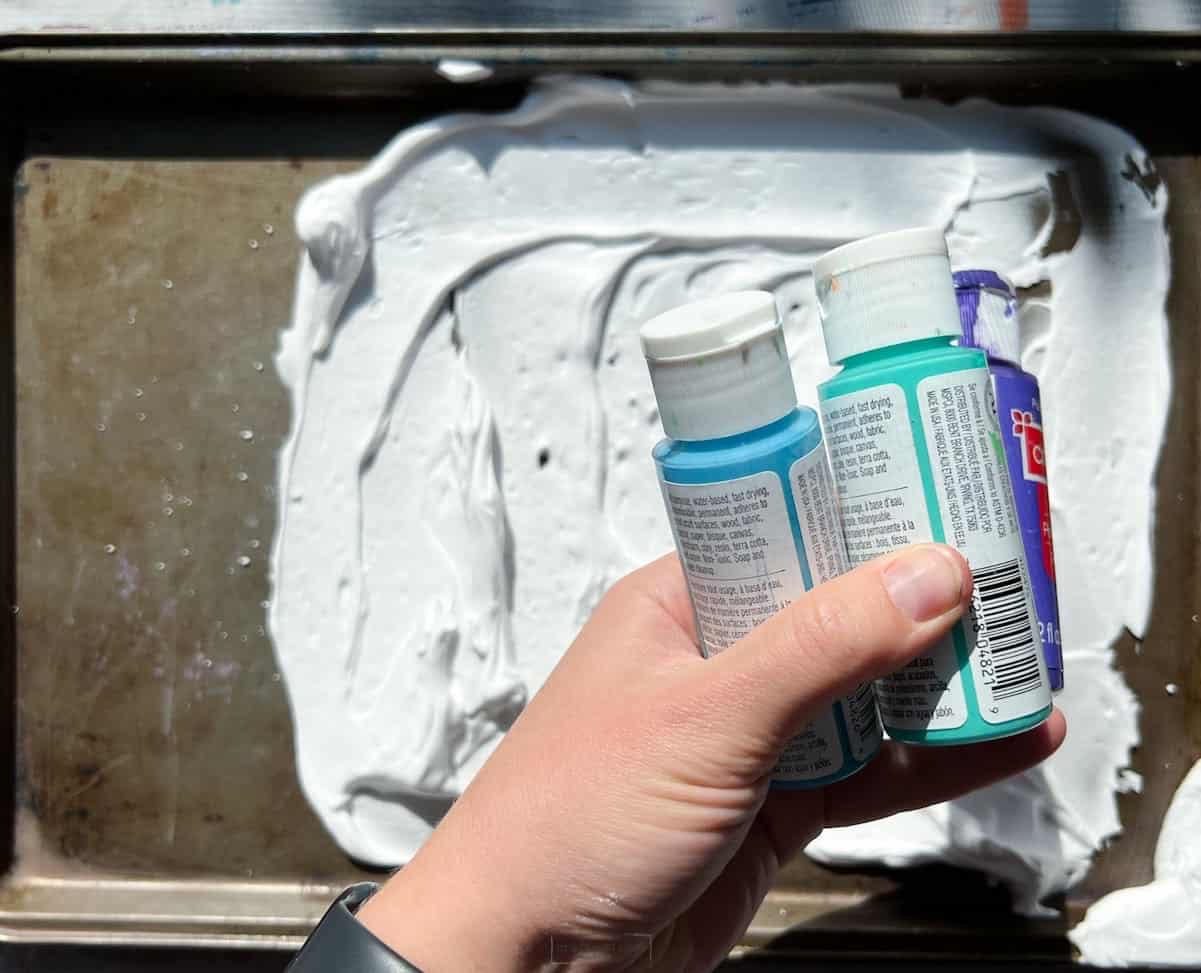
- Add drops of acrylic or watercolor paint.
- Swirl with a toothpick.
- Print your white paper.
- Remove and scrape off the paint and shaving cream mixture.
Step 2: Let the Shaving Cream Paper Background Dry
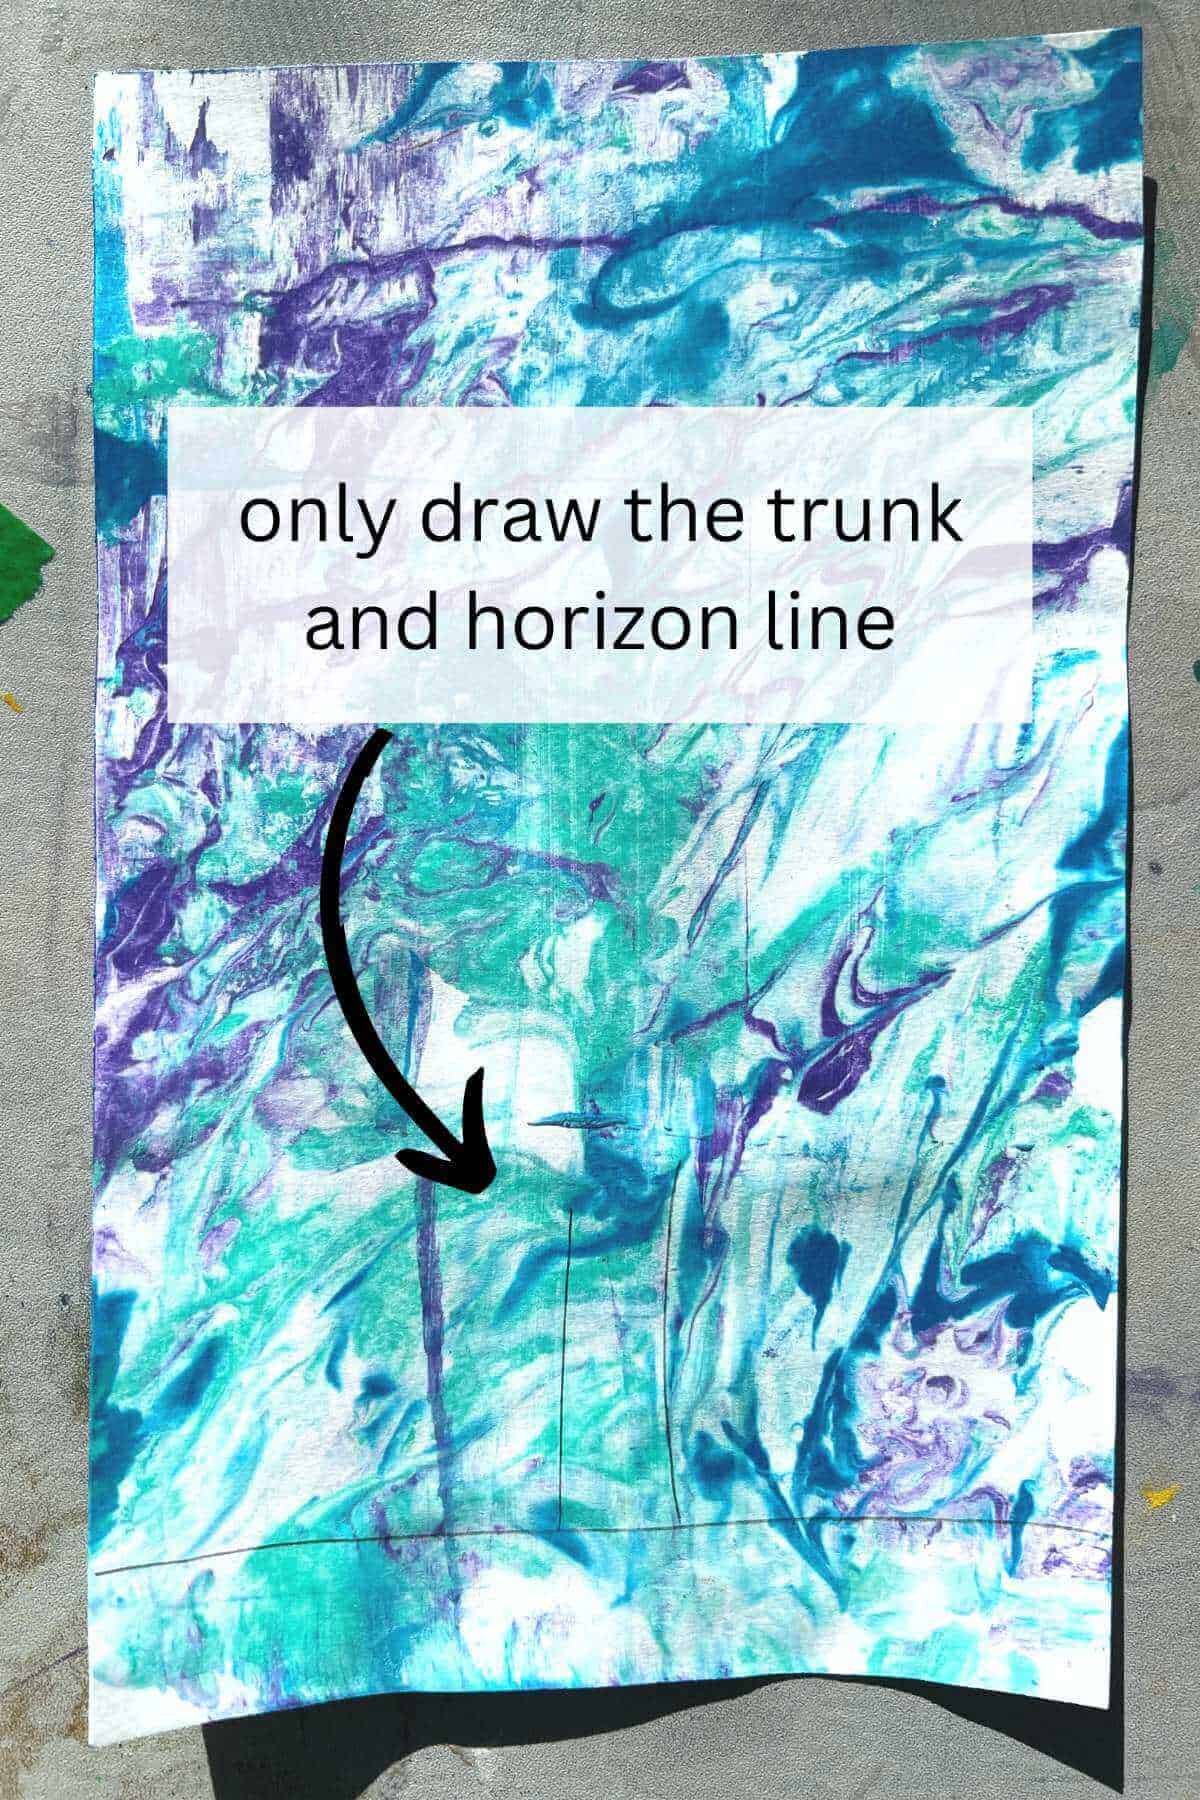
Step 3: Draw Horizon Line and Tree Truck
Add a horizon line with a pencil about two inches up from the bottom of the page. Draw only the tree trunk.
ART TEACHER TIP – It is easier for children to just paint the swirls than to try to trace their drawings. They always make them too complicated, and it becomes too hard to paint.
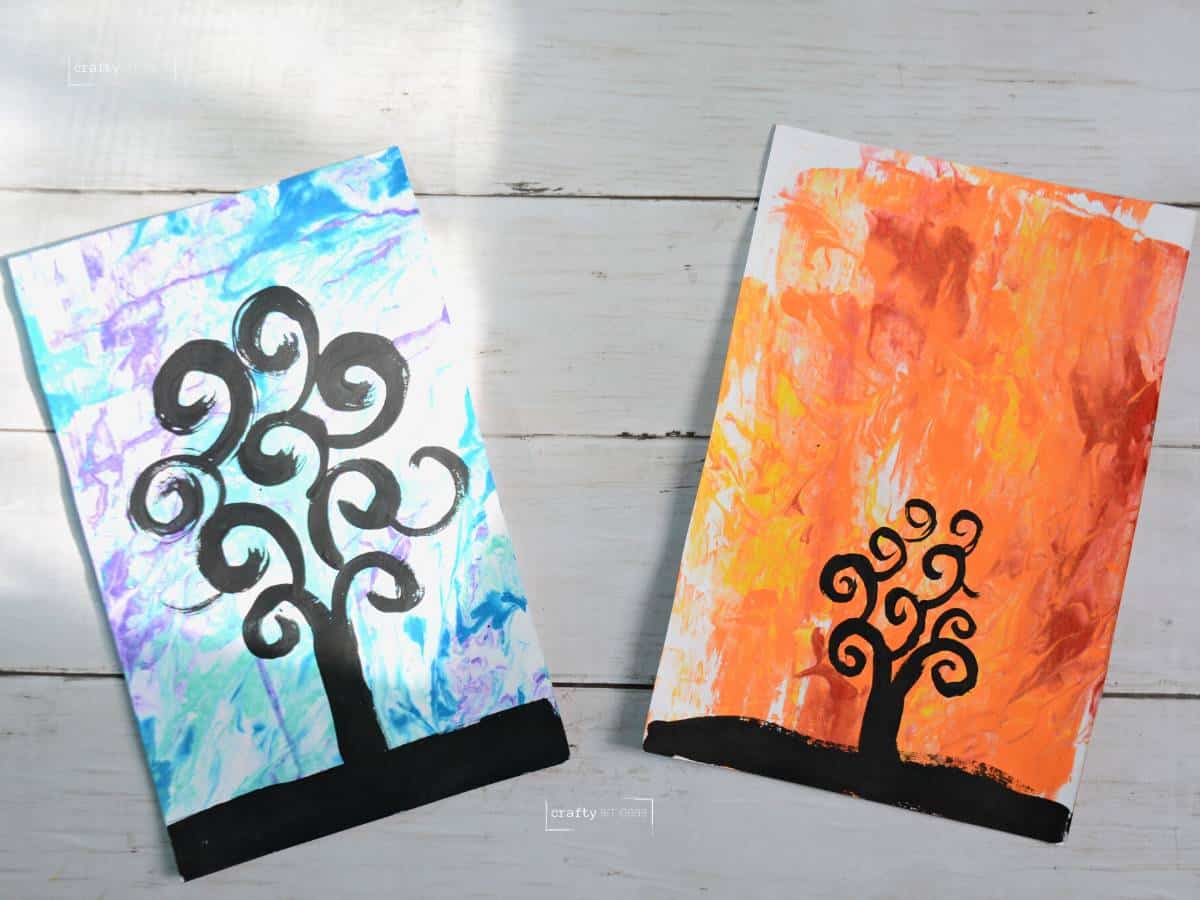
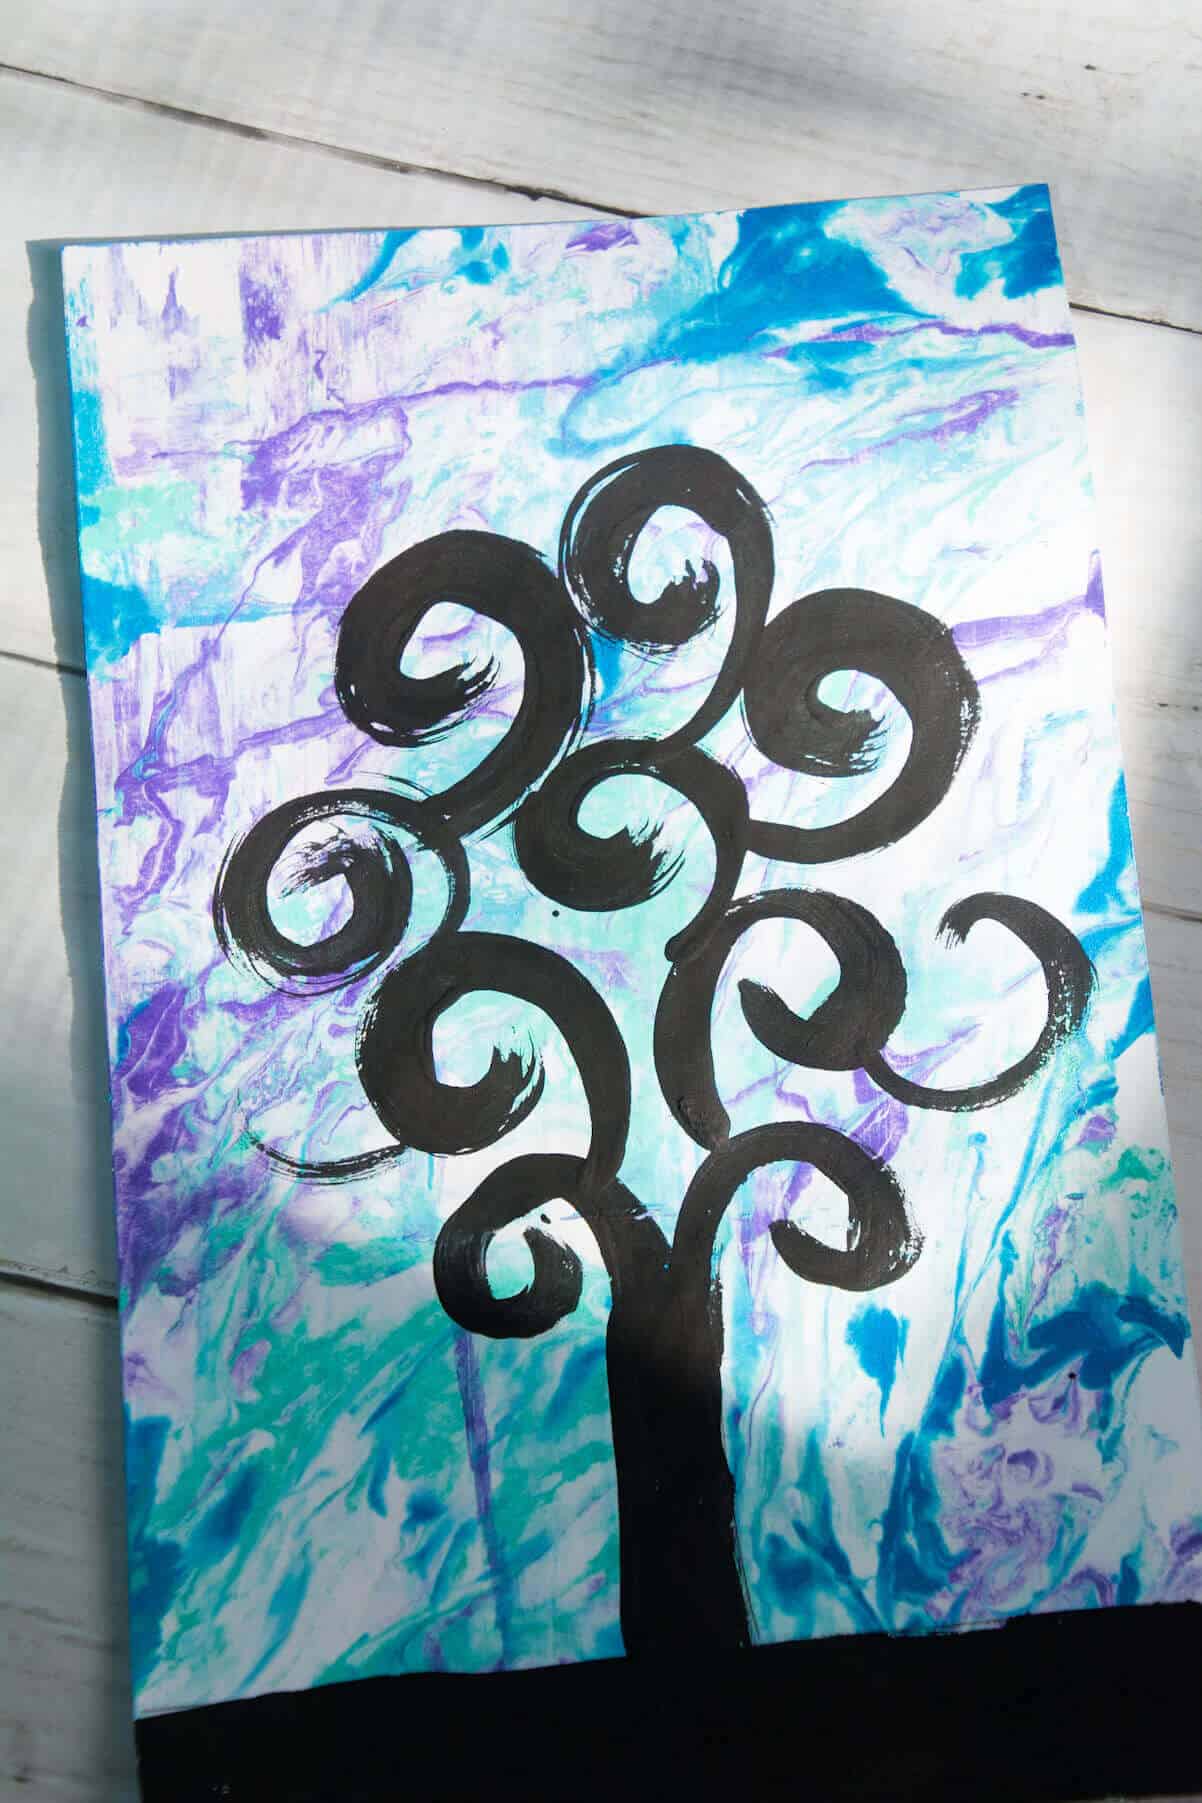
Step 4: Paint Black Silhouette
Use black tempera paint to paint the bottom of the ground, tree trunk and swirly tree branches of their choosing.
Tips
- ANY SIZE TREE WORKS – Some of my favorite trees are the small ones that children choose to paint. In order to get a variety of trees that offer children brushes of different sizes to paint with.
- KEEP HAND LIFTED – Demonstrate what will happen if they smear their hand across the black tempera paint. This will show kids how to keep their hands lifted when painting with thicker paint.
- SMALLER PAPER WORKS, TOO – You can make these artworks any size you want. If you need to make them as small as 6″ x 9″, children should be able to paint trees with smaller brushes.
- DON’T JUST COPY – It is so important to always allow children to make choices in their artworks. In this case, it can be as simple as choosing the sky colors and how they paint their tree.
Art Lesson FAQs
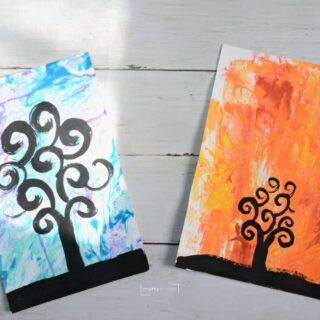
On the first day of this project, I would consider setting up a station where students can print with you. You can reuse the same shaving cream for several kids. Have warm- and cool-colored bins so they can choose the colors they want for their skies.
We normally place this lesson in our second-grade curriculum, but it would work for any child in upper-elementary art classes as well.
No, you could create any type of background before painting a silhouette. Watercolor paint, markers, or tempera paint would be good options if you do not want to print from shaving cream.
In every class, some kid will want to add leaves. It is up to you, but if they do, I would use the smallest brush possible to not take away from the rest of the Tree Of Life painting.
Follow us on Pinterest, YouTube & Facebook for more free art and craft ideas!
More 2nd and 3rd Grade Art Lessons
Here are a few more art projects that we have had great success with completing with children who are around 7-9 years old. All of these lessons would be great for 2nd grade and above.
Beginner artists will love exploring all parts of this easy Tree of Life art project! Teachers and children alike will be amazed at the stunning results.
Do you like this art project? Please give us a 5-STAR review below ⭐️⭐️⭐️⭐️⭐️ and have fun being creative with your family.
Tree Of Life Art Project
Equipment
- Paint Palette or Plate
Supplies
For Shaving Cream Prints
- Shaving Cream Liquid Watercolor or Acrylic Paint
- Cardboard Scraper
- Tray, Bin or Cookie Sheet
- 1 piece 9" x 12" Heavy White Drawing Paper, Tagboard or Watercolor Paper
For Painting Tree Silouhettes
- Black Tempera Paint
Instructions
- Place shaving cream on a cookie sheet or tray.
- Smooth out with a spatula or cardboard so you have a thin layer bigger than your paper.
- Add drops of acrylic or watercolor paint.
- Swirl with a toothpick.
- Print your white paper.
- Remove and scrape off the paint and shaving cream mixture.
- Let paper marbled paper dry.
- Add a horizon line with a pencil about two inches up from the bottom of the page. Draw only the tree trunk.
- Use black tempera paint to paint the bottom of the ground, tree trunk and swirly tree branches of their choosing.
- Let the paintings fully dry.
Notes
- It is easier for children to just paint the swirly branches than try to trace their drawings. They always make them too complicated and it becomes too hard to paint.
- Some of my favorite trees are the small ones children chose to paint. In order to get a variety of trees offer children different-sized brushes to paint with.
- Our favorite way to make marbled shaving cream paper is actually with liquid watercolor paint.