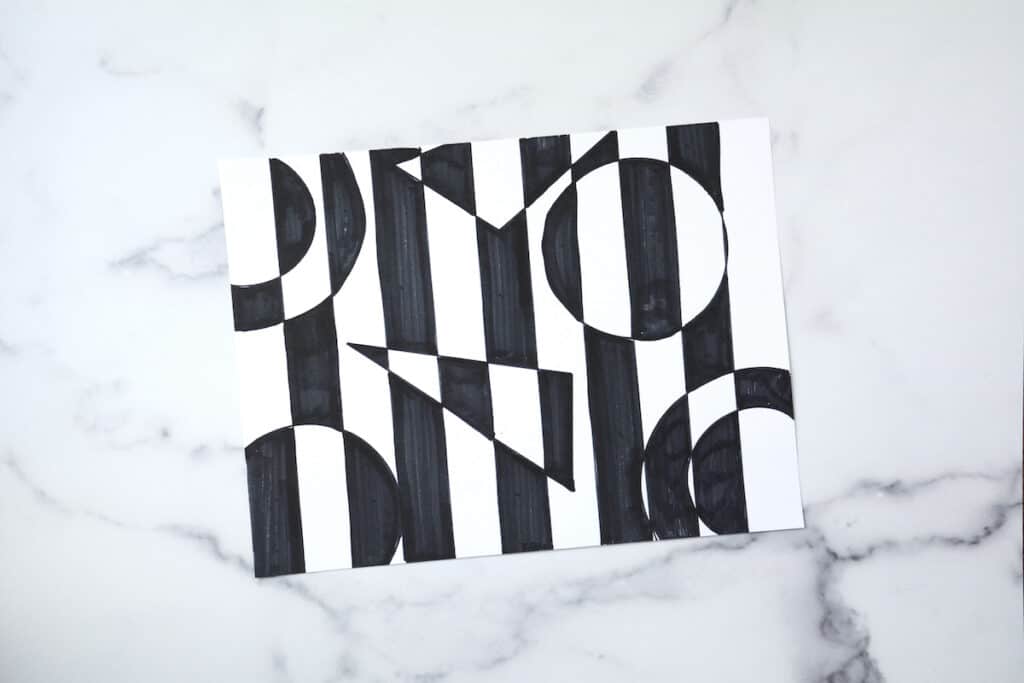
Easy Black and White Op Art Drawing Tutorial
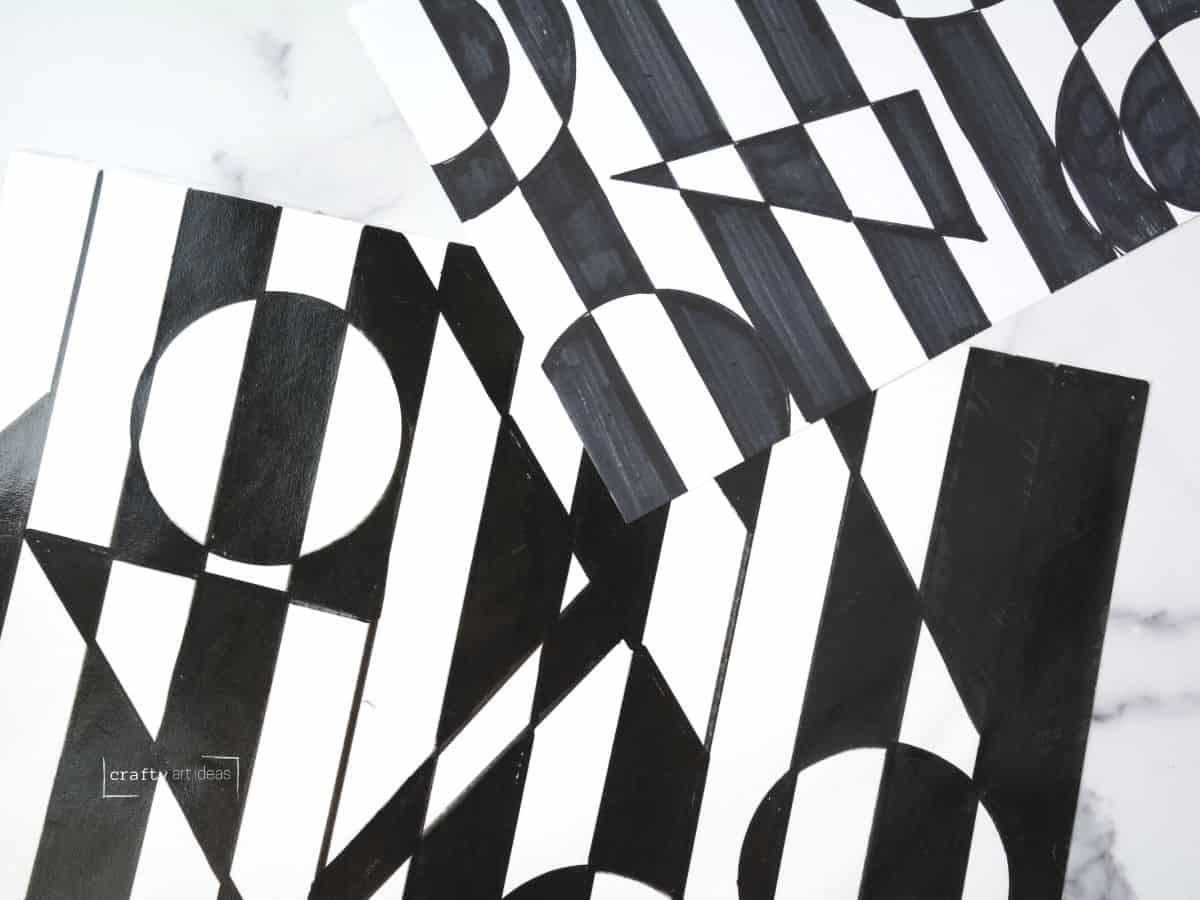
This simple step-by-step tutorial will show beginners how to create an easy Op Art design with only a few materials. Grab those markers and start drawing with us today!
This original drawing tutorial was published in January 2023. Erin recently updated this art lesson in May 2025 with key takeaways and a quick video tutorial.
We love using art movements and other famous artists as inspiration for our lessons. We are working to cover a broad range of artists, from Laurel Burch to Monet. We love talking about artists with children.
Explaining Op Art To Kids
Have them guess what they think “Op” stands for. They know optical illusions and understand that artists made art around this concept.
This is a great time to help explain what an art movement is. We liked to explain to kids that it would be like 4 of them realized they were all making art with the same style and ideas in the 1960s.
Artist Inspiration
Bridget Riley is best known for her black-and-white images that appear to move or blur together.
Our Favorite Riley Artworks
- Cataract 3, 1967
- Blaze, 1964.
Analyzing and Discussing
Look at a variety of artworks from the Op art movement. Use some of the following questions to get a discussion going with children.
- Why do you think some are only black and white?
- How does the artist challenge your eye?
- If something is repeated, what happens to the shapes or sizes?
- Why would they use patterns?
- Do you like this type of art? Why or why not?
RELATED PROJECT – You can use these same discussion questions before creating this wiggly op art line drawing project, too!
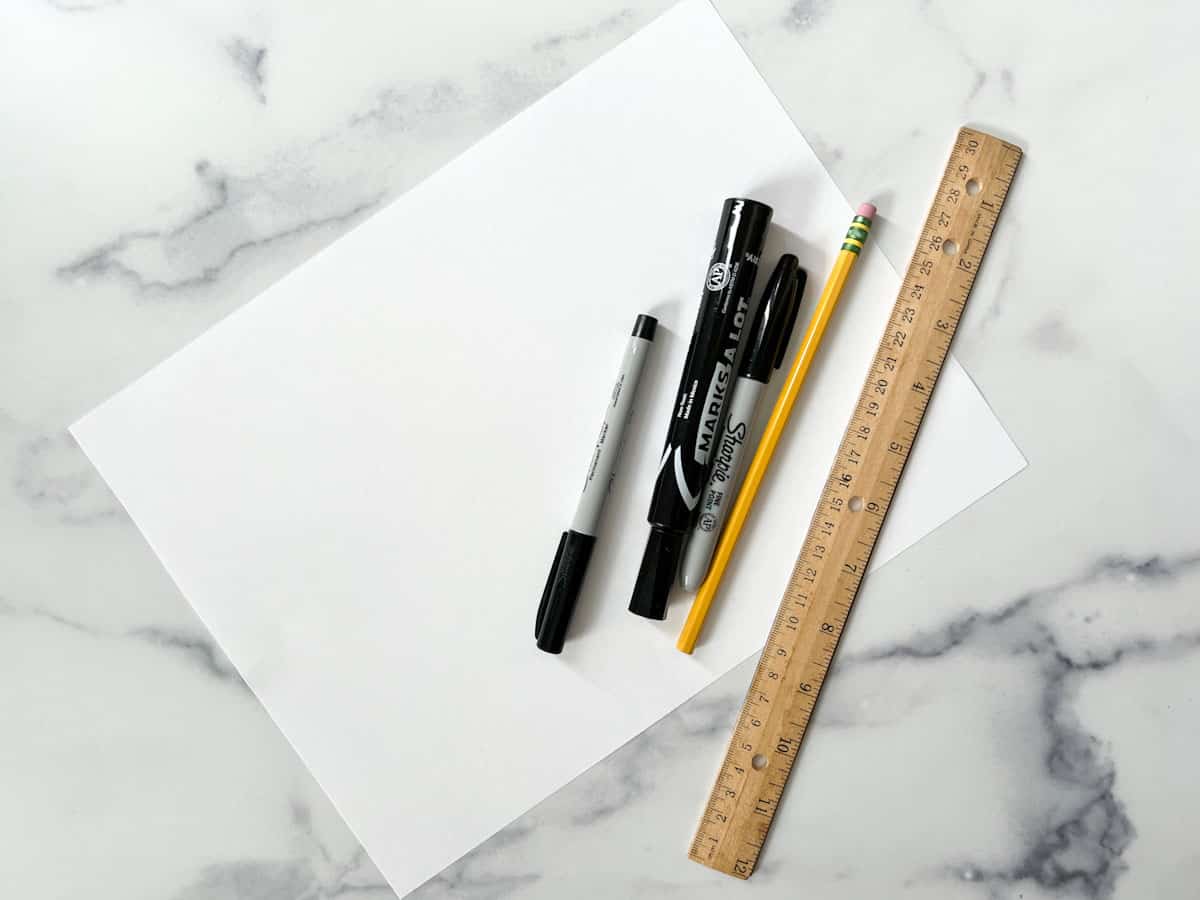
Supplies You’ll Need
Disclosure: We only recommend products we would use ourselves and all opinions expressed are our own. This post may contain affiliate links when clicked, we may earn a small commission at no additional cost to you. Read our full privacy policy.
*We drew our example with a marker, making it easier to see, but we recommend you do your Op Art drawing with a pencil first.
Op Art Drawing Tutorial
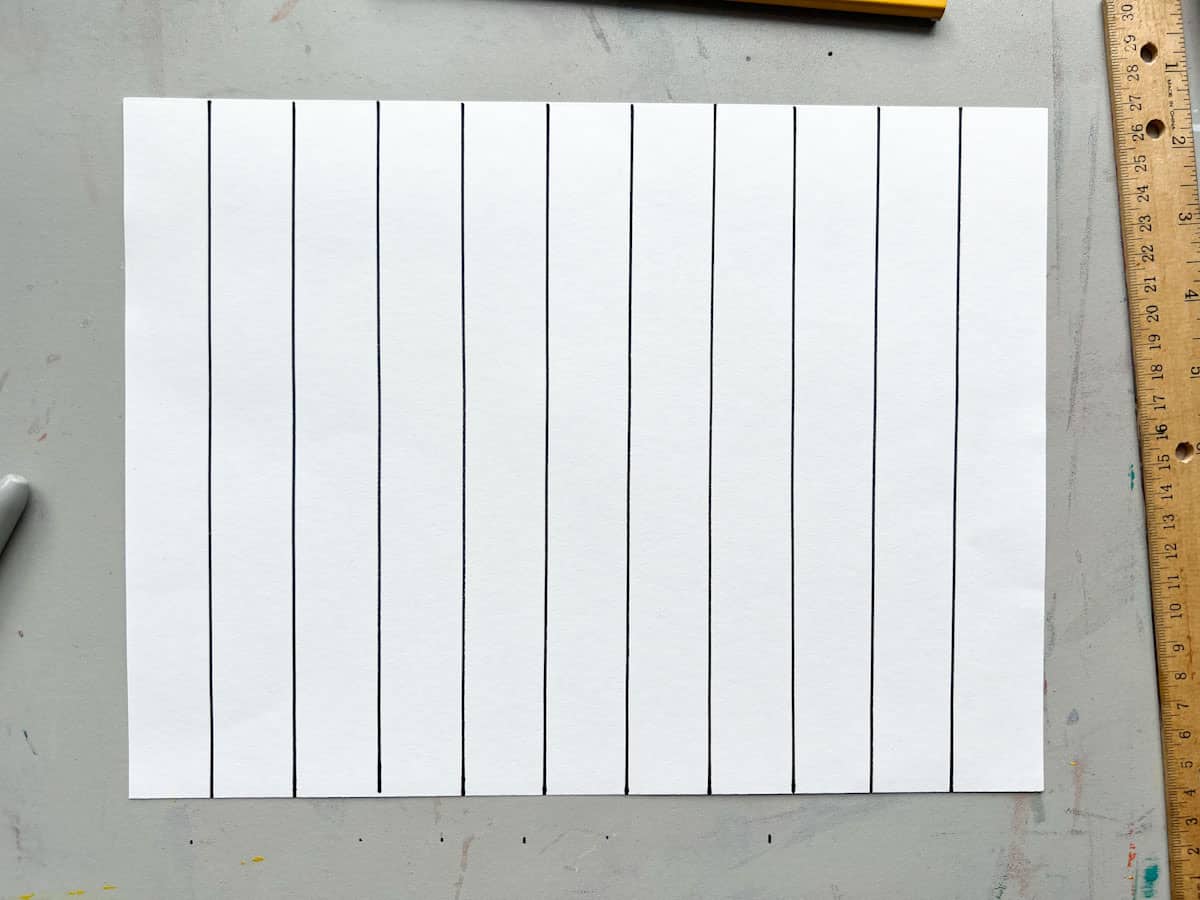
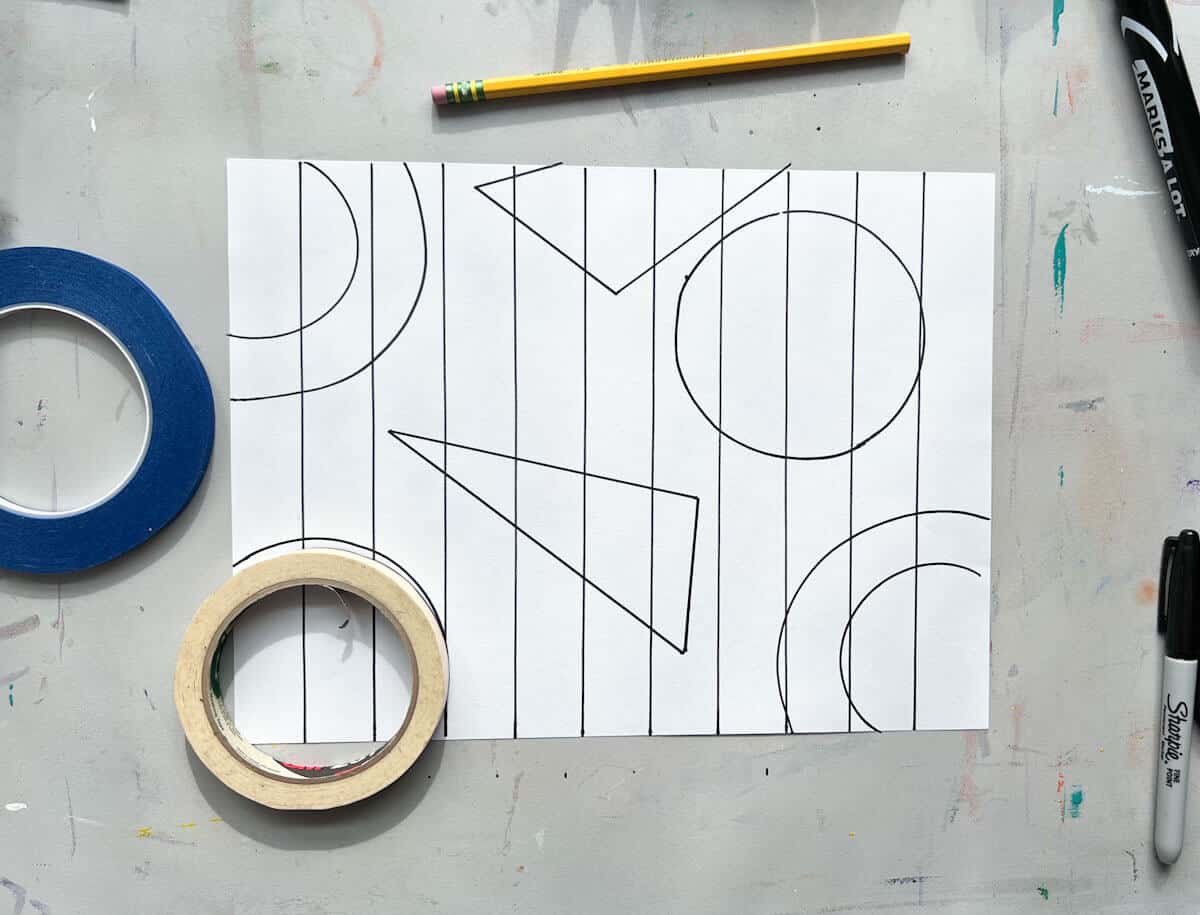
Step 1: Draw Equally Spaced Lines Across The Page
Use the ruler’s width and start on one edge. Line the ruler up to get straight lines. Sketch a light line across. Repeat until the drawing has vertical lines extending across the paper.
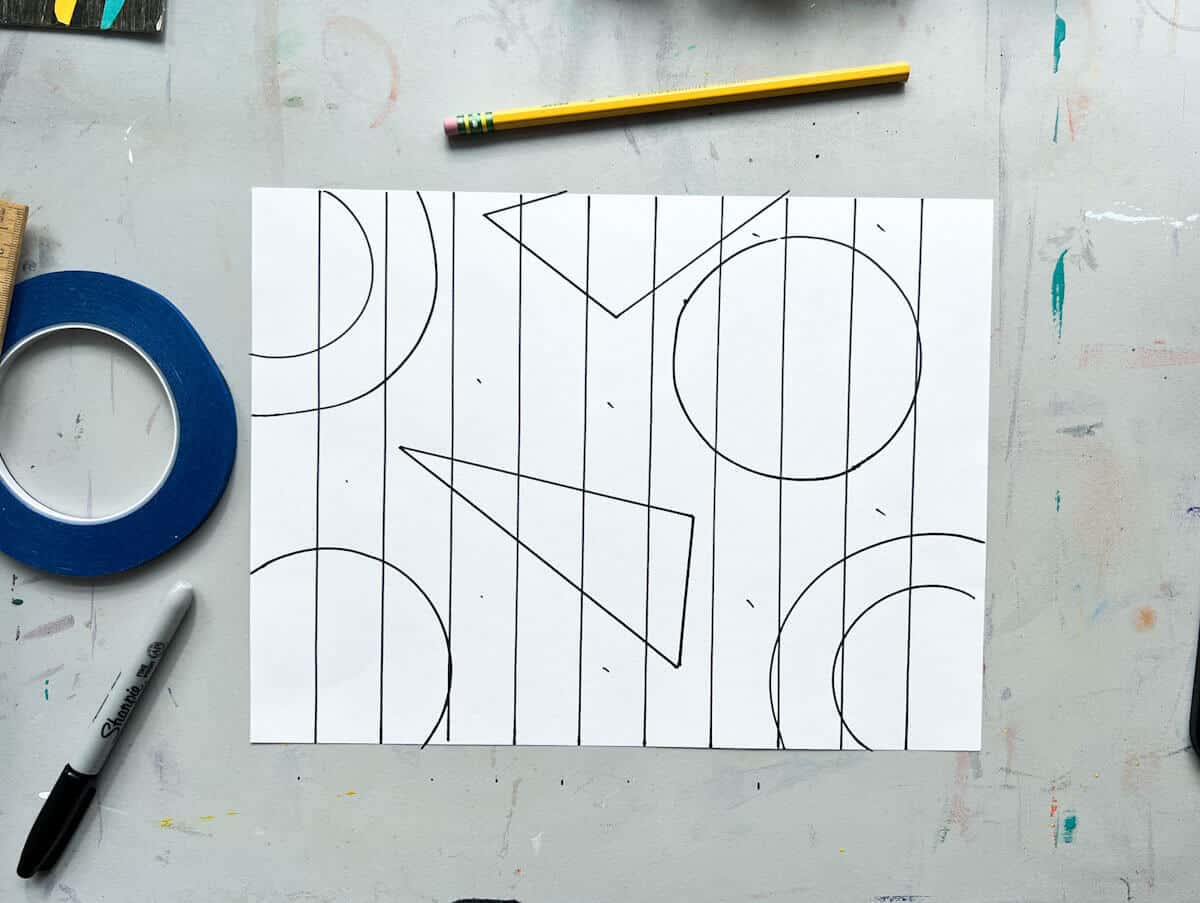
Step 2: Draw 5-7 Shapes
You can use your ruler, freehand or trace other medium-sized shapes. You can see that we used a tape roll to get our circular shapes in our project.
Step 3: Mark Background Shapes To Color
Make a small dot or x very lightly in every other back stripe only. It would be best if you did not have any coloring inside the shapes yet.
Step 4: Color The Background Pattern
Neatly color the spots you have marked.
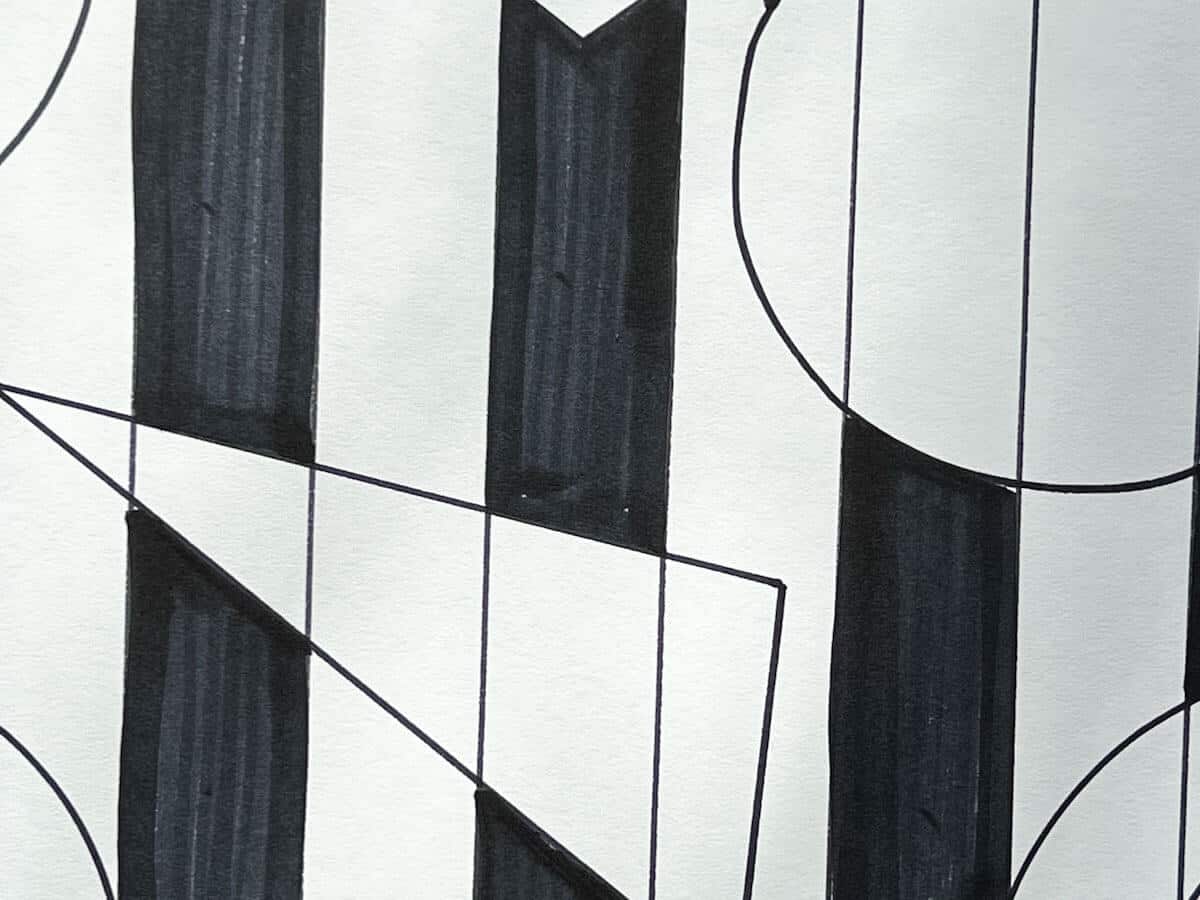
Step 5: Mark The Opposite Stripes Inside The Shapes
Okay, this is the trickiest part. If the background stripe is colored, you will leave that part white. Mark the stripes in the shapes that are in the same as the white background shapes.
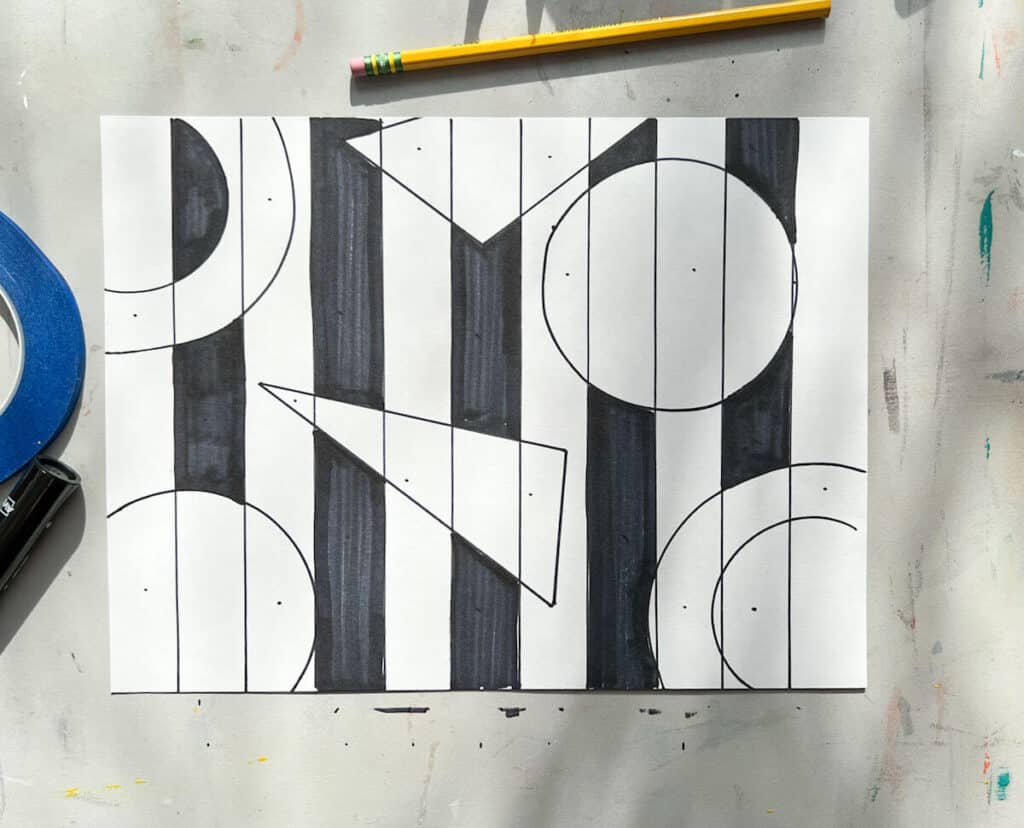
Step 6: Color In The Stripes Inside The Shapes
Tips
- This is such a great marker-drawing project for kids because it shows how to use markers neatly.
- When drawing straight lines, show children how to add equal pressure to the ruler.
- Outline the shape first, then color in one direction. You can also show how to color in “lines” to get a nice marker overlap inside the shapes.
- Use a regular-sized marker for small areas and a chisel for large ones. Yes, we know this seems very basic, but showing and discussing this with children will equal better results.
- Beginners can practice using a chisel-tip marker on a separate sheet of paper to get used to making both skinny and broader lines.
Lesson FAQs
This easy drawing is perfect for children older than eight or in 3rd grade or higher. With adult assistance, younger children could complete it; they might need help marking where to color. Adults will also like making this fun drawing and can add more detailed shapes or designs.
Op Art is the perfect way to discuss the Elements and Principles of design. By looking at examples of op art, you can discuss line, shape, pattern, contrast, balance, rhythm, movement, and more.
First, have them look at Op Art and tell you what they feel and notice. You can then explain that these paintings are meant to challenge how your eye sees by using a variety of visual effects. Artists can use repetition, shape, and color to make art look like it is moving or blurring.
Yes, complementary colors (red/green, blue/orange, and yellow/purple) would work really well because they contrast with each other so well.
Follow us on Pinterest, YouTube & Facebook for more free art and craft ideas!
Related Art Lessons
- Easy Abstract Expressionism Art Lesson: Kids will love making these!
- Easy Mandala Art For Beginners
Grab those markers and start designing your own black and white drawing.
Do you like this art project? Please give us a 5-STAR review below ⭐️⭐️⭐️⭐️⭐️ and have fun being creative with your family.
Easy Black and White Op Art Drawing

Equipment
- 1 Pencil
- 1 Ruler
Supplies
- 1 Regular Fine Tip Black Permanent Marker
- 1 Chisel Tip Black Permanent Marker
- 1 piece White Drawing Paper 12" x 18" or 9" x 12" works well
Instructions
- Draw vertical lines across the page. Use the width of the ruler and start on one edge. Line the ruler up to get straight lines. Sketch a light line across.
- Draw 5-7 shapes on top of the lines. Create balance by spacing out your composition.
- Make a small dot or x very lightly in every other background stripe only.
- Neatly color the spots you have marked. You should not have any coloring inside the shapes.
- Mark the stripes in the shapes that are the same as the white background shapes. You will be marking the opposite stripes to color inside the shapes.
- Color the marked stripes inside the shapes.
Video
Notes
- You can use your ruler, freehand or trace other medium-sized shapes. You can see that we used a tape roll to get our circular shapes in our project.
- Outline the shape first then color in one direction. You can also show how to color in “lines” to get a nice marker overlap inside the shapes.
- Use a regular-sized marker for small areas and a chisel for large ones. Yes, we know this seems very basic, but showing and discussing this will children will equal better results.
- The time to complete this drawing will depend on the size of the paper and skill level.
Love this thanks
Thanks, Janet! I am glad you love this simple drawing project!