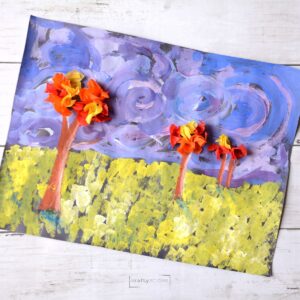
Easy Textured Landscape Painting Idea For Kids
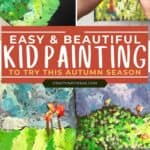
Are you looking for a fun and easy textured landscape idea? This art project is perfect for children and beginners to try. Kids will love adding details to create this easy textured landscape painting idea.
This kid art lesson has been a long-time reader favorite since it was published in November 2022. This post was recently updated in September 2025 with clearer and more concise instructions, as well as my key takeaways.
Simple kid art projects can sometimes yield the best and most creative finished paintings. Each part of this lesson is broken down so that younger children can worry about the process instead of the final product. Have fun exploring texture with this cool landscape painting.
Why You Will Love This Art Lesson
What age is this lesson appropriate for?
The examples you will see are from second graders (ages 7-8). Like any of our lessons, this painting can be modified to become more advanced for artists or simplified for younger children.
RELATED PROJECT – Get another fun tree of life painting idea, inspired by Gustav Klimt.
Analyzing Texture With Kids
The art element of texture is pretty easy for children to understand. In art, it is how something feels or appears to feel. Look at a variety of paintings and ask children to tell you how they think it feels to fully understand that it can just appear to feel a certain way.
Artists-Based Resources
We love using famous artists and artwork as inspiration for our projects. You will be amazed at the discussions and questions young artists will have.
- Vincent Van Gogh: We love watching this Art with Mati and Dada with children and looking at his artwork to discuss the different textures and feelings they see. There is also a Brian Pop Jr. on Vincent Van Gogh.
- Claude Monet: Discuss his expressive brushstrokes and textures is a great place to start your conversation. There is a 20-minute getting to know Monet cartoon kids like. Here is another great Monet art project you could try as well.
- Erin Hanson: a contemporary artist who uses bold colors and textures in her landscapes.
For this texture landscape lesson, we are going to paint a fall scene. However, you could modify this art lesson to be any time of year, depending on the trees or other colors you choose to incorporate.
Supplies You’ll Need
Disclosure: We only recommend products we would use ourselves and all opinions expressed are our own. This post may contain affiliate links when clicked, we may earn a small commission at no additional cost to you. Read our full privacy policy.
*Paint in the following colors: green, yellow, blue, purple, white, brown
Textured Landscape Painting For Kids

Step 1: Draw A Horizon Line
Add a light horizon line on the black paper. It can be straight or slightly wavy.
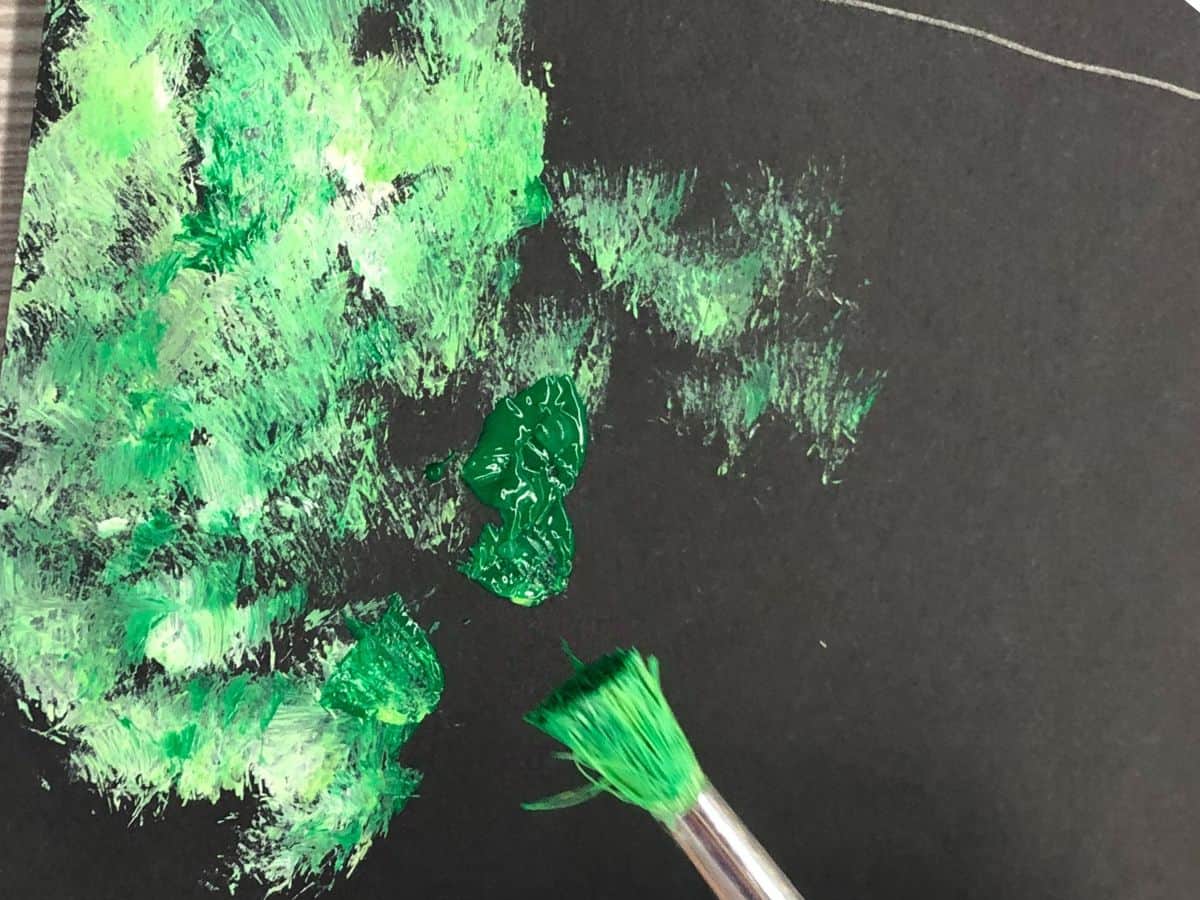
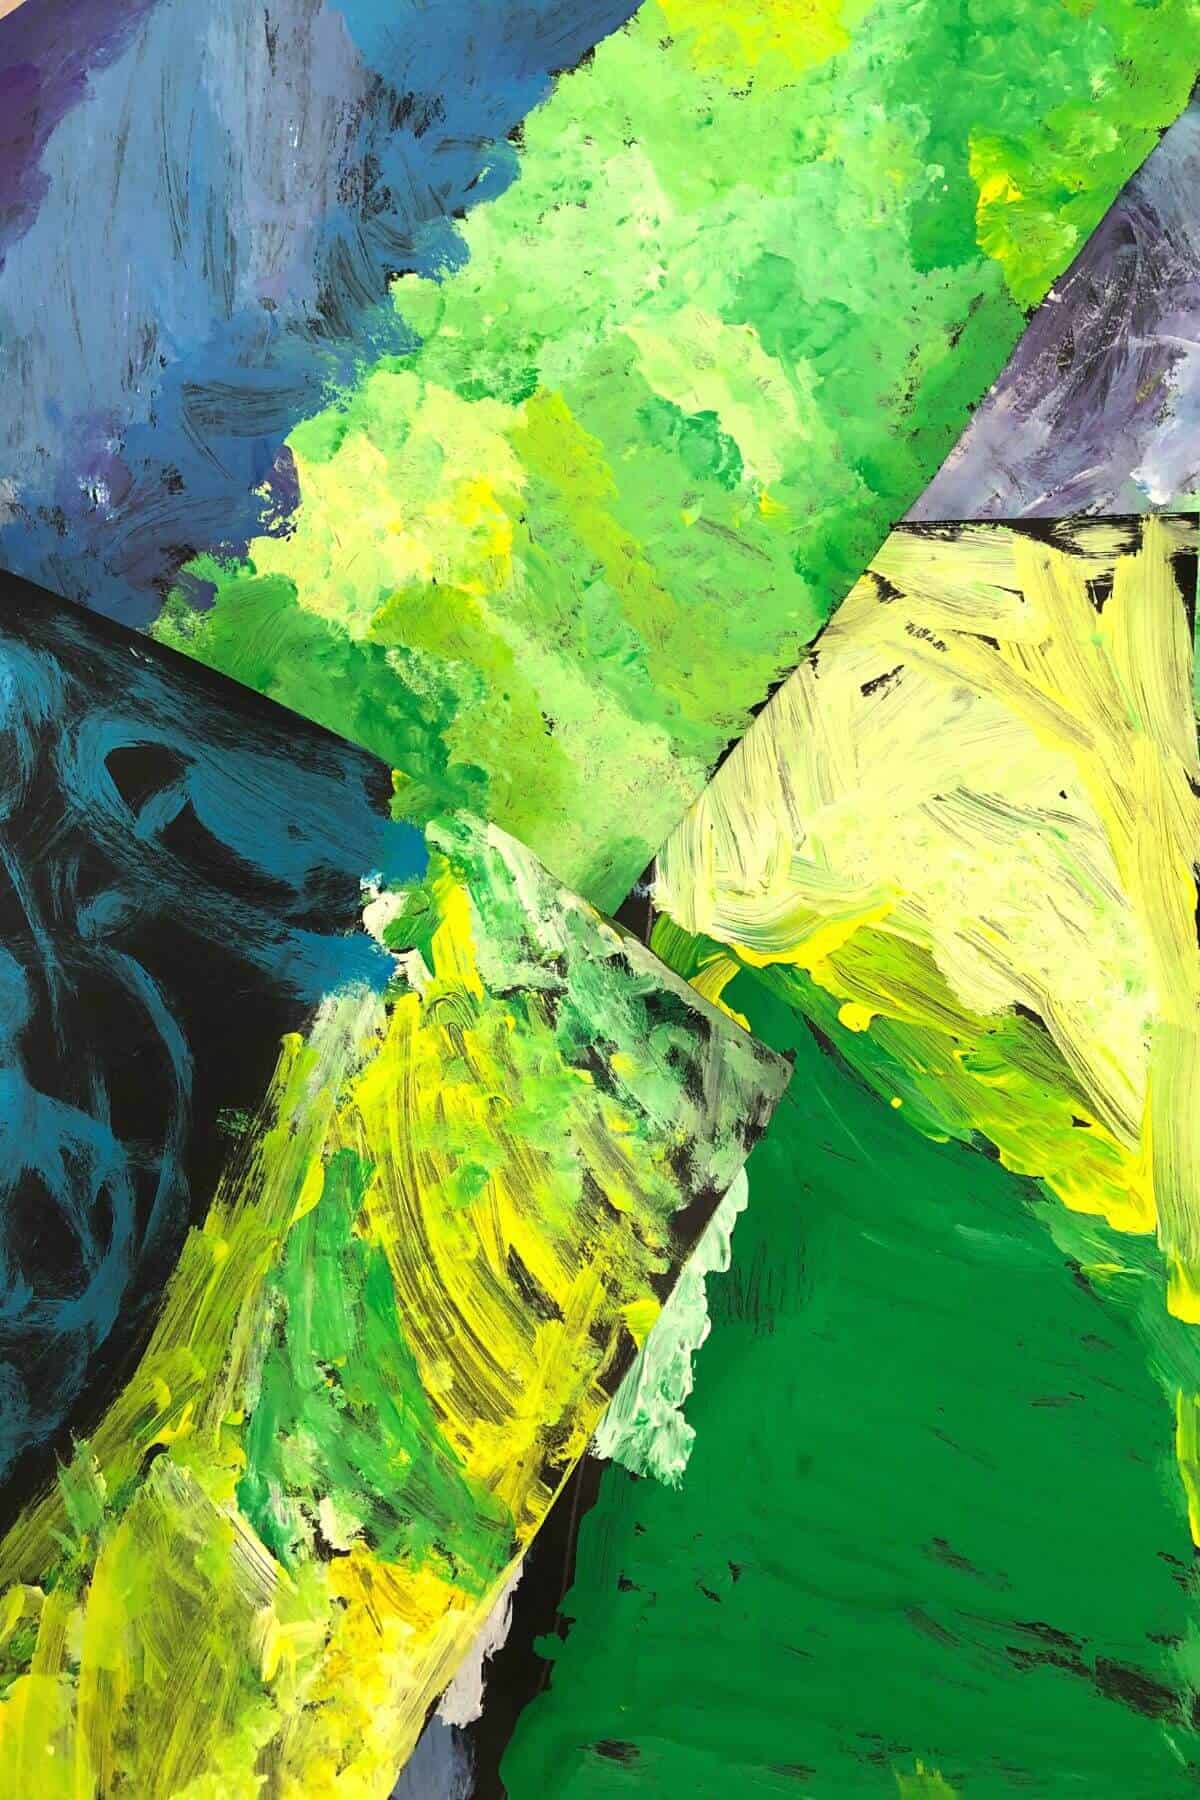
Step 2: Paint Grass
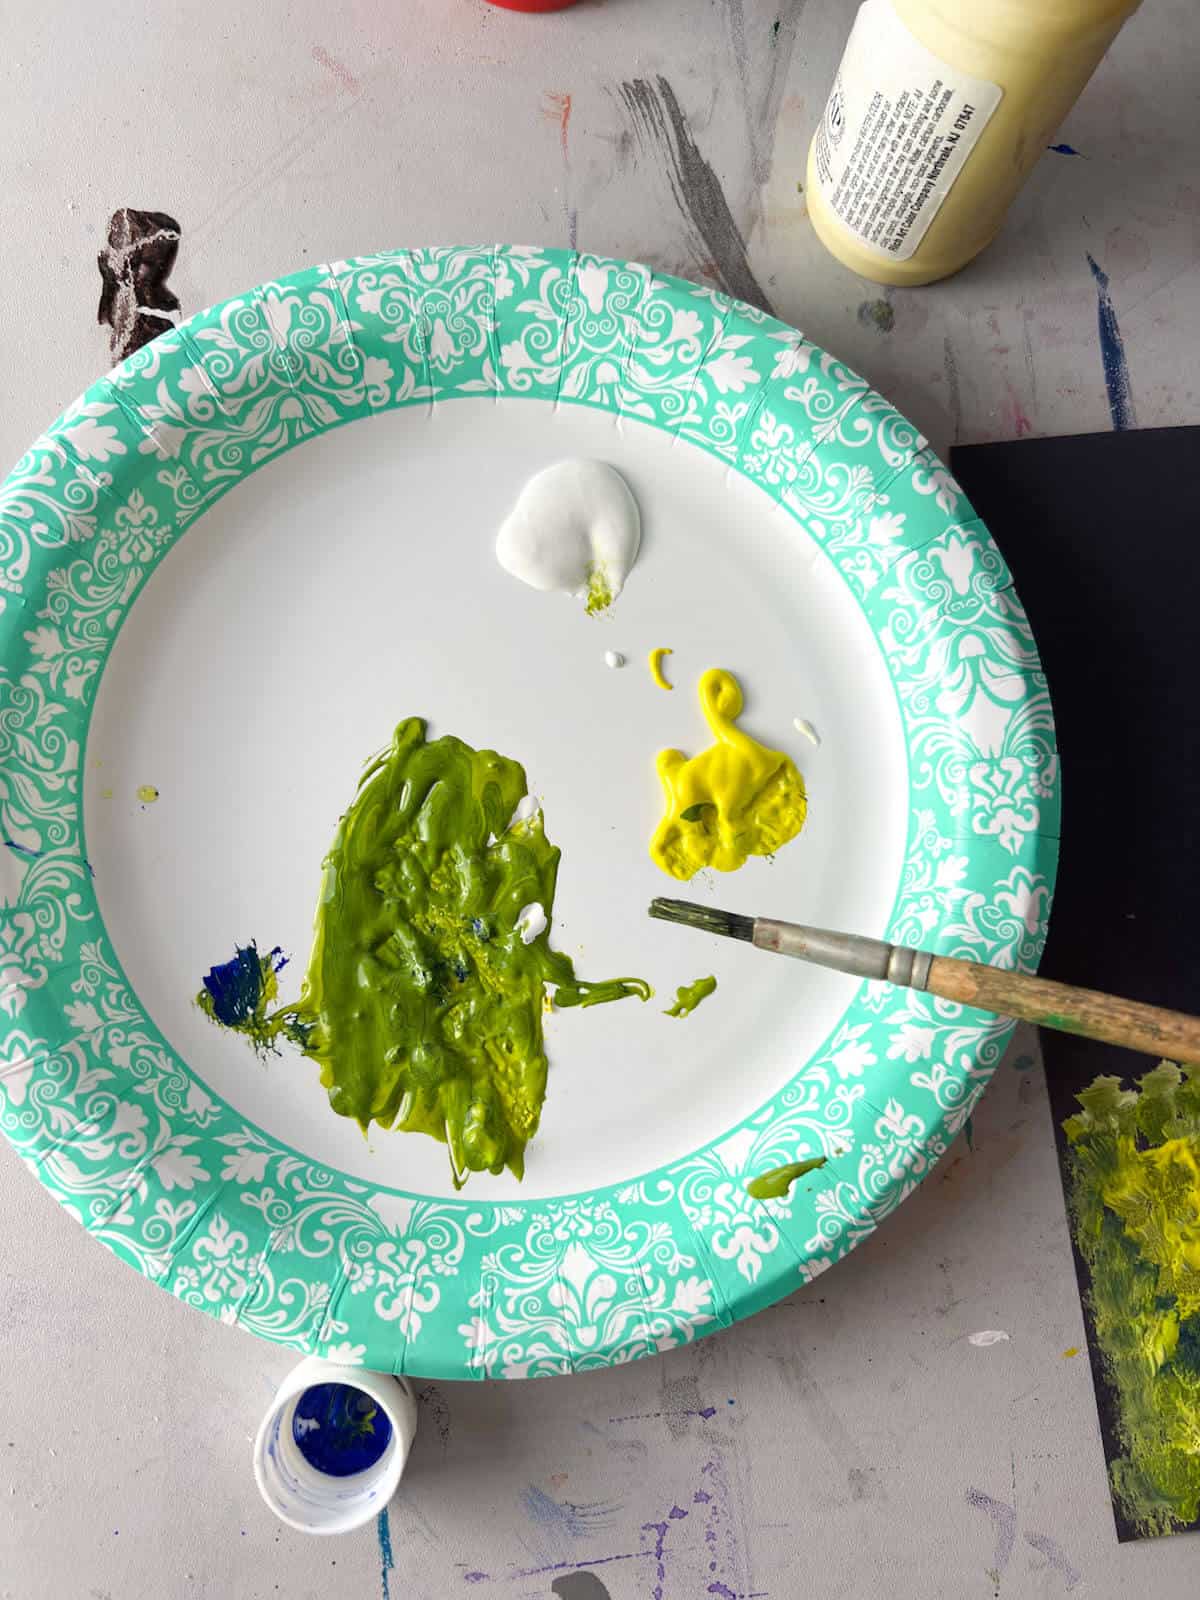
Place green, yellow and white tempera paint on a paint tray or palette. You will not give students water. Demonstrate how to pick up two different colors on the brush to dab textures for grass.
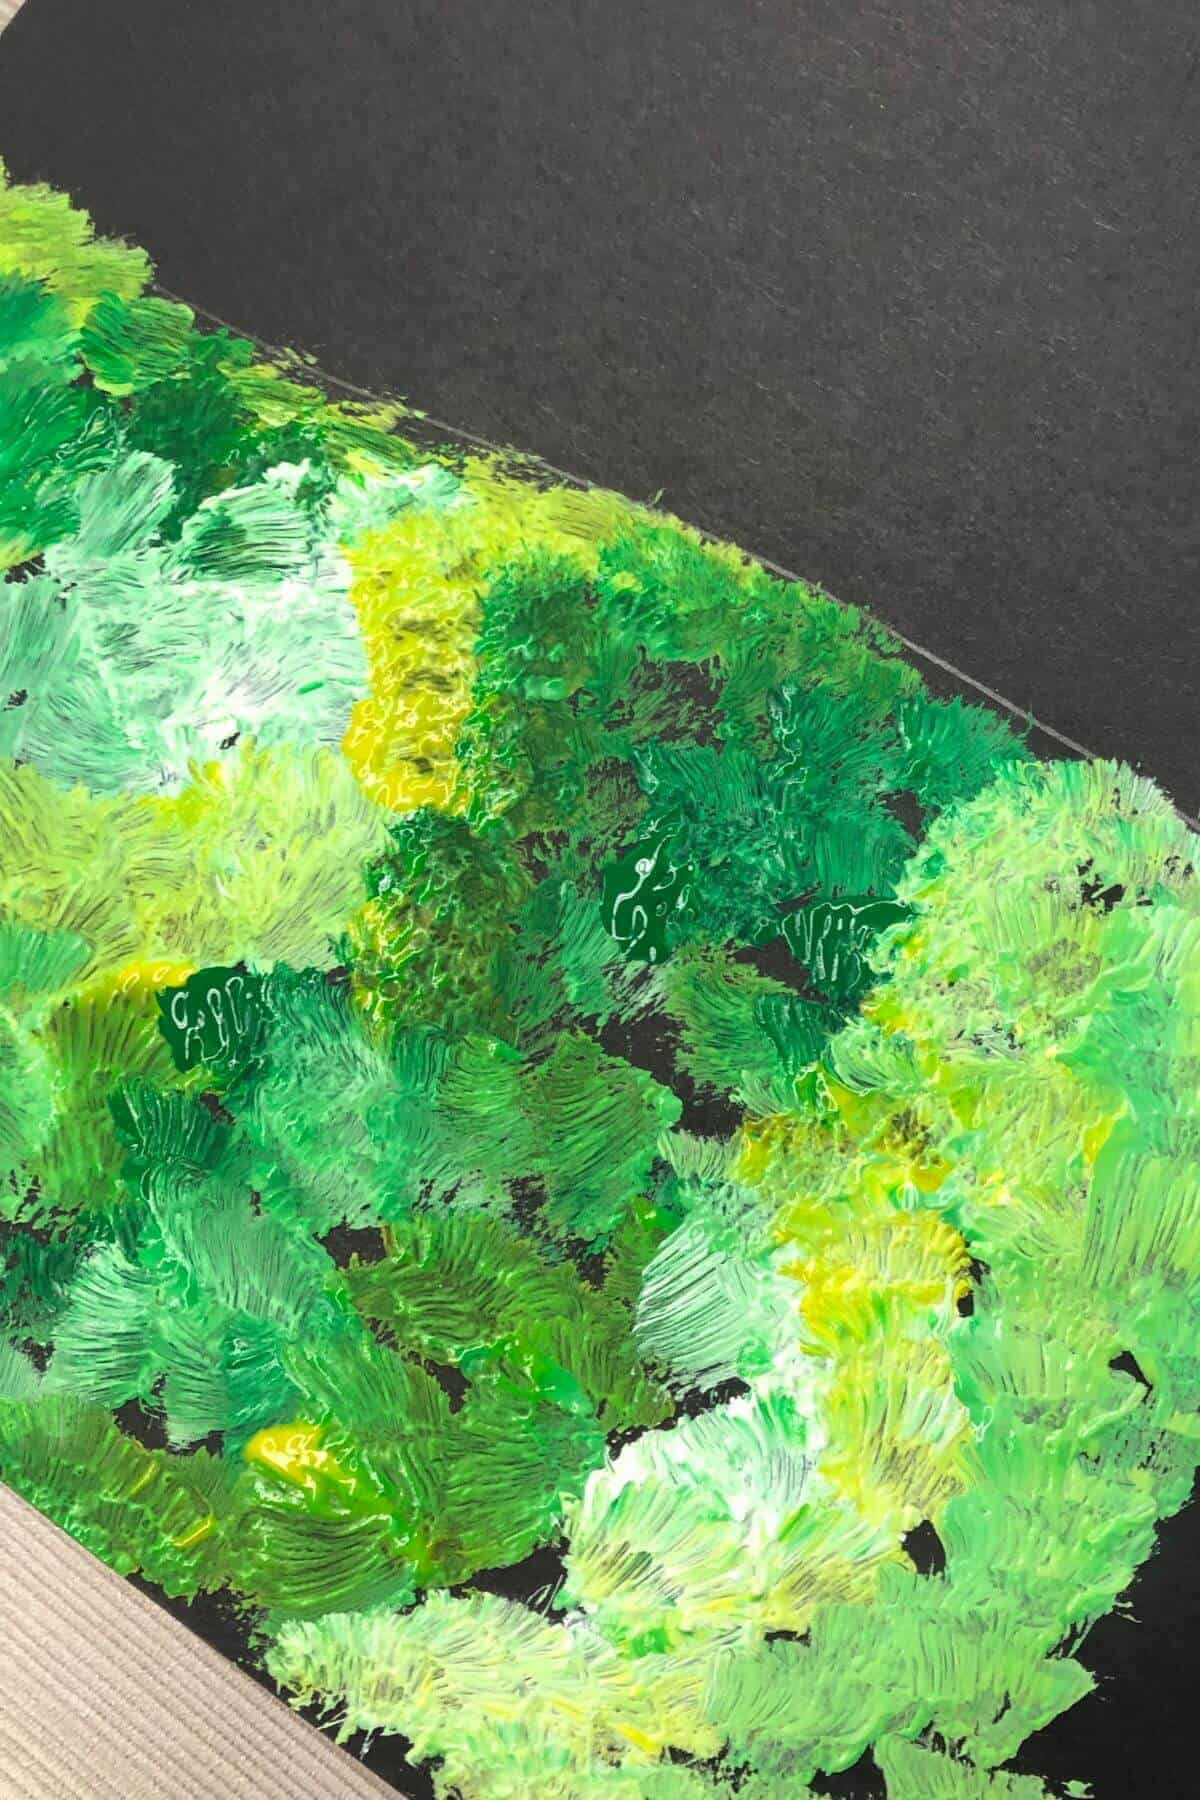
Step 3: Continue Painting
Continue until the whole grass is filled with different greens. You will be amazed at the different colors and tints your students will get. The goal should be to fill the whole space below the horizon line.
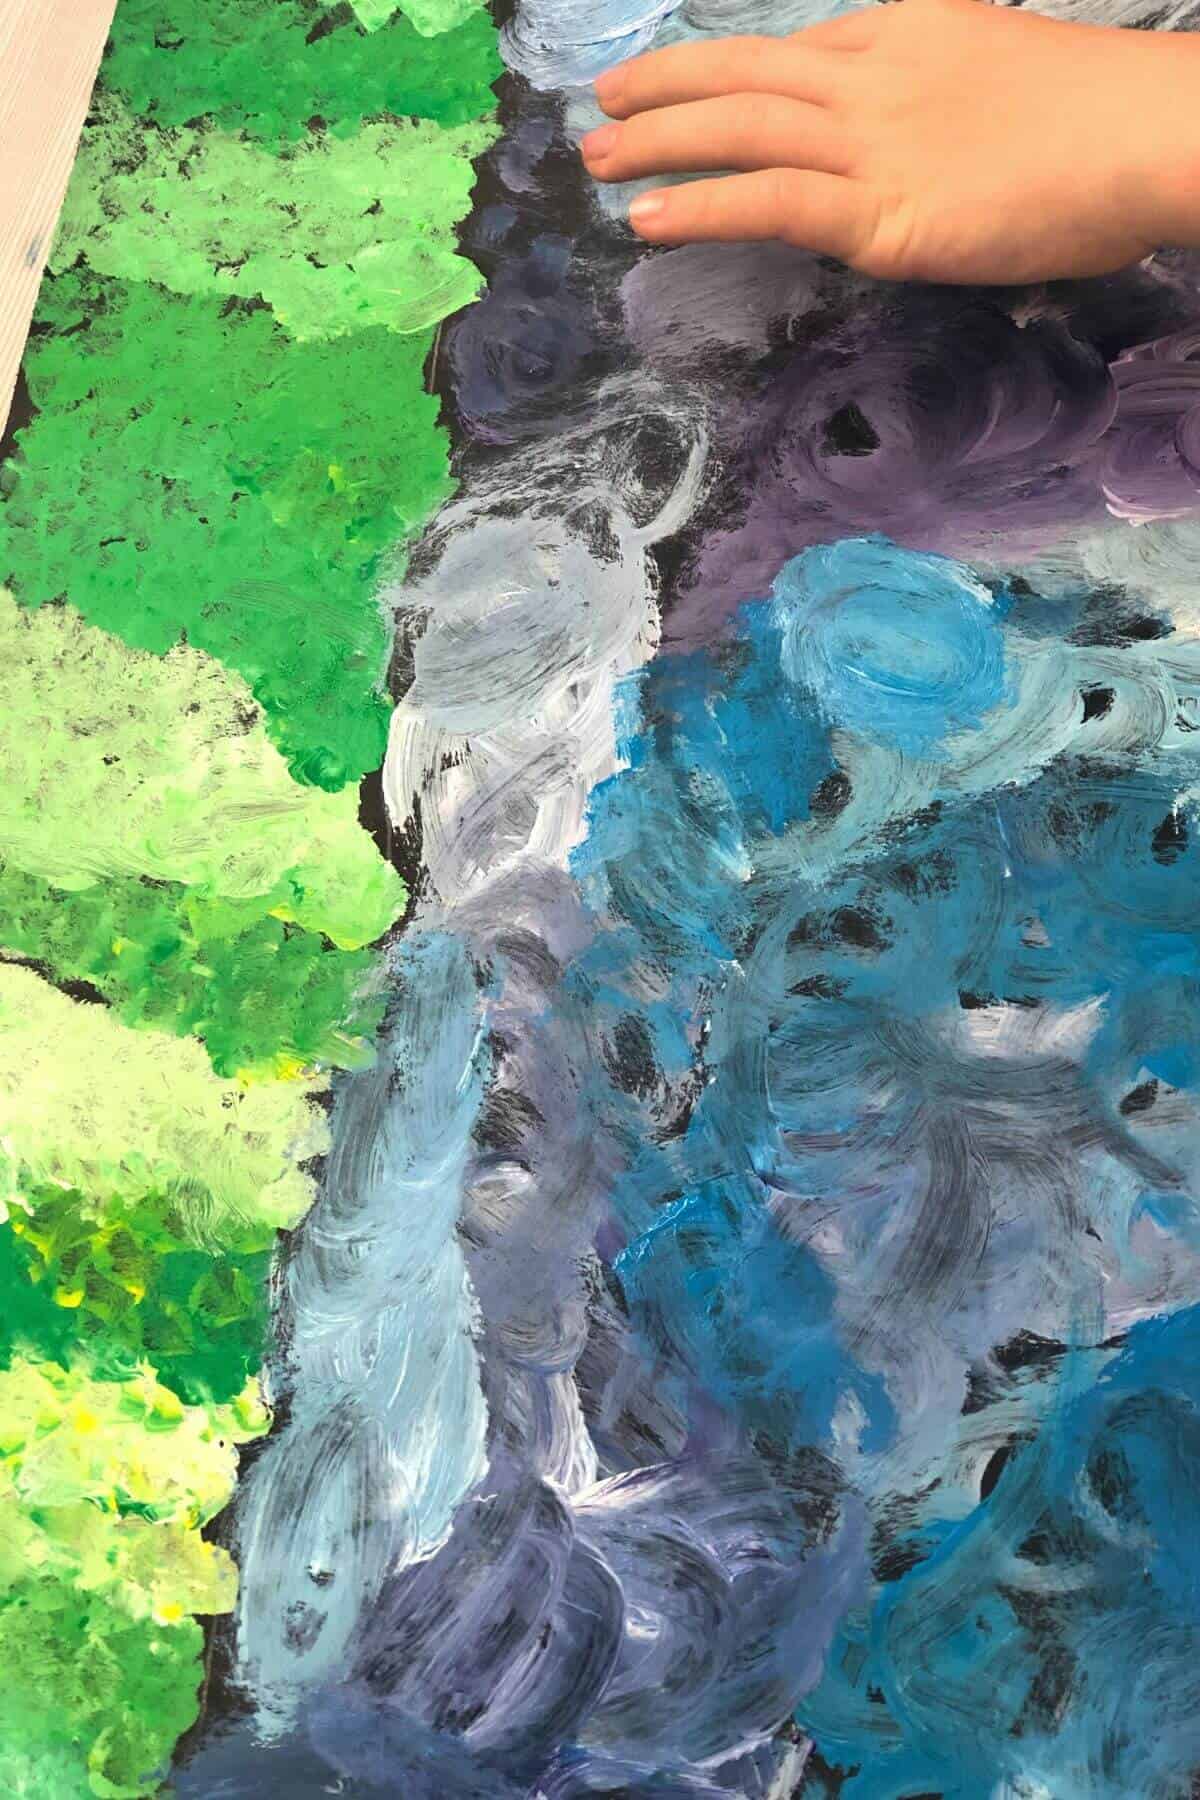
Step 4: Paint The Sky
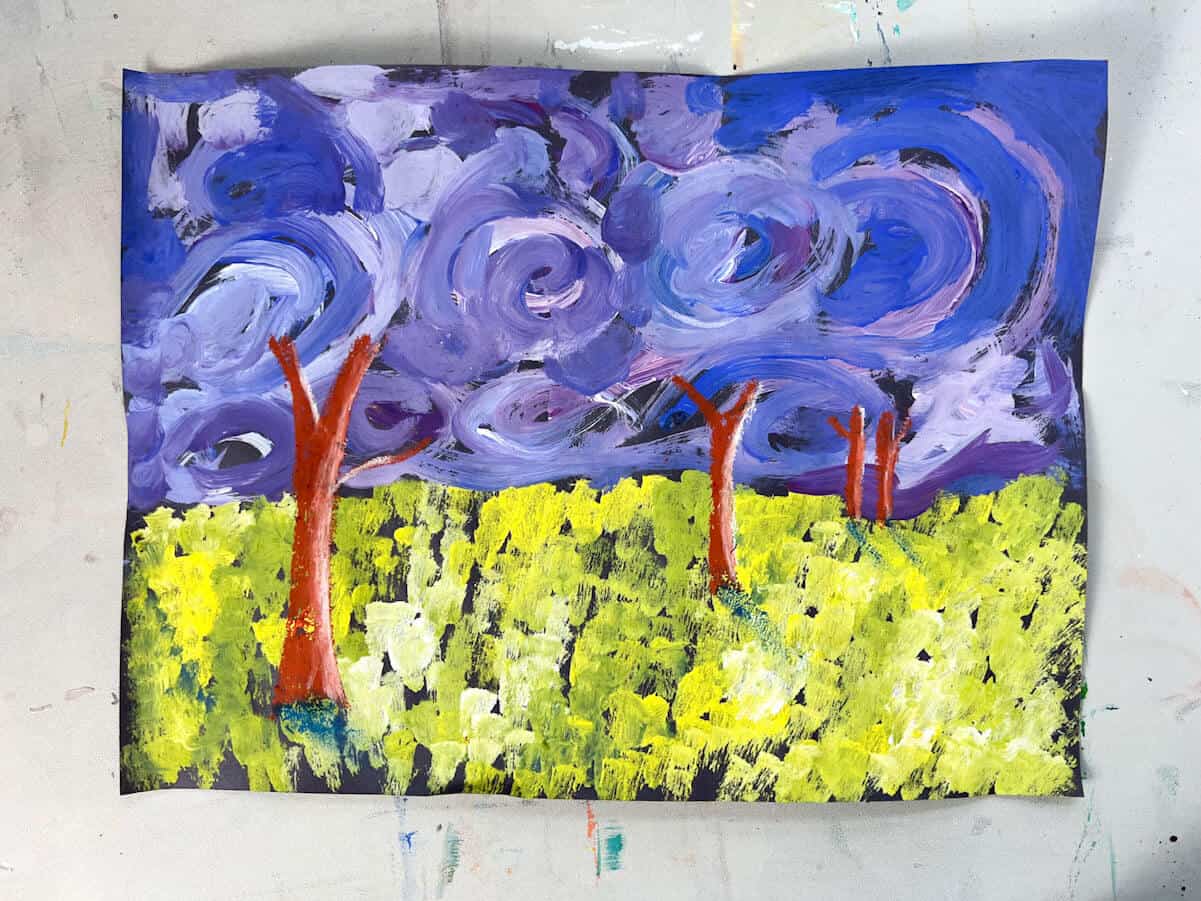
Add purple and blue textured swirls to the sky.
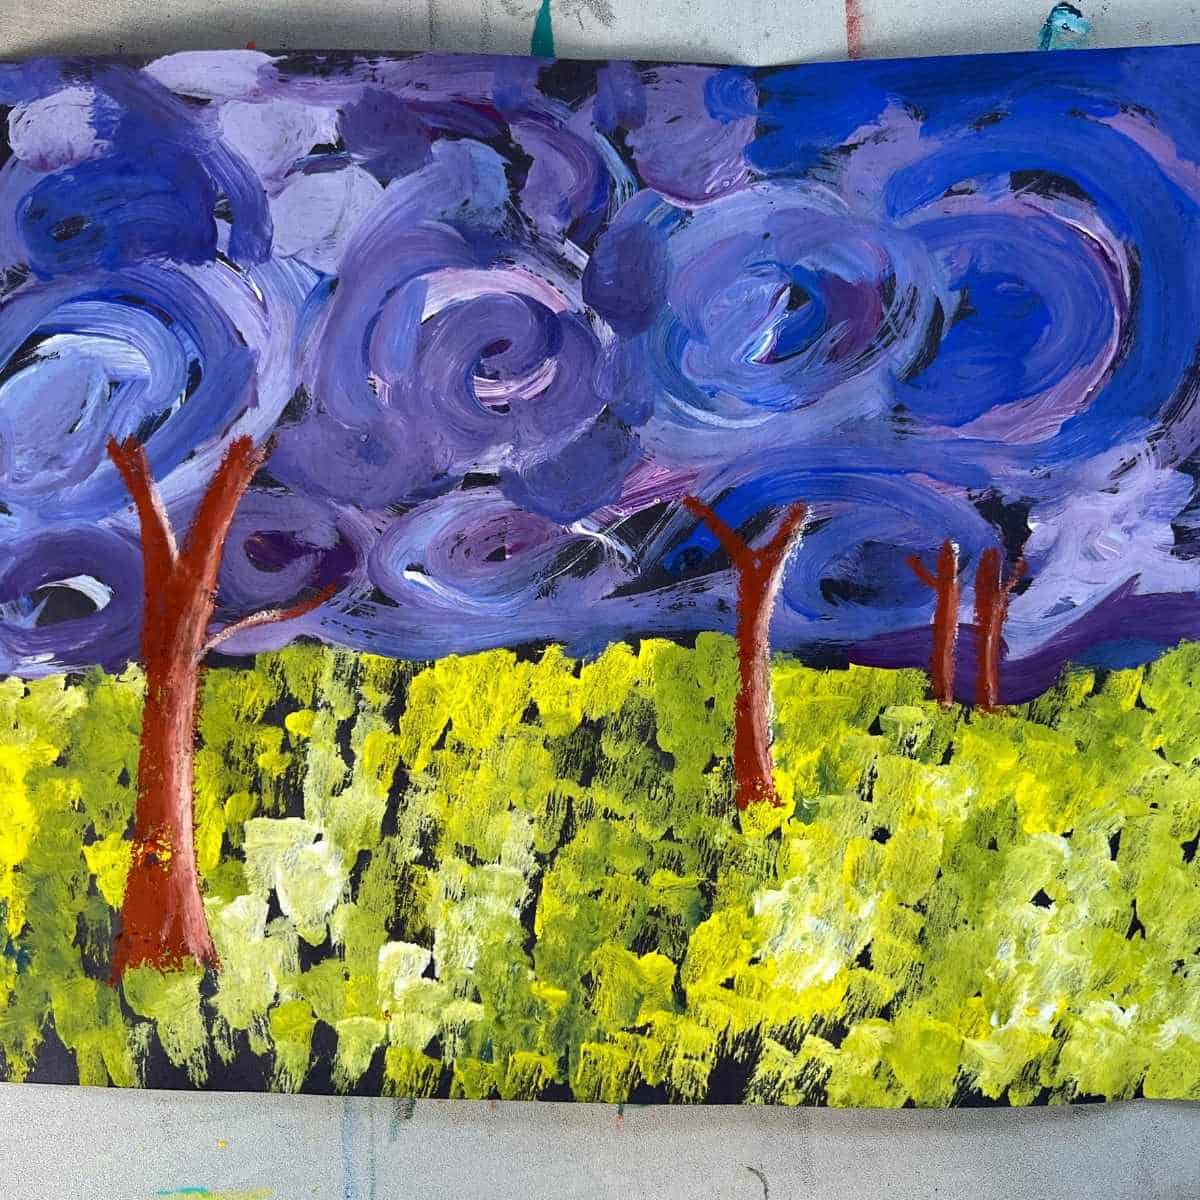
Step 5: Draw or Paint 3 Tree Trunks
After the textured paintings dry,draw tree trunks with brown oil pastels or paint 3-5 different-sized trunks. This is a great time to explain foreground, middleground and background to students.
Step 6: Add Cast Shadows
Chalk pastels look awesome on top of tempera paint. You can use a black, blue or purple chalk pastel to add a shadow to the side of the trunk and a cast shadow on the ground.
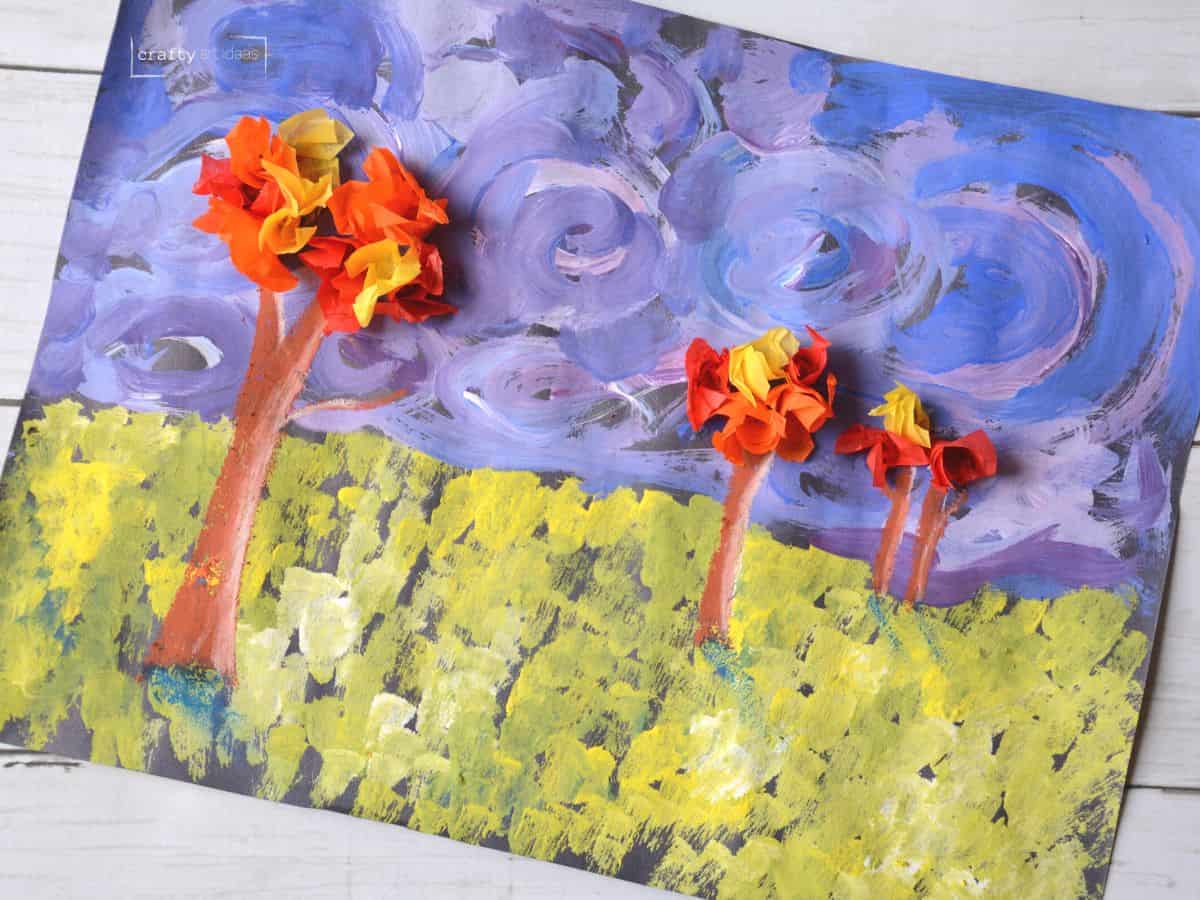
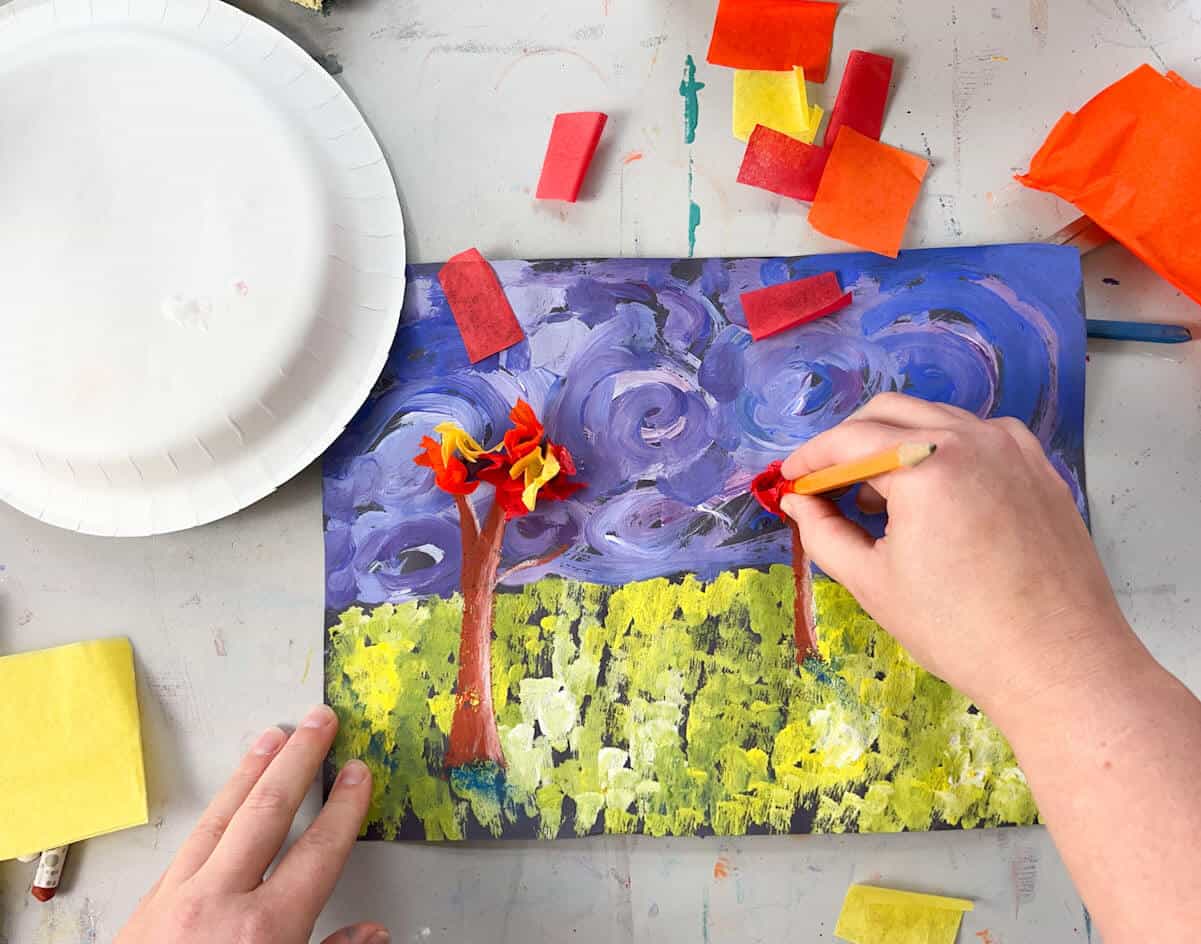
Step 7: Add Textured Leaves
With young children, add textured tissue paper leaves to their branches. We show a detailed texture tissue paper heart in this post.
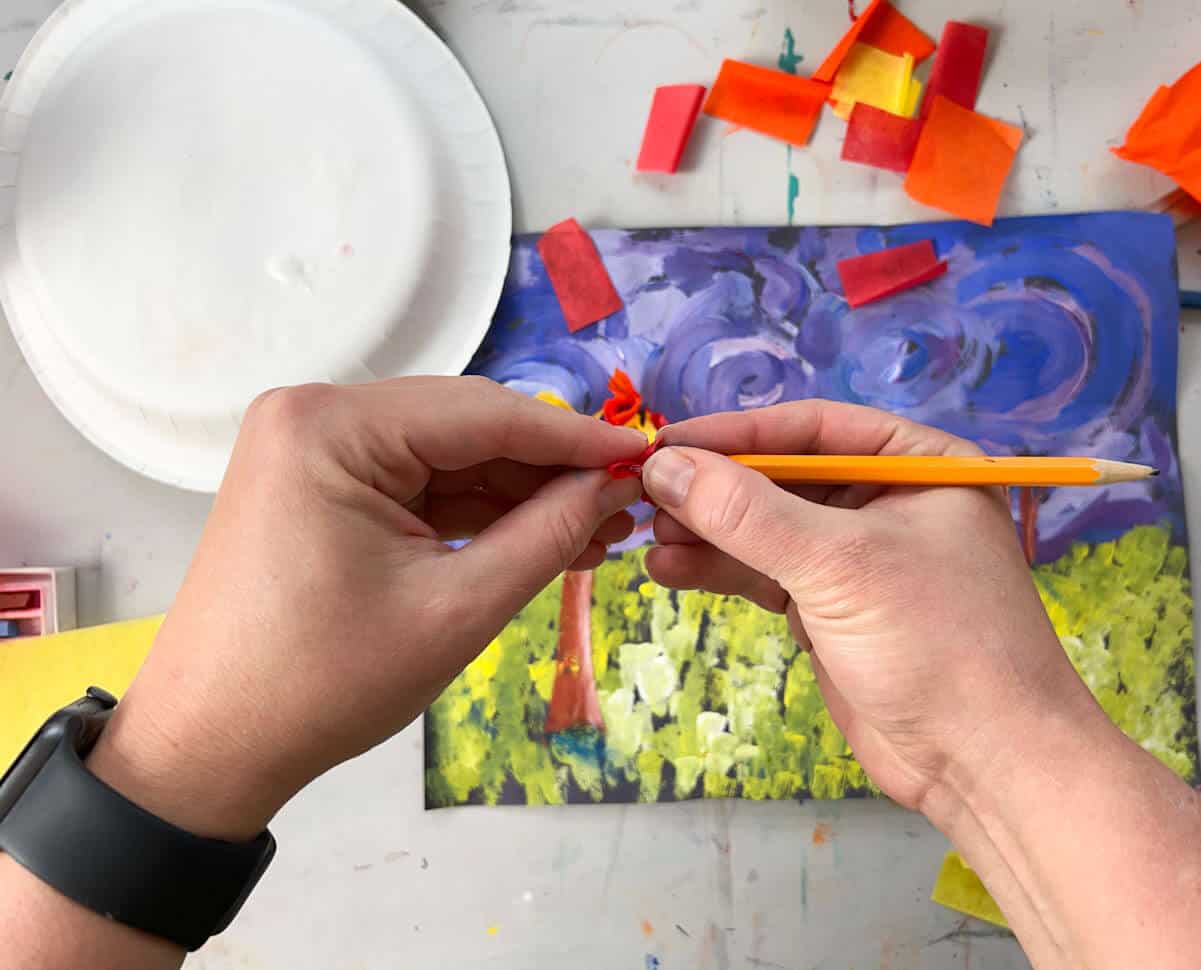
Step 8: Continue Adding Leaves
You use a similar process by wrapping a small square of tissue paper around your pencil, dipping it in glue and adding to the project.

Tips
- LET EACH STEP DRY – If possible, paint the sky after the grass texture has dried. Kids can do this step without the grass drying, but you have to be careful.
- FOR THE SKY – Start with separate blobs of violet, blue, and white on a paint tray. Dip your brush into different colors and swirl in the sky. You can leave some black or really fill the sky with paint.
- SHADOWS – If using chalk pastels, remind children chalk goes a long way and then smudge with your finger.
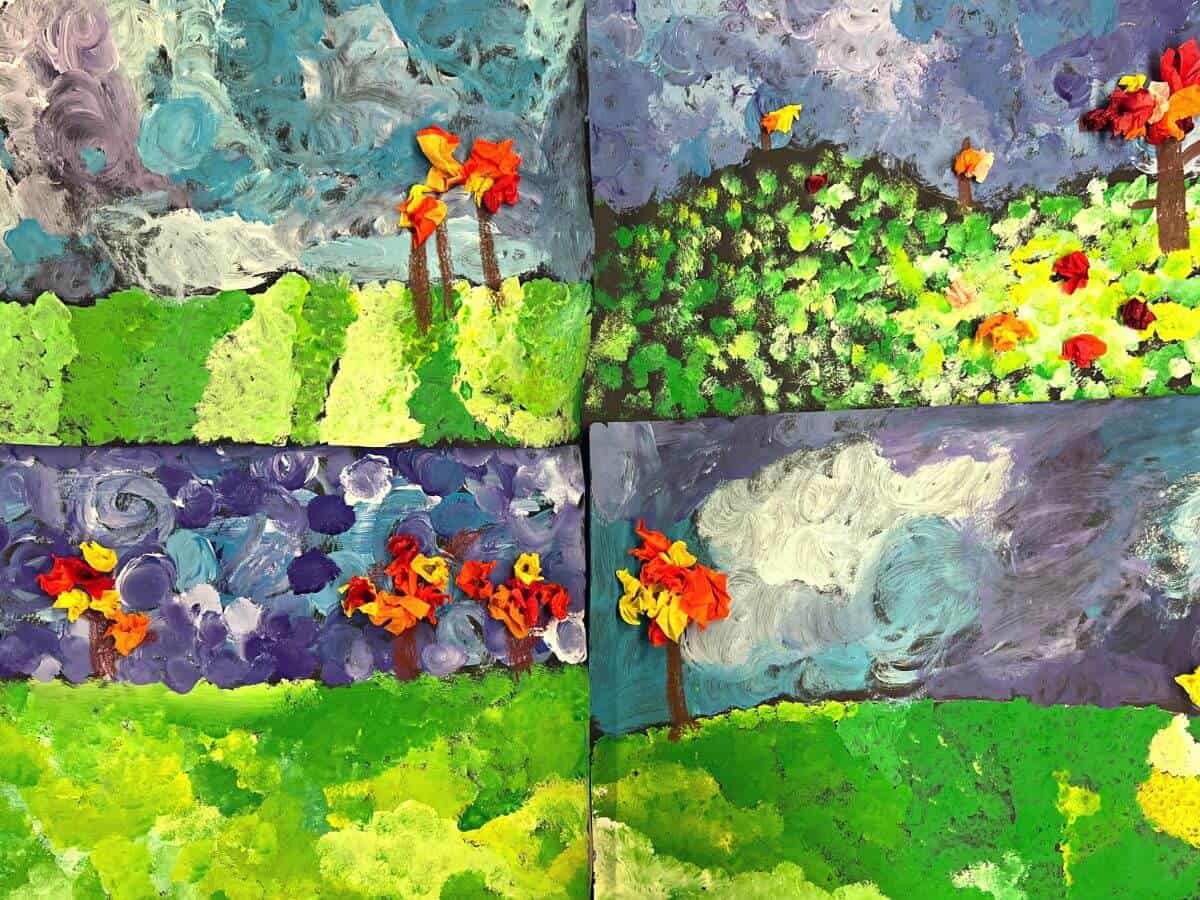
These excellent texture landscape paintings are fun for all, and all young artists can add their own unique touches.
Landscape Painting FAQs
Teach children not to mix the separate paint colors on their tray or palette. Instead, encourage them to dip into two colors and use up all that paint before moving on. You can give them a paper towel to dab their brush on as well to help clean their brushes. Do not give them water, as you will have a watery mess.
We like the Premier Crayola tempera paint and even their washable tempera paint, depending on the project.
Instead of adding extra texture to your landscape painting with texture, you could stamp warm colors (red, yellow, and orange) paint to create your leaves.
Follow us on Pinterest, YouTube & Facebook for more free art and craft ideas!
More Texture Art Lesson Ideas
- Chalk Pastel Heart Inspired By Keith Haring & Jim Dine: the final results of these are always awesome, and any child will feel successful
- Easy Watercolor and Glue Resist Painting Technique
- Easy Clay Cat Lesson (great for 2nd-5th graders)
Do you like this art project? Please give us a 5-STAR review below ⭐️⭐️⭐️⭐️⭐️ and have fun being creative with your family.
Textured Landscape Painting Idea For Kids
Equipment
- Pencil
- Stiffer Paint Brush
- Paint Tray, Palette or Paper Plate
Supplies
- 1 piece 12" x 18" Black Construction Paper
- Tempera Paint green, yellow, blue, purple & white
- Warm Color Tissue Paper
- Brown Oil Pastel
- Liquid Glue
Instructions
Painting the Grass
- Add a light horizon line on the black paper. It can be straight or slightly wavy.
- Place green, yellow and white tempera paint on a paint tray or palette. Dab textures for the grass after picking up two colors at a time on the brush.
- FIll the whole space under the horizon line.
Painting the Sky
- Start with separate blobs of violet, blue and white on a paint tray. Dip your brush into different colors and swirl in the sky. You can leave some black or really fill the sky with paint.
- Let painting dry.
Adding Trees
- Draw three tree trunks with brown oil pastel or paint with brown paint.
- Add leaves with red, oragne and yellow tissue paper. Wrap tissue paper around pencil end, dip in glue and stick on project.
- Use dark colored chalk pastels to add shadows in the texture landscape.
Notes
- Do not use water to clean your brush. You will not get the same texture feel and kids will end up with watered-down colors.
- Make sure not to mix colors on the paint tray. Children need to understand that if they do that, they will not get the variety of colors and tints.