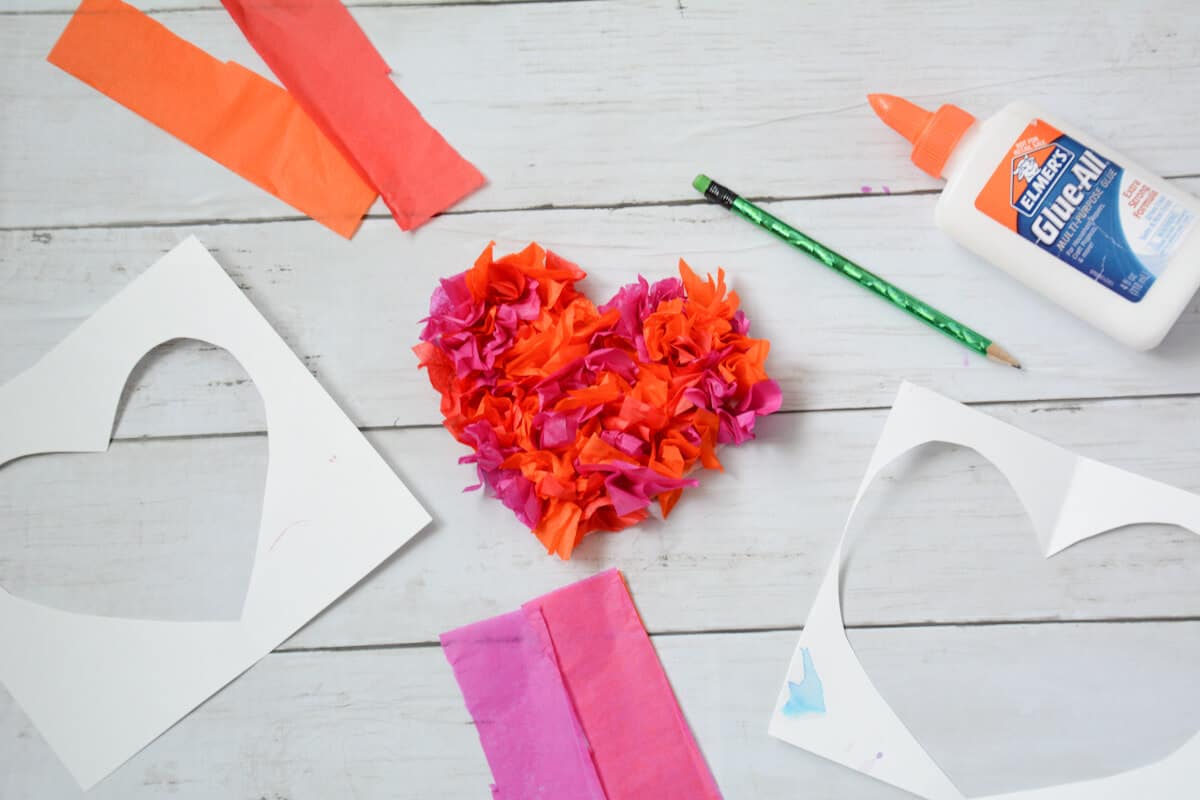
Beginner-Friendly Textured Tissue Paper Heart Craft For Kids
These scrunched tissue paper hearts are a delightful craft for kids of all ages! With just colorful squares of tissue paper and a bit of glue, children can create vibrant, textured hearts that spark creativity while working on those fine motor skills.
Why You Will Love This Kid Craft Idea
Do you have any memories of creating crafts in elementary school? Wrapping tissue paper around a pencil is a great way to support children’s fine motor development. The easy project we will show involves using small muscles to control where children place their colored paper.
We love using tissue paper with kids! You can paint with tissue paper, create mixed-media collages, or create fun, textured landscapes.
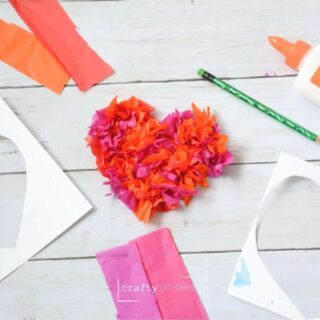
Supplies You’ll Need
Disclosure: This post may contain affiliate links when clicked, we may earn a small commission at no additional cost to you. Read our full privacy policy.
You can get the full list of supplies in the printable how-to card at the end of the post.
Step-By-Step Instructions

Step 1: Cut Shape
Cut your tagboard into desired shape. We cute a 5″ heart to work on by folding the paper and cutting a basic symmetrical heart.
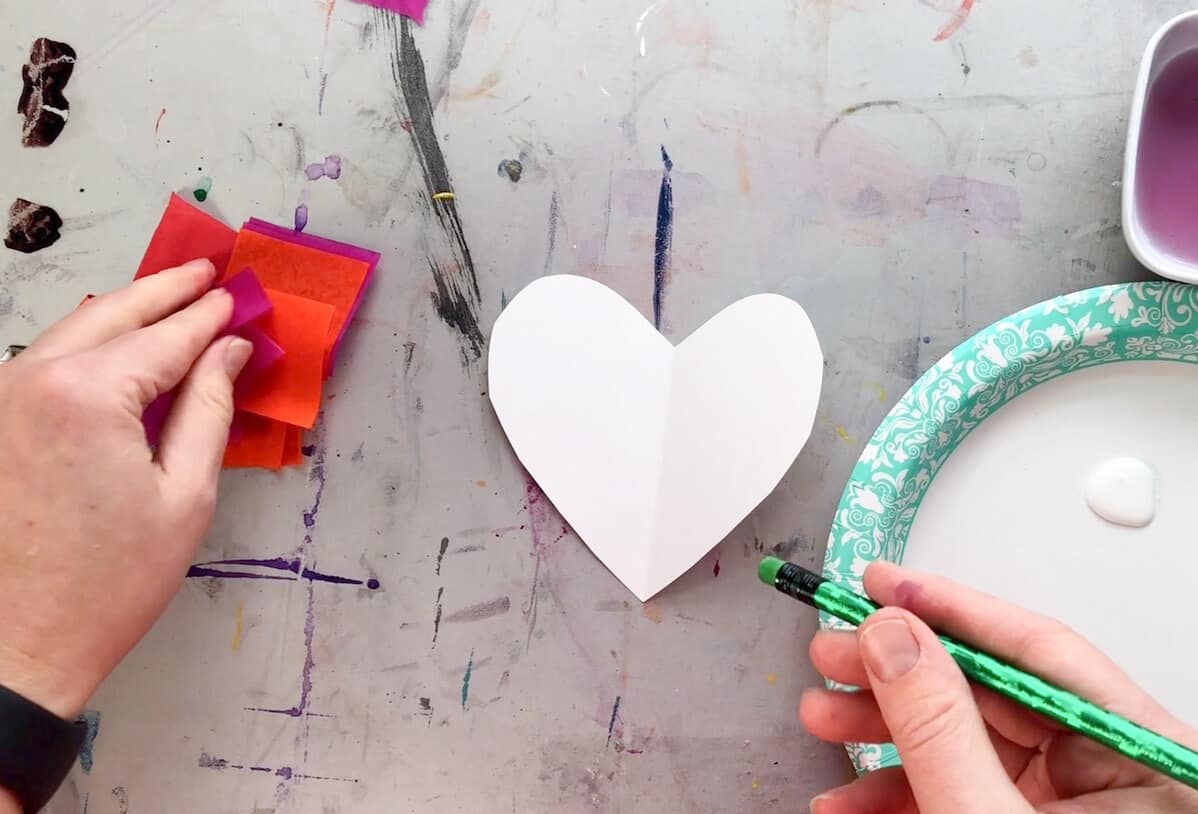
Step 2: Precut Tissue Paper
Cut tissue paper into squares. This can either be done before hand or as kids are working. They do not have to be perfect. Place glue on paper plate or scrap tagboard.

Step 3: Wrap Tissue Paper Square
Wrap one square of tissue paper around the end of the pencil.
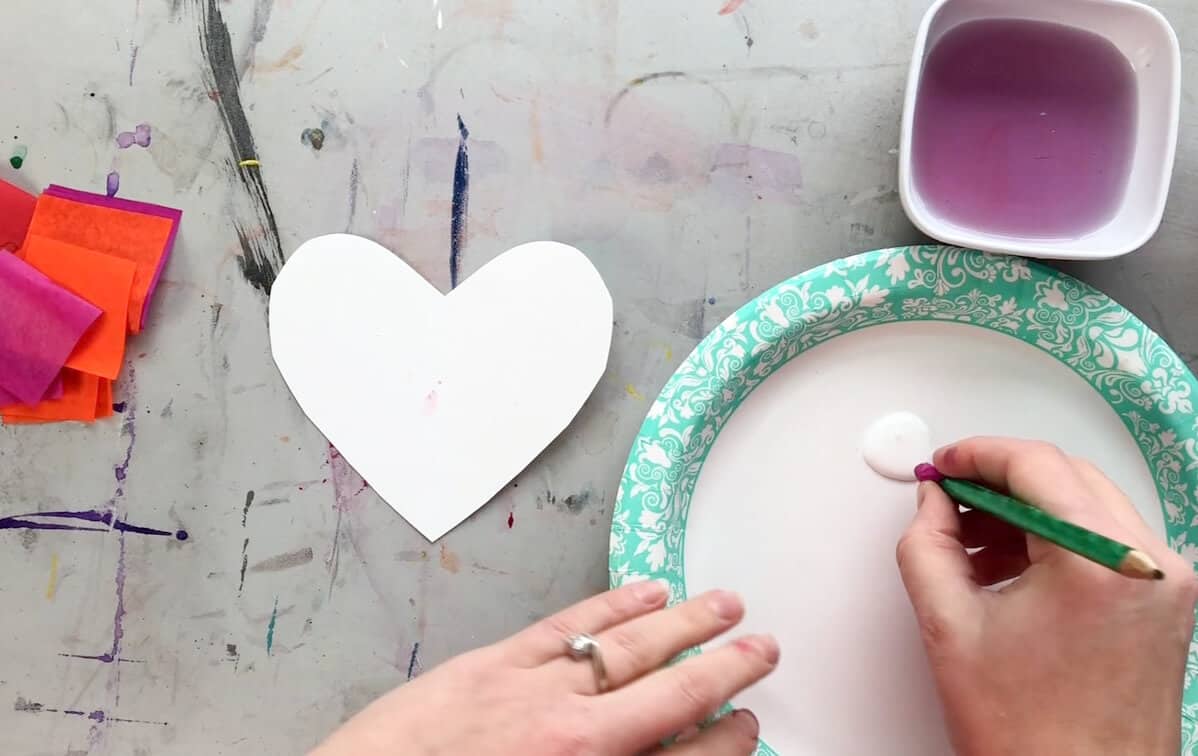
Step 4: Tap In Glue
Tap in glue. If you have too much glue, tap on the extra tagboard before adding to heart.

Step 5: Place Tissue Paper On
Add to the edge of the heart.
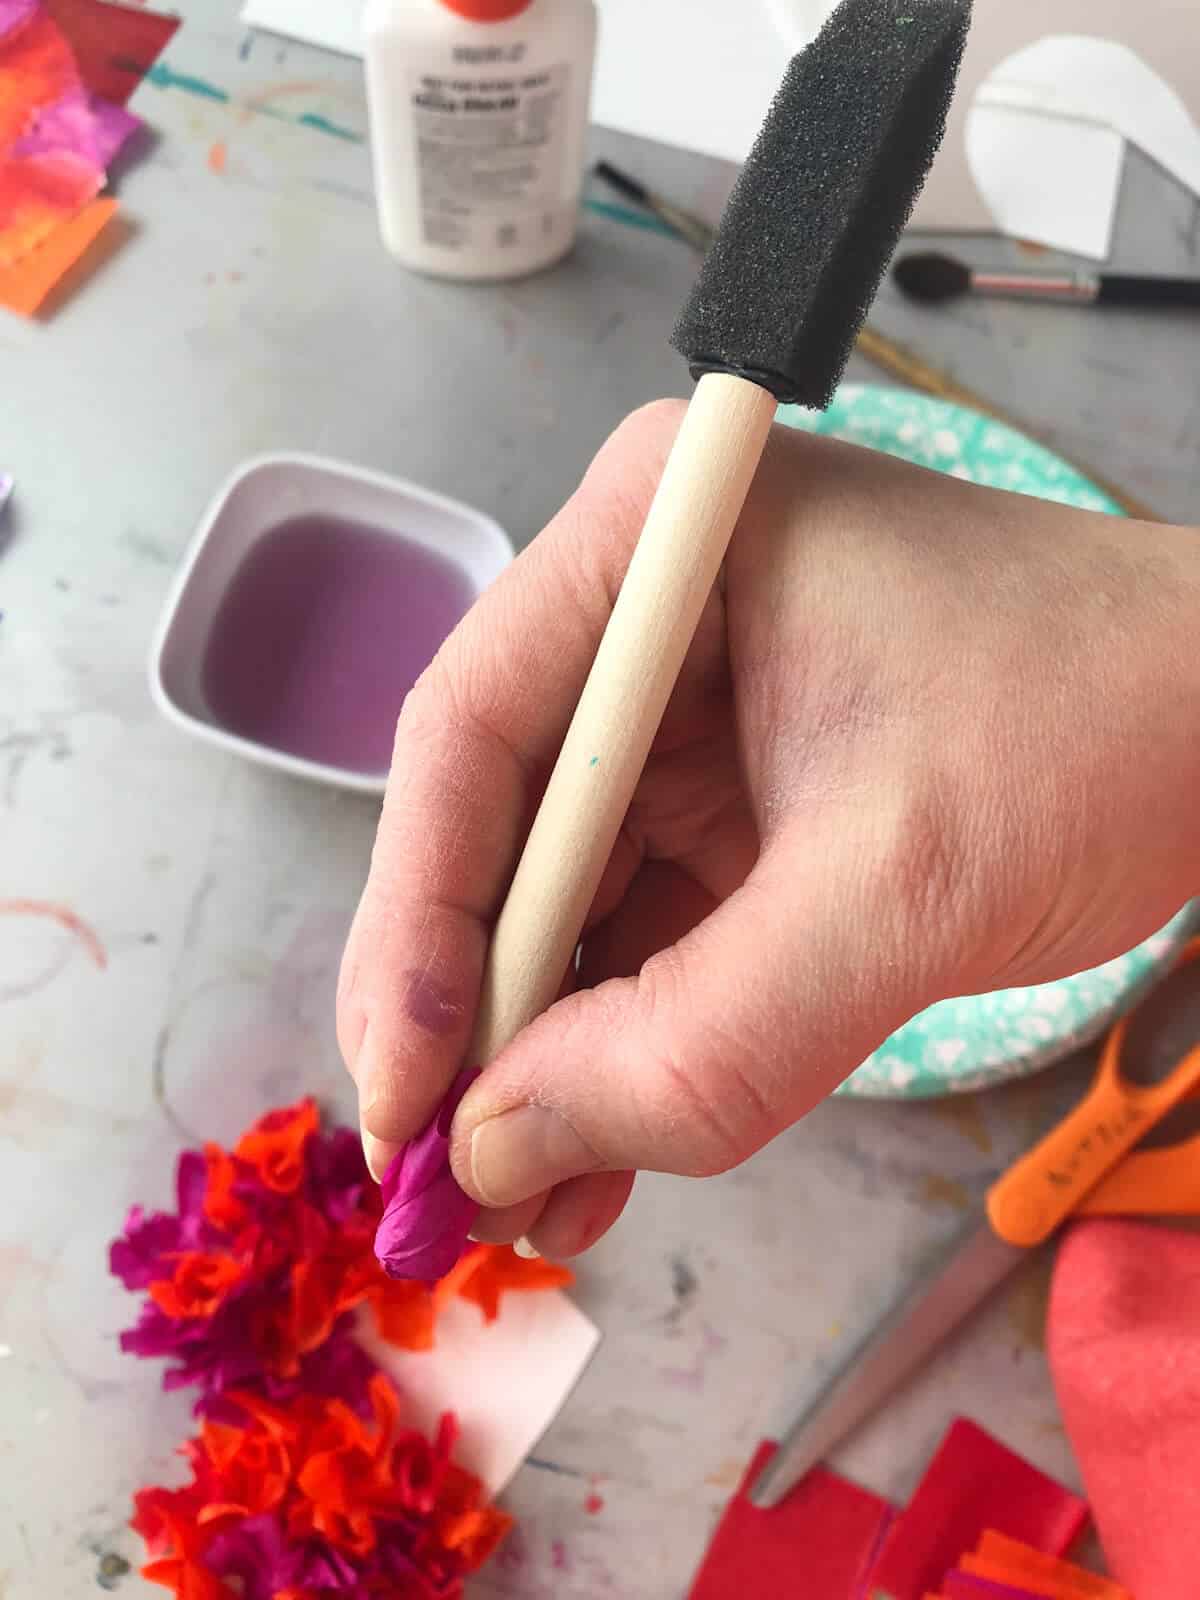
Step 6: Repeat & Let Dry
Repeat until the whole heart is covered with tissue paper. Don’t touch the tissue paper as it is drying.
Optional Valentine’s Decor Idea: Use a hole punch and twine to attach small and large hearts to create a fun heart mobile or a DIY heart garland.
Craft FAQs
You can use bleeding tissue paper, but we don’t recommend it for this project. It will stain your fingers.
Yes, be creative and have fun when designing your heart craft. Think of designs of colors you think would go well together. You could create patterns, an ombré effect, or just one color. The sky is the limit.
You can help them, but the practice is the most important part. Model how to use both hands to wrap the tissue paper around the end, and then hold the pencil and tissue paper with one hand. Getting the transfer from hand to hand will help them.
We usually use Elmer’s Glue-All for all of our craft projects. However, washable school glue should work fine for this tissue paper and glue craft.

Follow us on Pinterest, YouTube & Facebook for more free art and craft ideas!
More Valentine’s Crafts
- 40+ Heart Crafts For Kids of All Ages and Abilities (we love #11)
- Creative Chalk Pastel Heart Drawings
- Easy Jim Dine Heart Art Project For Kids
- How To Make Heart Crayons At Home
This scrunched tissue paper heart is a simple, colorful way to boost creativity and fine motor skills. Grab your supplies and start making memorable moments today!
Do you like this art project? Please give us a 5-STAR review below ⭐️⭐️⭐️⭐️⭐️ and have fun being creative with your family.
Easy Textured Tissue Paper Craft For Kids
Equipment
- Pencil
- Scrap Tagboard
- Scissors
Supplies
- Bottled Glue
- Tagboard cut into desired shape
- Regular Tissue Paper not bleeding
Instructions
- Cut tagboard into desired shape. We cute a 5" heart to work on.
- Cut tissue paper into squares. This can either be done before hand or as kids are working. They do not have to be perfect. Place glue on paper plate of scrap tagboard.
- Wrap one square of tissue paper around the end of the pencil.
- Tap in glue. If you have too much glue, tap on the extra tagboard before adding to heart.
- Add to the edge of the heart.
- Repeat until the whole heart is covered with tissue paper.
- Let Dry.
Notes
- The tighter you place the tissue paper, the more full and 3-d the heart will feel.
- Have fun with colors are designs the kids create on the shapes.