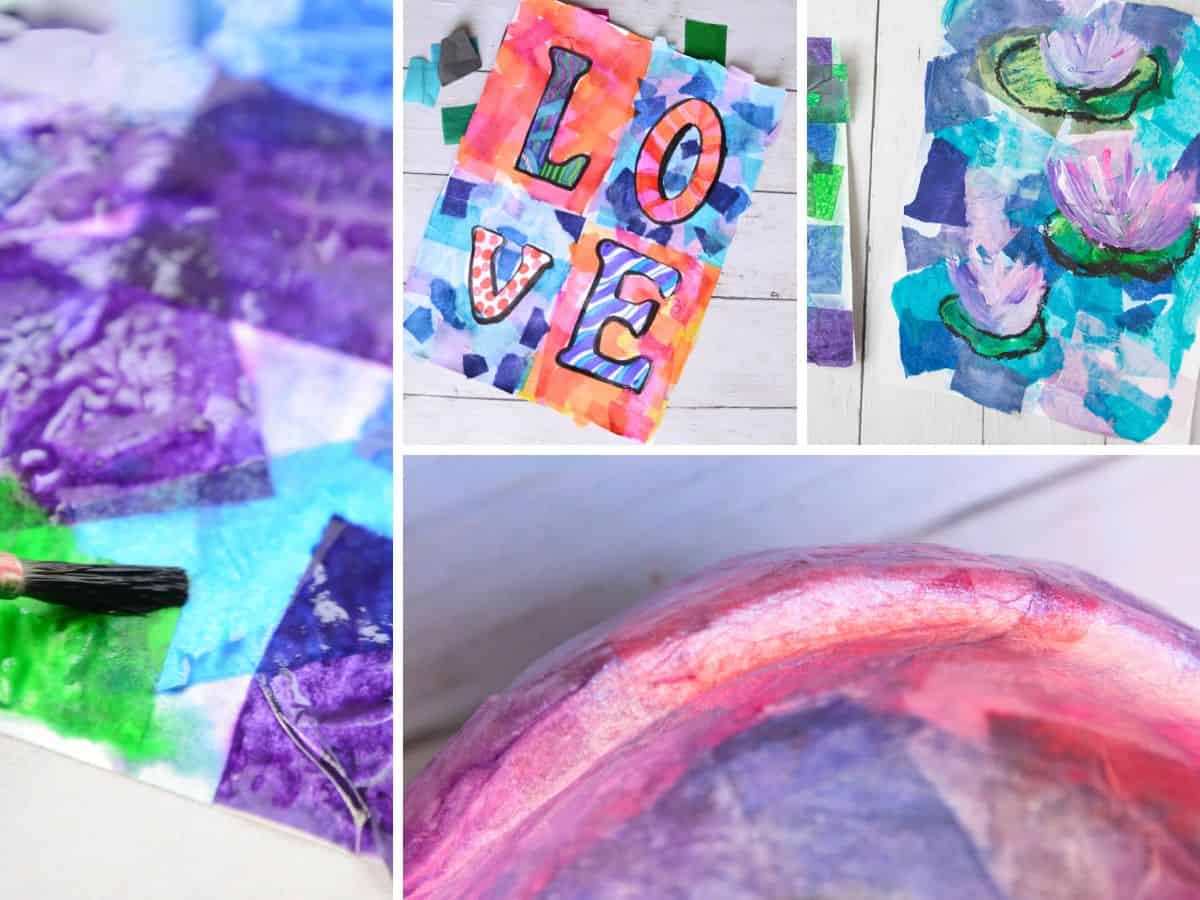
8 Creative Bleeding Tissue Paper Art Ideas

We love incorporating bleeding tissue paper into our artmaking. This magical paper reacts to water to create beautiful & vibrant colors that blend in unique ways. The possibilities are endless, and the results are always stunning. Check out these 9 awesome bleeding tissue paper art ideas and let the fun begin!
Disclosure: This post may contain affiliate links when clicked, we may earn a small commission at no additional cost to you. Read our full privacy policy.
Where to buy bleeding tissue paper?
Bleeding tissue can be purchased at most local craft stores or online. You just want to make sure that the packaging specifically says “bleeding” on it. Do not get the paper wet until you plan to use it.
- Spectra Bleeding Tissue Paper: We have had a lot of success using this pack. There are a variety of colors and kids seem to be to work well with it.
- Hygloss Bleeding Tissue Paper: This paper can be found at local craft stores like Michael’s or Hobby Lobby.
- Pre-Cut Shapes: You can also purchase either Hygloss or Spectra tissue paper in pre-cut shapes.

Bleeding Tissue Paper vs. Regular Tissue Paper
- Special Dye: Bleeding tissue paper has a special dye that reacts to water, causing the colors to spread and blend. Regular tissue paper is designed to be absorbent and will not create the same effect when wet.
- Costs More: Bleeding tissue paper is often more expensive than regular tissue paper because of the special dye used in its production.
- Thinner: Bleeding tissue paper is typically thinner and more delicate than regular tissue paper.
- Fewer Colors: Bleeding tissue paper is available in a limited range of colors (but still a lot of colors), while regular tissue paper is available in a wider variety of colors and patterns.
- Meant For Art Projects: Bleeding tissue paper is specifically designed for art projects, while regular tissue paper is more commonly used for gift wrapping and other decorative purposes.
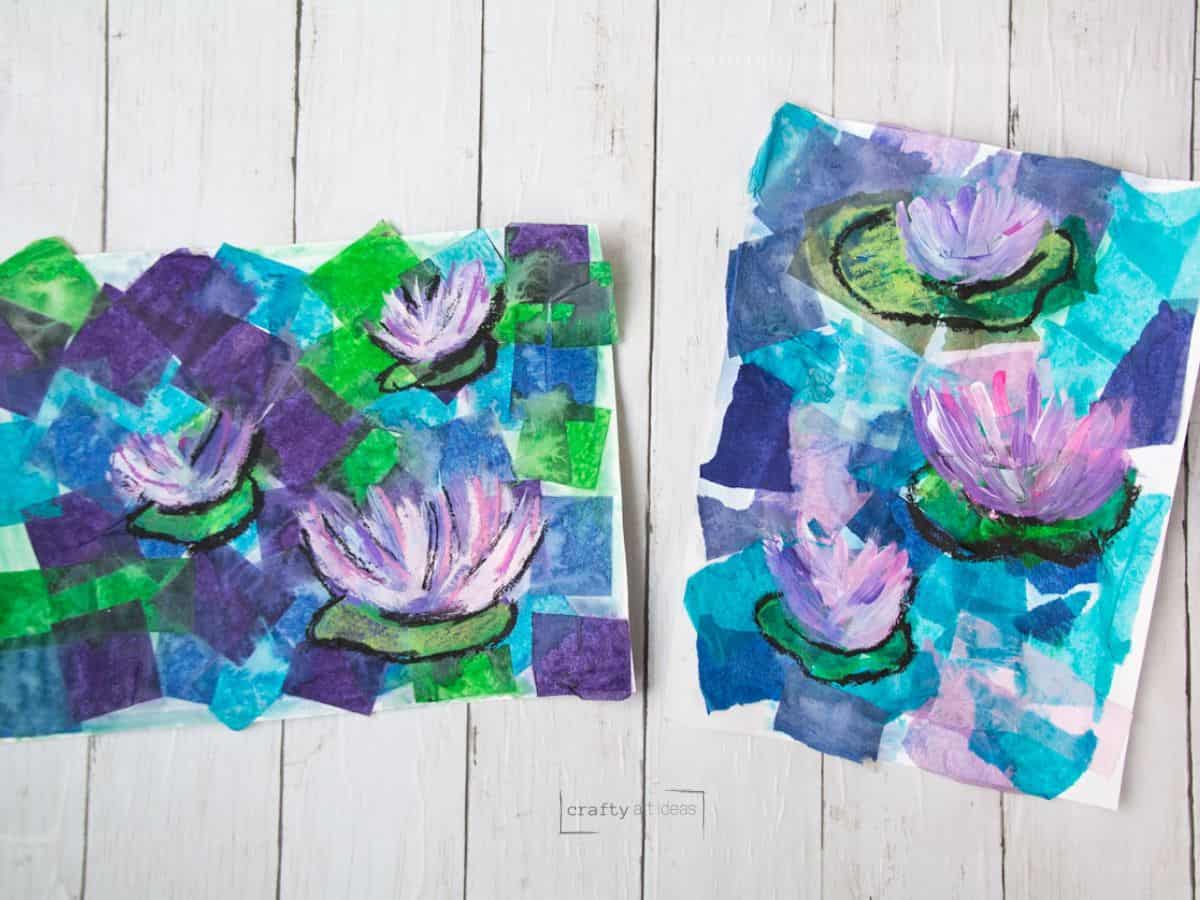
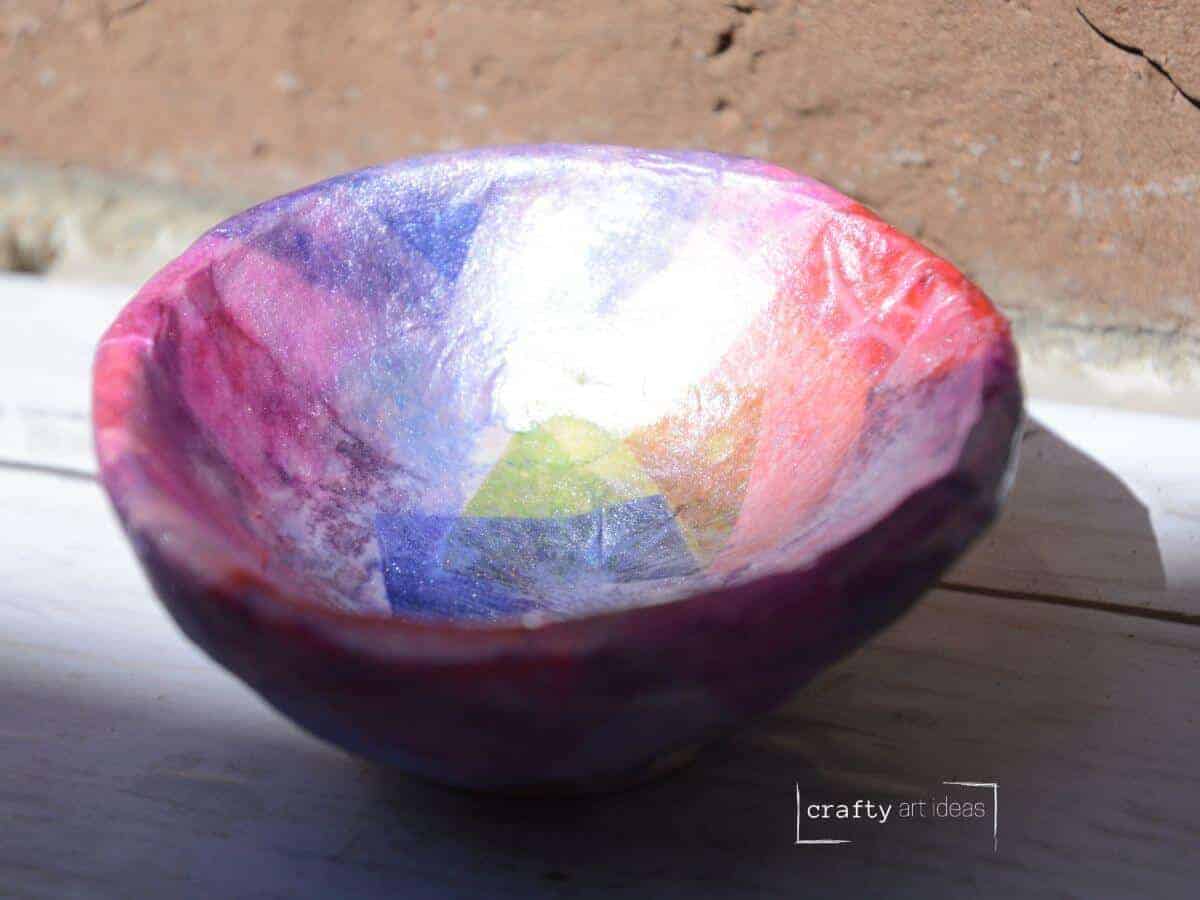
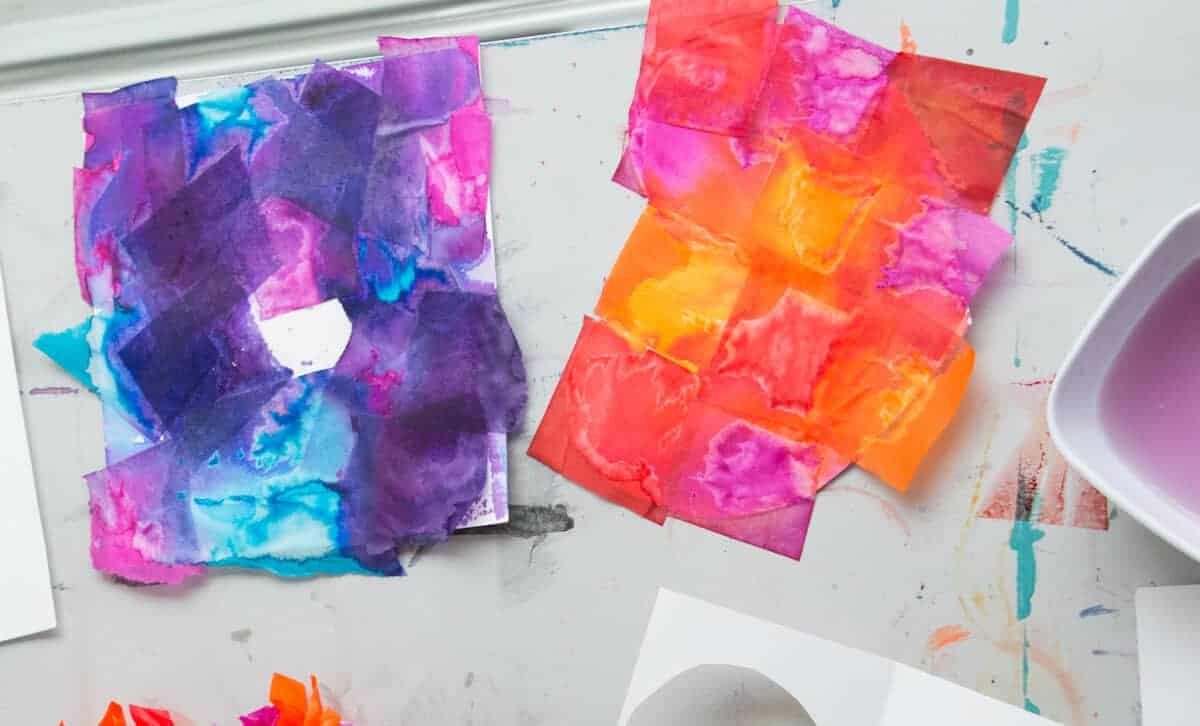
Bleeding Tissue Paper Art Project Ideas


Bleeding Tissue Paper FAQs
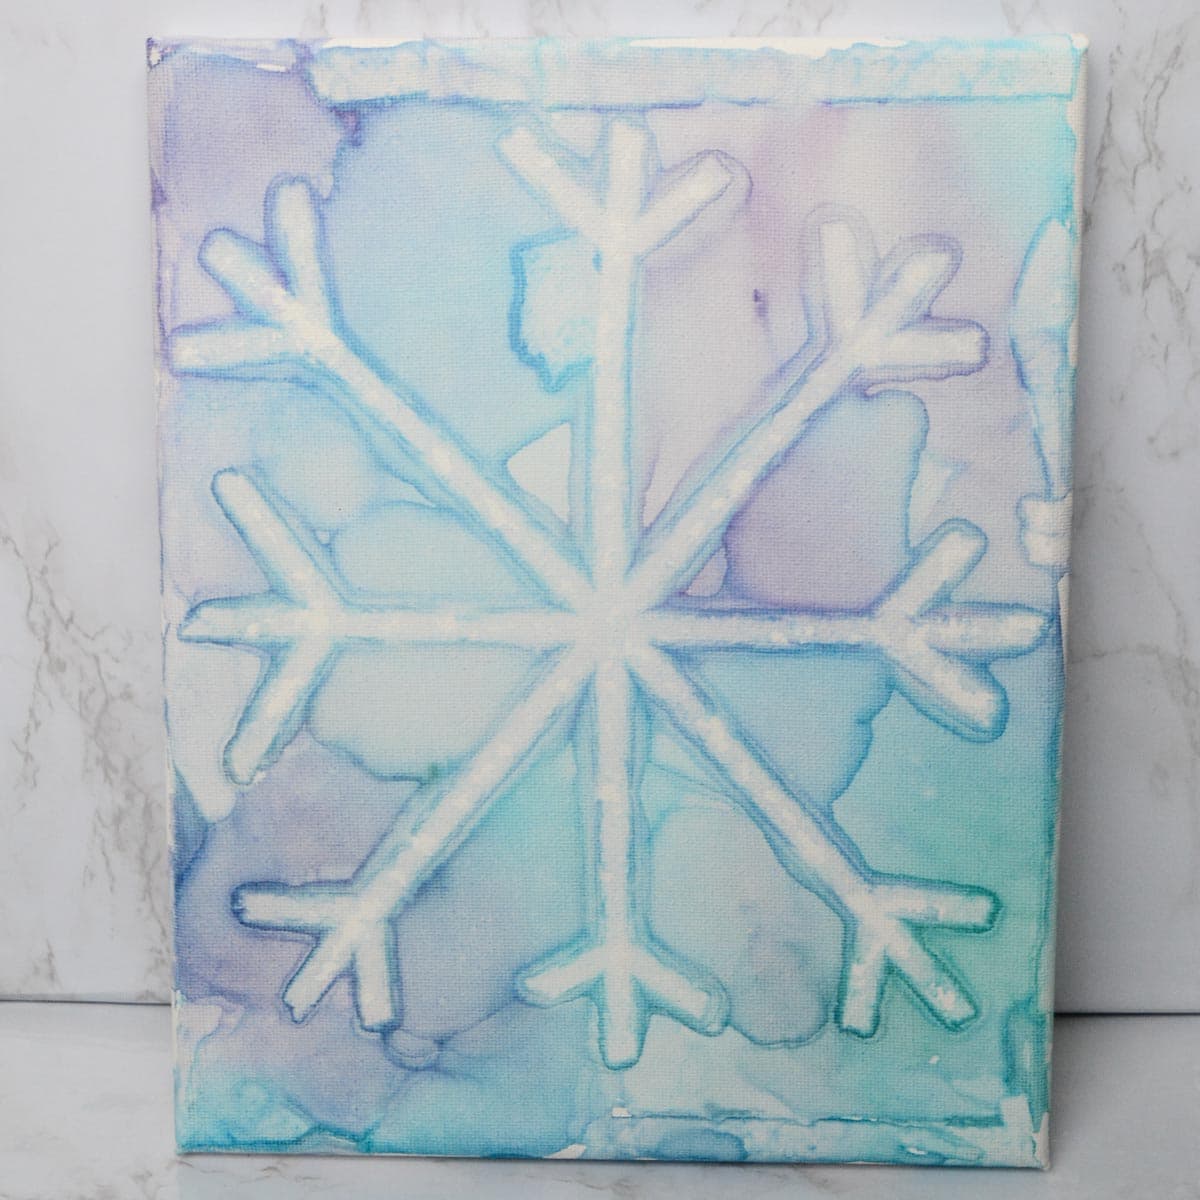
Bleeding tissue paper art is a technique in which tissue paper is applied to a wet surface or water is added on top to create a fun color-mixing effect. The result is unique and colorful artwork with a soft and blended appearance.
You can make a variety of projects, such as paintings, collages, and decorations. This technique is perfect for creating unique backgrounds in mixed-media art.
It depends on what type of project you are using. You can seal a bleeding tissue paper art project to make it more durable. You can seal the project using glue, Mod Podge, or a sealant spray. This will help protect the artwork from water and moisture and ensure it lasts for a long time. Just be careful if brushing on the clear coat if you don’t want your colors to blend more.
Most of these projects will take a while to dry because of the amount of water used to blend the colors. The drying time for bleeding tissue paper art projects can vary depending on the project and environment. The tissue paper can take a few hours or overnight to dry completely. You can use a hairdryer or place the project in a well-ventilated area to speed up the drying process.
Follow us on Pinterest, YouTube & Facebook for more free art and craft ideas!
More Fun Art Ideas
- 8 Unique Pinch Pot Ideas Kids Love
- How To Do A Watercolor Resist With Oil Pastels
- Non-Glaze Ways To Add Color To Clay
Bleeding tissue paper is a versatile and exciting material to work with in art projects. Whether you’re creating backgrounds, collages, or experimenting with painting techniques, the unique properties of bleeding tissue paper offer endless possibilities for creativity.