How To Make Pinch Pots With Air Dry Clay

Have you ever wanted to try your hand at pottery but felt intimidated by the complicated and traditional clay techniques? Don’t worry! You can still use clay without a kiln. Building a pinch pot with air dry clay allows kids and adults to express their creativity and imagination in a hands-on way.
Disclosure: This post may contain affiliate links when clicked, we may earn a small commission at no additional cost to you. Read our full privacy policy.
What is air dry clay?
Air dry clay may also be called air drying clay, self-hardening clay or no-bake clay. It is a popular medium for sculpting, hand-building, and other clay projects, particularly for those who do not have access to special pottery equipment. Unlike regular clay, it does not require a kiln to harden.
While it is not as strong as fired clay, it is still a great material to work with to get a ceramic experience.
Recommended Supplies
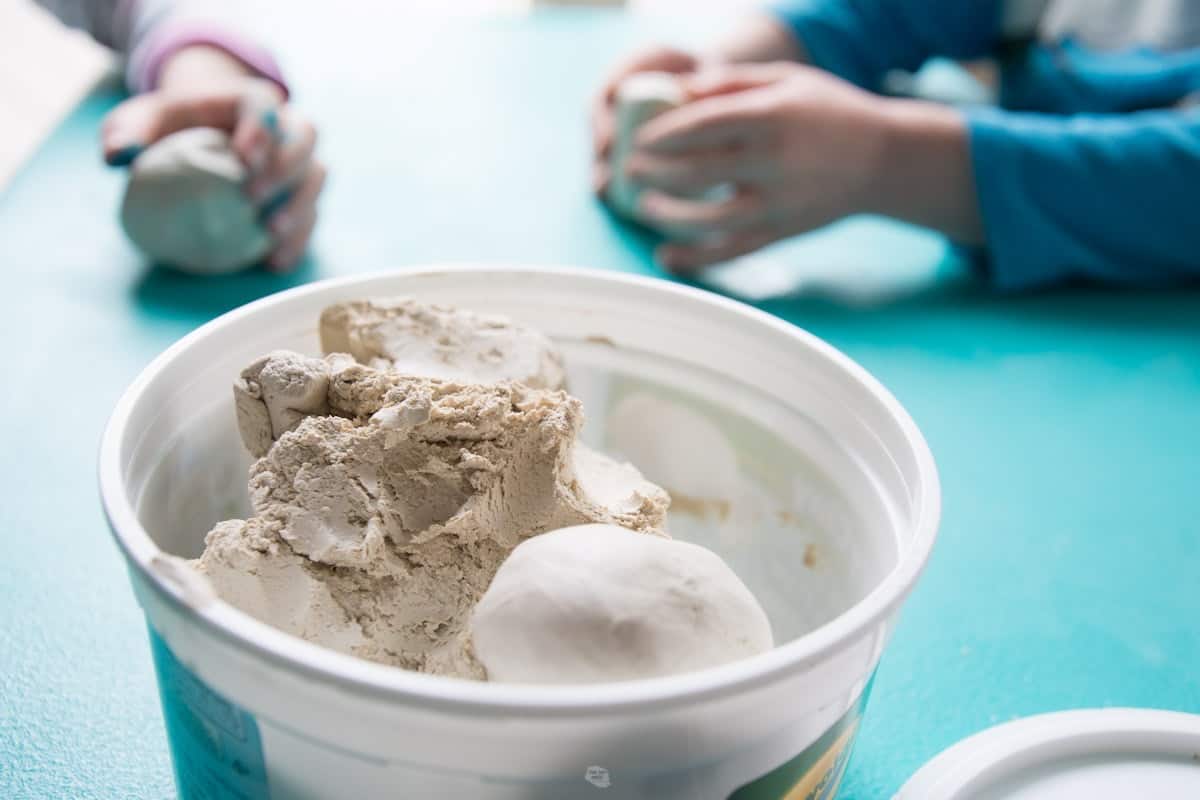
- Air Dry Clay: In the images, we are using Crayola, but this brand is best for more advanced builders.
- Skewer
- Acrylic Paint or Watercolor Paint
- Paintbrushes
- Varnish or Clear Coat: Use this if you need extra protection if your pot will come into contact with water.
How To Make A Pinch Pot With Air Dry Clay
Before You Begin
If making a pinch pot for the first time, start with a small amount of clay. A good idea is to use an amount that easily fits in your palm or your child’s hand.
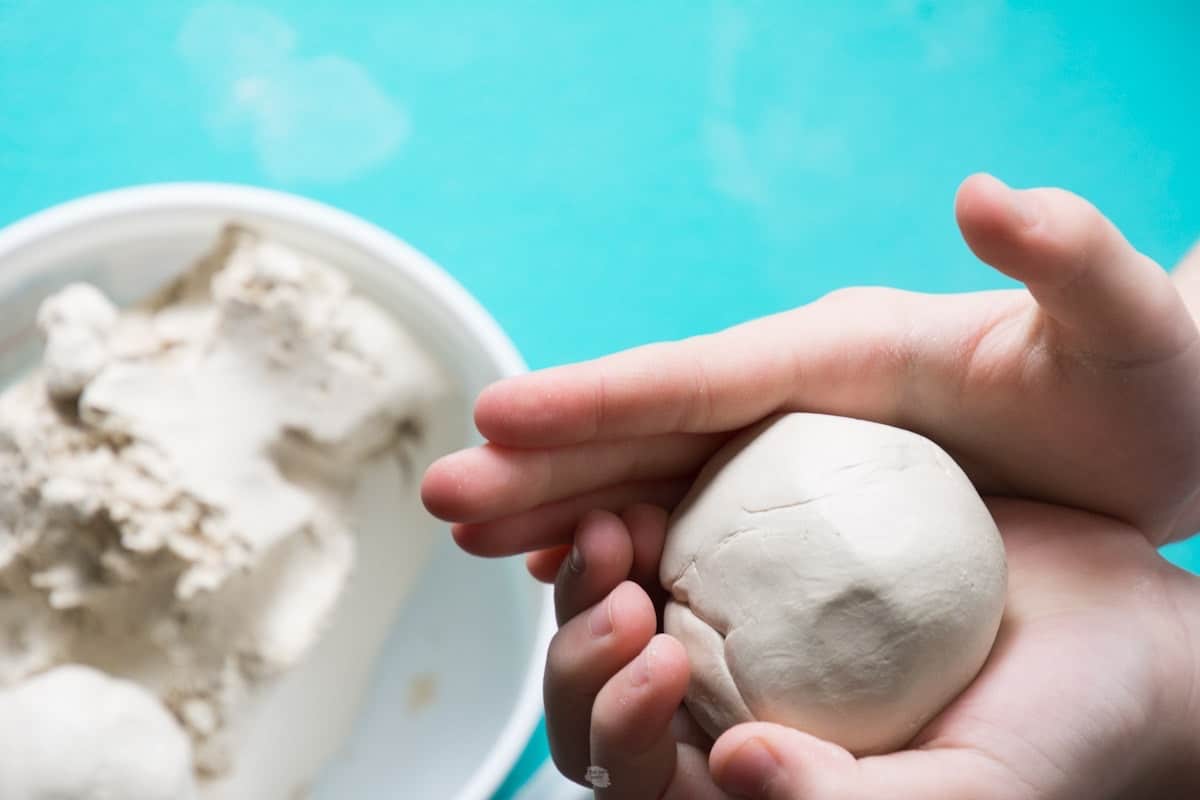
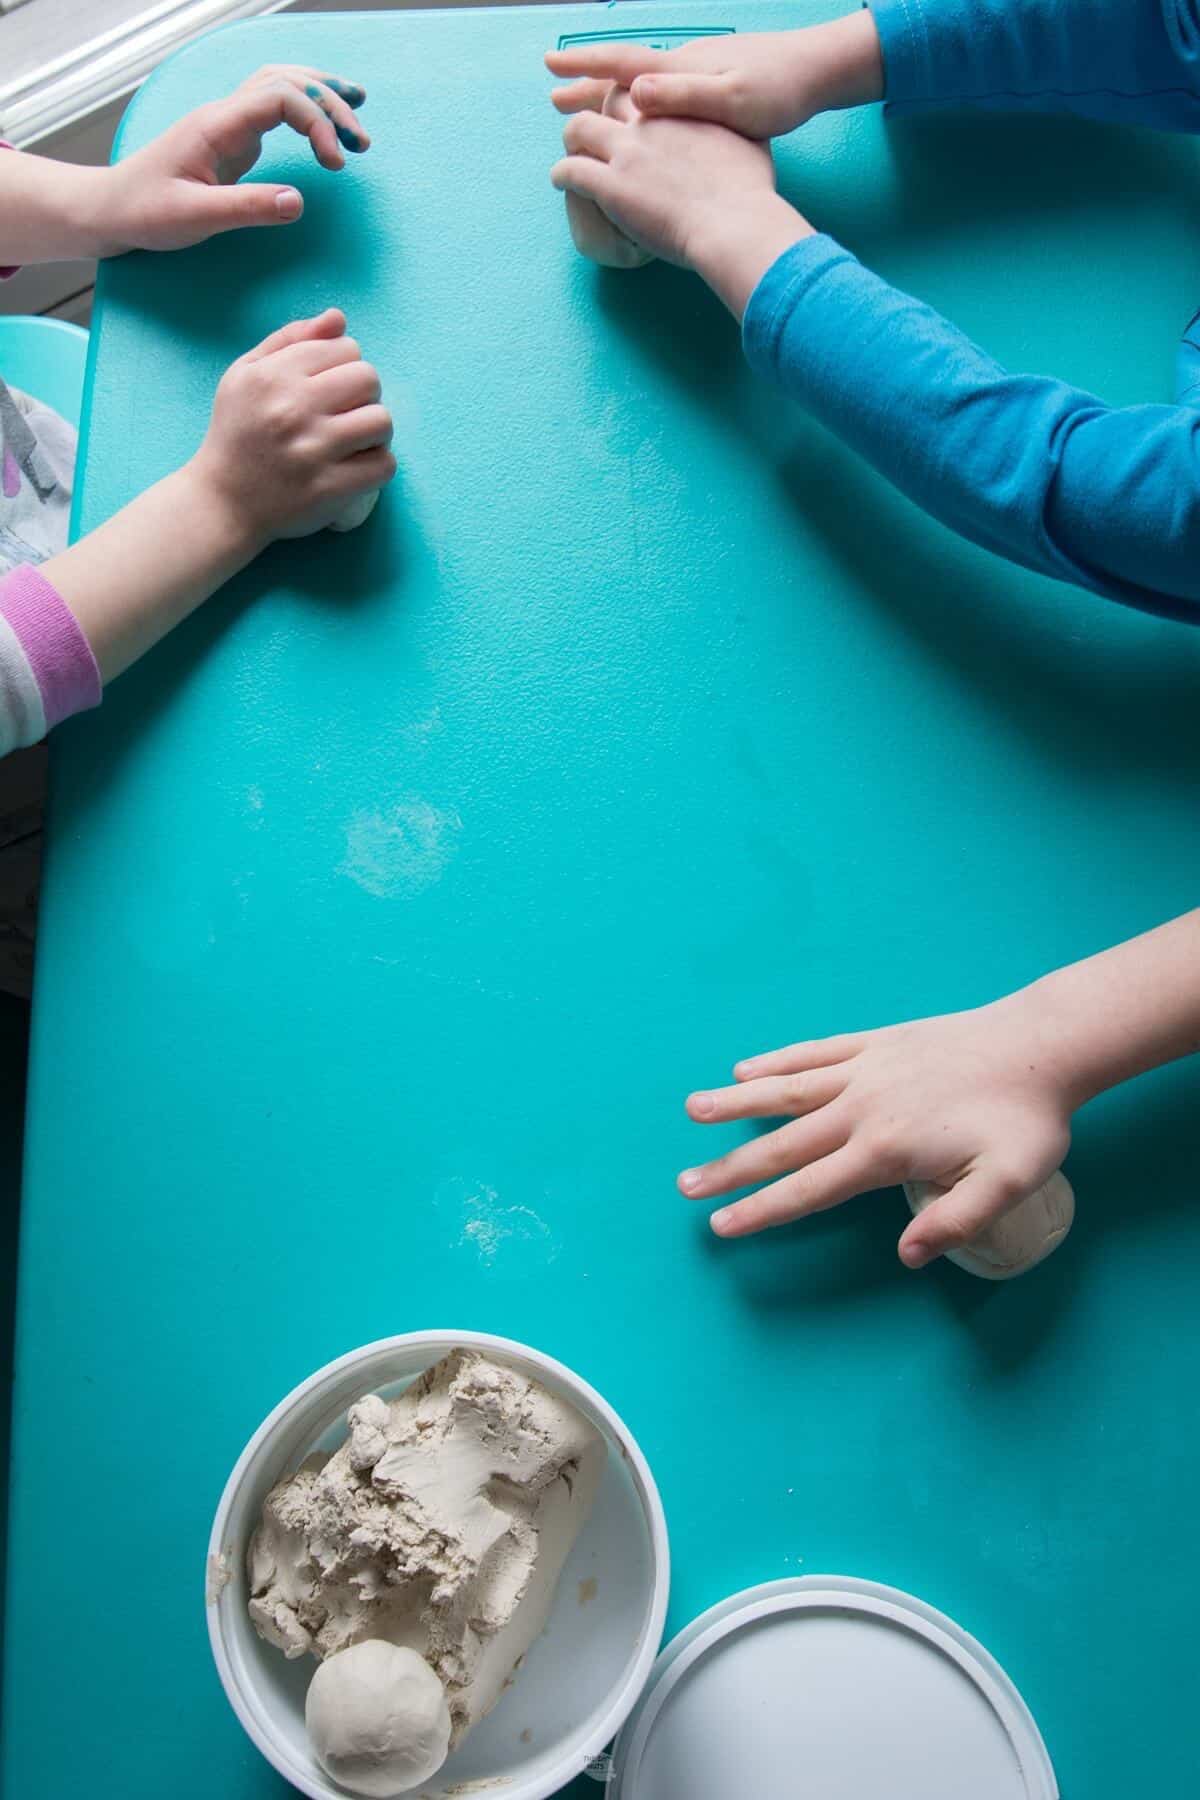
Step 1: Roll A Ball
Roll the clay ball in your hands until it’s smooth and round.
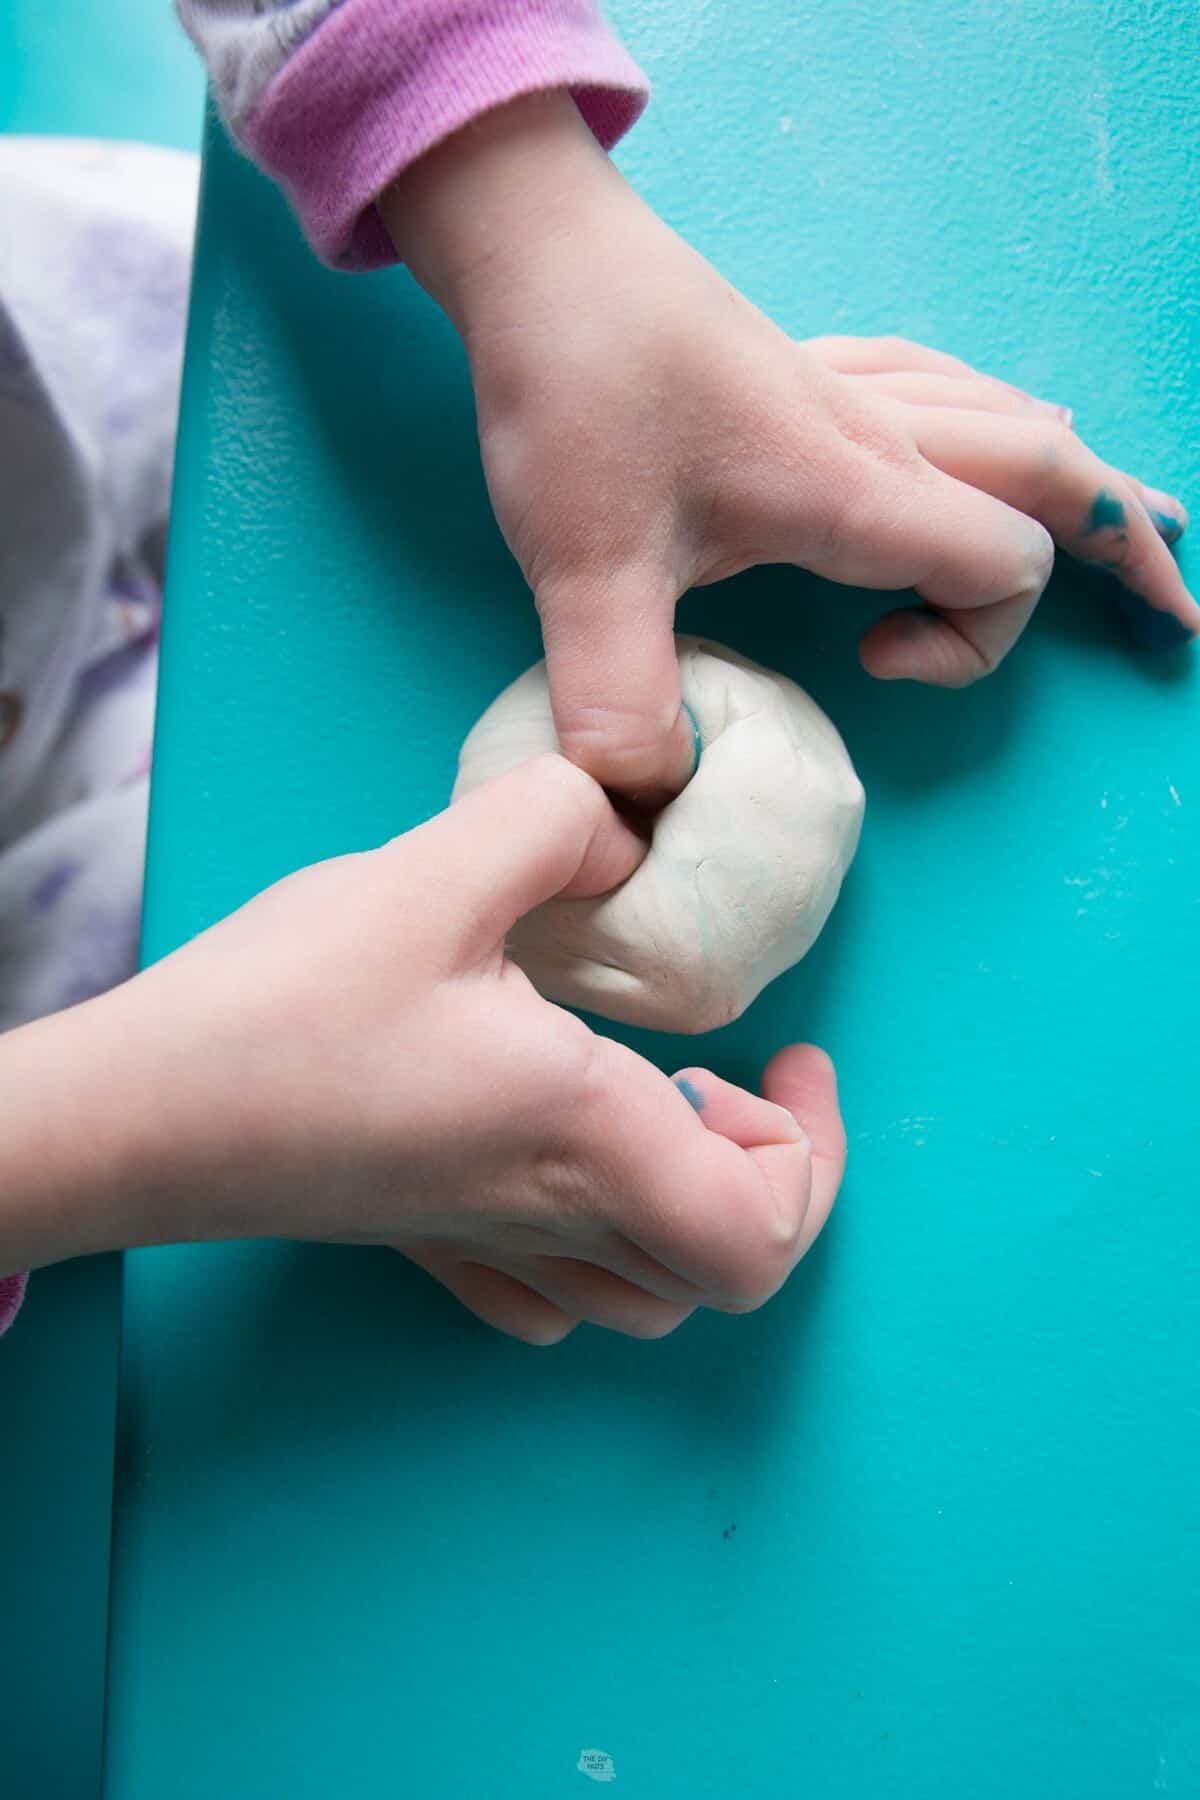
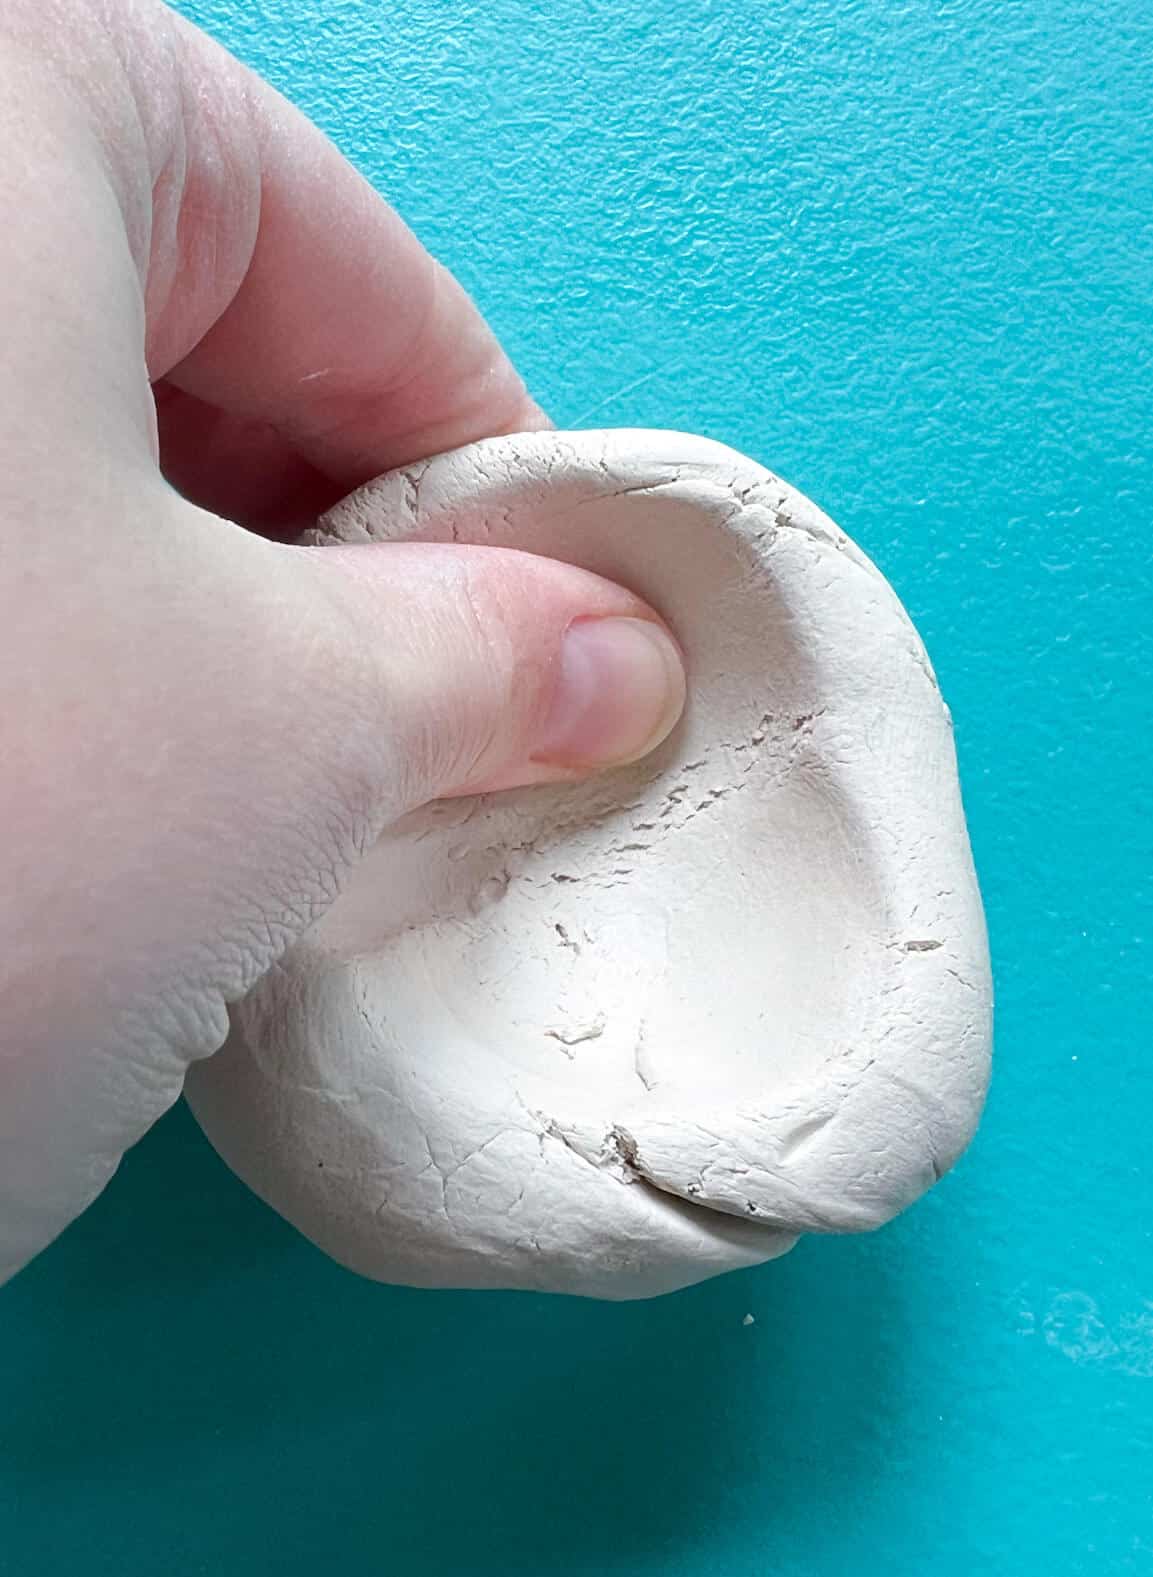
Step 2: Push Down With Thumbs In The Center
Using their thumbs, kids should push a hole into the center of the clay ball, making sure not to push all the way through to the bottom. The hole should be as deep as possible. This will be the starting point for the pinch pot.
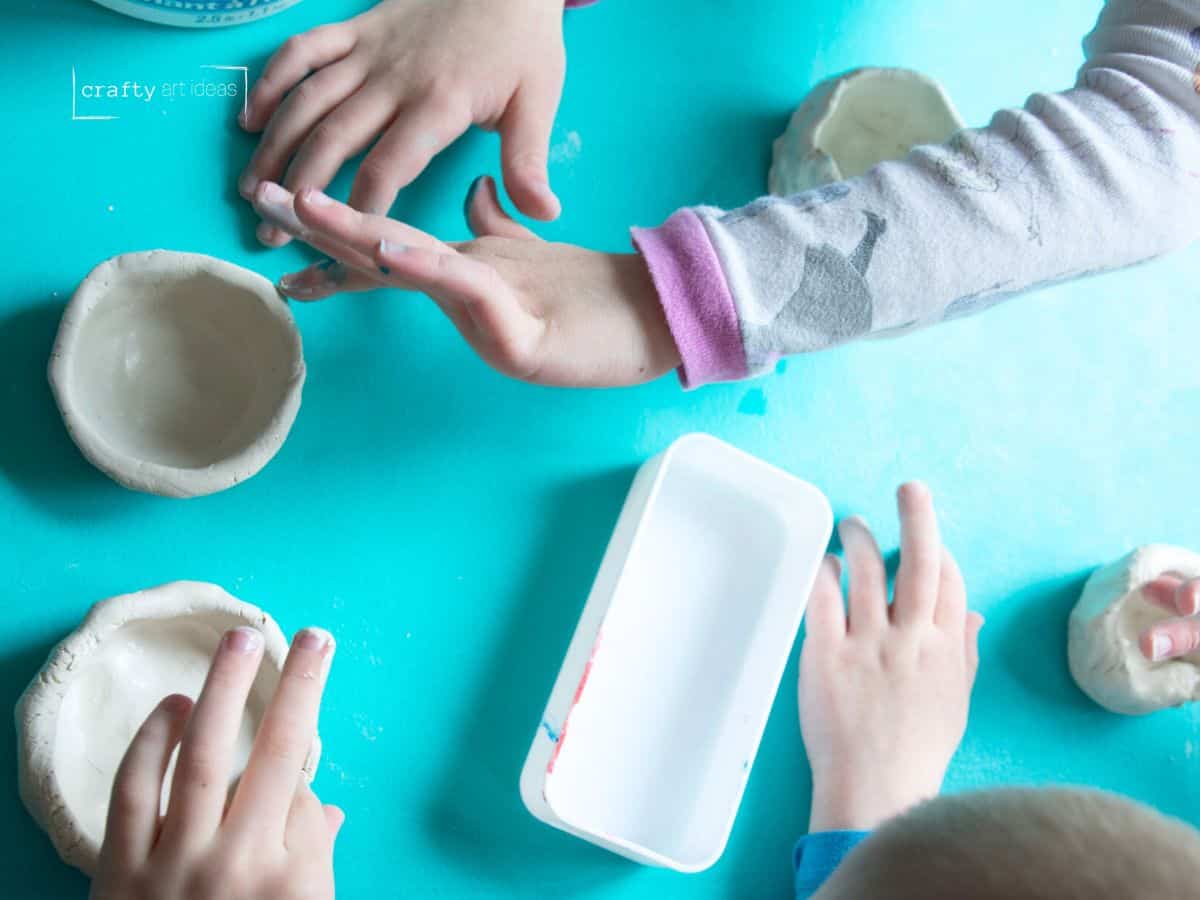
Step 3: Pinch The Clay Walls
Rotate the pot and continue pinching around the edges to create an even shape. Encourage your child to hold their index fingers and thumbs like they are driving a car, instead of pulling the walls and ending up with a plate.
Step 4: Flip Over To Make A Smooth Edge
Flip the pot over on a flat surface and lightly tap the rim to make it even. You can also use clay tools to trim the excess clay.
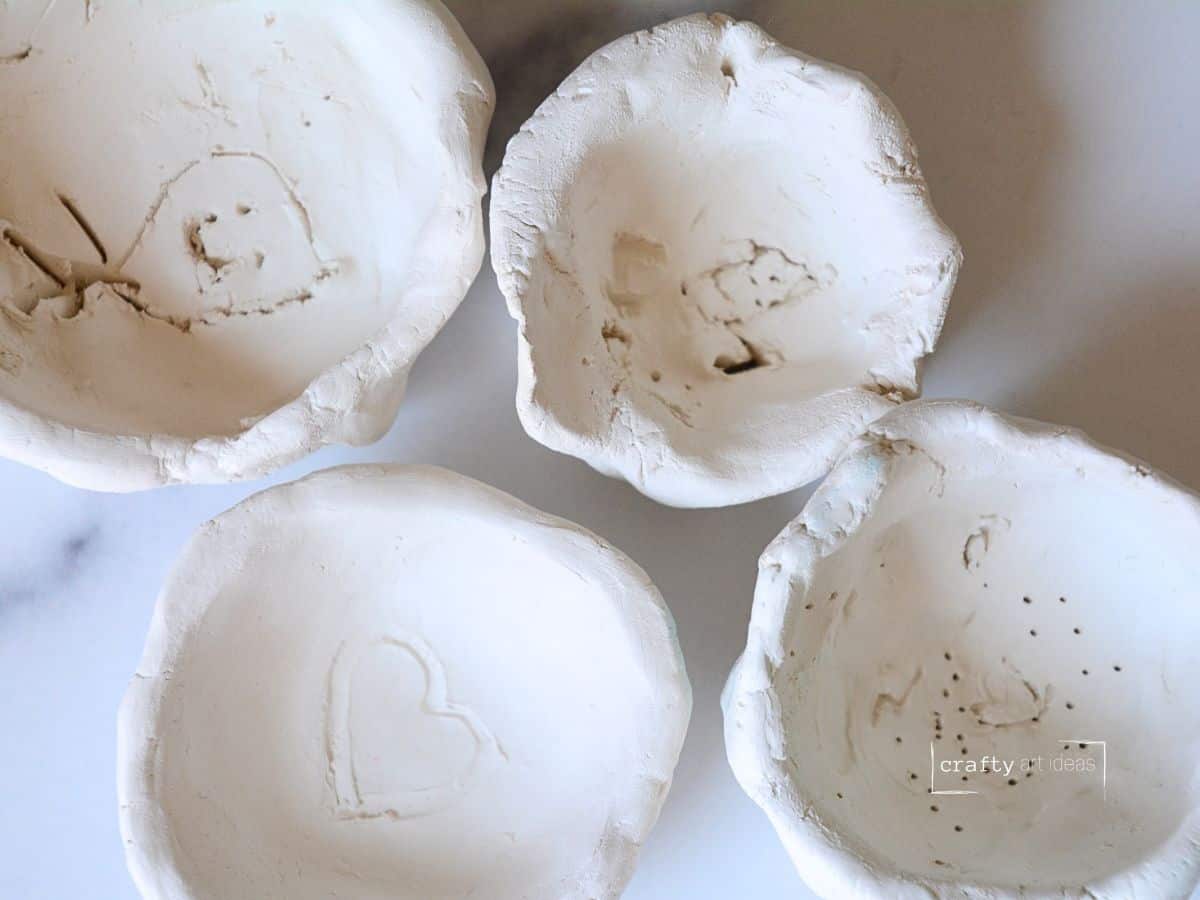
Step 5: Smooth Out Bumps Or Cracks
Smooth out any bumps or cracks with your fingers or a small clay tool. Your child can use a finger dipped in water to help smooth the surface.
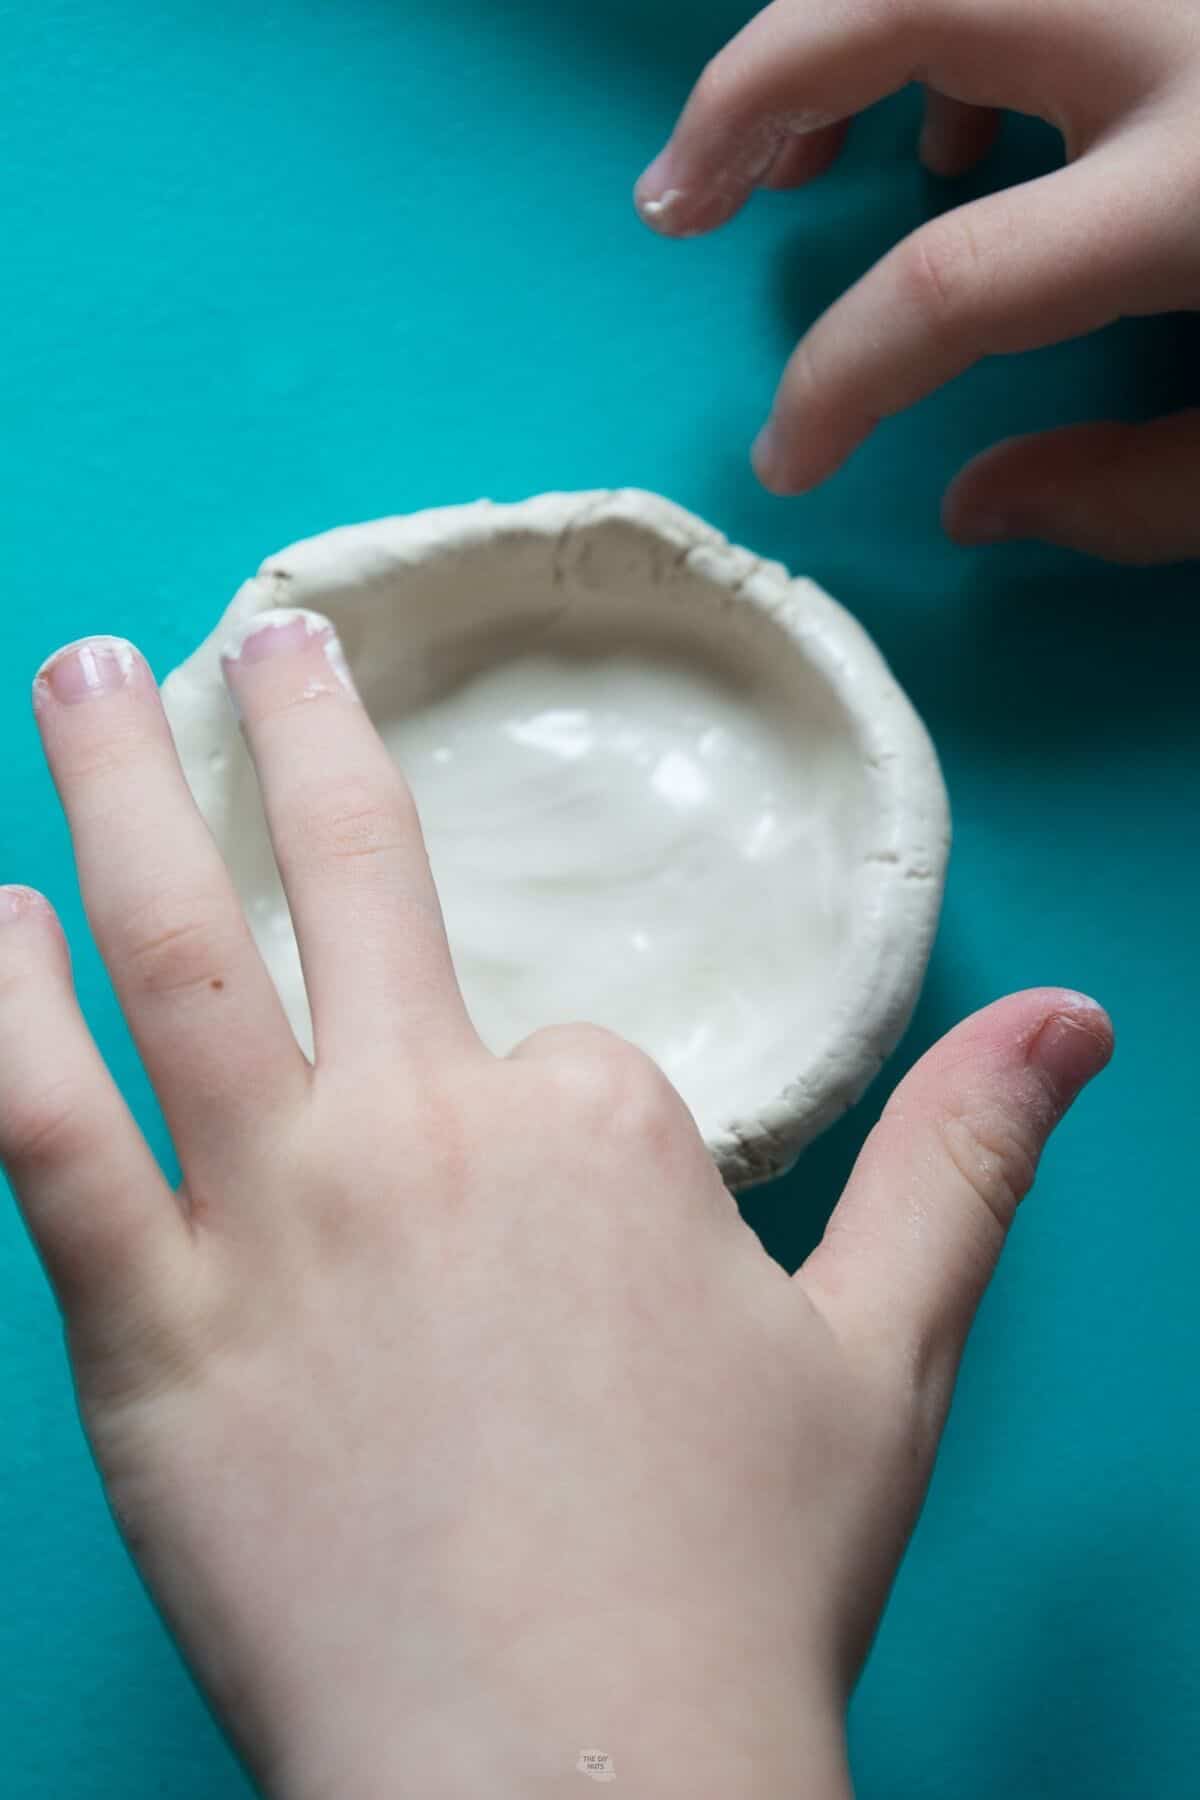
Just note that pinch pots are supposed to be more organic-looking and you do not want to overwork the clay.
Step 6: Add Extra Details (optional)
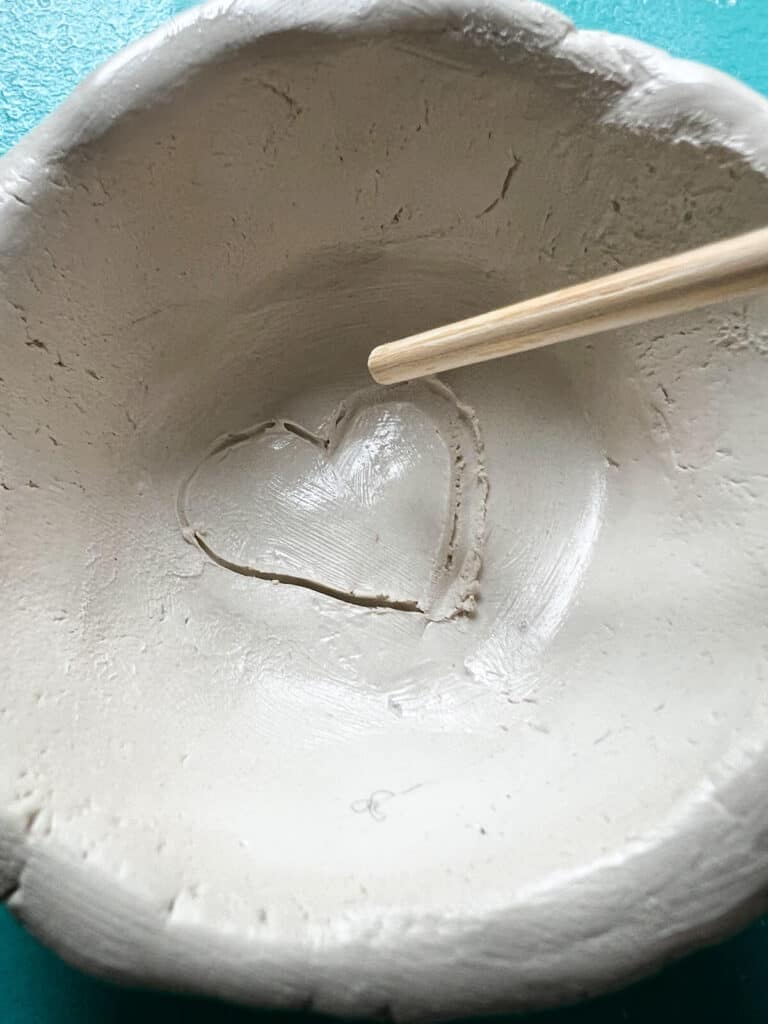
If desired, create a coil of clay and add a foot ring to the bottom of the pot. Score marks on both pieces and add water to create slip.
You can also carefully draw into the surface of the clay to create designs. Kids will love to personalize their pinch pots. You just want to encourage them not to poke all the way through the clay when drawing.
Step 7: Add Name On The Bottom
Flip the pot over and write your name or initials on the project.
Step 8: Let Clay Dry
Let the pot dry completely. You can tell if it’s dry by touching it. It should not feel cold at all.
No need for a kiln! Air dry clay dries on its own and will harden over time.
Step 9: Add Color
Use paint or other techniques to add color to your air dry clay project.
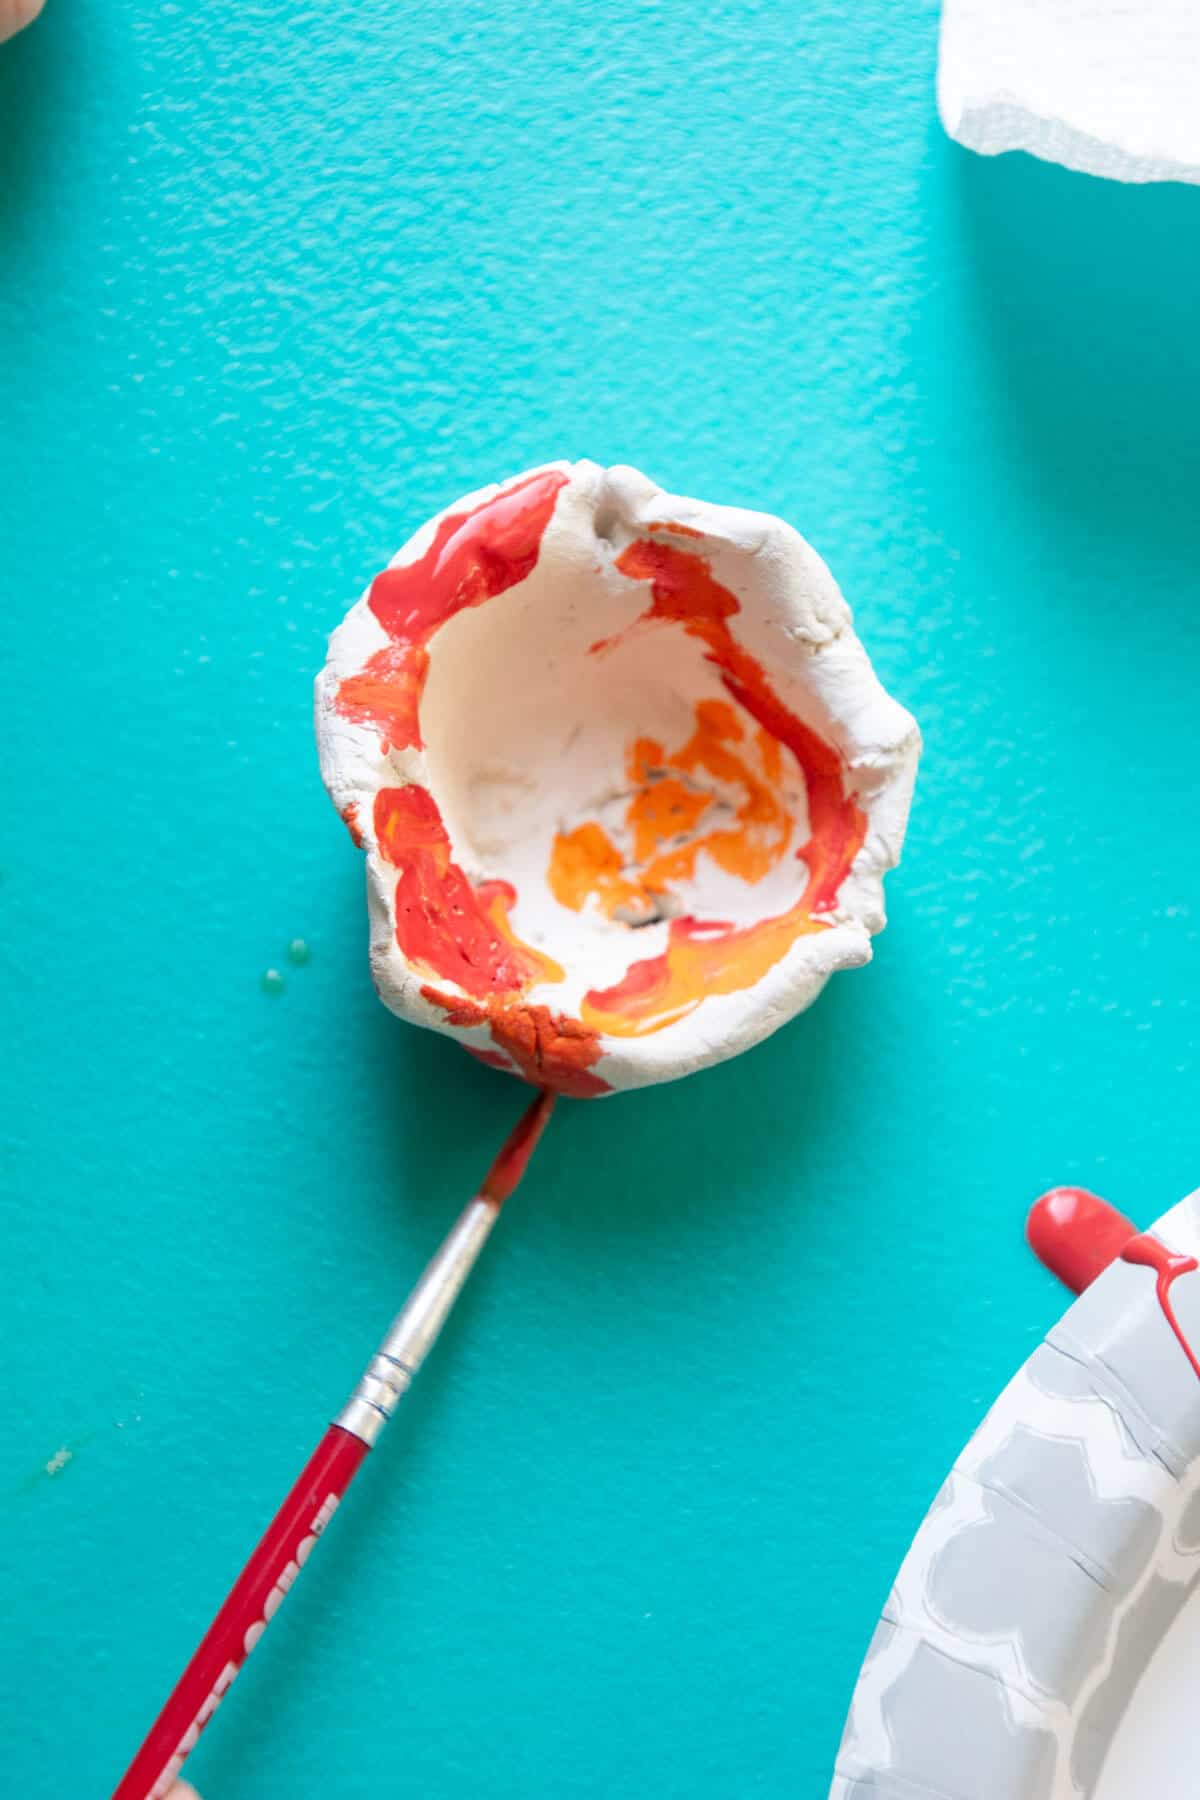
Acrylic paint is probably our favorite material to paint air dry clay with.
Tips For Beginners
- Check The Thickness Of Your Walls When Pinching: It is important to make sure that the walls of your pinch pot are thick enough to hold their shape. If they are too thin, they may collapse or crack.
- Compressing the Clay: It is important to compress the clay as you pinch and shape it, to ensure that it is even and free of air pockets. You can also wedge your clay before beginning.
- Make A Solid Base: The base of your pinch pot should be thick enough to provide stability and support for the walls. If it is too thin, the pot may wobble or tip over.
- Don’t Overwork The Clay: Air dry and regular clay can start to dry out when you over touch it. Remember pinch pots are meant to be simple and organic in shape.
- Allowing Enough Drying Time: Make sure to let your pinch pot dry completely before firing it. Rushing this step can result in cracking or warping of the clay.
- Don’t Add Water Once Dry: You can use watercolor paint on air-dried clay, but you don’t want to try to resoak the clay to fix or change anything. You will most likely end up with a crumbly mess.
Air Dry Clay FAQs
The drying time for air dry clay can vary depending on the humidity and thickness of the clay. Typically, it takes about 24-48 hours for a small pinch pot to dry completely.
Yes, air dry clay is a great material for beginners to work with, as it is easy to shape and does not require a kiln or other specialized equipment. Just start with a small amount of clay and make sure to let your project fully dry before adding paint or color.
Follow us on Pinterest, YouTube & Facebook for more free art and craft ideas!
Related Ceramic Ideas
Do you like this art project? Please give us a 5-STAR review below ⭐️⭐️⭐️⭐️⭐️ and have fun being creative with your family.
How To Make A Pinch Pot With Air Dry Clay
Equipment
- Small container of water
- Skewer or Needle Tool
Supplies
- Air Dry Clay
- Acrylic Paint
Instructions
- Roll a ball of air dry clay in your hands until it's smooth and round.
- Use your thumbs to push a hole into the center of the clay ball, making sure not to push all the way through to the bottom. The hole should be as deep as possible. This will be the starting point for the pinch pot.
- Pinch the clay walls to create an even shape, rotating the pot and continuing to pinch around the edges. Be sure to hold your index fingers and thumbs like you're driving a car to maintain the shape.
- Flip the pot over on a flat surface and lightly tap the rim to make it even. You can also use clay tools to trim the excess clay.
- Smooth out any bumps or cracks with your fingers or a small clay tool. If needed, dip your fingers in water to help smooth the surface.
- (Optional) Add extra details, such as a coil of clay for a foot ring or designs on the surface. Be sure not to poke all the way through the clay when drawing.
- Flip the pot over and write your name or initials on the bottom.
- Let the pot dry completely.
- (Optional) Add color to your pinch pot using paint or other techniques. Acrylic paint is a good option for painting air dry clay.
Notes
- The drying time for air dry clay can vary depending on the humidity and thickness of the clay. Typically, it takes about 24-48 hours for a small pinch pot to dry completely.
- Apply a varnish or clear coat for extra protection if your pot will come into contact with water.