How To Attach A Foot Ring To A Clay Pot
Adding one simple element to a pinch pot can really change the project. Kids will love how simple it is to turn your pot into a bowl. Learn how to easily add a base to your pinch pot bowls.
We have been exploring all types of pinch pot ideas for kids recently. Ceramic projects are by far some of the best kid art lessons out there. Even if a child isn’t confident in their drawing ability, you will see them smile when trying to build with clay.
Here is a simple way kids can use a clay coil to add a foot ring to their simple pinch pots.
What is a foot ring?
A foot ring is a simple clay line that goes around the base of a ceramic project. It is meant to support the entire clay project. If you were throwing clay on a wheel you would most likely carve this while still having it on the wheel. This simple coil addition is perfect for beginner clay projects.
How Do Kids Attach Clay Together
Over 14 years we have had a lot of success with this clay attaching method. We know some professional ceramic artists will cringe, but this seems to do the trick with 25+ kids and a time limit.
In the picture below, we are attaching an elephant head to a pinch pot animal project. The water method works even with this larger and more detailed build.
When attaching clay teach children to score on both pieces of clay. Use one finger to add water to both spots and push the clay together. To be extra sure, you can have kids blend the seam.
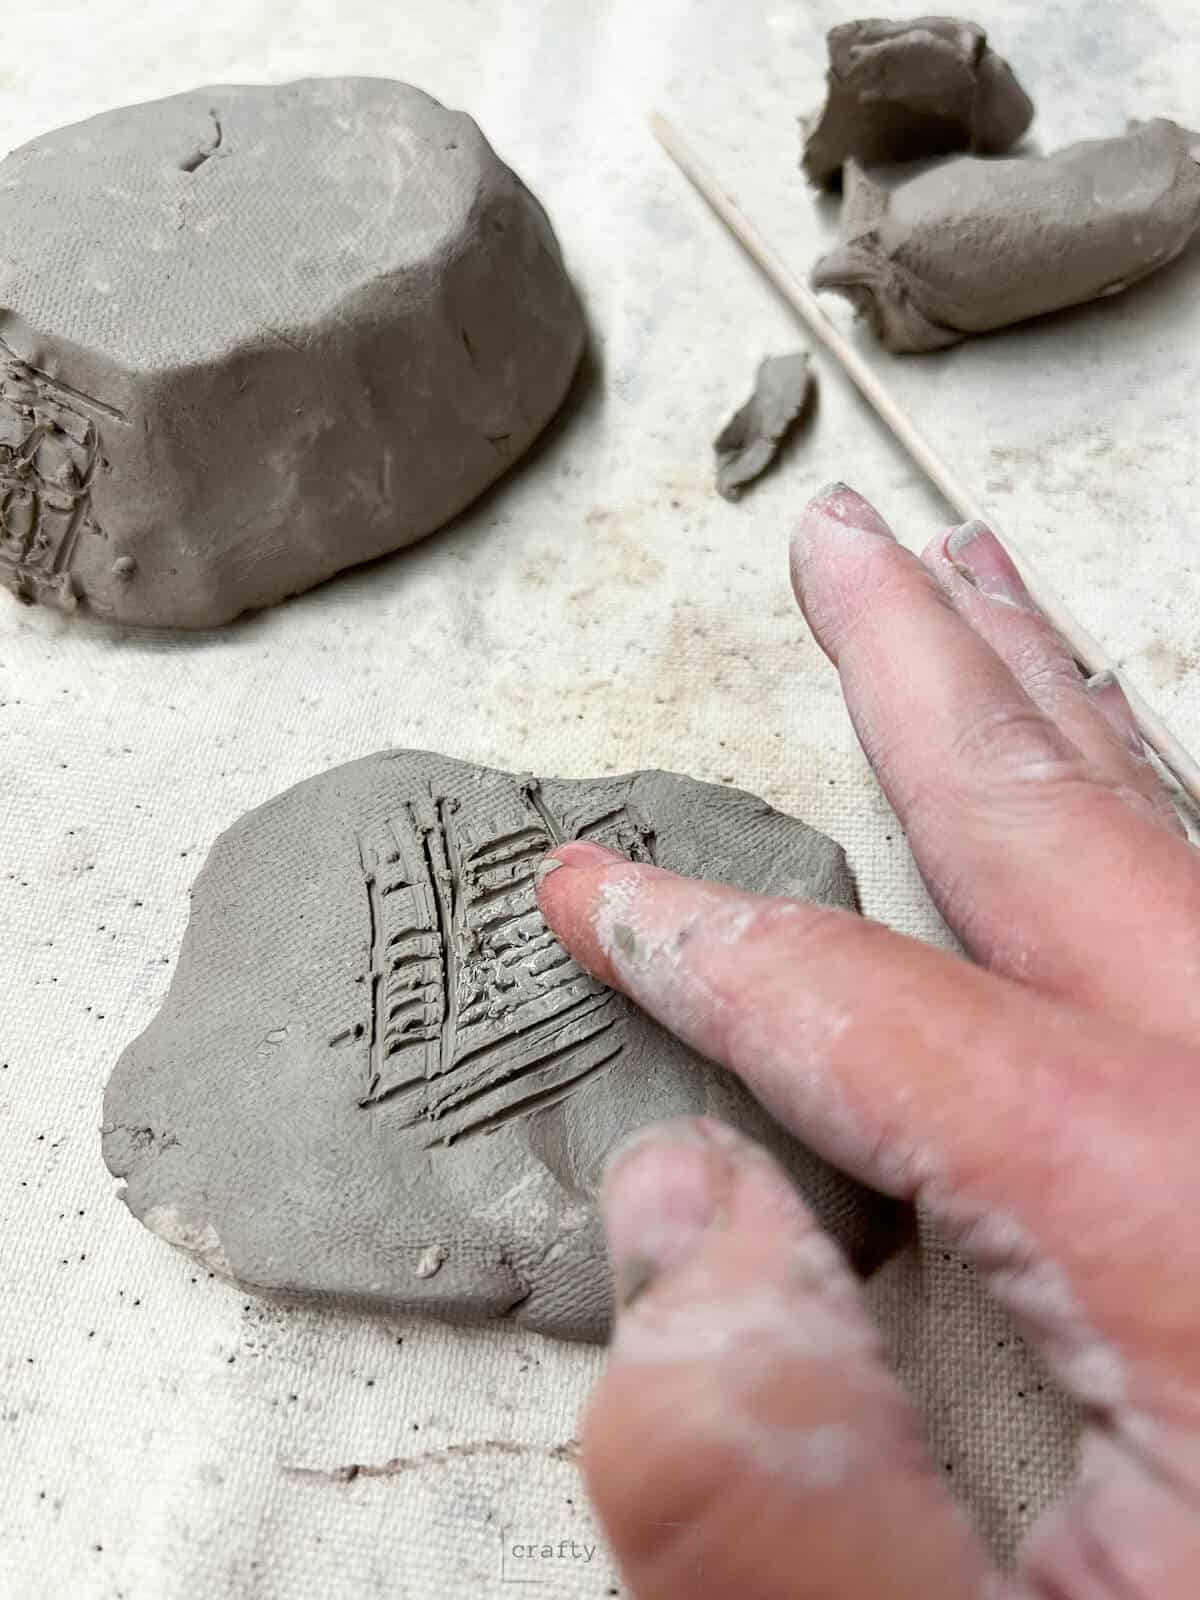
What is scoring?
Scoring is roughing up the clay so that it will attach better. In the elementary art classroom, that normally is a wooden stick or skewer drawing criss-cross patterns in the clay.
Why do we not use slip with children?
Honestly, it is just one less thing to pass out. Somewhere along in my training, I was shown this method with kids and it honestly works as long as your clay is still moist. You can premake containers of slip, but for young children, this water method works.
How To Attach Foot Ring
We recently made a simple pinch pot bowl and added a coil to the base. Since it was an optional step, we thought we would share a more detailed step-by-step description here.
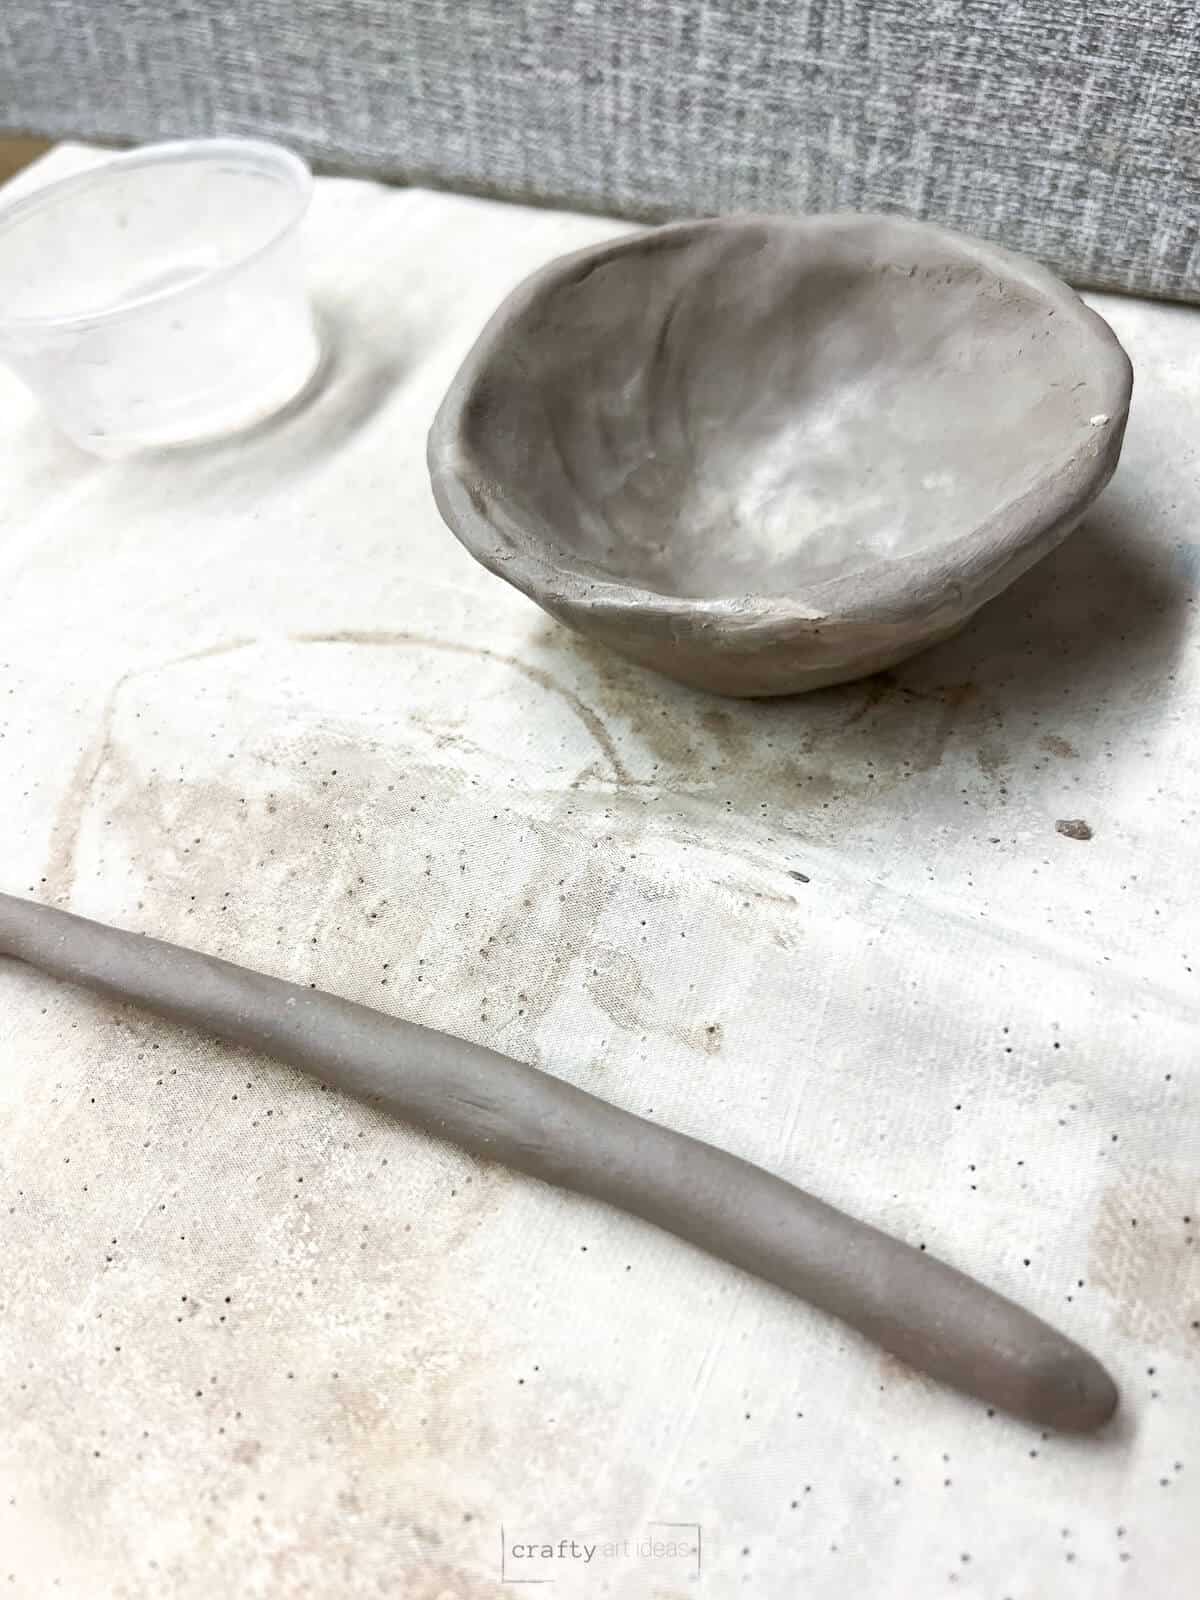
Step 1: Create a pinch pot and flip the pinch pot over.
Step 2: Roll a small coil.
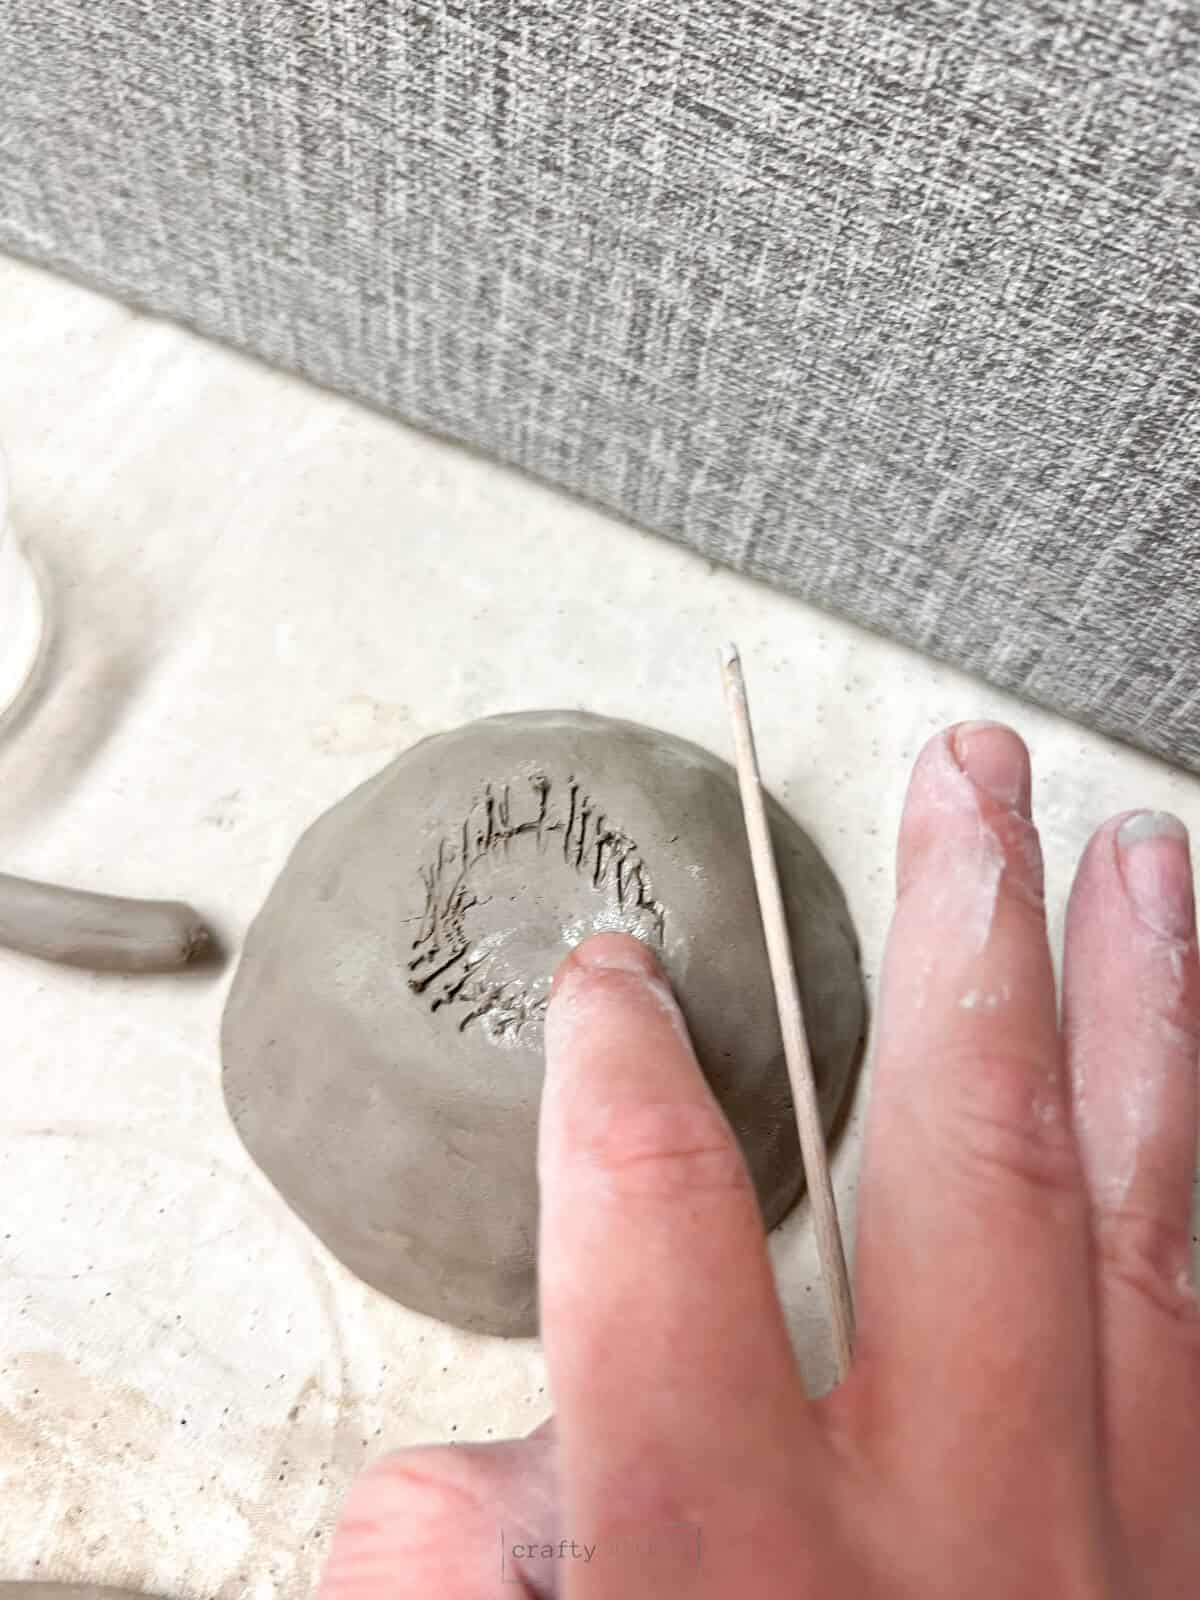
Step 3: Put score lines on the bottom of the bowl and on the coil.
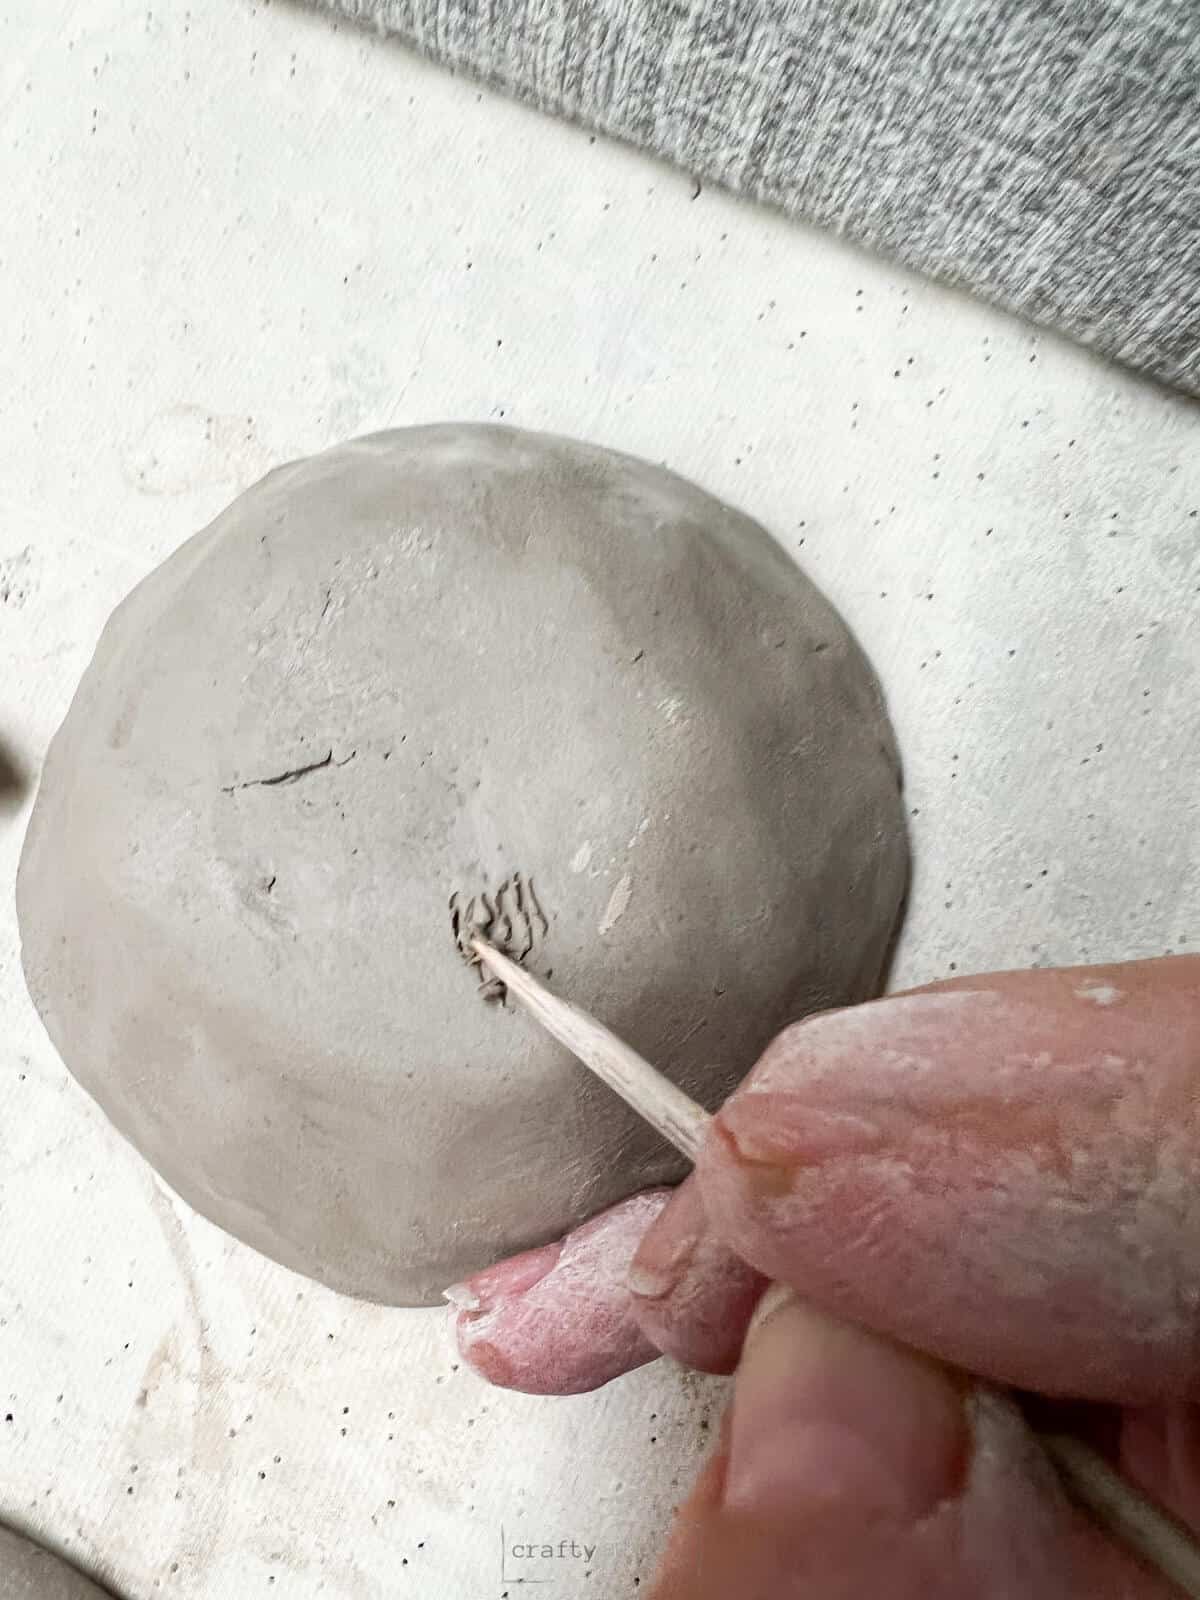
Step 4: Take one finger of water and rub it on both score spots.
Step 5: Wrap the coil around the base and pull off the extra clay not needed.
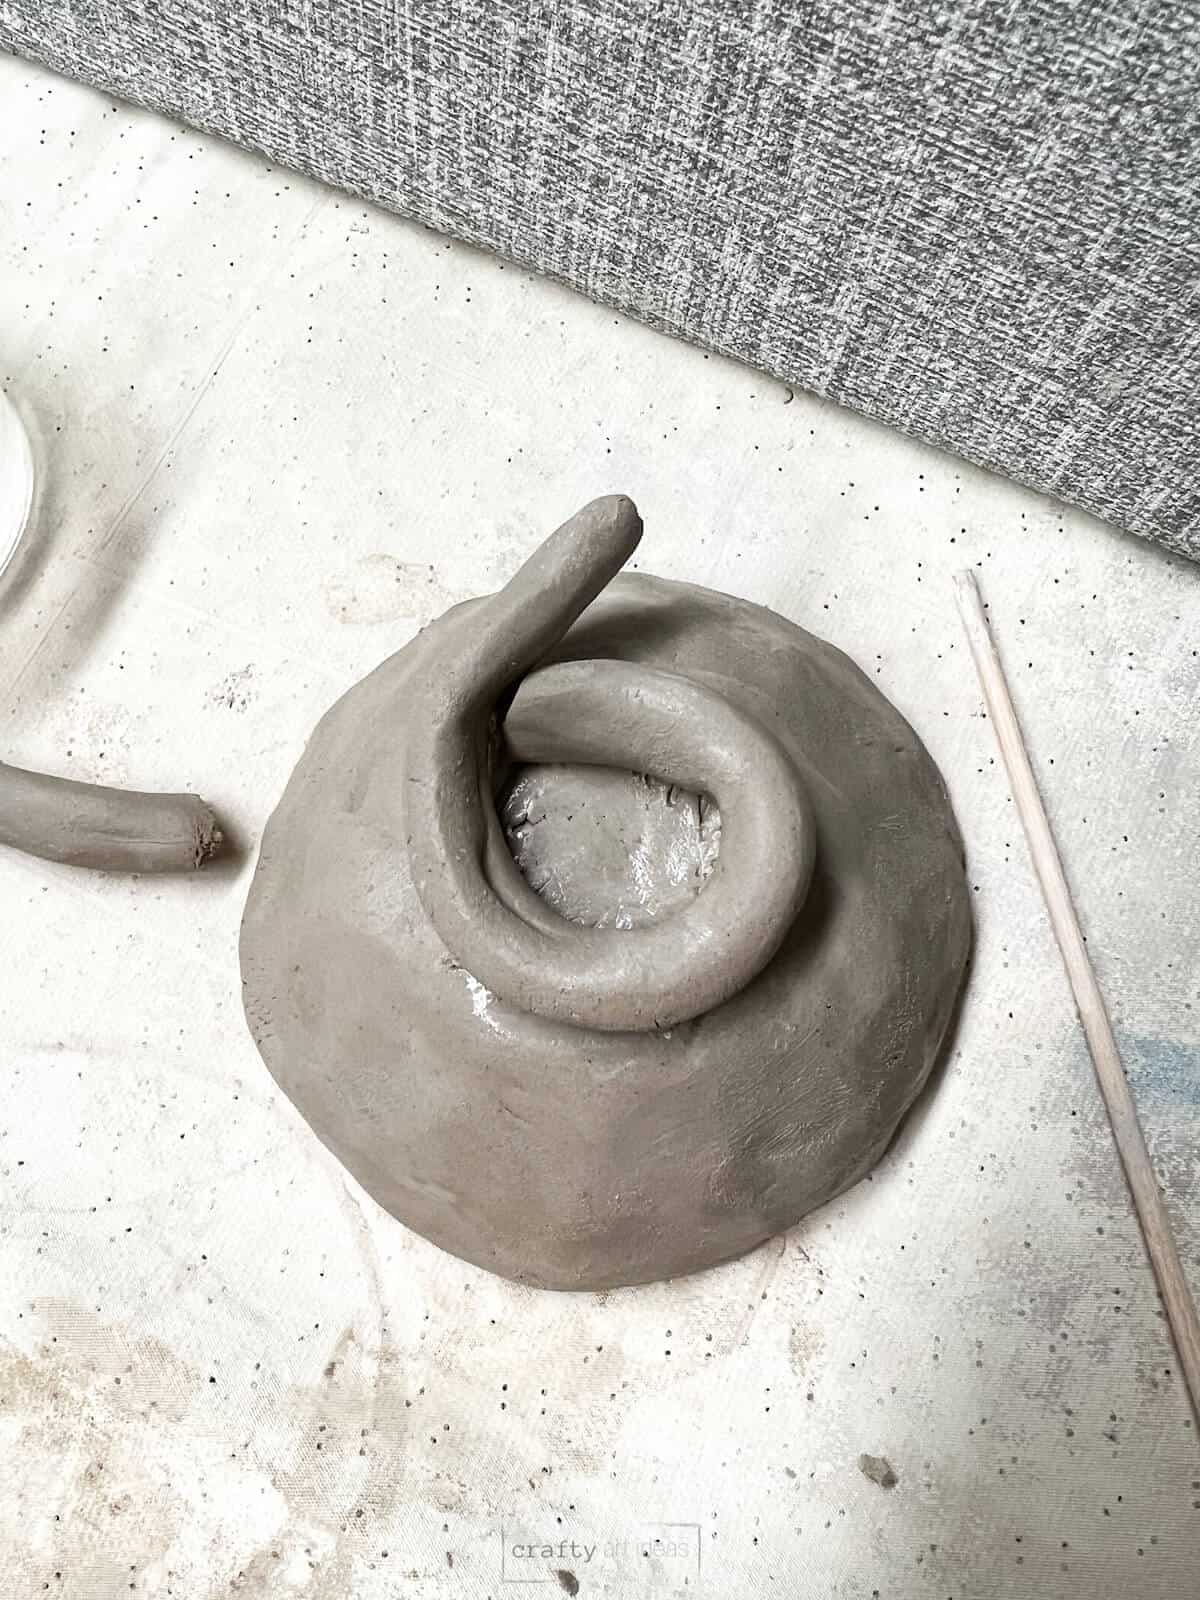
Step 6: Blend the seam where the coil is not connected and where it hits the base.
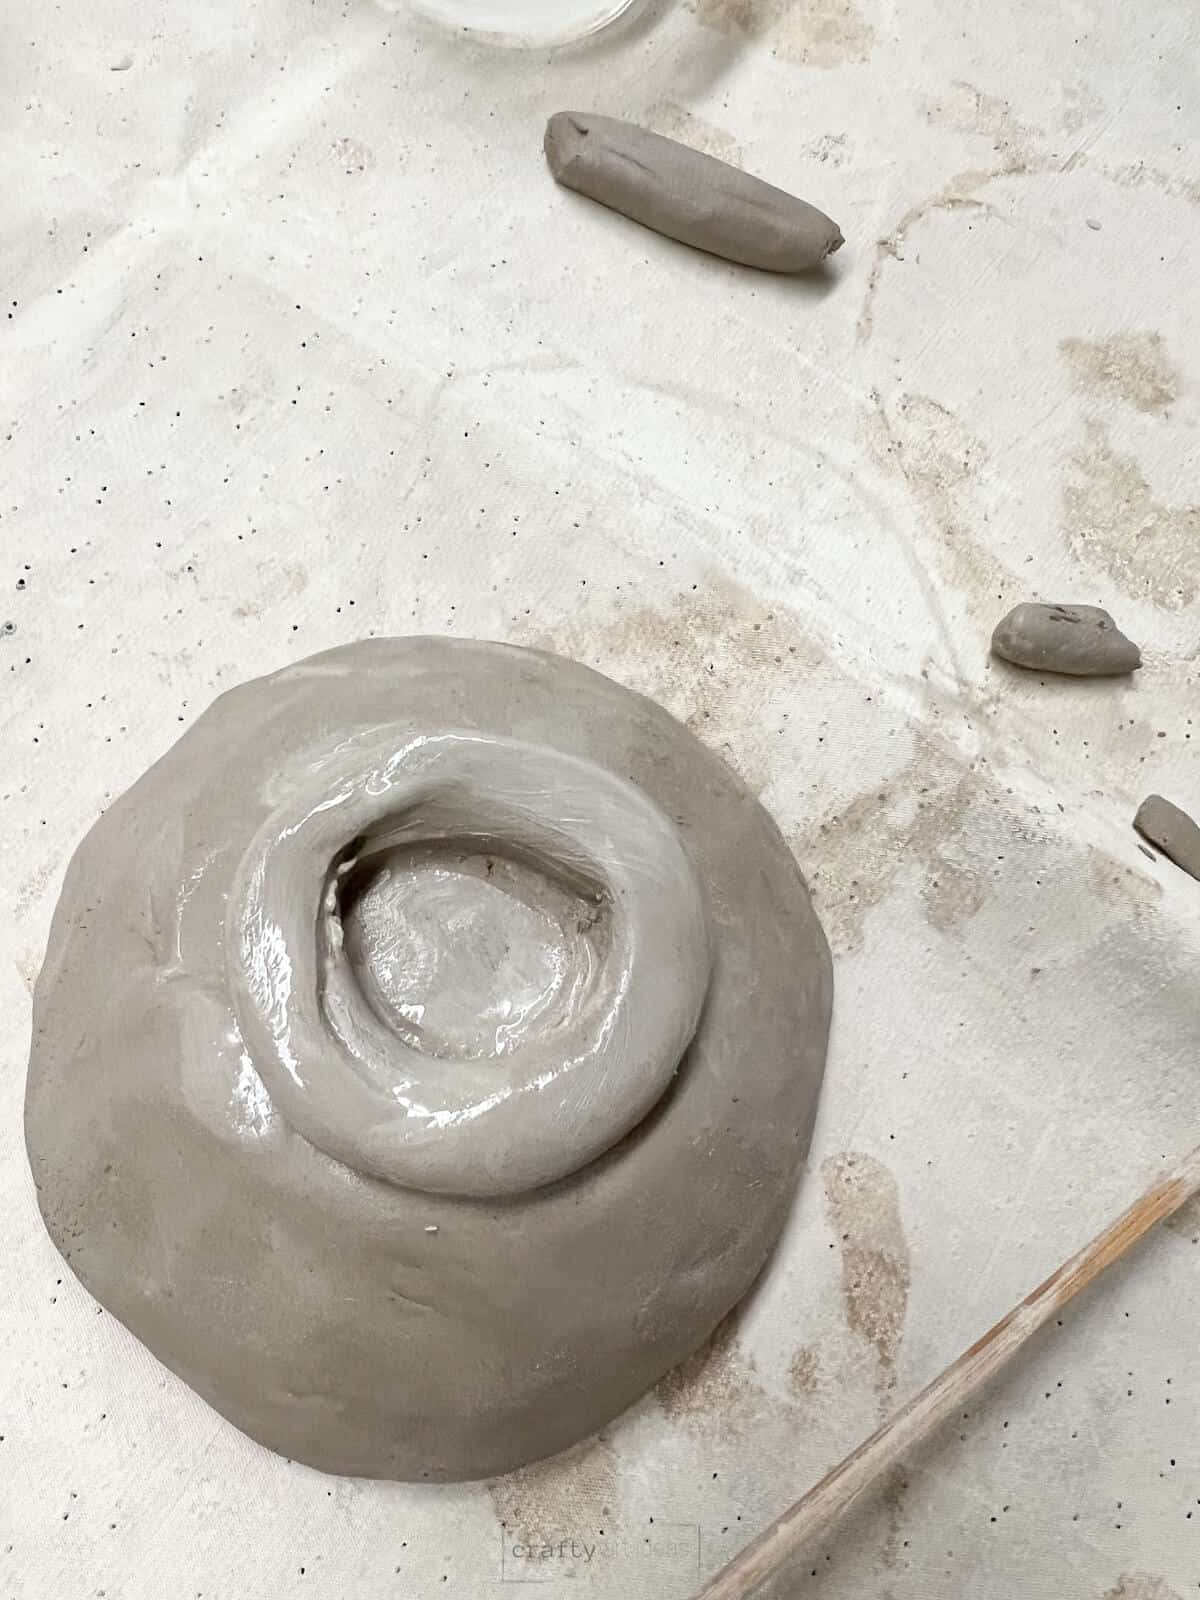
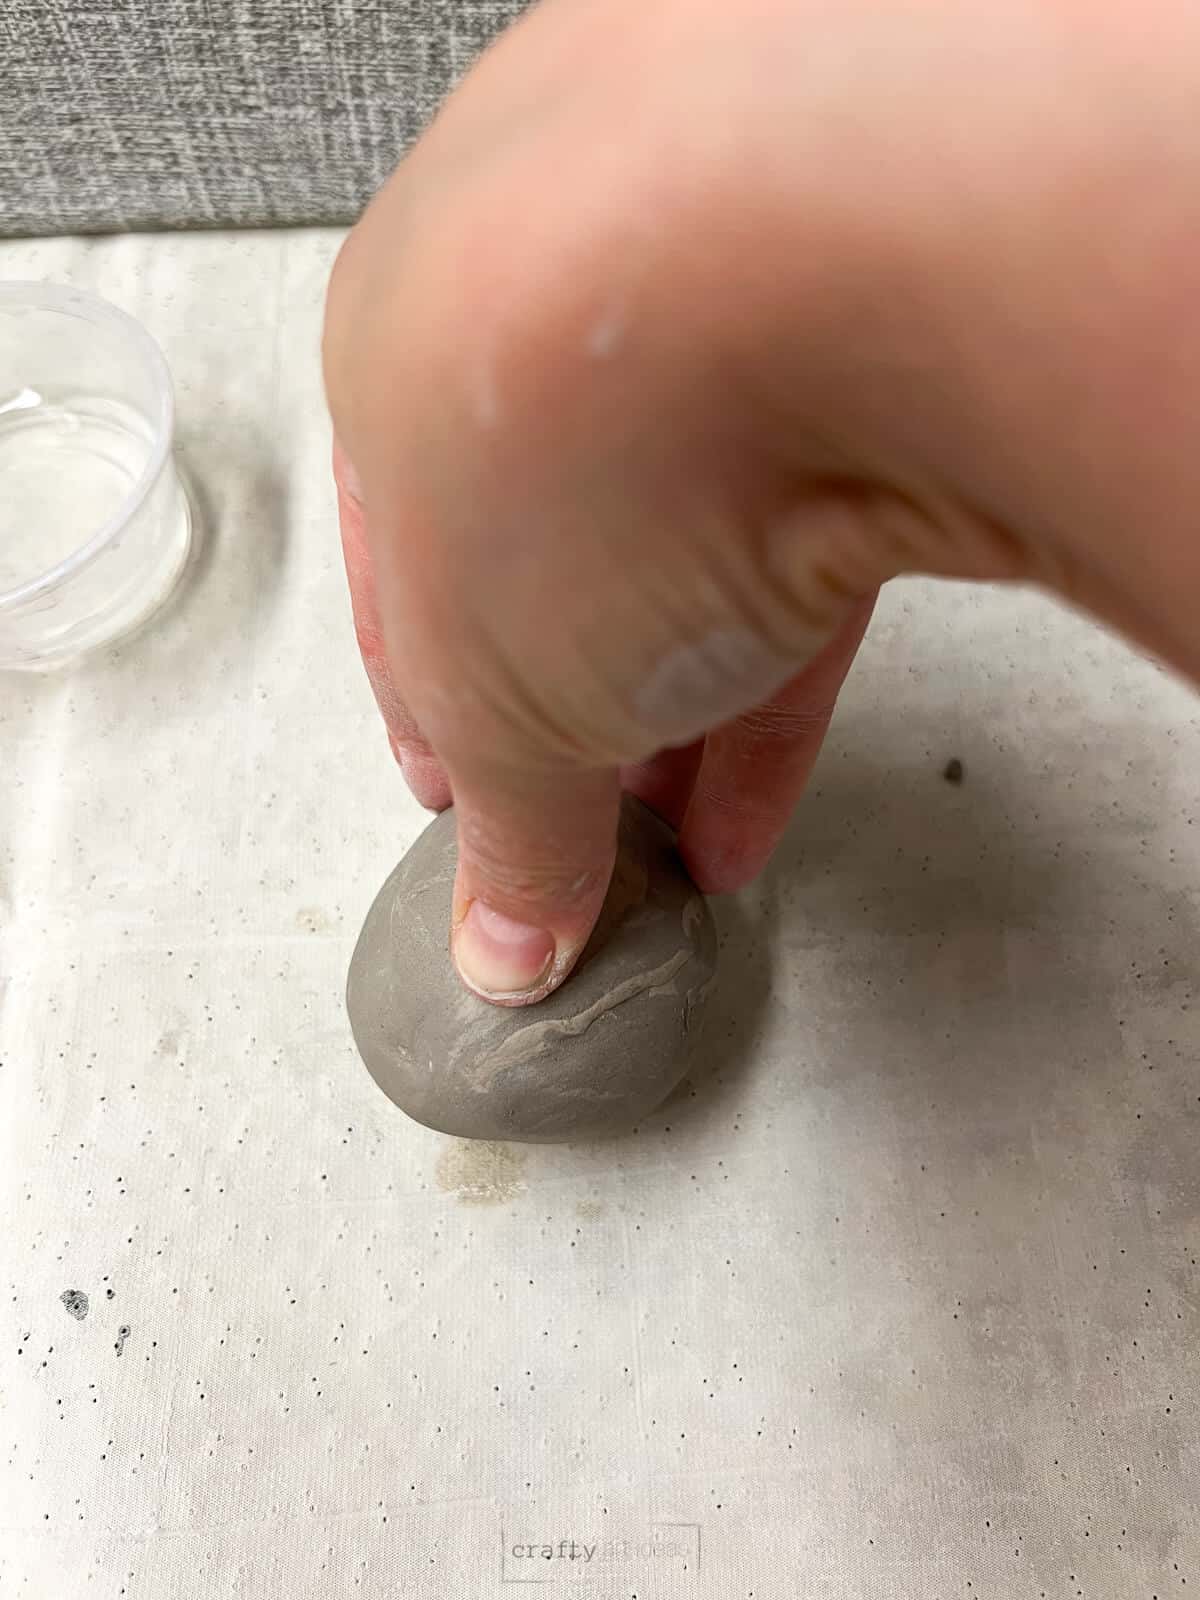
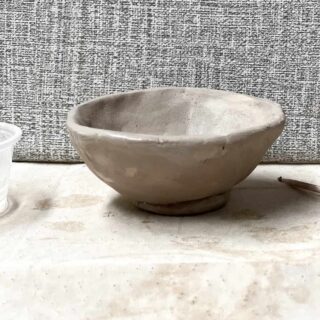
Step 7: Flip the pinch pot bowl over and put a little pressure on top to make sure that the bowl is sitting evenly on the table.
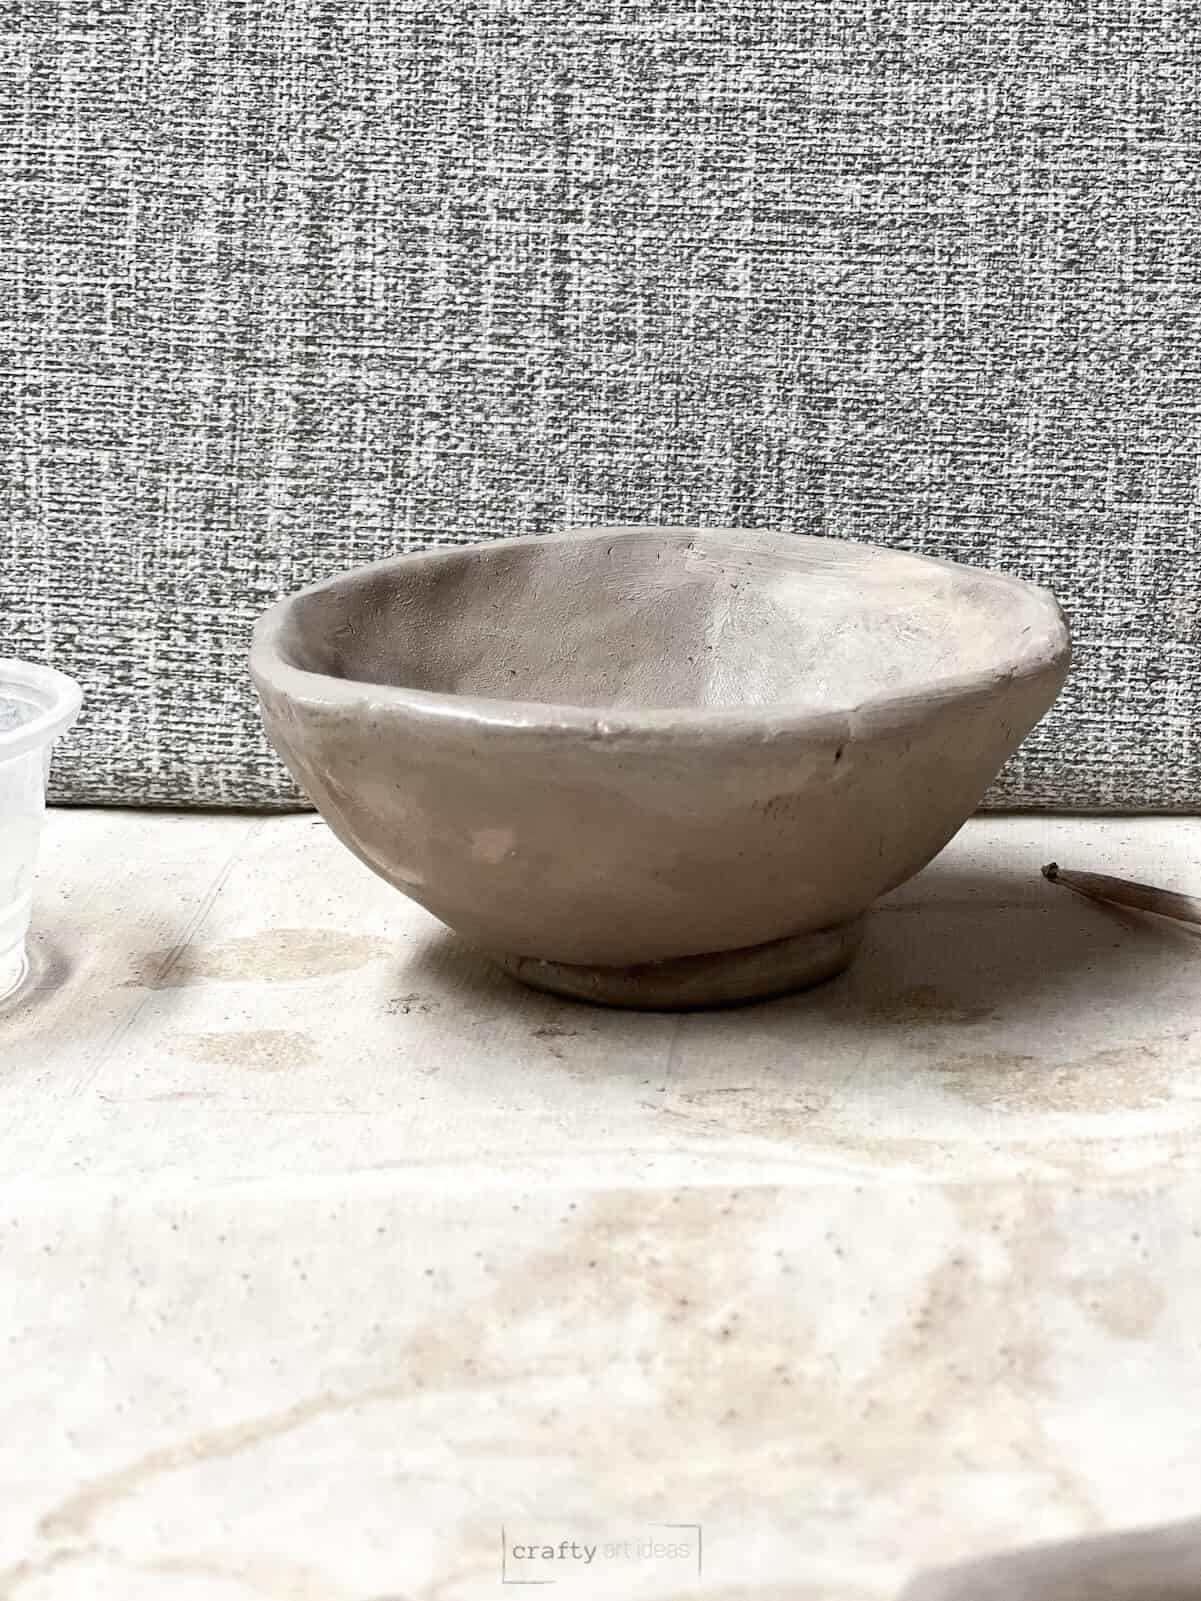
Step 8: Allow for the project to fully dry.
Step 9: Run in the kiln and add color in a way of your choosing.
Can you do this on larger pots?
Yes, this simple coil base technique can work for all sorts of sizes and shapes. You can always fake a long coil by attaching them together as you build.
Follow us on Pinterest, YouTube & Facebook for more free art and craft ideas!
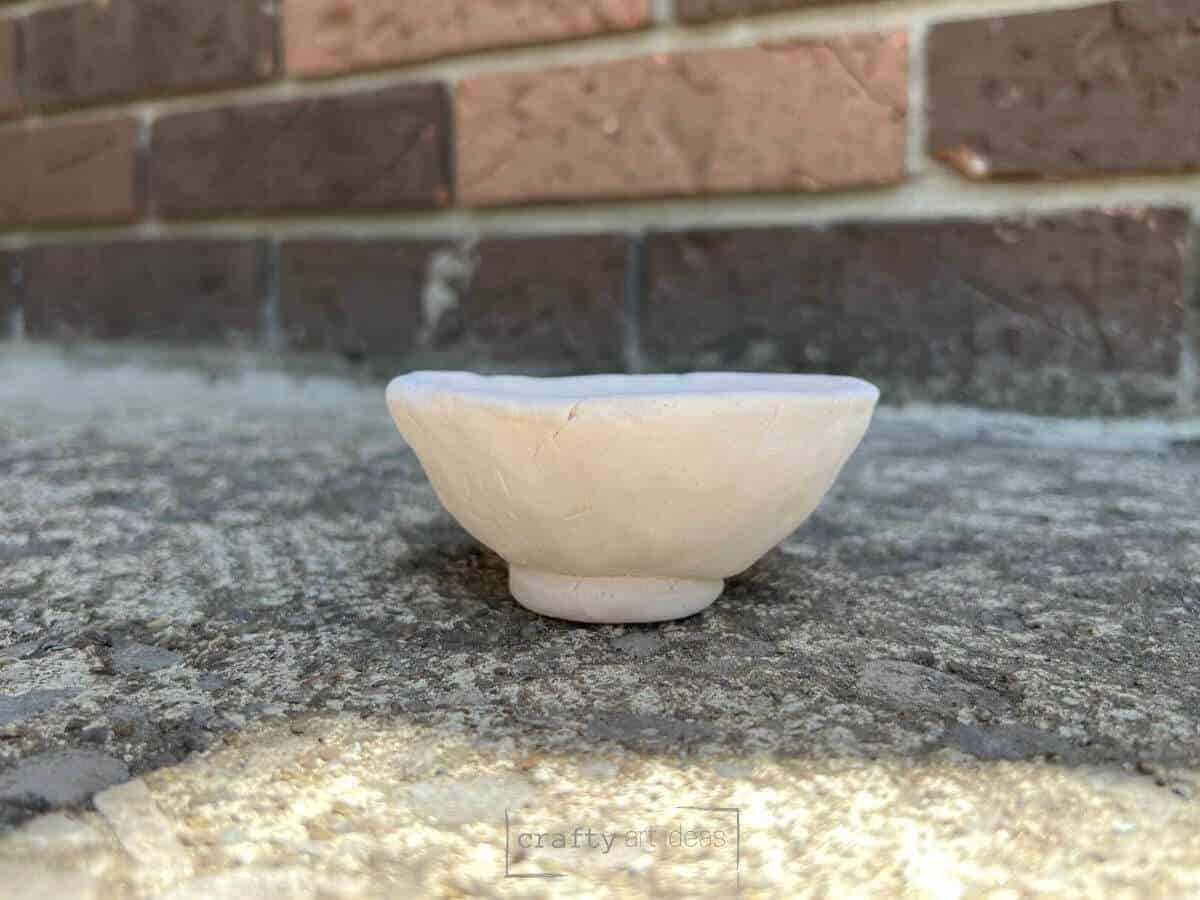
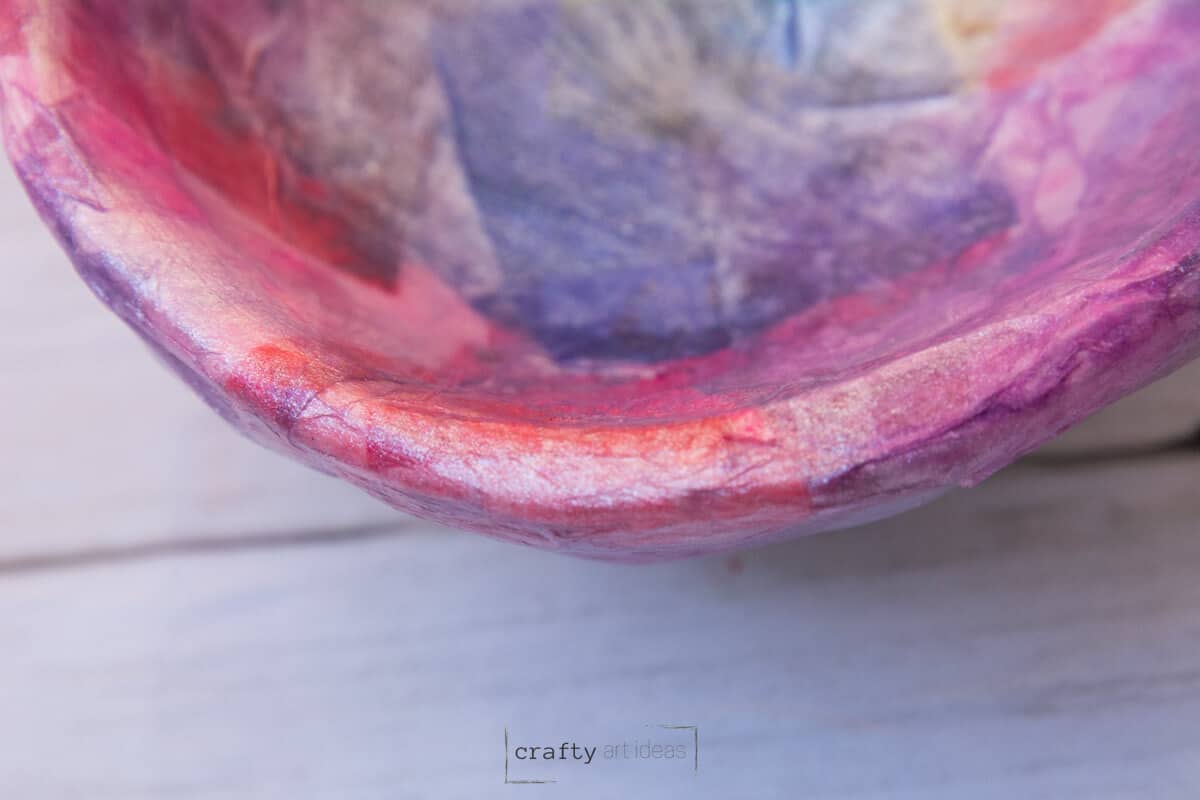
See what this bowl looks like now after decoupaging tissue paper on clay to finish this easy ceramic project.
We just love that a simple coil foot ring can help turn that pinch pot into a fun pinch pot bowl!
How To Add Clay Foot Ring To Bowl
Equipment
- Wooden Stick
- Small container of water
- Work surface
- Kiln (if use real clay)
Supplies
- White Art Clay
Instructions
- Flip pinch pot over.
- Roll a small coil.
- Put score lines on the bottom of the bowl and on the coil.
- Take one finger of water and rub it on both score spots.
- Wrap the coil around the base and pull off the extra clay not needed.
- Blend the seam where the coil is not connected and where it hits the base.
- Flip the pinch pot bowl over and put a little pressure on top to make sure that the bowl is sitting evenly on the table.
- Allow for the project to fully dry.
- Run in the kiln and add color in a way of your choosing.