How To Make A Pinch Pot Easily With Kids
Pinch pots are the perfect beginner clay build for children and adults alike. After making thousands of clay projects with children, here are our tips for making pinch pots with kids.

Disclosure: This post may contain affiliate links when clicked, we may earn a small commission at no additional cost to you. Read our full privacy policy.
Pinch pots are also one of the primary clay-building techniques used when making pinch pot ceramic projects. There are so many easy clay pinch pot projects that kids (and adults) can do.
Kids can gain a better understanding of how to form clay without having to attach anything. Learning this simple technique is a perfect clay lesson to work on fine motor skills in children.

Clay pinch pots really can look professional if you take the time to smooth and refine your practice. While we are talking mainly about how to make pinch pots with children, an adult can still use these steps to create a more detailed pinch pot sculpture, mug or vase.
Common Obstacles When Making Pinch Pots
- Remind children to pinch all the way to the bottom of the clay and not only the top. A common problem is that children will pinch the top clay wall and not the bottom. The goal should be to make the walls as even as possible.
- Children should only use a little water when smoothing out their basic shape.
- A great way for them to visualize how much water to use is to tell them they do not want to make “mud pie” if they use too much water.
- Don’t let the children over-touch the clay. Handling the clay too much can cause it to become dry and crumbly more quickly.
If you can feel the base of the pot is too thick, you can help thin out the base by pulling clay up the side walls. We always like to check as children are building their clay projects to make sure that the bottom of the pot is not too heavy.

How do you make a pinch pot at home?
An easy way to make a pinch pot at home is to use air drying clay. You can use the same methods as traditional clay, but won’t have to put this air dry clay in the kiln. Paint your projects with acrylic paint or watercolor paint and seal with a sealer like mod podge.
How thick should clay walls be in a pinch pot?
This will slightly depend on the clay project being built out of the pinch pot. However, if this is a stand-alone clay pinch pot then you want the walls to be an equal 1 cm or 1/2 inch. This will work for bowl pinch pots or even sculptural parts (like when we flipped ours over to be a clay turtle).

How much clay should you use?
This will depend on who is making the pinch pot. It is best to start with a small clay ball that will fit in your hand when making a pinch pot. Children will have an easier time creating their own if they don’t have too much clay.
If you need to prep or cut large amounts of clay in advance, store pre-cut clay in a plastic bag until ready to use.
Supplies
- Work surface
- Small piece of clay: Low-Fire clay is fine for elementary pinch pot projects. We don’t recommend using high-fire clay until high school and beyond.
- Small container of cold water
- Wooden Stick (if adding foot ring)
- Kiln (if using real clay)
- Glazes or paints
How To Make A Pinch Pot
Step 1: Start With Clay
Start with a small amount of clay that can fit inside the palm of your hand or of a child’s hand.

Step 2: Roll The Clay Into A Ball
The ball shape does not have to be perfect.

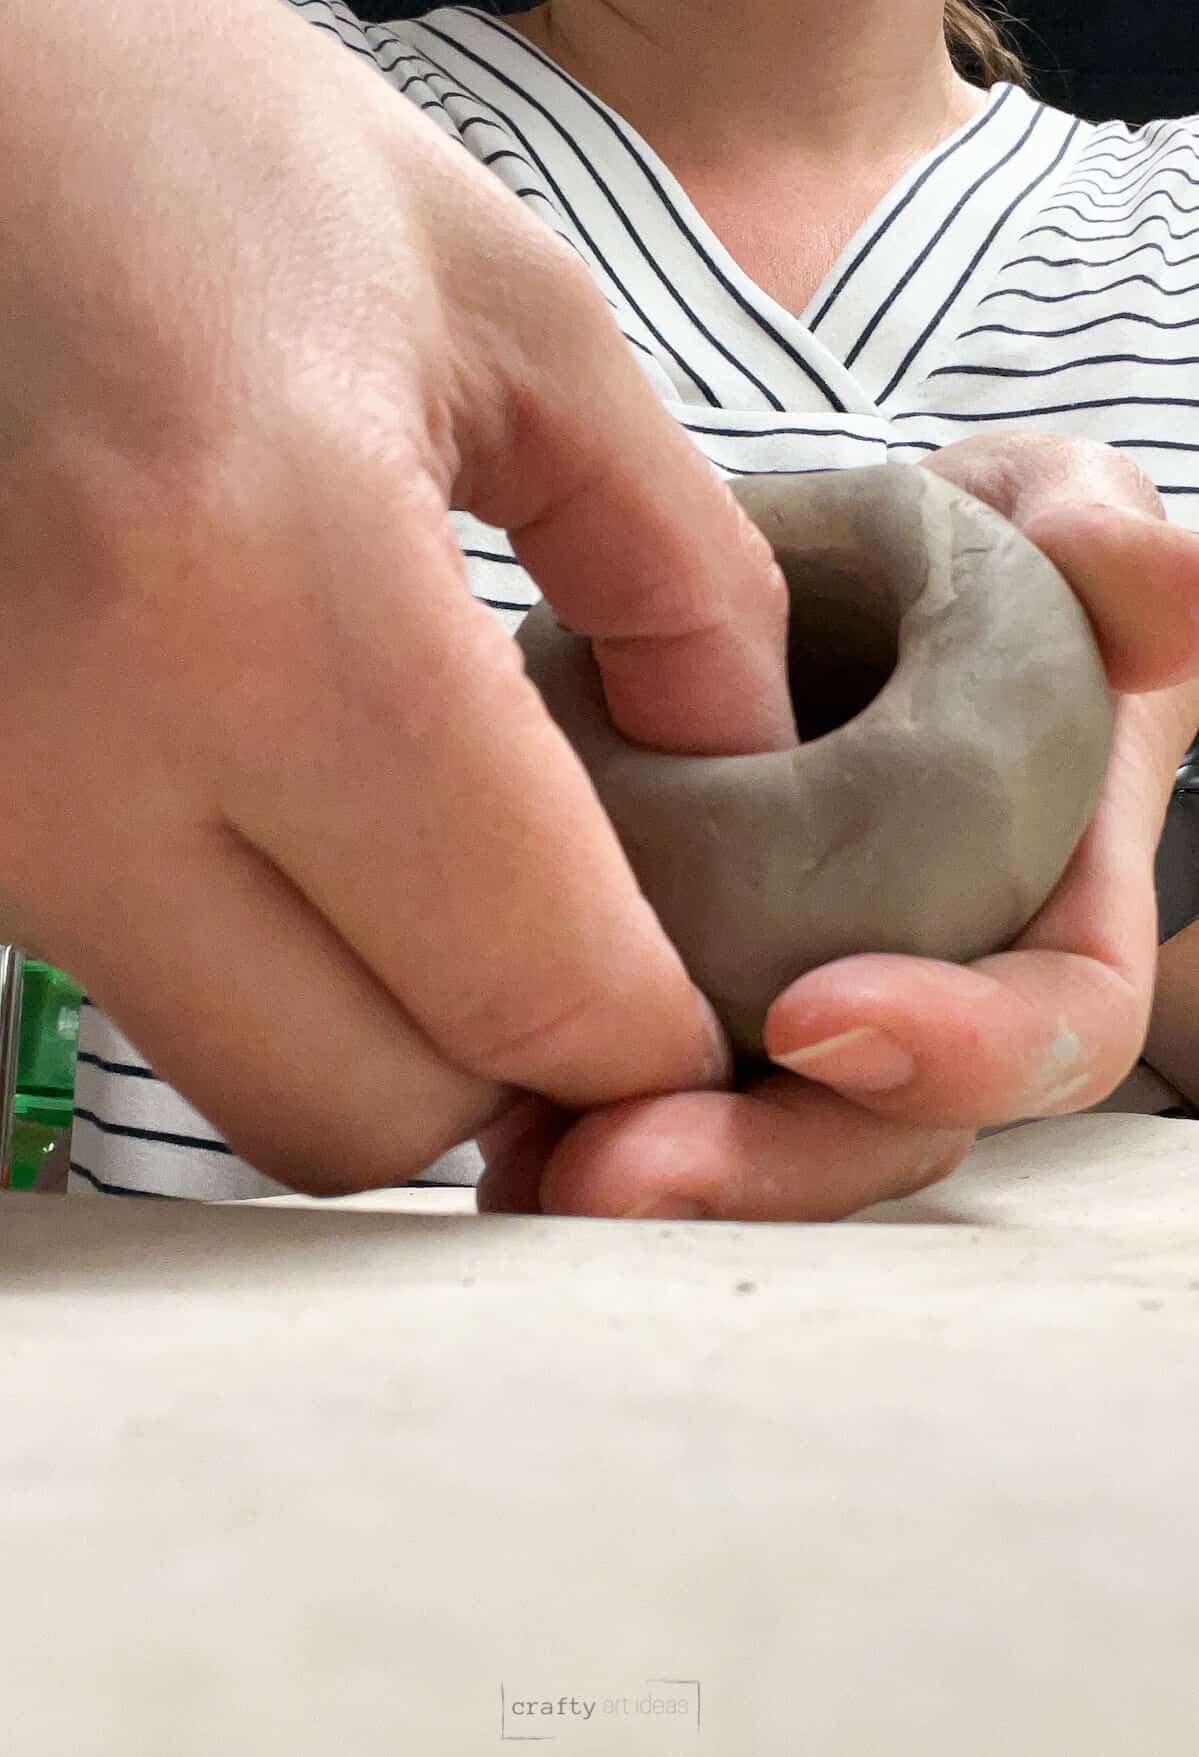
Step 3: Push Your Thumb In The Center
Push one hole with your thumb as far as you can in the center of the ball. Show them how to push the thumb to the bottom of the ball without going all the way through.
Don’t worry if they aren’t perfect, but it will make it easier if they push in the center.
Art Teacher Tip: Model what not to do with pushing your thumb all the way through the clay ball.

Step 4: Pinch The Clay Walls
Rotate hands to pinch around the edge and make sure not to make walls too thin. You can even tell kids to rotate the pinch pot with two hands.
The shape of the pot will be determined by how kids hold their hands. I show them to hold their index fingers and thumbs like they are driving a car. They do not want to pull on the walls and end up with a plate.
Step 5: Carefully Flip The Pot Over
Make the rim of the pot even by turning the clay pot over on a flat surface. Lightly tap the rim. An optional step is to use clay tools to trim the excess off.

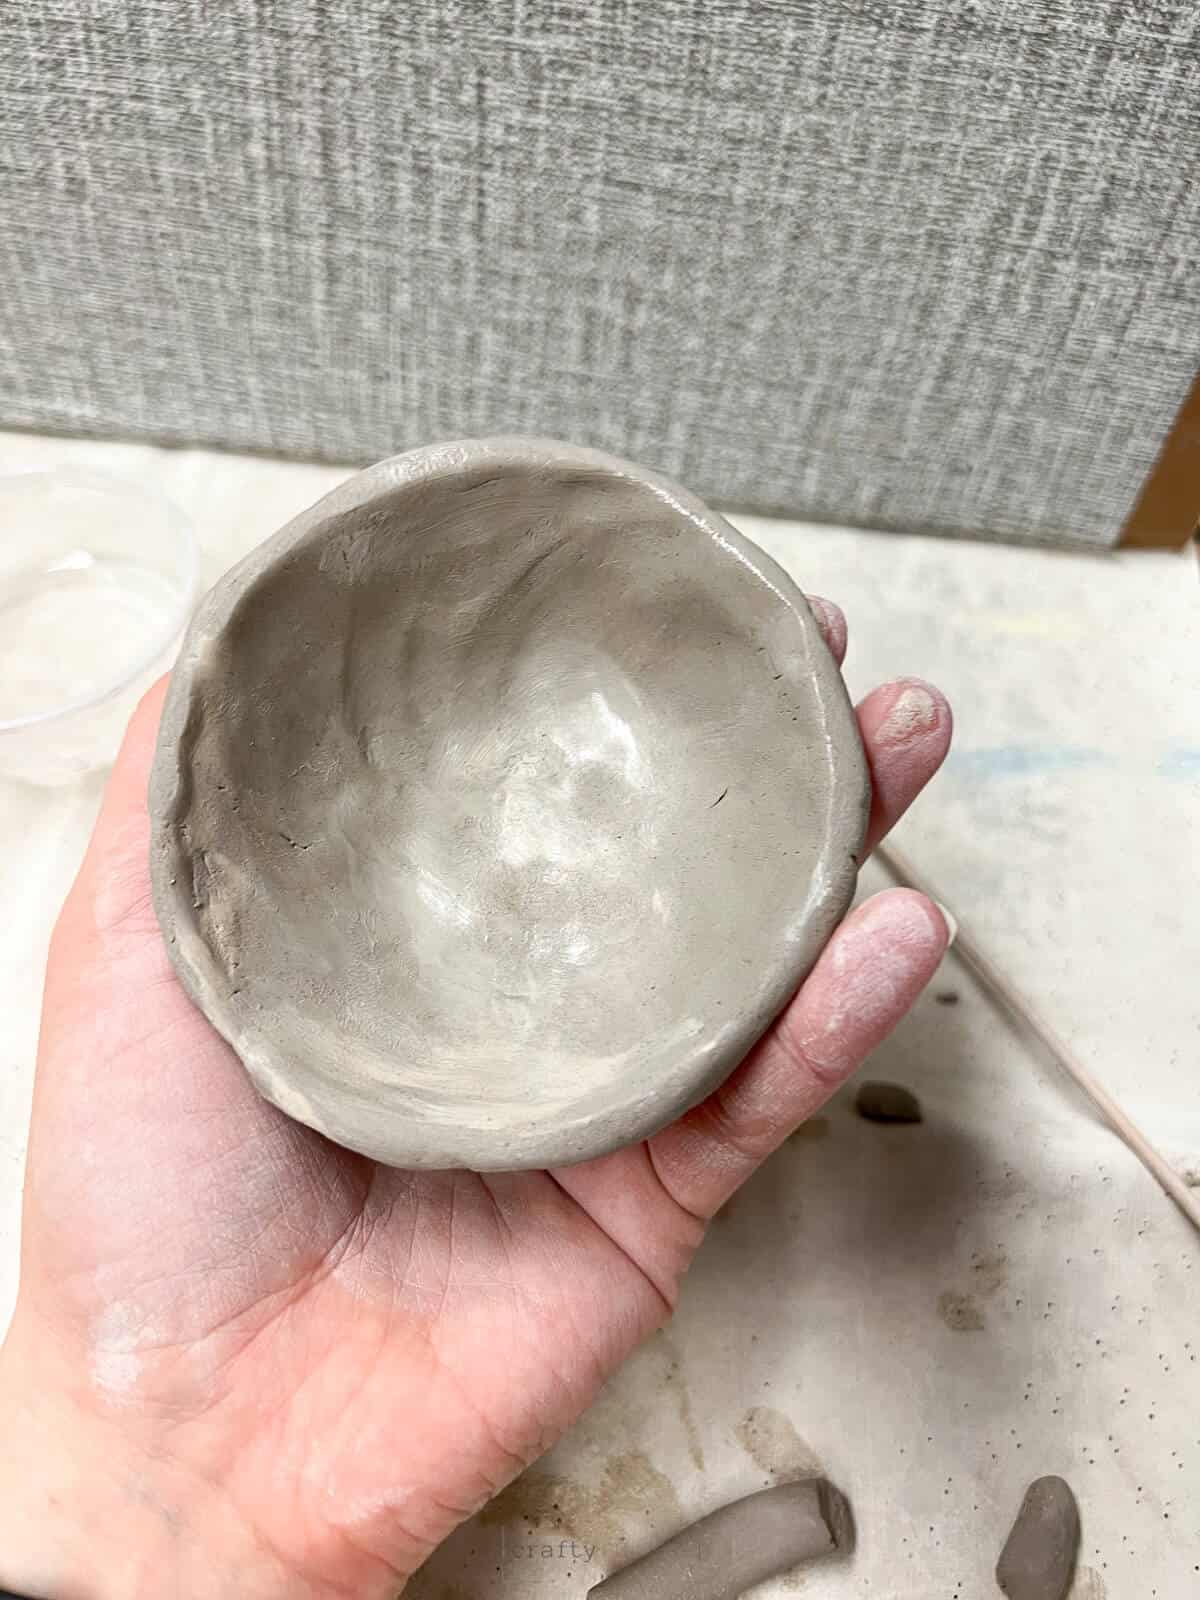
Step 6: Use Your Finger To Smooth Out The Surface
Smooth out any bumps with fingers or even a small kidney clay tool.

Kids can also use one finger dipped in water to help smooth clay by rubbing water (even a damp sponge) on cracks in the outer and inner surfaces.
Optional: Add Extra Details Or Designs
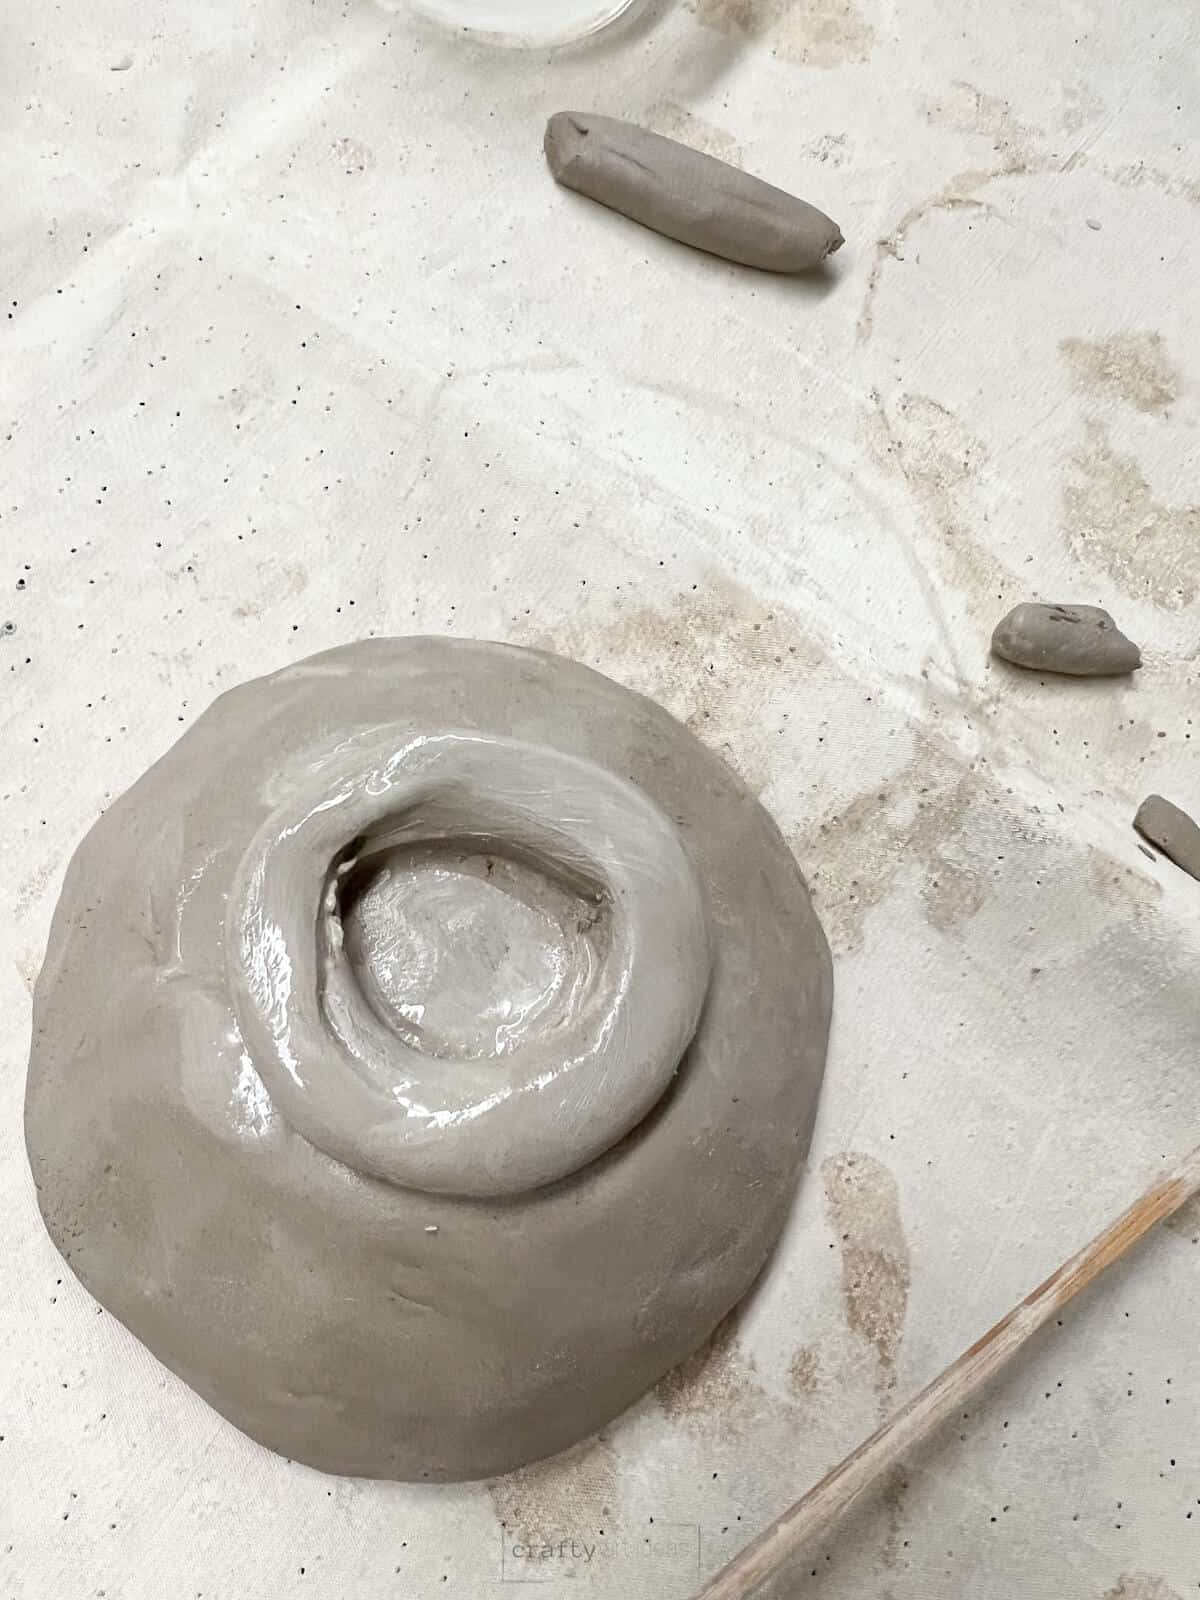
Optional Step: Create a coil of clay and add a foot ring to your bowl (detailed pictures in the linked post with images). You will need to have score marks on both pieces (coil and pot) and add water to create slip.
Step 8: Add Names With a Needle Tool or Wooden Skewer
Flip the pinch pot over and write your name on the project.
Step 9: Allow Proper Dry Time
Let the projects dry completely. The easiest way to do this is by touch. They should not feel cold at all.

Step 10: Place In Kiln
Fire a bisque fire in your kiln. Follow the directions and firing cone for the specific clay you are working with.
Step 11: Add Color
Use clay glaze with kids or other non-glaze techniques to add color to your awesome pinch pot.
Follow us on Pinterest, YouTube & Facebook for more free art and craft ideas!
Tips
- Don’t over-touch the clay. This can be difficult when kids want things to turn out perfectly. However, your hands will suck out the moisture as you (or kids) are working.
- Encourage young children to build and then leave it alone. This can be difficult for a youngster, but less is more sometimes.
- If your clay is really wet and seems a little floppy, you can use a hair dryer to help firm the walls.
Do you like this art project? Please give us a 5-STAR review below ⭐️⭐️⭐️⭐️⭐️ and have fun being creative with your family.
Pinch Pot FAQs
A pinch pot is a simple hand-building pottery technique used to create a small, rounded container by pinching the clay with the fingers. Pinch pots can be made in various sizes and shapes, and are often decorated or painted after they have been fired in a kiln
You can use various types of clay for pinch pots, such as earthenware, stoneware, and terracotta. However if you don’t have access to a kiln then air-dry clay is often the best choice.
To make a successful pinch pot, avoid common mistakes such as making the walls too thin, not compressing the clay properly, creating a base that is too thin, overworking the clay and rushing the dry time. It is important to ensure that the walls of the pot are thick enough to hold their shape, and that the base provides stability and support for the walls.
More Pinch Pot Ideas

Now that you know how to build pinch pots with kids, check out these other fun leessons.
- How To Make A Flower Cup: these turn out adoarable for any young elementary-aged student (even if some turn into more flower plates).
- Clay Owl Art Lesson: this is great for 2nd grade and above.
- Clay Pinch Pot Monsters: turn a pinch pot on its side to create a fun creature. Upper elementary kids get very creative with this one!
- Double Pinch Pot Clay Fish: use pinch pots to help create a hollow shape for your sculpture.
Students really enjoy making their own pinch pots and they are the ideal first clay project for kids. Making a pinch pot is a fun and rewarding experience for both children and adults. With just a small amount of clay and some simple techniques, you can create a unique and functional piece of art.
Do you like this art project? Please give us a 5-STAR review below ⭐️⭐️⭐️⭐️⭐️ and have fun being creative with your family.
How To Make A Pinch Pot
Equipment
- Kiln
- Small container of water
- Work surface
- Skewer or Needle Tool to write your name on small bowls
Supplies
- White Art Clay you can also use air dry clay
- Glazes or Paints
Instructions
- Start with a small amount of clay that can fit inside the palm of your hand or of a child's hand.
- Roll into a ball of clay.
- Push one hole with your thumbs as far as they can in the center of the ball. Make sure to push the thumb to the bottom of the ball without going all the way through. Don’t worry if isn't perfect.
- Rotate hands to pinch around the edge and make sure not to make walls too thin. Kids can rotate the pinch pot with two hands. Hold index fingers and thumbs like they are driving a car. You do not want to pull on the walls and end up with a plate.
- Make the rim of the pot even by turning the clay pot over on a flat surface. Lightly tap the rim.
- An optional step is to use clay tools to trim the excess off.
- Smooth out any bumps with fingers or even a small kidney clay tool.
- Use one finger dipped in water to help smooth clay by rubbing water (even a damp sponge) on cracks in the outer and inner surface
- .Flip the pinch pot over and write your name on the project.
- Let your project fully dry and run a bisque fire in your kiln.
- Add glaze or paint to fired pinch pot.
Notes
-
- Don’t over-touch the clay. This can be difficult when kids want things to turn out perfectly. However, your hands will suck out the moisture as you (or kids) are working.
- Encourage young children to build and then leave it alone. This can be difficult for a youngster, but less is more sometimes.
- If your clay is really wet and seems a little floppy, you can use a hair dryer to help firm the walls.
- The shape of the pot will be determined by how kids hold their hands.
Do you like this art project? Please give us a 5-STAR review below ⭐️⭐️⭐️⭐️⭐️ and have fun being creative with your family.
Great starter project with complete and easy to follow steps.
Thanks Kristin! Kids really love making different pinch pots!
Instructions are clear and simple. Easily described for young children.
Thanks Glenda. Good luck making pinch pots with preschoolers or other young children!