Cute Heart Pinch Pots You Can Make At Home

Make these adorable clay heart dishes in no time at all. Our easy tutorial will teach young children and beginners how to make heart pinch pots at home for a fun clay project idea.

Children love making simple pinch pots, animal clay projects and more with clay. While air dry clay is not as strong as fired clay, it is still a great material for your ceramic projects at home.
Why You Will Love This Clay Project
Notes On Supplies You’ll Need
Disclosure: This post may contain affiliate links when clicked, we may earn a small commission at no additional cost to you. Read our full privacy policy.
You can get the full list of supplies in the printable how-to card at the end of the post.
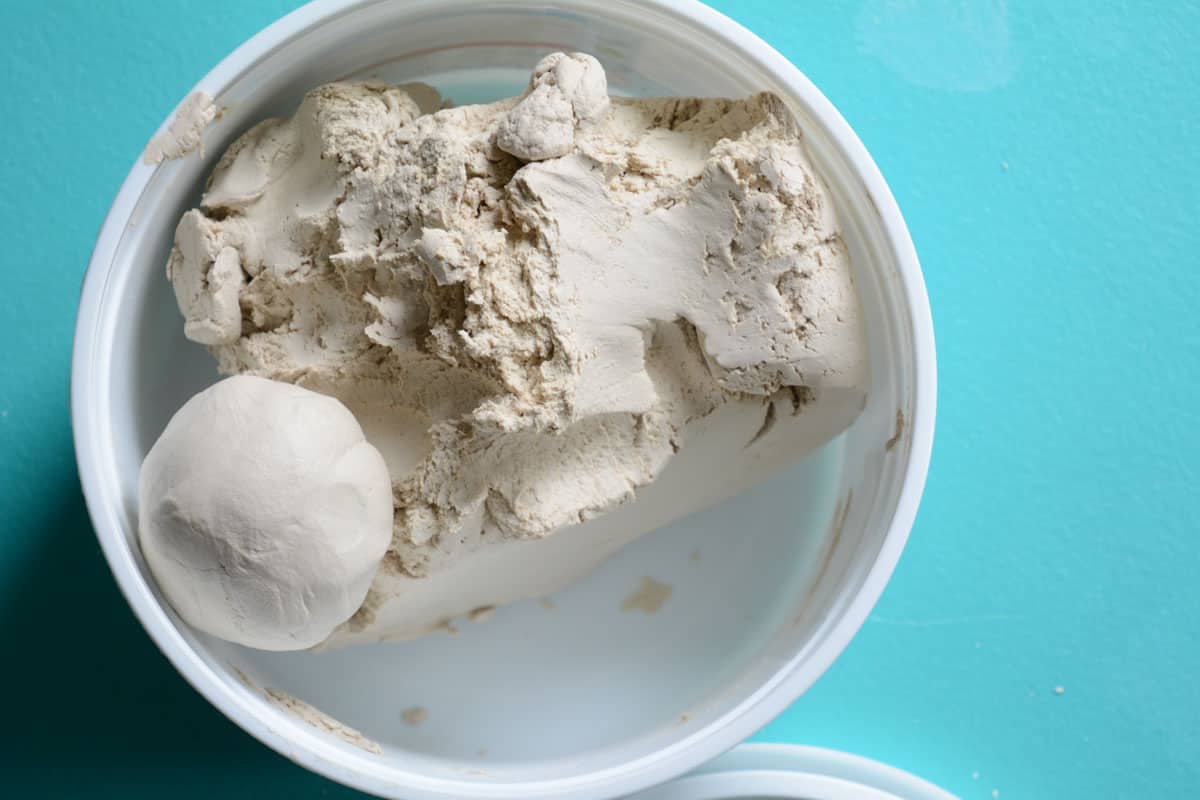
What is air dry clay?
Air dry clay may also be called air-drying, self-hardening, or no-bake clay. It is a popular medium for sculpting, hand-building, and other clay projects, particularly for those who do not have access to special pottery equipment. Unlike regular clay, it does not require a kiln to harden.

How much clay should a child get?
In our experience, you don’t want to give a young child too much clay. If making a pinch pot for the first time, start with a small amount of clay. A good idea is to use an amount that easily fits in your palm or your child’s hand.
Heart Pinch Pot Tutorial
ART TEACHER TIP – If doing this with a larger group of students, you may want to practice saying “roll the clay into spheres” instead of balls. Trust me, you will thank me later.

Step 1: Roll A Ball
Roll the clay ball in your hands until it’s smooth and round.

Step 2: Push Down With Thumbs In The Center
Using their thumbs, kids should push a hole into the center of the clay ball, making sure not to push all the way through to the bottom. The hole should be as deep as possible. This will be the starting point for the pinch pot.

Step 3: Start Pinching The Walls
Rotate the pot and continue pinching around the edges to create an even shape. Encourage your child to hold their index fingers and thumbs like they are driving a car, instead of pulling the walls and ending up with a plate.

Step 4: Create The Bottom Of The Heart Shape
Once you have an oval or circular shape, use your hands to pinch the bottom or pointed part of the heart.

Step 5: Pinch and Shape Two Heart Humps
Continue to work with molding the clay to make your heart shape.

Step 6: Check Walls Are Level
This is optional and not recommended for young children, but you can flip your pot over to even the top of the walls.

Step 7: Smooth Out Cracks
Your child can use a finger dipped in water to help smooth the surface.

Step 8: Add Details
This 7-year-old chose to use her skewer to punch small circles into her pot to add fun textures.

Step 9: Let Dry And Paint
Once your heart dish is fully dry, you can paint using acrylic paint.

Optional: Add A Clear Varnish or Coat
The paint will dry relatively quickly on air dry clay, but once it is completely dry you can add a clear coat for extra protection and shine.
Tips
- DON’T OVERWORK IT – Air-dry clay and regular clay can start to dry out when you overtouch them. Remember, pinch pots are meant to be simple and don’t need to be perfect.
- DRY TIME IS IMPORTANT – Allow heart dishes to fully dry for at least 24 hours before painting.
- LIMIT EXTRA WATER – To get rid of cracks, use one finger only in water to avoid making a muddy mess.
- MARKERS ALSO WORK – You can also try to draw details with permanent markers for extra designs.


More Clay Project For Kids
- SAME MATERIALS BUT MORE ADVANCED: Make Cute DIY Heart Trinket Dishes
- MORE INSPO: 12+ Beginner-Friendly Pinch Pots Anyone Can Make
- MORE AIR DRY CLAY: How To Make Clay Slab Tiles At Home
- POLYMER CLAY: How To Make DIY Fridge Magnets At Home
Do you like this art project? Please give us a 5-STAR review below ⭐️⭐️⭐️⭐️⭐️ and have fun being creative with your family.
Clay Heart Pinch Pot Tutorial

Equipment
- Small container of water
- Skewer or Needle Tool
Supplies
- Air Dry Clay
- Acrylic Paint
Instructions
- Roll a ball of air dry clay in your hands until it's smooth and round.
- Use your thumbs to push a hole into the center of the clay ball, making sure not to push all the way through to the bottom. The hole should be as deep as possible. This will be the starting point for the pinch pot.
- Pinch the clay walls to create an even shape, rotating the pot and continuing to pinch around the edges. Be sure to hold your index fingers and thumbs like you're driving a car to maintain the shape.
- Once you have an oval or circular shape, use your hands to pinch the bottom or pointed part of the heart and the top two humps.
- Flip the pot over on a flat surface and lightly tap the rim to make it even. You can also use clay tools to trim the excess clay.
- Smooth out any bumps or cracks with your fingers or a small clay tool. If needed, dip your fingers in water to help smooth the surface.
- (Optional) Add extra details, such as poking designs into the surface. Be sure not to poke all the way through the clay when drawing.
- Flip the heart pot over and write your name or initials on the bottom.
- Let the pot dry completely.
- (Optional) Add color to your pinch pot using paint or other techniques. Acrylic paint is a good option for painting air dry clay.
- Once the paint is completely dry, cover the entire surface with a clear varnish.
Notes
- The drying time for air dry clay can vary depending on the humidity and thickness of the clay. Typically, it takes about 24-48 hours for a small pinch pot to dry completely.
- Don’t overwork the clay. It will crack and be hard to work with.