Graffiti Name Art Project For Kids
There are many different ways to create name designs with children. We have made thousands of different name designs with kids, and here is one of our favorites for upper elementary or middle school students.

Why You Will Love This Art Idea
Art Skills Used
- Color knowledge such as warm and cool colors.
- How to blend, add shading, use patterns and other elements of designs.
- Introduce composition to children. Encourage children to draw large enough so they have space to color their name projects.
Supplies you’ll need
Disclosure: We only recommend products we would use ourselves and all opinions expressed are our own. This post may contain affiliate links when clicked, we may earn a small commission at no additional cost to you. Read our full privacy policy.
*If you can afford it, Scholar Prismas are super fun for upper elementary and middle school students to work with.
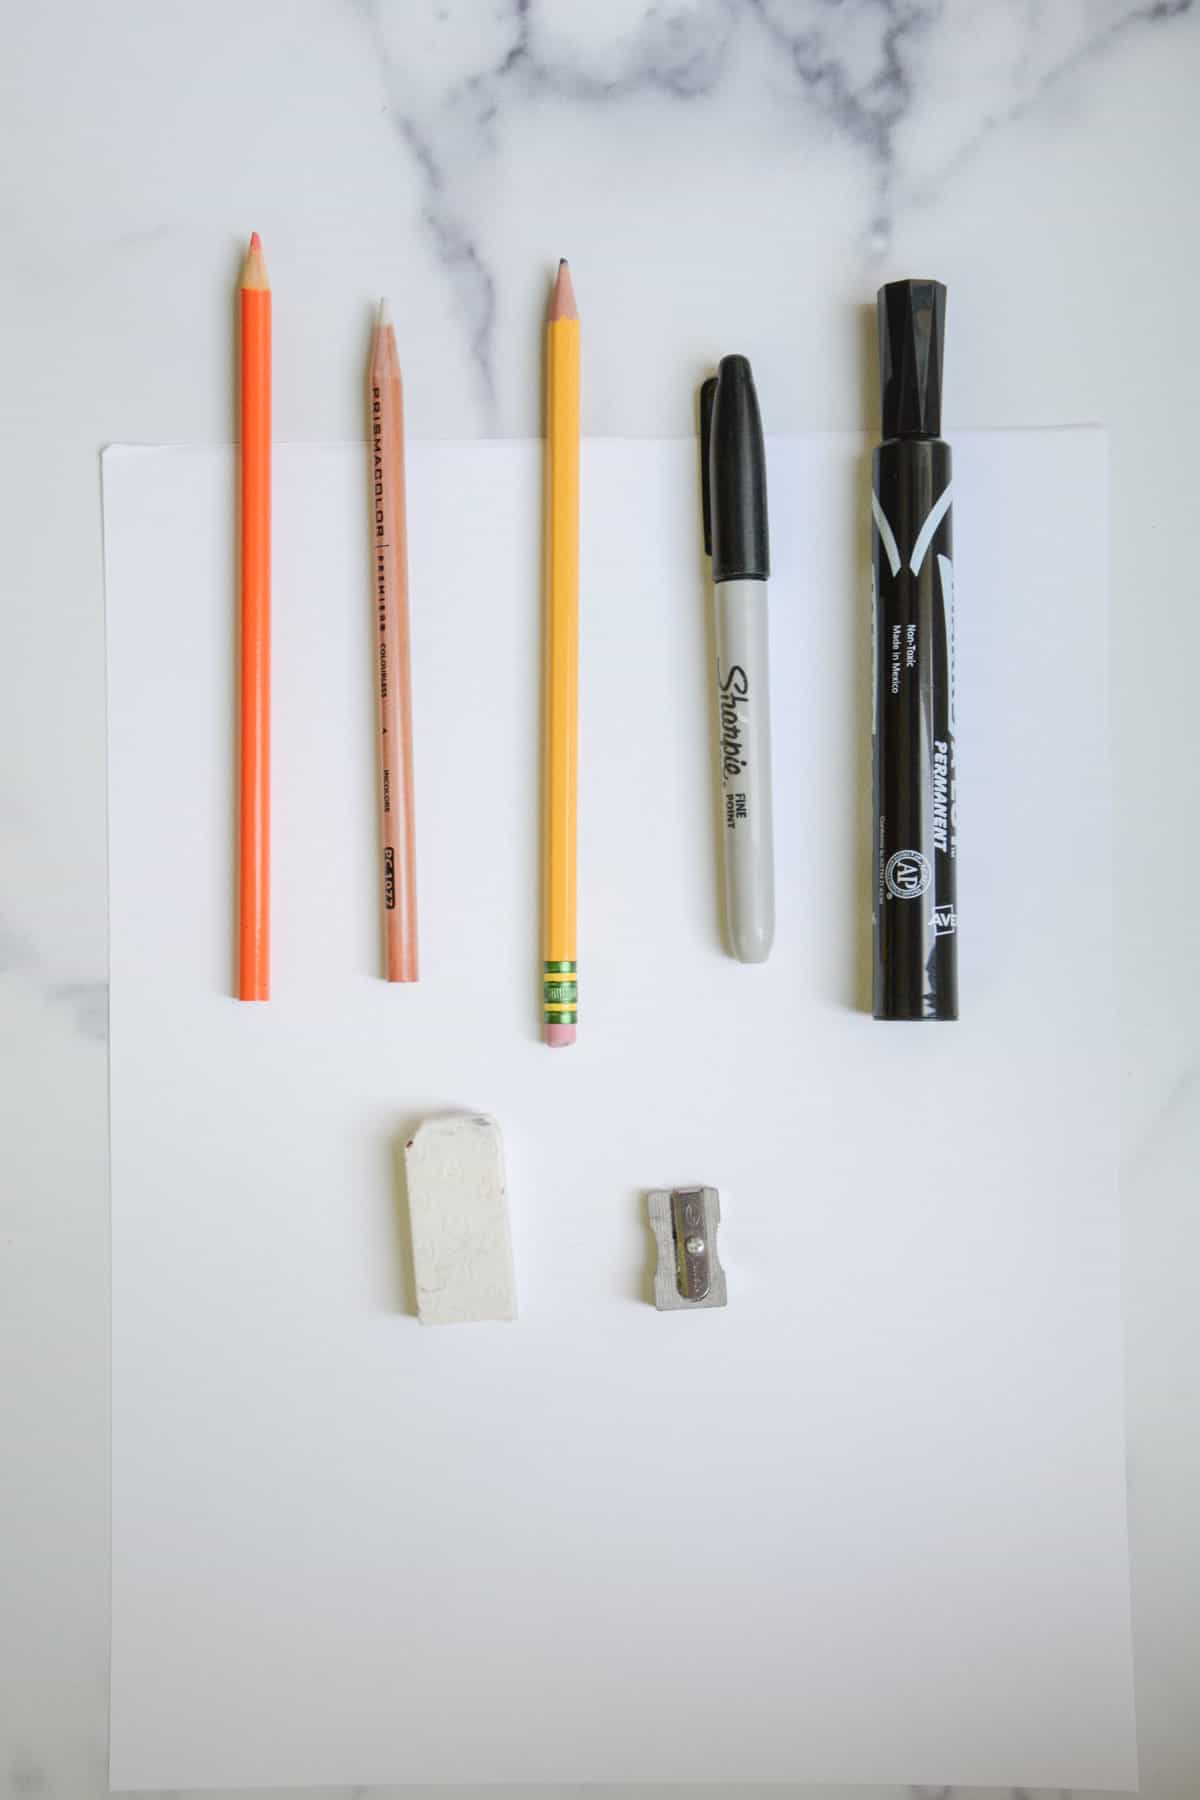
How To Create Bubble or Block Letters
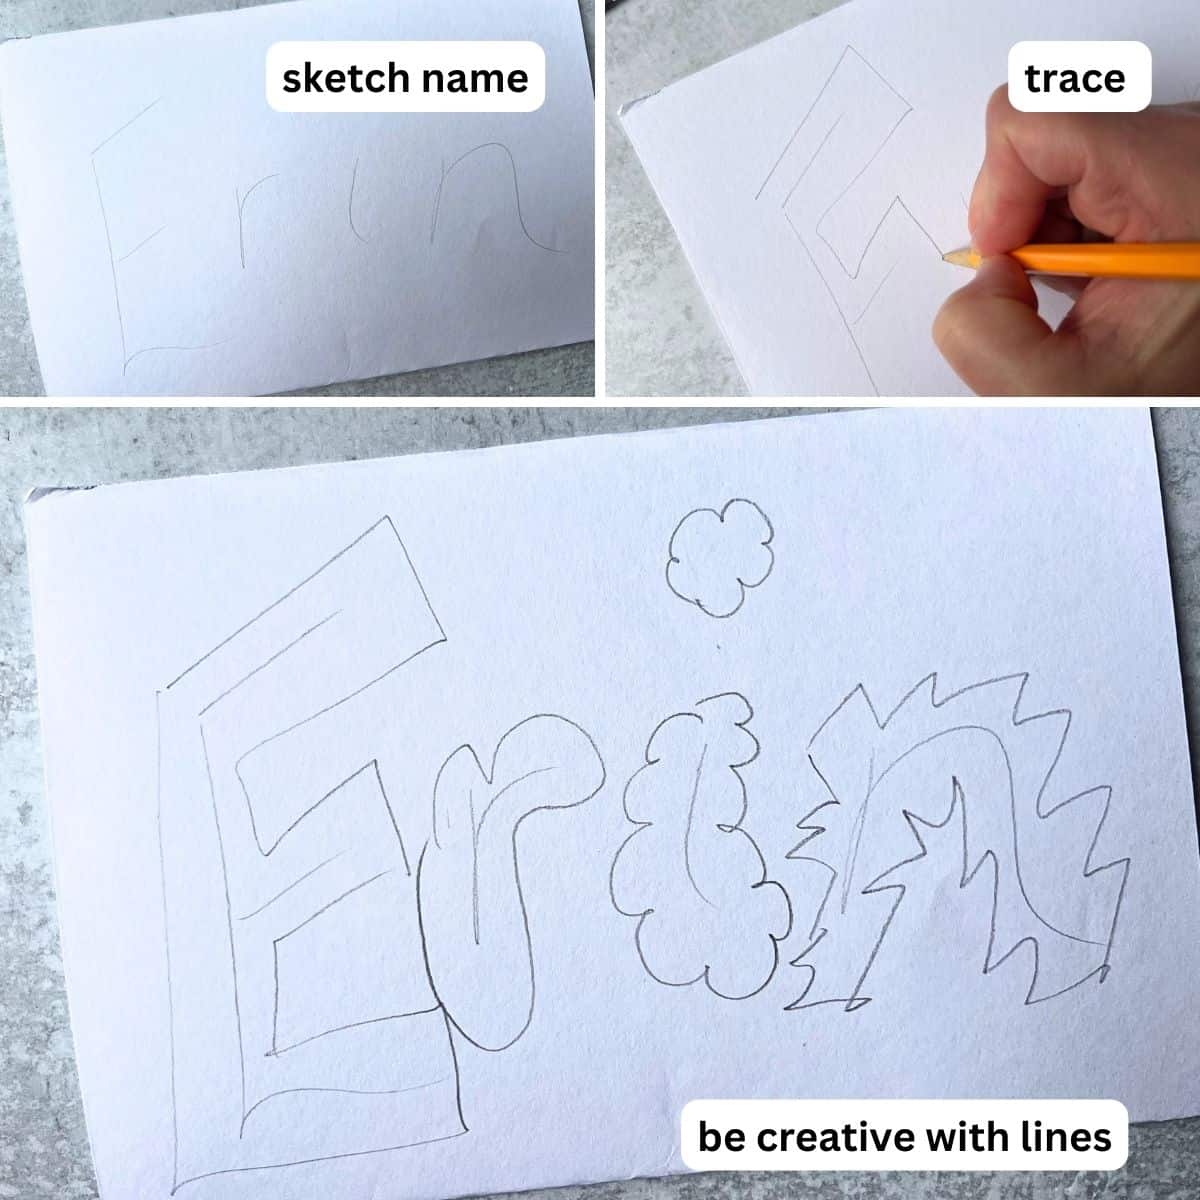
- LIGHTLY SKETCH NAME – Encourage children to draw as light as possible as these will be guidelines.
- CREATE BUBBLE OR BLOCK – Trace around the letters to create your bubble or block lettering. Kids can use different lines, such as a zigzag lines, cloud lines, etc., to get interesting letters.
- TRACE WITH BLACK MARKER – Carefully outline your letters.
- ADD 3-D THICKER LINES – Pick an imaginary light source and make the lines away from it thicker using a chisel-tip marker or regular black marker.
- ERASE EXTRA LINES
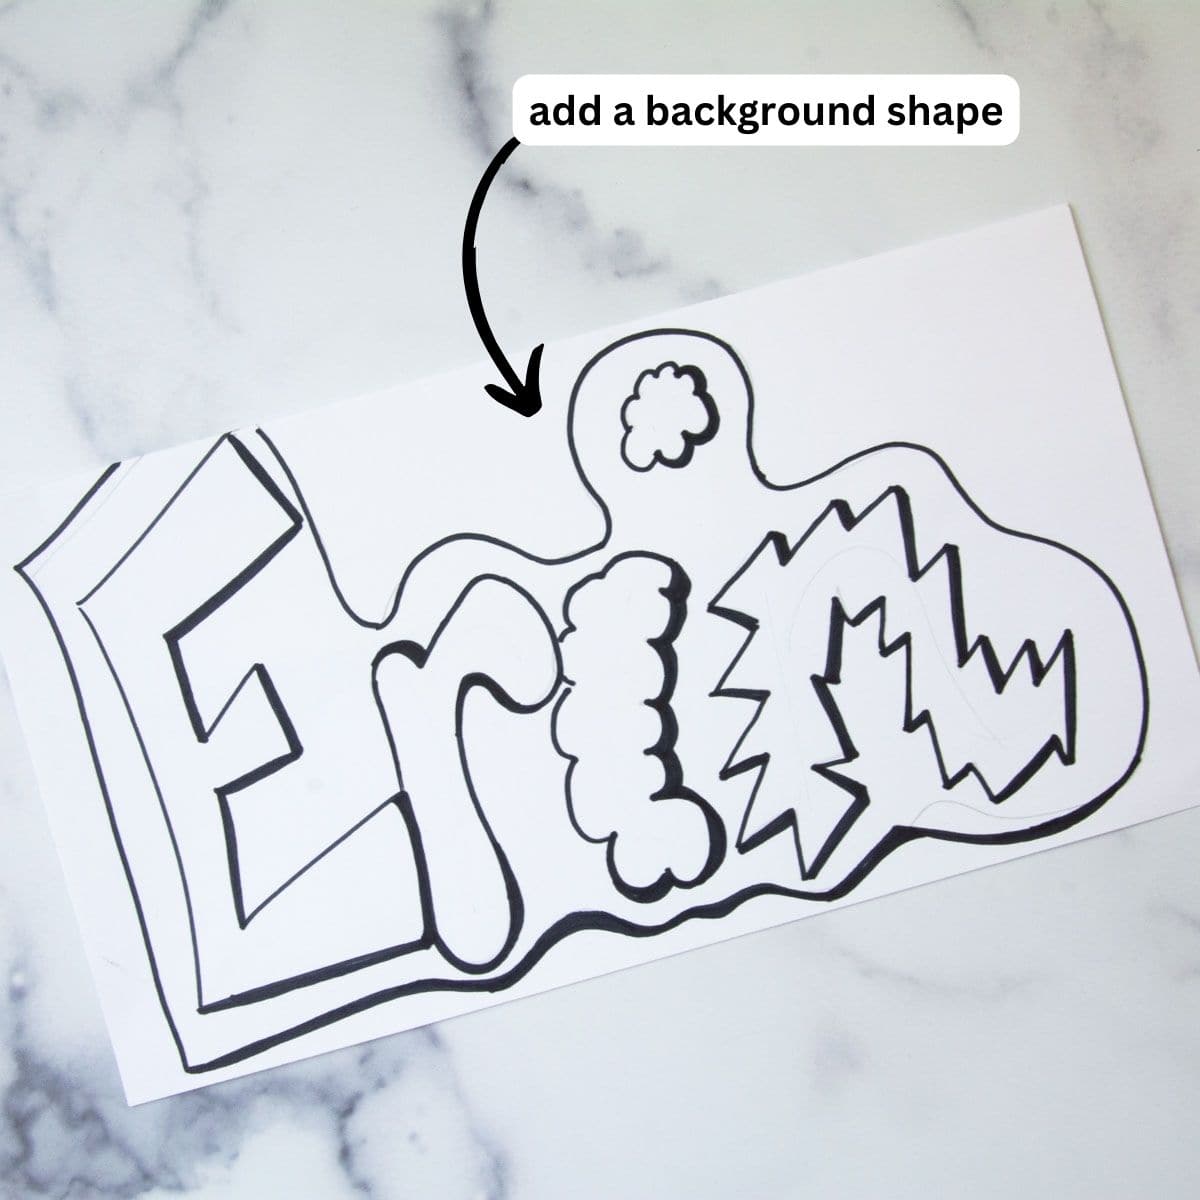
Draw A Shape Behind The
Add a large shape of choice behind the whole name. This will give you a place to put contrasting colored pencils.
Are you looking for a different, fun drawing idea? Check out this free chalk name lesson!
Tips For Using Colored Pencils
- Pick warm or cool colored pencils.
- Use those colors inside the letters.
- Experiment with blending colors, using a colorless blender and getting full coverage with the colored pencils.
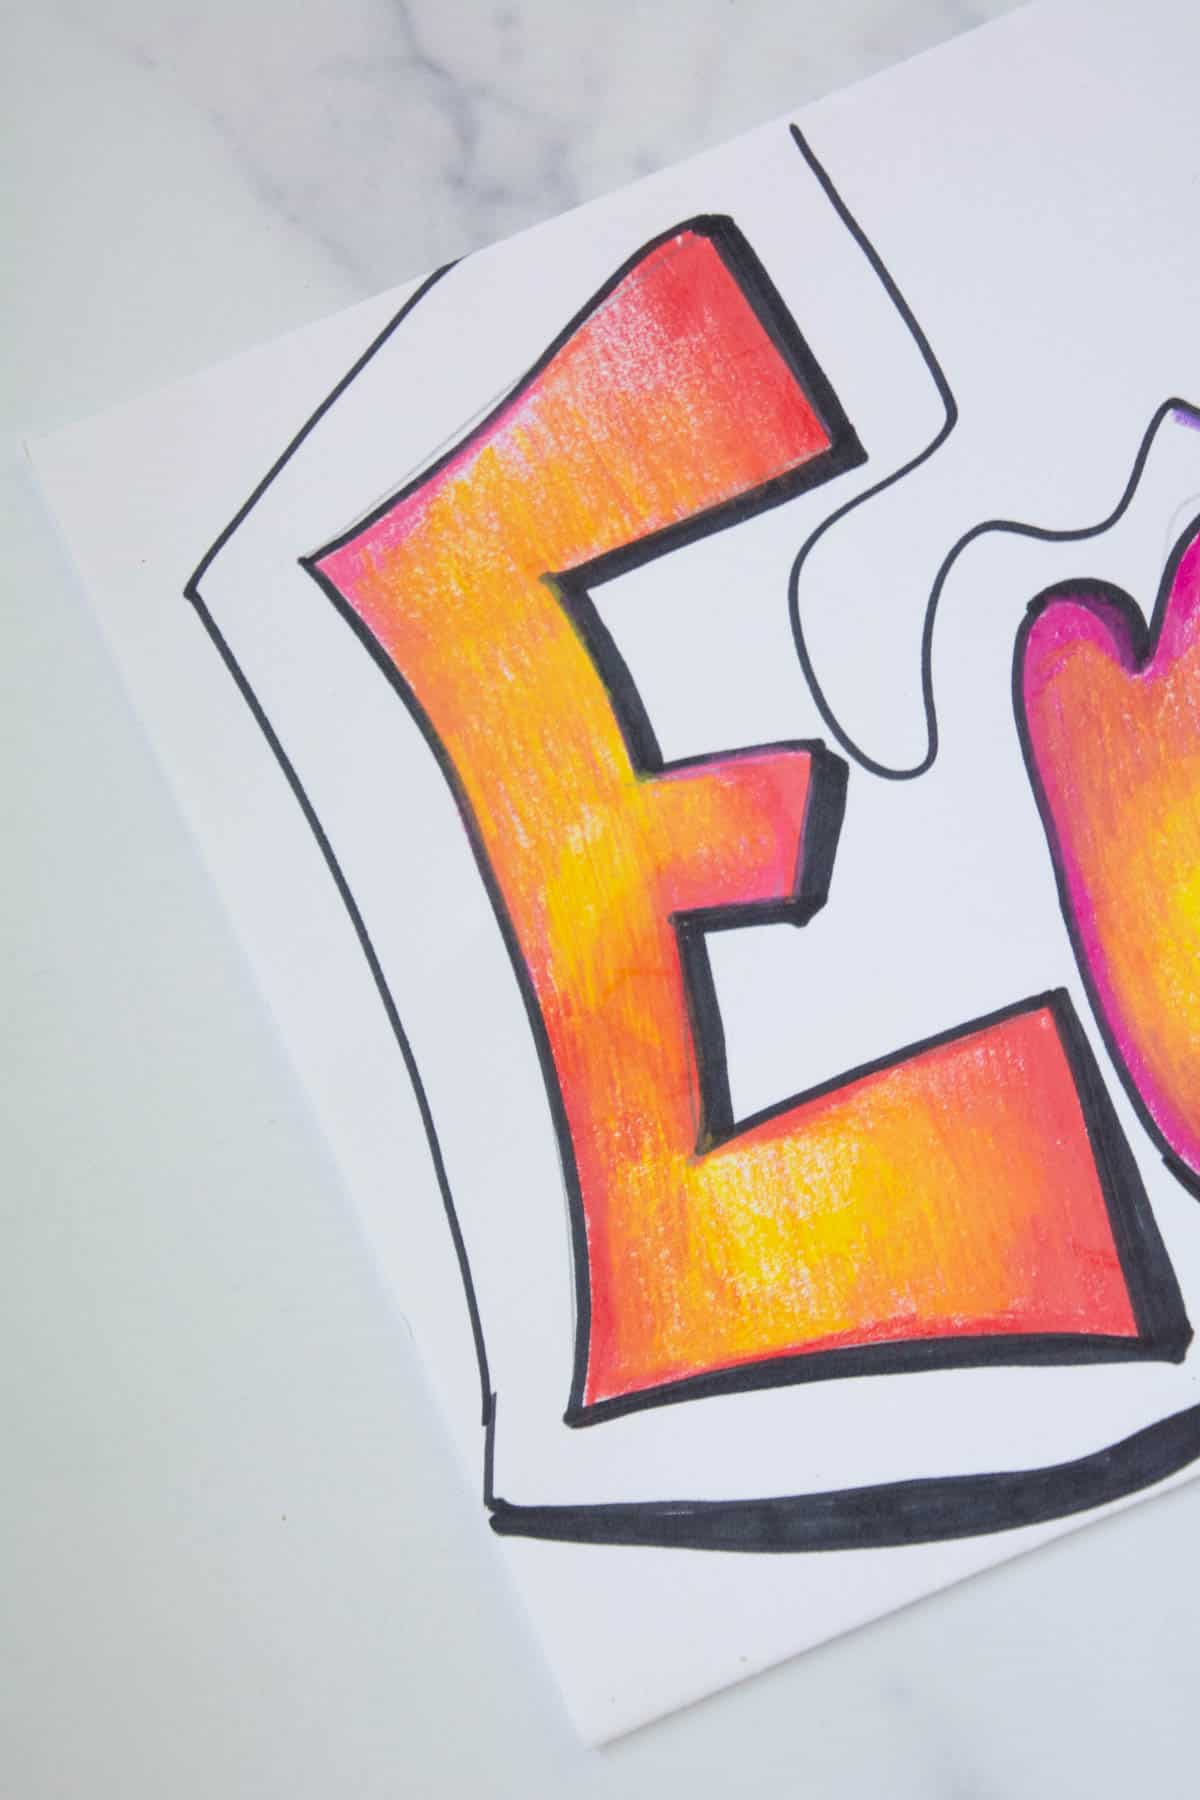
NO HAIRY LINES – When teaching color pencil techniques, we like to tell students not to have hairy lines and to color in one direction.
Add Color Pencil To The Background Shape
Once the inside shape is complete, students can use the opposite color family to design and color the shape. The goal is to have contrast so that their name stands out.
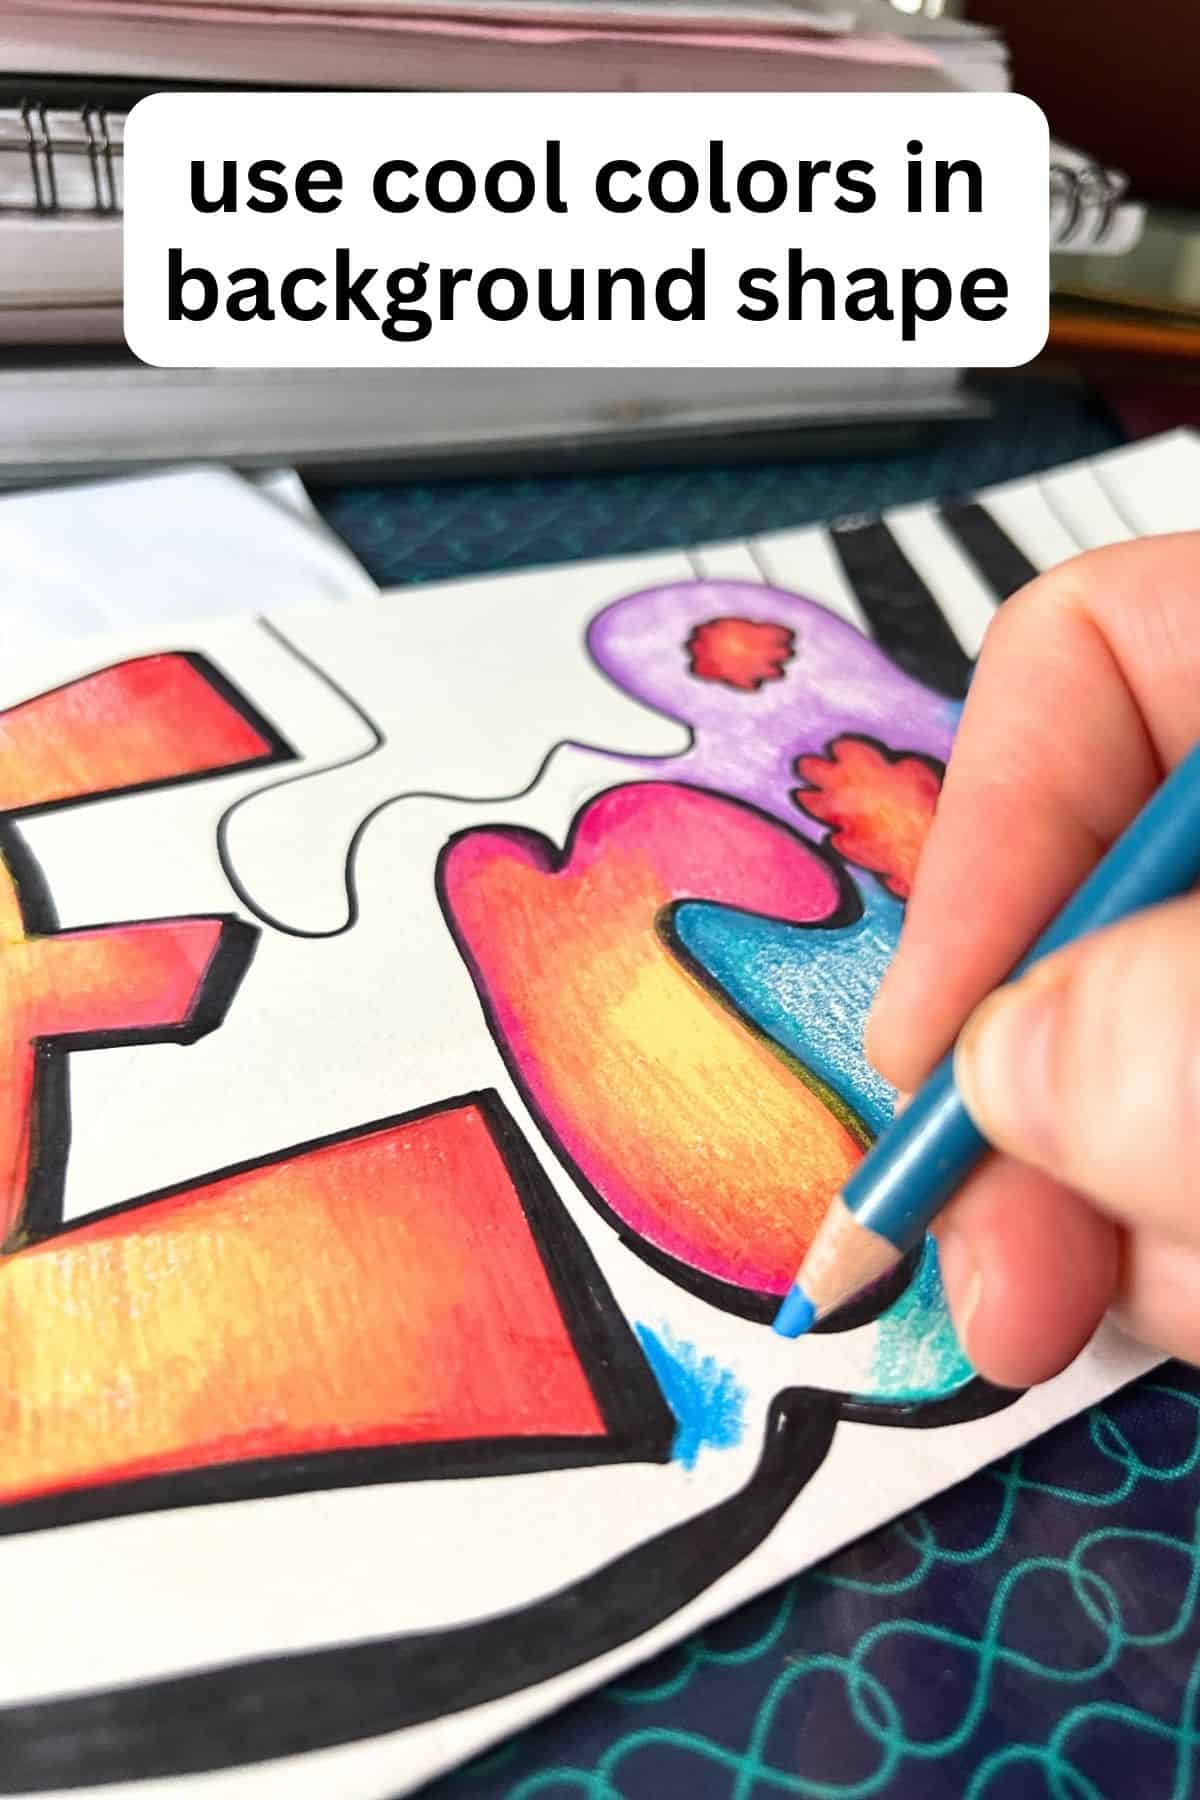
Drawing The Background
For this particular name design, we love having the black and white designs contrast with the colored pencils.

Follow us on Pinterest, YouTube, Facebook & Flipboard for more free art and craft ideas!
Tips
- Using a colorless blender pencil can help students achieve better success.
- Practice sketching names and letters prior to starting on the final name project.
- If using drawing materials only, working on smaller paper may be easier.
More Upper Elementary Ideas
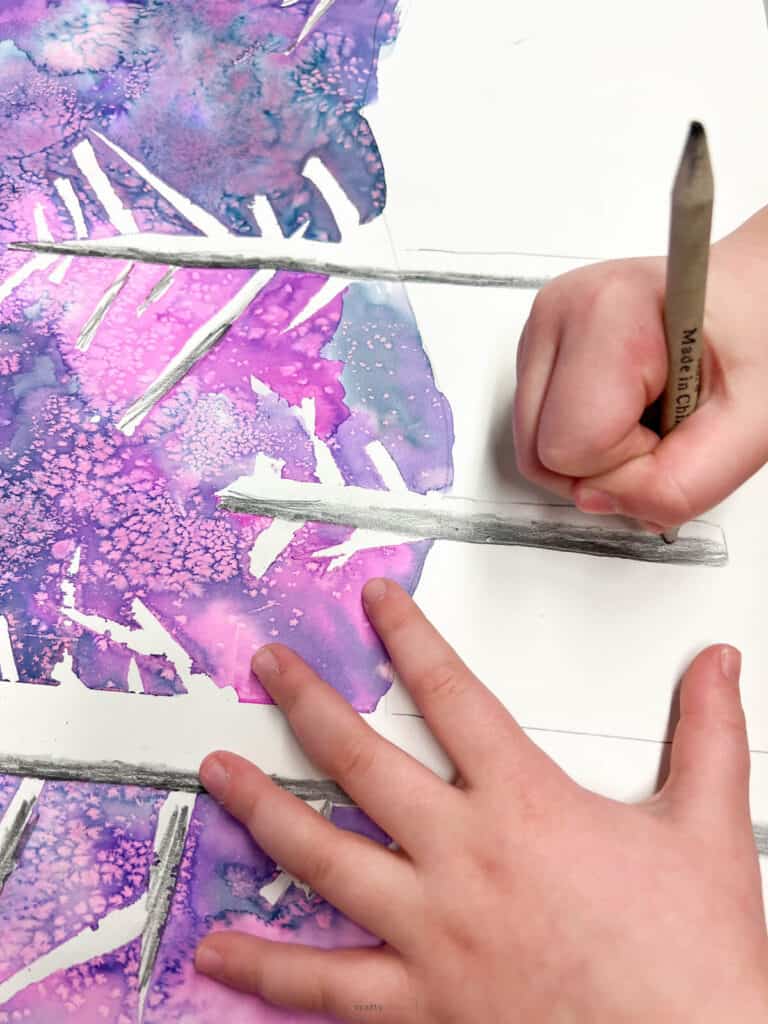
- FAVORITE PAINTING: Winter Birch Tree Landscape
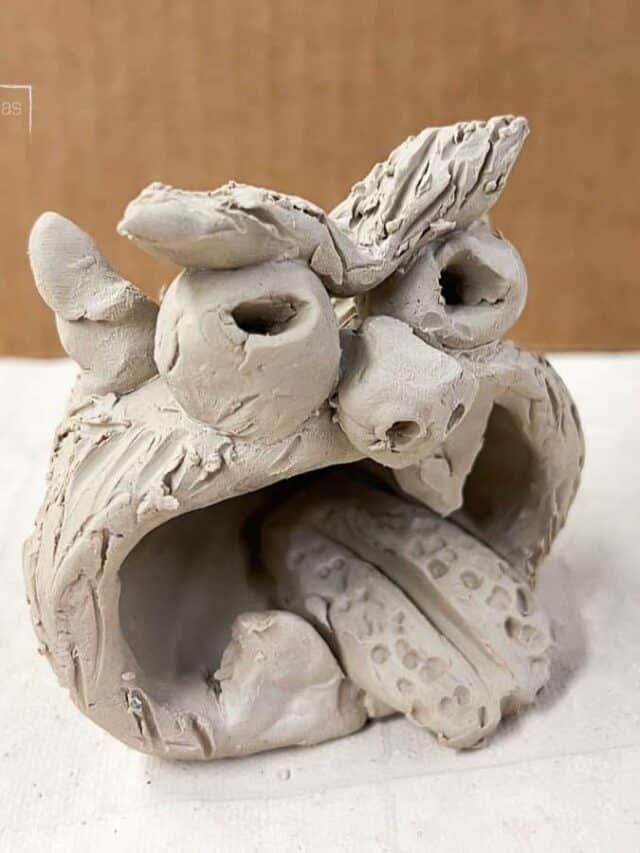
- FAVORITE CLAY BUILD: How To Make Pinch Pot Monsters
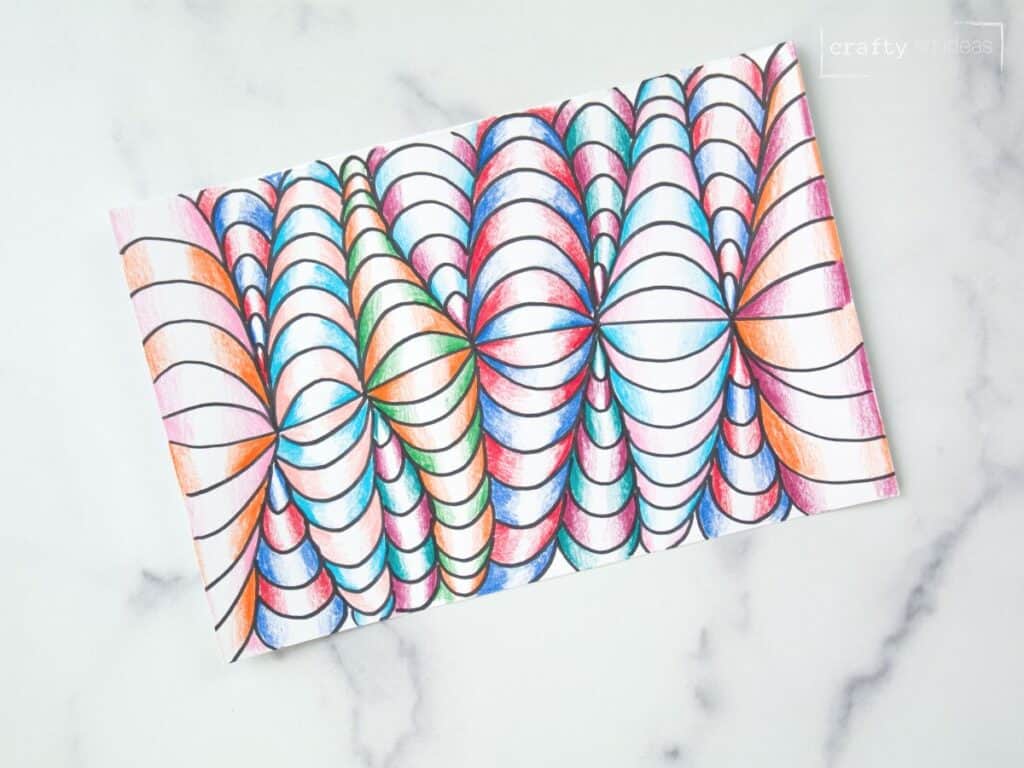
- MORE COLORED PENCIL IDEAS: Fun Wiggly Line Op Art Project
We hope your students enjoy creating a colorful name art project that represents who they are. As always encourage young artists to put their own spin on what they are creating.
Do you like this art project? Please give us 5 stars below 🤩🤩🤩🤩🤩 and have fun being creative with your family.
Graffiti Name Art Project Idea

Equipment
- 1 Pencil
Supplies
- 1 Chisel Tip Black Marker
- 1 piece 6" x 9" White Drawing Paper
- Colored Pencils These are great for older kids.
- Colorless Blender optional
Instructions
- LIGHTLY SKETCH NAME – Encourage children to draw as light as possible as these will be guidelines.
- CREATE BUBBLE OR BLOCK – Trace around the letters to create your bubble or block lettering. Kids can use different types of lines, such as a zigzag line, cloud line, etc., to get interesting letters.
- TRACE WITH BLACK MARKER – Carefully outline your letters.
- ADD 3-D THICKER LINES – Pick an imaginary light source and make the lines away from it thicker using a chisel-tip marker or regular black marker.
- ERASE EXTRA LINES
- ADD LARGE SHAPE – Use a pencil to draw a large shape of choice behind the whole name.
- USE COLORED PENCILS to color letters and shape behind.
- USE BLACK MARKER to create a pattern in the negative space.
Notes
- Use warm or cool colored pencils inside the letters.
- Choose the opposite for the shape.
- Encourage students to color in one direction and overlap colors.
- Using a colorless blender or white colored pencil can help students achieve better results.


