Easy Clay Relief Tile Art Lesson
Whether you choose to use air-dry clay or regular clay and glaze, hand-building clay relief tiles can be a fantastic ceramic project. They can use basic or advanced clay ideas and can be adjusted for any skill level.

Disclosure: We only recommend products we would use ourselves and all opinions expressed are our own. This post may contain affiliate links when clicked, we may earn a small commission at no additional cost to you. Read our full privacy policy.
The example in this post was made from air-dried clay and a wooden skewer. You don’t have to go crazy with clay tools, but you can obviously get more fun textures if you add other sculpting tools.
Recommended Basic Supplies
- Regular Clay or Air Dry Clay: We are using Crayola air dry clay for this project at home.
- Wooden Skewer *
- Small Container of Water or Premade Slip
- Template: Cardstock cut to the dimensions of your tiles
- Two Wooden Rulers or Paint Sticks Taped Together
- Rolling Pin or Wine Bottle

*Depending on the age of the student, you may want to introduce other clay tools. Elementary students are probably able to create something interesting with just a wooden skewer if they do not have the budget or storage space for other tools.
Other Tools To Consider
- V tip tool: Best for carving
- Larger Woodsticks, popsicle sticks
- Loop Tools
- Safety Pins or Paper Clips
How To Make A Tile (kid-friendly)
Before You Begin
Decide on the thickness of your tile. A 1/2″ thickness is a good target. But younger kids will mainly probably add to the tile so you probably can get away with a little thinner.
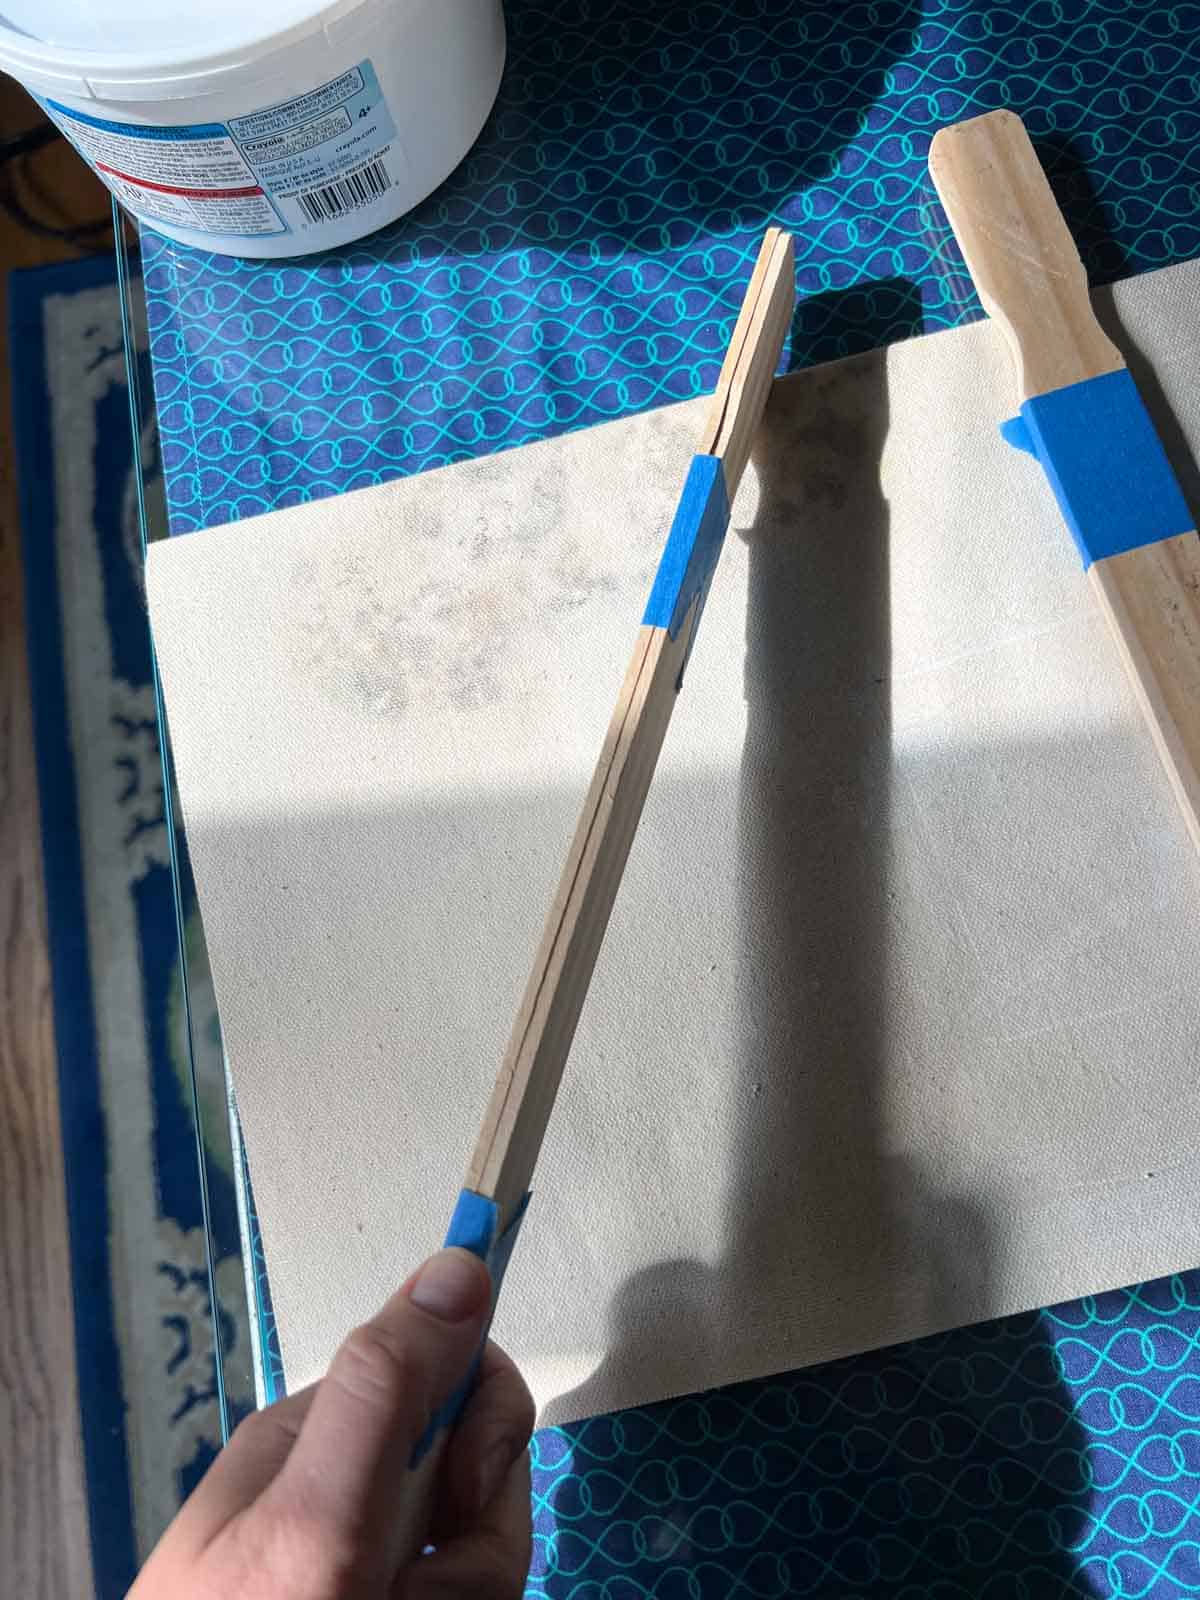
Create Thickness Guide
You can do this by taping rulers or paint sticks together.

Wedge your clay and place a ball of clay in between the guides. Roll a slab using a rolling pin or wine bottle.

Cut Tiles
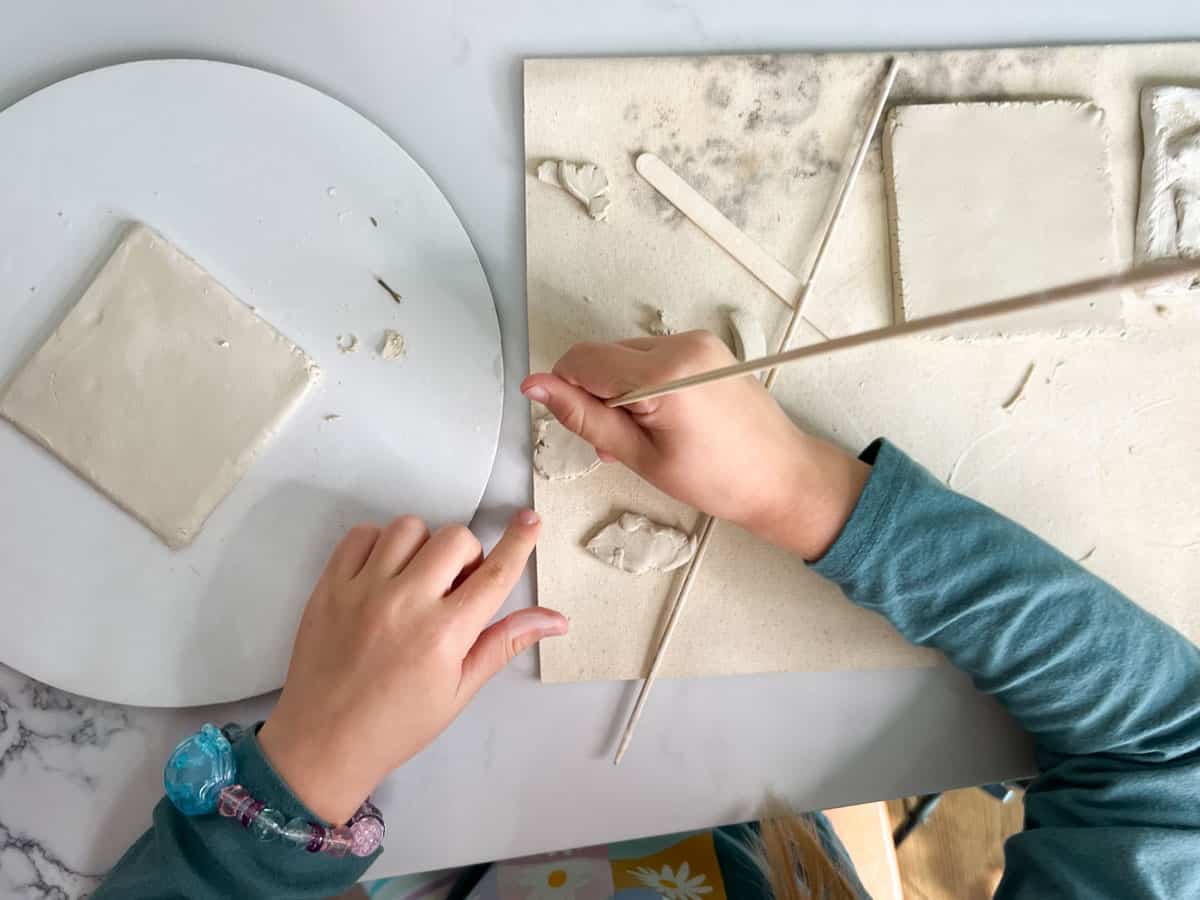
Once your clay has an even thickness, place your template on top and cut around using a wooden skewer or other clay tool.

Smooth Edges
Put a little water on your finger and smooth out the sharp edges.

Creating Relief Designs
Step 1: Sketch Your Design
You can sketch your design on paper that is cut to the same size as your tile.
Optional: Trace Sketch On To Tile
Some younger children might just want to freehand build and we encourage that with clay. If you are working with more advanced and detail-oriented artists, you can line up the sketch and lightly trace it onto the surface of the clay tile.
Step 3: Begin Adding and Subtracting Clay
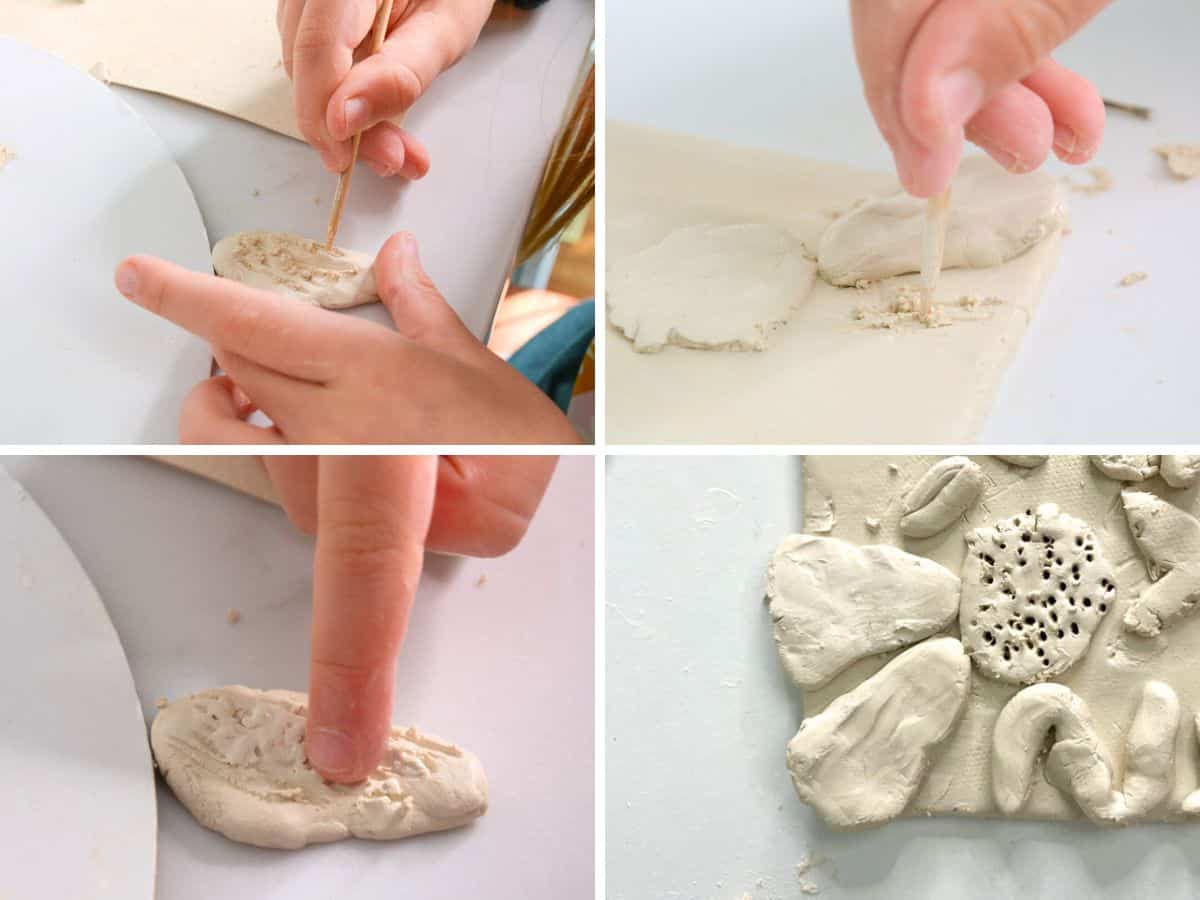
To Add Clay
Create your item by cutting out the shape, molding it or rolling coils.

With young children, we have always had success only using water after scoring. This eliminates one extra step or thing that needs to be prepped for ceramic lessons.

Step 4: Add Details and Textures
Take away clay by using a loop tool, screwer or v tip tool. Here is a floor example I worked on while a younger student (age 6) worked on her tile.

Step 5: Clean Up Tile
Make sure that your edges are clean, you can dust off excess clay for a clean look.
Optional: Add Holes
If you plan to hang your decorative tile, you may want to use a straw to poke two holes in the tile making sure to leave enough clay so that your hanging holes are strong enough.
Step 6: Add Color
If you are using regular clay, you will need to do a bisque fire before adding glazes or other clay coloring methods.
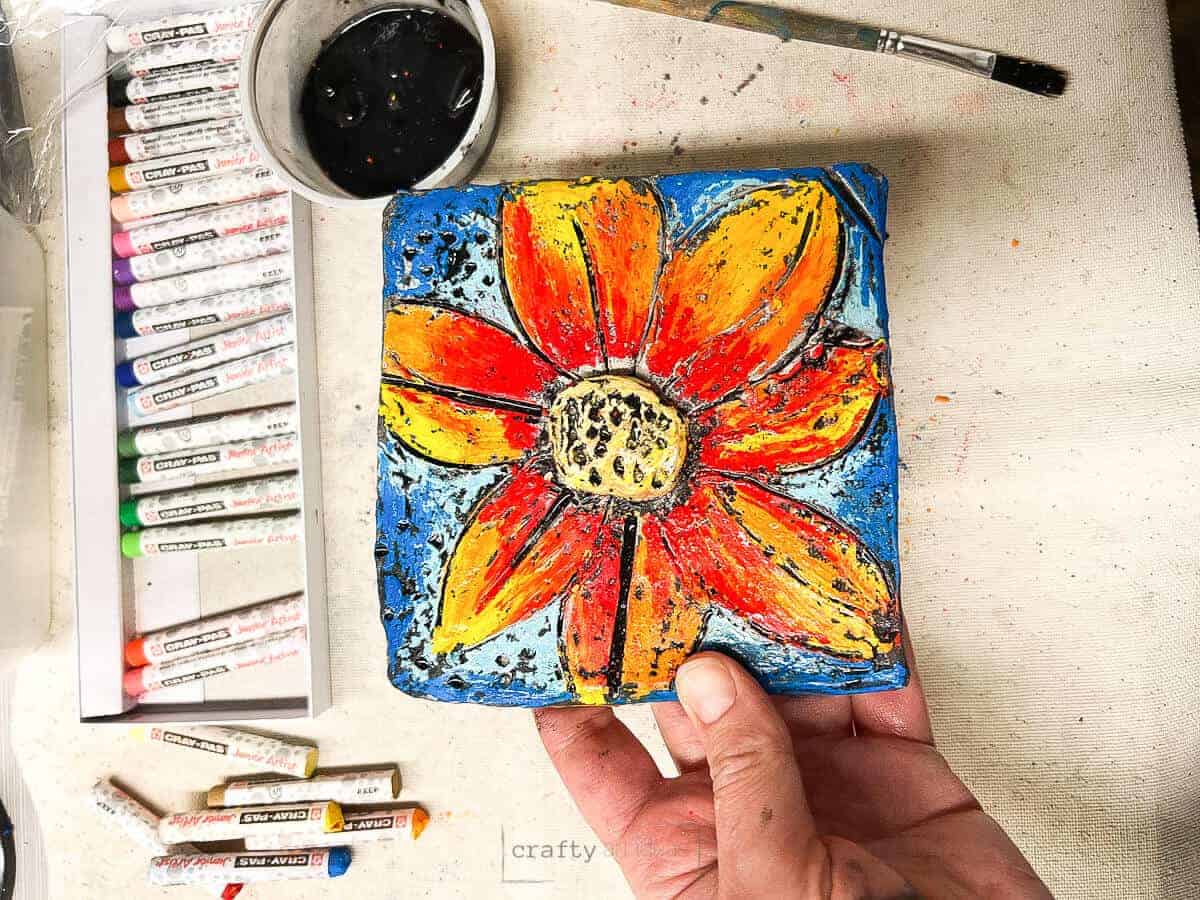
If using air dry clay, you may want to paint the clay using acrylic paint, watercolor paint or even oil pastels. An oil pastel resist on clay is one of our favorite ways to add color to relief projects. Just be careful to not push too hard with the oil pastels.

Art Project FAQS
Artists can use an additive or subtractive method to create different relief surfaces in their tiles. If adding clay, you will need to score and slip the piece together. If subtracting clay, you can use a variety of clay tools or simple wooden tools for unique textures and designs.
For finer details, a leather hard clay will make it easier to sculpt and add texture without “clay boogers” (what we call them with younger kiddos).
Follow us on Pinterest, YouTube, Facebook & Flipboard for more free art and craft ideas!
More Clay Ideas
See a full list of some of our favorite clay projects.
- 9+ Fun Clay Pinch Pot Projects For Beginners
- How To Build A Cute Clay Slab Cat
- Best Clear Coats For Clay Projects When You Don’t Use Glaze
- 15+ Clay Crafts You Can Do At Home
Do you like this art project? Please give us 5 stars below 🤩🤩🤩🤩🤩 and have fun being creative with your family.
Clay Relief Tile Art Lesson

Equipment
- Clay Tools at least a wooden skewer is needed
- Rolling Pin or Wine Bottle
- Homemade Clay Thickness Guide tape together rulers or paint sticks for an optional easy slab making guide
- V-tip tool for carving optional for older children
- Needle Tool optional
- Loop Tool optional
Supplies
- Clay regular or air-dry
- Wooden skewer
- Small Container of Water or Premade Slip
- Cardstock template
Instructions
- Choose Thickness: Decide on the target thickness for the tile, typically around 1/2 inch, adjusting for younger kids.
- Create Thickness Guide: Tape two rulers or paint sticks together to ensure uniform thickness.
- Roll a Slab: Wedge the clay and roll it into a slab using a rolling pin or wine bottle.
- Cut Tiles: Place the template on the clay slab and cut around it using a wooden skewer.
- Smooth Edges: Dampen your finger and smooth out any sharp edges.
- Sketch Your Design: Sketch your design on paper, cut to the same size as the tile.
- Optional: Trace Sketch: Older kids can lightly trace the sketch onto the clay tile.
- Add Clay: Add elements to your tile by cutting shapes, molding, or rolling coils, using water for adhesion.
- Add Details and Textures: Create textures and details by removing clay using loop tools or a wooden skewer.
- Clean Up Tile: Ensure clean edges by dusting off any excess clay.
- Optional: Add Holes: If you plan to hang the tile, use a straw to poke two holes.
- Add Color: For regular clay, bisque fire before using glazes; for air-dry clay, use acrylic paint, watercolors, or oil pastels for coloring.
Notes
- Other tools to consider using are: safety pins, sponges, popsicle sticks, etc.
- A 1/2″ thickness is a good target. But younger kids will mainly probably add to the tile so you probably can get away with a little thinner.
- For finer details, a leather hard clay will make it easier to sculpt.

