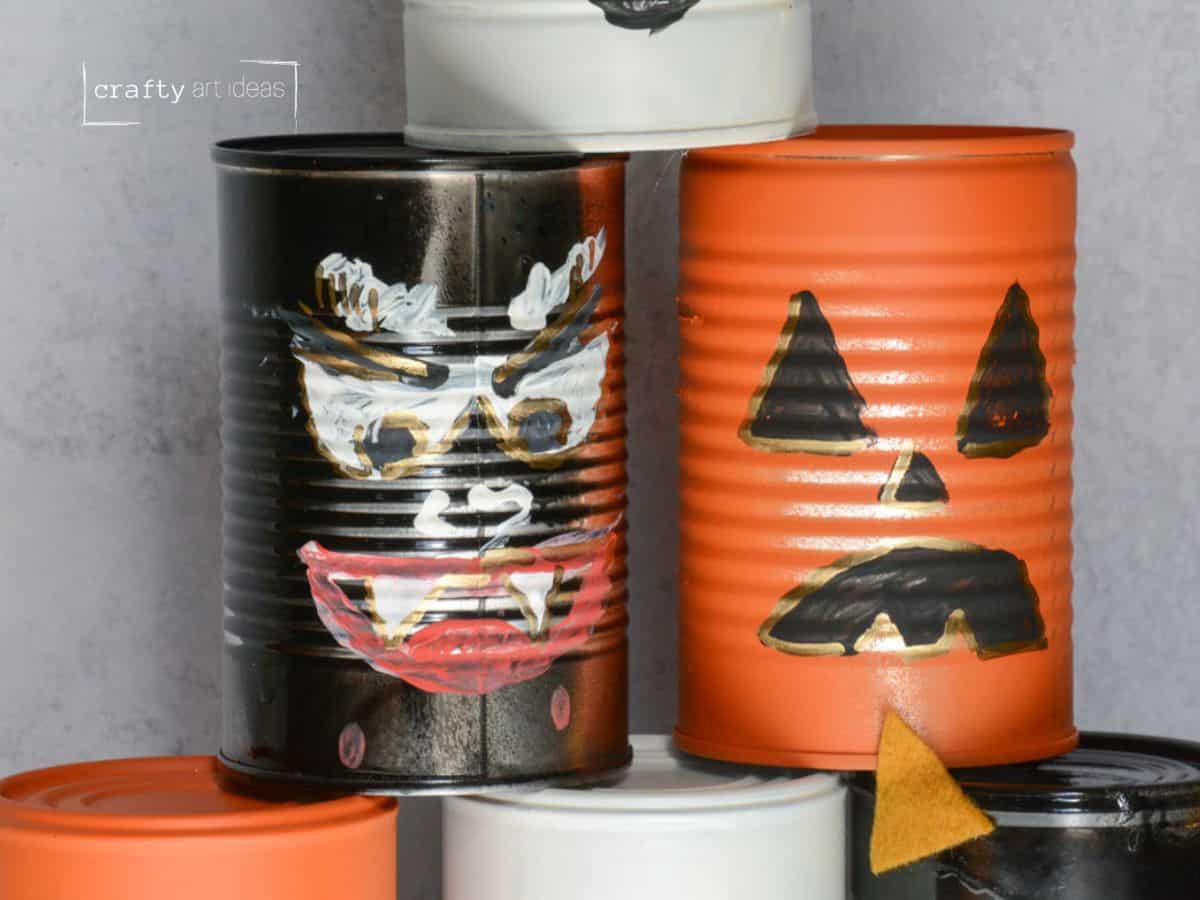
DIY Halloween Tin Can Toss Game
Nothing is better than using recyclable materials to create a fun game for kids! Follow our easy instructions to make a DIY tin can toss game for your next Halloween party!

We love making games. This tin can toss game went great with our Frankenstein Halloween punch-out game during a school class party!
Supplies You’ll Need
Disclosure: This post may contain affiliate links when clicked, we may earn a small commission at no additional cost to you. Read our full privacy policy.
RELATED READING – 13+ More Creative DIY Halloween Party Games Kids Love!
How To Make A DIY Halloween Toss Game
Before You Begin
Decide on the characters you want to make. We have a cat, ghost, pumpkin and vampire. Other ideas include different monsters, mummies or witches.
Step 1: Clean and Paint Your Cans
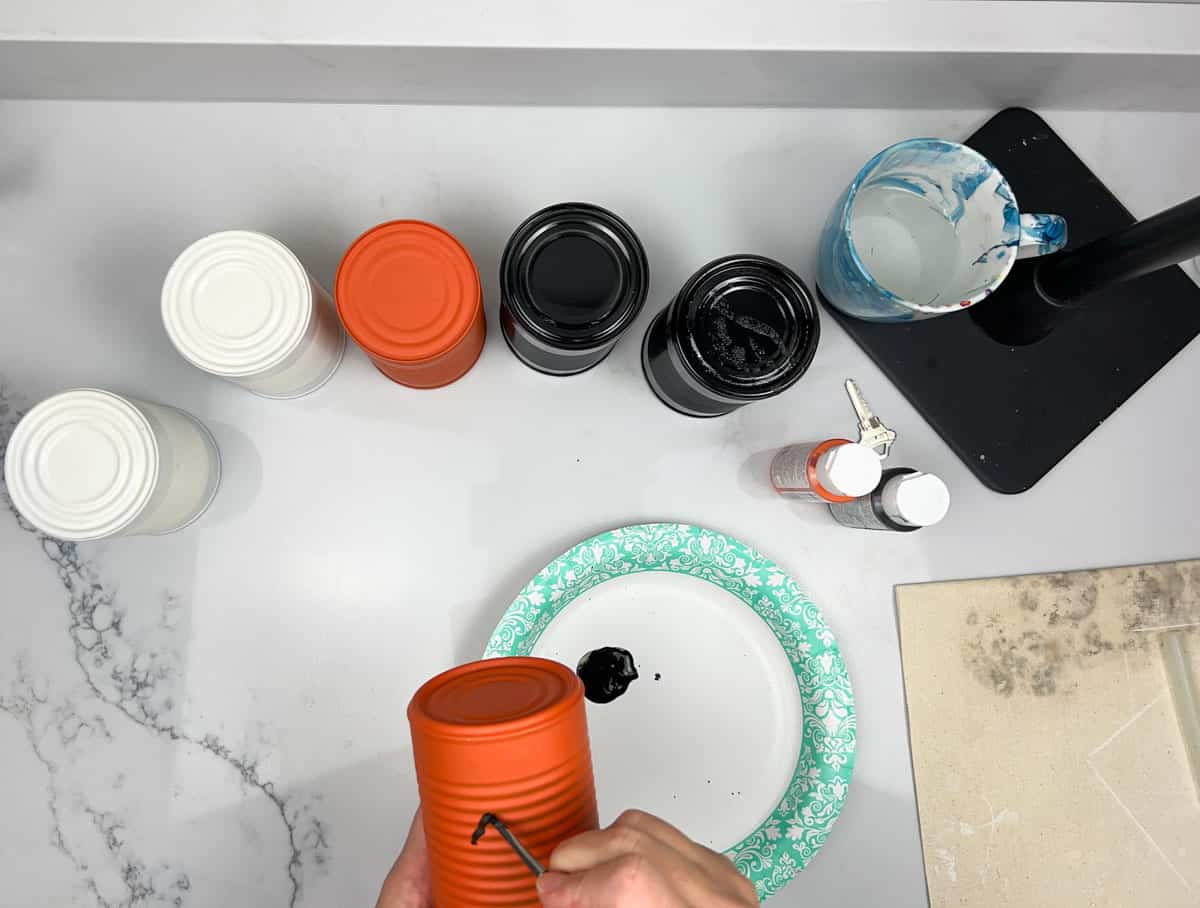
We chose to paint our cans with leftover spray paint. Depending on the characters you are making, you can use any color you want.

You could also use craft paint to paint the cans. Be careful if you use high-gloss spray paint. It may be hard to paint the extra details on a glossy surface.
Step 2: Paint Details
Add details such as a jack-o-lantern face using acrylic craft paint. Let your cans fully dry.

Step 3: Add Additional Details
You can use a hot glue gun to attach felt or even use a metallic paint pen to outline your details. Just have fun creating.

Step 4: Play Your Game
You can either make this a bowling game where the ball must be rolled or a toss game where children can throw. The cans were able to be knocked over with a heavier wiffle ball, but any ball or beanbag should do.

More Halloween and Fall Ideas
- Draw A Fun Color Monster
- Fun Chalk Pumpkin Drawing Project For Kids
- How To Make A Pinch Pot Monster
- Easily Paint A Fall Tree With Watercolor Paint
Follow us on Pinterest, YouTube, Facebook & Flipboard for more free art and craft ideas!
We hope you have a wonderful time making memories with this fun DIY Halloween game idea!

