
DIY Halloween Punch Out Monster Game: 30-Minute Craft!


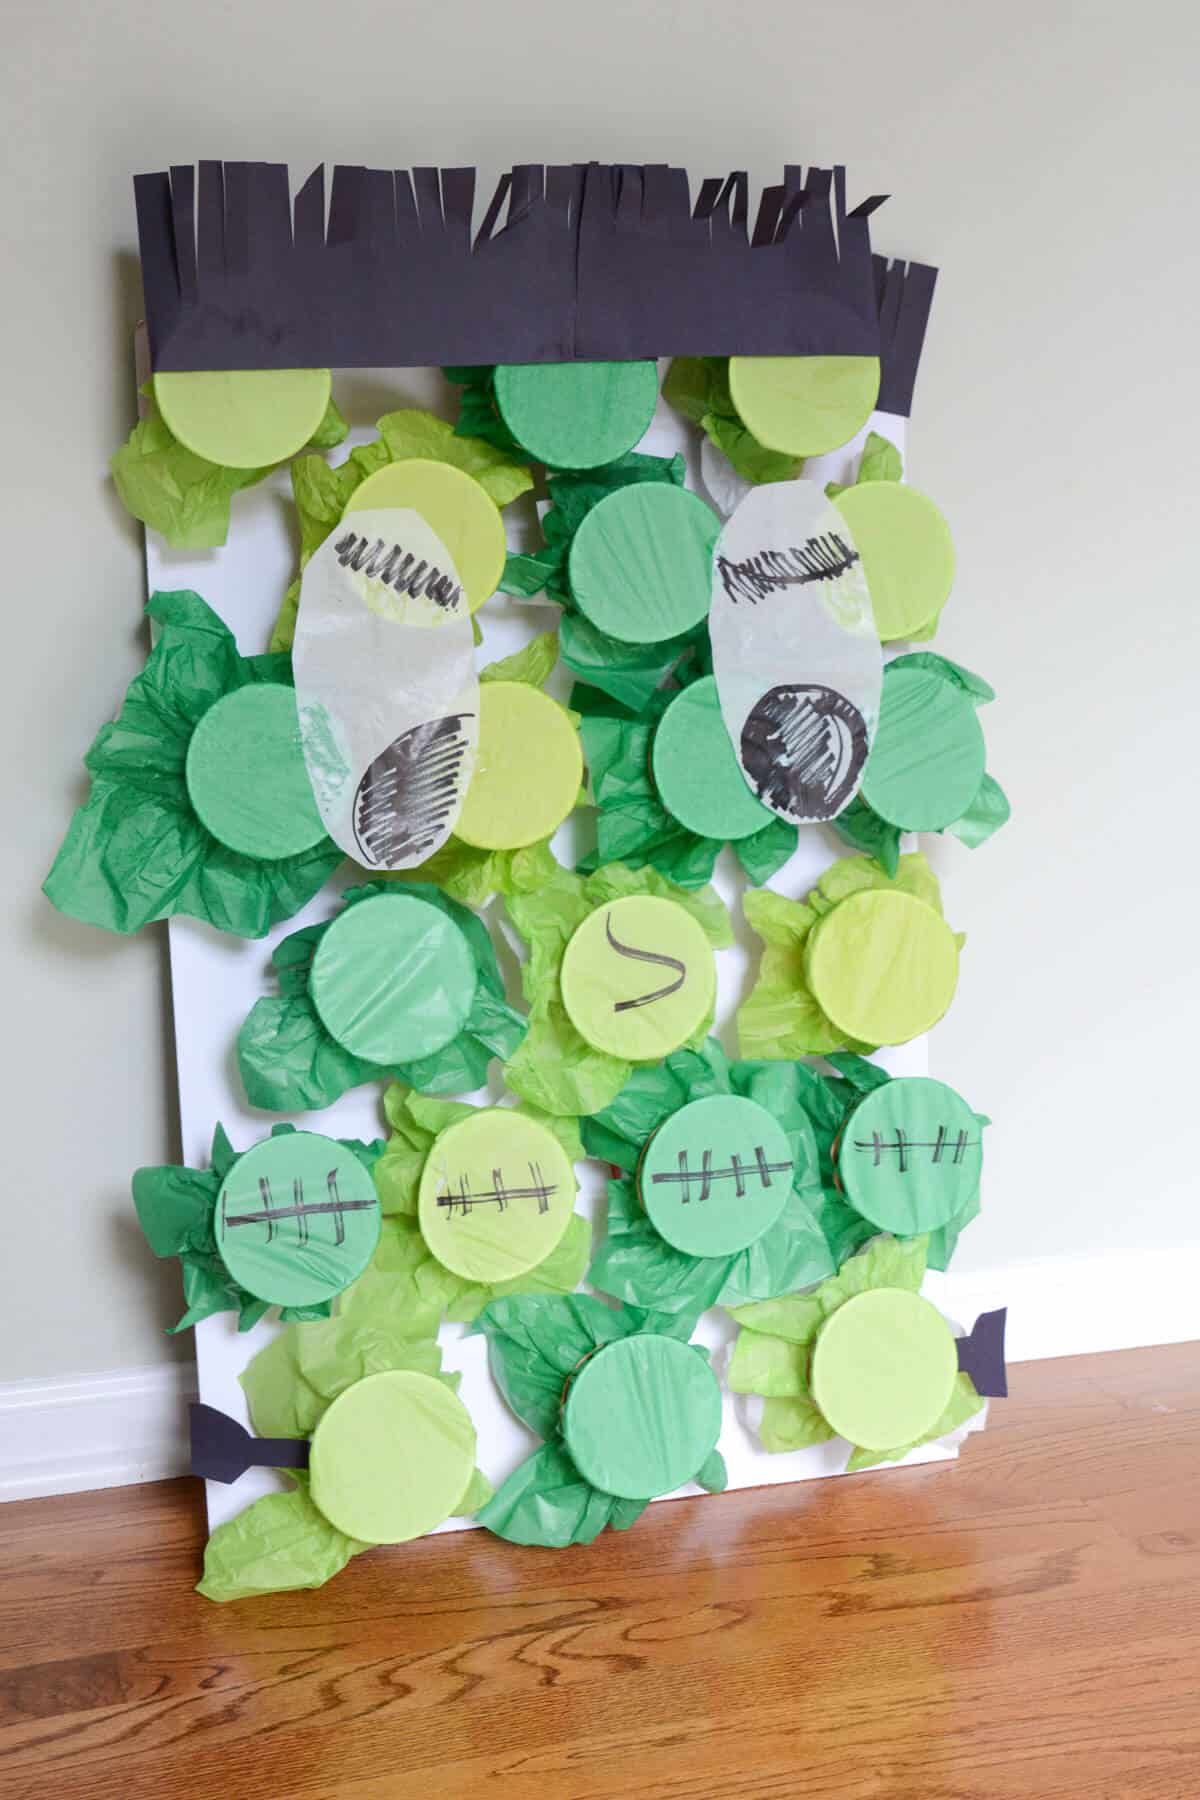
Are you looking for a fun and easy Halloween game kids love? Look no further than this Frankenstein prize punch board you can make for under $10 in less than 30 minutes. The best part is that you can reuse this punch game board for different occasions or holidays!
This craft tutorial was originally published in October 2023. This tutorial was recently updated in August 2026 with more precise instructions, links to other designs, and some newer how-to photos.
We sure love making our own DIY Halloween games and punch board games for all holidays. Not only does it save you money, but you can reuse the boards each year!
Supplies you’ll need
Disclosure: This post may contain affiliate links when clicked, we may earn a small commission at no additional cost to you. Read our full privacy policy.
DIY Monster Punch Cup Game
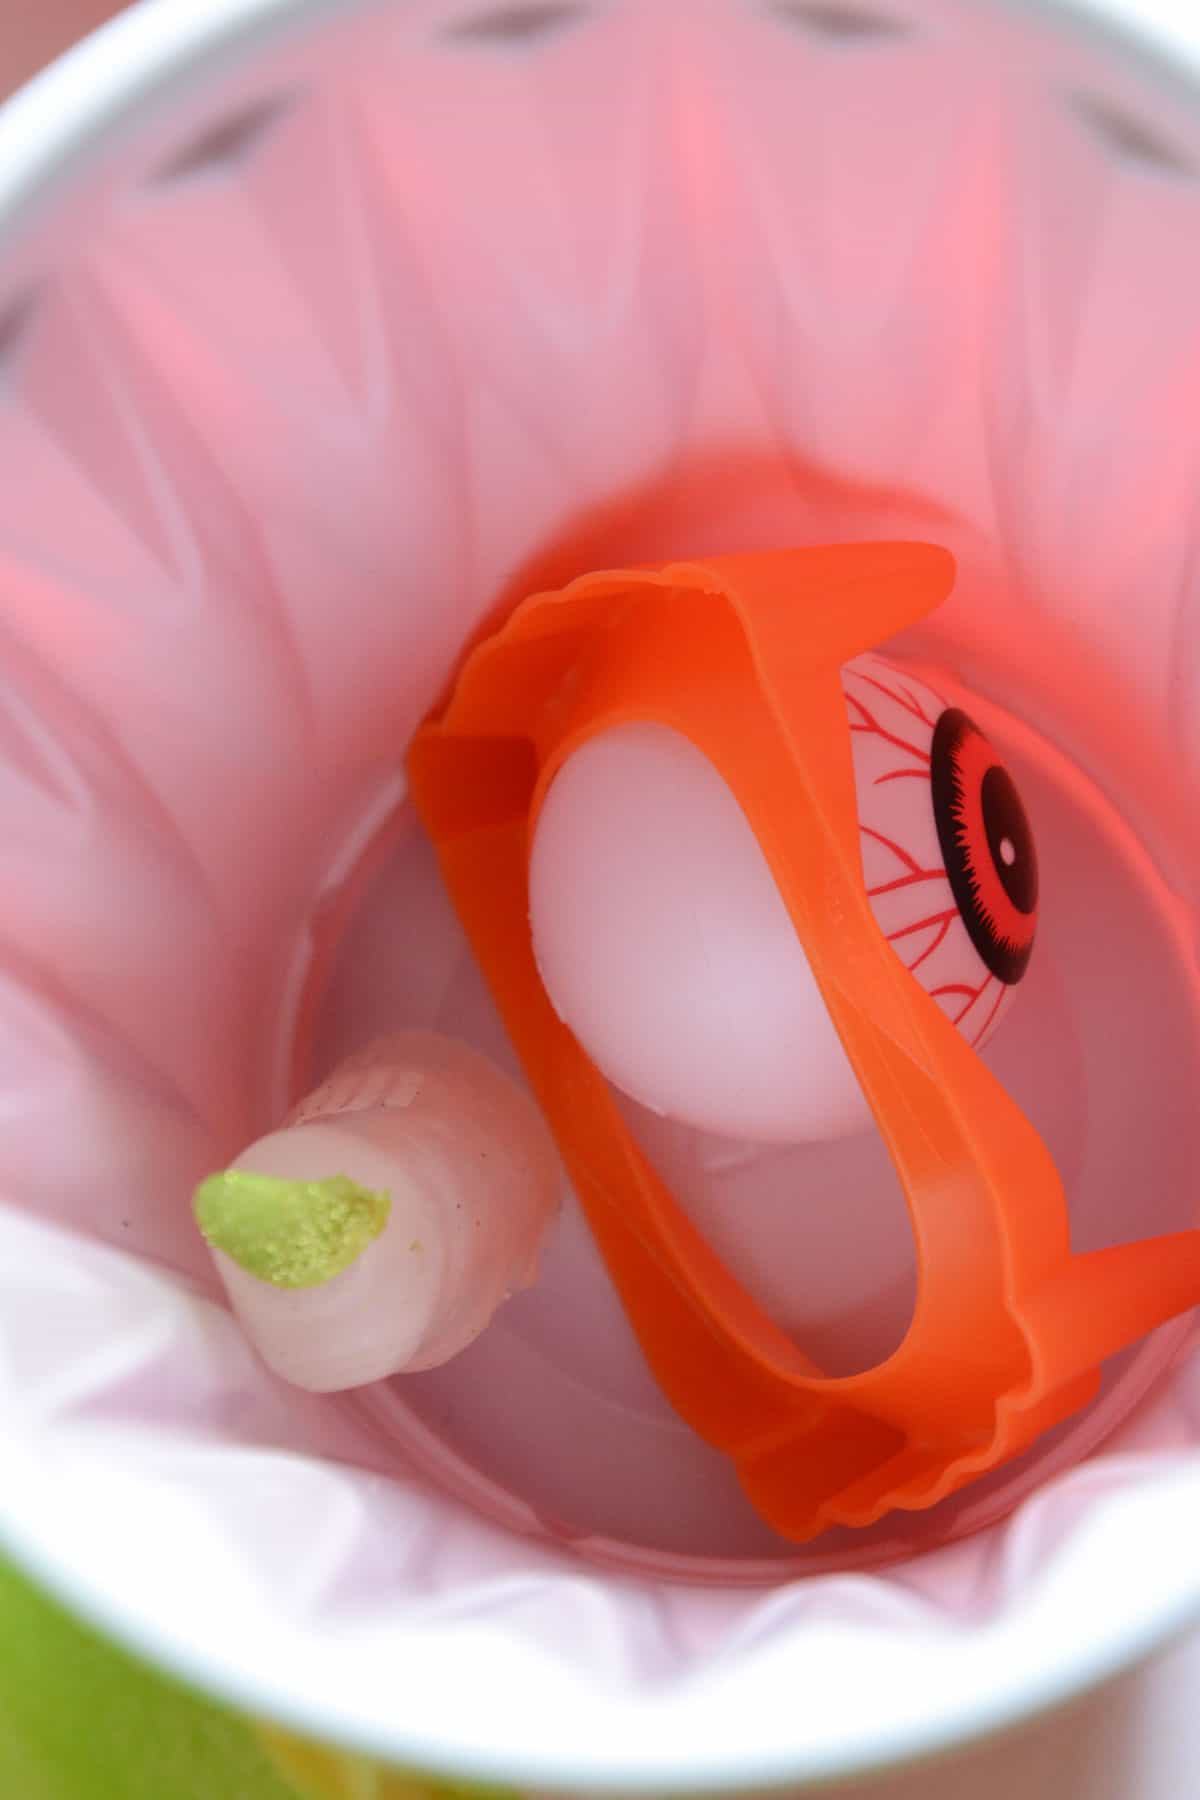
Step 1: Cut Tissue Paper & Place Prizes In
Place your prizes into the cups. In our game, each cup has a witch finger, eyeball ping pong ball, and vampire teeth.

Step 2: Cover The Cups
Pre-cut tissue paper into 7” x 7” squares. For a neater look, cut the tissue paper into circles.
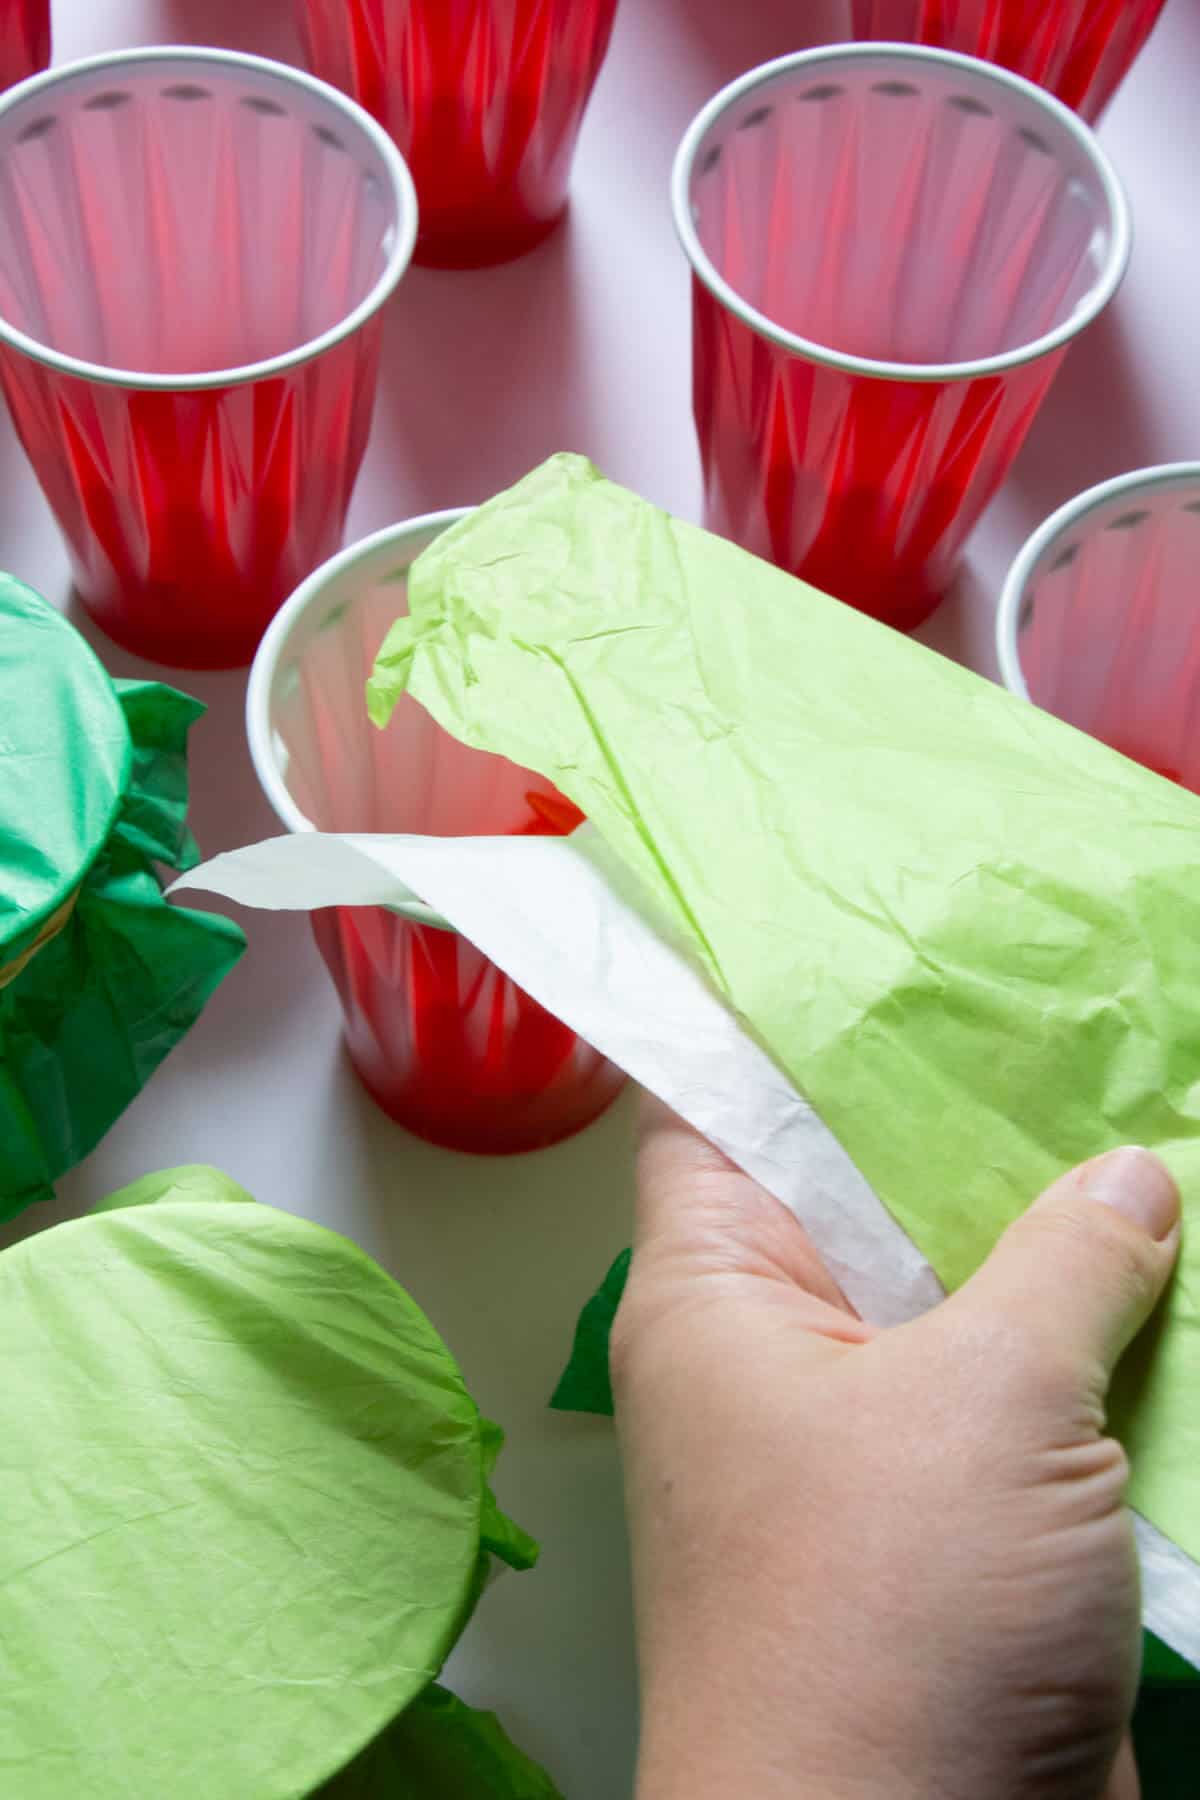
Step 3: Cover Cups
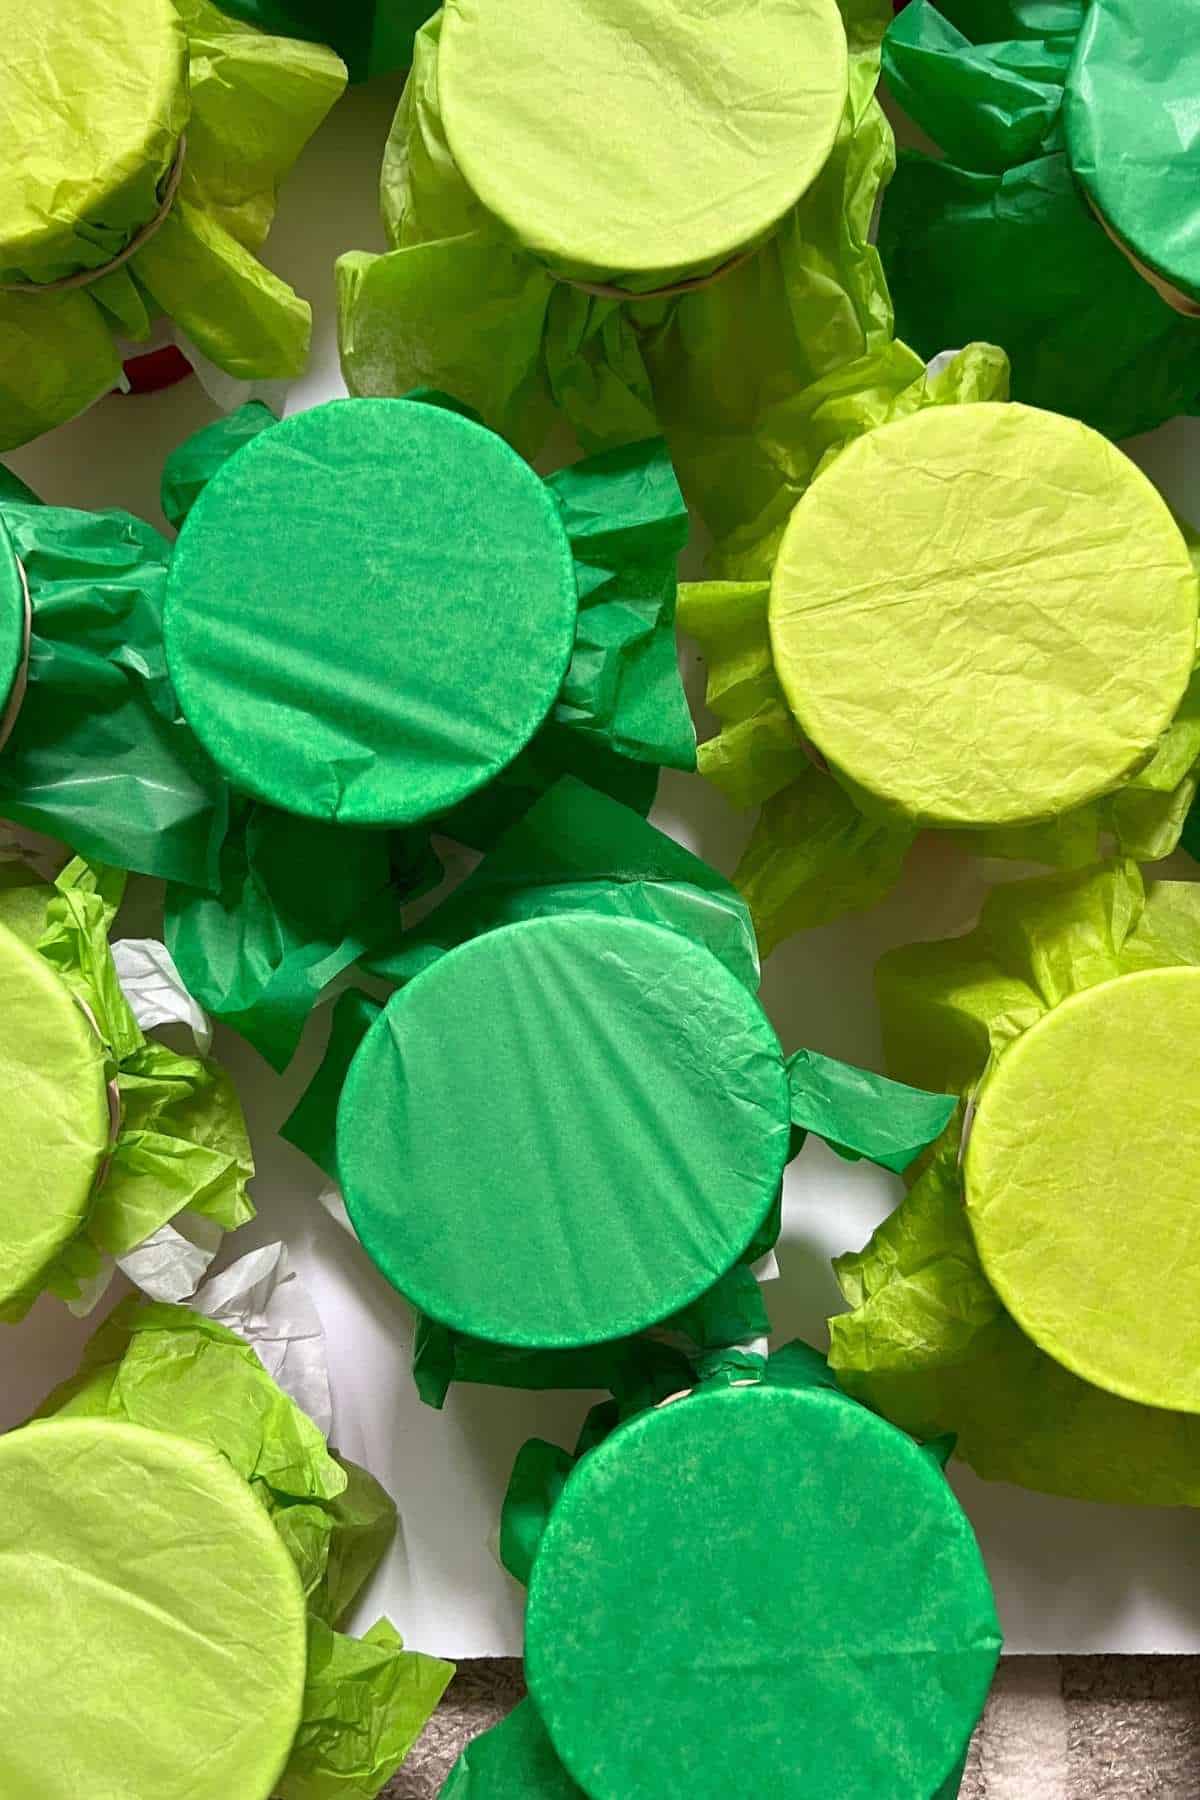
We layered lime green or darker green with white tissue paper. This will help get the “pop” feel. Use rubber bands to secure the tissue paper.
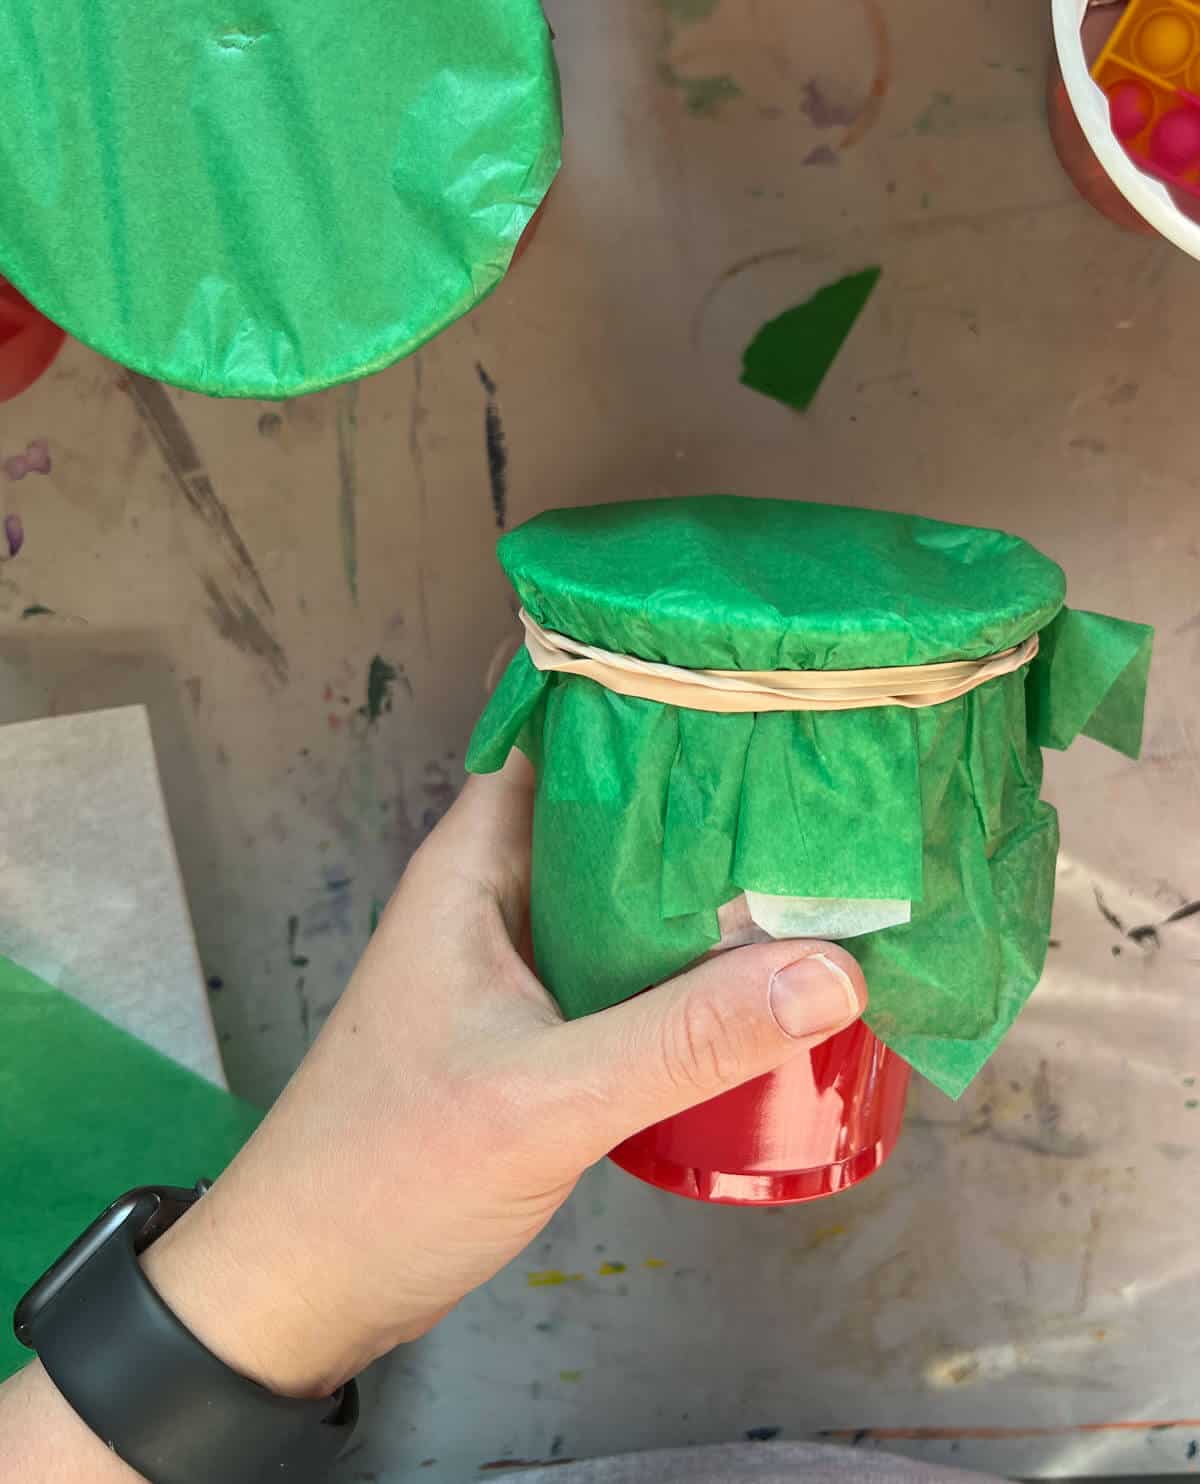
Step 4: Repeat On Each Cup
Repeat for all cups.
Step 5: Glue The Cups
Once you have planned out the cup layout, add a generous amount of hot glue to each cup and add it to the foam core. Hold each cup for a few seconds to let the glue set.
Step 6: Create A Monster Design
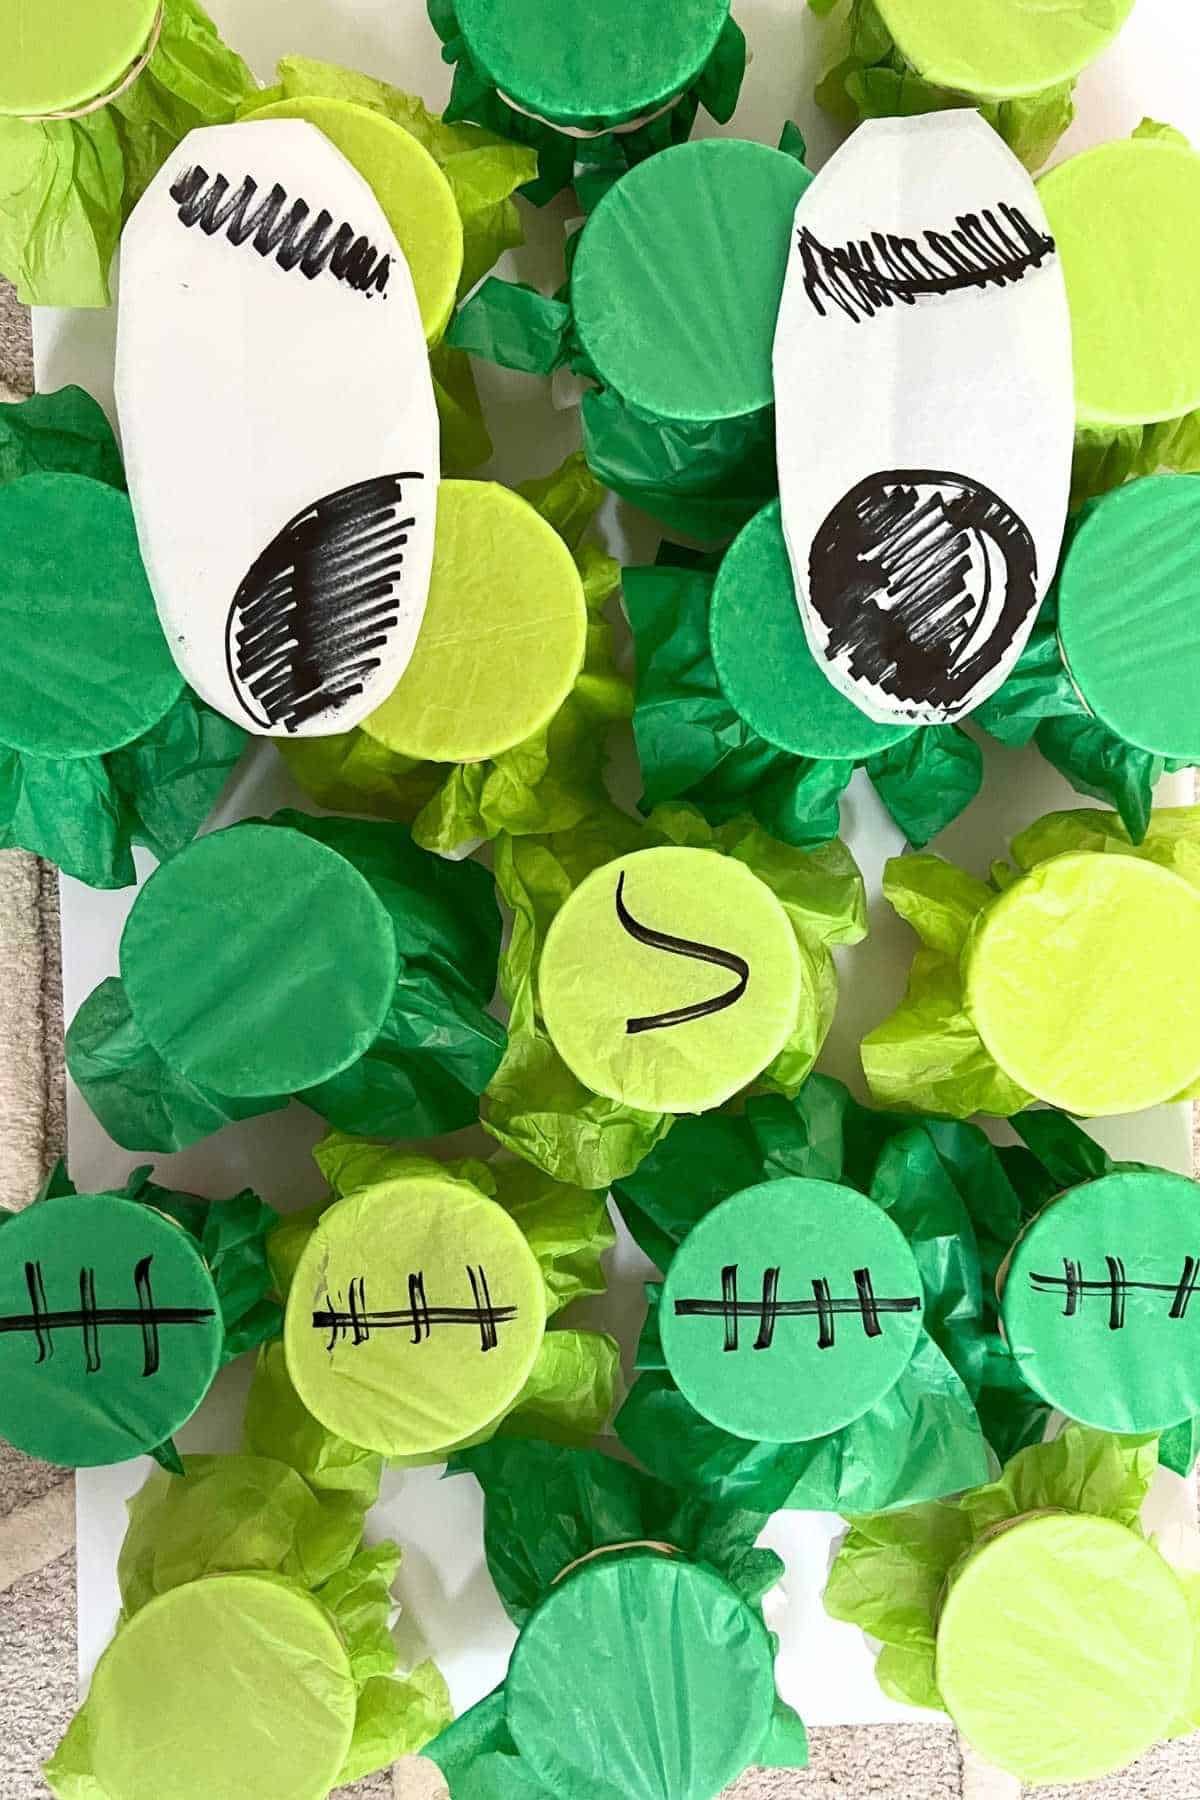
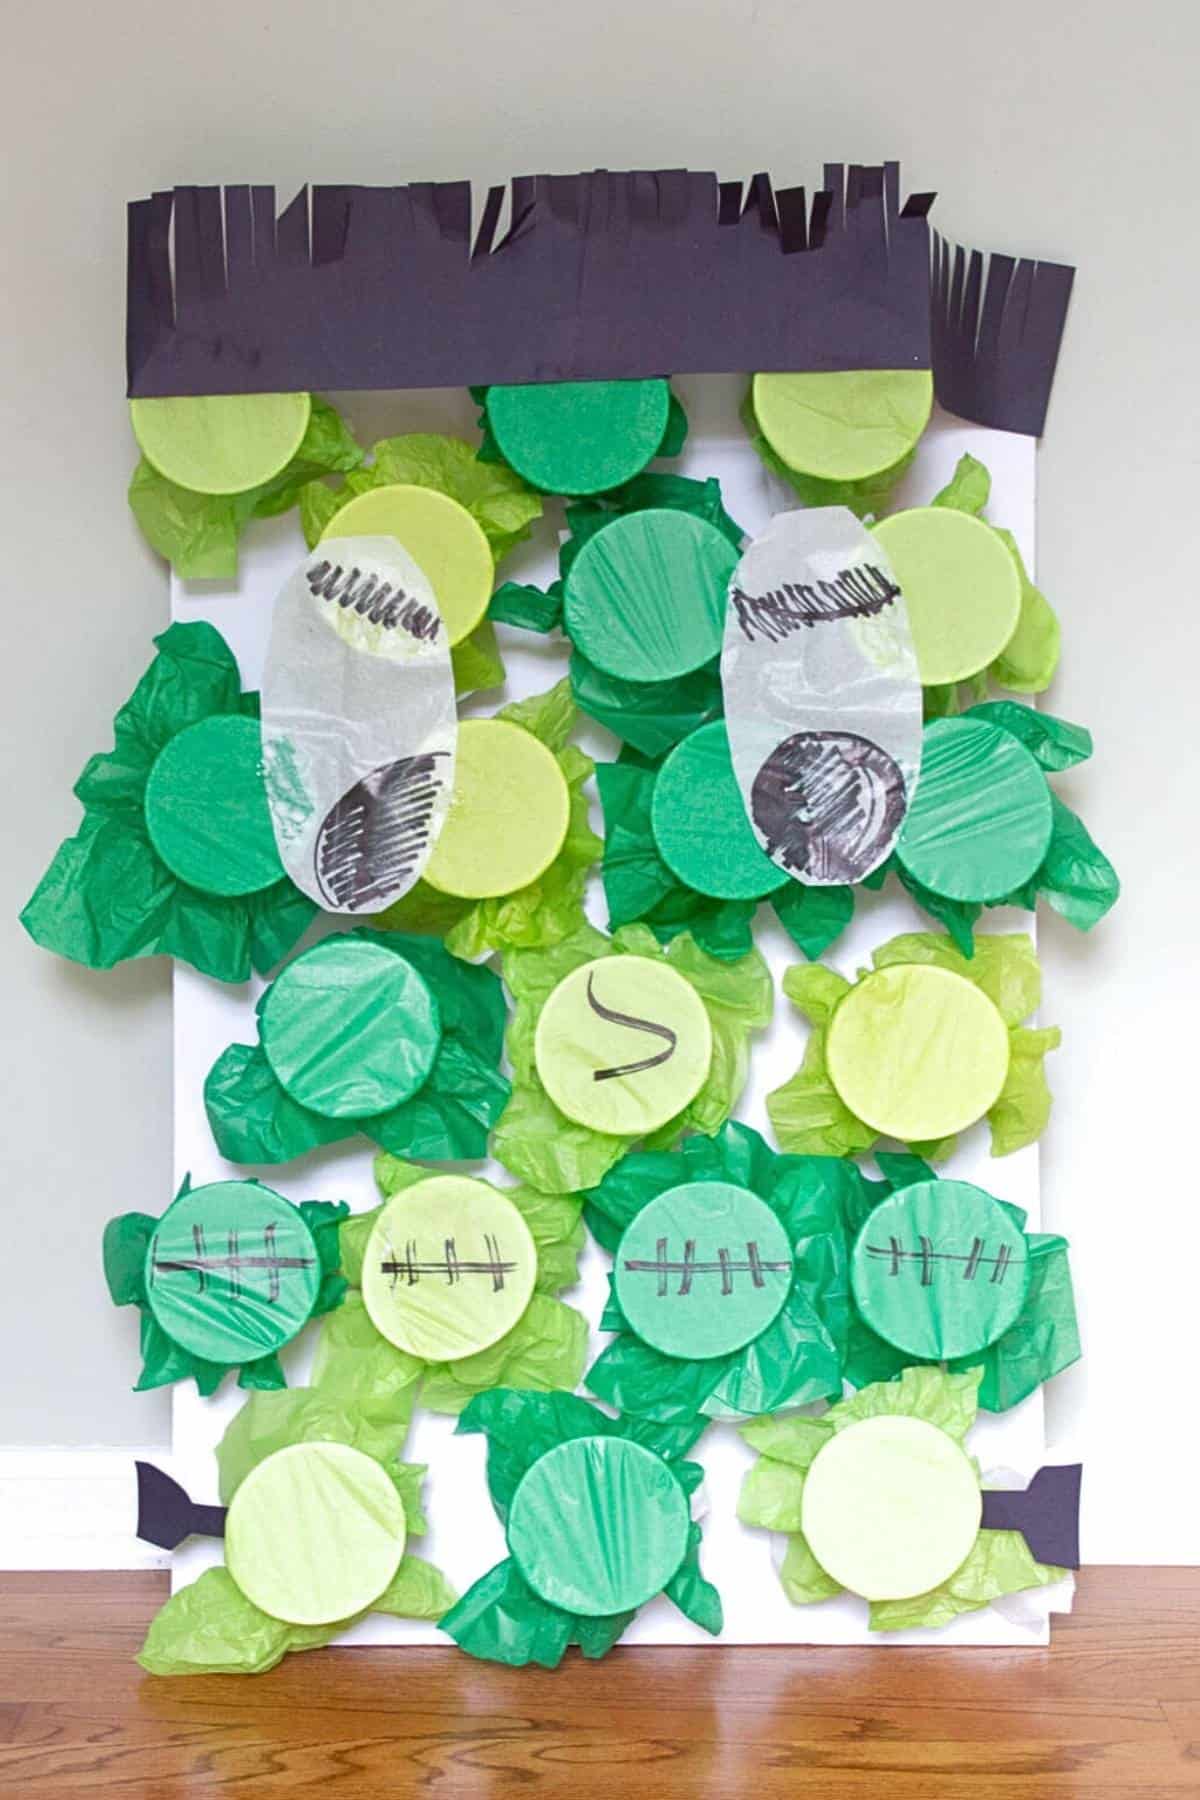
For this Frankenstein design, that meant adding white tissue paper eyes, drawing a nose and mouth with a permanent marker, and adding black construction paper hair and bolts.
Tips
- Leave spaces in between cups so that you can easily reuse the board.
- Use tape or school glue to lightly attach decorations.
- Don’t glue anything directly to the board if you plan to reuse it for other holidays.
- For Adults: Place scratch-off lottery tickets instead of prizes
- For Children: Create coupons for bigger rewards or as part of a scavenger hunt.
How To Play
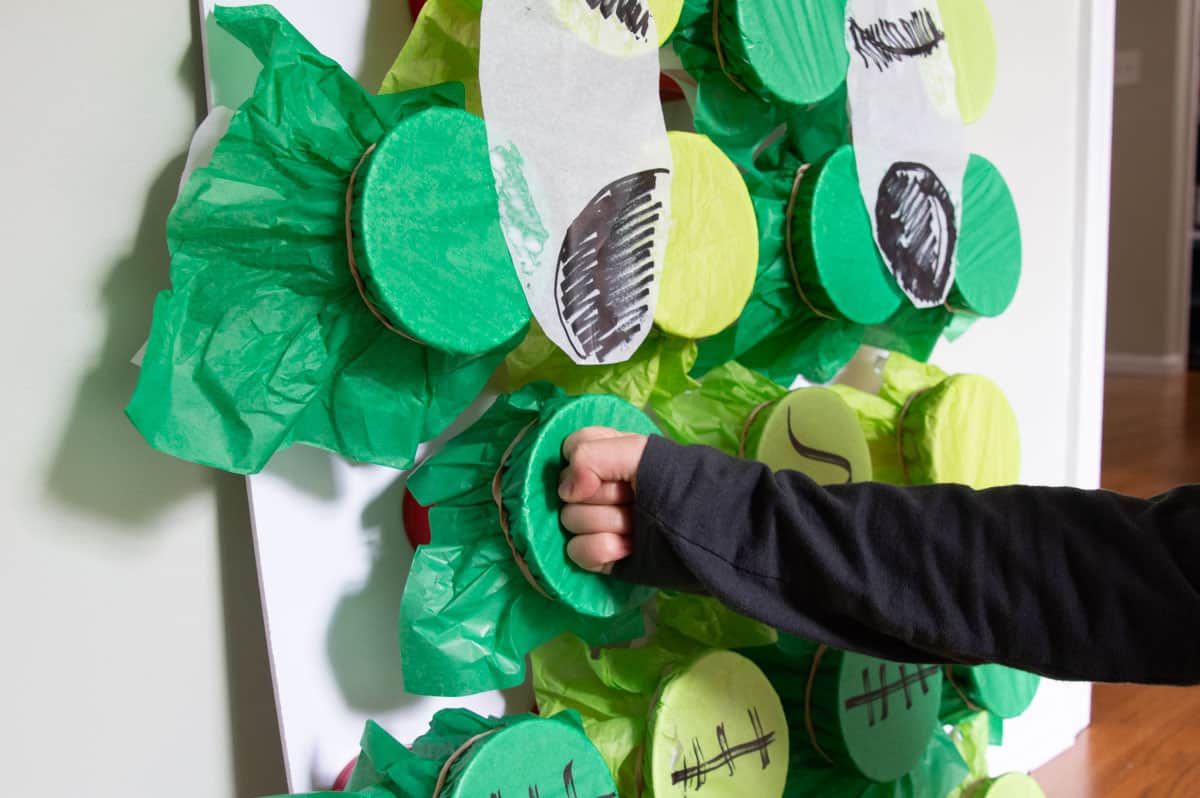
Because this game goes rather quickly, for class parties or house parties, we like to have another DIY Halloween game they have to complete. Check out games such as our ghost marshmallow stack or easy Halloween toss; children have to complete them before they can punch the board.
Other Halloween Designs
- Monster Board: Cover the cups in the same color and draw or add paper eyes and a tongue.
- Poke-A-Pumpkin Board: Place the cups in the shape of a pumpkin and cover them with orange tissue paper. Add a stem out of paper or toilet paper rolls.
- Halloween Colors: Just create a punch board and cover the cups with orange, black, and white tissue paper.
- Spider Board: Create a body out of cups or paper and then line the cups up for 8 legs.
- Poke-A–Ghost Board: Cover all of the cups with white tissue paper and add black ghost facial features.
Follow us on Pinterest, YouTube & Facebook for more free art and craft ideas!
No matter what design you go for, this DIY Halloween punch game is always a hit!
Do you like this art project? Please give us a 5-STAR review below ⭐️⭐️⭐️⭐️⭐️ and have fun being creative with your family.
DIY Halloween Punch Out Game

Equipment
- Pair Of Scissors
- Glue Gun
Supplies
- Foam Core or Cardboard
- Large Plastic Cups
- Tissue Paper in the colors that work for your design
- Rubber Bans
- Prizes need to be light enough so that the cup won't fall off the board.
- Black Construction Paper
- Marker
Instructions
Before You Begin
- Decide on your design. Our board is a Frankenstein theme. See the end of the post for other Halloween party ideas.
Making Your Punch Game
- Place your prizes into the cups. In our game, each cup has a witch finger, eyeball ping pong ball, and vampire teeth.
- Pre-cut tissue paper into 7” x 7” squares. For a neater look, cut the tissue paper into circles.
- We layered lime green or darker green with white tissue paper. This will help get the “pop” feel.
- Wrap rubber bands around cups and tissue paper. Either use two rubber bands or double one band per cup to ensure the paper is tight enough.
- Cover all of the cups.
- Once you have planned out the cup layout, add a generous amount of hot glue to each cup and add to the foam core. Hold each cup for a few seconds to let the glue set.
- Decorate your board. For this Frankenstein design, that meant adding white tissue paper eyes, drawing a nose and mouth with a permanent marker and adding black construction paper hair and bolts.
Notes
-
- Leave spaces in between cups so that you can easily reuse the board.
- Use tape or school glue to lightly attach decorations.
- Don’t glue anything directly to the board if you plan to reuse it for other holidays.