Fun Halloween Mini Golf Game For Kids
We love creating our own Halloween games! Not only will you save money, but the kids will have so much fun playing our DIY Halloween golf game!
Why You Will Love This DIY
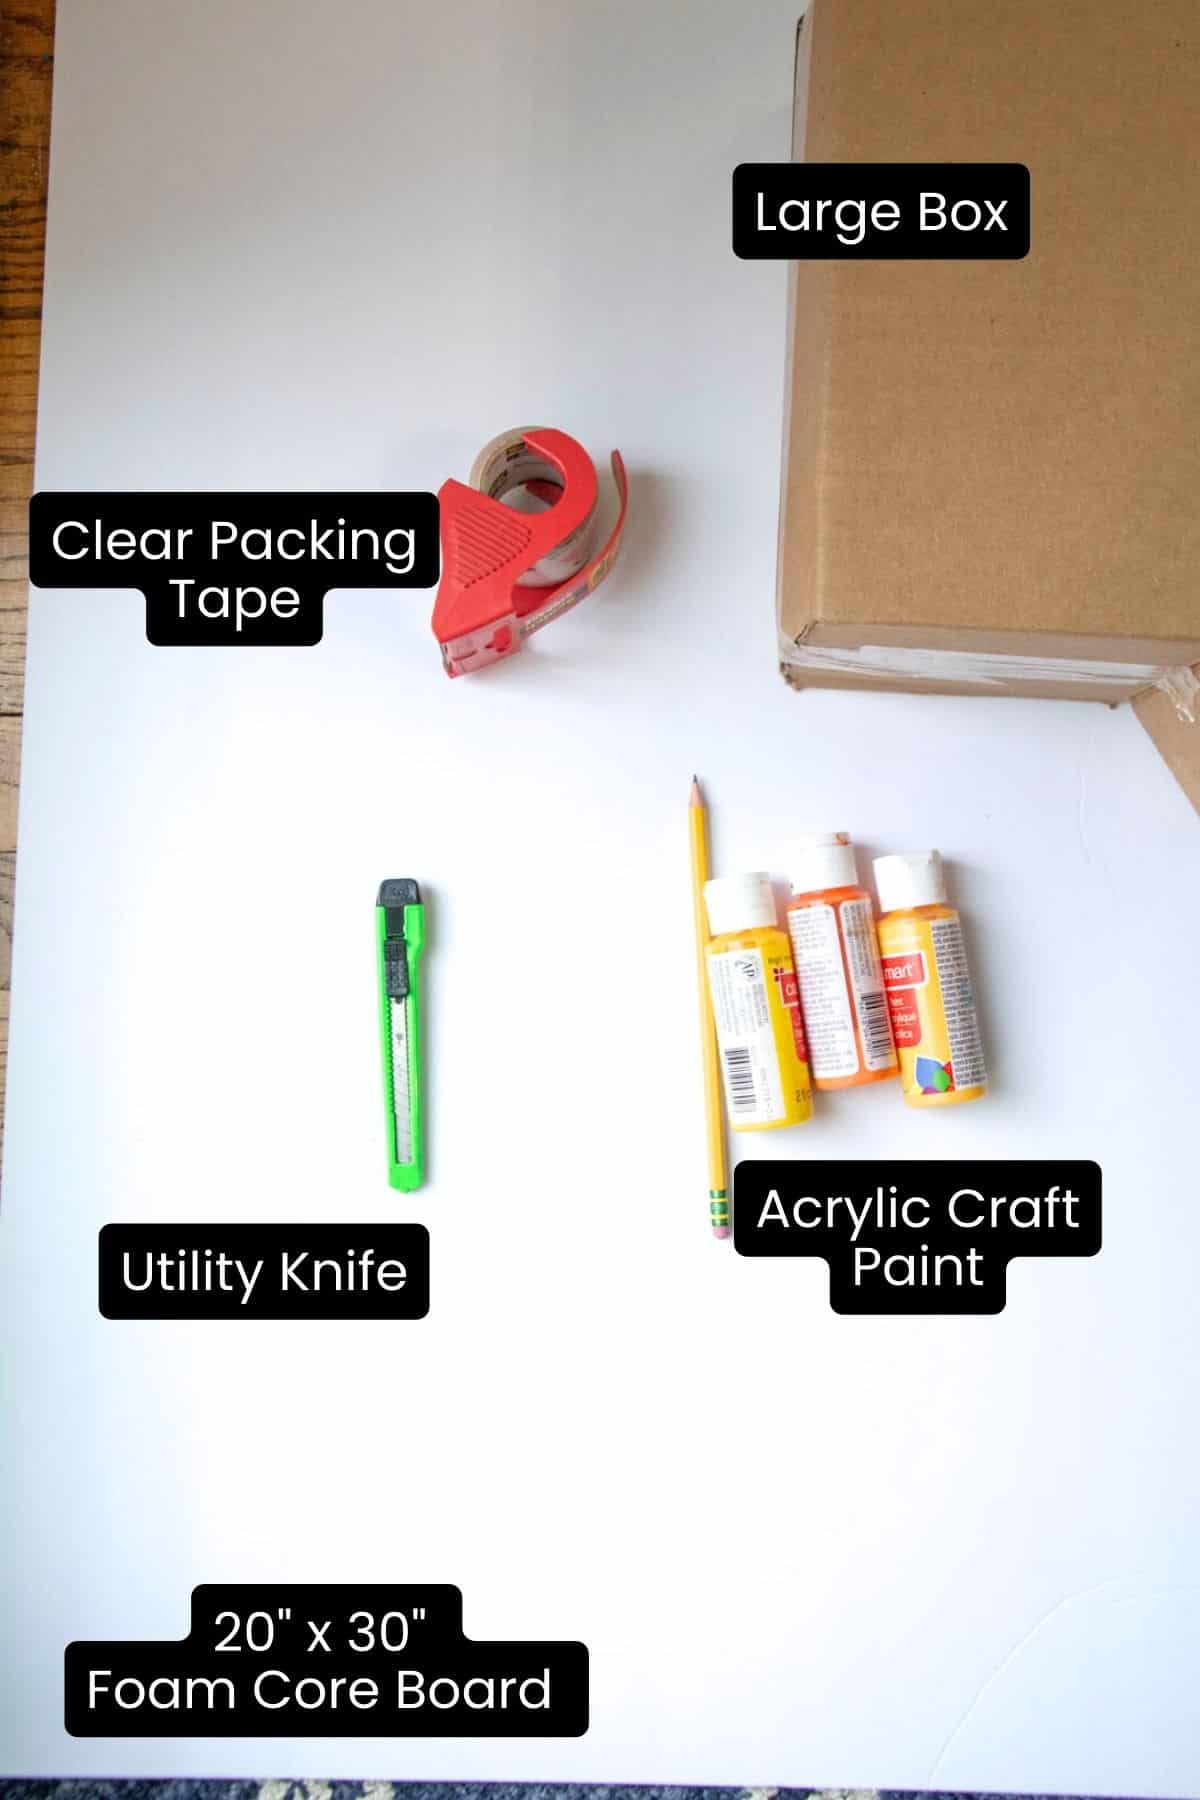
Supplies You’ll Need
Disclosure: This post may contain affiliate links when clicked, we may earn a small commission at no additional cost to you. Read our full privacy policy.
Halloween Mini Golf Tutorial

Step 1: Plan Out Your Design
Halloween games are so fun to make because you pick from numerous ideas. Some designs you may want to consider painting are:
- Ghosts
- Black Cats
- Pumpkins or Jack-O-Lanterns
- Witches
- Monsters
- Candy
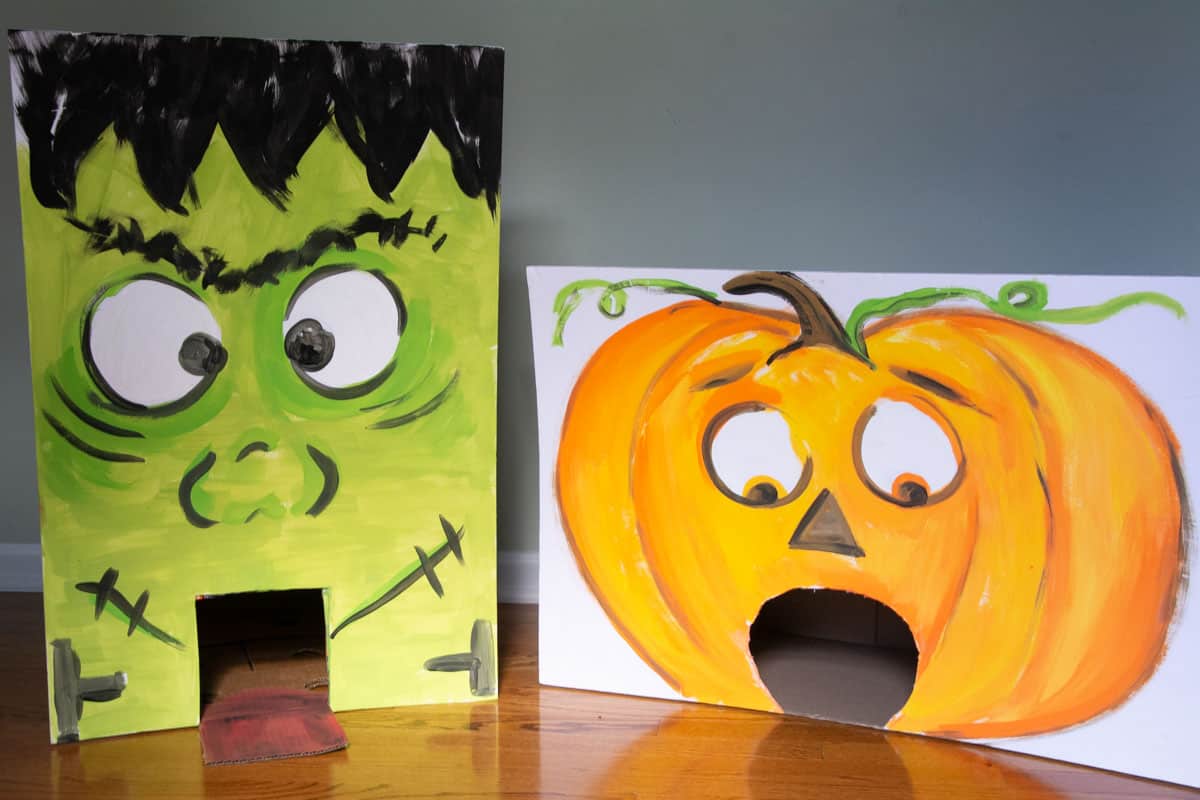
We decided to paint a funny Jack-O-lantern face and a Frankenstein for our design. You must decide how large of a hole you will have for the golf ball to enter.
Step 2: Sketch Out Your Drawing
Lightly draw the images you want to create with a pencil and mark where you will cut out the golf hole.
READ MORE – 4 Easy Ways To Draw Pumpkins
Step 3: Cut Out Foam Core and Box
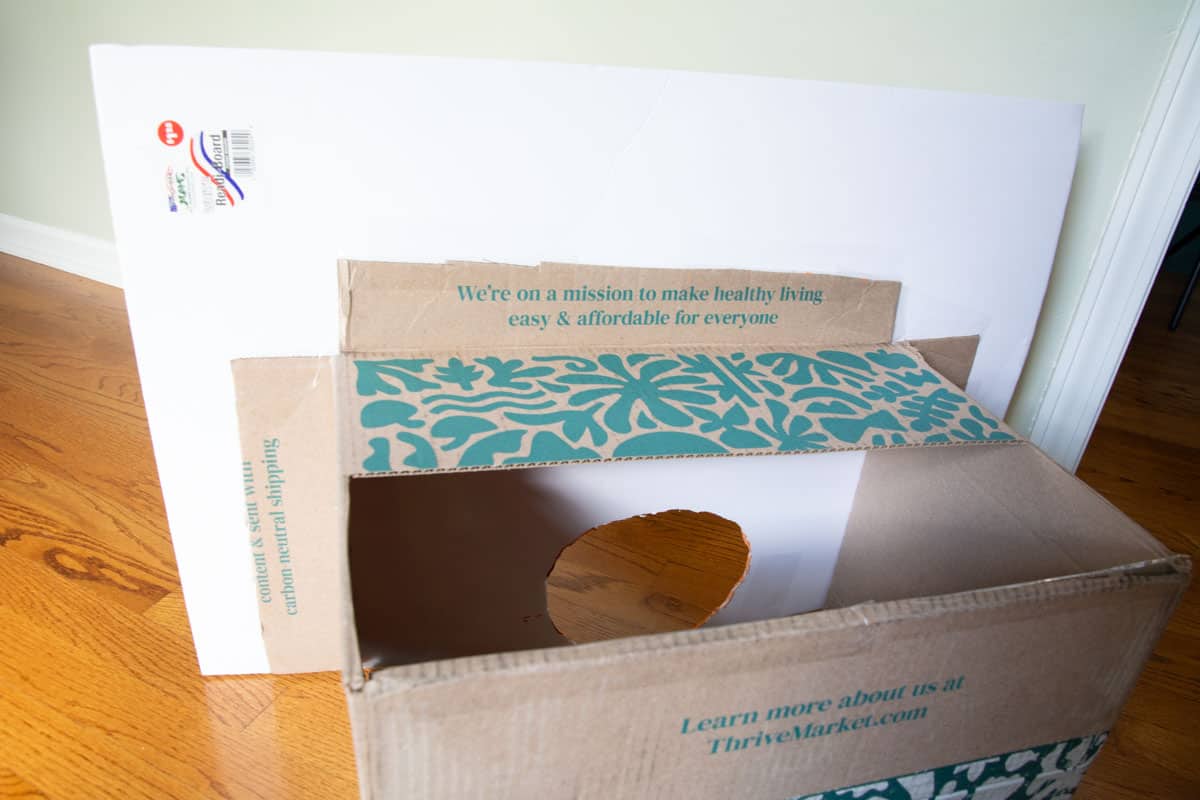
Before painting, we recommend cutting out the mouth hole or place where the golf ball will go. Once you cut the foam core, line it up with your large box and trace the shape. You will also cut that out.
Step 4: Paint Your Images
We used cheaper acrylic craft paint for our pumpkin golf and Frankenstein game.
Step 5: Tape Your Box On
We chose to use large boxes to help balance the foam core board. Use a generous amount of packing tape to ensure your foam core boards are securely on.
Step 6: Enjoy Your DIY Mini Golf
This fun game will entertain children for hours. Place your golf clubs and balls out for all to enjoy.

Follow us on Pinterest, YouTube, Facebook & Flipboard for more free art and craft ideas!
More Ideas For Fall
- EASY GAME: DIY Halloween Toss Game
- FALL PAINTING IDEA: Easy Watercolor Pumpkin Art Project For Kids
- PUMPKIN CRAFT: How To Make Clay Pumpkin Magnets
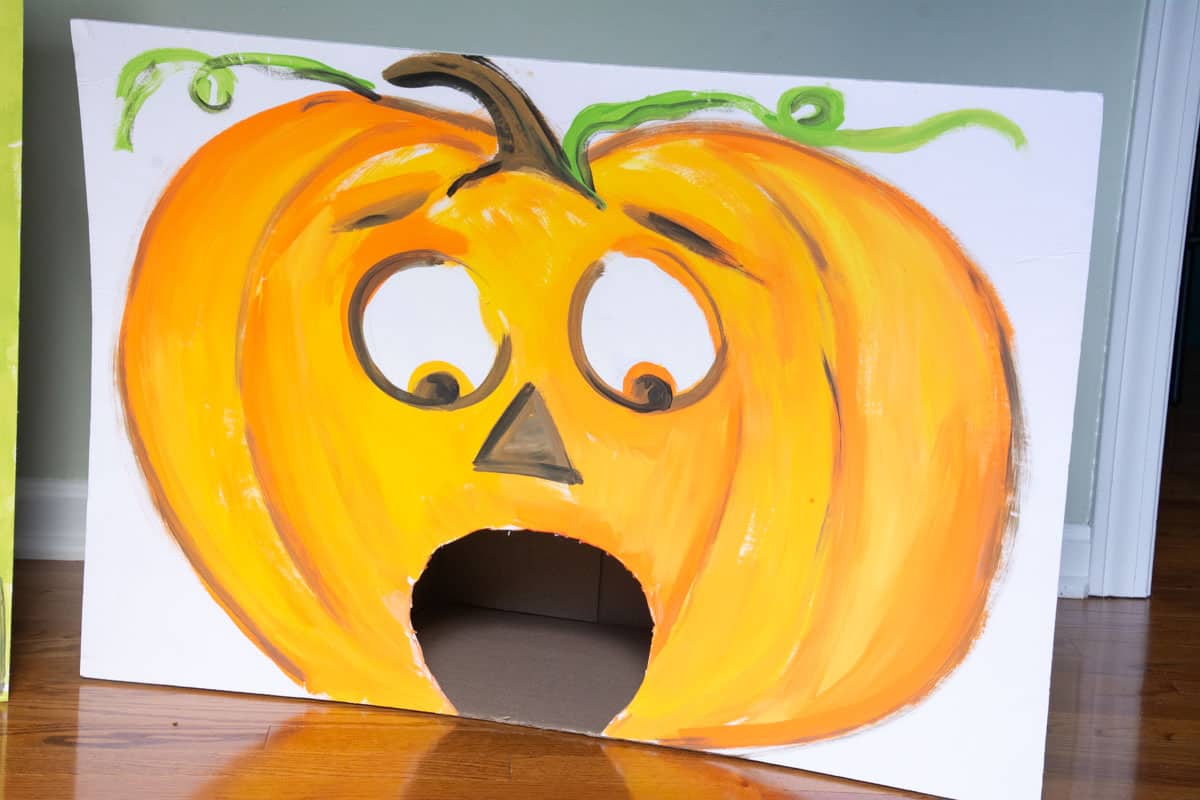
Simple and fun DIY Halloween games are the best! Have fun playing with your family this Autumn.


