
Easy Pumpkin Magnet Clay Craft For Kids


Are you looking for a quick and easy Fall clay craft for kids? Use our tutorial to make adorable pumpkin or Jack-o-lantern magnets to decorate your fridge!

Oven bake clay is so easy to work with that even young artists can make this cute pumpkin clay magnet craft in minutes. If making these with children, please allow an adult to do the baking while taking proper precautions.
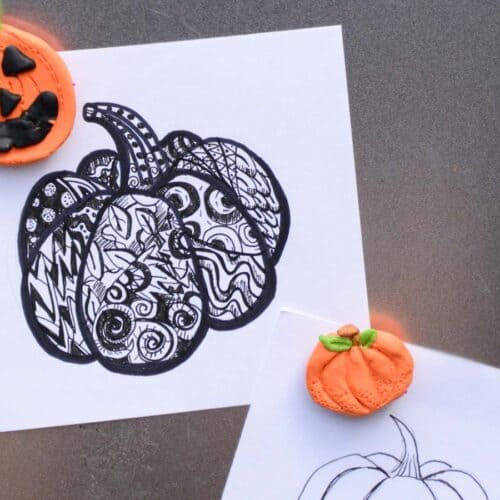
MORE PUMPKIN ART IDEAS – You can get the full tutorial for the doodle pumpkin project here!
Why Kids Love Using Polymer Clay
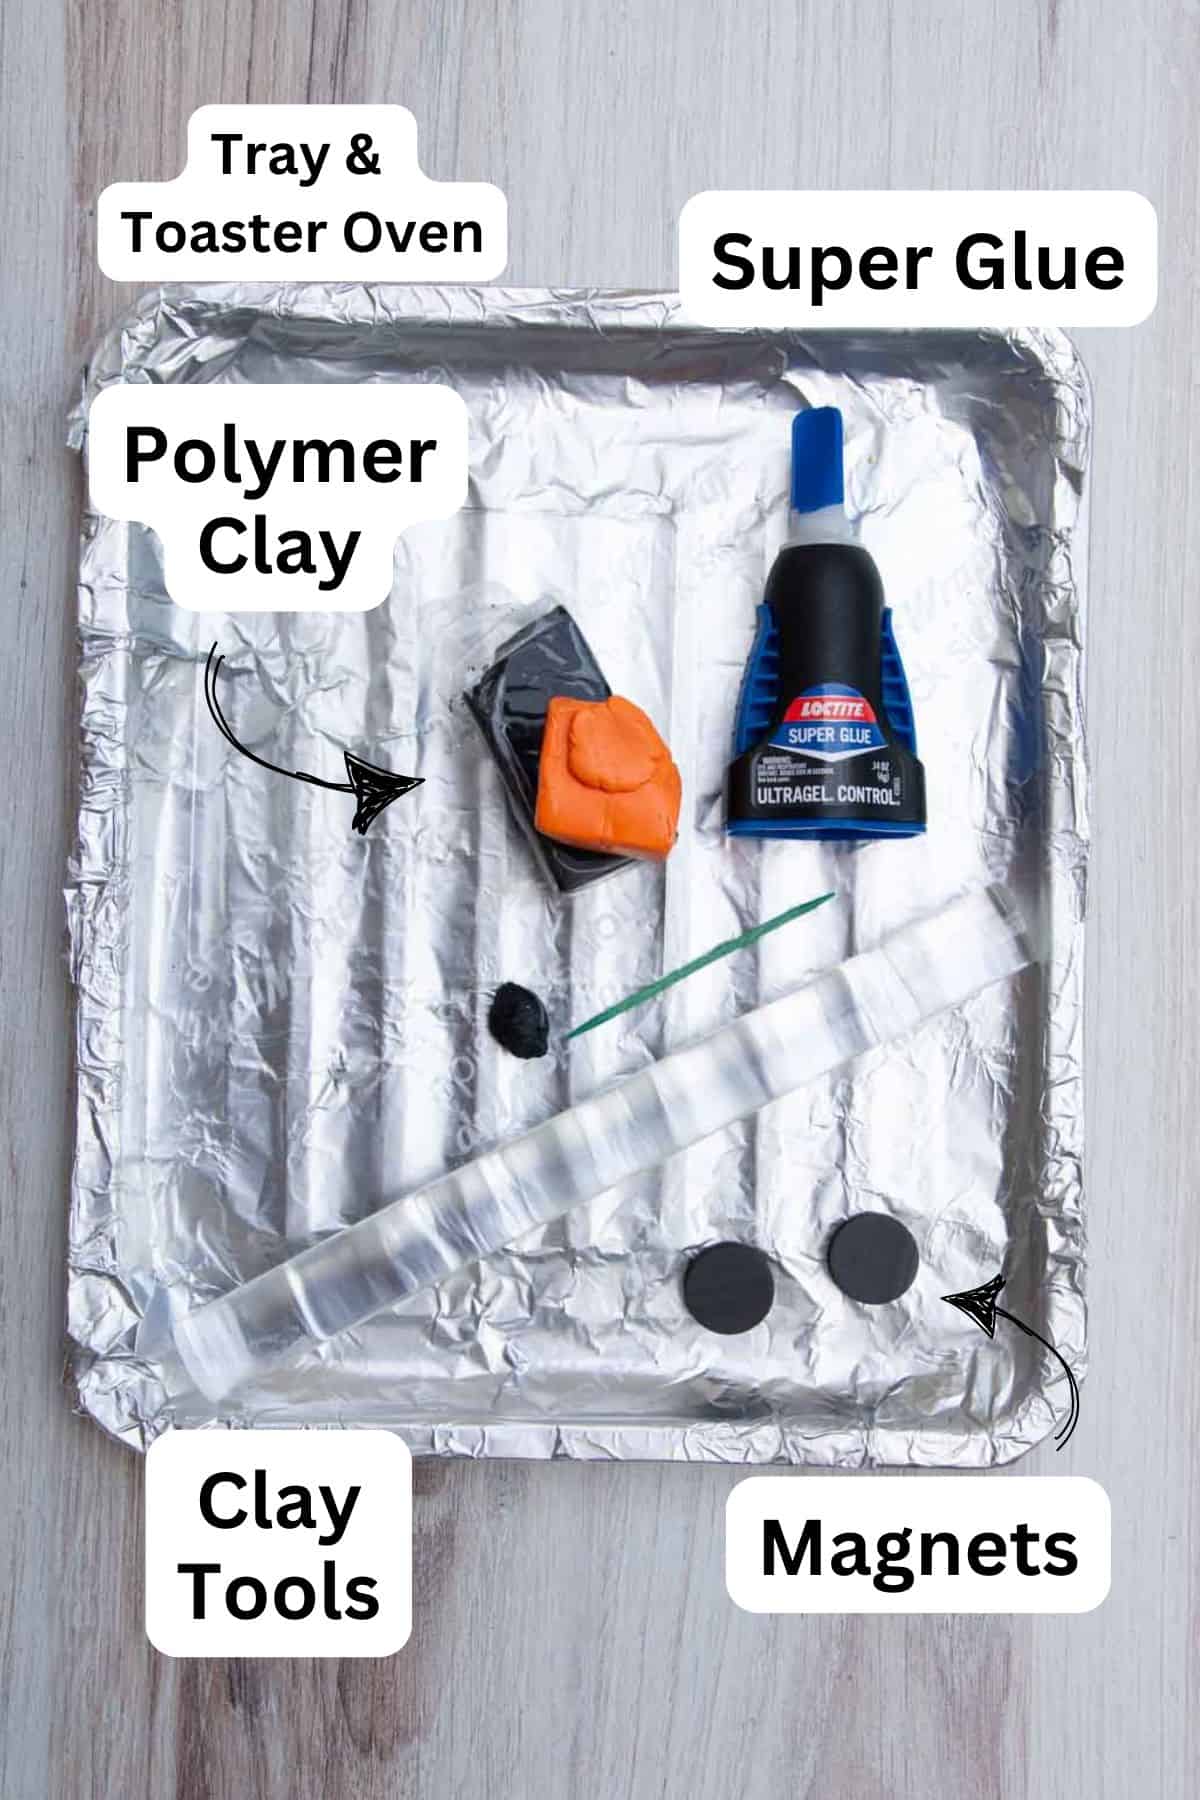
Supplies you’ll need
Disclosure: We only recommend products we would use ourselves and all opinions expressed are our own. This post may contain affiliate links when clicked, we may earn a small commission at no additional cost to you. Read our full privacy policy.
*You can purchase packs of regular magnets, mini magnets or self-adhesive ones. We like to superglue our magnets onto the clay for a stronger bond.
DIY Clay Pumpkin Tutorial
Most of the clay examples below were made by 7—and 8-year-olds without much clay sculpting experience. You can easily adapt the clay tutorial to fit the needs of the artists.
Step 1: Set-Up Your Work Area
Give children a small amount of orange polymer clay to work with. You can roll the clay or mold a pumpkin shape with your hands first.

Step 2: Sculpt Your Pumpkin
Smaller and flatter 3-D pumpkins will work best. If they want to make a more 3-D sculpture, consider turning a sphere into a pumpkin charm.
Show children how to build with coils, slabs, and other sculpting techniques. Use a toothpick and other tools to add texture.
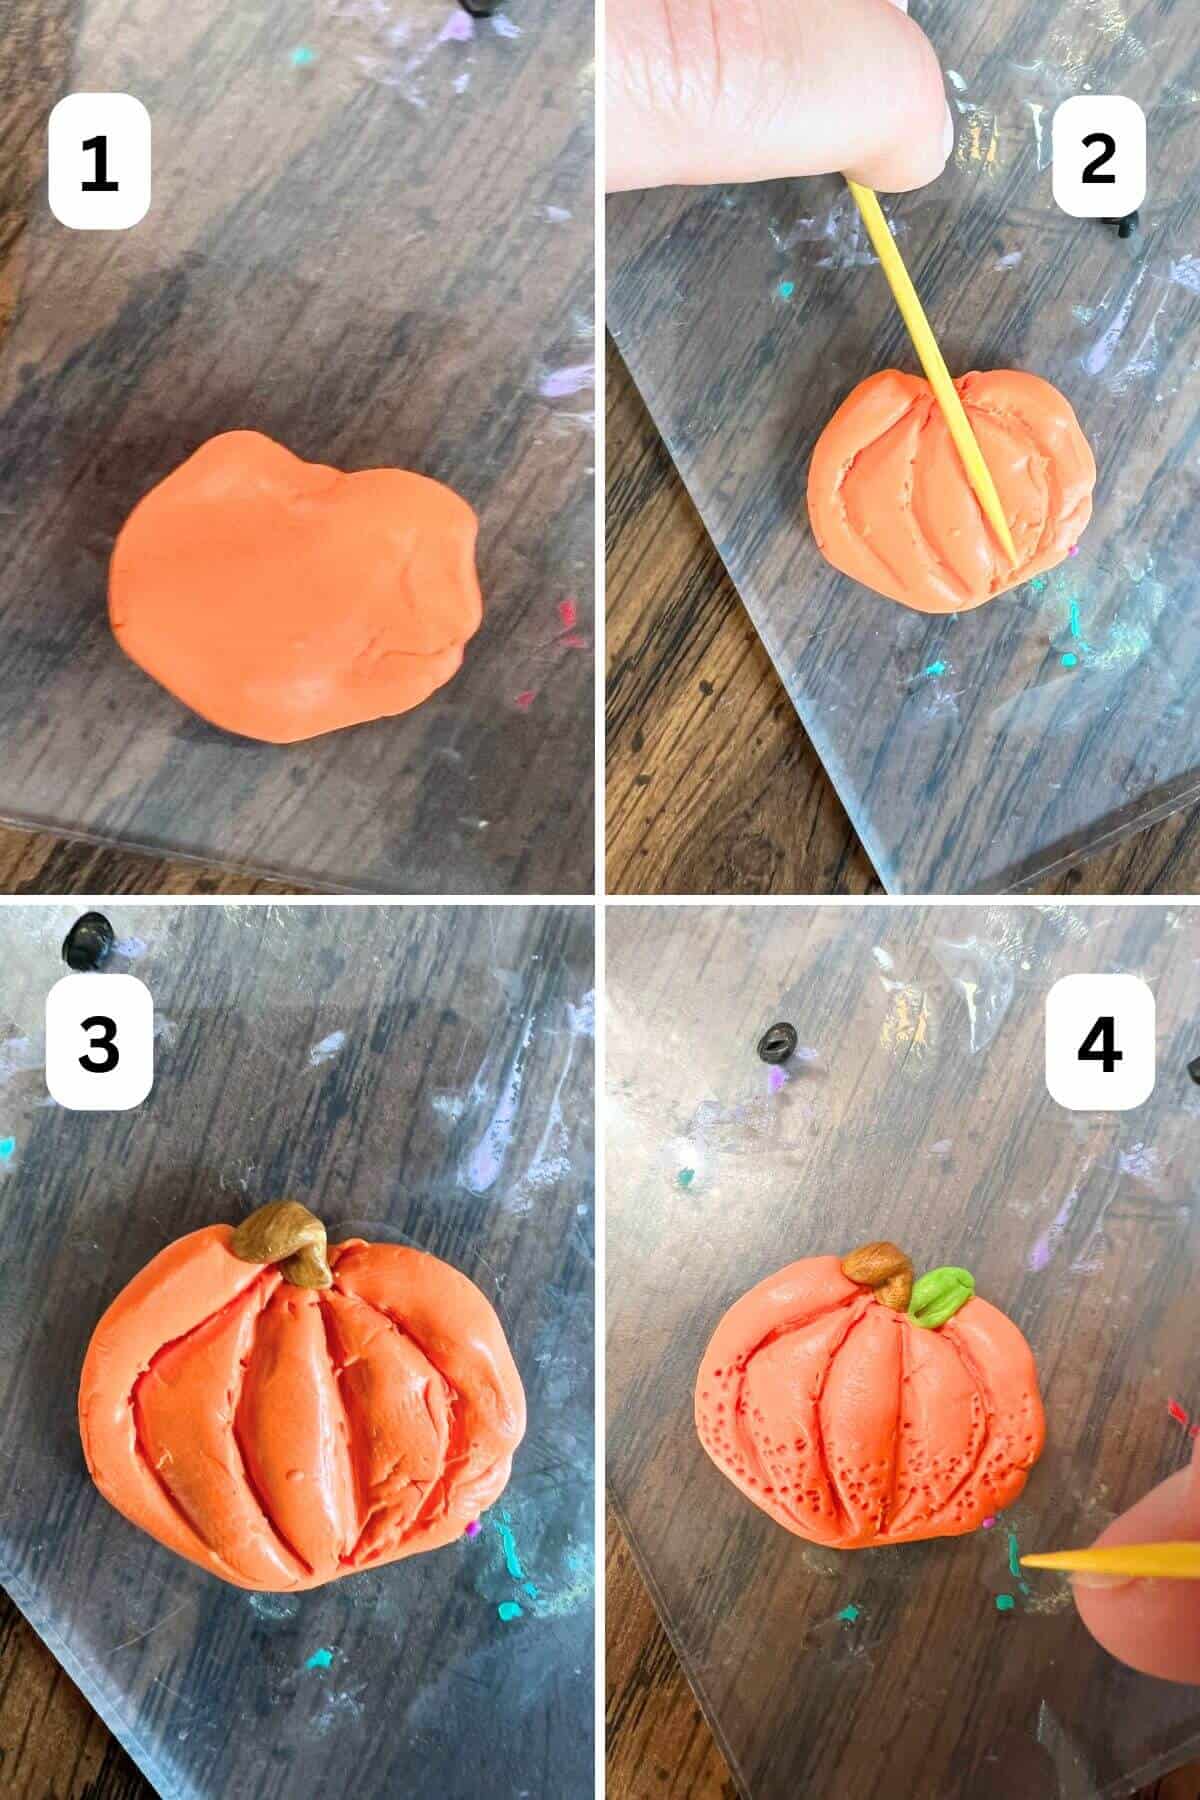
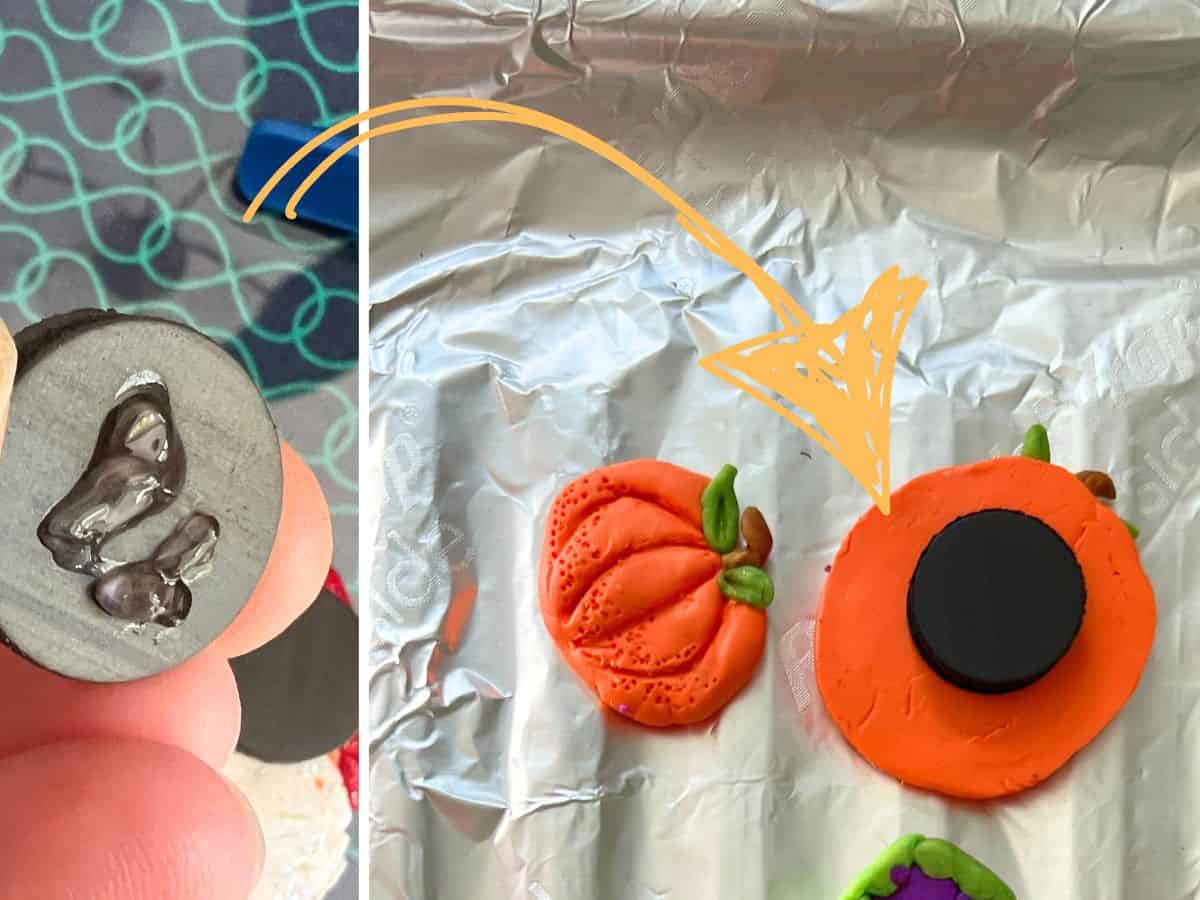
PRO TIP – Make sure the sculptures are larger than your magnets. You can give them a magnet to check the size of their creation.
Optional Step: Add Black Shapes
If a child wants to make a DIY Halloween magnet, they can create simple black shapes to add to their pumpkin.

Step 3: Bake The Clay Charm
This is best done in a toaster oven at 275 degrees F for 15-30 minutes. For Premo clay, you bake at that temperature for every 1/4″. We baked it in our toaster oven for 15 minutes.
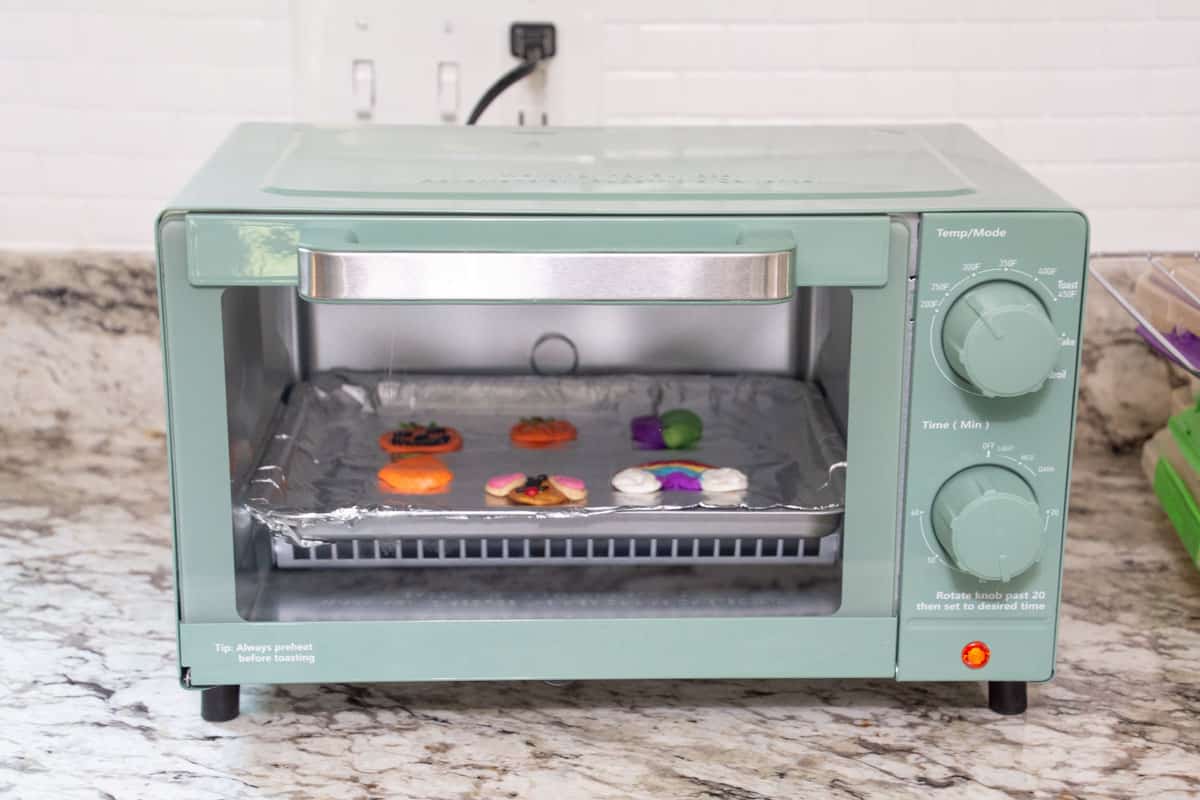
Read the baking instructions on the clay you chose to work with.
PRO TIP – Use a magnetic thermometer to monitor your temperature. You want your temperature to be as even as possible to avoid cracking your pieces.
Optional: Add Clear Coat
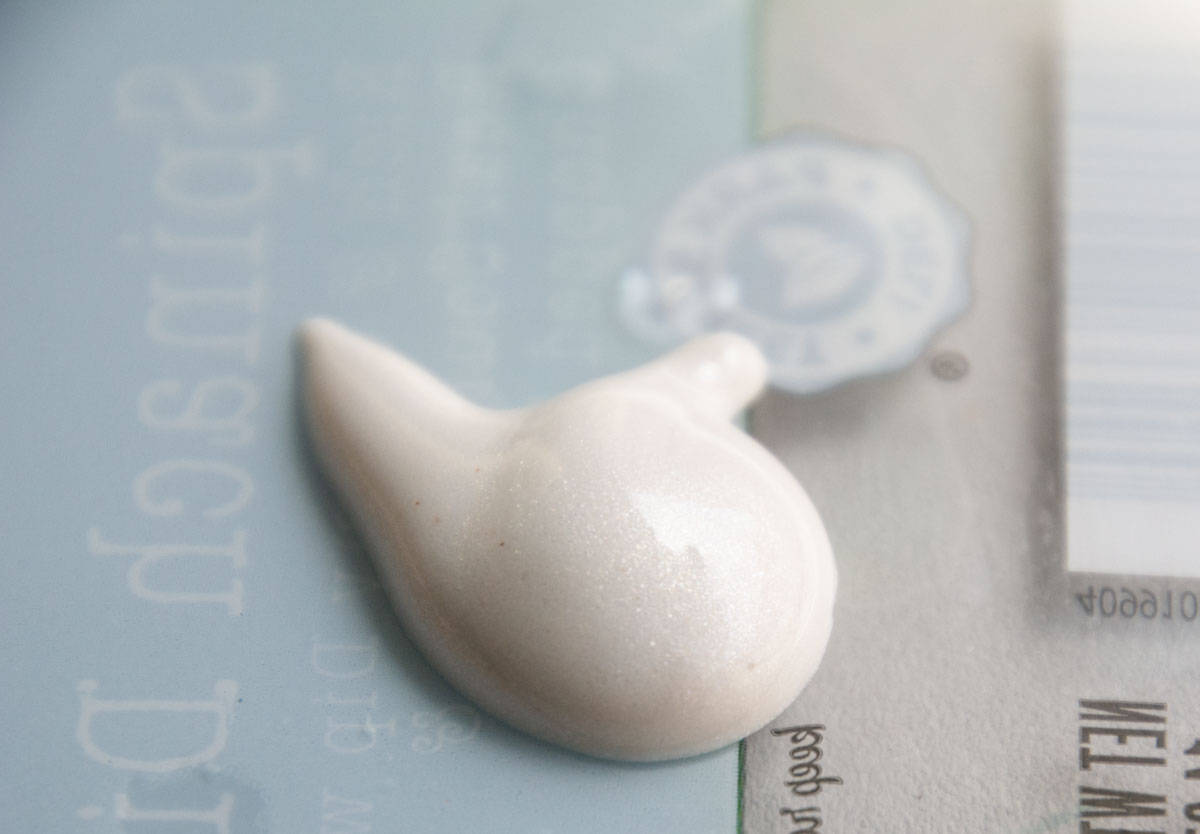
To change the appearance of your surface, you can purchase a specific, clear gloss from Sculpey, use Varathane, a translucent medium, or different versions of Mod Podge.
Step 4: Add A Magnet
Depending on the size of your sculpture and the magnet, glue 1-2 magnets on the back of your clay design. We used this superglue and love how easily you can control how much glue comes out.
Clay Tips
- Don’t make the pumpkin too thin to start.
- Keep clay designs simple at first.
- Use clean hands to warm clay.
- Work on a clean surface. Colors will transfer to your clay sculpture if you are not careful.
- Use simple shapes when creating a Jack-O-Lantern face.
- Before cooking, make sure that all clay is pushed together.
Follow us on Pinterest, YouTube & Facebook for more free art and craft ideas!

Our Favorite
Easy Clay Crafts
We know these little artists were so excited to display their DIY clay pumpkins for all to see!
Easy Clay Pumpkin Magnet Craft
Equipment
- Smooth work surface such as this polymer clay kit
- Rolling pin or small glass
- Baking tray
- Magnetic oven thermometer
Supplies
Instructions
- BEFORE YOU BEGIN: Set up a clean work surface and give each child a small amount of polymer clay. If working with children, an adult should handle the baking and super glue. Always follow the baking directions for the specific brand of polymer clay you are using.
- PREPARE THE CLAY: Give children a small amount of orange polymer clay. Warm the clay with clean hands and roll or mold it into a basic pumpkin shape.
- SCULPT A PUMPKIN SHAPE: Flatten and shape the clay into a small pumpkin. Use coils, slabs or other simple clay techniques to add details.
- ADD TEXTURE: Use a toothpick or clay tool to create lines and texture on the pumpkin. Make sure the finished sculpture is larger than the magnet you plan to attach.
- ADD A FACE (Optional): Create simple black clay shapes and press them onto the pumpkin to make a Jack-o'-lantern face.
- BAKE THE CLAY: Have an adult bake the polymer clay according to the manufacturer's directions. We baked our Premo clay at 275°F for 15 minutes.
- LET COOL: Carefully remove the clay pieces from the oven and allow them to cool completely.
- ADD A CLEAR COAT (Optional): Add a compatible clear gloss, Mod Podge or other clay-safe finish if you want to change the appearance of the surface.
- ATTACH THE MAGNET: Once the clear coat is completely dry, use super glue to attach one or two magnets to the back of the pumpkin, depending on the size of your sculpture. Let the glue dry completely before using.
Notes
- Don’t make the pumpkin too thin. Keep clay designs simple, especially for beginners.
- Use clean hands and a clean work surface to prevent colors and debris from transferring to the clay.
- Give children a magnet while sculpting so they can make sure their pumpkin is large enough.
- Make sure all clay pieces are firmly pressed together before baking.
- Use an oven thermometer to help maintain an even baking temperature. Always follow the baking instructions for your specific brand of polymer clay.