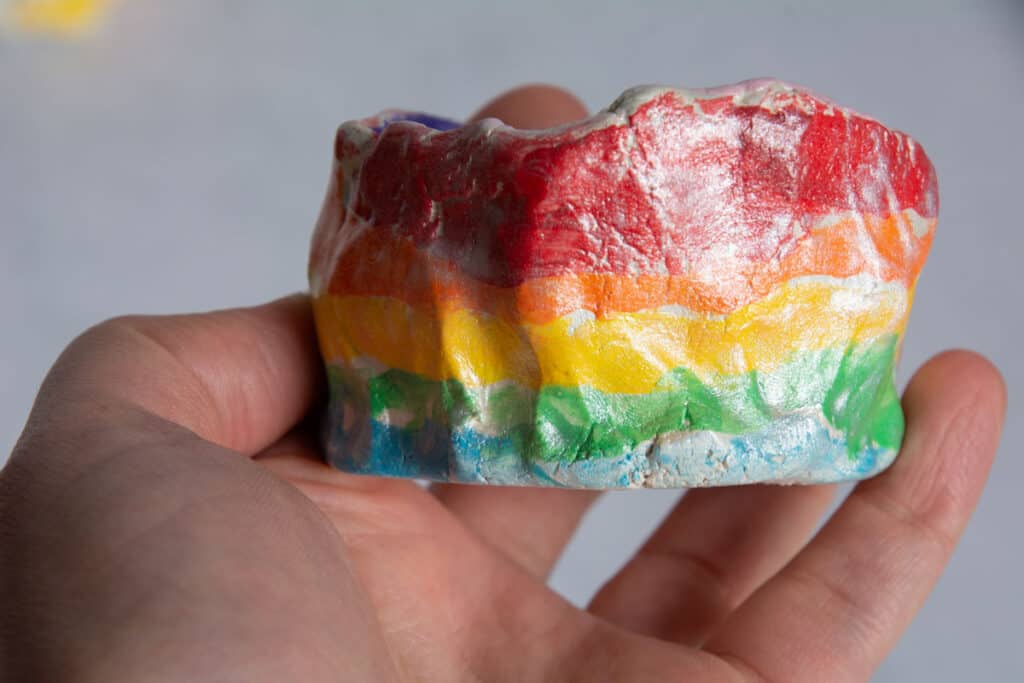
How To Make Cute Polymer Clay Charms For Beginners
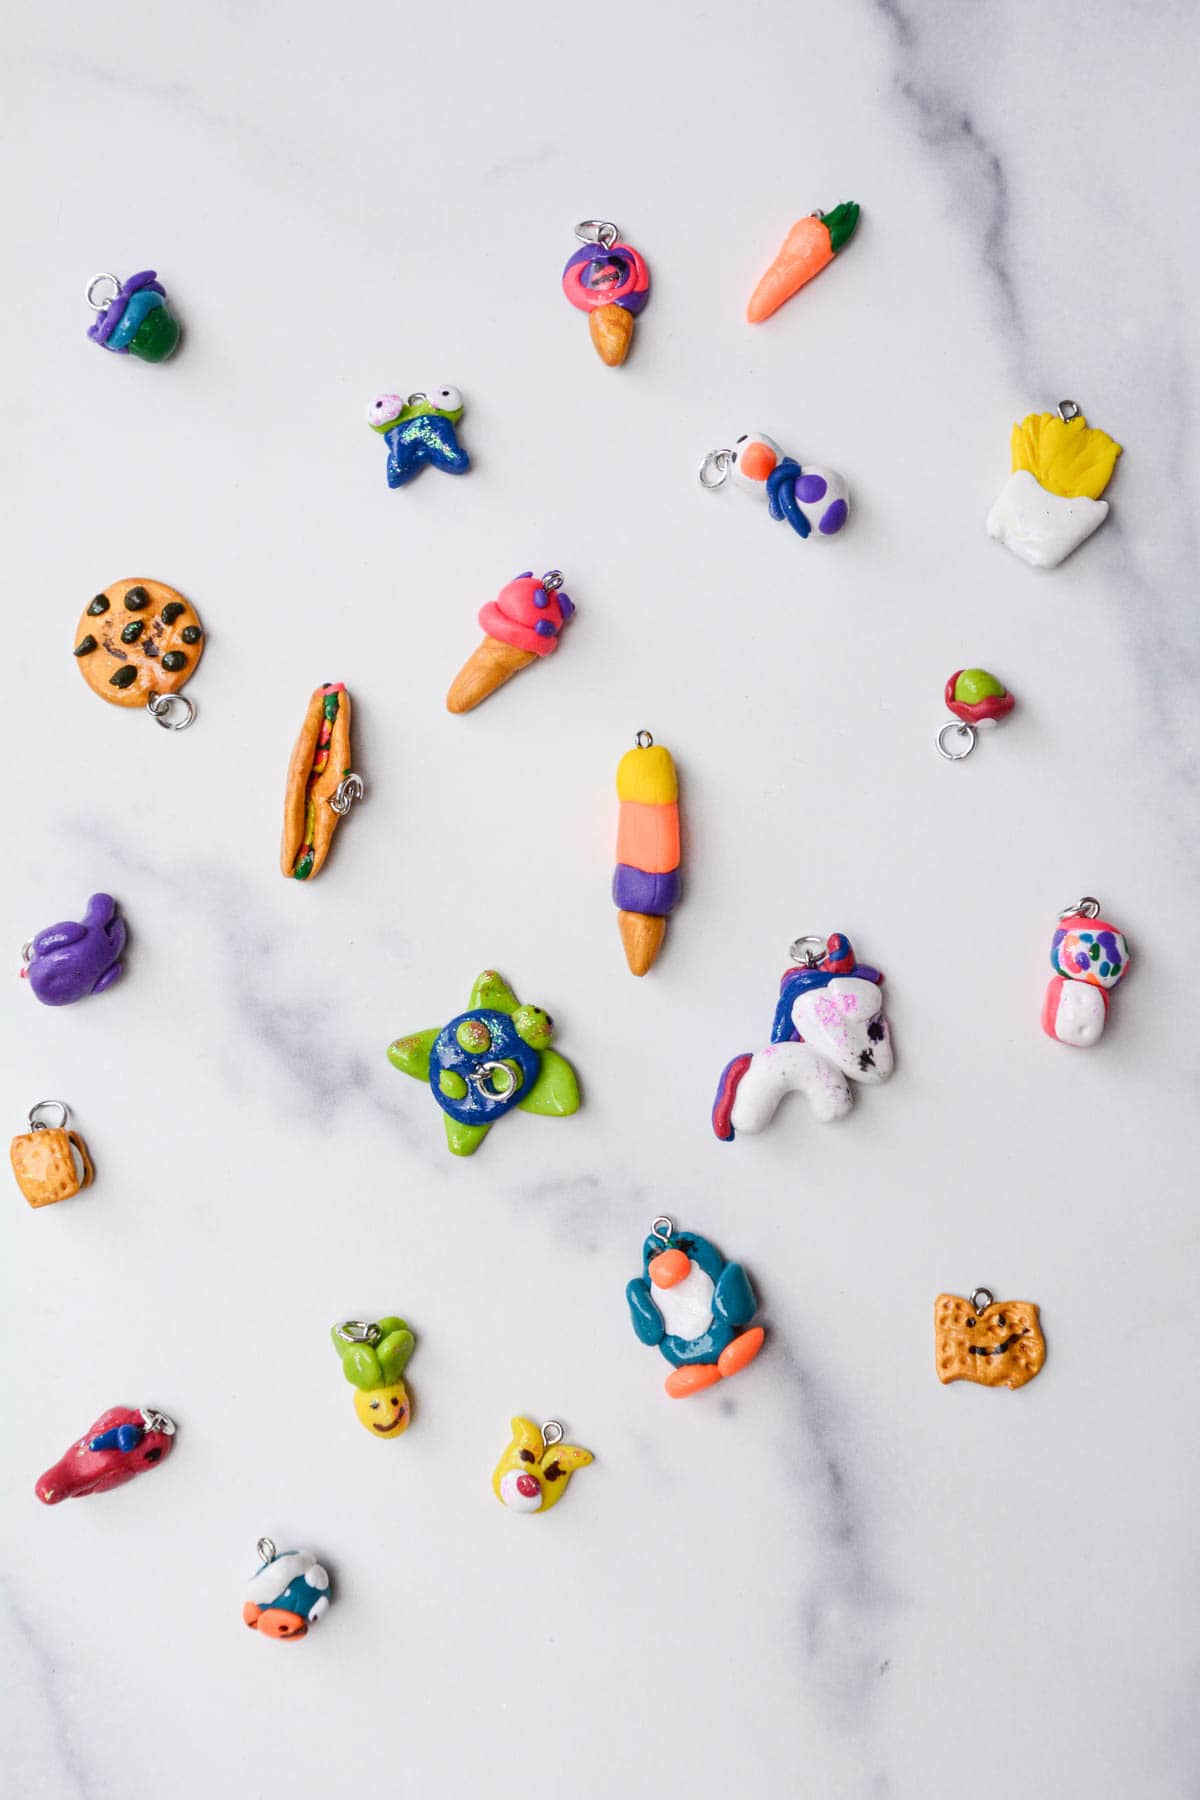
Making DIY clay charms is easier than you think. There are so many adorable themes and ideas you can explore. These clay creations are perfect for keychains, jewelry, and more! The best part is some charms can be sculpted in less than 5 minutes!
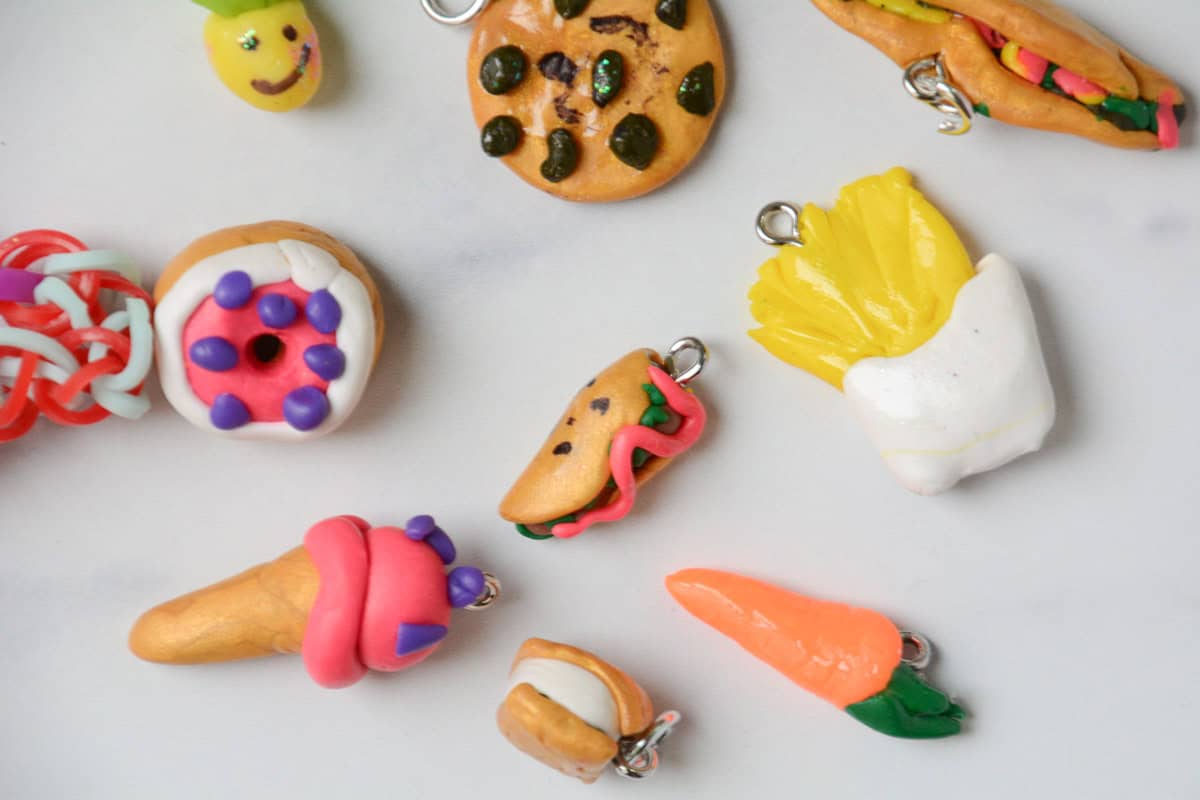
Oven bake clay is so easy to work with that even young artists can make cute DIY charms. If making these with children, please allow an adult to do the baking while taking proper precautions.
Why Kids Love Using Polymer Clay
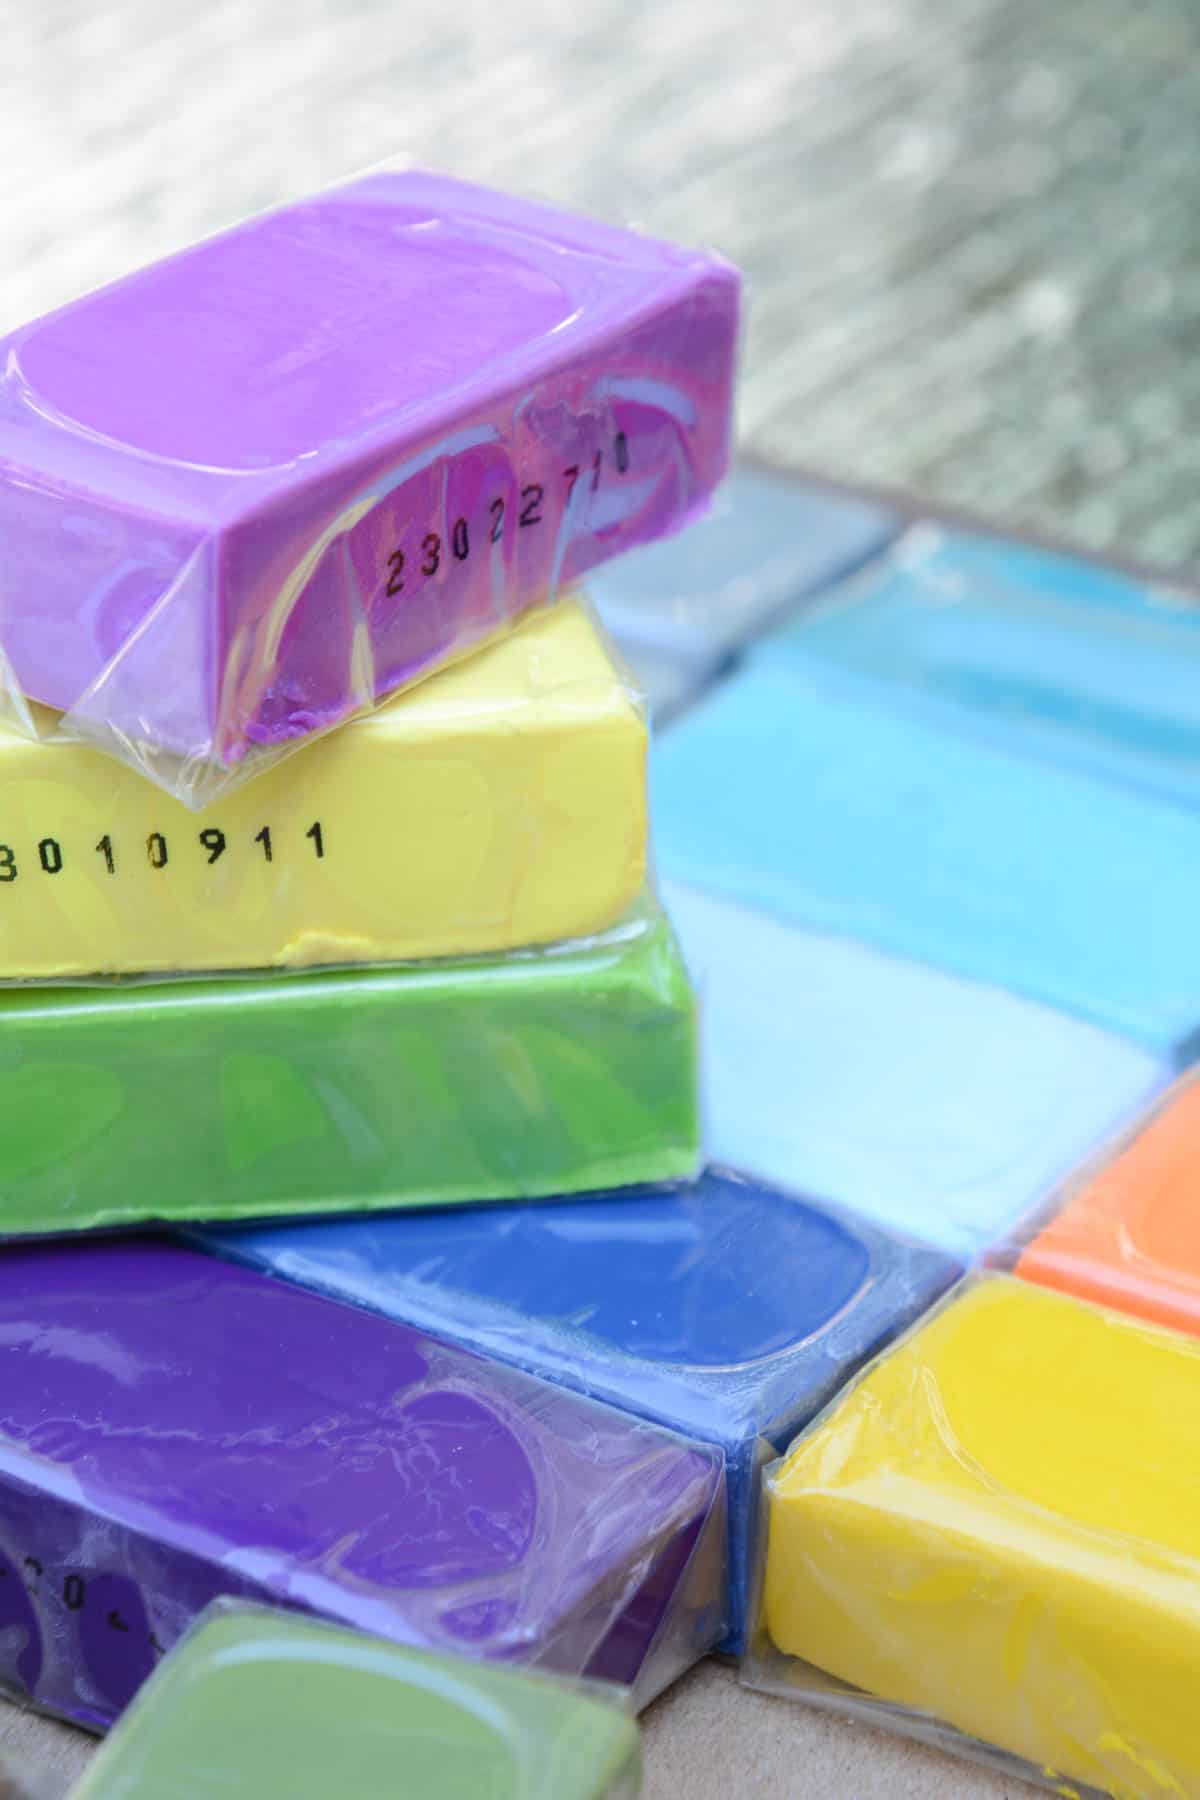
Supplies you’ll need
Disclosure: We only recommend products we would use ourselves and all opinions expressed are our own. This post may contain affiliate links when clicked, we may earn a small commission at no additional cost to you. Read our full privacy policy.
PREMADE KITS – We love this DIY charm kit for kids that would have everything you need.
Tips For Sculpting With Clay
- Sketch out your idea first, or find a picture to work from.
- Keep clay charm designs simple at first.
- Use clean hands to warm clay.
- Work on clean surfaces like plexiglass, glazed tile, or baking sheets.
- Rubbing alcohol on a rag can help keep your surface clean.
- Your hands will help make the clay more pliable.
- Beginners can use simple tools like toothpicks and a glass cup to roll for sculpting. You can also purchase a tool kit if needed.
DIY Charm Tutorial
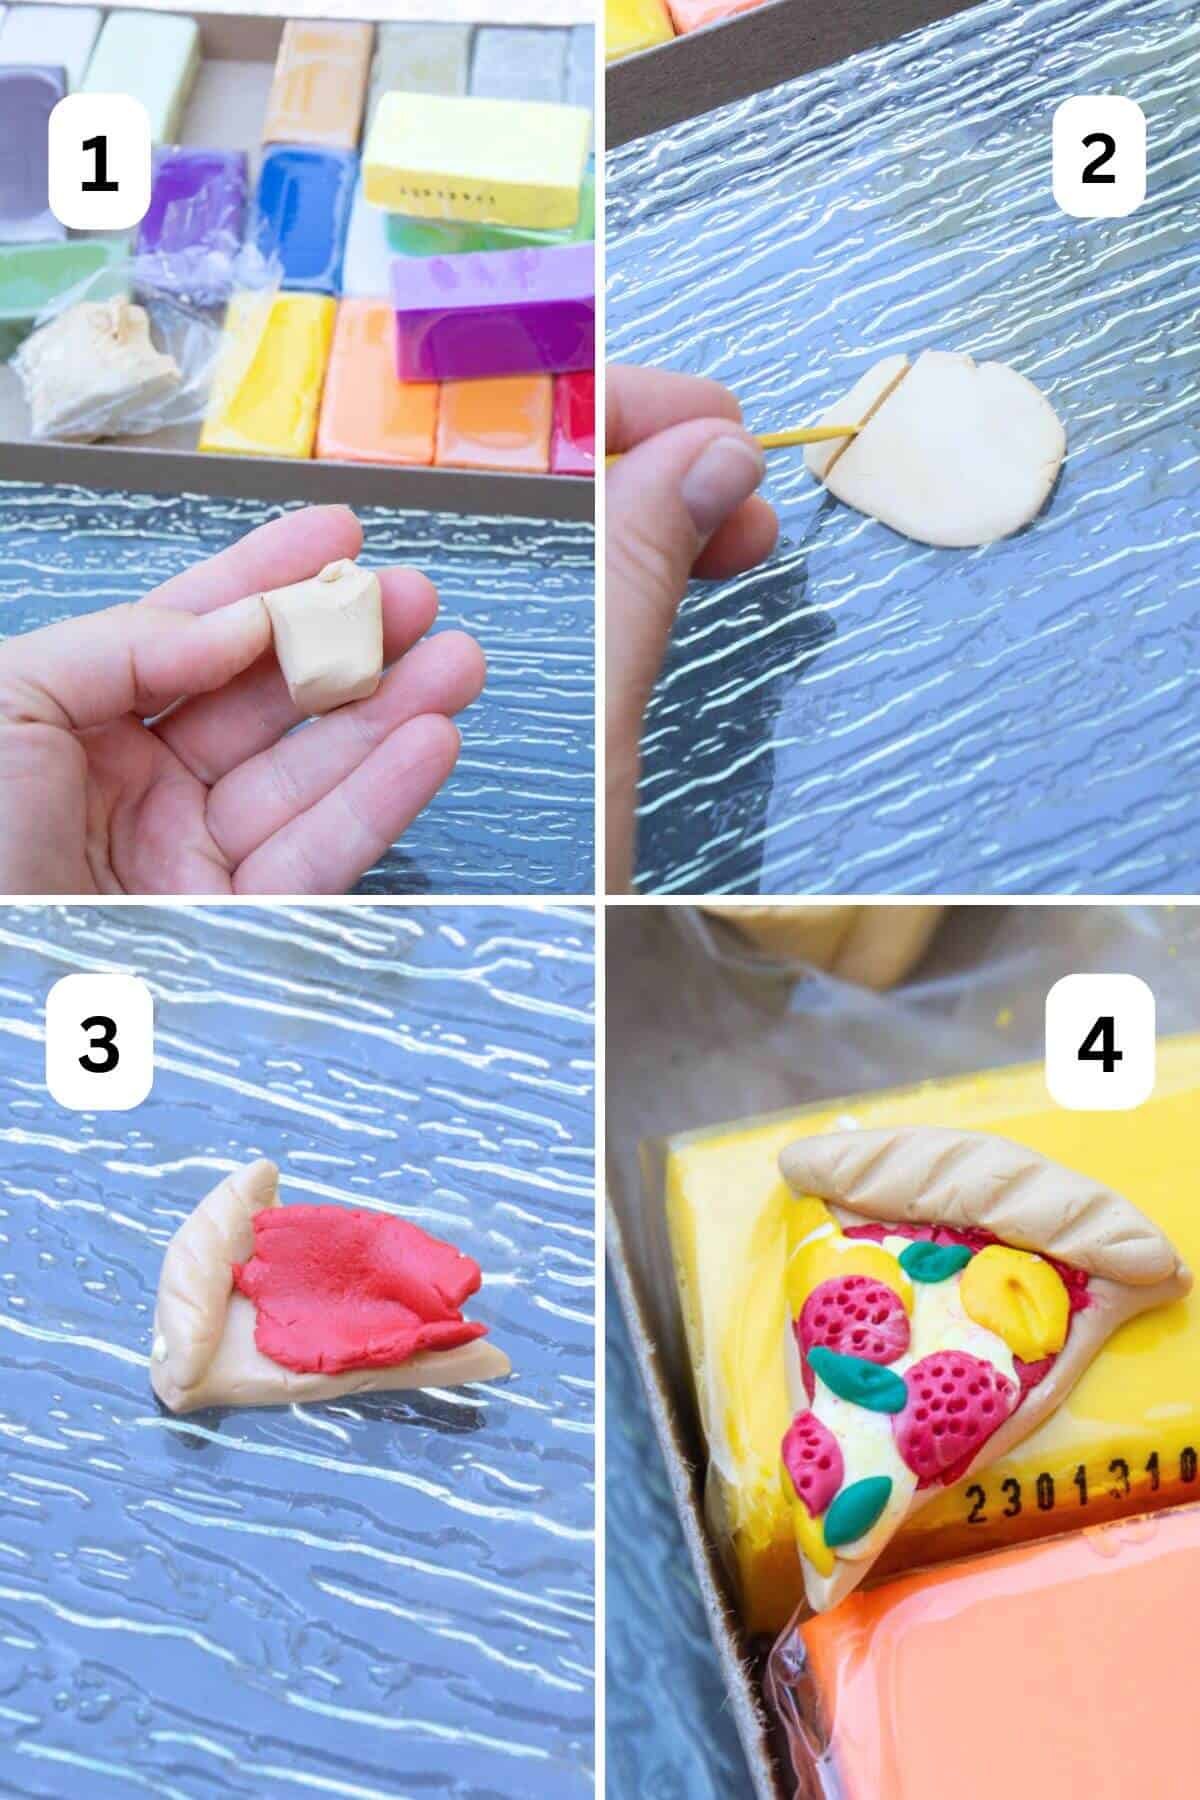
Step 1: Sculpt Your Charm
We will make a simple pizza charm for this example by layering different colors together. You can see how we added layers and other textures with the toothpick.
Kids are always creative in making food sculptures, like our fun Model Magic food art lesson.
Step 2: Add Your Eye Hook
Before baking, stick an oven-safe eye hook into the clay sculpture.

Step 3: Bake The Clay Charm
This is best done in a toaster oven at 275 degrees F for 30 minutes. For Premo clay, you bake at that temperature for every 1/4″. Our pizza sculpture is almost 1/4″ thick, so we baked it in our toast oven for 30 minutes.
Read the baking instructions on the clay you chose to work with.
PRO TIP – Use an oven thermometer to monitor your temperature. You want your temperature to be as even as possible to avoid cracking your pieces.
Optional: Add Clear Coat
To change the appearance of your surface, you can purchase a specific, clear gloss from Sculpey, use Varathane, or use different versions of Mod Podge.
Clay Charm FAQs
Follow us on Pinterest, YouTube, Facebook & Flipboard for more free art and craft ideas!
More Unique Clay Ideas
- UNIQUE WAY TO ADD COLOR TO CLAY: Forget The Glaze! Create An Oil Pastel Resist
- SCULPTURE IDEAS: 6+ Clay Animal Projects Kids Love Building
- EASY ART: How To Make A Pinch Pot At Home
Whether you add these awesome DIY clay charms to keychains or jewelry, showing off these clay creations is so much fun.


