
Black And White Doodle Pumpkin Art Project


This fun line pumpkin doodle art project is fun for all ages. We love these because they can be small, quick drawings or the start of a larger Fall artwork.

This drawing tutorial was originally published in September 2024. This post was recently updated in September 2026 with more straightforward instructions and a free PDF.
Why You Will Love This Art Idea
Supplies you’ll need
Disclosure: This post may contain affiliate links when clicked, we may earn a small commission at no additional cost to you. Read our full privacy policy.

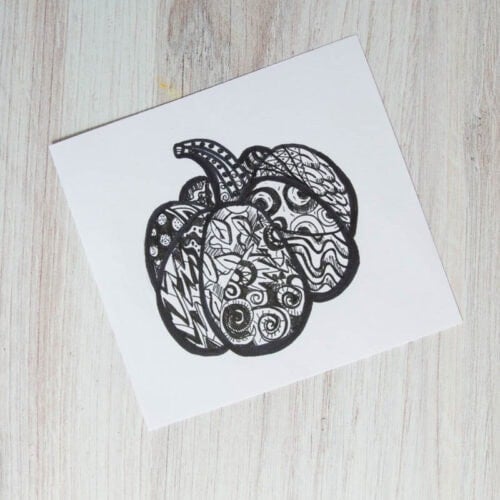
This example is only on a 4″ x 4″ cut paper.
Zentangle Pumpkin Tutorial
Step 1: Sketch Your Pumpkin
There are many different ways to draw a pumpkin. You can make them as simple or complex as you would like.

We have a great post about 4 easy ways to draw pumpkins here.
Step 2: Outline The Pumpkin
Use a thicker black marker to outline the pumpkin drawing. To make the pumpkin stand out, add thicker lines on the bottom or places with shadows.

Optional: Divide Pumpkin Spaces
Depending on the size of the drawing, you can also add an extra line to each shape. This will give kids a small space to put their black-and-white designs.
Step 3: Fill Your Shapes
Add patterns, designs, and more to the shapes. Repeating lines and patterns is a great way to start.

Optional: Add Color
These doodle pumpkins are perfect as black-and-white drawings. However, you can also use colored pencils or even watercolor paint to add one more design element.
Follow us on Pinterest, YouTube & Facebook for more free art and craft ideas!
Tips
- Consider coloring in some negative space when creating black-and-white doodles.
- You can create balance by repeating a similar pattern or design in a different spot.
- We like using 1-2 colors of watercolor paint in the background to add a little color and fun to these drawings.


More Fall Art Ideas
- OUR FAVORITE WAY TO USE CHALK PASTELS: Fun Chalk Pumpkin Art Project For Kids
- VAN GOGH INSPIRED: Textured Fall Landscape Art For Kids
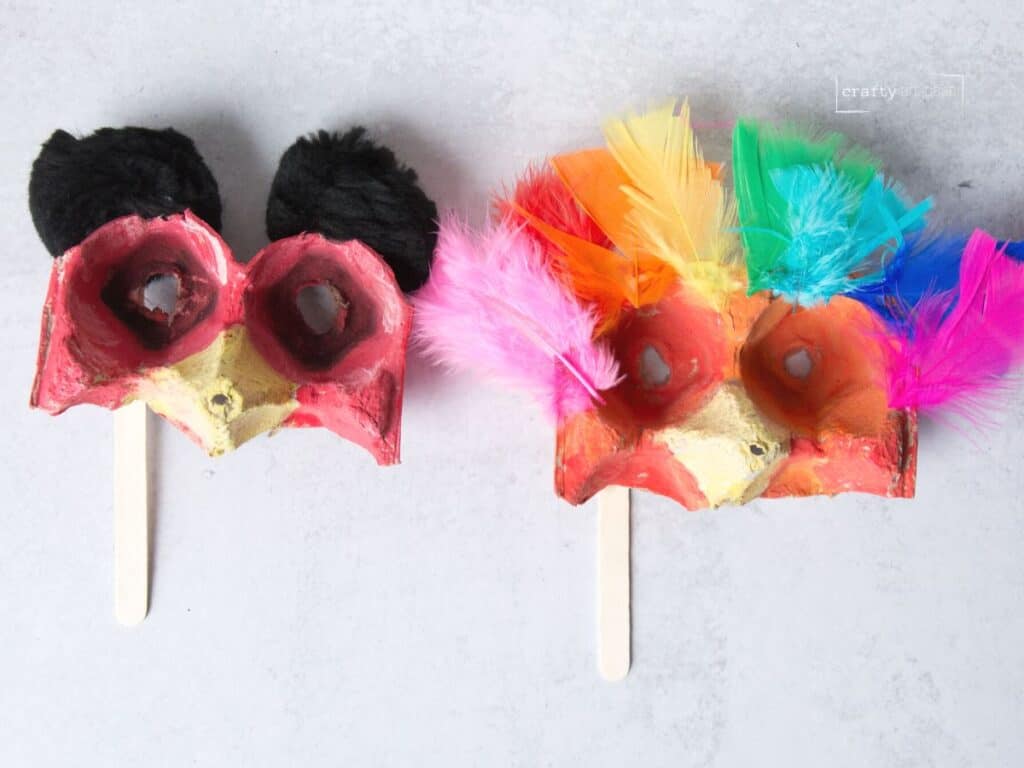
- EASY CRAFT: Make The Cutest Masks For Halloween This Year
Whether drawing a quick and small drawing or creating a large pumpkin doodle art project, this easy black-and-white pumpkin drawing is calming and fun to make.
Doodle Pumpkin Drawing
Supplies
- White drawing paper
- Pencil optional
- Fine line pen or permanent marker
- Colored pencils or watercolor paint optional
Instructions
- BEFORE YOU BEGIN: This project can be done on almost any size paper. Our example was created on a small 4" x 4" piece of drawing paper. Encourage kids to create their own patterns and designs instead of trying to copy an example exactly.
- SKETCH A PUMPKIN: Lightly draw a pumpkin with a pencil. Keep the shape simple or add more sections for a more detailed design.
- OUTLINE THE PUMPKIN: Trace the pumpkin with a thicker black marker. Add thicker lines along the bottom or in areas where you want to create the look of shadows.
- DIVIDE THE PUMPKIN SECTIONS (Optional): Add an extra line inside some of the pumpkin sections to create smaller spaces for additional patterns and designs.
- ADD DOODLE DESIGNS: Fill the pumpkin sections with lines, patterns and repeated designs. Vary the patterns throughout the pumpkin to create visual interest.
- ADD VARIATION: Color in some of the negative spaces with black to create contrast and balance throughout the drawing.
- ADD COLOR (Optional): Leave the drawing black and white or add colored pencils or watercolor paint. You can also add one or two watercolor colors to the background.
Notes
- Repeat similar patterns in different areas of the pumpkin to help create balance.
- Encourage kids to vary the thickness of their lines and the size of their patterns.
- Coloring some negative spaces black can create stronger contrast.
- Try adding only one or two watercolor colors to the background while keeping the pumpkin black and white.
- The same doodle technique can be used with other fall subjects instead of pumpkins.