Easy Rainbow Bird Painting For Kids
Use our simple bird drawing tutorial to help children create fun color wheel or rainbow cartoon birds for their next elementary art lesson. This easy cartoon bird art project is perfect for 1st and 2nd-grade kids.
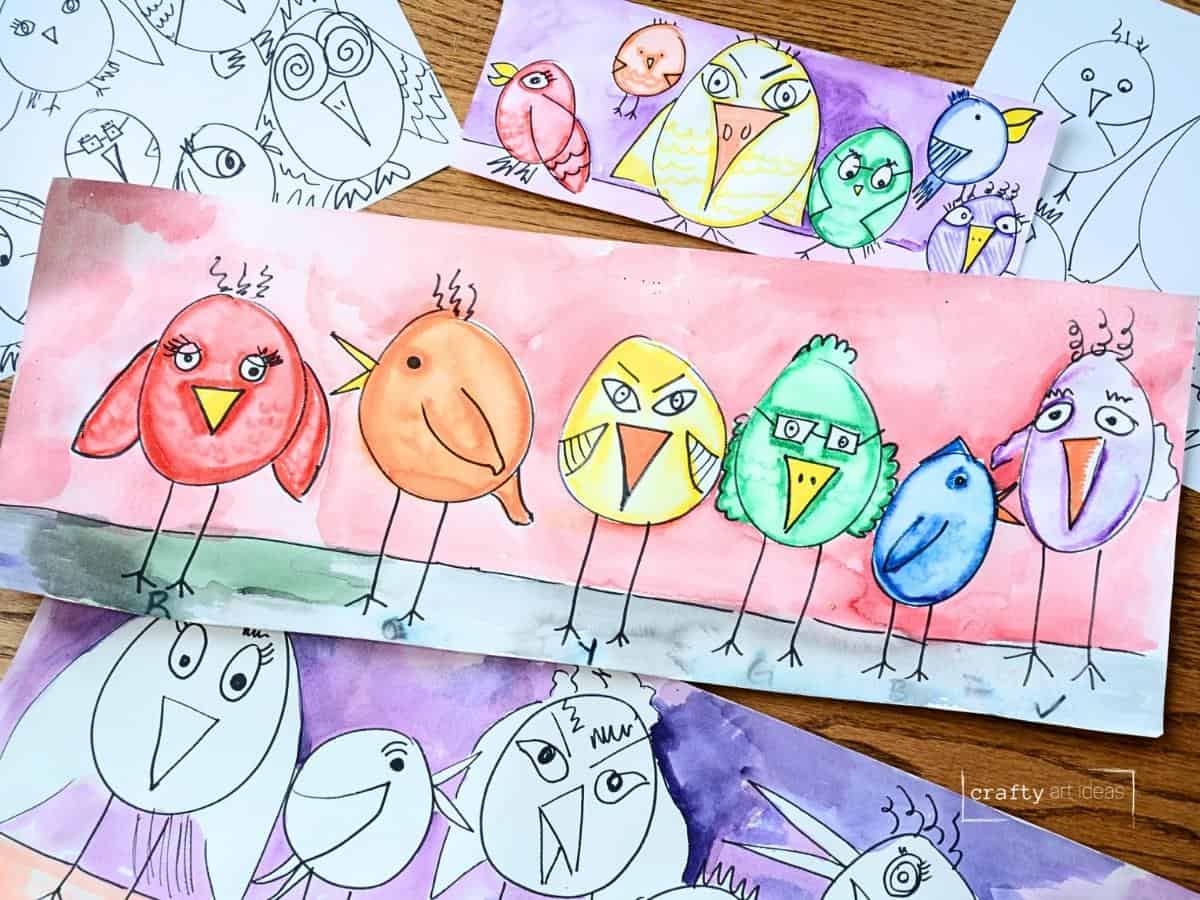
This bird art project for kids was originally published in March 2023. After doing it for several years with her students, Erin updated this art lesson in March 2025 with new key takeaways and more precise instructions.
We love using watercolor paints with kids. Watercolor paints are one of my favorites, from glue-resist ideas to beautiful fall paintings. In this fun lesson, learn how you can make faux watercolor paints using washable markers.
Why You Will Love This Art Idea
Quick Video Tutorial
The latest on Youtube:
Color Resources and Videos
This Peep video is an excellent 8-minute introduction to color theory for young children. They will giggle and laugh the whole time while realizing that you can mix certain colors together to create new colors.
You can also share this quick color wheel video to help tie it all together.

Supplies you’ll need
Disclosure: We only recommend products we would use ourselves and all opinions expressed are our own. This post may contain affiliate links when clicked, we may earn a small commission at no additional cost to you. Read our full privacy policy.
Notes On Markers
- The markers must be washable and turn to watercolor paint when you put water on them.
- Test your markers with the specific paper you use to check this technique will work. If it doesn’t, you can always use paint to create these cartoon bird paintings.
- We always have great success with these fun markers; kids love using them.
What size of paper is best for this project?
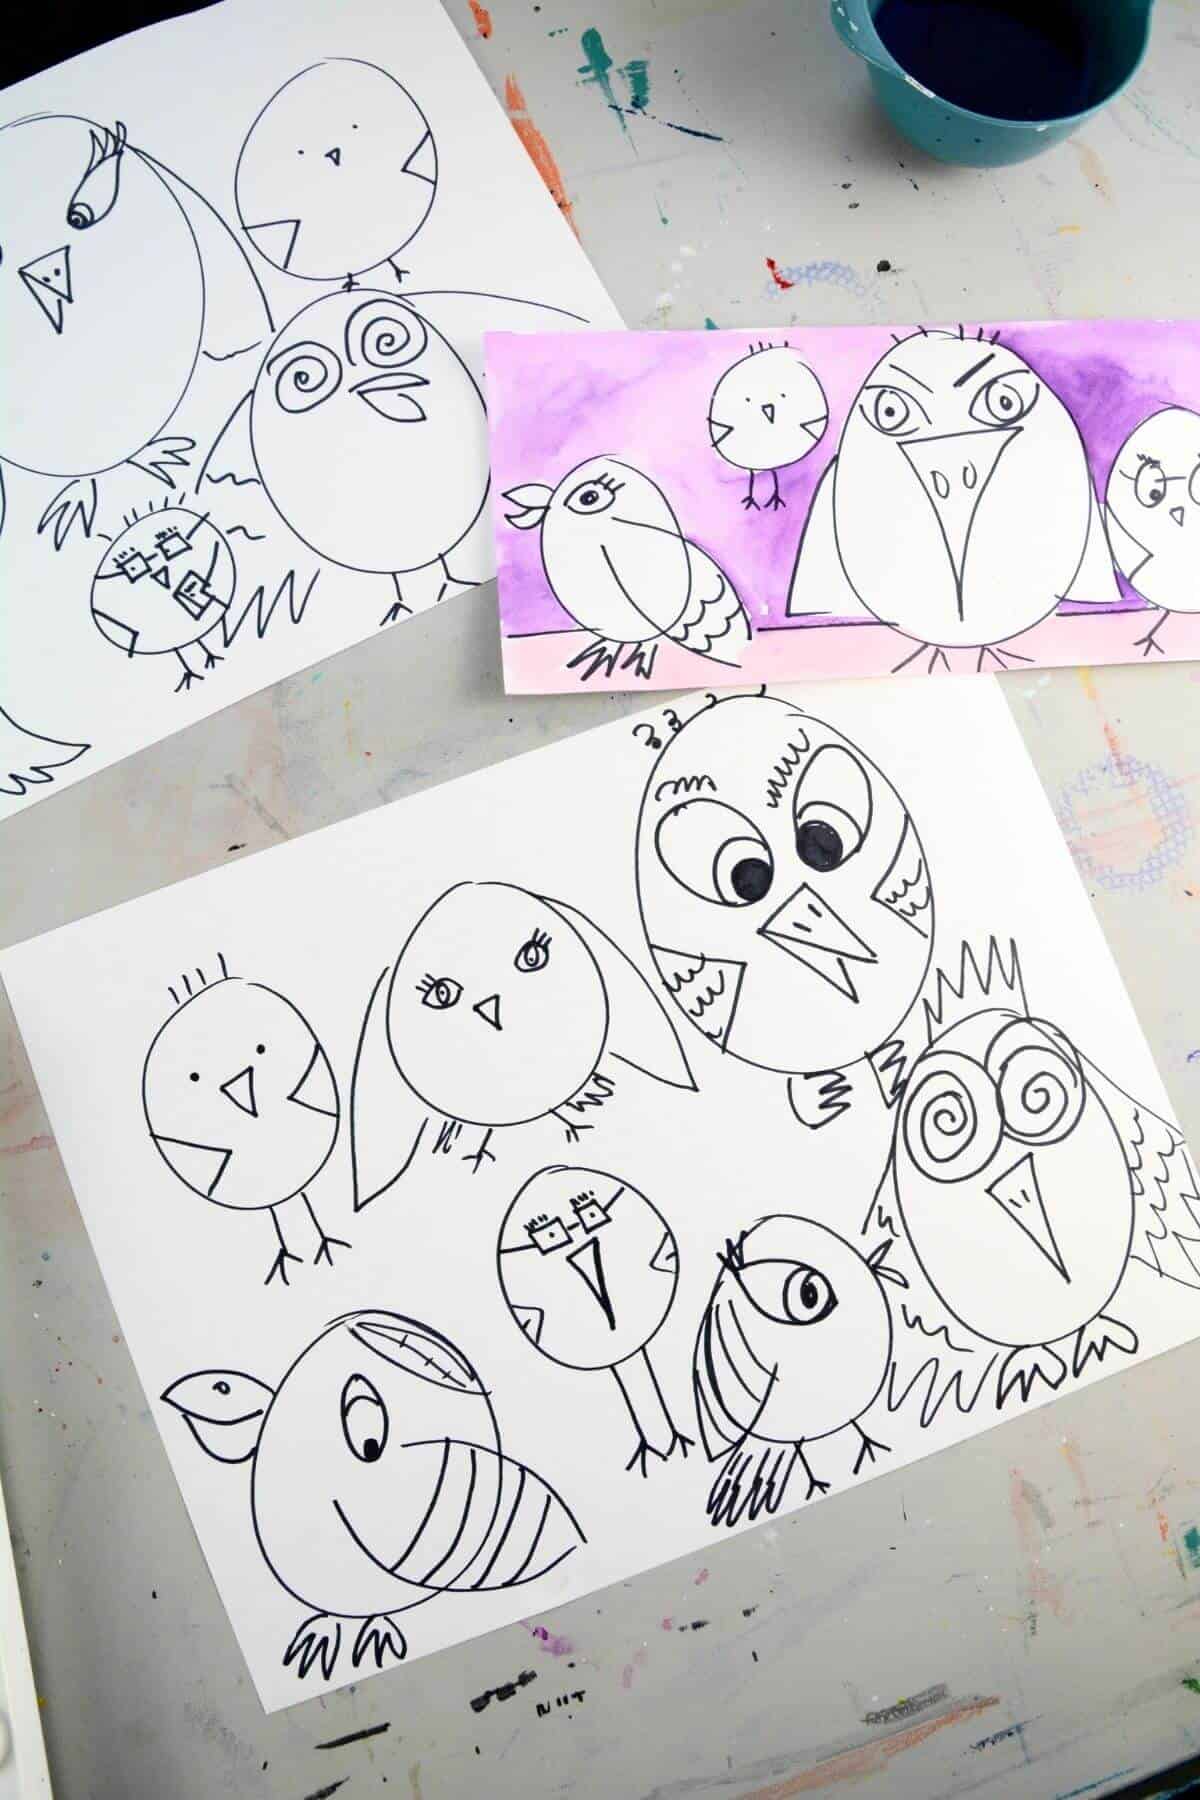
We have done this project with 12″ x 18″ heavy white drawing paper or a long strip of 9″ x 24″ watercolor paper. If using the long paper, you will draw your six birds in a row and if using rectangular paper, kids can draw 3 on top and 3 on the bottom.
Modifications
Once you have drawn six or seven different birds, you will work on adding color to the background. We have done this project with six- and seven-year-olds in several different ways.
If you draw seven birds, you will have ROYGBIV with indigo. We usually only do this project with six birds. Kids understand that you are making the birds the primary and secondary colors or ROYGBV (no I included).
Background Options
- Use 1-2 colors of watercolor paint for the background.
- Paint with bleeding tissue paper. Use blues and purples for a fun effect.
- Leave white
- Use tempera paint in one color for a more solid look.

Color Options Inside The Birds
- Watercolor paint
- Tempera Paint
- Color With Markers only
- Washable Marker + Water On A Small Brush is a fun way to “paint” without as much mess. You need to test this method first to make sure that your markers and paper will bleed. Sometimes, the combo doesn’t always work the best.

Easy Bird Painting For Kids
Step 1: Draw 6 Birds
Use our bird cartooning drawing step-by-step guide to draw six large birds across your page or in two rows. Encourage the circular shapes to be drawn large on the paper.
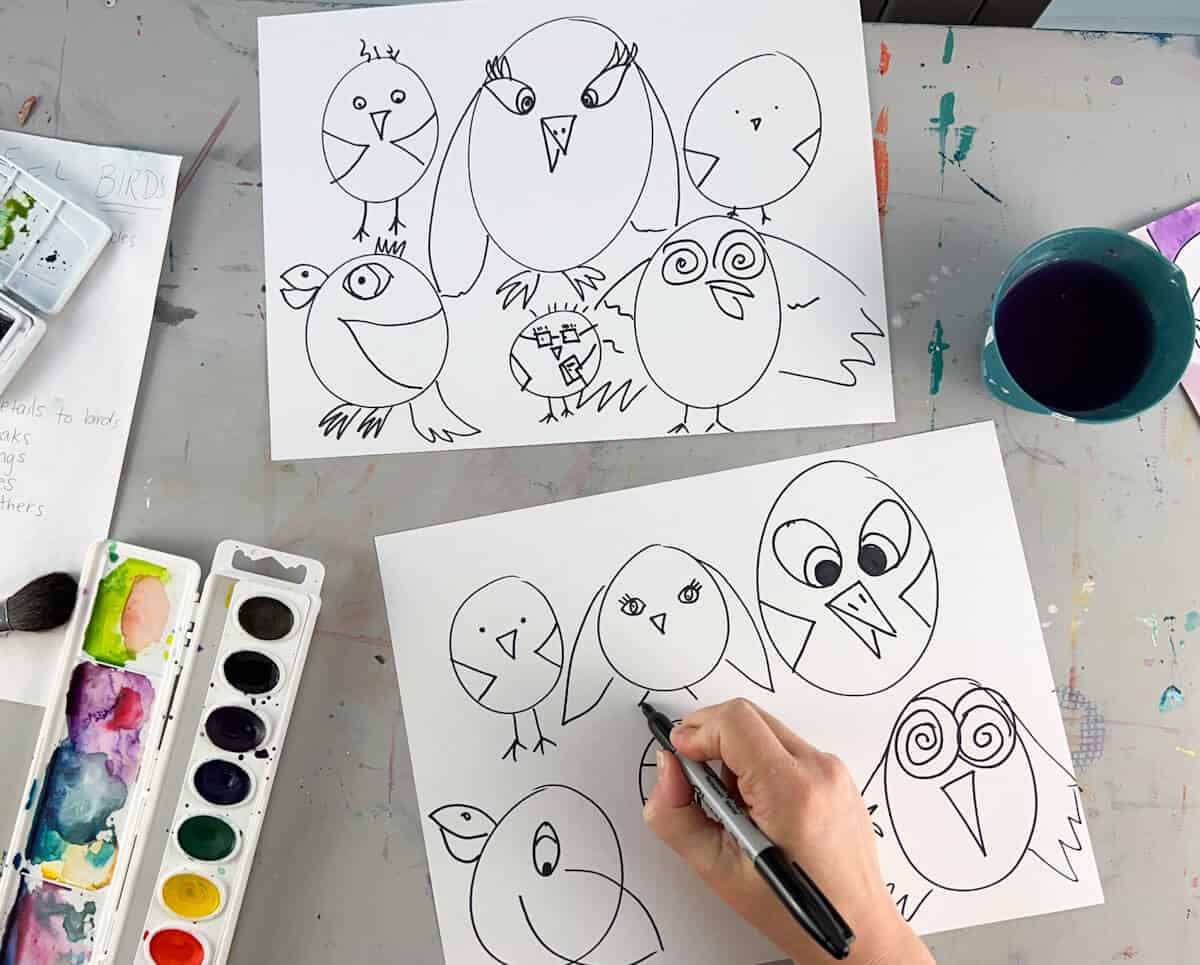
ART TEACHER TIP – Encourage children to add unique characteristics and details to their simple cartoons. You can show them different ideas & details by demonstrating how to change the egg shape, but they don’t need to follow you exactly step-by-step.
Step 2: Outline Birds With Permanent Black Marker
Erase any extra pencil lines for a neat drawing before adding color. Outlining drawings helps you see the bird’s details better.
Step 3: Add Color To The Background
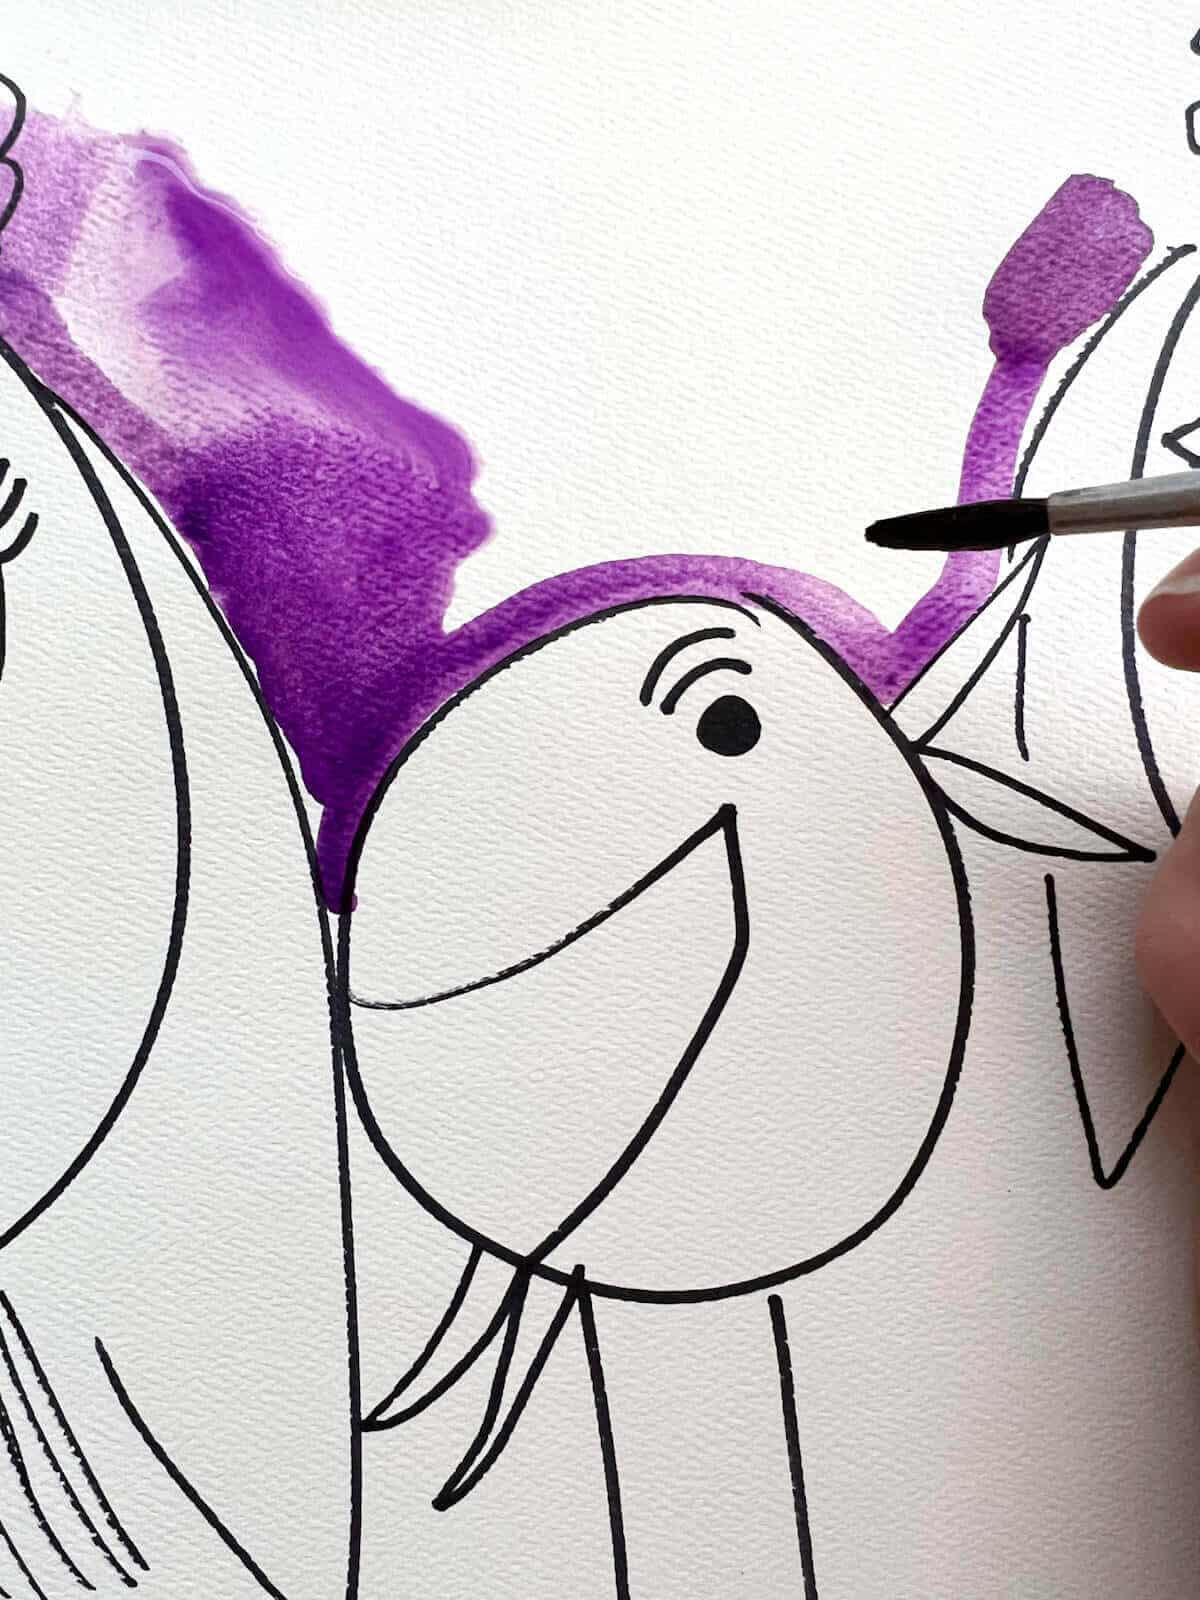
You can see the above options for ways to do this. Here, we used one color of watercolor paint above the horizon line and a different one below. Try not to get the color inside the birds.
Step 4: Let Dry
Once the background is complete, let it dry before moving on to the colors inside the birds.
Step 5: Add Color Inside Birds
We like to make these birds in the order of the rainbow or with primary and secondary colors like a simple color wheel. Kids can color the beak a different color of their choice.
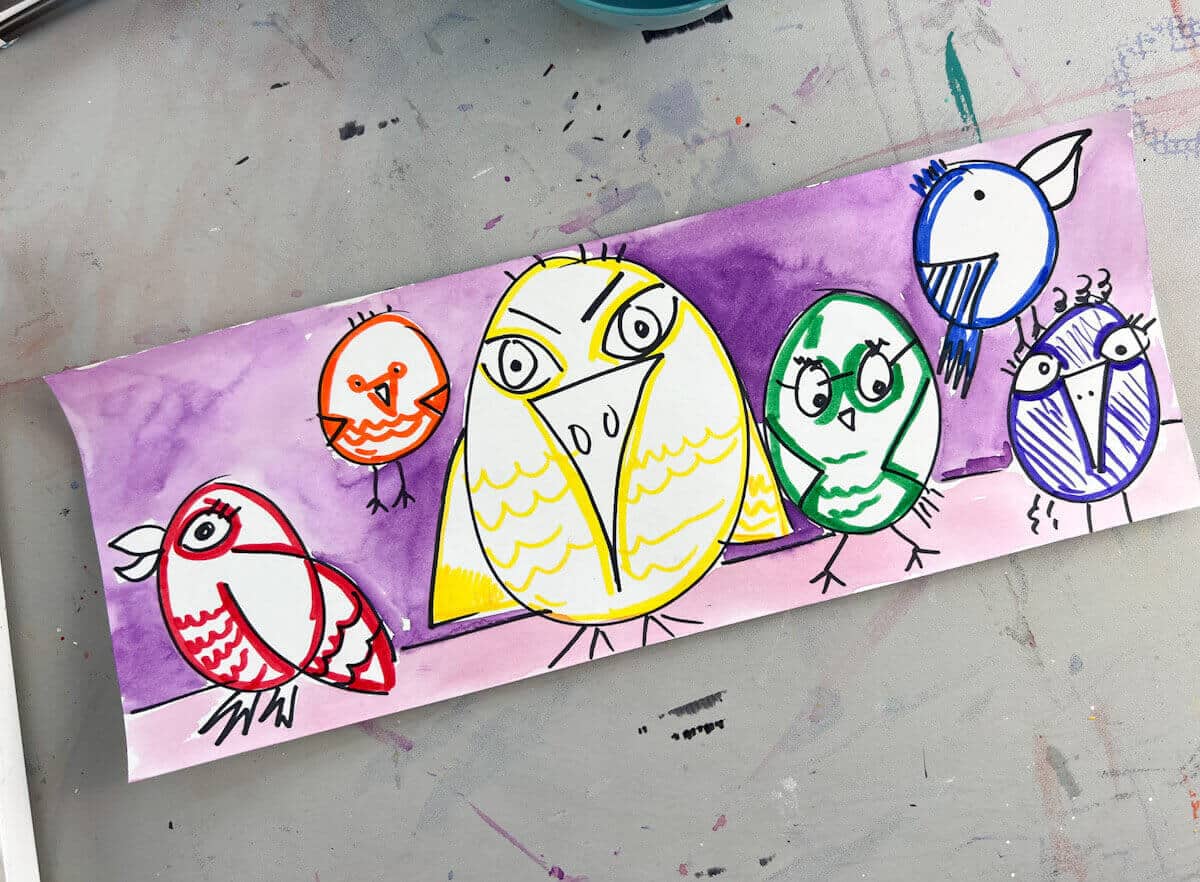
If using the washable marker technique, trace inside the black lines with a washable red to start. Add enough marker so that when you add water with a small brush, it turns into “paint”.

Step 6: Let Dry
Step 7: Color Remaining Details
To finish the painting, use a marker of your choice to color details, such as the beak or eyes.

Art Lesson FAQs
Yes, water can be added to washable markers on the correct type of paper to get a watercolor paint effect.
There are two main reasons your markers do not bleed when adding water. You must use washable markers and the right type of paper. Watercolor paper and most heavy drawing papers will work. Before doing it with a large group or class, we recommend you test this technique first.
This lesson can be successfully completed with 6—and 7-year-olds when each step is broken into sections. The first day, you introduce the color wheel, and they draw the birds. On the second day, you paint the background, and on the third day, you add color inside the birds.
Our favorite ways to complete our color wheel birds are with watercolor or tissue paper backgrounds and washable markers with water for inside the birds. The marker technique is a simple way to get kids “painting” without the hassle and mess of paint.
Follow us on Pinterest, YouTube, Facebook & Flipboard for more free art and craft ideas!
More Free Art Lessons For Kids
- Klimt Tree Of Life Paintings: Kids will love using process art to create the backgrounds for their silhouette paintings.
- Op Art Drawing Ideas: You need limited supplies to create fun black-and-white drawings.
- How To Draw A Cute Cat: Instead of color wheel birds you could complete this idea with cute cat sketches.
These adorable bird paintings are always a hit with young kids. Have fun making your rainbow cartoon bird art project today.
Do you like this art project? Please give us 5 stars below 🤩🤩🤩🤩🤩 and have fun being creative with your family.
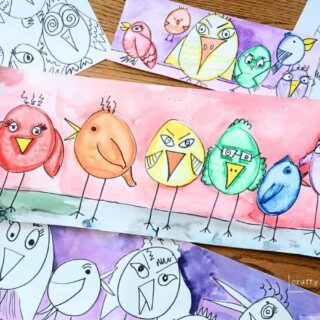
Cute Bird Art Project For Kids
Equipment
- Pencil
Supplies
- Washable Markers
- Watercolor Paint or Bleeding Tissue Paper
- Permanent Black Marker
- Heavy Drawing Paper or Watercolor Paper w
Instructions
- Draw 6 simple birds by drawing 6 oval or circular shapes.
- Add eyes, beaks, wings and any other bird details.
- Outline birds with black permanent marker.
- Erase any extra pencil lines.
- Paint the background of your project with 1 or 2 colors of watercolor paint. Leave the birds white.
- Let fully dry.
- Add color inside the birds in ROYGBV order. If using the washable marker technique, trace inside the black lines with a washable red to start.
- Use a small paintbrush dipped in water to turn the marker into paint. Try not to get the "paint" inside the beak or eye.
- Let dry.
- Color other details such as the beaks with marker to complete the painting.
Notes
- Washable Marker + Water On A Small Brush: this is a fun way to “paint” without as much mess. You need to test this method first to make sure that your markers and paper will bleed. Sometimes the combo doesn’t always work the best depending on your supplies.
- Blue and purple bleeding tissue paper can also be used to create a fun background instead of watercolor paint.

