Cartoon Drawing For Kids With Step-By-Step Instructions And Free Guide

Drawing cartoon characters is a great way for beginner artists to have fun while developing their own creativity and cartoon style. This art lesson is a hit with any elementary-age kid and also makes the perfect extra art activity to always have on hand.
This art lesson has been a class favorite, and I initially shared this PDF with my audience in March 2023. This post was updated in January 2026 with more links to the PDF and clearer instructions. Happy creating!
Before You Begin
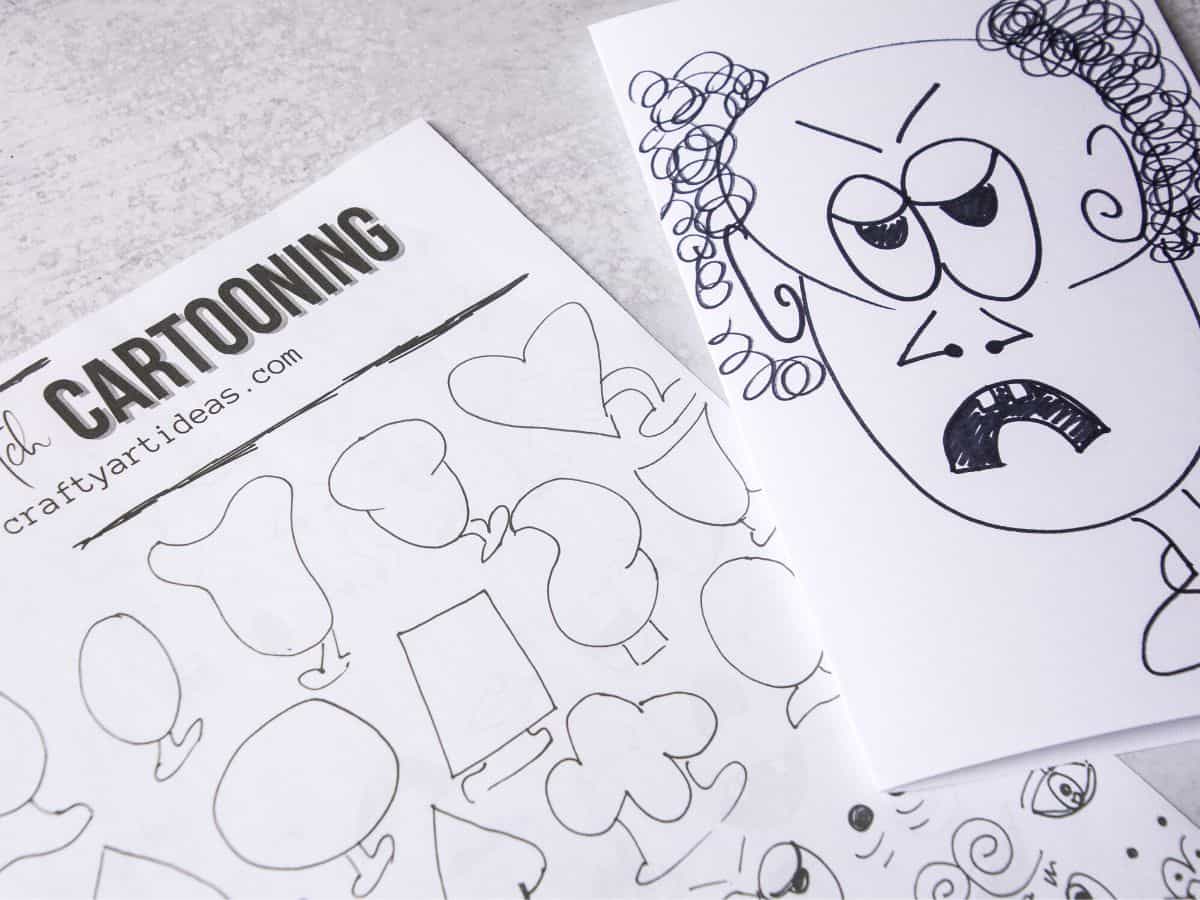
Make a copy of each packet with different facial expressions, facial features, and ideas to inspire their cartoon face. Children have a blast putting different shapes together to create hilarious new characters.
The best part of this art lesson is that it requires children to use their imagination to create their own cartoon people, not just copies of famous characters.
#1 Art Teacher Rule
The most important thing is that your cartoon face does not have to look exactly like the part drawn in the packet. Encourage kids to develop different styles and add their own artistic touches.
When would you use this lesson?
This lesson is great for the regular classroom, art classroom, or a rainy day at home. Once kids understand how to use the step-by-step guide, they will stay busy.
Sub Plan Idea
We also used this as a backup sub plan regularly because it doesn’t require many supplies, and kids like doing it. Make a class set of these and keep them in your sub binder. We did the hard work for you.
What age is this drawing packet and lesson appropriate for?
We have used this with classes as young as Kindergarten and as old as 5th grade. All the kids love mixing and matching different parts to make their own cartoon drawing style.
How To You Demonstrate This Art Activity
Before I pass out materials, we would make a cartoon character together. I let different students come up, pick different parts, and draw one together. They love working together to make a collaborative work of art.
Supplies You’ll Need
Disclosure: This post may contain affiliate links when clicked, we may earn a small commission at no additional cost to you. Read our full privacy policy.

ART TEACHER TIP – Kids normally love making several different characters. Therefore, we like to fold large pieces of paper to give them several different places to create easy cartoon drawings.
How To Draw A Simple Cartoon Character
Encourage these drawings using basic shapes to be big. Kids can repeatedly follow these easy steps to make as many different cartoons as they want.
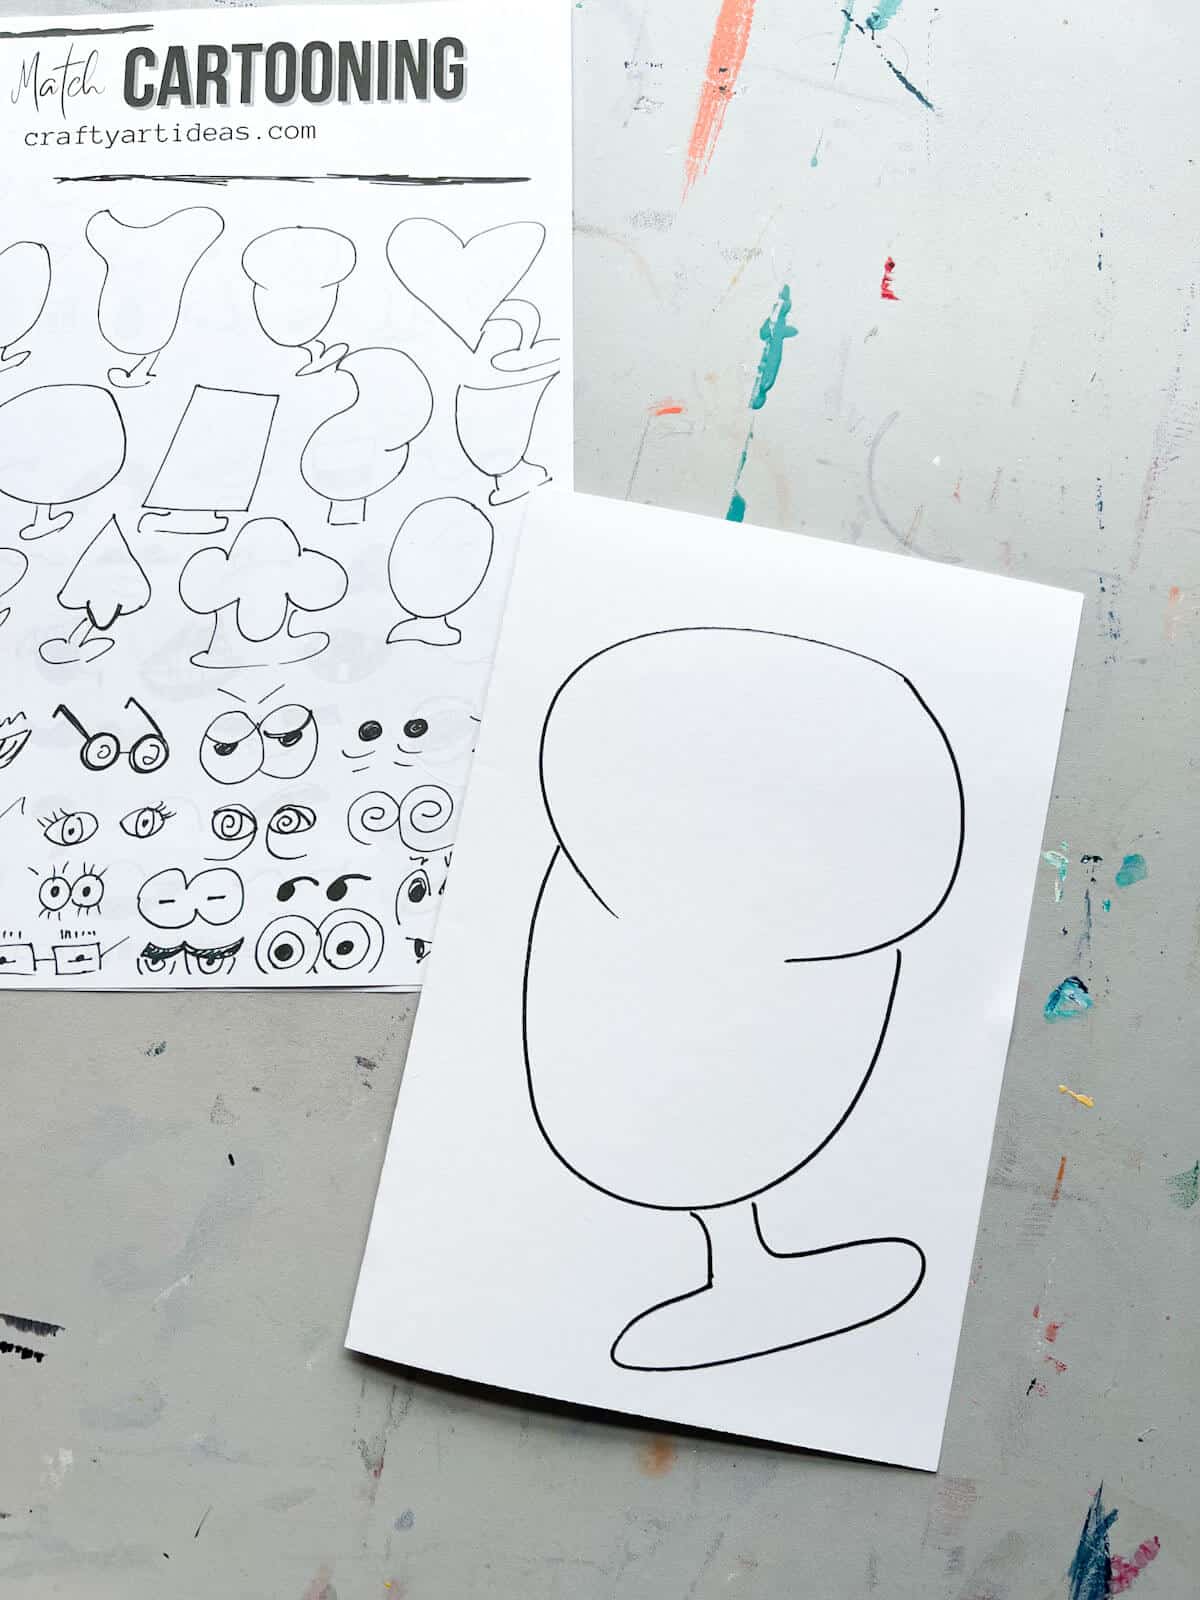
Step 1: Fold The Paper In Half
By folding the paper in half, kids can have so much fun creating 4 different cartoon heads.

Step 2: Choose Head Shape
Draw a large head shape on your paper.
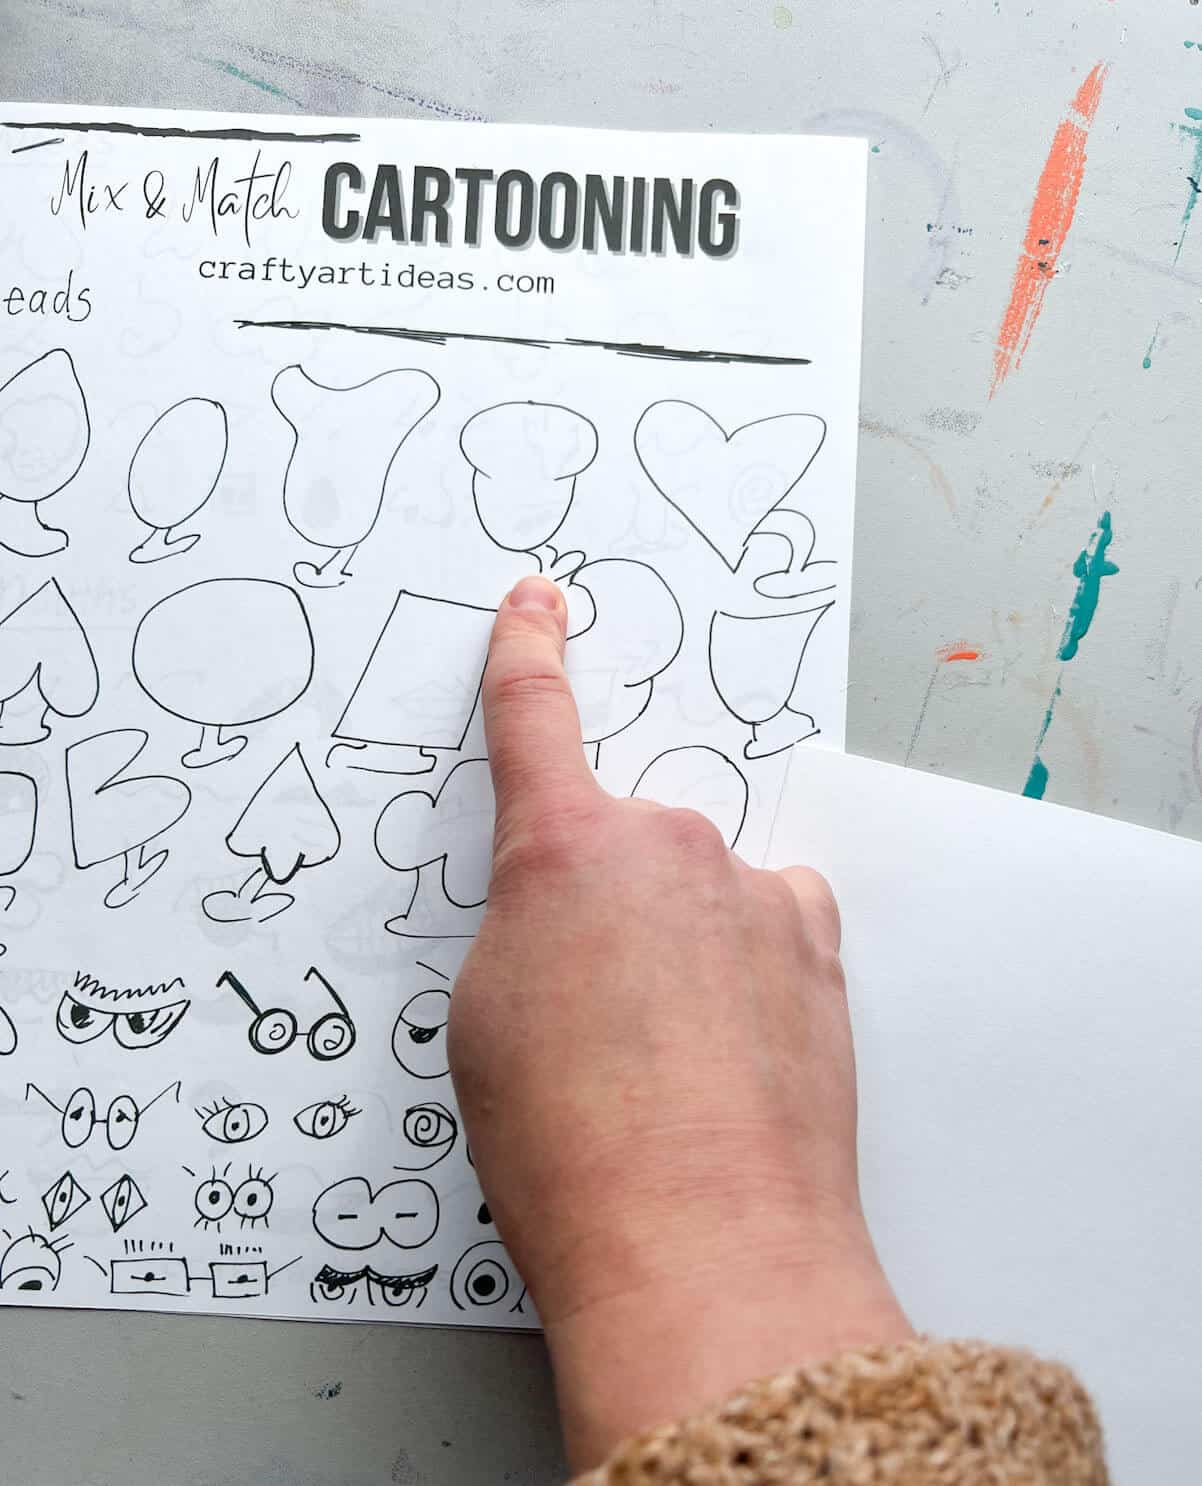
Step 3: Add Cartoon Eyes
Children should pick their favorite eyes and add them to their drawings. Each artist can choose whether they have small or large eyes. They will think this looks super silly and a lot of fun.

Step 4: Pick The Nose
If you really want to get a class rolling, when demonstrating, say, “Please come pick my nose,” and you are sure to get a few kids giggling.
Once they have decided on a nose, draw it on the face.
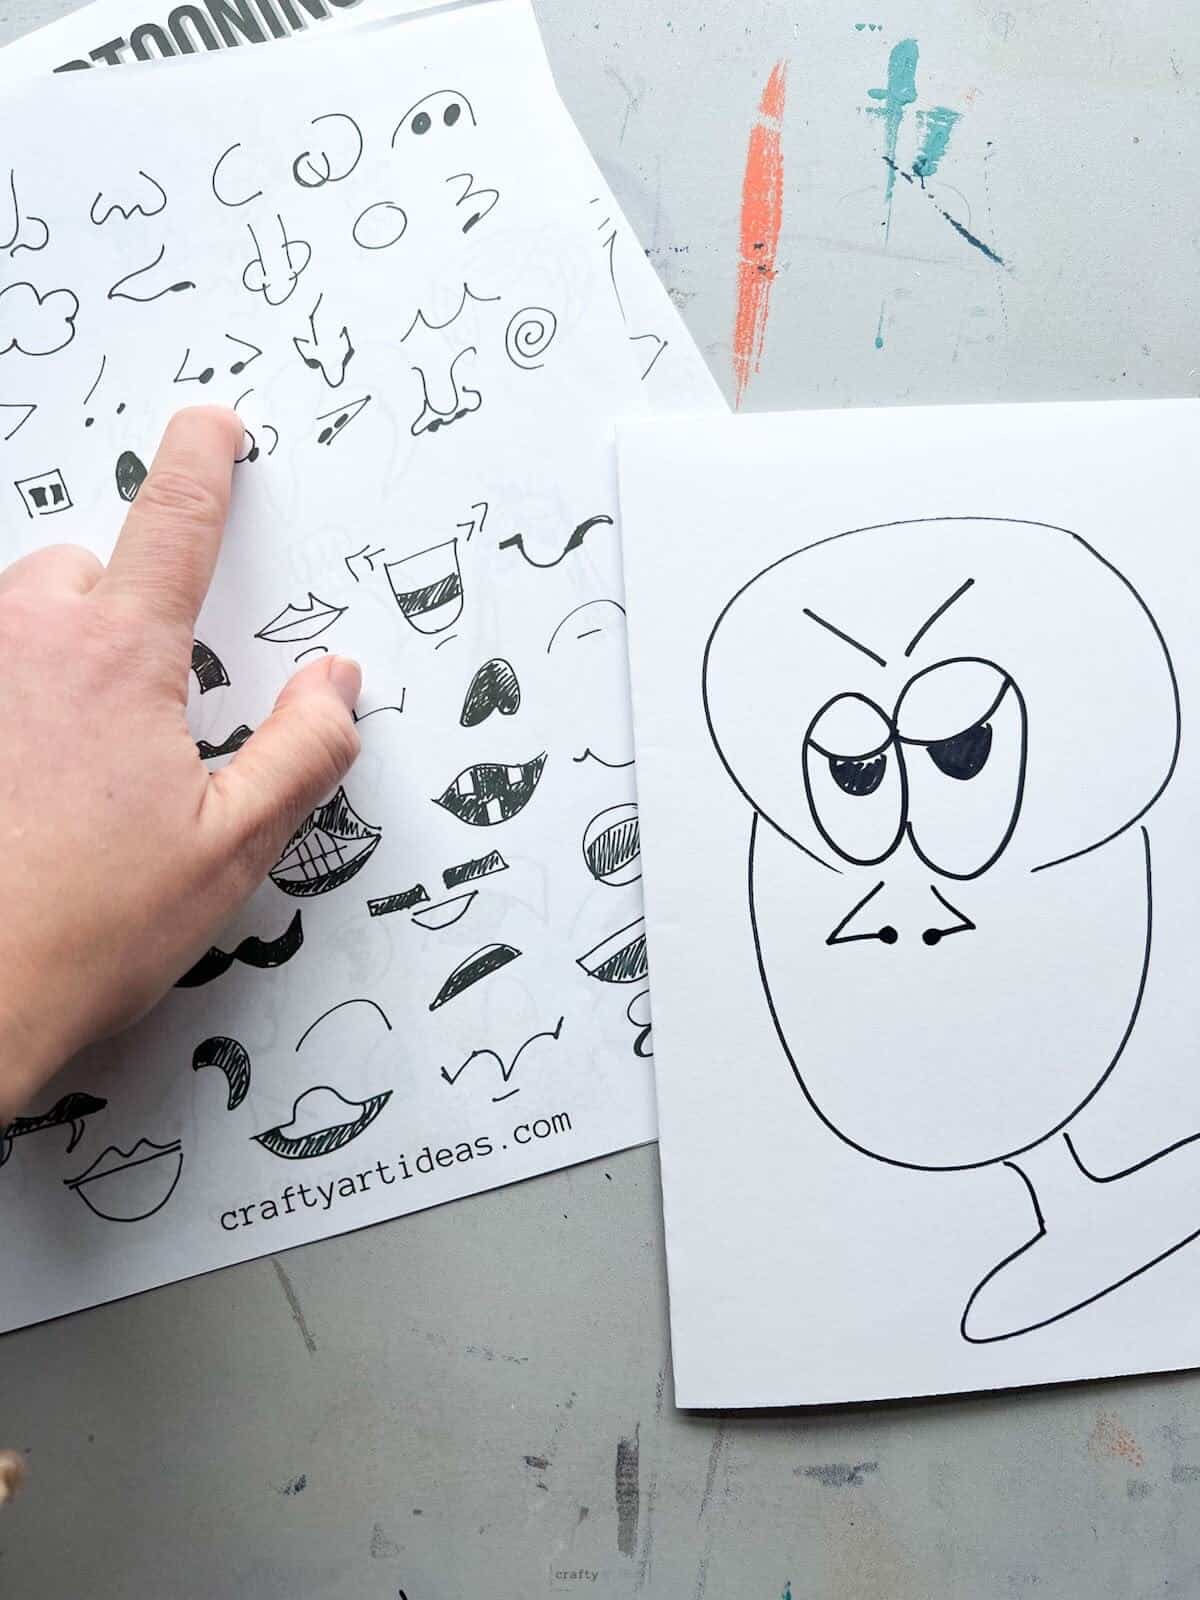
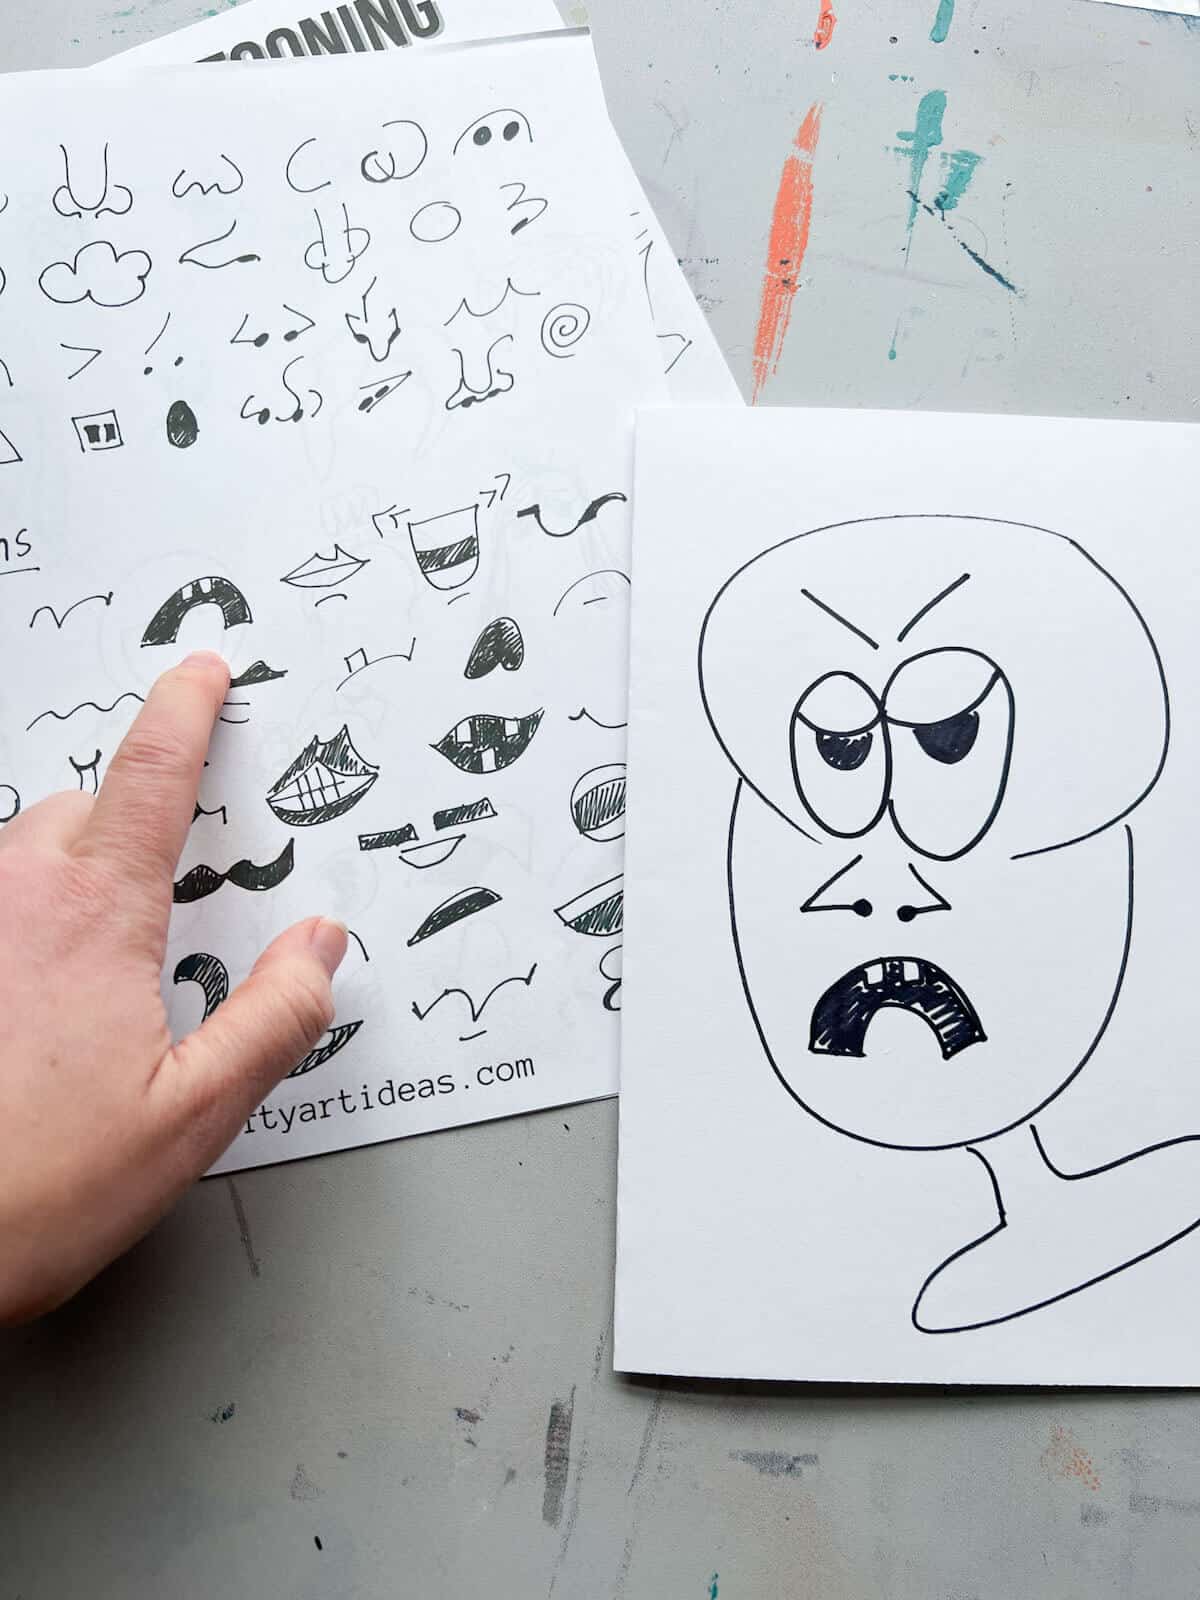
Step 5: Add A Cartoon Mouth
Pick an image from the provided images to create a mouth. It is okay if you need to change the drawing.
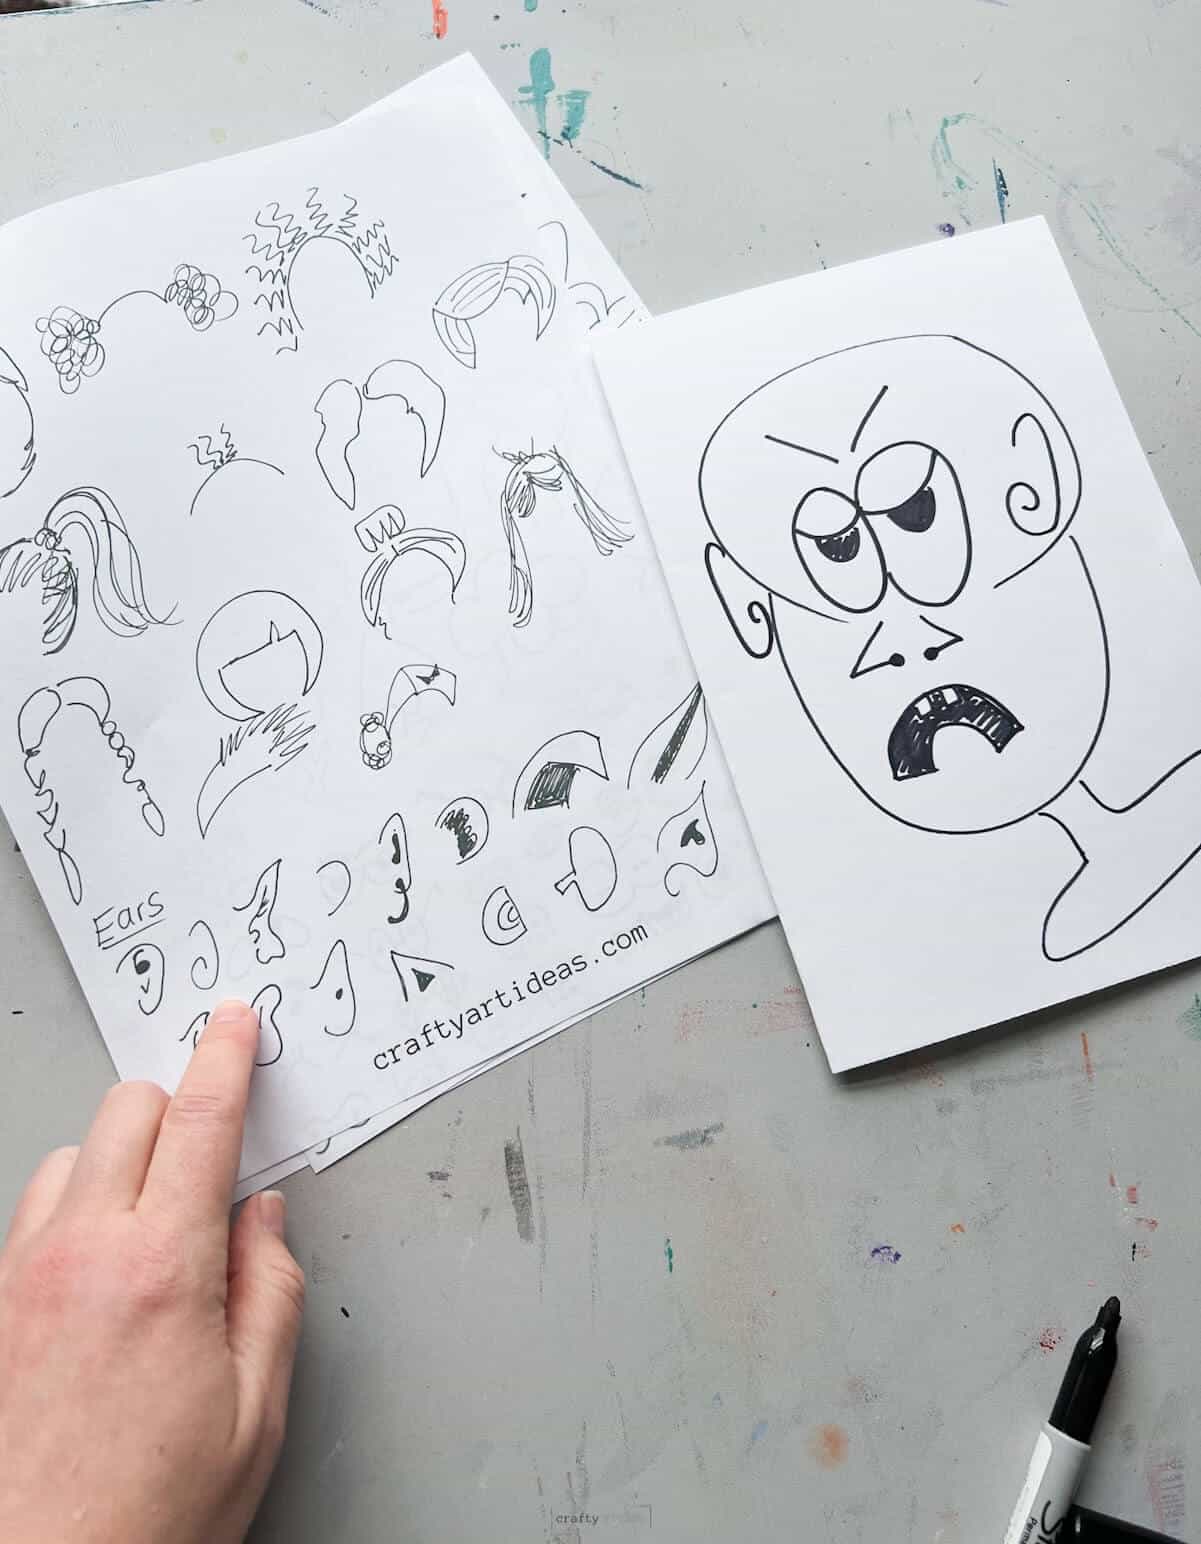
Step 6: Add Hair & Ears
Depending on the head shape a child chooses, they may have to adjust the hairstyle to show it from different angles.
ART TEACHER TIP – If a child is struggling to draw a facial feature, show them how to break it down into simple circles, straight lines, and geometric shapes.
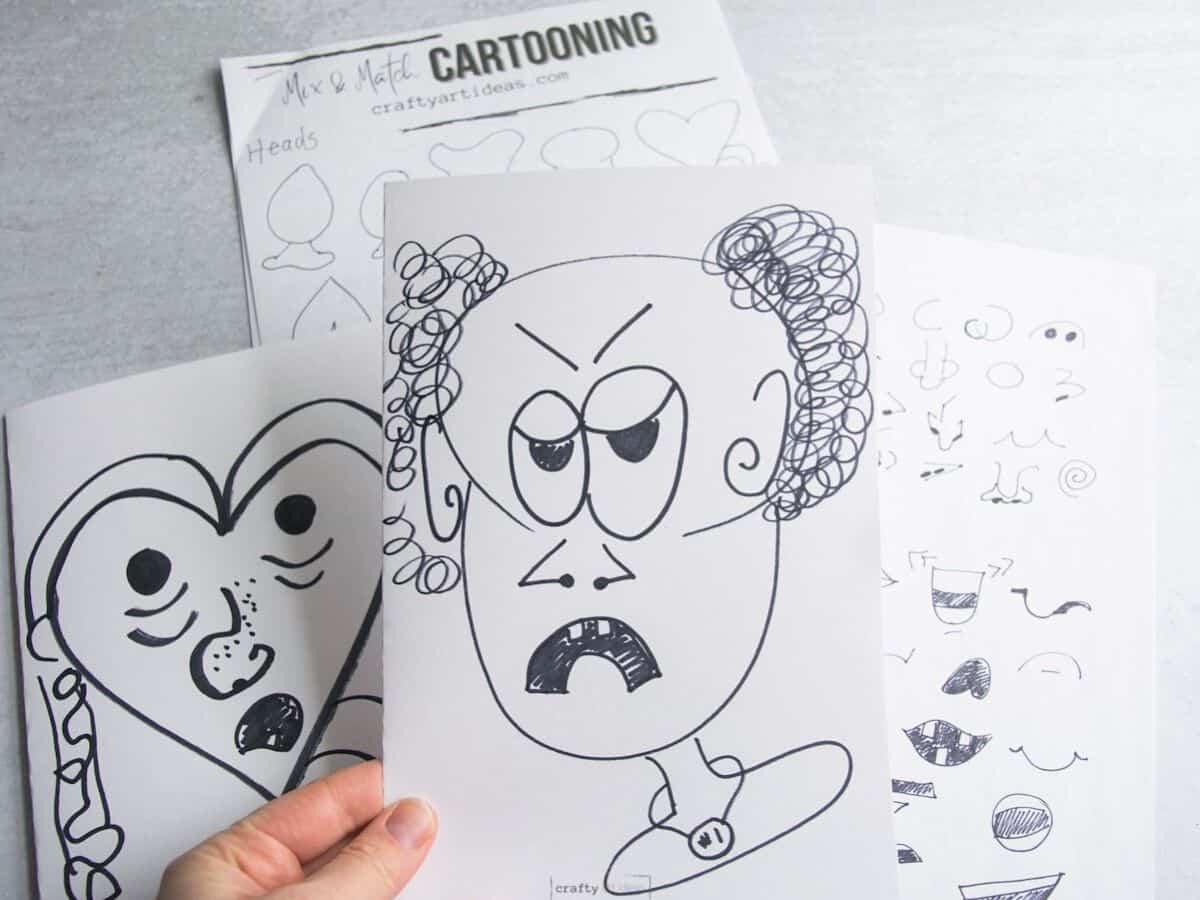
Optional: Outline With Marker And Color
You can use any drawing materials you want to finish these.
Lesson Extensions
- ADD A STORY – Pick a favorite character and write a story or a comic strip
- CREATE SCULPTURES – Use these drawings as inspiration for unique model magic sculptures or other funny 3-D artworks
- ADD EXTRA DETAILS – You could add a body shape to your fictional character
- FAMILY TREE – Create a character family tree for a lot of smiles.
Large Class Setting Tip
If doing this in a large class setting, a good idea is to make the rule that children cannot name their character’s face in the class.
The kids start to get a little silly as they draw. I have found that a blanket rule just stops a kid from using their drawing to poke fun at another student.
Follow us on Pinterest, YouTube & Facebook for more free art and craft ideas!
More Fun Drawing Ideas
- Easy Black and White Op Art Drawings: Use very similar materials with this free Op Art-inspired lesson that is perfect for upper elementary students.
- Colored Pencils Wiggly Op Art Line Lesson
- How To Draw A Cat: Super Easy How-To Draw Tutorial
Do you like this art project? Please give us a 5-STAR review below ⭐️⭐️⭐️⭐️⭐️ and have fun being creative with your family.
Cartoon Characters Drawings For Kids
Equipment
- Marker
- Pencil
Supplies
- Cartooning Packet
- 1 piece Drawing Paper or Copy Paper
Optional
- Coloring Materials Or Your Choice
Instructions
- If making a cartoon book, fold your paper in half.
- Pick a head to use from the packet and draw a large head shape on your paper.
- Pick the eyes they like best and add them to their drawings.
- Decide on a nose, go ahead and draw it on the face.
- Add a cartoon mouth.
- Add ear and hair.
- Draw other fun accessorries for your chartacter.
- Optional: Color your cartoon.
Notes
- You may have to adjust the hairstyle or other facial features depending on the head shape you chose.
- If a child is struggling to draw a facial feature show them how things can be broken down into simple circles, straight lines and geometric shapes.
-
- If doing this in a large class setting, a good idea is to make the rule that children can not name their character’s face a name that is in the class.
- This art activity makes awesome sub plans for the elementary classroom or art class.
No face parts included in the print out lesson… ?
Hi Margaret. Are you looking for the packet of facial features? Did you sign up for our email list to get the packet sent to you?
I’d love a copy of this packet. Thank you!!
Kelly
Hi Kelly. Did you sign-up for our email? It should get emailed to you once you sign up.
I clicked on the link to sign up and get the free printable but there was no where to enter my email. How can I get this packet?
Hi Maria. I just emailed you the packet. I will have to look into why the forms are not working on my site. Thanks for the heads up.
Can’t wait to try this with my boys!
I hope they have fun be cartoon artists!