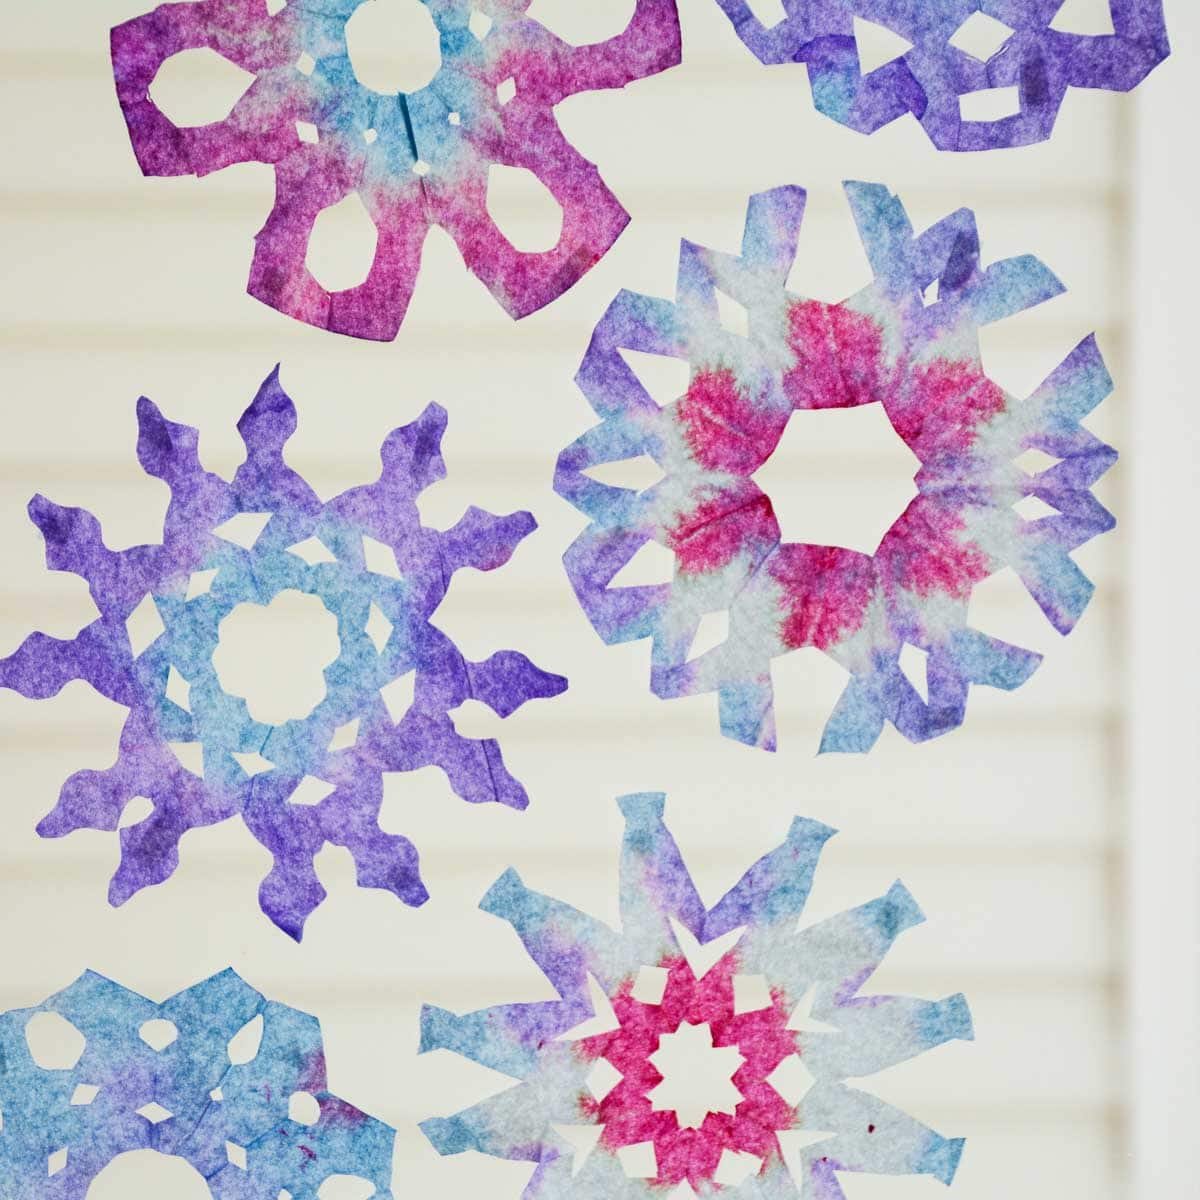
How To Make Creative Coffee Filter Snowflakes
Making wintery snowflakes is a pastime for all ages. These coffee filter snowflakes are the perfect Winter afternoon craft for all ages! The best part about this art idea is that you can modify it to fit your little artist’s needs.
Kids always love seeing the colors mix when creating different coffee filter projects like our coffee filter leaves and paper plate flower craft. My kids wanted to keep making more and more of these coffee filter snowflakes!
Why You Will Love This Snowflake Craft
Supplies You’ll Need
Disclosure: This post may contain affiliate links when clicked, we may earn a small commission at no additional cost to you. Read our full privacy policy.
*Adding Color
There are so many different fun ways to add color to coffee filter paper.
- Coloring with washable markers (like this pack) and painting or spraying with water are among our favorite techniques for a classroom setting.
- Paint with regular watercolor and let it dry.
- Use food coloring (the pink paint in our images is actually vibrant gel food coloring) to dye the filters.
Step-By-Step Instructions
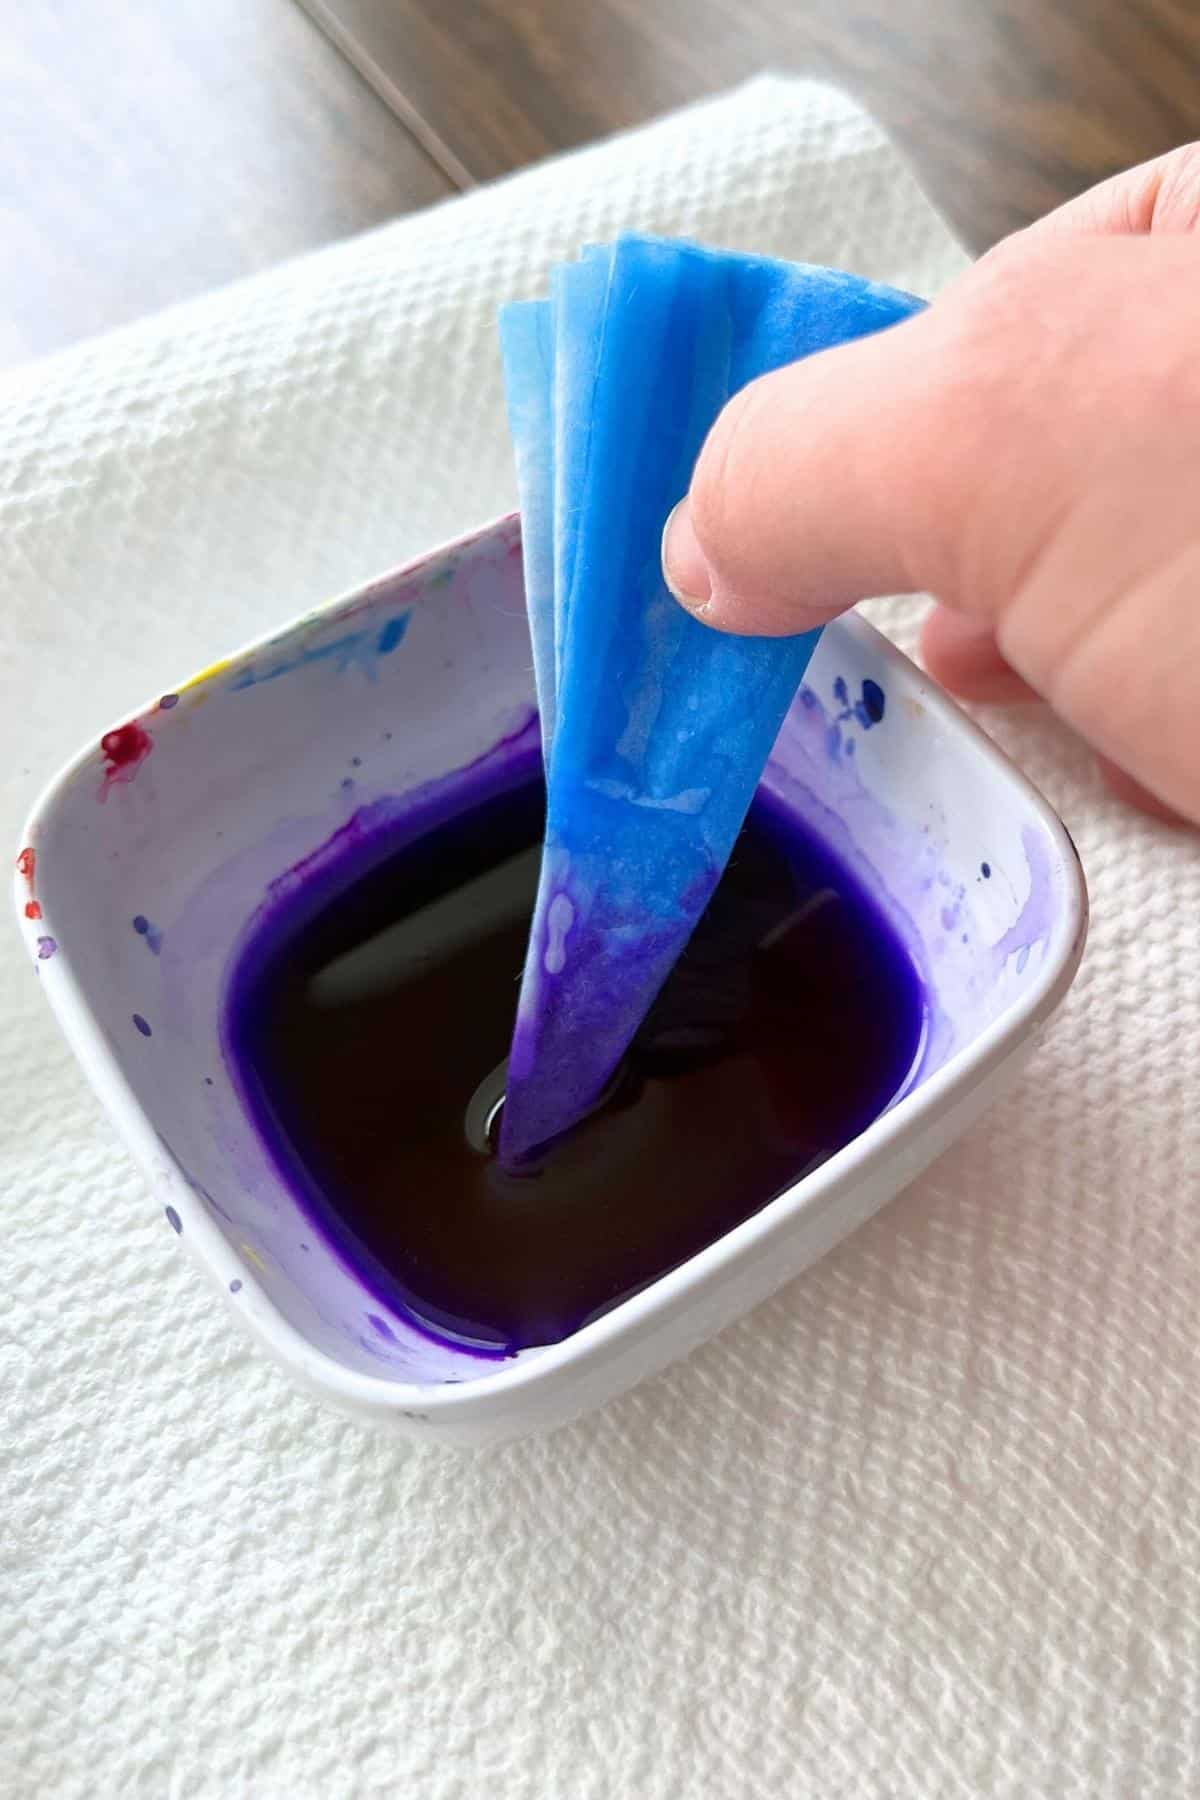
Step 1: Add Color
For these snowflakes, we folded the paper and dipped different edges into purple, blue and pink paint.
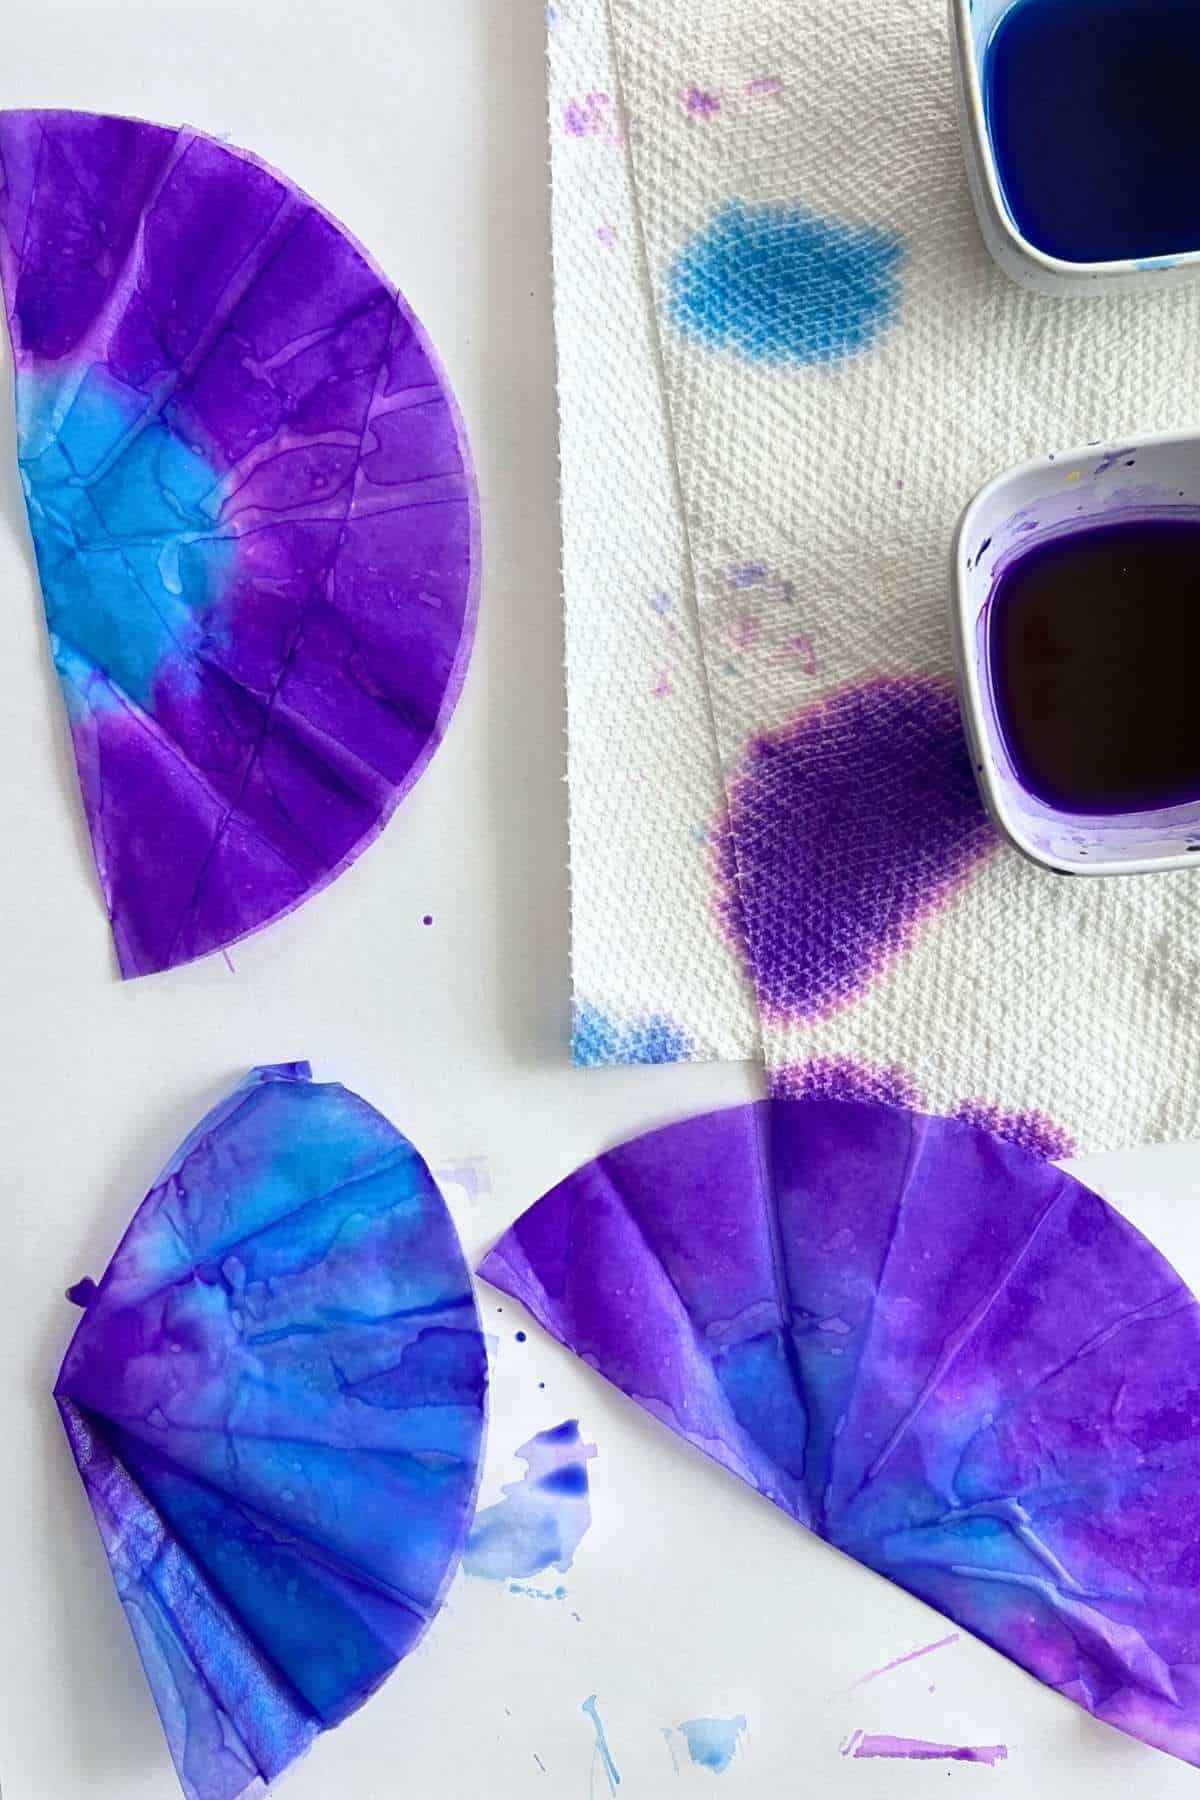
Step 2: Let Dry
To speed up drying time, carefully open the coffee filter and lay on paper to dry.
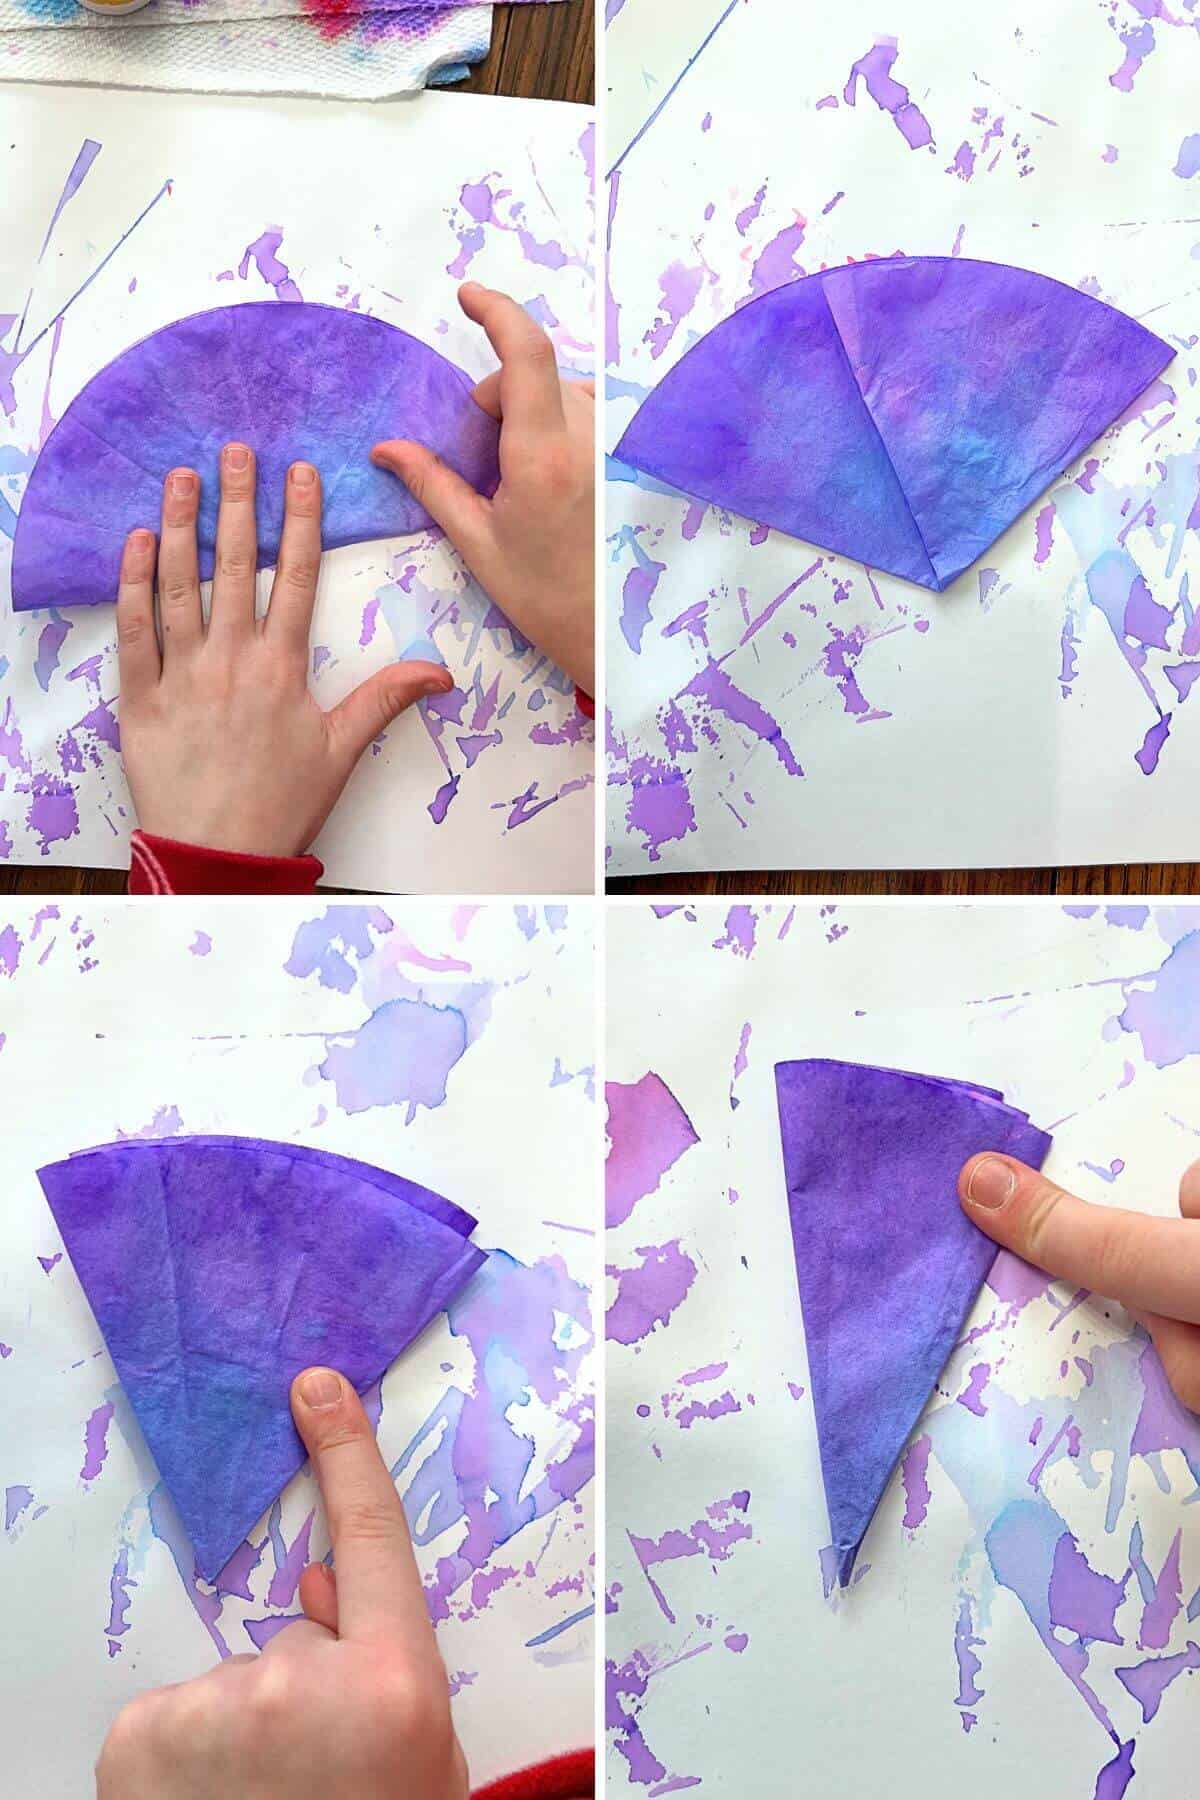
Step 3: Fold Coffee Filter
Fold your coffee filter in 1/2. Then 1/3 over and flip the other side. You should have perfect thirds. Fold that section in half one last time.
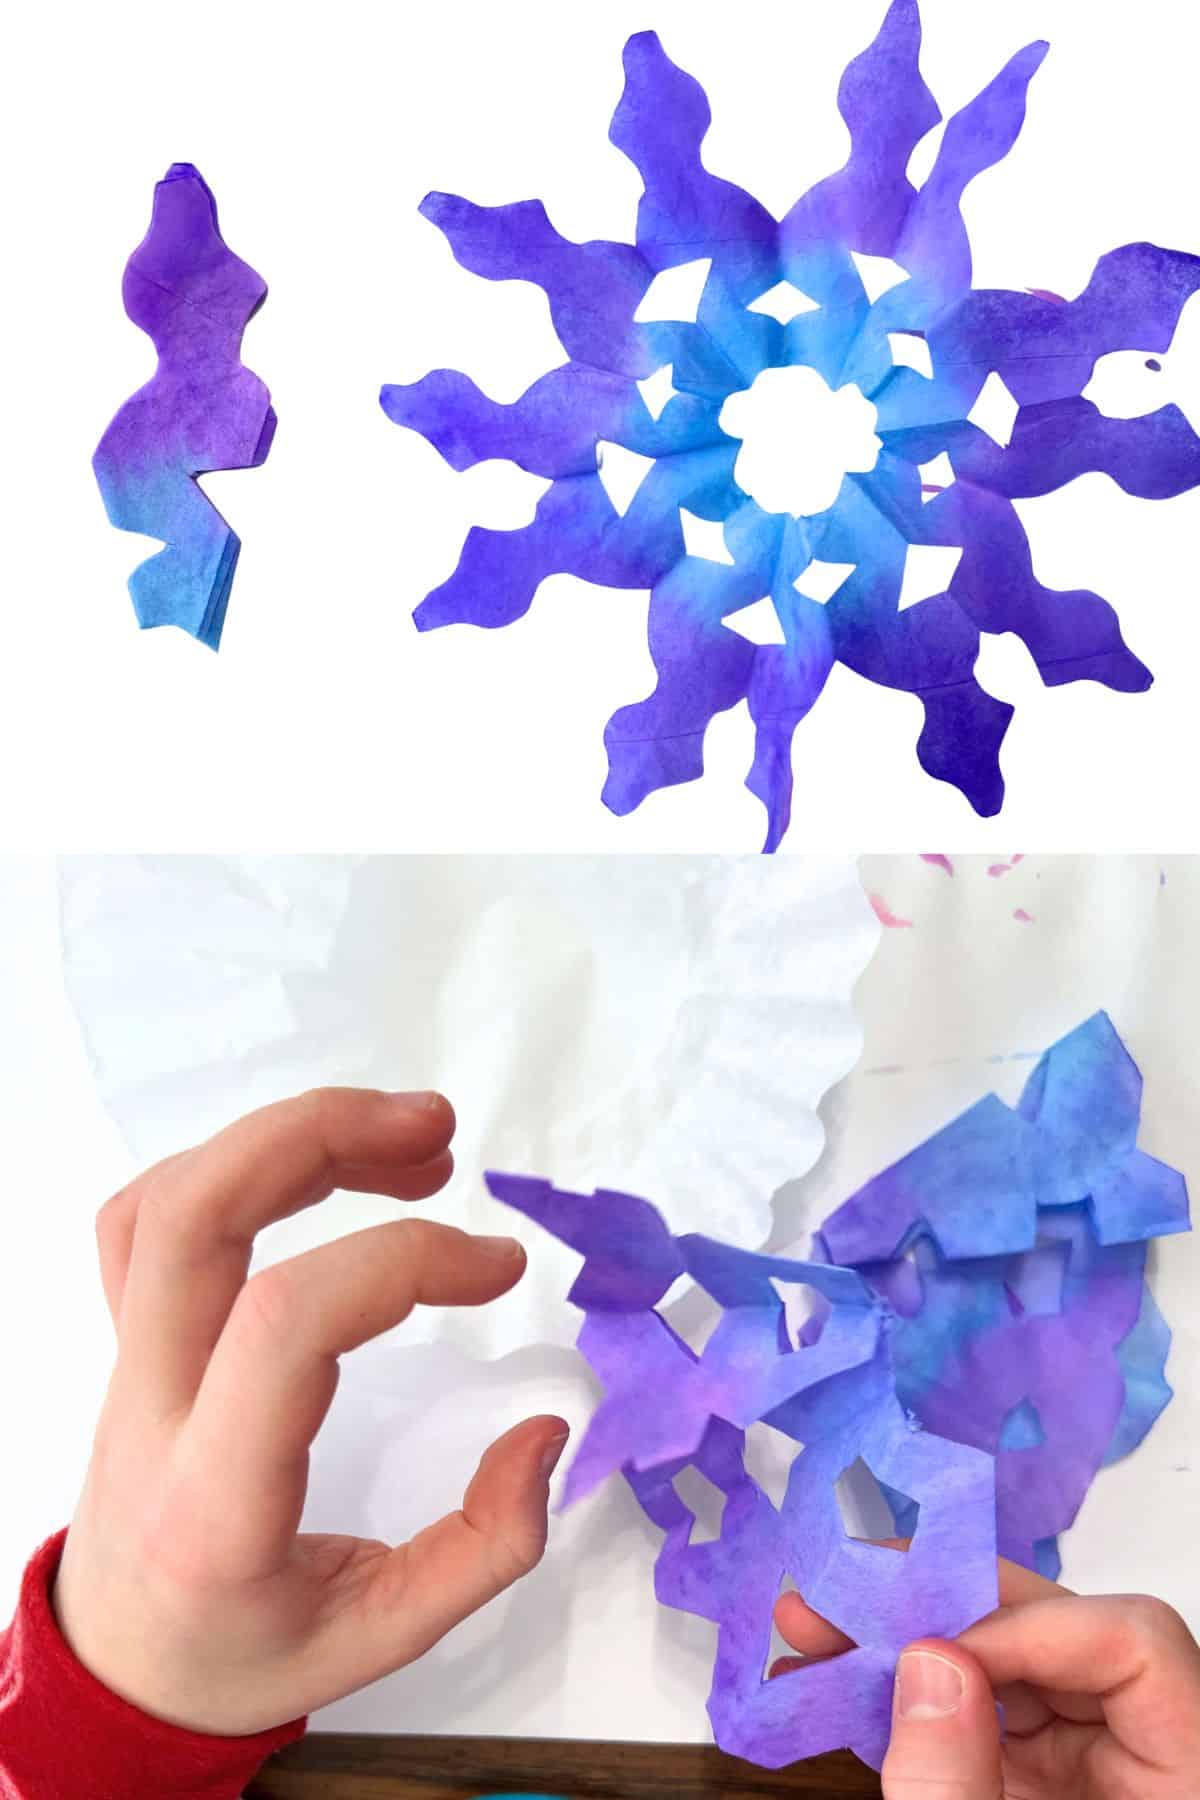
Step 4: Cut Your Design
Carefully cut the side shapes, the top, and the tip of the triangle. Open the coffee filter to reveal your beautiful patterns.
Project Modification
For time’s sake, you can also cut your coffee filter snowflake first, then dip it into different colored watercolors. Just be patient and let them dry overnight before trying to open the wet, folded filter paper.

Snowflake Decor Ideas
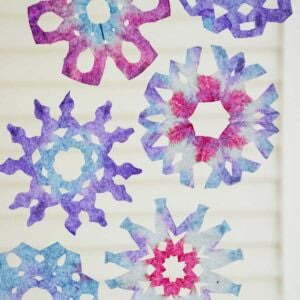
- WINDOWS – these beautiful snowflakes make beautiful sun-catchers for Winter classroom decorations.
- GARLAND – string several snowflakes together for a great Christmas decoration you can keep up all Winter long.
- HANGING – add a string and hang for the ceiling to create a Winter wonderland.

Tips
- DON’T THROW AWAY THE EXTRA PAPER – The paper you use to dry painted coffee filters will have cool markings and colors. These are perfect collage materials for a future project or even paper snowflakes.
- PRACTICE CUTTING – Arms and elbows in at a 90-degree angle, thumb up on the scissors, and encourage kids to use the inside part of the scissors (not just the tip).
- DRAW WITH PENCIL FIRST – For younger children, it might be easier to sketch out the snowflake pattern first before cutting.
- FLATTEN – You can iron snowflakes on low heat between parchment paper or leave them between books for a better appearance.
Craft FAQs
When completely open and on a flat surface, coffee filters can take 15-30 minutes to dry when painted with watercolor or water on top of washable markers. Time can vary depending on factors such as the amount of water used, temperature, and airflow. If you do not open the coffee filter, let it dry overnight to avoid ripping the wet paper.
Make sure the coffee filter paper is completely dry before unfolding. If you are pressed for time, consider adding color to coffee filters one day and cutting a different day. Or follow the modification above: cut first, then dye. Keep folded and don’t open the coffee filter for at least 24 hours.
Using more concentrated liquid watercolors or gel food coloring may help you achieve more vibrant colors. Consider also folding the coffee filter and fully saturating it with color. Leave it folded and let it fully dry. This way, the colors won’t transfer to another paper if drying on a flat surface.
Our favorite
Related Winter Art Projects
Follow us on Pinterest, YouTube & Facebook for more free art and craft ideas!
While real snowflakes melt away too quickly, these colorful coffee filter snowflakes let your little artists capture that winter wonderland magic all season long.
Do you like this art project? Please give us a 5-STAR review below ⭐️⭐️⭐️⭐️⭐️ and have fun being creative with your family.
How To Make Coffee Filter Snowflakes
Equipment
- 1 Pair Scissors
Supplies
- 1 White Coffee Filter
- Liquid Watercolor Paint or Food Coloring
- Extra Paper To Work On
Instructions
- Color the coffee filter paper by folding and dipping into different colors of watercolor or dyed liquid.
- Let the coffee filter paper fully dry.
- Fold your coffee filter in 1/2. Then 1/3 over and flip the other side. You should have perfect thirds. Fold that section in half one last time.
- Carefully cut the side shapes, the top, and the tip of the triangle. Open the coffee filter to reveal your beautiful patterns.
Notes
- For younger children, it might be easier to sketch out the snowflake pattern first before cutting.
- You can also dye the coffee filter paper after cutting the design.
- Try washable markers and water for a different way to add color to the coffee filter snowflakes.