
Coffee Filter Fall Leaves | Beautiful Easy Craft


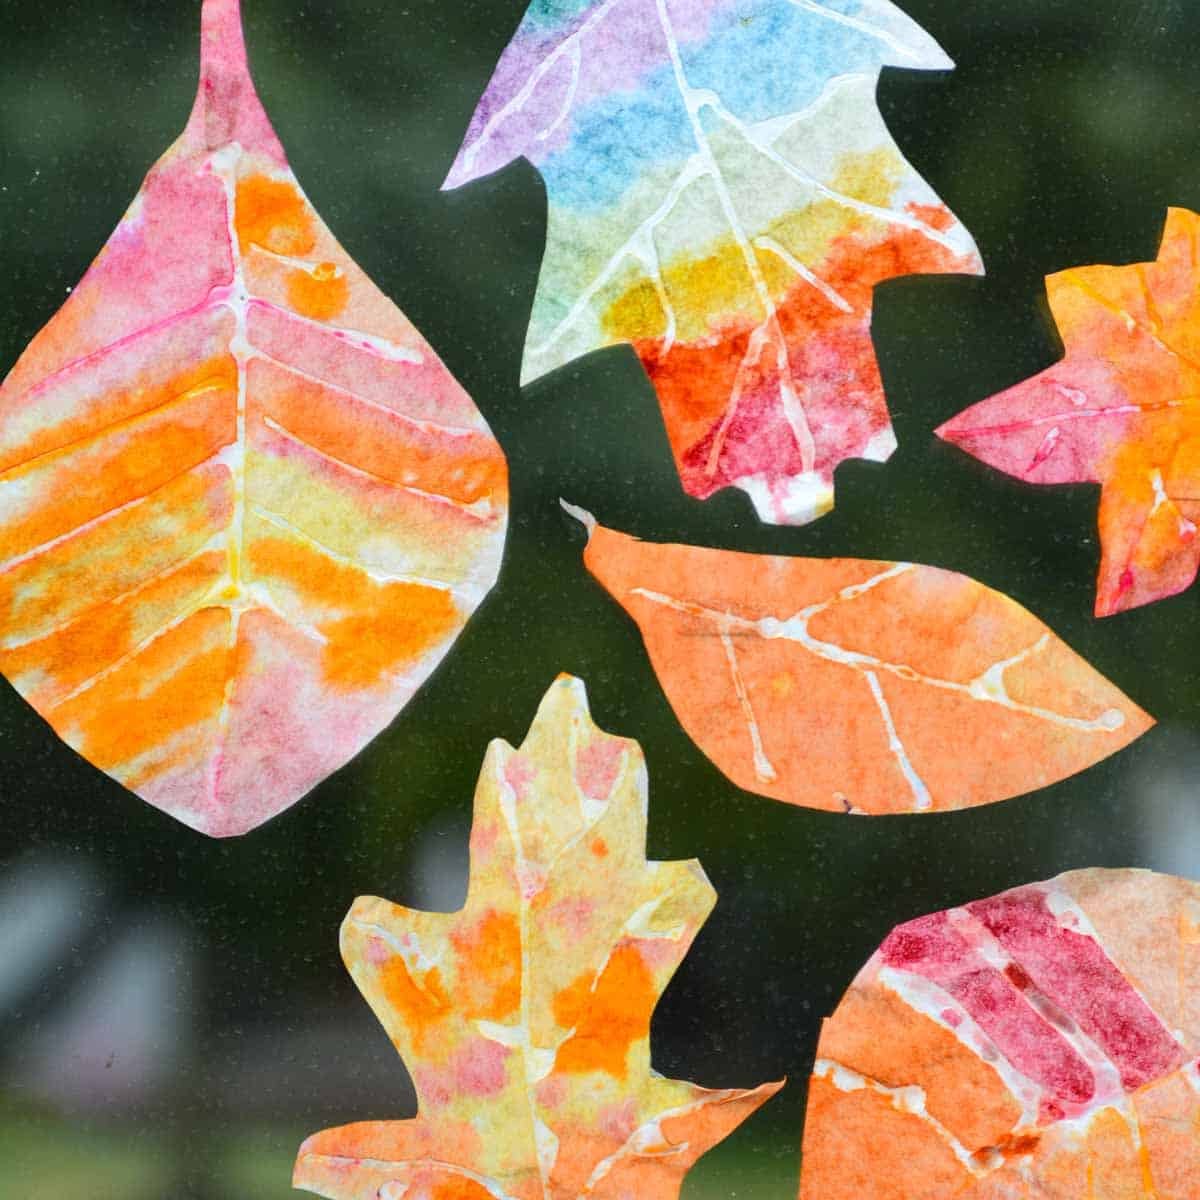
This is not your average Fall leaf art project! These coffee filter leaves turn out to be so pretty, yet are incredibly easy to make. Get all our tips for making amazing leaf art with kids in minutes!
This Fall art idea was orginally published in September 2025 and was recently updated in August 2026 with more tips and precise instructions.
I love the colors of Fall and creating different leaf art projects. From marker leaf prints to silly Leaf Man collages, there is always a fun way to be inspired by nature. These coffee filter leaves top the list as one of my favorite Fall art projects for kids!
Why You Will Love This Fall Art Idea
Supplies You’ll Need
Disclosure: This post may contain affiliate links when clicked, we may earn a small commission at no additional cost to you. Read our full privacy policy.

Notes On Supplies
- ANY WATERCOLOR WILL WORK – I normally want to use liquid watercolors for the vibrant colors; however, we did not notice a big difference between using a regular palette or liquid paints.
- GLUE – This type of bottled glue will help prevent the line from getting too sticky when wet with paint.
- NO GLUE, NO PROBLEM – Sharpies, metallic paint markers, or oil pastels can be alternatives to bottled glue for drawing leaf veins.
How To Make Coffee Filter Leaves
BEFORE YOU BEGIN – Set up a work area. I found that working on a baking sheet or using extra paper helped prevent the glue from sticking when the glue lines dried.

Step 1: Trace and Cut Leaves
You can use real leaves to trace different shaped leaves before cutting them out.
Step 2: Draw Veins
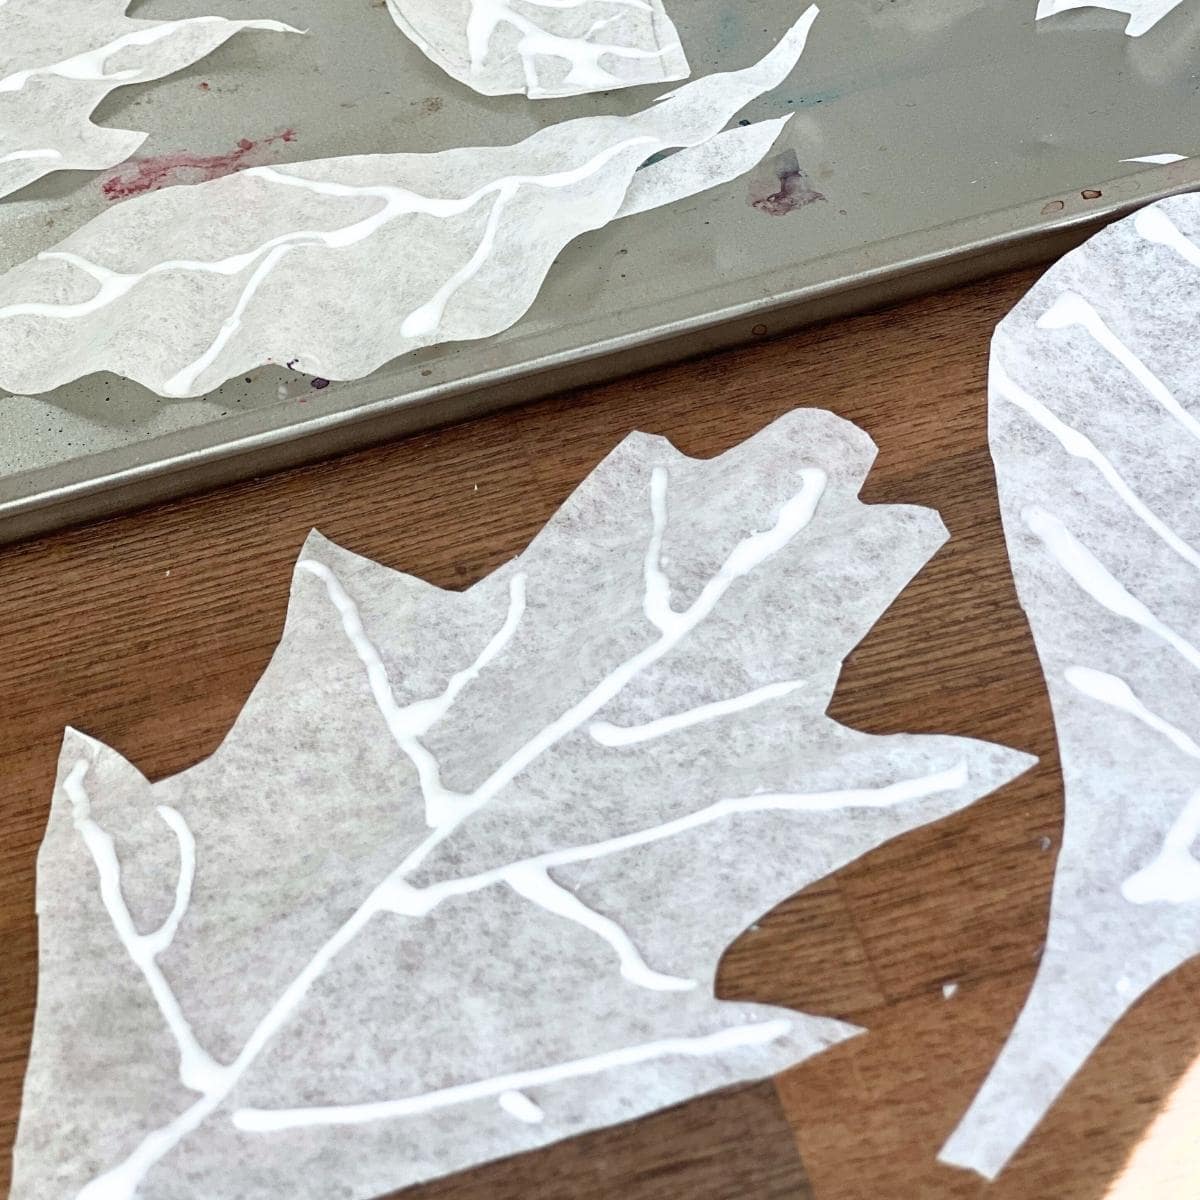
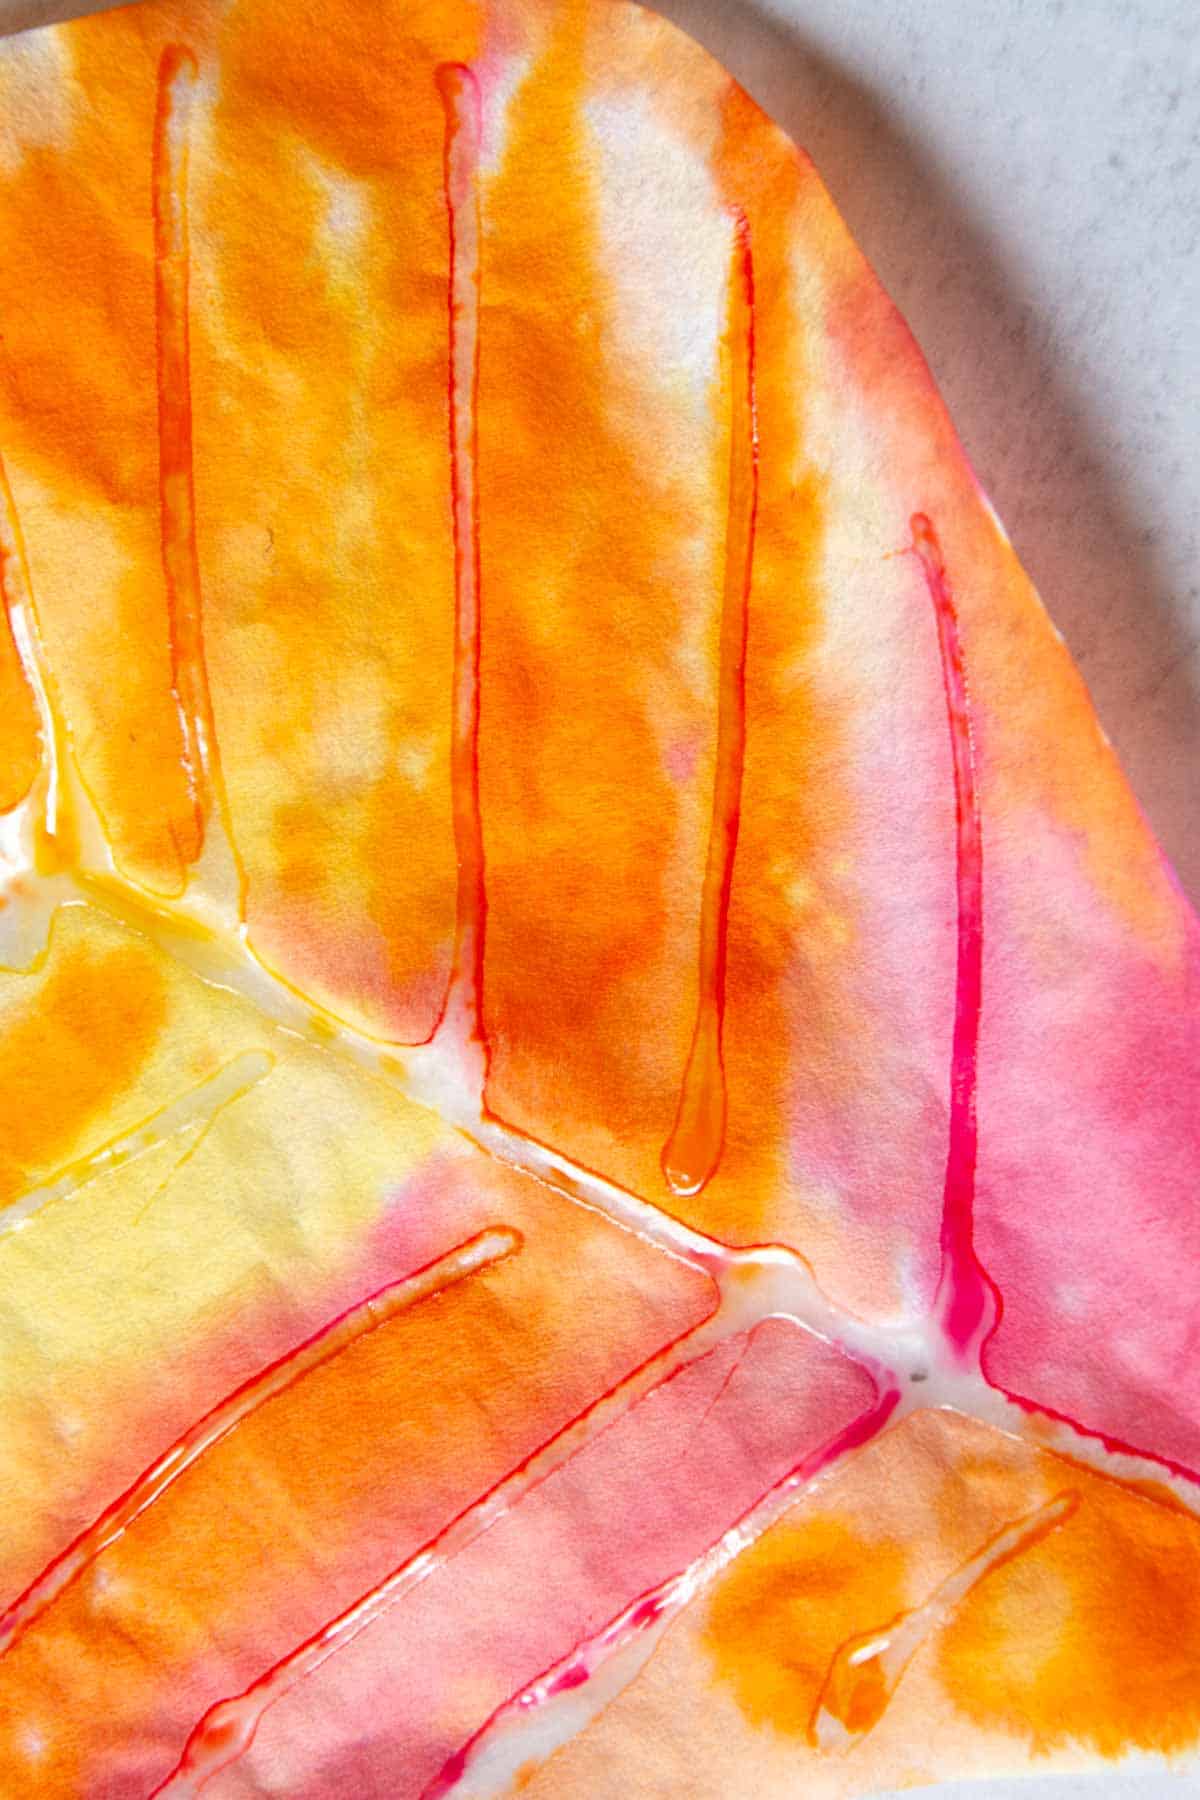
With a glue bottle, carefully draw lines to represent the veins of the leaves. Let the glue dry completely.
Step 3: Paint The Leaf
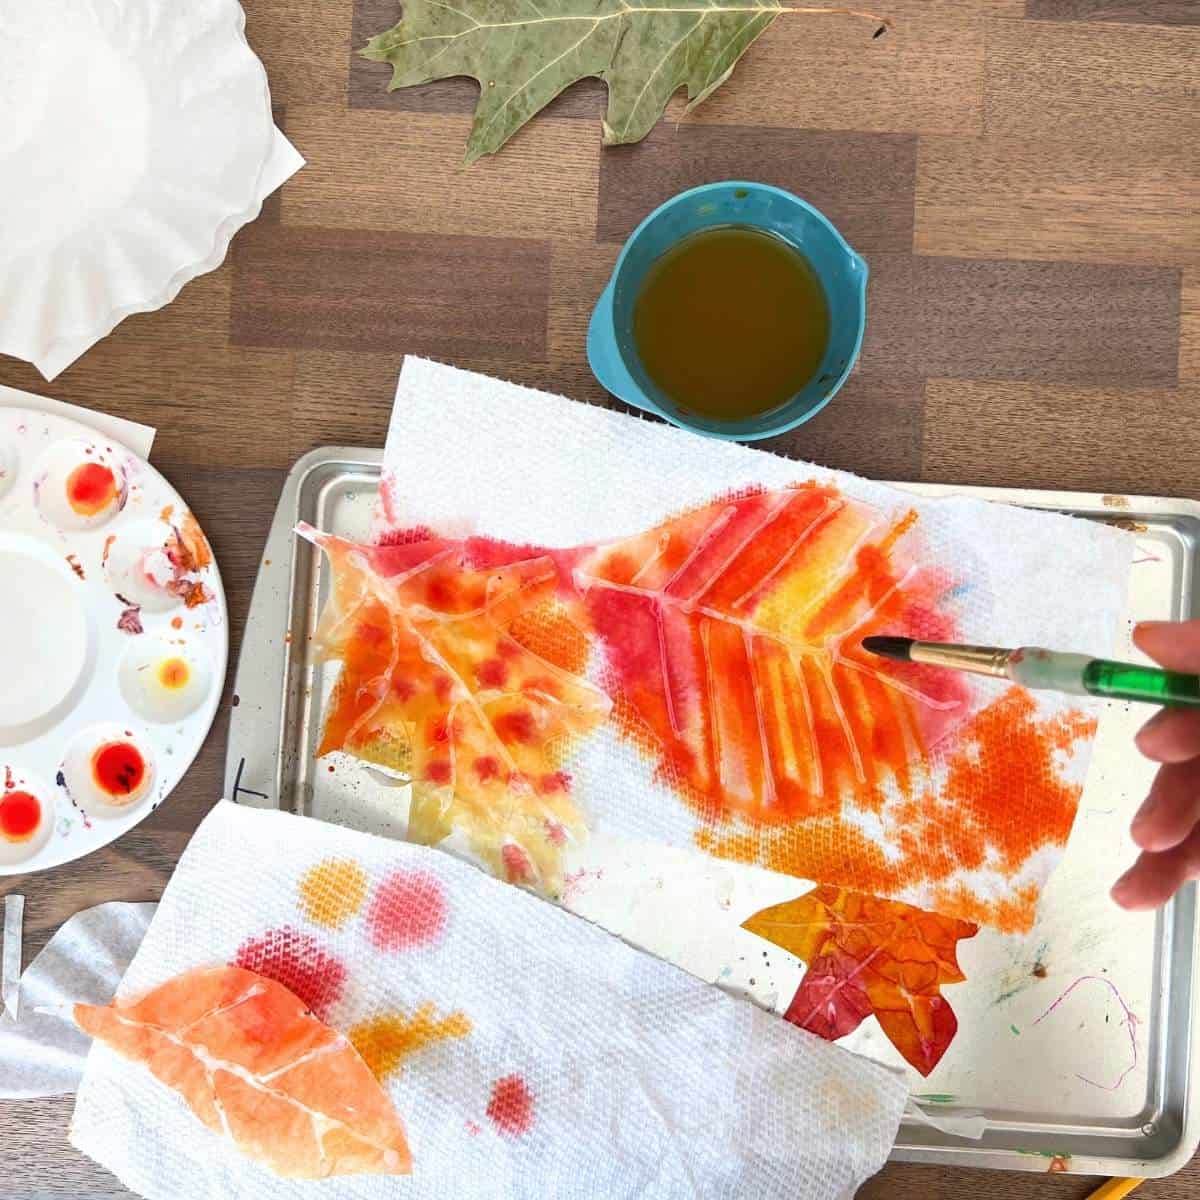
Use colors that will mix well together to paint your leaf. The glue should resist the paint.
Step 4: Let Dry
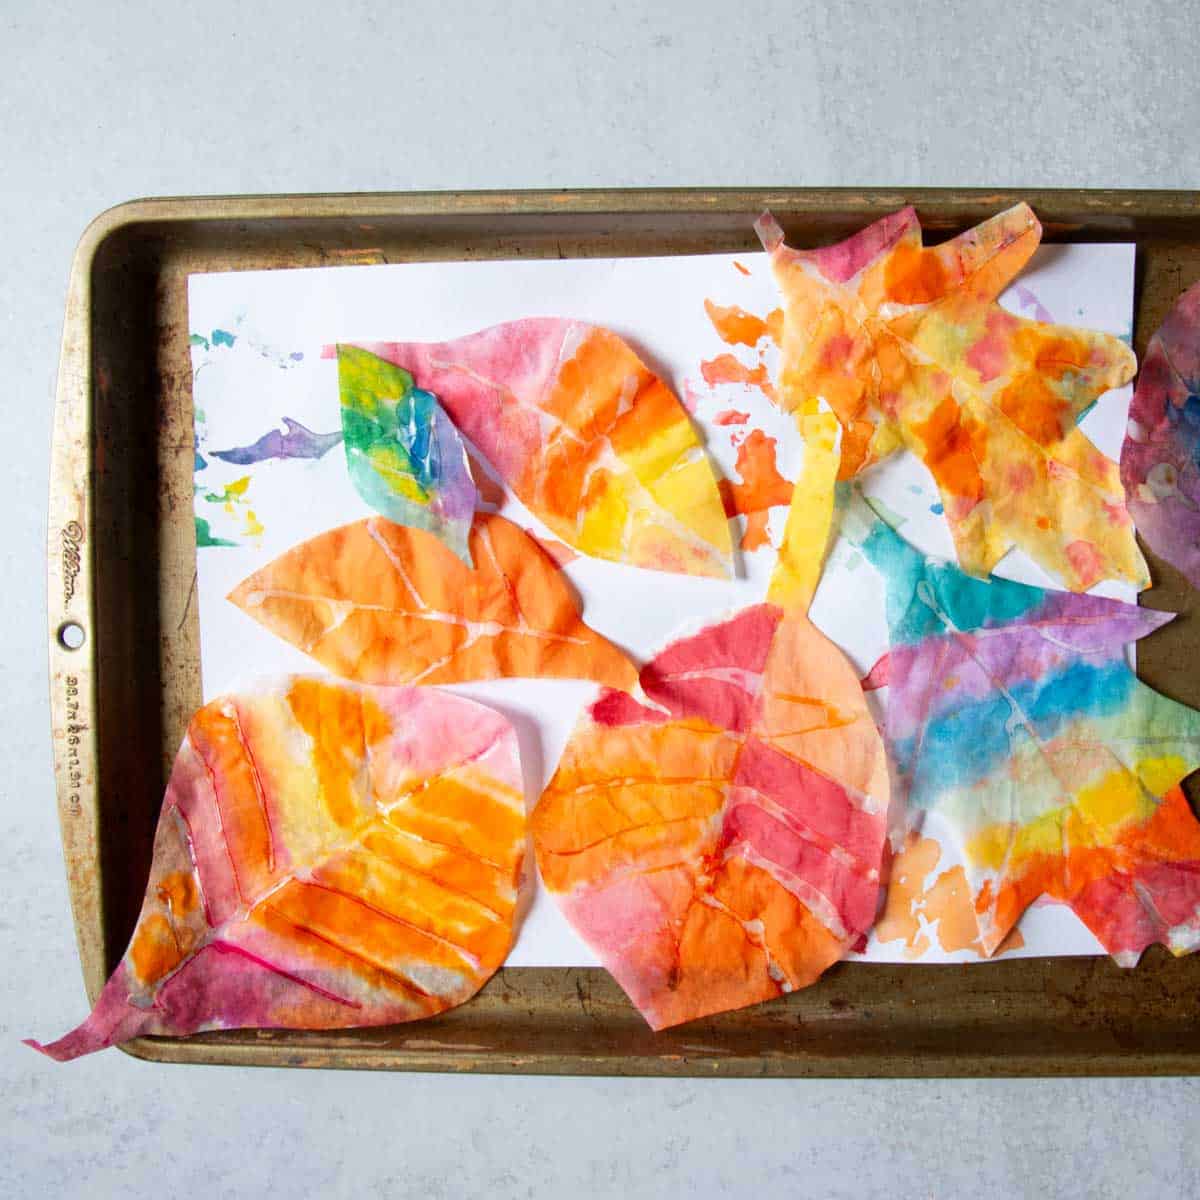
Allow these to dry for several hours on a separate sheet of paper or baking sheet.
Tips
- USE VERY LITTLE GLUE – Try to avoid large globs of glue on the coffee filter.
- WORK ON A PIECE OF PAPER – Working on a piece of paper will allow the leaves to fully dry and limit the risk of tearing the filters.
- PRE-CUT – For preschool and younger artists, an adult may want to pre-cut the leaves.
- SHOULD NOT STICK – If there is too much glue, the leaf may stick. Don’t work directly on a table. Once the glue dries, you should be able to peel the leaf up.
Follow us on Pinterest, YouTube & Facebook for more free art and craft ideas!
Our Favorite
Related Fall Art Ideas
Whether for the classroom or at home, this colorful coffee filter leaf craft makes the perfect seasonal project to try. Kids will love watching the colors blend to create beautiful leaf art.
Coffee Filter Fall Leaf Craft
Equipment
- Scissors
- Baking sheet or scrap paper
Instructions
- BEFORE YOU BEGIN – Cover your work surface with extra paper or work on a baking sheet to prevent the coffee filters and glue from sticking to the table.
- CUT THE LEAVES – Trace real leaves or draw simple leaf shapes on the coffee filters. Cut out each leaf. For younger children, adults can pre-cut the leaves.
- ADD THE LEAF VEINS – Use a glue bottle to draw thin lines for the leaf veins. Avoid large globs of glue. Let the glue dry completely before painting.
- ADD COLOR – Paint each coffee filter with watercolor paints. Choose colors that blend well together and watch as the colors spread and mix. The dried glue lines will resist the watercolor.
- LET COMPLETELY DRY – Place the painted leaves on a clean sheet of paper or baking sheet. Let them dry completely before carefully peeling them up.
Notes
- Use thin glue lines to prevent the coffee filters from sticking.
- Let the glue dry completely before adding watercolor.
- Pre-cut the leaves when doing this project with preschoolers or younger children.
- Regular watercolor palettes and liquid watercolors both work well.
- Skip the glue and draw leaf veins with Sharpies, metallic paint markers, or oil pastels instead.
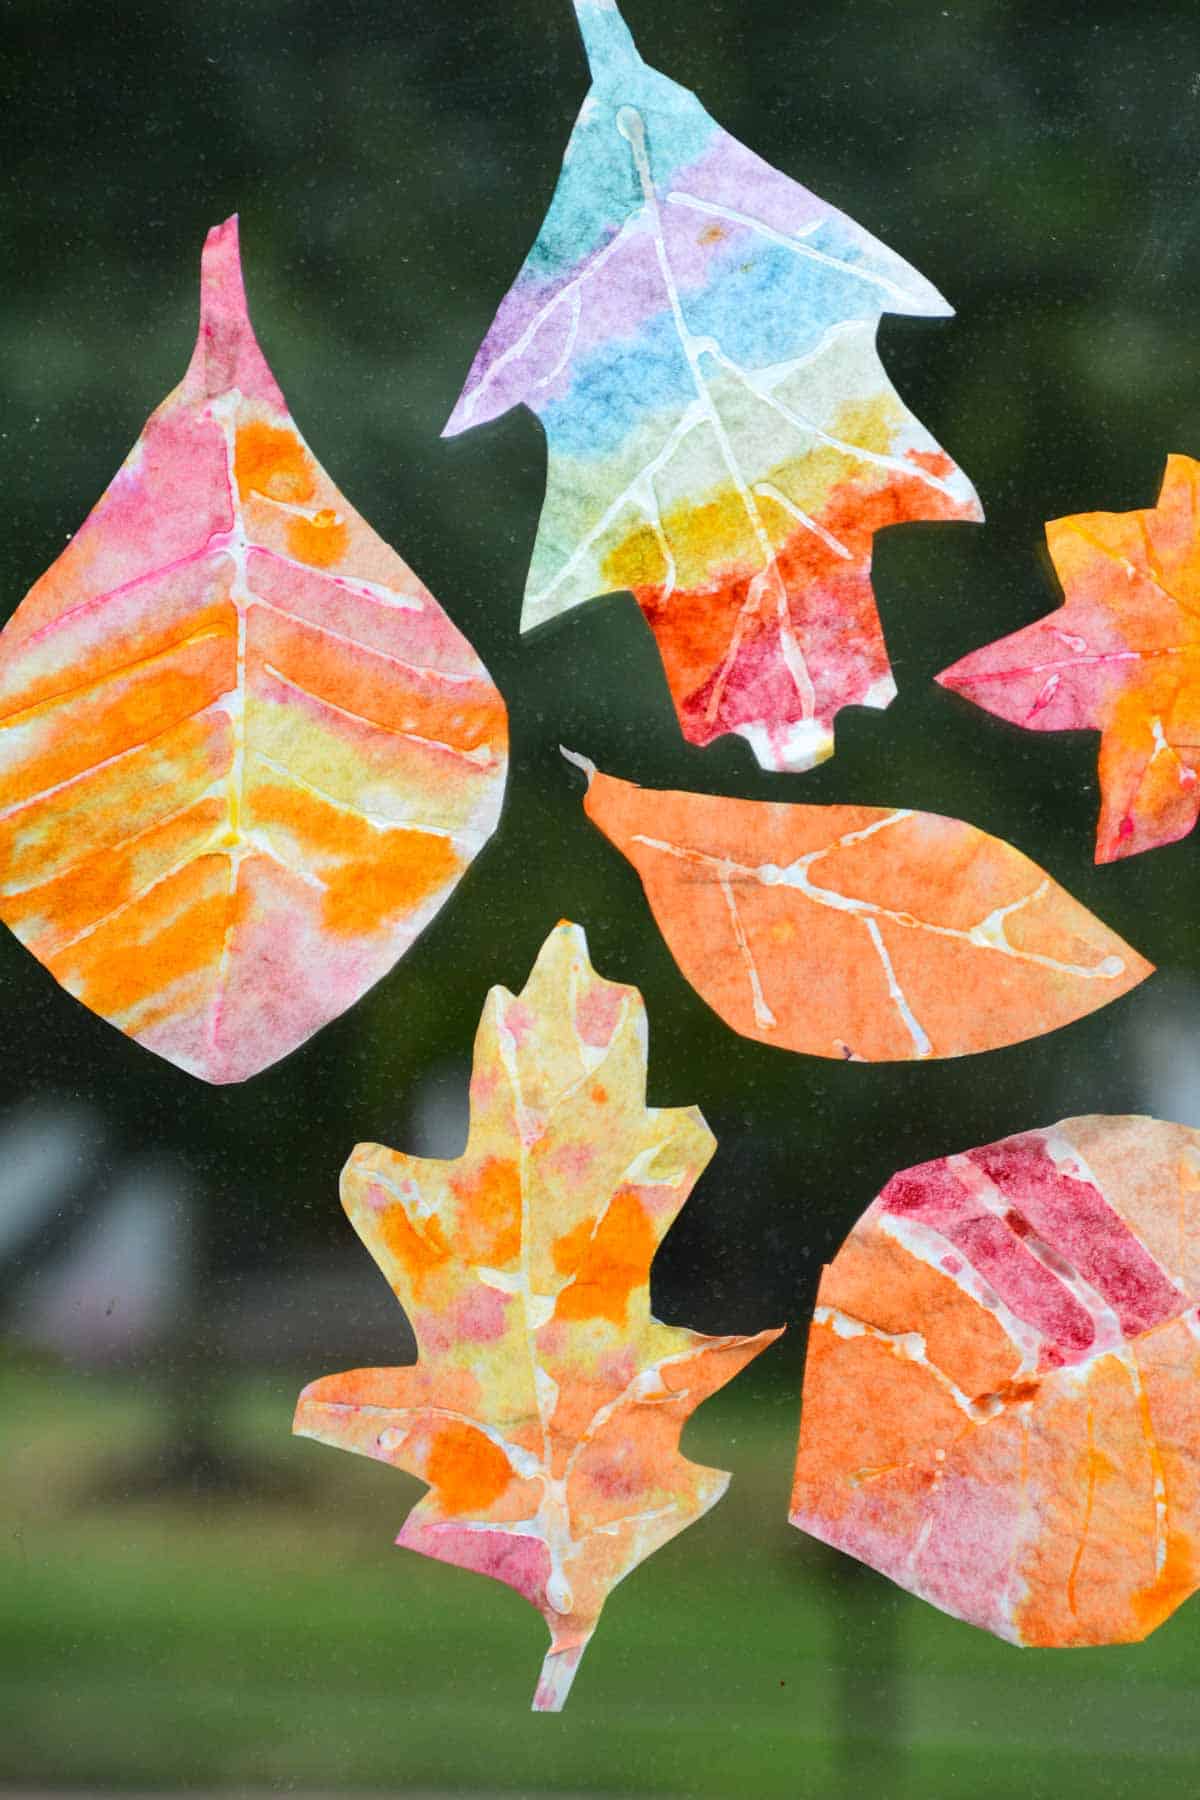
- Hang finished leaves in a window with tape or glue dots for easy fall decorations.