
Simple Snowflake Salt Painting For Kids


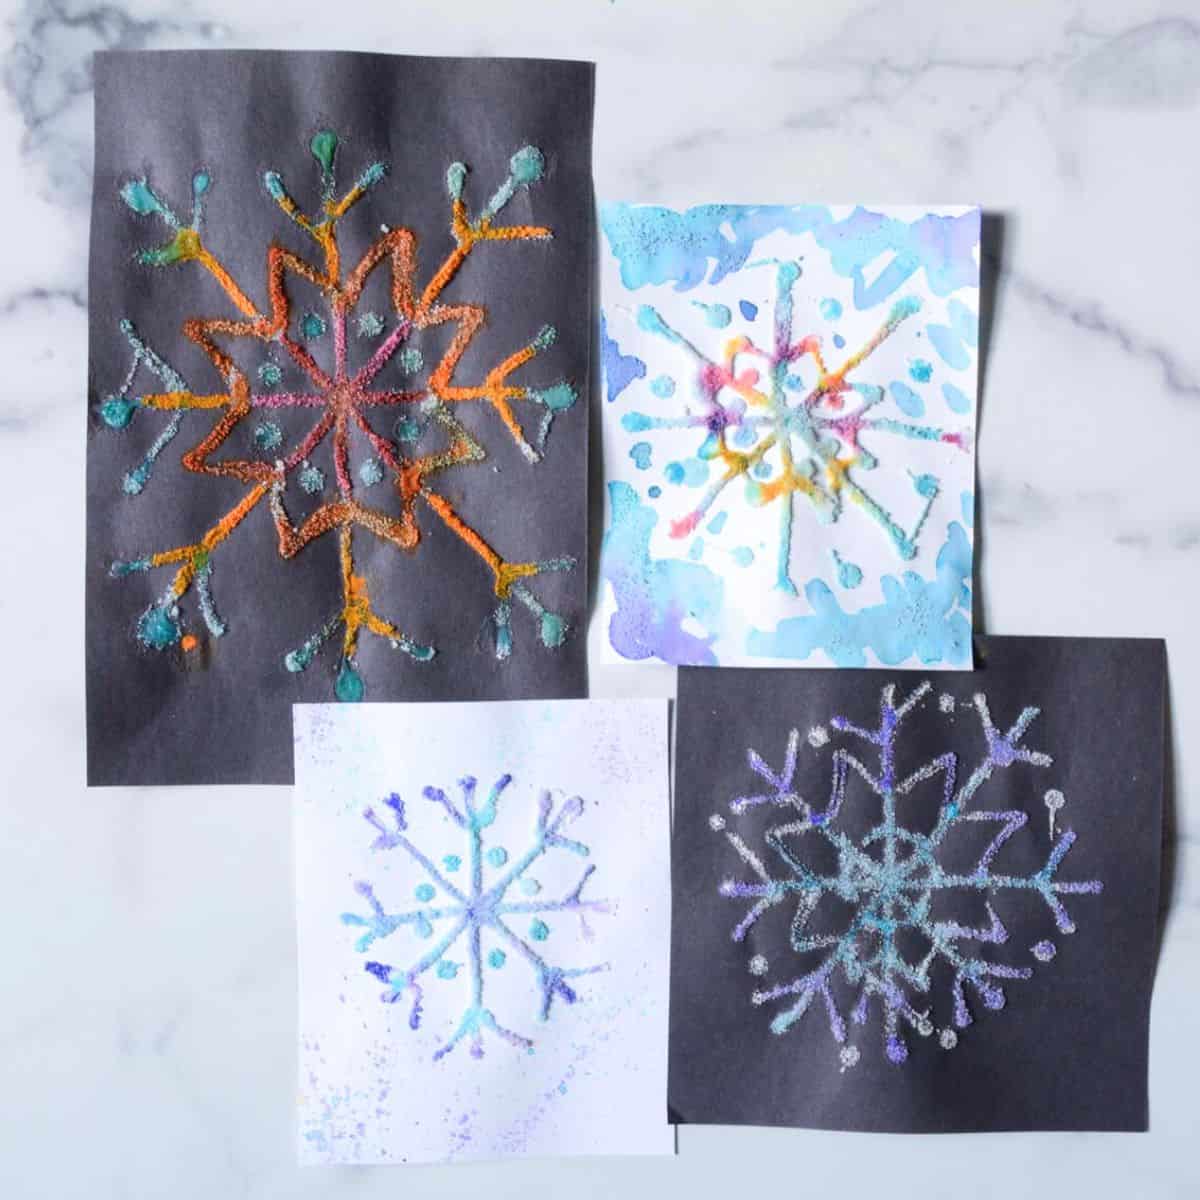
This classic process art idea is fun for all ages. My kiddos had so much fun creating snowflake salt paintings on a cold, snowy day. Get my tips so your kids have a blast making this easy snowflake painting idea on black or white paper!
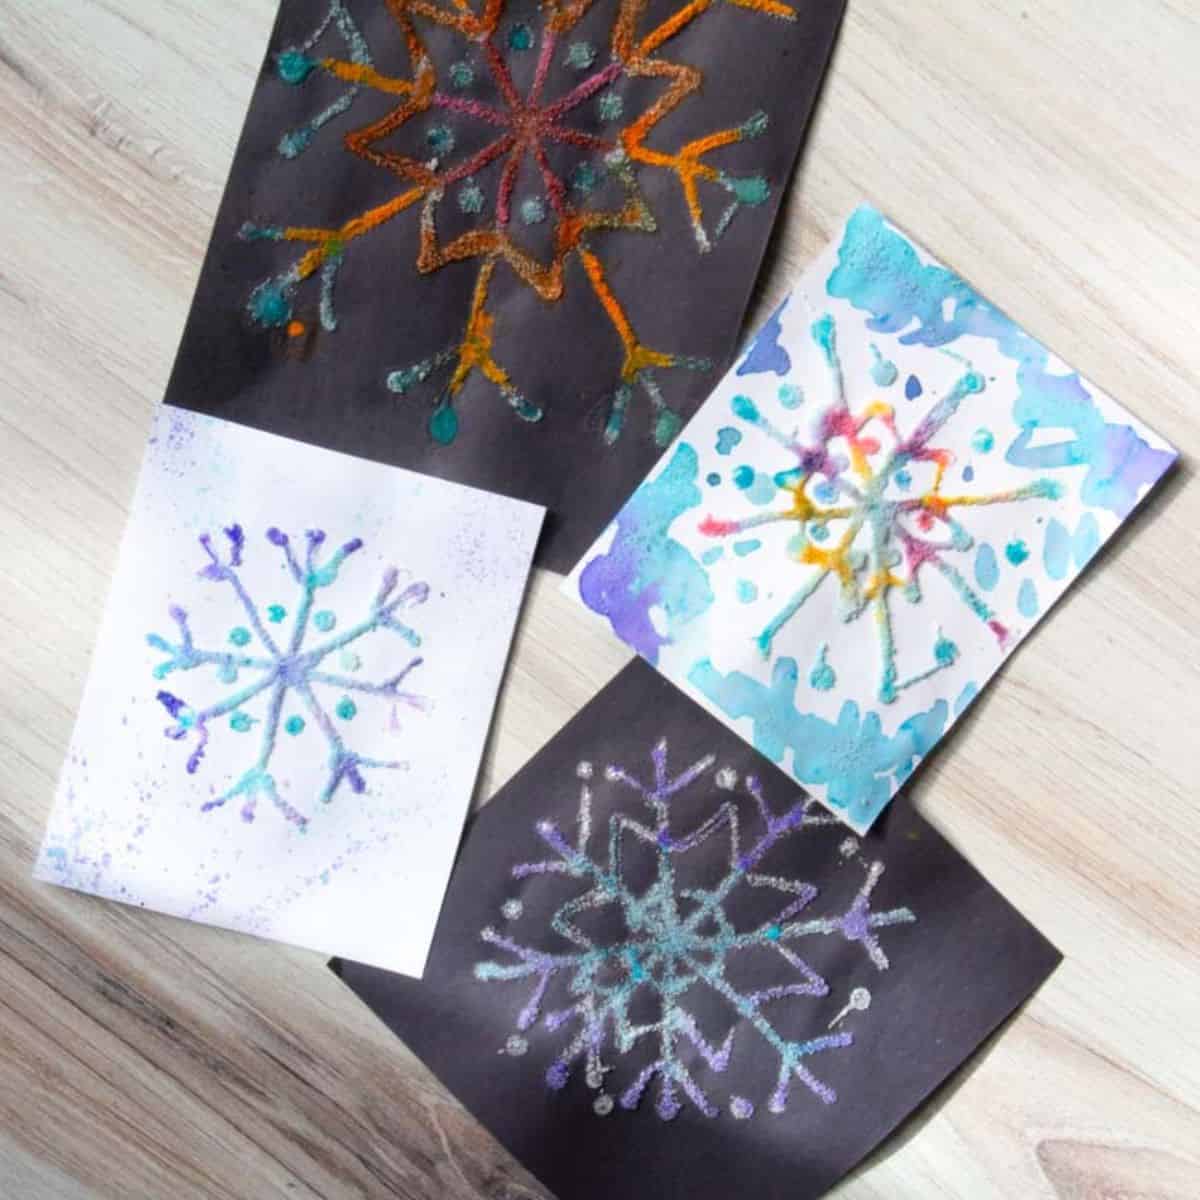
Process Art Idea We Love
Supplies You’ll Need
Disclosure: This post may contain affiliate links when clicked, we may earn a small commission at no additional cost to you. Read our full privacy policy.
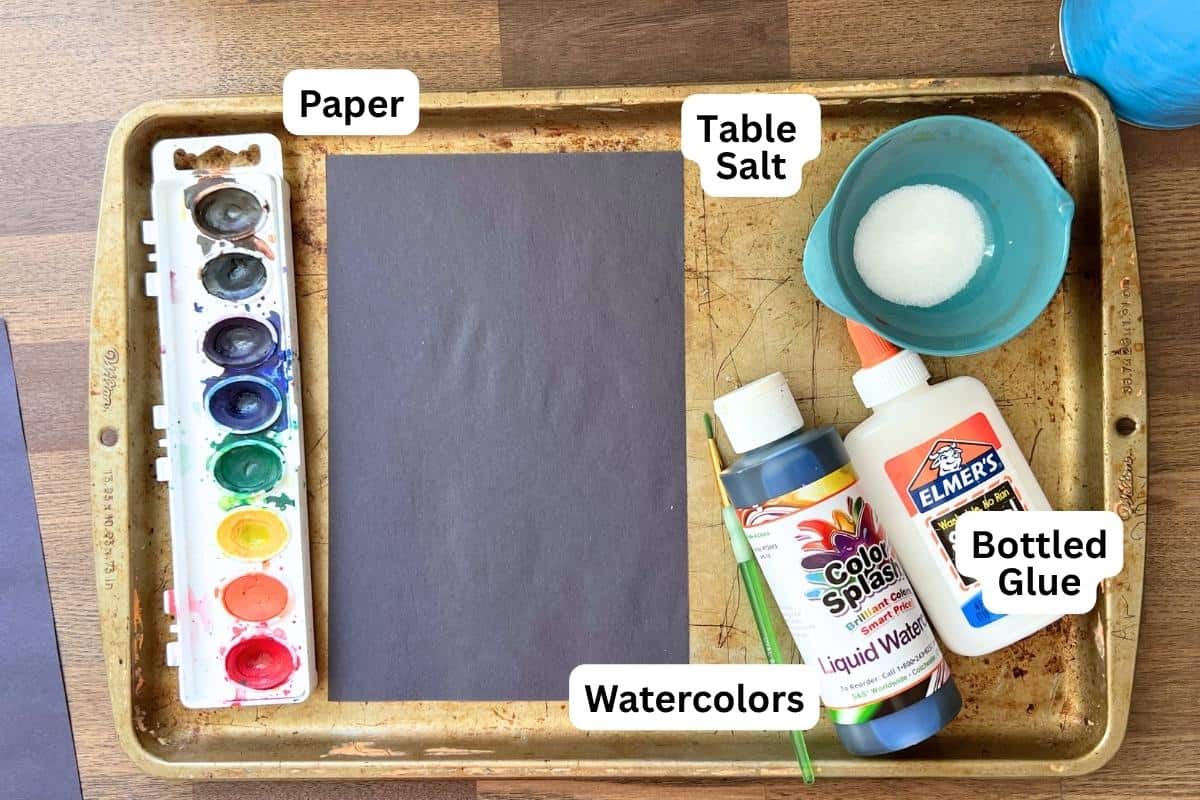
Substitution & Notes
- *Liquid watercolor gives you the most vibrant colors. But you can also use food coloring or a regular watercolor paint palette with a small brush.
- I think this glue is better to use than washable school glue.
RELATED READING: Check out these raised abstract salt paintings for a non-seasonal kid art idea!
How To Make A Snowflake Salt Painting
BEFORE YOU BEGIN – You may want to practice drawing easy snowflake designs before drawing in glue.
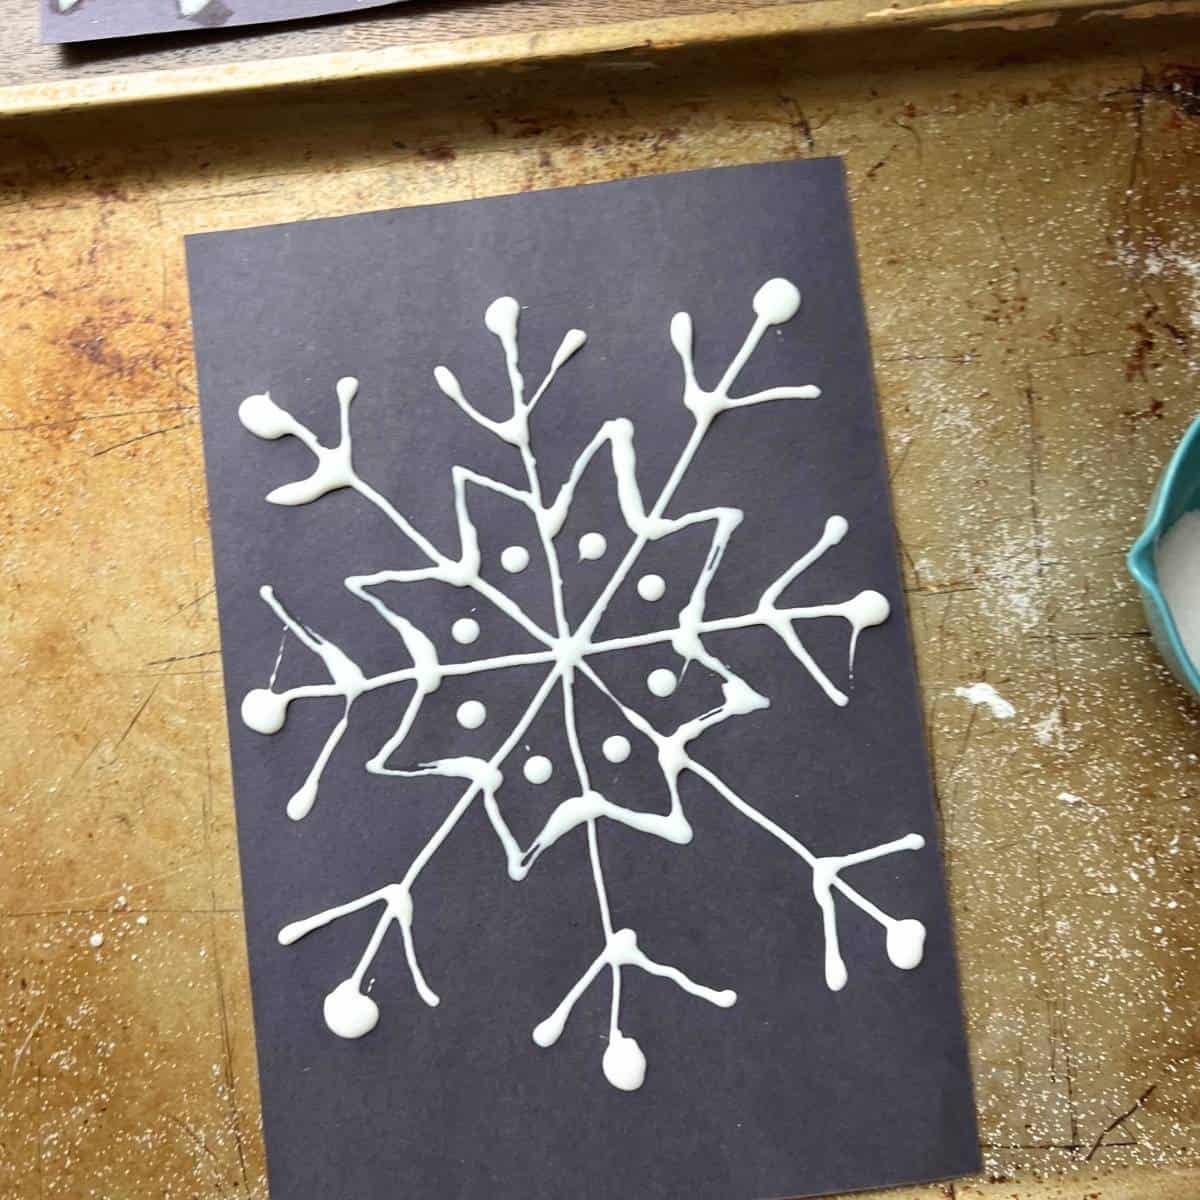
Step 1: Draw With Glue
Draw a simple snowflake with glue. Simple lines and shapes will work best.
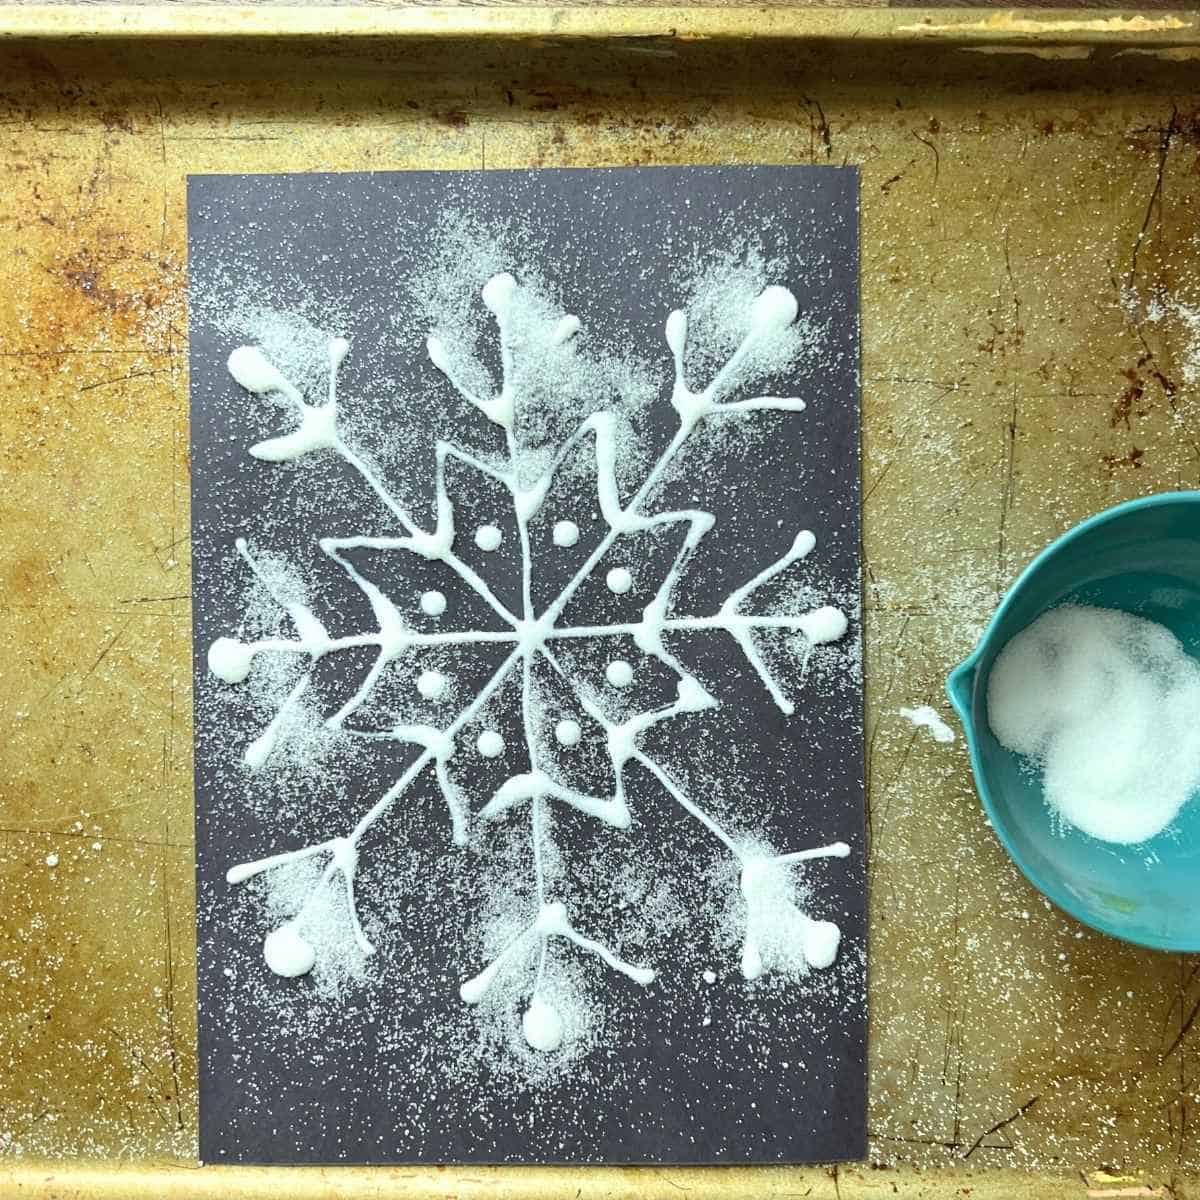
Step 2: Add Salt
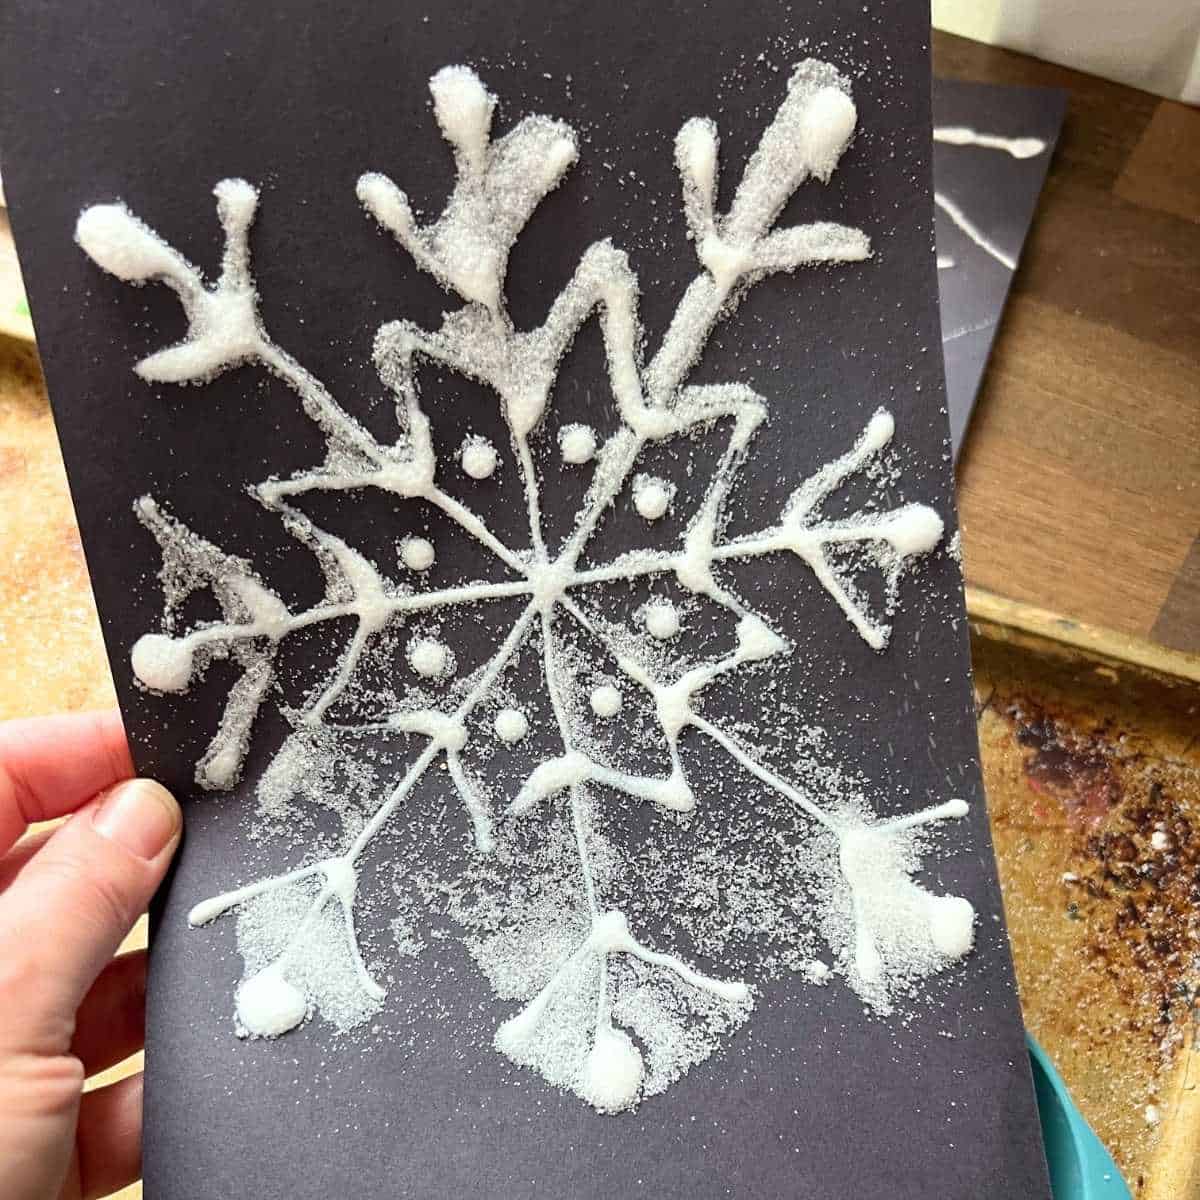
Work on an old cookie tray and sprinkle salt on all the glue lines.
Step 3: Shake Salt Around
Carefully move salt around to make sure glue lines are completely covered.
Step 4: Add Color
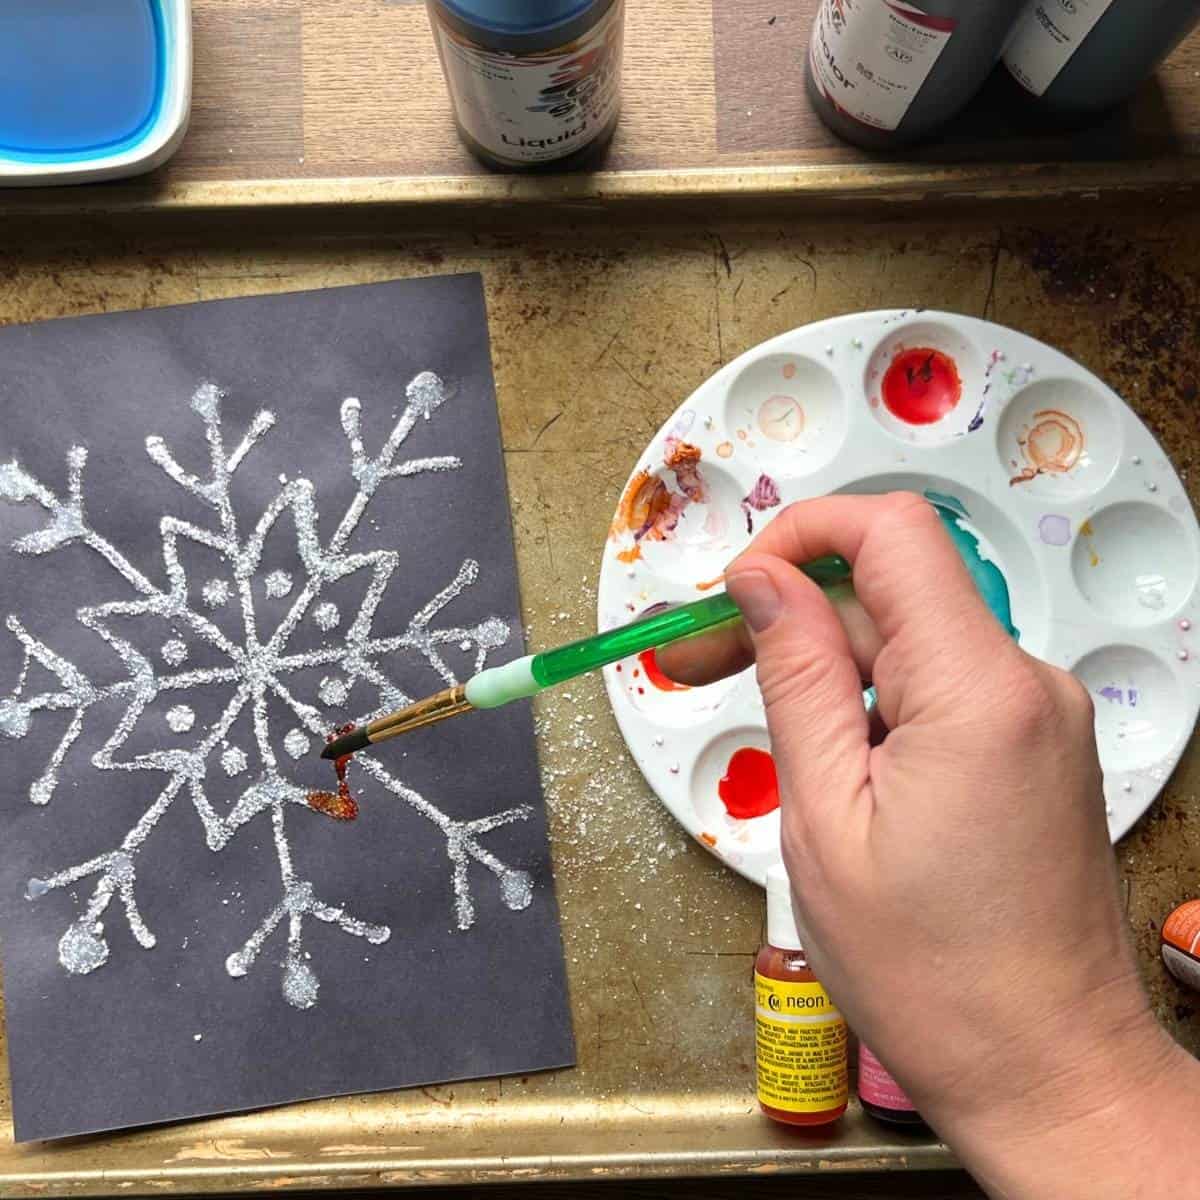
Lightly dip a small brush in paint and touch the salt glue lines. Watch the colors expand into the design.
Step 5: Repeat
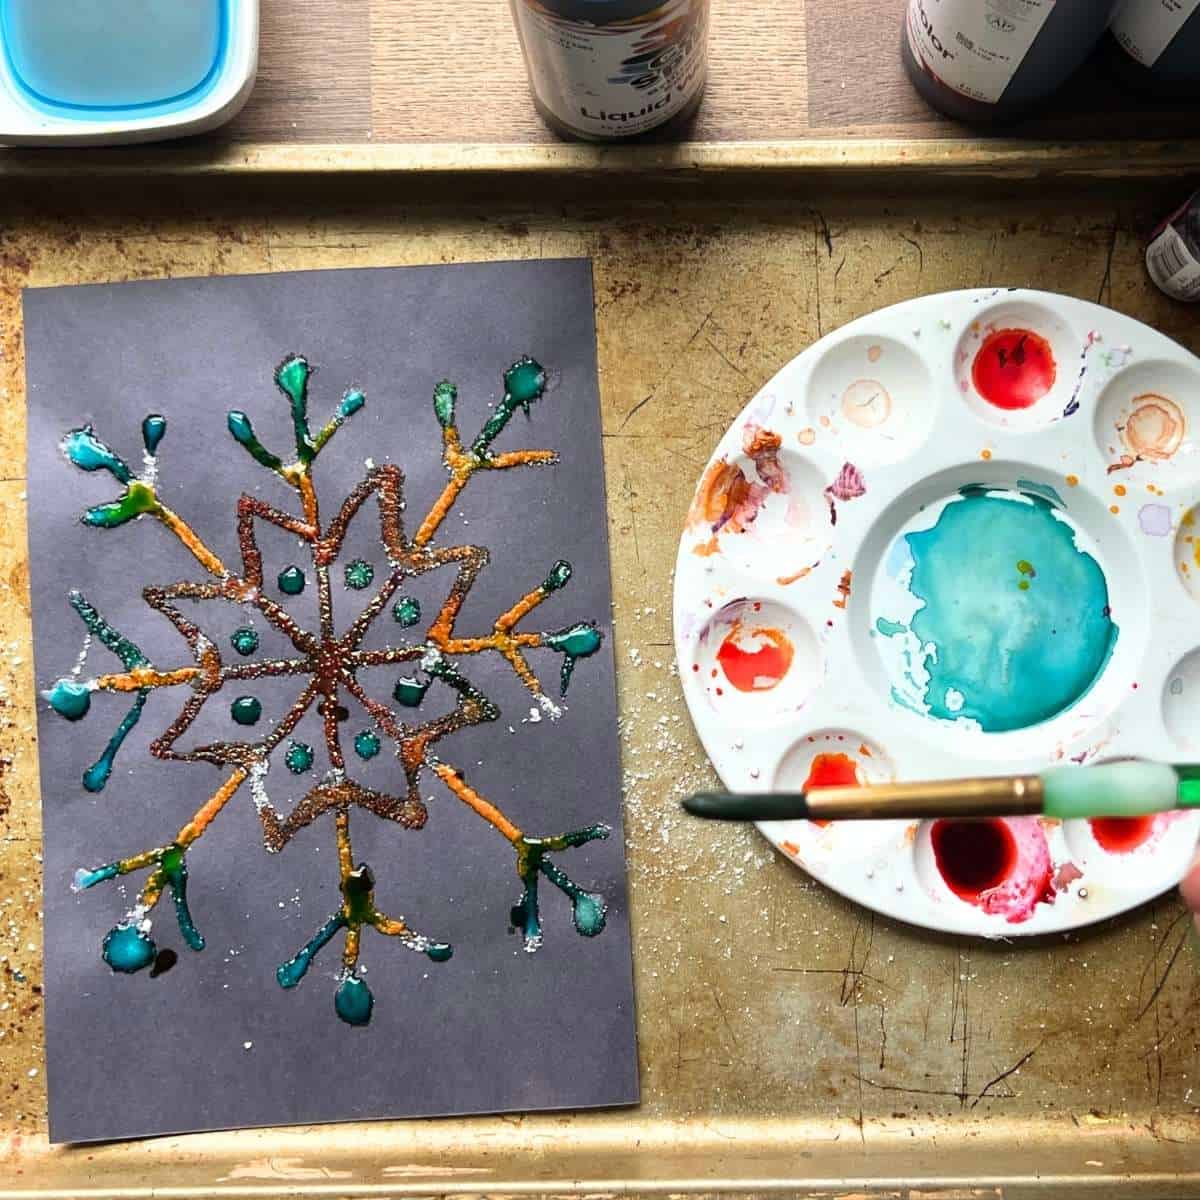
Add paint or food coloring to all lines until you are happy with your snowflake salt painting and let it dry.
Tips
- We experimented with making these on black paper. Use the sturdiest construction paper for the best results.
- You can paint while the glue and salt are still wet, but be careful.
- For little ones, letting the glue and salt dry first might make it easier.
- Instead of a small brush, you can use a small amount of paint in a pipette and carefully drop it on the lines.
- Avoid using too much glue, as it will get sticky and take forever to dry.
- Don’t use too much water on the salt or rub the lines too hard.
Follow us on Pinterest, YouTube & Facebook for more free art and craft ideas!
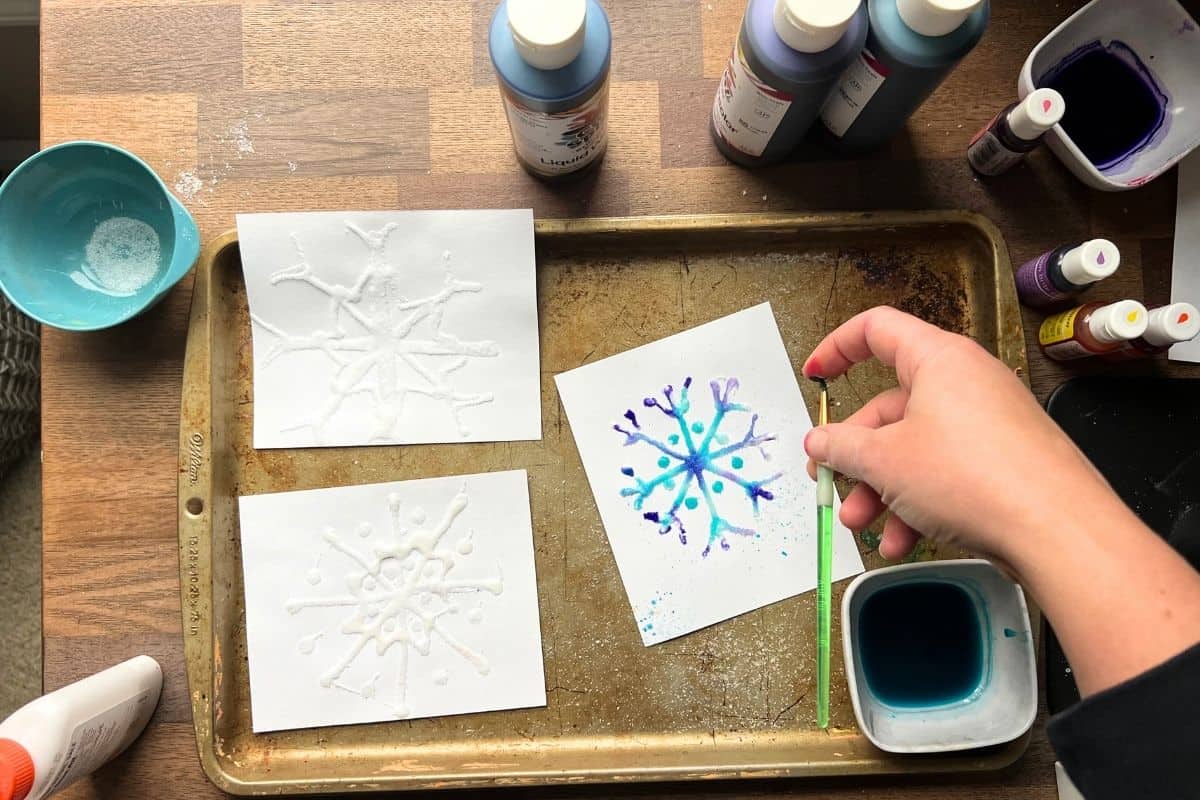
We also did a few snowflake designs on white paper, with added watercolor splatter and background painting.
More Winter Arts and Crafts
Winter is the perfect time to be creative! The whole family can be inspired with the beauty of nature.


Salt painting is one of the classic preschool and beyond process art ideas that kids should try at least once! These salt snowflake paintings are a Winter art idea that your little artists will ask to repeat over and over.
How To Make A Snowflake Salt Painting
Equipment
- Tray or old cookie sheet
- Small paintbrush or pipette
Supplies
- Bottled glue
- Table salt
- Tagboard thick paper or black construction paper
- Watercolor paint liquid watercolor or food coloring
Instructions
- BEFORE YOU BEGIN: You may want to practice drawing a few simple snowflake designs before drawing directly with glue. Simple lines and shapes work best for this project.
- DRAW WITH GLUE: Draw a simple snowflake directly on the paper with bottled glue. Avoid using too much glue because thick lines will take longer to dry.
- ADD SALT: Place the paper on a tray or old cookie sheet and generously sprinkle table salt over all of the glue lines.
- COVER THE GLUE: Carefully move the salt around the paper until all of the glue lines are completely covered. Shake off the excess salt onto the tray.
- ADD COLOR: Lightly dip a small brush in watercolor paint and gently touch it to the raised salt lines. Watch as the color spreads through the salt. You can also carefully add liquid watercolor with a pipette.
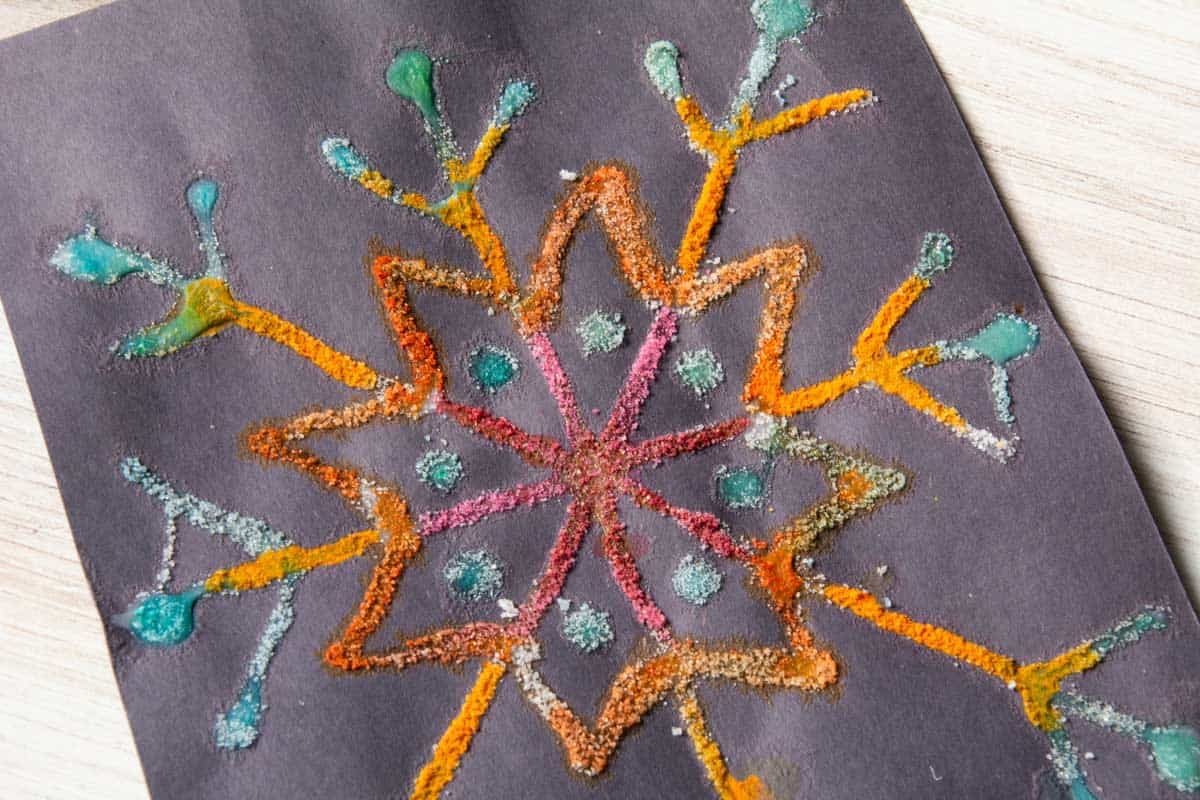
- FINISH THE PAINTING: Continue adding colors until you are happy with your snowflake design. Let the salt painting dry completely before moving or displaying it.
Notes
- Liquid watercolor will give you the most vibrant colors, but food coloring or a regular watercolor palette will also work.
- You can paint the salt while the glue is still wet, but be careful not to disturb the lines.
- For younger children, let the glue and salt dry before adding watercolor.
- Avoid adding too much water or rubbing the salt lines with the paintbrush.
- Use sturdy construction paper if you want to create your snowflake on black paper.
- Try adding watercolor splatters or background painting when working on white paper.