How To Make Cinnamon Salt Dough Christmas Ornaments With Kids

Learn how to make these festive ornaments in minutes with our easy tutorial. Festive smelling for adults and easy enough for kids. The whole family will love our easy cinnamon salt dough recipe, which you can bake or let dry for a no-bake option!

Why You Will Love This Christmas Craft
Creating homemade Christmas cards, dyed salt dough ornaments, and creative holiday art projects is something my family looks forward to every year. These cinnamon salt dough ornaments are so easy to make that we always make a few to add to the tree.
Supplies you’ll need
Disclosure: This post may contain affiliate links when clicked, we may earn a small commission at no additional cost to you. Read our full privacy policy.
Notes About Supplies
- COOKIE CUTTERS – Buy a variety pack of holiday cookie cutters to create fun shapes.
- STAMPS – We love using these plastic stamps for names, dates, and other messages.
- CLEAR COAT – You can add a transparent layer, such as Sparkle Mod Podge, Krylon Clear Coat or acrylic craft paint, for extra details.
ART TEACHER (& MOM) TIP: I recommend not painting the back of the ornament so the cinnamon smell doesn’t get masked entirely.
How To Make Cinnamon Salt Dough Ornaments
BEFORE YOU BEGIN – Preheat your oven to 250 degrees F and line a baking sheet with parchment paper. This recipe will make about 10-15 small cinnamon ornaments, depending on the size of your cookie cutters.

Step 1: Combine Dry Ingredients
Add salt, flour and cinnamon to a large bowl. You can use a stand mixer or mix by head.

Step 2: Add Water & Knead
Carefully mix a 1/2 cup of warm water with the salt, flour, and cinnamon. Knead until you can make a ball of dough.

Step 3: Roll Dough
Roll dough to about 1/4″ thick.

Step 4: Cut Shapes
Use cookie cutters to cut shapes. Don’t forget to poke a hole at the top or the ornament.

Step 5: Add Extra Details
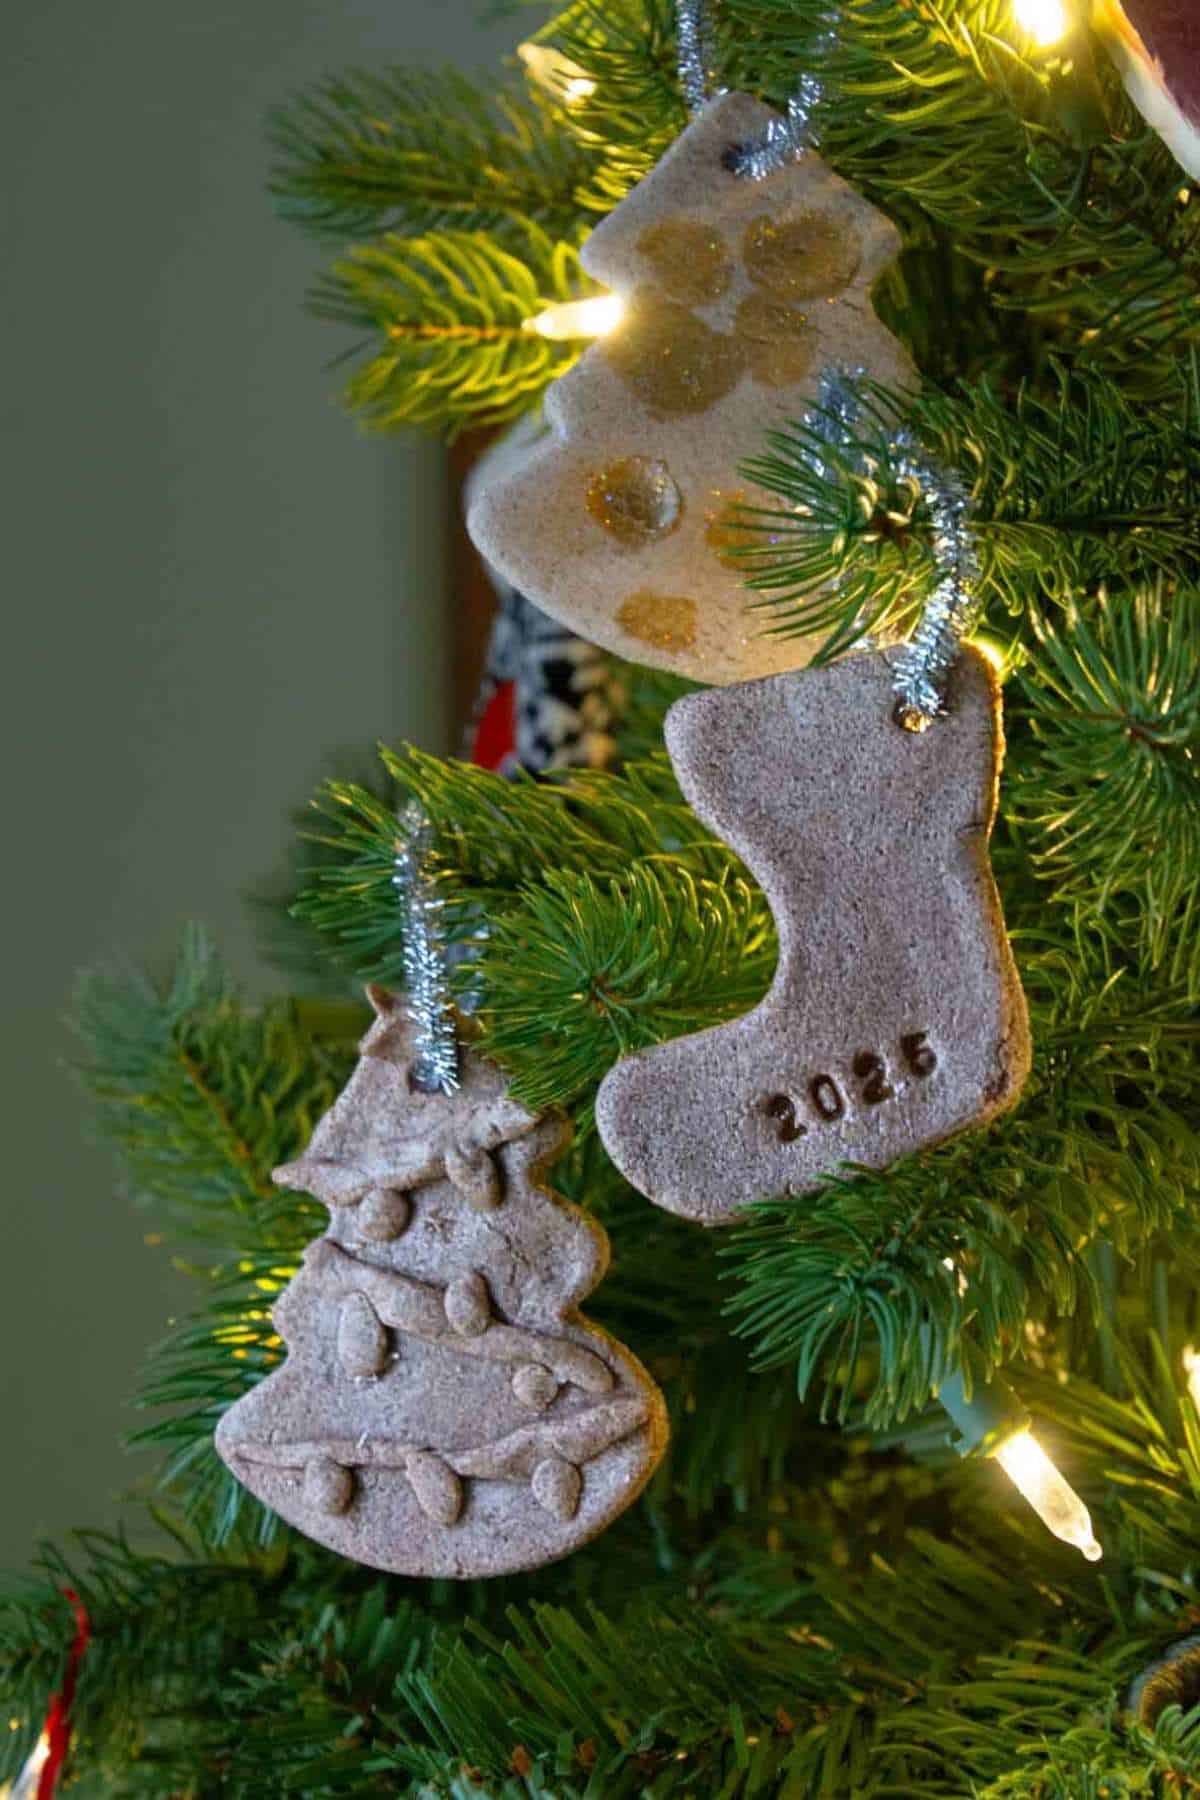
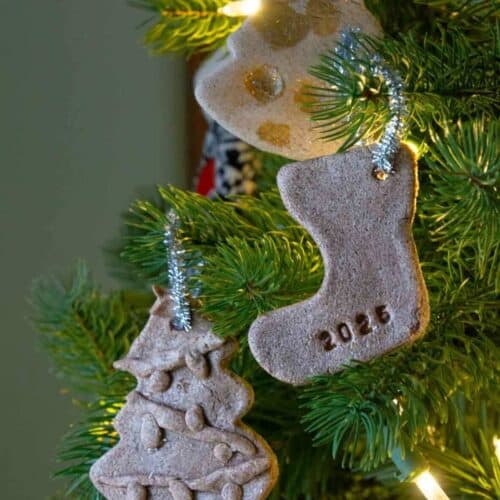
Use stamps, extra dough or wooden skewer to draw extra details on your ornament. These specific ornaments were air dried, and the fingerprints were added with gold paint and then left to dry.

Step 6: Bake or Let Air Dry
Place your ornaments upside down on the baking sheet lined with parchment paper. Bake at 200 degrees F for 1 1/2 hours to 2 hours. Baking time may vary, so check periodically.
If letting air dry, it may take up to a week for all the moisture to dissappear.

Step 7: Let Cool and Decorate
Add craft paint, finger prints or clear coats for finishing touches. Once they are completely dry, add ribbon or twine for hanging. The above tree is one that air dried, once the clear coat was painted it darken a little.
Tips
- SHAPES – Using cookie cutters is the easiest way to get fun shapes. We also like to add extra details and stamp letters or dates on our salt dough ornaments.
- BAKE UPSIDE DOWN – This will keep the front of your ornament a darker color.
- USE FRESH CINNAMON – For the most fragrant smell, use fresh ground cinnamon. The scent will fade over time.
- HANGING – Don’t forget to poke a hole for ribbon or twine to hang. Use a straw or wooden skewer and make the hole a little larger than you would like, as it will shrink once it is baked.
Follow us on Pinterest, YouTube & Facebook for more free art and craft ideas!
Ornament FAQs
The salt in the dough rose to the surface during baking. We have found that rubbing a small amount of vegetable or olive oil can bring back the color. Other craft clear coats will also help create a darker appearance.
Your salt dough ornaments were heated too quickly. Cooking on low heat for longer will help prevent that.
Salt dough ornaments will last for a very long time if stored in a dry, air-tight container.
Yes, you do not have to bake these ornaments. You can let them dry for about a week. We noticed that the ones we let air-dry are whiter than the ones we baked at a low temperature.
Our Favorite
Related Christmas Ideas
Not only are cinnamon salt dough ornaments fun to make, but they are also a budget-friendly Christmas craft idea your kids will love making. We can’t wait to add our new handmade ornaments to our tree this year.
Do you like this art project? Please give us a 5-STAR review below ⭐️⭐️⭐️⭐️⭐️ and have fun being creative with your family.
How To Make Cinnamon Salt Dough Christmas Ornaments
Equipment
- Rolling Pin or Bottle
- Parchment Paper
- Bowl
- Spoon
- Christmas Cookie Cutters
Supplies
- 2 Cups All-Purpose Flour
- 1/2 Cup Table Salt
- 2-3 Tablespoons Cinnamon
- 1/2 Cup Warm Water
- Ribbon or Twine
- Paint
- Clear Coat of your choice
Instructions
- Preheat your oven to 200 ℉
- Mix dry ingredients into a large bowl.
- Carefully pour in 1/2 cup of warm water
- Mix and knead together.
- Sandwich your dough between two pieces of parchment paper, then roll out the salt dough with a rolling pin. Your dough should be about 1/4" thick.
- Use a cookie cutter to gently press into the dough. Remove the excess around the cut-out shape.
- Make a hole in the top of your ornament by using a straw or wooden skewer.
- Place ornaments flipped over on your cookie sheet. Bake for 1 and 1/2 hours to 2 hours.
- Optional: Paint extra designs, add a clear coat and ribbon or twine for hanging.
Notes
- If you don’t want to bake yours, you can let them dry for 3-7 days before painting.
- If your cinnamon salt dough ornaments appear whiter than you would like, add a clear coat or rub a small amount of vegetable oil on the surface.
- To ensure your ornaments last, you can also reduce the oven temperature and increase the baking time. Either way, don’t paint or seal until you are 100% sure all the moisture is removed.