Self-Portrait Pop Art Project For Kids
We love a good self-portrait art project and this Pop Art lesson for kids is a classic that families will cherish for years to come.

We know that drawing people can be hard, especially if you are a middle school artist. This art lesson uses a quick drawing technique to help kids draw people while having fun with color.
This lesson is perfect for 5th grade and above. You can modify this drawing in many ways to fit your needs. If you want a different portrait project, check out this cool Picasso-inspired art lesson.
Why You Will Love This Art Idea
Supplies You’ll Need
Disclosure: This post may contain affiliate links when clicked, we may earn a small commission at no additional cost to you. Read our full privacy policy.
*For best results, we love using these Scholar-grade colored pencils with a blending pencil.
Related Drawing Project: Colorful Graffiti Name Designs Kids Love
Pop Art Self-Portrait Tutorial
Step 1: Draw Three Equal Rectangles
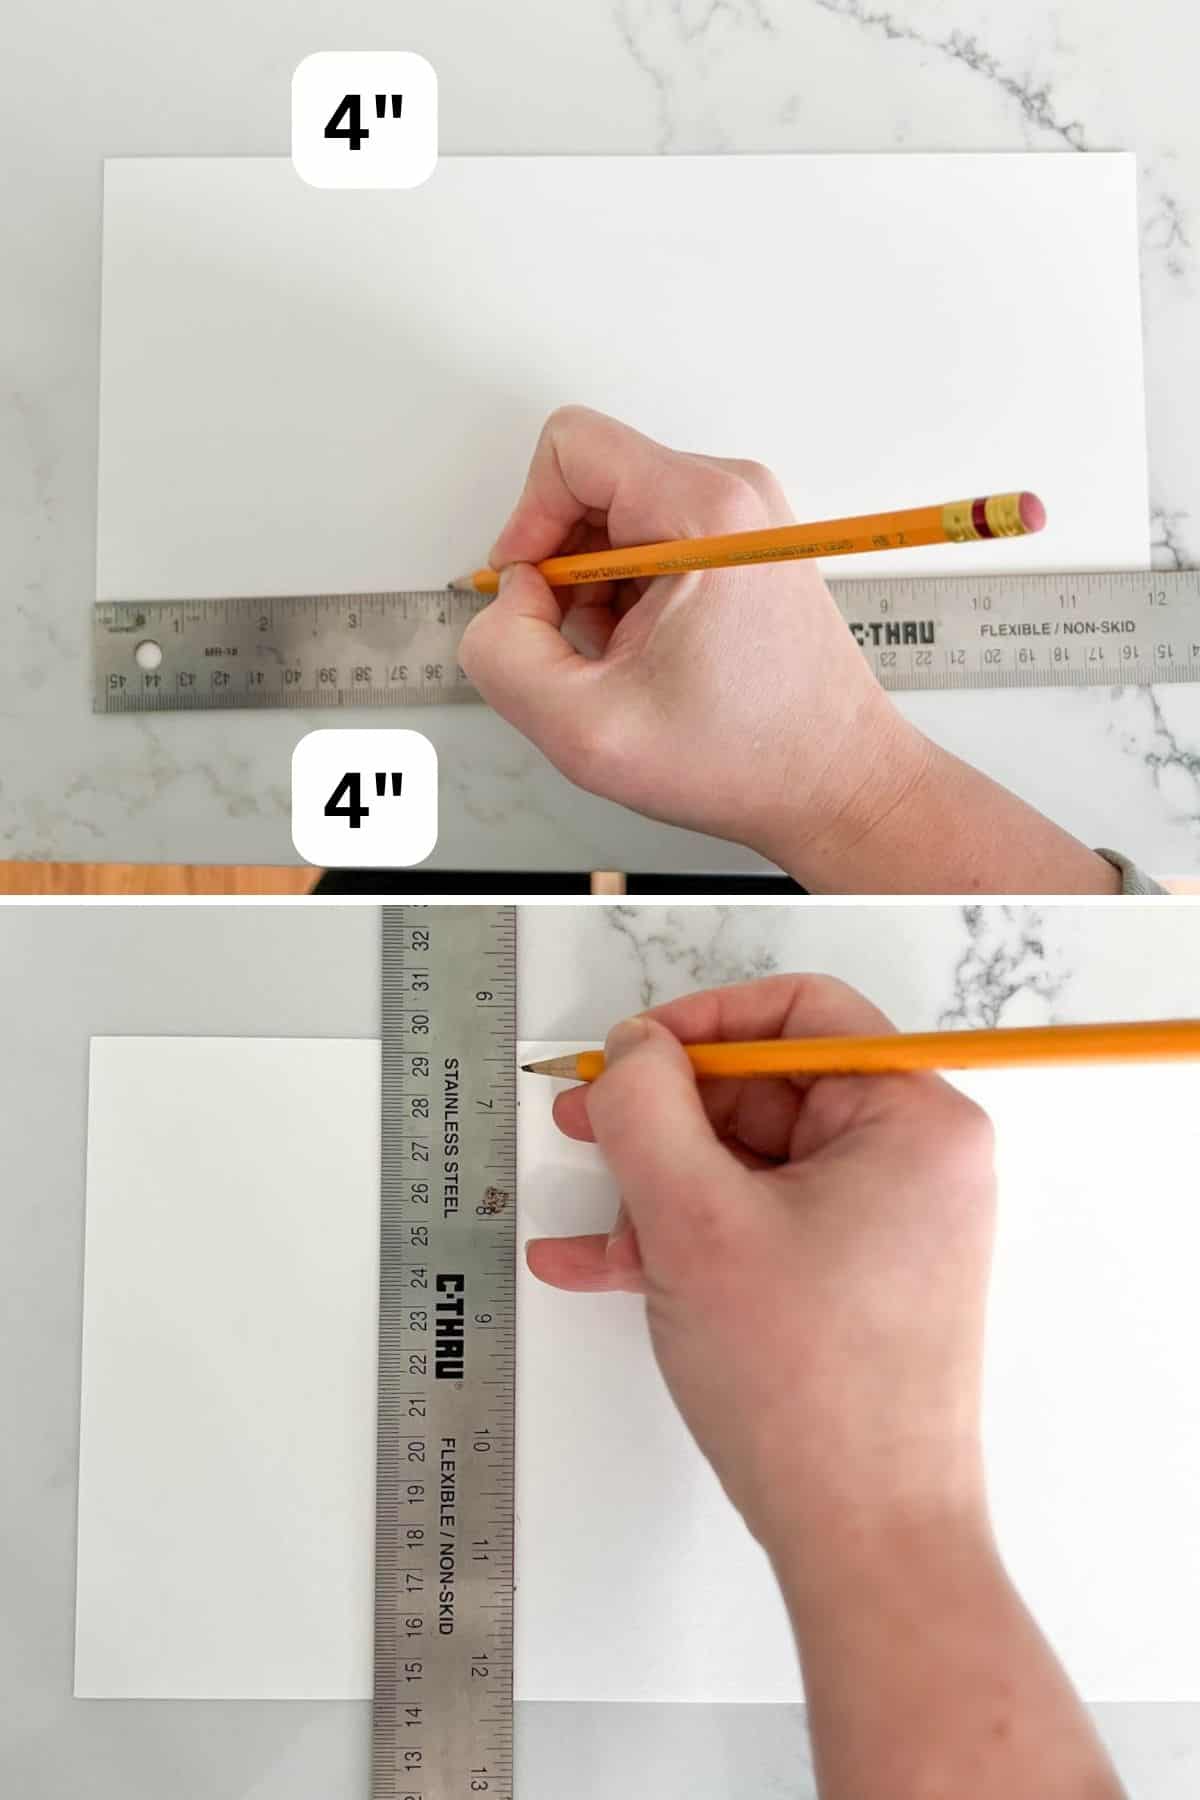
Divide your paper into 3 equal sections. If using a 4 x 6″ picture, measure 4″ over on the top and bottom of the page and then draw a straight line. Repeat from the other side.

Step 2: Draw 3 Self-Portraits
You can choose to use our simple portrait drawing idea, or you can freehand them yourself. Here are the basic steps to get an easy line drawing from a picture.

- Scribble graphite onto the back of the printed picture.
- Tape your image on your first rectangle.
- Use a sharp pencil to trace all important details.
- Lift the paper to see your drawing.

Step 3: Trace The Drawing With A Permanent Pen
Use a permanent marker to trace details. Erase extra pencil lines if needed.

Step 4: Begin To Use Colored Pencils
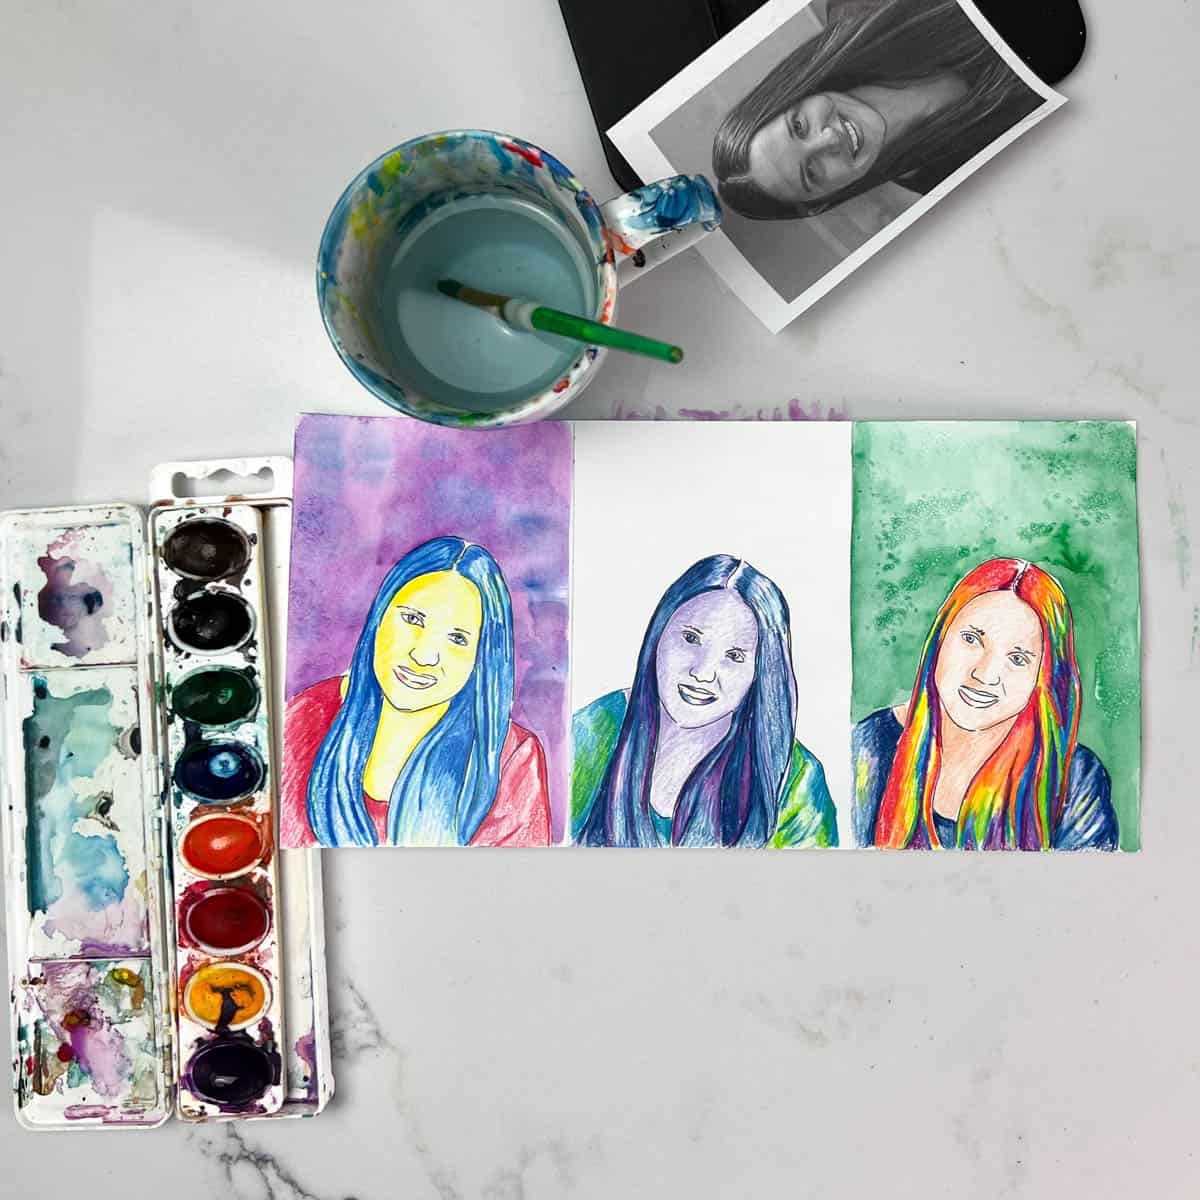
You can add any color theory or ideas to this project. Sometimes, we will have students pick primary or secondary for the first rectangle, cool or warm for the second, and the third rectangle to be their choice.

When giving guidelines for the Pop Art self-portrait, I don’t include the background in the color requirements.

FOR BEST RESULTS: After doing this project for years, we have found students have the most success when they color their portraits in this order: clothing, hair and then skin.
Step 5: Use Contrasting Colors For The Backgrounds
We encourage 5th-grade and middle school students to pick the medium they want to use for the backgrounds. Normally they can continue to use colored pencils or watercolor paint in a contrasting color and/or design.

Tips
- Even though you are tempted to lift the paper, don’t until you are completely done.
- You can make the coloring as advanced or simple as possible.
- Keep the eyes balls (not the iris or pupil) and teeth white if they are showing in the project.
- Encourage kids to design their clothes or change anything in their drawings to add a unique touch to their art.

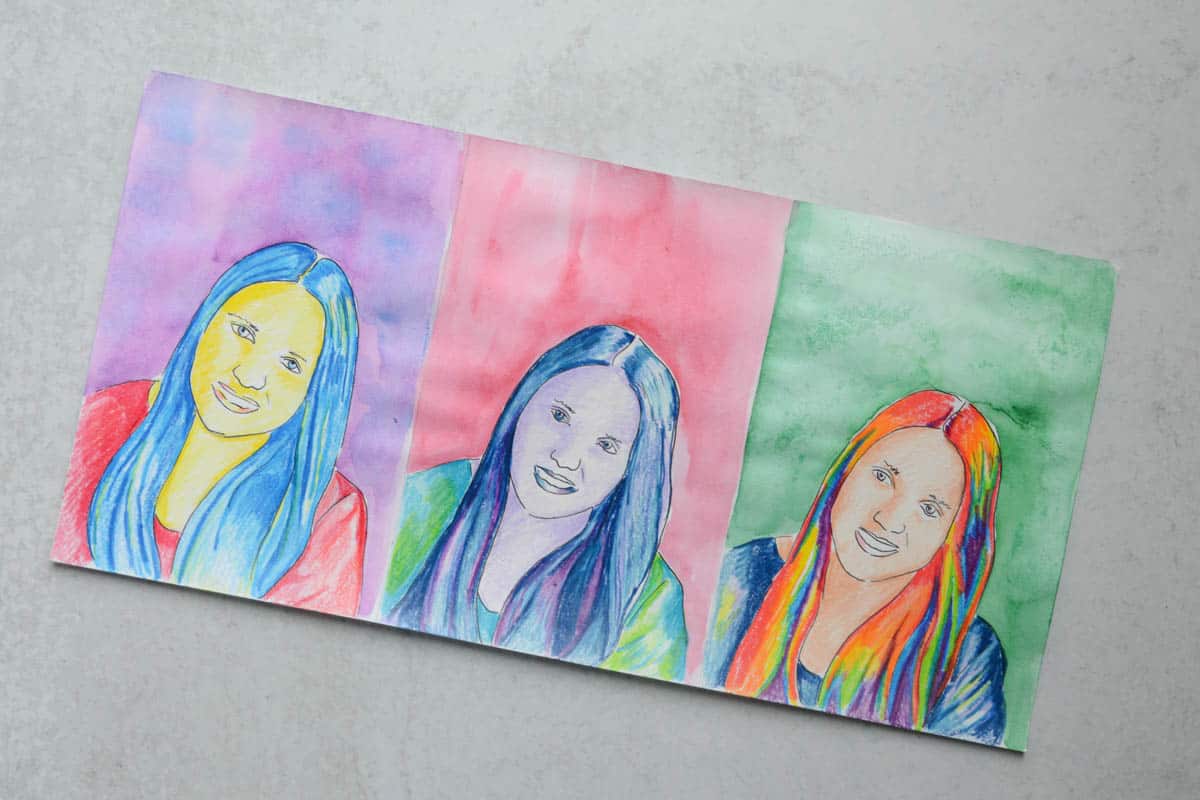
The drawing on our middle one was a little skewed, but that can happen! So don’t get discouraged! We may cut these to have smaller self-portraits instead of a triptych.
Follow us on Pinterest, YouTube, Facebook & Flipboard for more free art and craft ideas!
More Fun Art Projects For Kids
We have several art projects for kids based on famous artists. Add your own twist and ideas inspired by some of the great. Here are a few of our favorites for upper elementary and middle school art.
- Wiggly Op Art Line Drawings
- Fun Glow-In-The-Dark Folk Art Landscapes
- Keith Haring Inspired Art Lesson

This pop art project is a classic that can be added to any art curriculum. Have fun seeing what your young artists can create.

