Cool Picasso Inspired Portrait Art Project For Kids

Pablo Picasso is the perfect artist to use as inspiration for this fun Cubism-inspired art project idea! Create incredible abstract portraits using inexpensive materials! Your students will love how different each project will turn out!

We have created several different tin foil art projects with kids. You can check out our faux stained glass Christmas art, holiday tin foil art, and Romero Britto foil art project idea here.
Why You Will Love This Art Project
Supplies You’ll Need
Disclosure: We only recommend products we would use ourselves and all opinions expressed are our own. This post may contain affiliate links when clicked, we may earn a small commission at no additional cost to you. Read our full privacy policy.

Notes About Art Materials*
- You can use bottled glue or hot glue. If using bottle glue, we recommend using Glue-All as it holds its form more than regular school glue.
- For large groups, we skip the hot glue and use bottled glue. The results still work well.
- If using a hot glue gun, monitor children and help them complete this step.
- The project examples you see are on cardboard cut to be 5″ x 6″.
- If you do not like the texture of the cardboard, find a smoother board to work on.
How To Make Tin Foil Picasso Portraits
Before You Begin
- We recommend having students practice drawing different abstract portraits. Below is a step-by-step idea for one way to complete a cubist portrait. There are many other ways, and you should encourage students to add details and shapes (but not too many).
- It would be best to look at Pablo Picasso’s paintings beforehand with students. Have them notice the shapes and other angles that each artwork shows.
- We will read this book to 3rd-grade students and above to understand his life and different art periods.

Get our complete tips for drawing a Picasso portrait here.
Step 1: Create A Design In Glue
Use a glue bottle to outline the drawing once the portrait is drawn in pencil on cardboard.

Step 2: Let The Glue Dry
If you are using hot glue, you can move on to the next steps quickly. If you do this with regular glue, you may need to wait overnight for the glue lines to dry completely.
Step 3: Cover The Cardboard With Aluminum Foil
- Cover the side with the raised glue first.
- Rub the designs carefully.
- Wrap the edges around the cardboard once all the relief desings are shown.
Step 4: Use Permanent Markers To Color Your Foil Christmas Tree
Use your creativity to add colors in fun ways to your Picasso tin foil art. We also chose a chisel tip black marker to add various lines to the portrait, just like the lines that Picasso may have used in his cubism portraits.

Tips
- Practice drawing Picasso faces before beginning to draw with glue.
- Be careful not to push too hard with the markers or your fingers. You do not want the tin foil to rip.
- You can experiment with rubbing alcohol on your permanent markers for an excellent blending effect.
- Lift your hand while coloring so you do not smear the marker while working.

Follow us on Pinterest, YouTube & Facebook for more free art and craft ideas!

More Famous Artist Inspired Ideas
Check out our whole list of famous artist projects for kids here.
- SIMPLE DRAWING: Easy Op Art Drawing For Kids
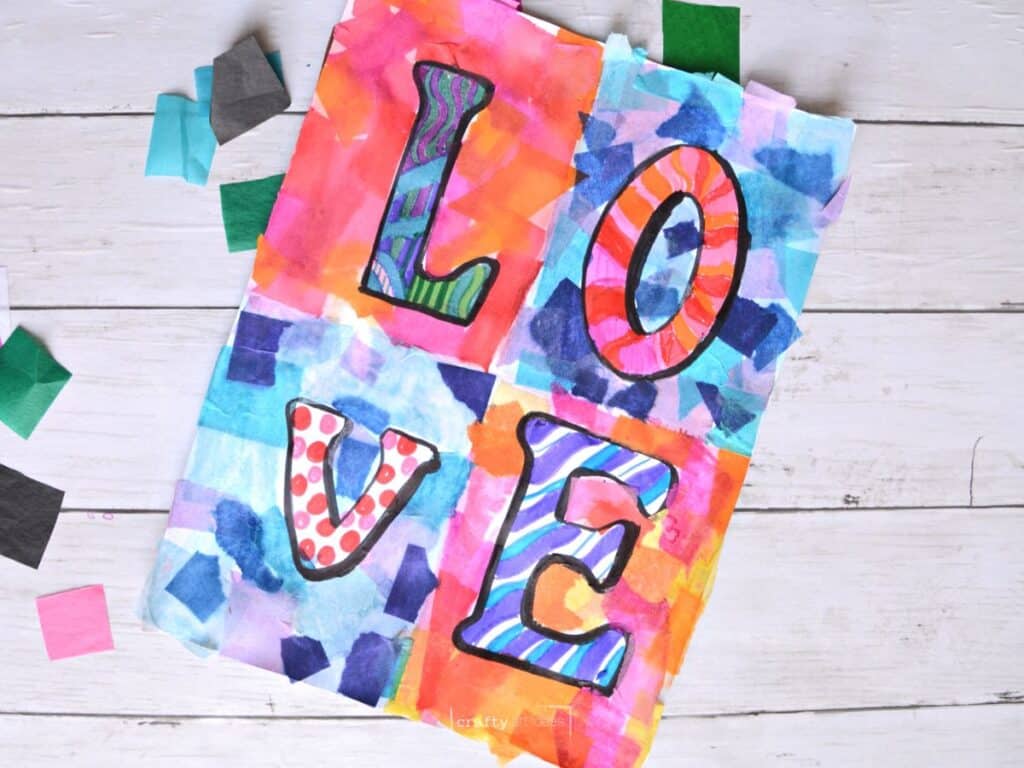
- FUN COLLAGE PROJECT: Word Art Activity Inspired By Jasper Johns and Robert Indiana
- FUN PAINTING: Tree of Life Elementary Art Lesson
By using Pablo Picasso as inspiration for this fun project, kids will love getting to be a little silly to create colorful, abstract portraits and designs.
Do you like this art project? Please give us a 5-STAR review below ⭐️⭐️⭐️⭐️⭐️ and have fun being creative with your family.
Pablo Picasso Inspired Art Project For Kids

Equipment
- 1 Pair Of Scissors
Supplies
- 1 piece of Cardboard ours are 5" x 6"
- Heavy Duty Aluminum Foil
- Permanent Markers
- Hot Glue and Glue Gun
- Elmer's Glue All
- Rubbing Alcohol optional
- Gold Paint Marker optional
Instructions
- Draw your Picasso face on a piece of cardboard with glue.
- Let the glue fully dry.
- Cover the dried glue drawing with tin foil.
- Press the raised design carefully.
- Fold the edges of the tin foil around the back.
- Use colored permanent markers to design your tin foil art.
Notes
-
- Be careful not to push too hard with the markers or your fingers. You do not want the tin foil to rip.
- You can experiment with rubbing alcohol on your permanent markers for an excellent blending effect.
- Be careful not to smudge the wet marker while you are coloring.
- Use a chisel tip black marker after adding adding to add variety of lines to the final project.