
Easy Pressed Flower Clay Ornaments You Can Make At Home

Are you looking for an easy clay project that you can do at home? These pressed flower clay ornaments are an easy and beautiful project the whole family will love making together.
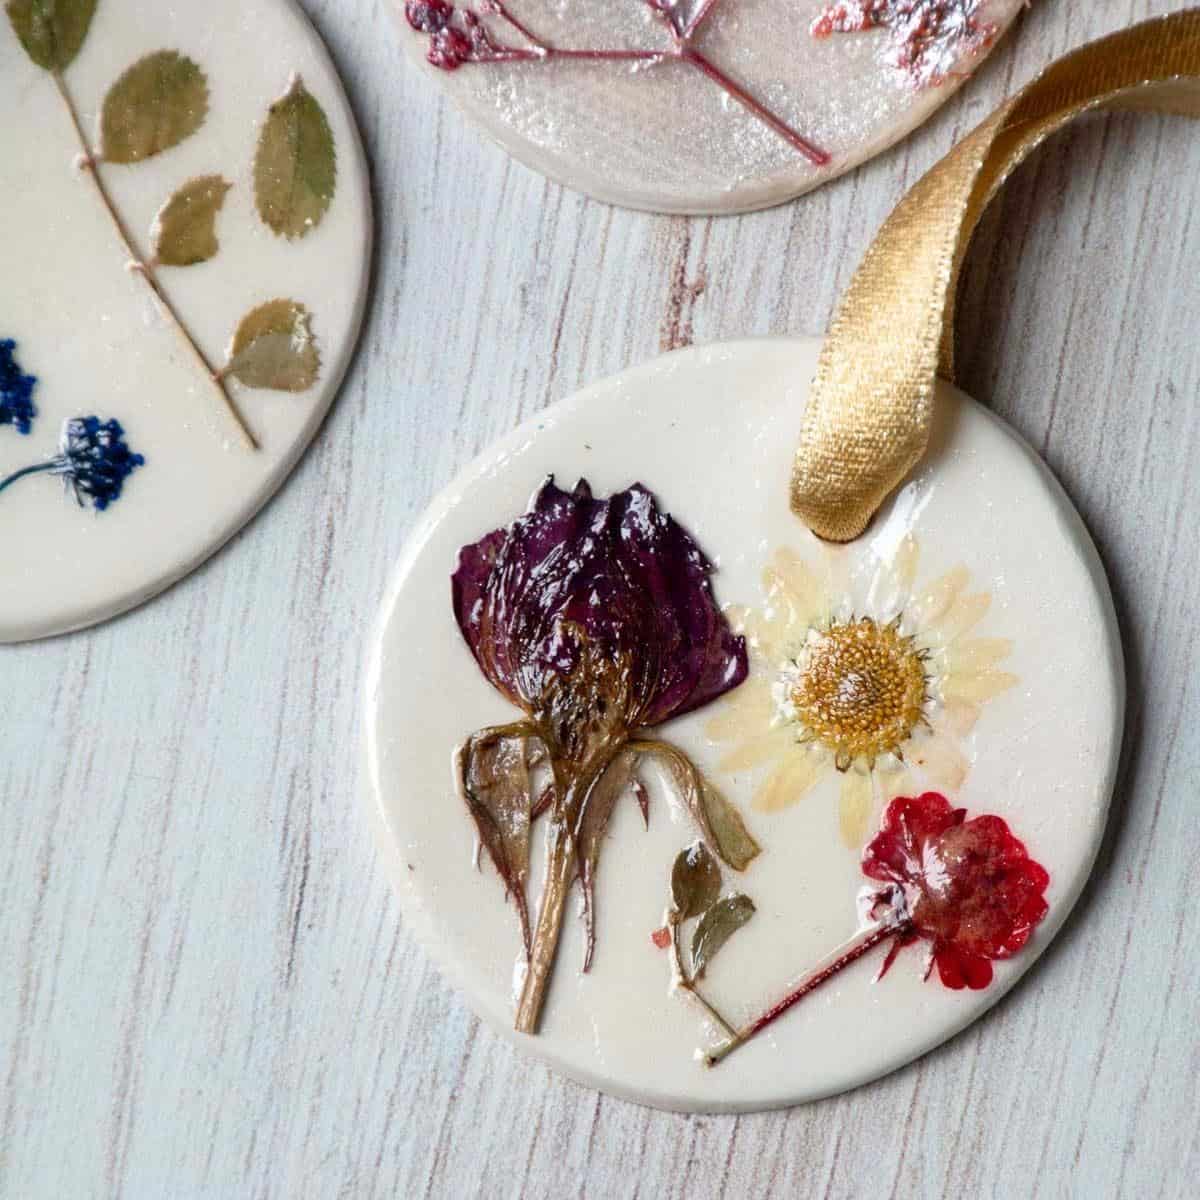
I have found a new love for air-dry clay projects! Not all kids, teachers and families have access to a kiln, so I have been working on growing my list of air-dry clay art project ideas. Our clay pressed flower bowls were such a hit, that I knew I needed to create a few other simple clay projects you can make using the same materials!
Why You Will Love This Clay Idea
Supplies you’ll need
Disclosure: This post may contain affiliate links when clicked, we may earn a small commission at no additional cost to you. Read our full privacy policy.
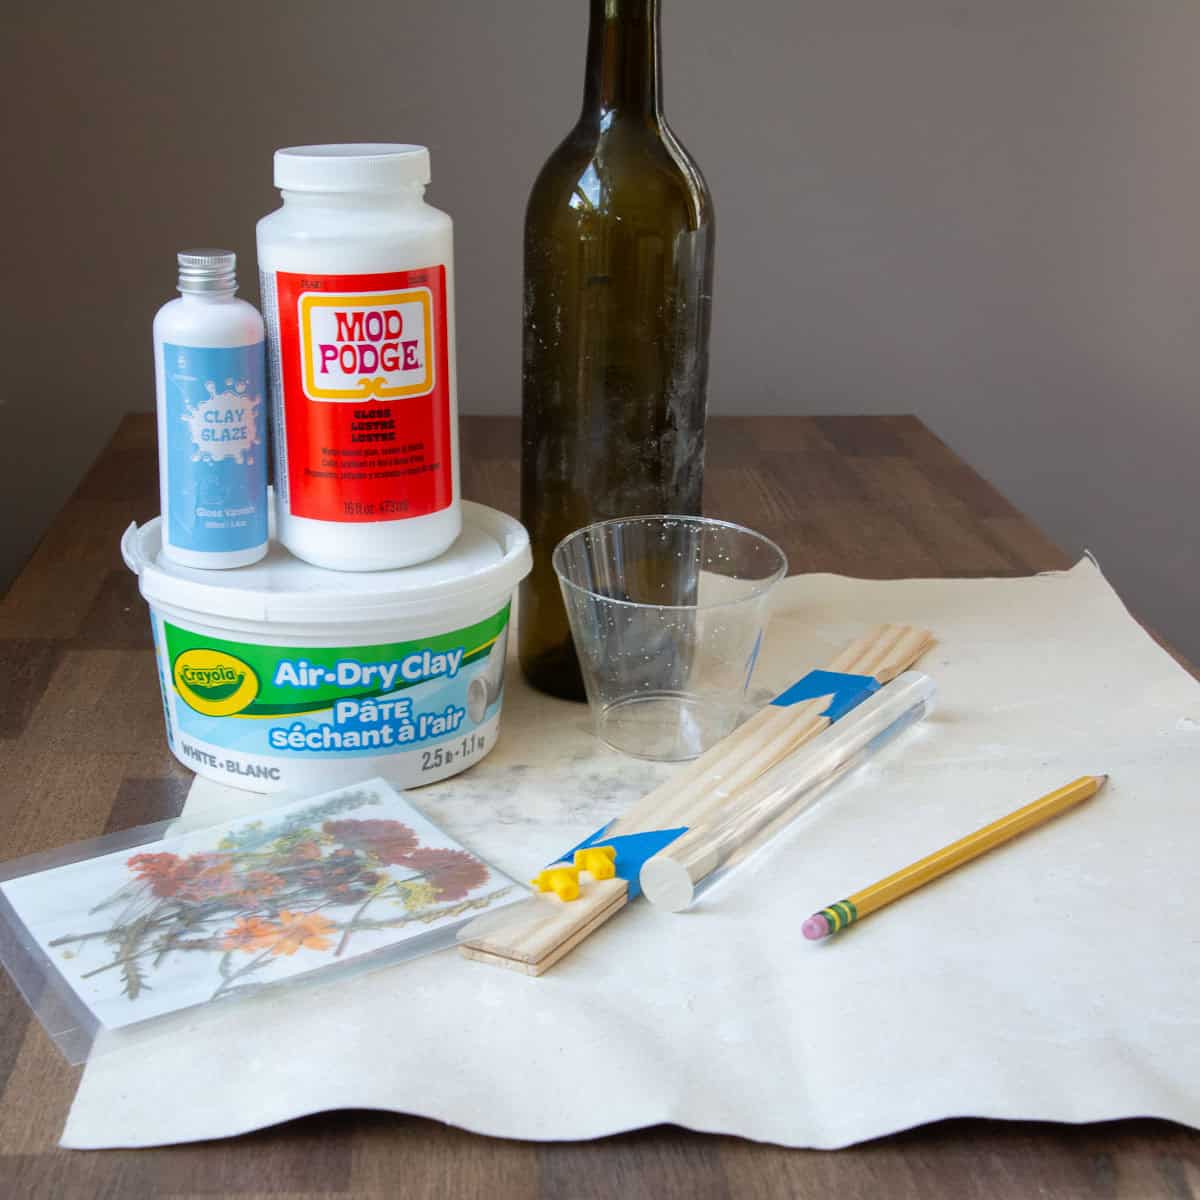
Notes On Supplies
We used purchased pressed flowers for our clay bowls and just used that same pack! You can also press your own flowers ahead of time. Make sure the flowers are completely dry before attaching them to the clay.
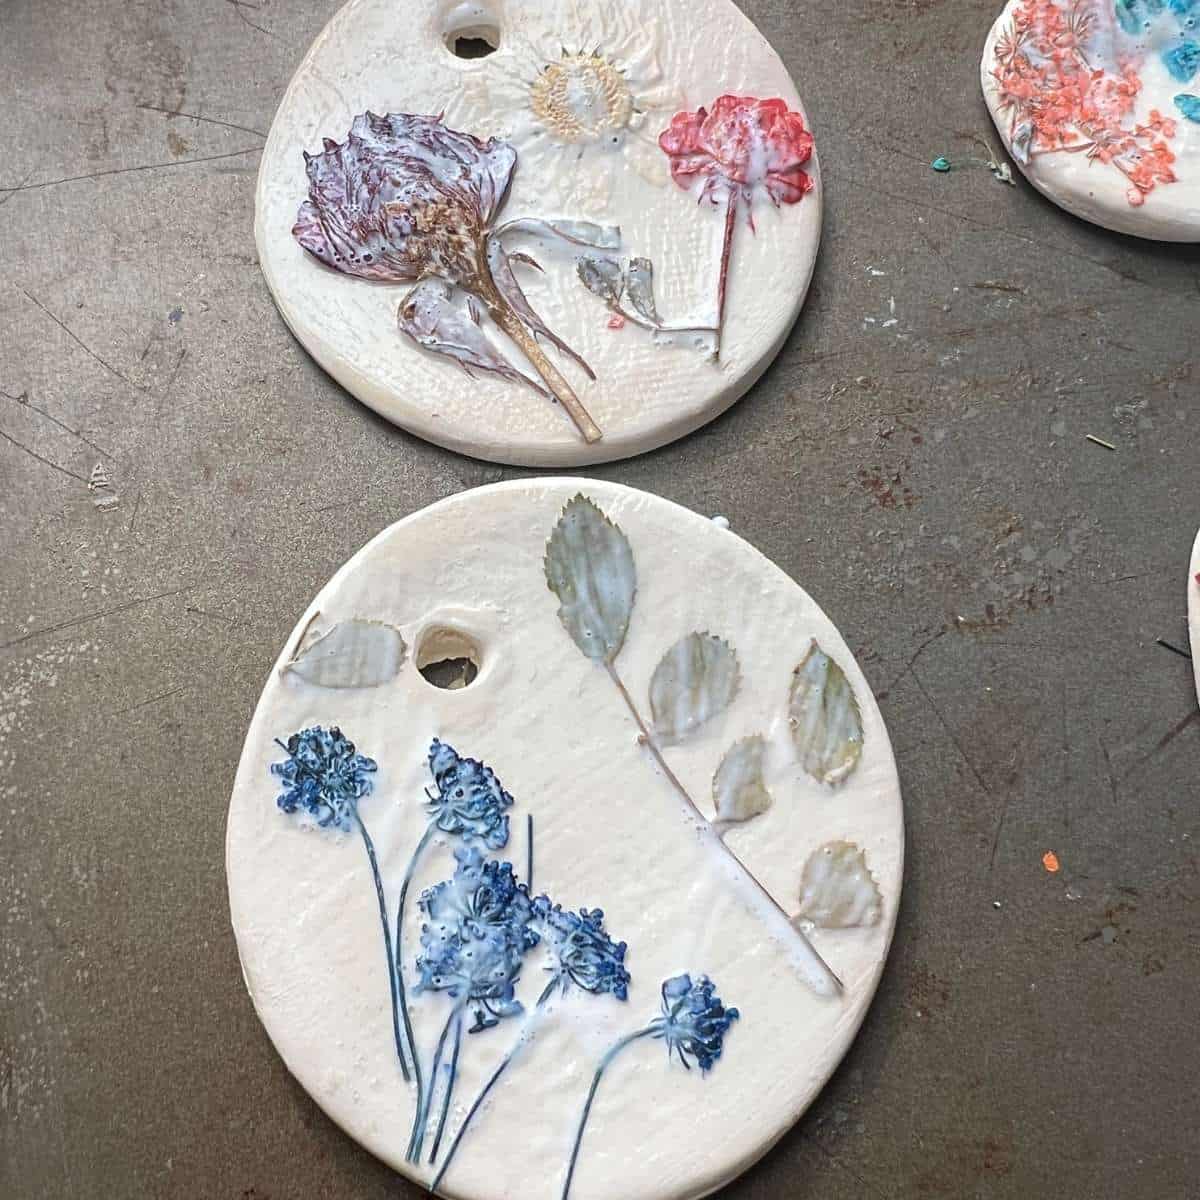
One fun way to customize your pressed flower clay ornaments is to experiment with different finishes. We tried two options to see how they would change the look of the dried flowers and painted clay.
- Clear Glaze Finish: We used a specialty clear gloss to give one ornament a shiny, polished appearance.
- Iridescent Medium: On another ornament, we experimented with an iridescent medium to add a subtle shimmer to the design.
Both finishes can create different effects depending on the paint color and pressed flowers you use.
How To Pressed Flower Clay Ornaments
BEFORE YOU BEGIN: Choose the ornament shapes you want to make and gather your pressed flowers. Simple shapes, such as circles, hearts, and stars, work well for this project.
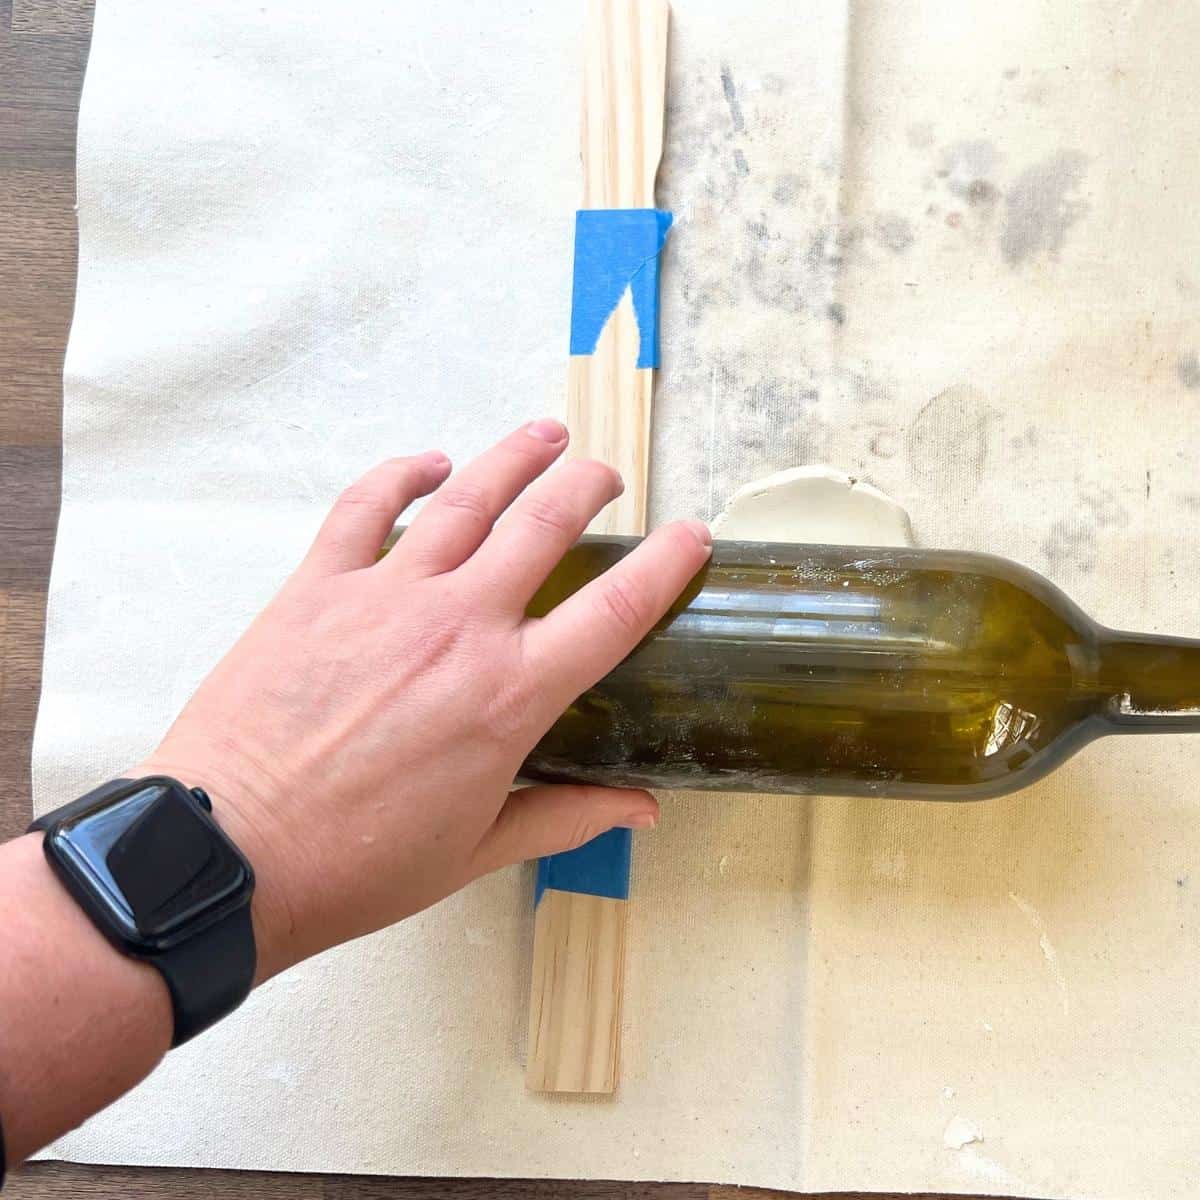
Plan to roll your clay approximately 1/8 inch thick. You can use two paint sticks or rulers as rolling guides to help create an even slab. I used a similar technique to make these clay leaf print ornaments.
Step 1: Roll Out The Clay
Start with a ball of air-dry clay and place it on your work surface. Use a rolling pin or bottle to flatten the clay into a slab approximately 1/4 inch thick.
Step 2: Cut Out Your Shape
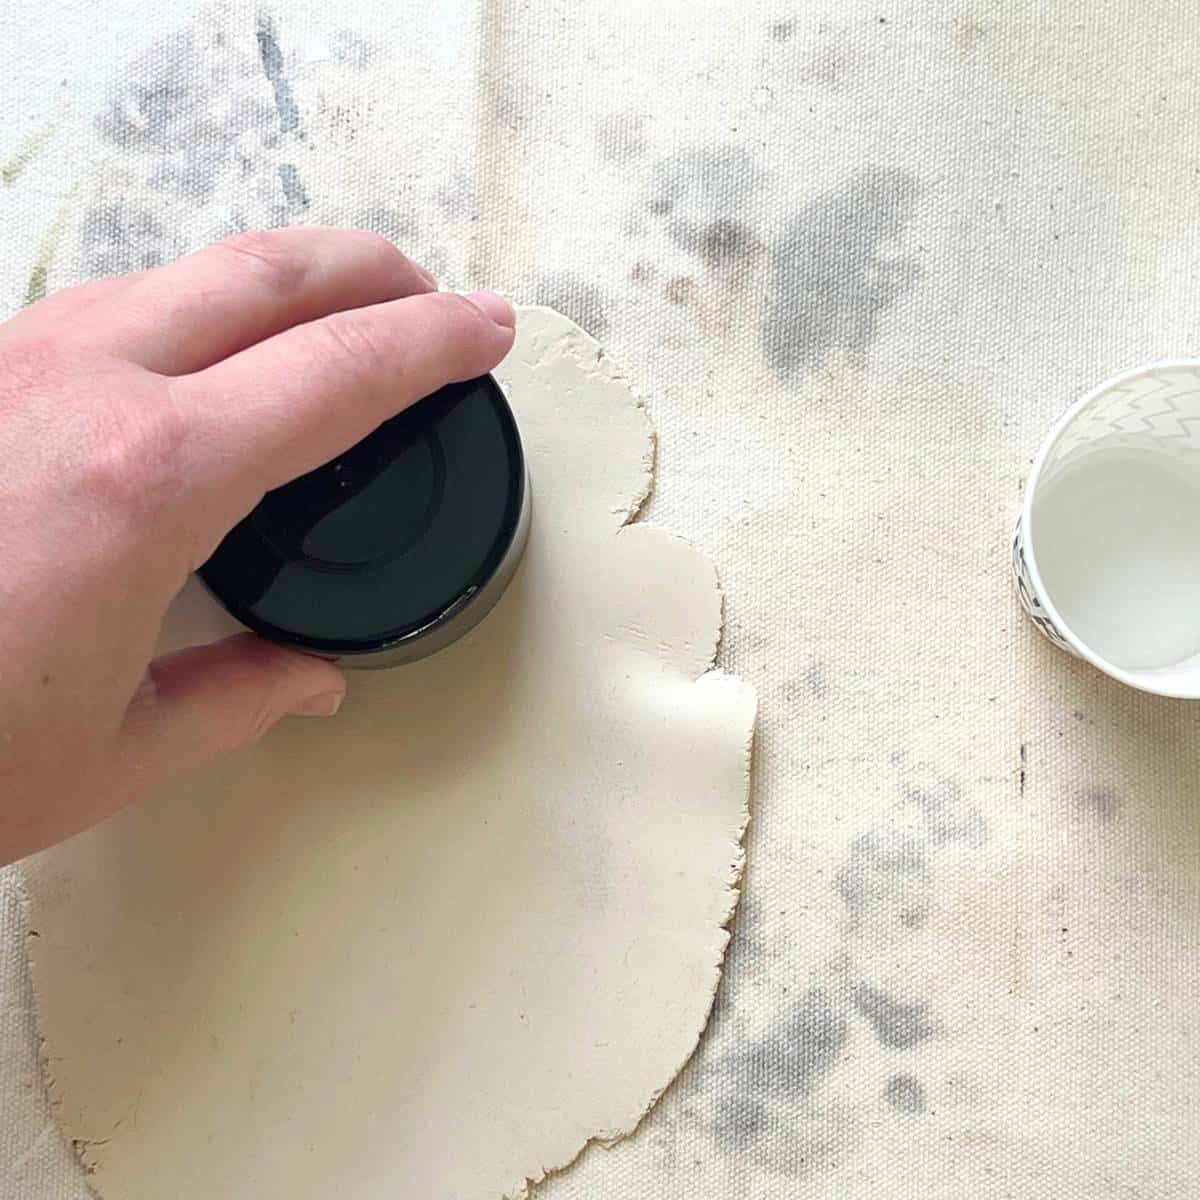
Use cookie cutters or a circular lid to cut shapes from the clay slab. Carefully remove the extra clay from around each shape. Save the leftover clay to make additional ornaments.
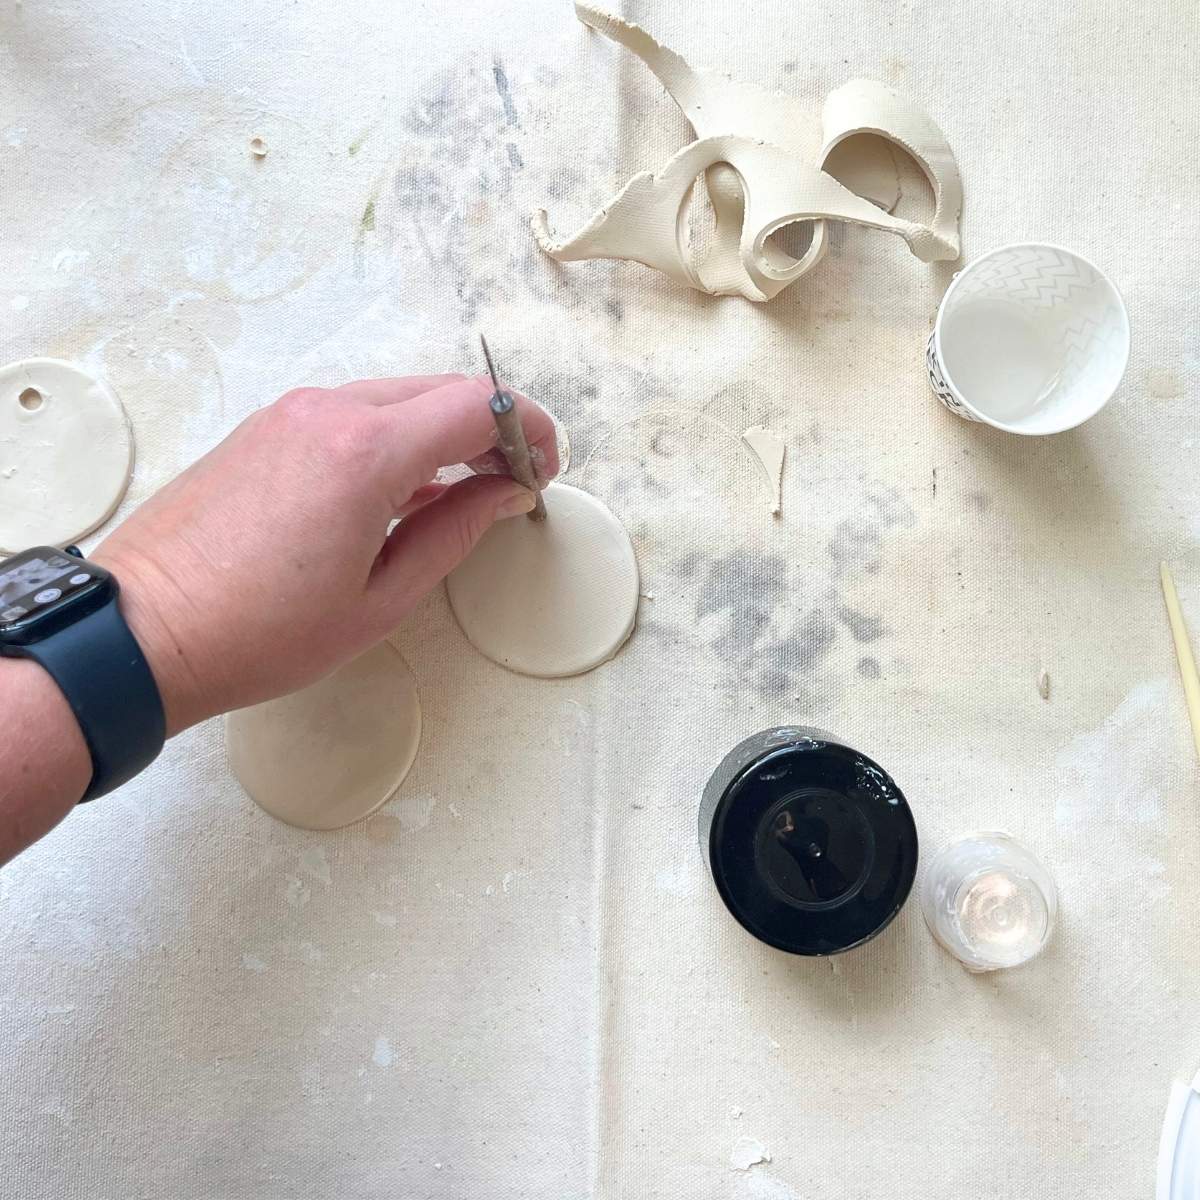
Step 3: Add A Hole
Use a straw or wooden skewer to make a hole near the top of each ornament.
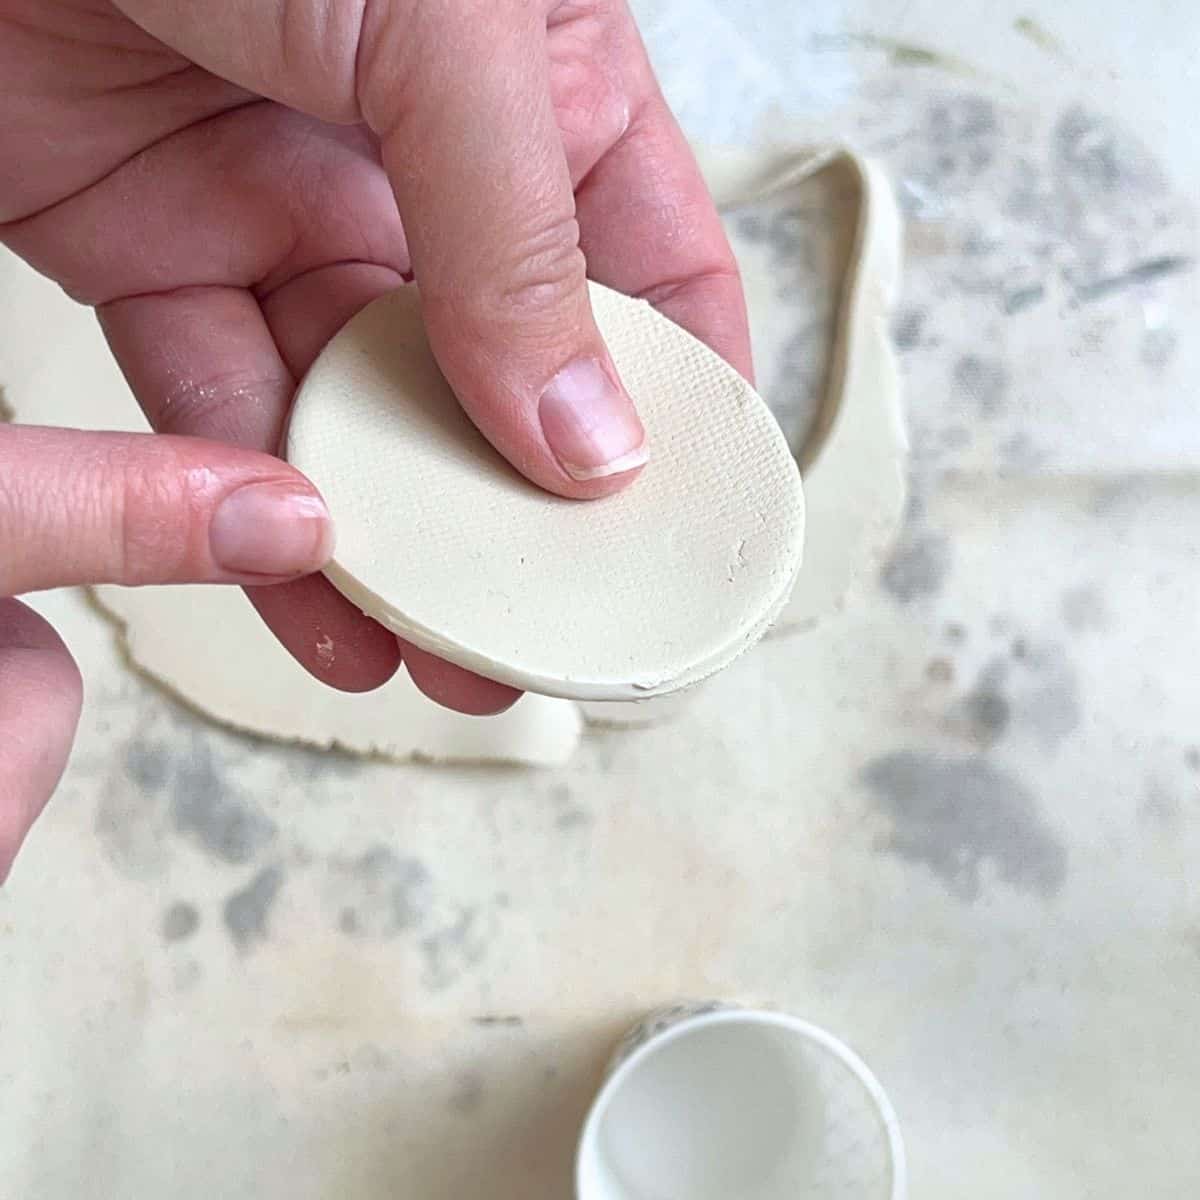
Step 4: Let The Clay Fully Dry
Place your ornaments on a flat surface and allow them to dry completely according to the directions on your clay package. Depending on the thickness and drying conditions, this may take approximately 24-72 hours. Once the ornaments are sturdy enough to handle, carefully flip them over to help the bottoms dry evenly.
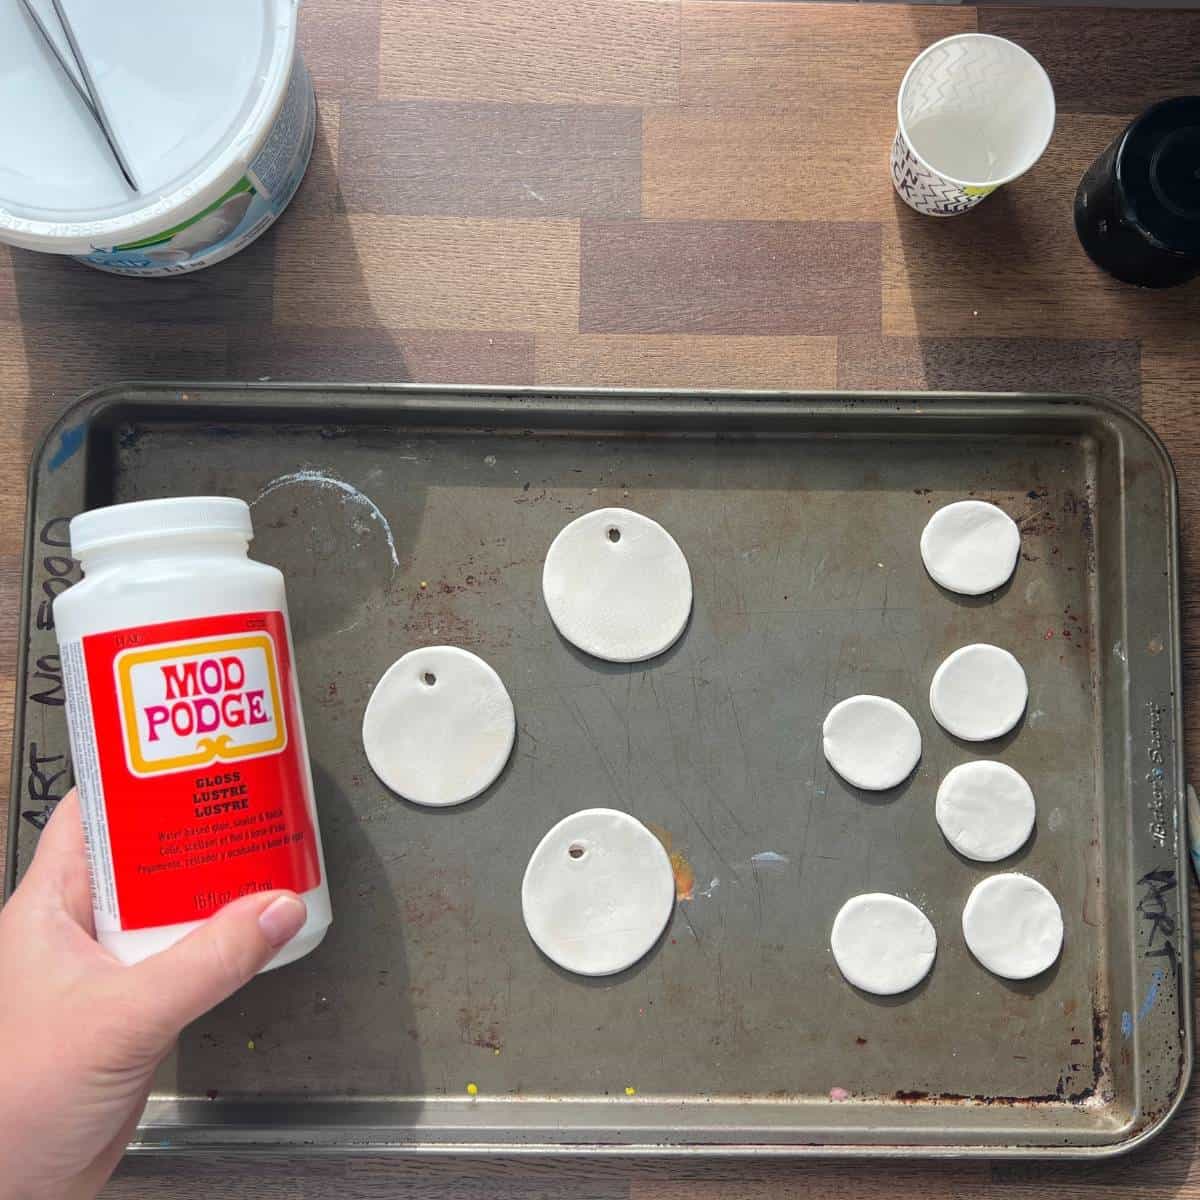
Step 5: Prep Surface
Optional, add a base coat of acrylic paint or skip completely. Wait for the paint to dry then add a layer of Mod Podge.
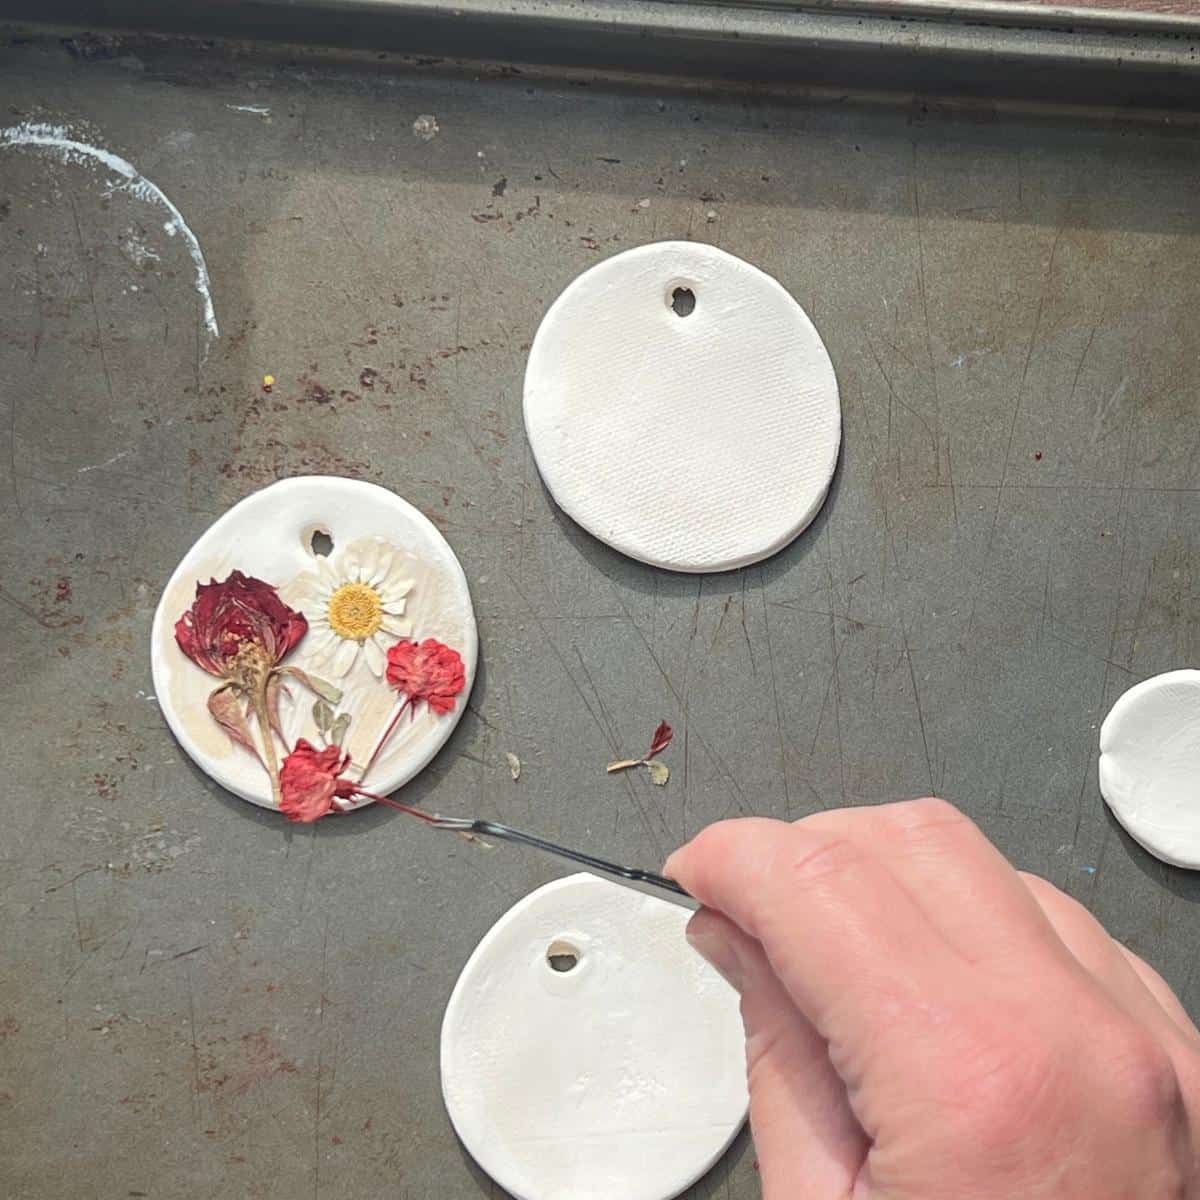
Step 6: Arrange The Pressed Flowers
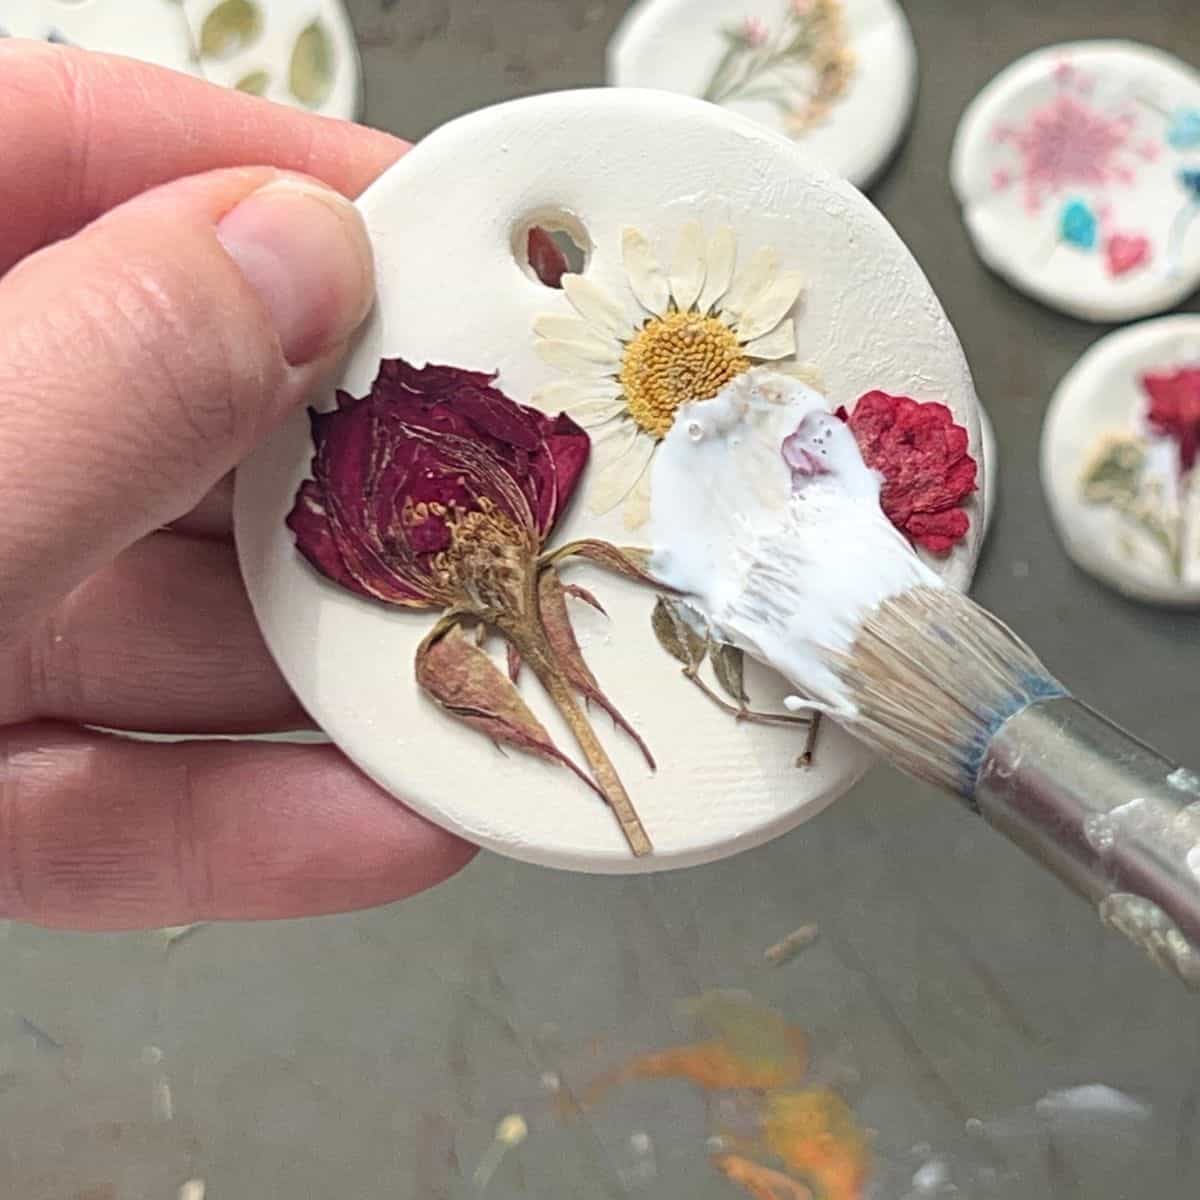
Carefully place your dried flowers onto the Mod Podge. Use your fingers or small tweezers to arrange the flowers and gently press them into place.
Step 7: Let Dry and Then Seal
Wait for the first coat of Mod Podge to dry. Carefully brush another thin layer of Mod Podge over the flowers and painted surface to help secure and protect the design.
Optional: Add Extra Shine
We used iridescent medium on one ornament and this air-dry clay glaze on another for extra shine and protection. Let the ornaments fully dry before adding your ribbon or twine.
Tips
- When rolling, try to keep the thickness even so your ornaments dry at the same rate.
- When cutting the hole for hanging, make sure the hole is large enough for your ribbon or twine and leave enough clay between the hole and the edge so the ornament will not break when hanging.
- You can use extra fine sandpaper to fix any imperfections on the clay ornaments once dry before adding the flowers.
- Try different arrangements, such as one flower in the center or several smaller flowers grouped together.
- Avoid brushing too aggressively because dried flowers can tear or shift.
Frequently Asked Questions
I recommend using completely dried pressed flowers for this project. Fresh flowers contain moisture and may discolor or deteriorate underneath the Mod Podge.
Yes! White air-dry clay makes a beautiful background for pressed flowers. Simply let the clay dry completely before adding Mod Podge and arranging your flowers.
Yes. You can make the ornaments using regular ceramic clay, but they will need to dry completely and be bisque-fired in a kiln.
After firing, you can decorate the ornaments with acrylic paint, pressed flowers, and Mod Podge. You would not use traditional ceramic glaze over the pressed flowers.
Air-dry clay ornaments are best for indoor use. Even with a protective finish, prolonged exposure to rain or moisture can damage the clay and pressed flowers.
Our Favorite
Related Clay Ideas
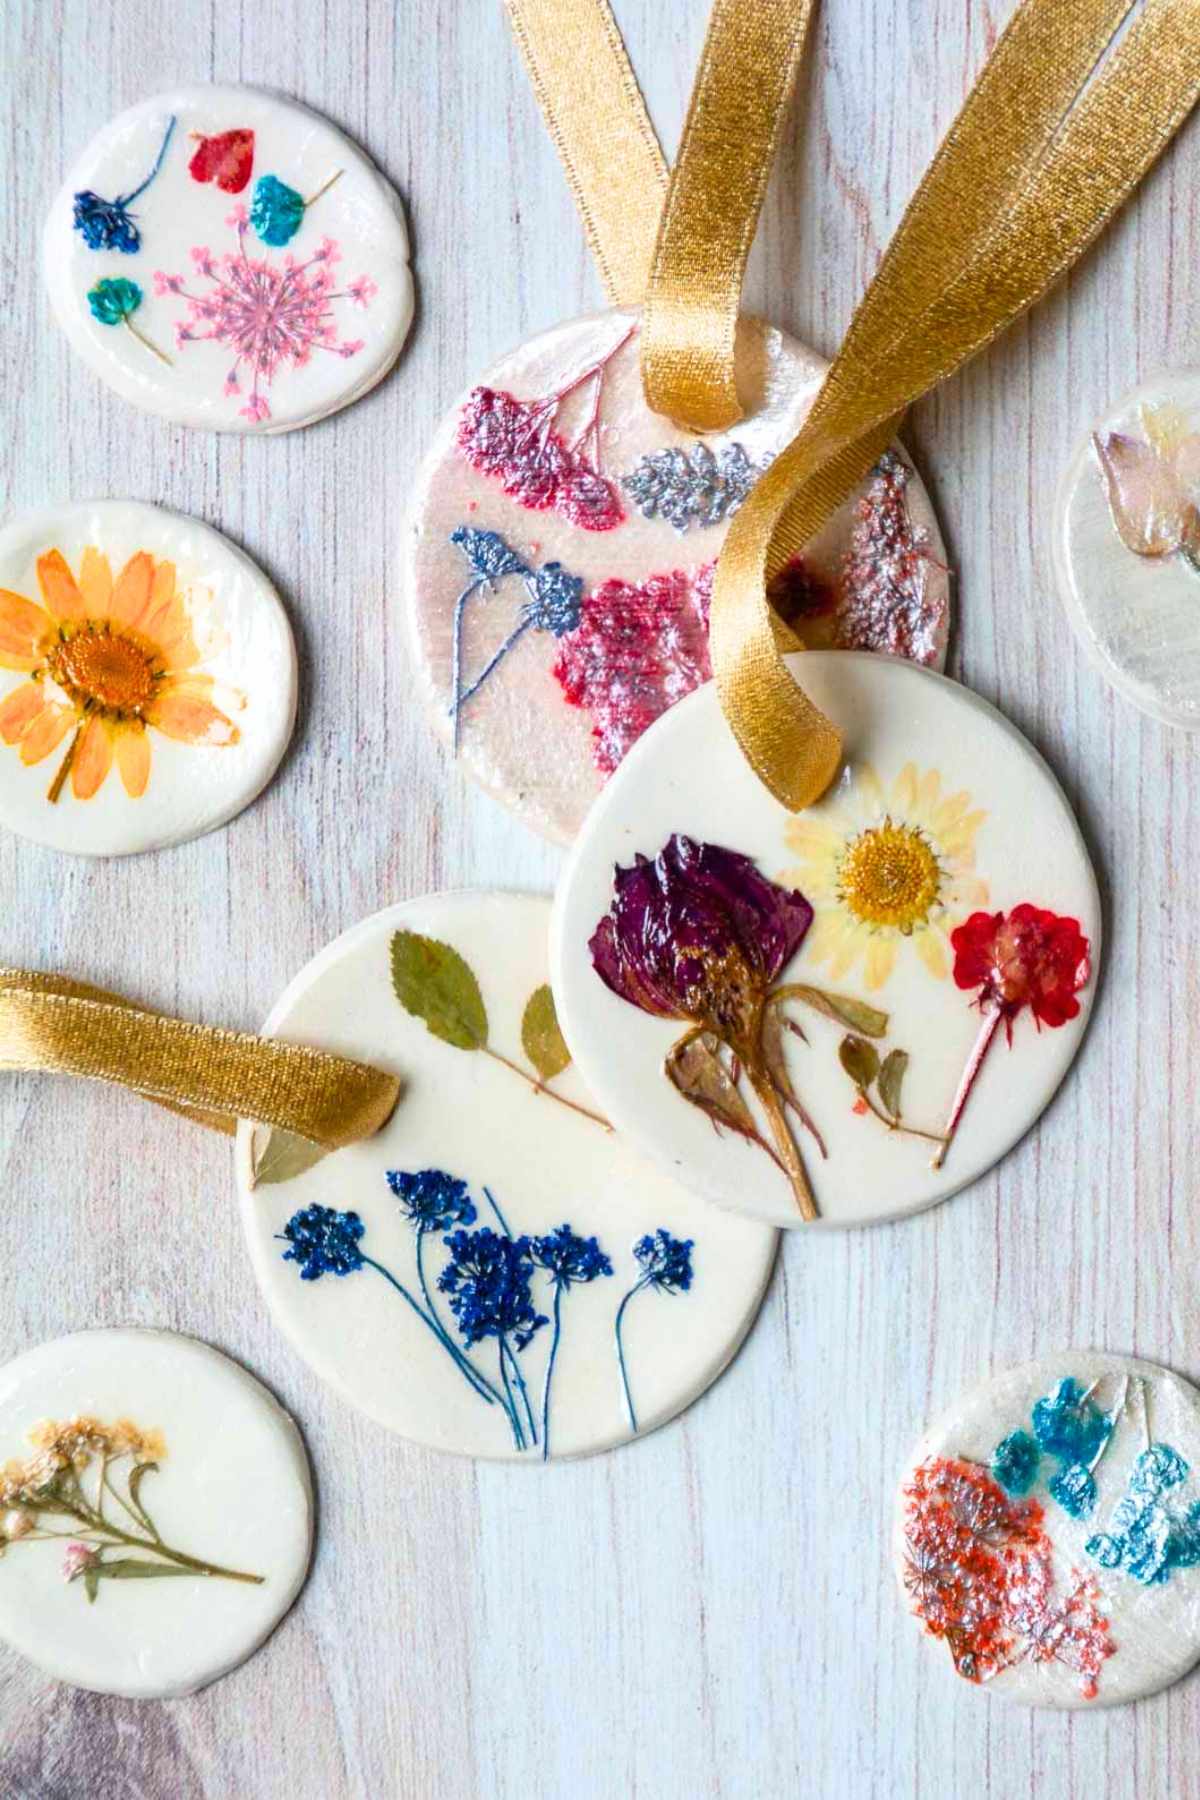
Whether you make one or hundreds, I love that these pressed flower ornaments all end up being so unique and beautiful. They are easy to make, so have fun experimenting with different flowers, colors, and finishes to create your own!
Pressed Flower Clay Ornaments
Equipment
- Rolling Pin or Bottle
- Cookie cutters or circular lid
- Straw or wooden skewer
- Paintbrushes or small foam brush
- Work surface
- Small container of water
- Optional rolling guides and tweezers
Supplies
- Air-dry clay
- Dried pressed flowers
- Acrylic paint
- Clear Mod Podge
- Ribbon or twine
- Optional clear gloss sealer
Instructions
- BEFORE YOU BEGIN: Make sure your pressed flowers are completely dry. Gather your supplies and choose the shapes you want to make. Plan to roll the clay approximately 1/4 inch thick.
- ROLL OUT THE CLAY: Use a rolling pin and rolling guides to flatten air-dry clay into an even slab approximately 1/4 inch thick.
- CUT THE SHAPES: Use cookie cutters or a lid to cut ornament shapes. Remove the extra clay and smooth rough edges with a little water.
- ADD A HANGING HOLE: Use a straw or skewer to make a hole near the top of each ornament.
- LET THE CLAY DRY: Place the ornaments on a flat surface and allow them to dry completely according to the clay package directions.
- PAINT THE ORNAMENTS: Add acrylic paint to the dry clay ornaments. Let the paint dry completely.
- ADD MOD PODGE: Brush a thin layer of Mod Podge where you want to attach the flowers.
- ARRANGE THE FLOWERS: Carefully place the pressed flowers onto the Mod Podge and gently press them into place.
- SEAL THE DESIGN: Once the first layer is dry, brush another thin layer of Mod Podge over the flowers and painted surface.
- ADD EXTRA SHINE: If desired, apply a compatible clear gloss sealer after the Mod Podge has dried completely.
- ADD RIBBON: Thread ribbon or twine through the hanging hole and tie a loop.
Notes
- Keep your clay an even thickness to help prevent uneven drying.
- Don’t overcrowd the ornaments with too many flowers.
- Allow the clay, paint, and Mod Podge to dry completely between steps.
- Leave enough clay around the hanging hole to prevent breakage.
- White air-dry clay can be left unpainted for a natural background.
- Drying times vary depending on the clay brand, thickness, and conditions.
- Test optional clear gloss sealers before applying them to finished ornaments.