
Easy Pressed Flower Clay Bowl For Beginners


This pressed flower clay bowl is a fun way to turn a basic pinch pot into something completely unique. This clay idea is surprisingly easy to make! The hands-on steps only take a few minutes at a time.
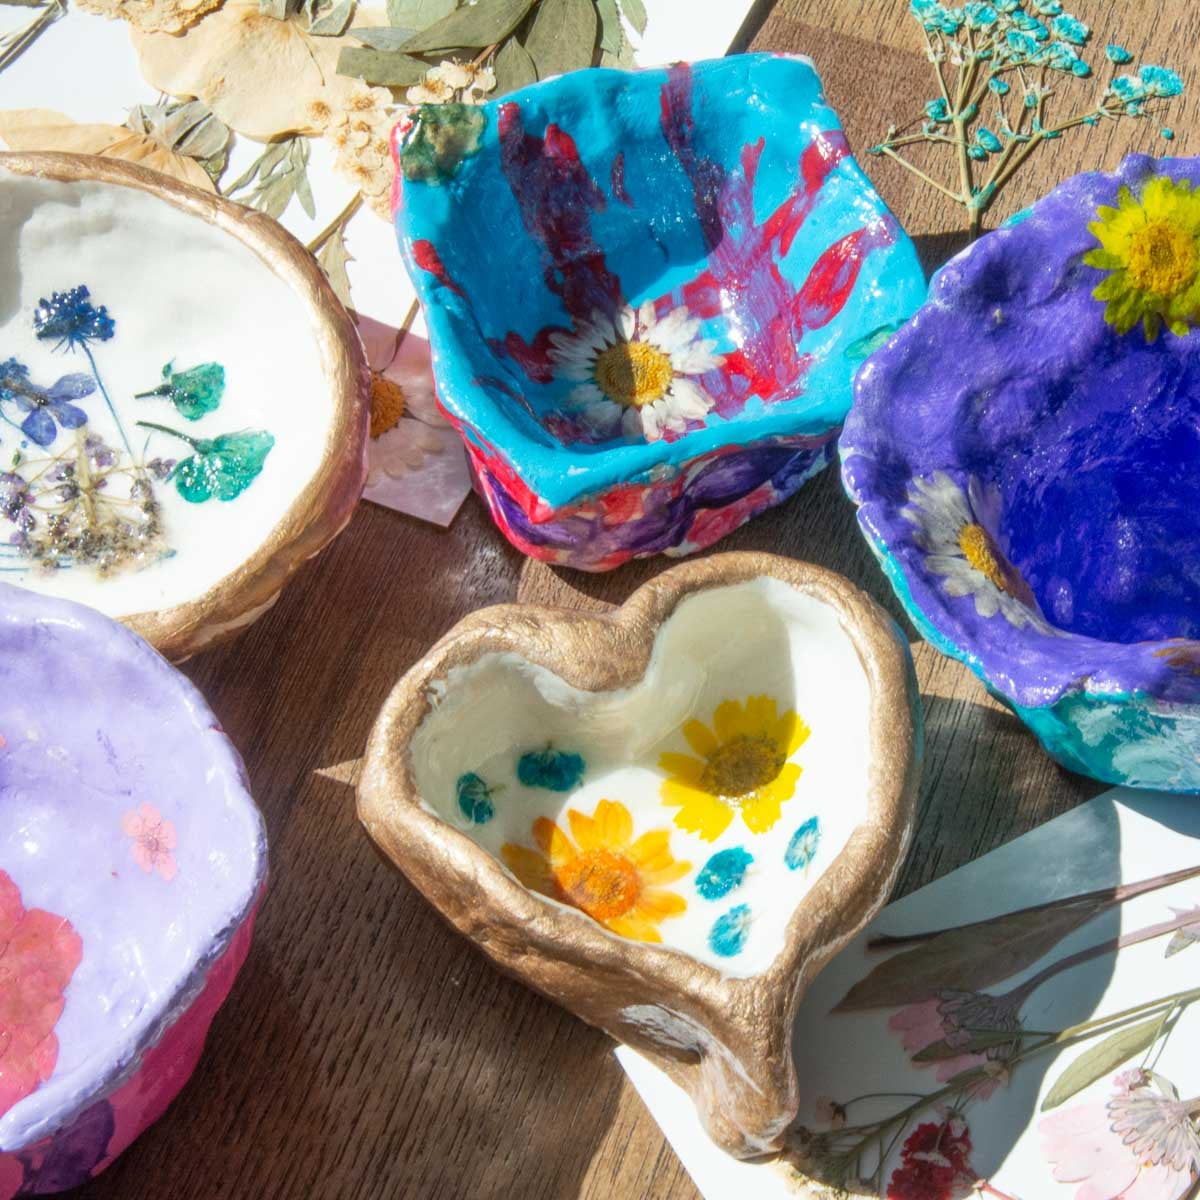
My family experimented with different pinch pot shapes, paint colors and flower arrangements, and I love how different each one turned out! The hardest part is waiting for the clay, paint, and Mod Podge to dry before moving on to the next step.
Why You Will Love This Clay Idea
Supplies
Disclosure: This post may contain affiliate links when clicked, we may earn a small commission at no additional cost to you. Read our full privacy policy.
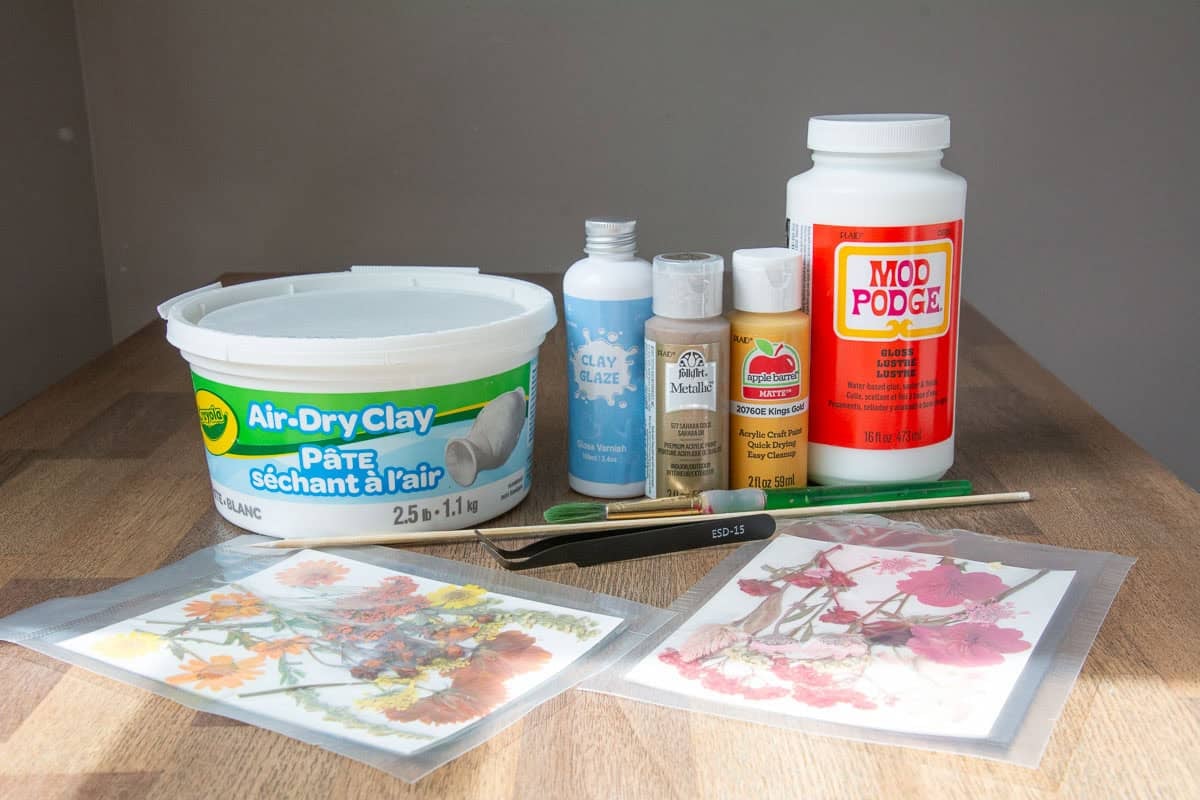
SUPPLY NOTE: This clear gloss was a new find for me and really made the air-dry clay projects appear like they had glazed. You can see how our clay pumpkin project used the same gloss here.
How To Make A Pressed Flower Clay Bowl
Step 1: Roll The Ball Of Clay
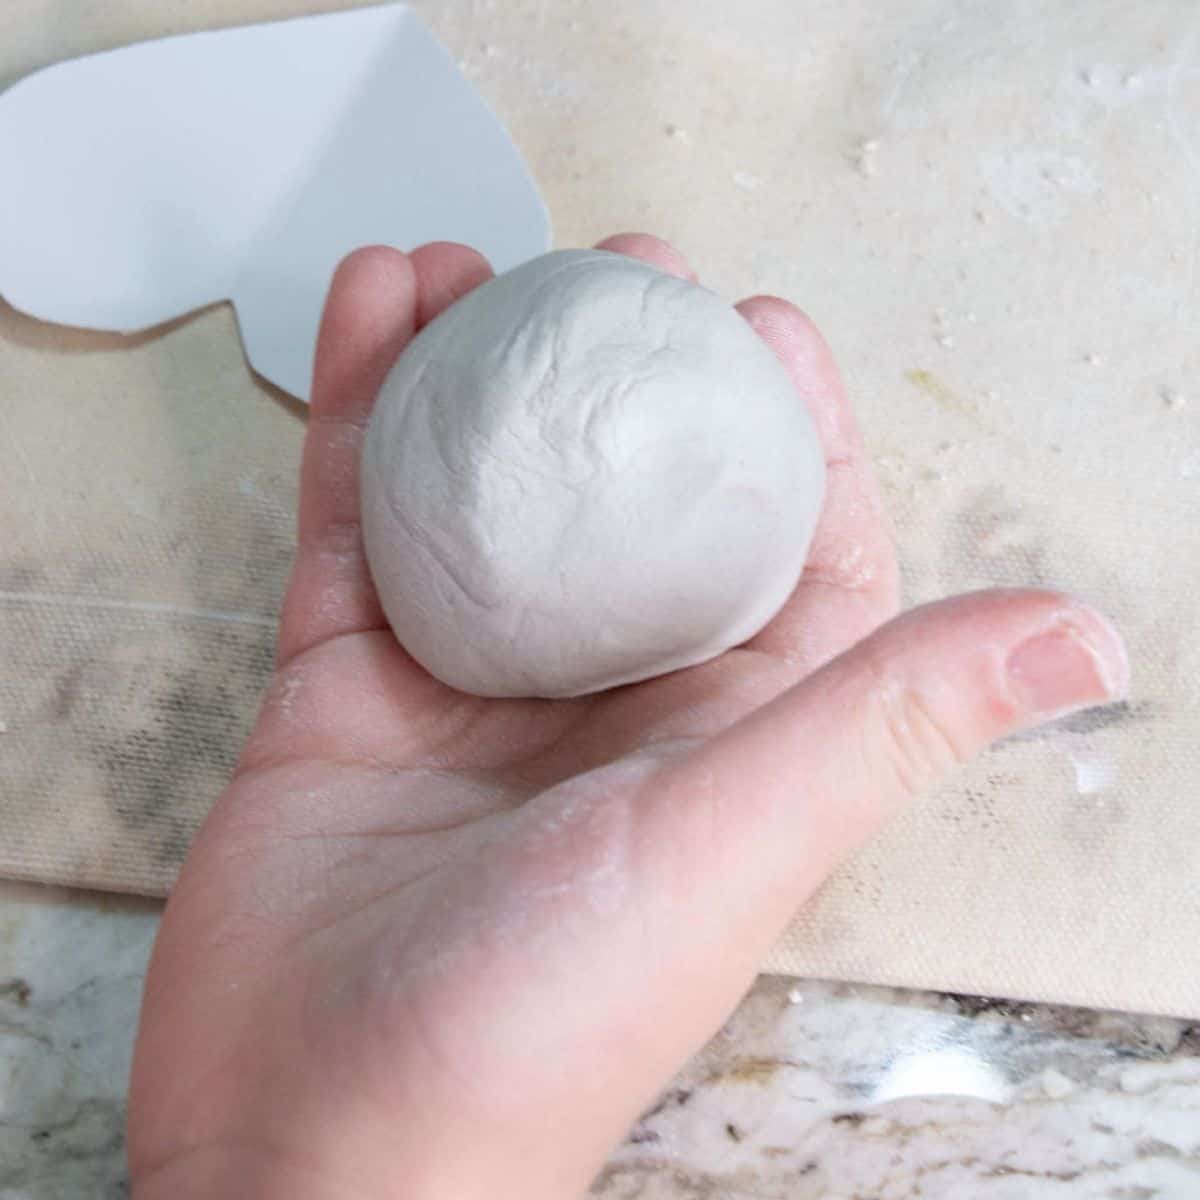
Start with a piece of clay that comfortably fits in the palm of your hand. Keeping the amount of clay manageable makes it easier for kids to work with.
Roll the clay between your hands into a smooth ball.
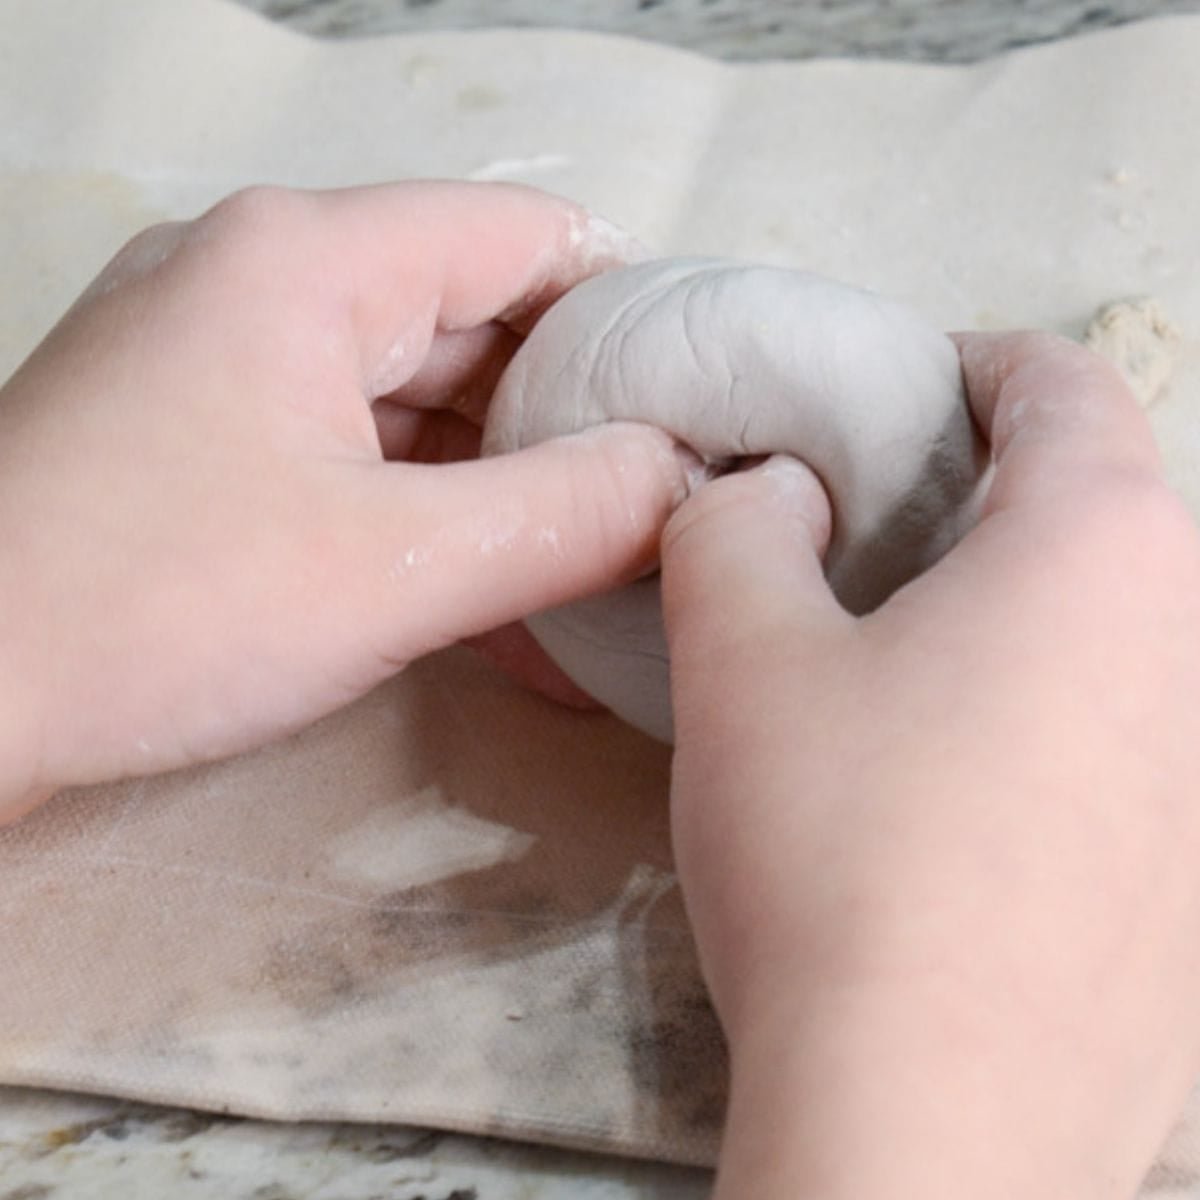
Step 2: Press Your Thumb Into The Clay
Press your thumb into the center of the clay ball, going almost to the bottom but not all the way through. Leave enough clay at the bottom so you don’t accidentally create a hole.
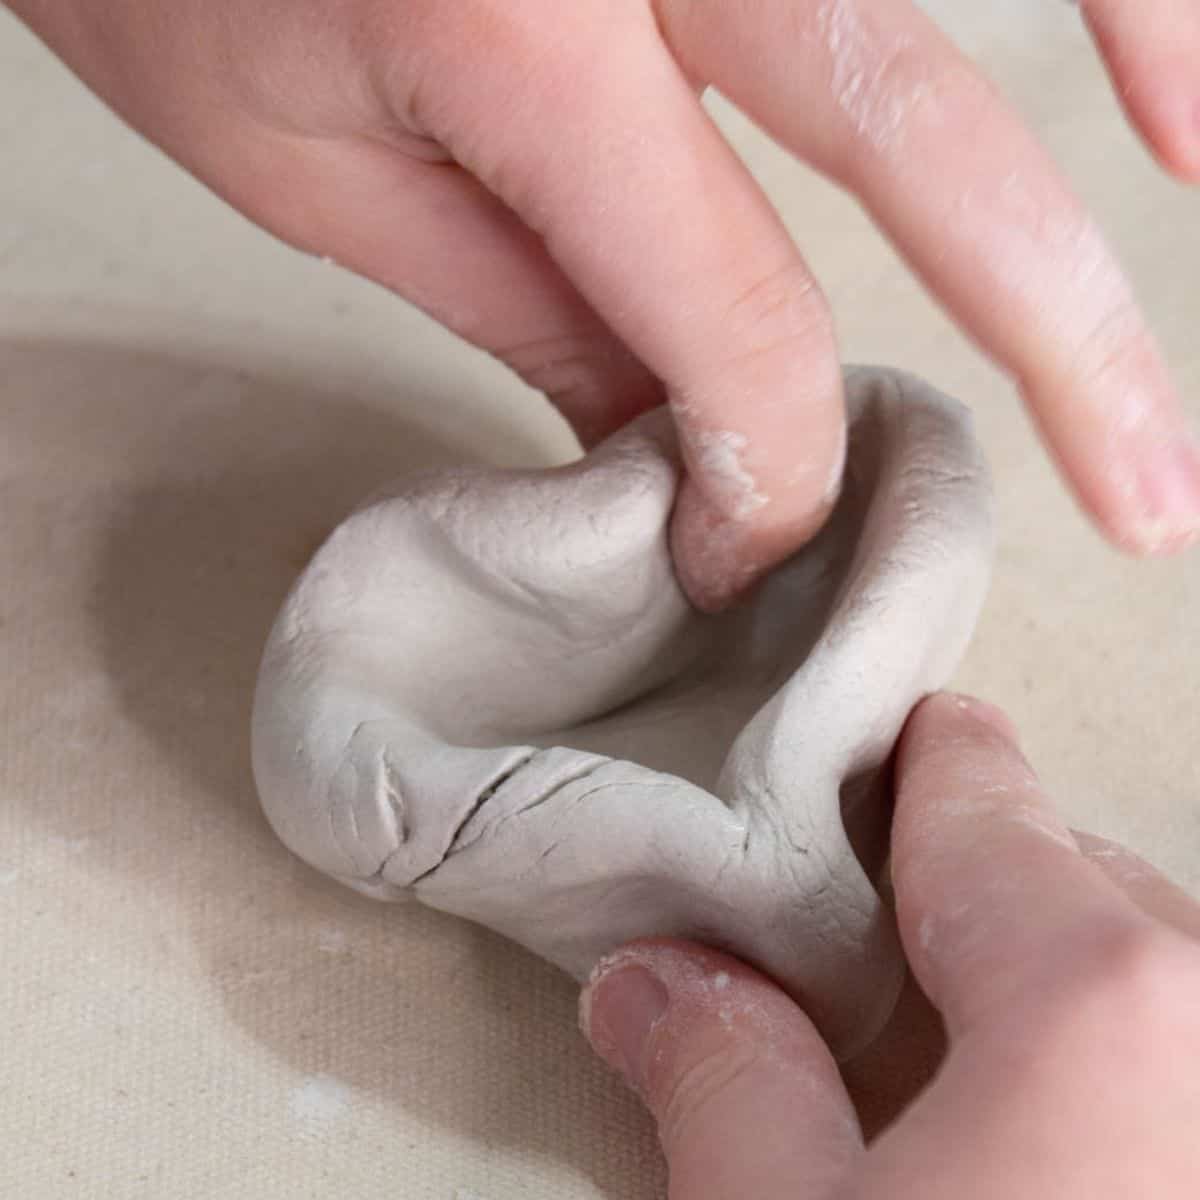
Step 3: Make Your Pinch Pot Shape and Bowl
Use your fingers and thumb to gently pinch the clay while slowly rotating it in your hands. Try to use even pressure as you work so the walls stay a similar thickness.
Continue pinching and shaping until you have the cup or bowl shape you want.
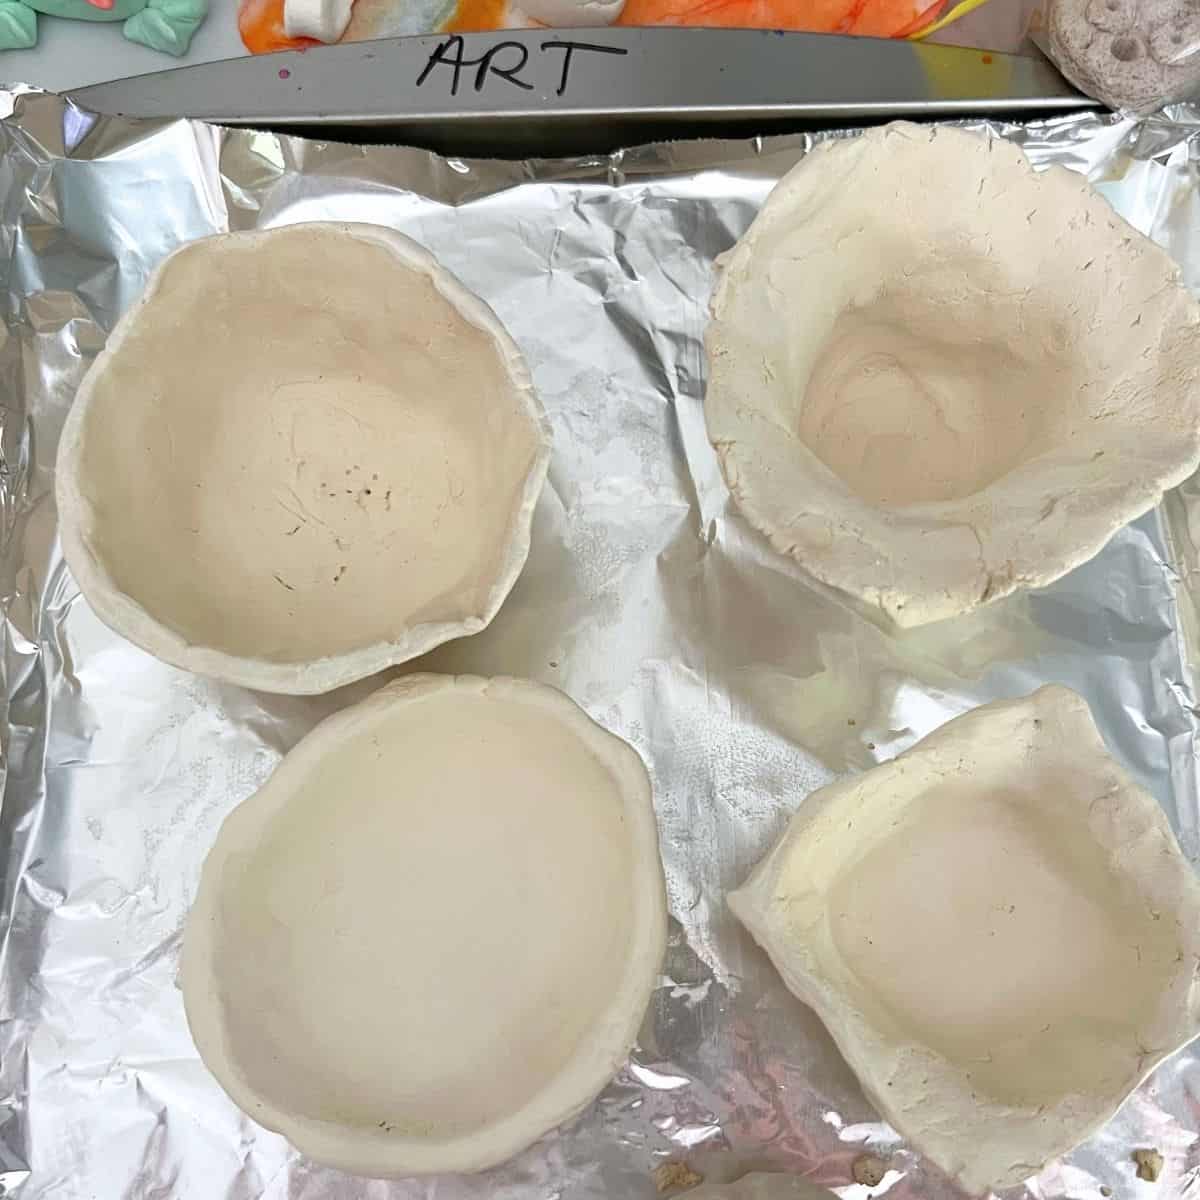
Step 4: Let The Clay Fully Dry
If you are using air-dry clay as we did, let the bowl dry completely before painting. Depending on the thickness of your clay, this may take anywhere from 48 to 96 hours.
Once the bowl is partially dry and sturdy enough to handle, carefully flip it over to help the bottom dry more evenly.
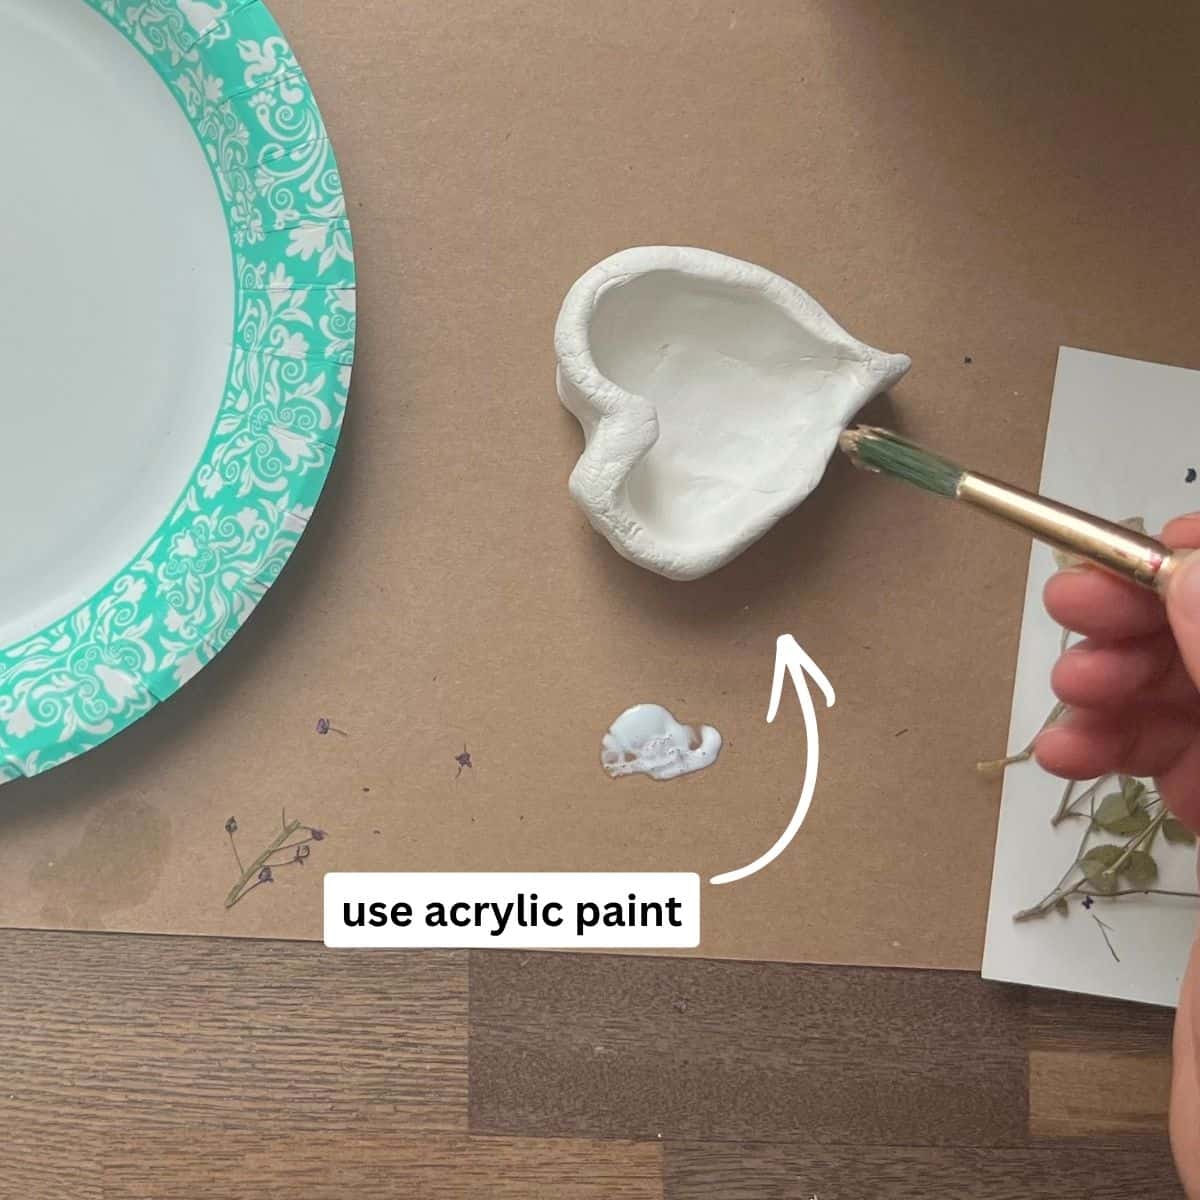
Step 5: Add Color
If you want a base color other than white, paint the completely dry bowl with acrylic paint in your choice of color. You can paint the entire bowl or only the areas you want to add color. Let the acrylic paint dry completely before adding the pressed flowers.
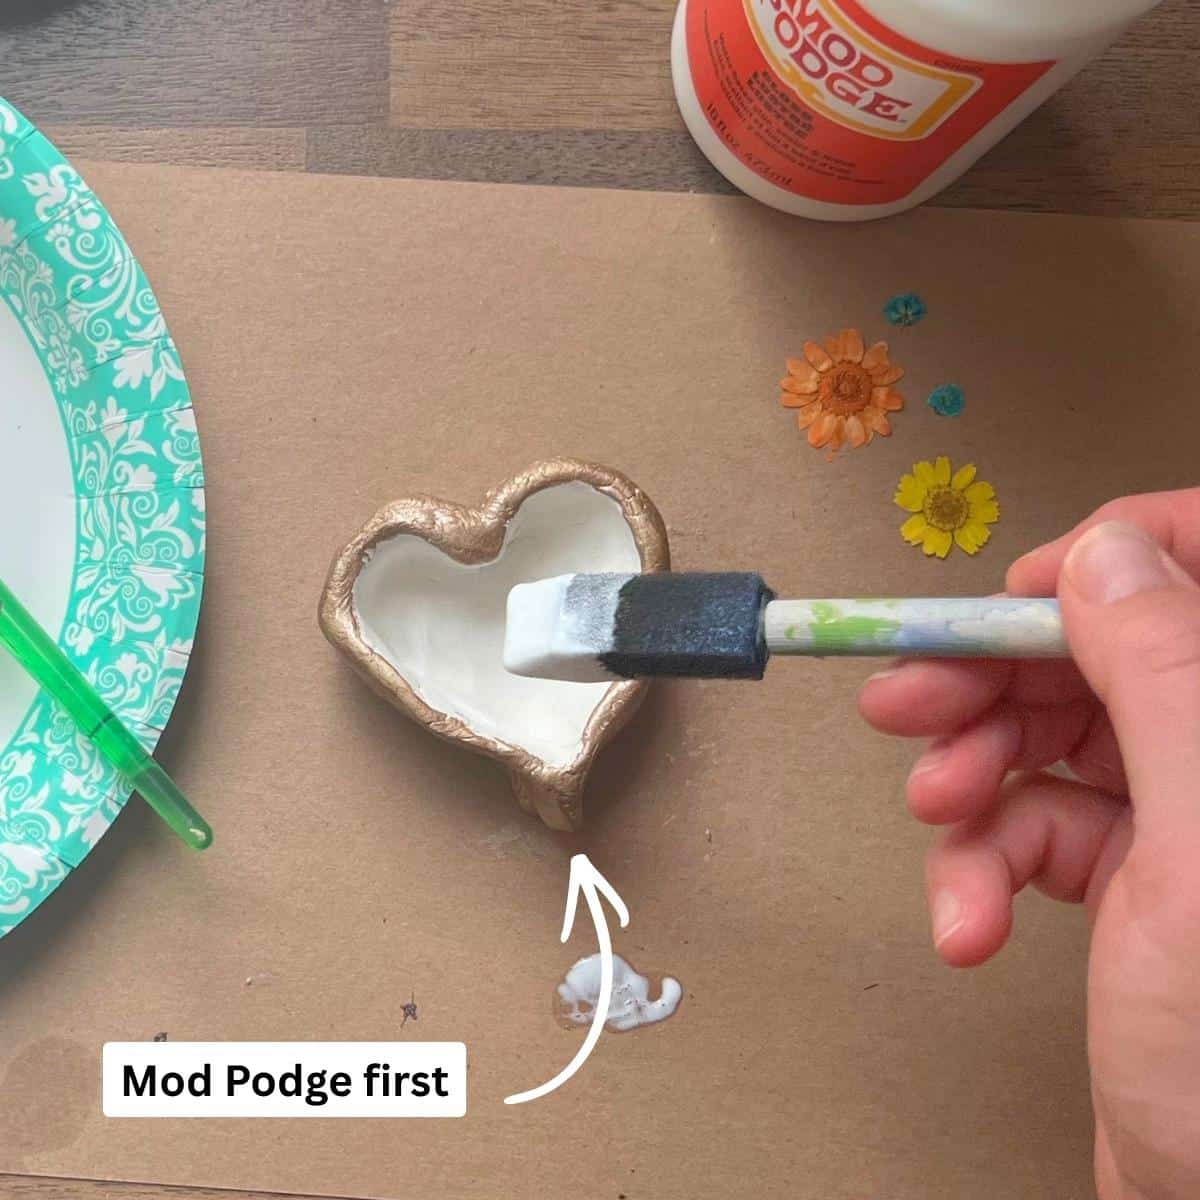
Step 6: Add A Layer of Mod Podge
Brush a layer of clear Mod Podge onto the area where you want to add your flowers.
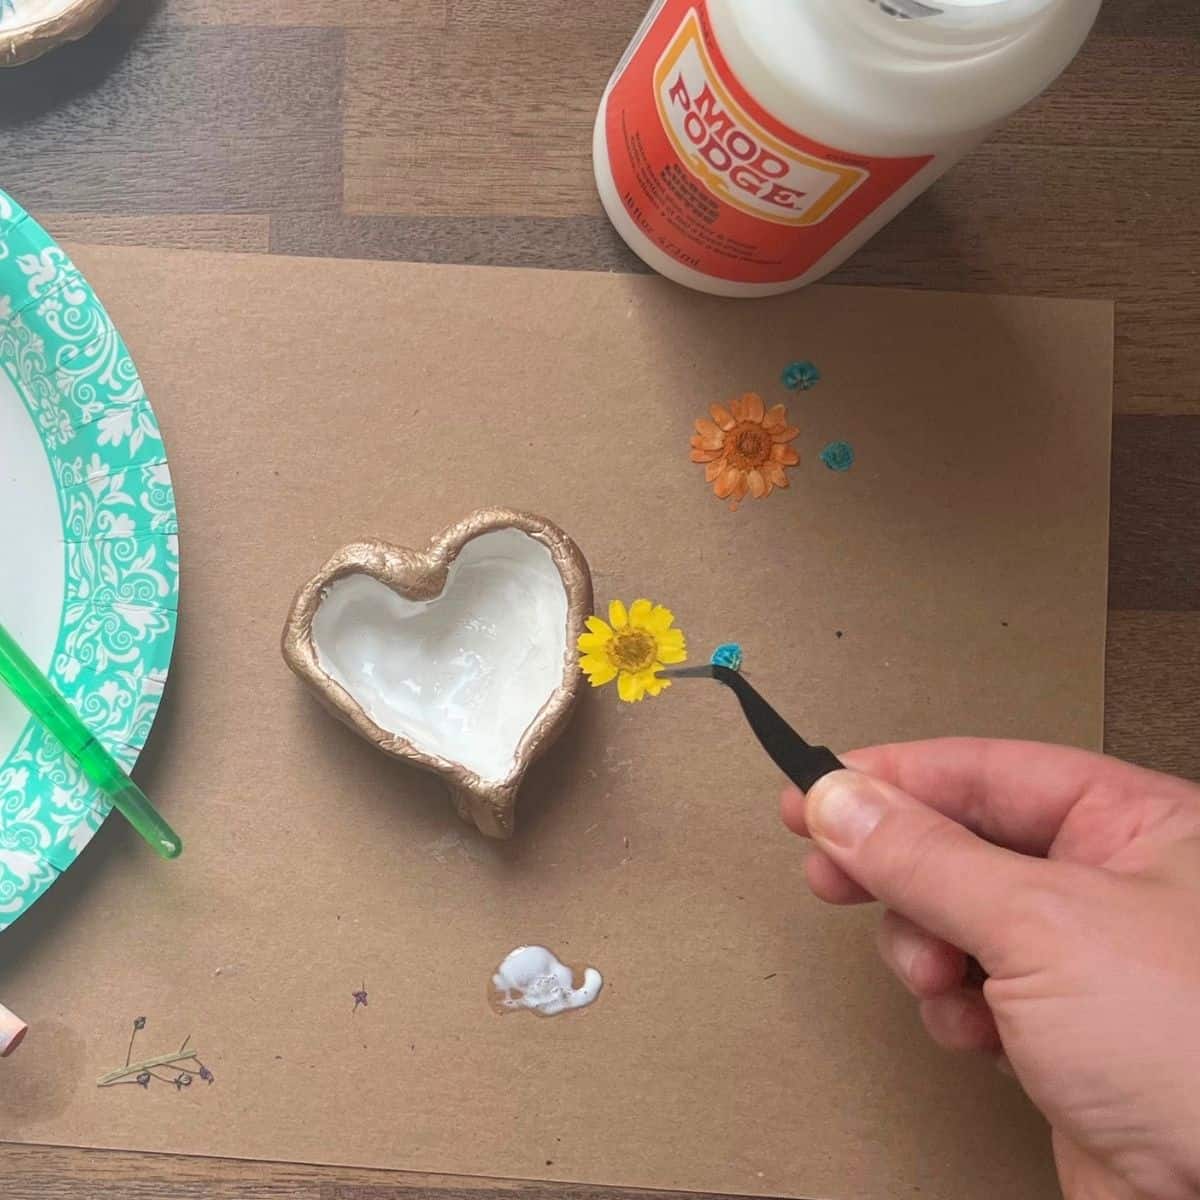
Step 7: Arrange The Flowers
Carefully arrange the dried flowers in a pattern of your choosing, gently pressing them onto the surface.
Work carefully since pressed flowers can be delicate.
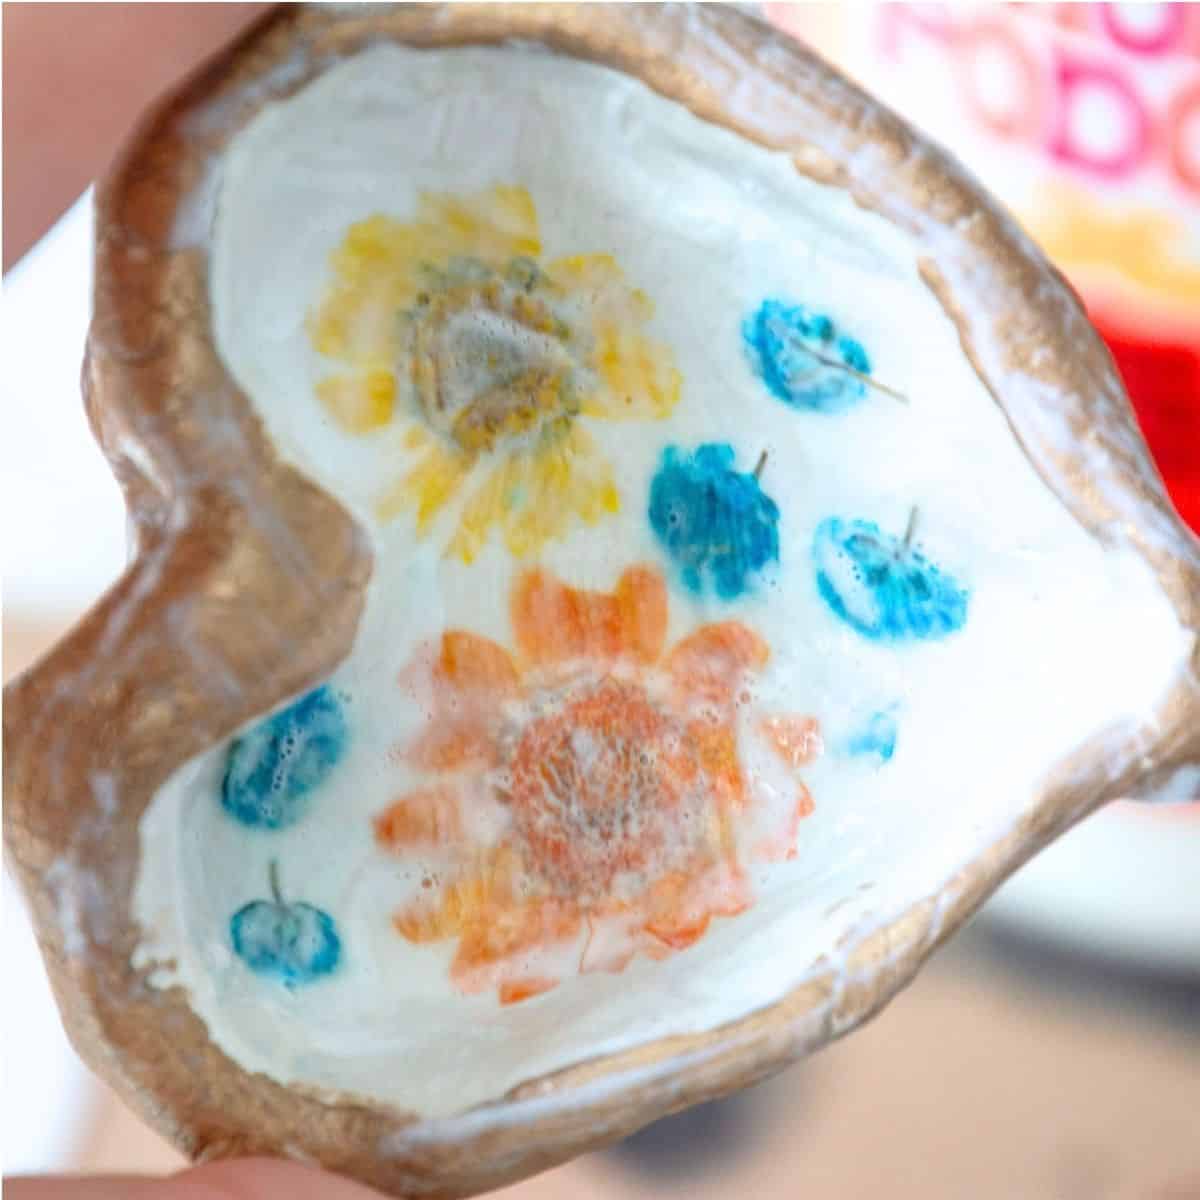
Step 7: Seal The Finished Bowl
Let the first layer of Mod Podge and the pressed flowers dry completely. Once dry, carefully brush another layer of Mod Podge over the entire painted bowl, including the pressed flowers.
Allow the final layer to dry completely before handling your finished bowl.
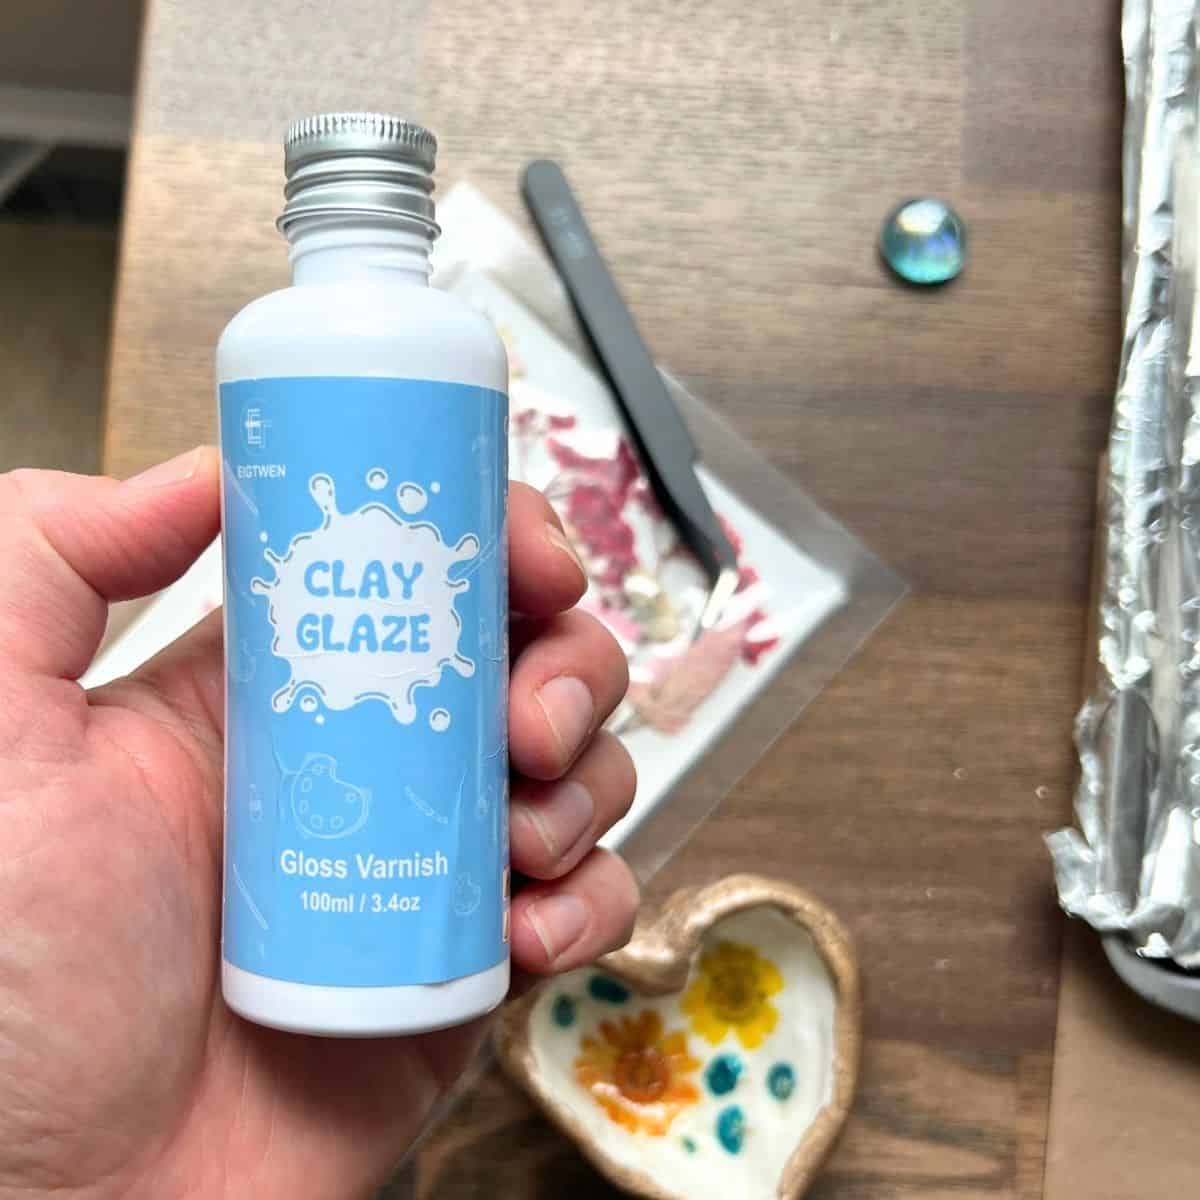
Step 8: Add Extra Shine
Once the Mod Podge is completely dry, you can add an additional clear gloss for a shinier finish. We experimented with this on one of our bowls to see how the extra finish would look and whether it would cause any bubbling. If you try this, test your clear finish first and make sure it is compatible with your dried Mod Podge, acrylic paint, and air-dry clay.
Clay Tips
- PINCH EVENLY – Encourage kids to pinch the entire wall of the bowl, not just around the top edge. Their thumb should reach farther down into the pot as they work.
- WATCH THE THICKNESS – Aim for walls about 1/8 to 1/4 inch thick. Check the sides and bottom, so no area stays much thicker than the rest.
- ROTATE AS YOU WORK – Slowly turning the bowl while pinching makes it easier to create even walls and control the overall shape.
- SMOOTH IMPERFECTIONS – Before the air-dry clay dries, use your finger and a small amount of water to smooth cracks, bumps or other imperfections. You can also use extra fine-sandpaper when the clay is dry.
- DON’T USE TOO MUCH WATER – A little water goes a long way. Your finger only needs to be slightly damp when smoothing air-dry clay.
- USE ENOUGH MOD PODGE – Brush enough Mod Podge onto the bowl for the dried flowers to stick easily. This lets you gently place them onto the surface without having to press, move, or brush them too much, which can crumple the delicate flowers.
- SIMPLE DESIGNS – Don’t over do it with the flowers. Each bowl on needs a few.
🎨 Art Teacher’s Take
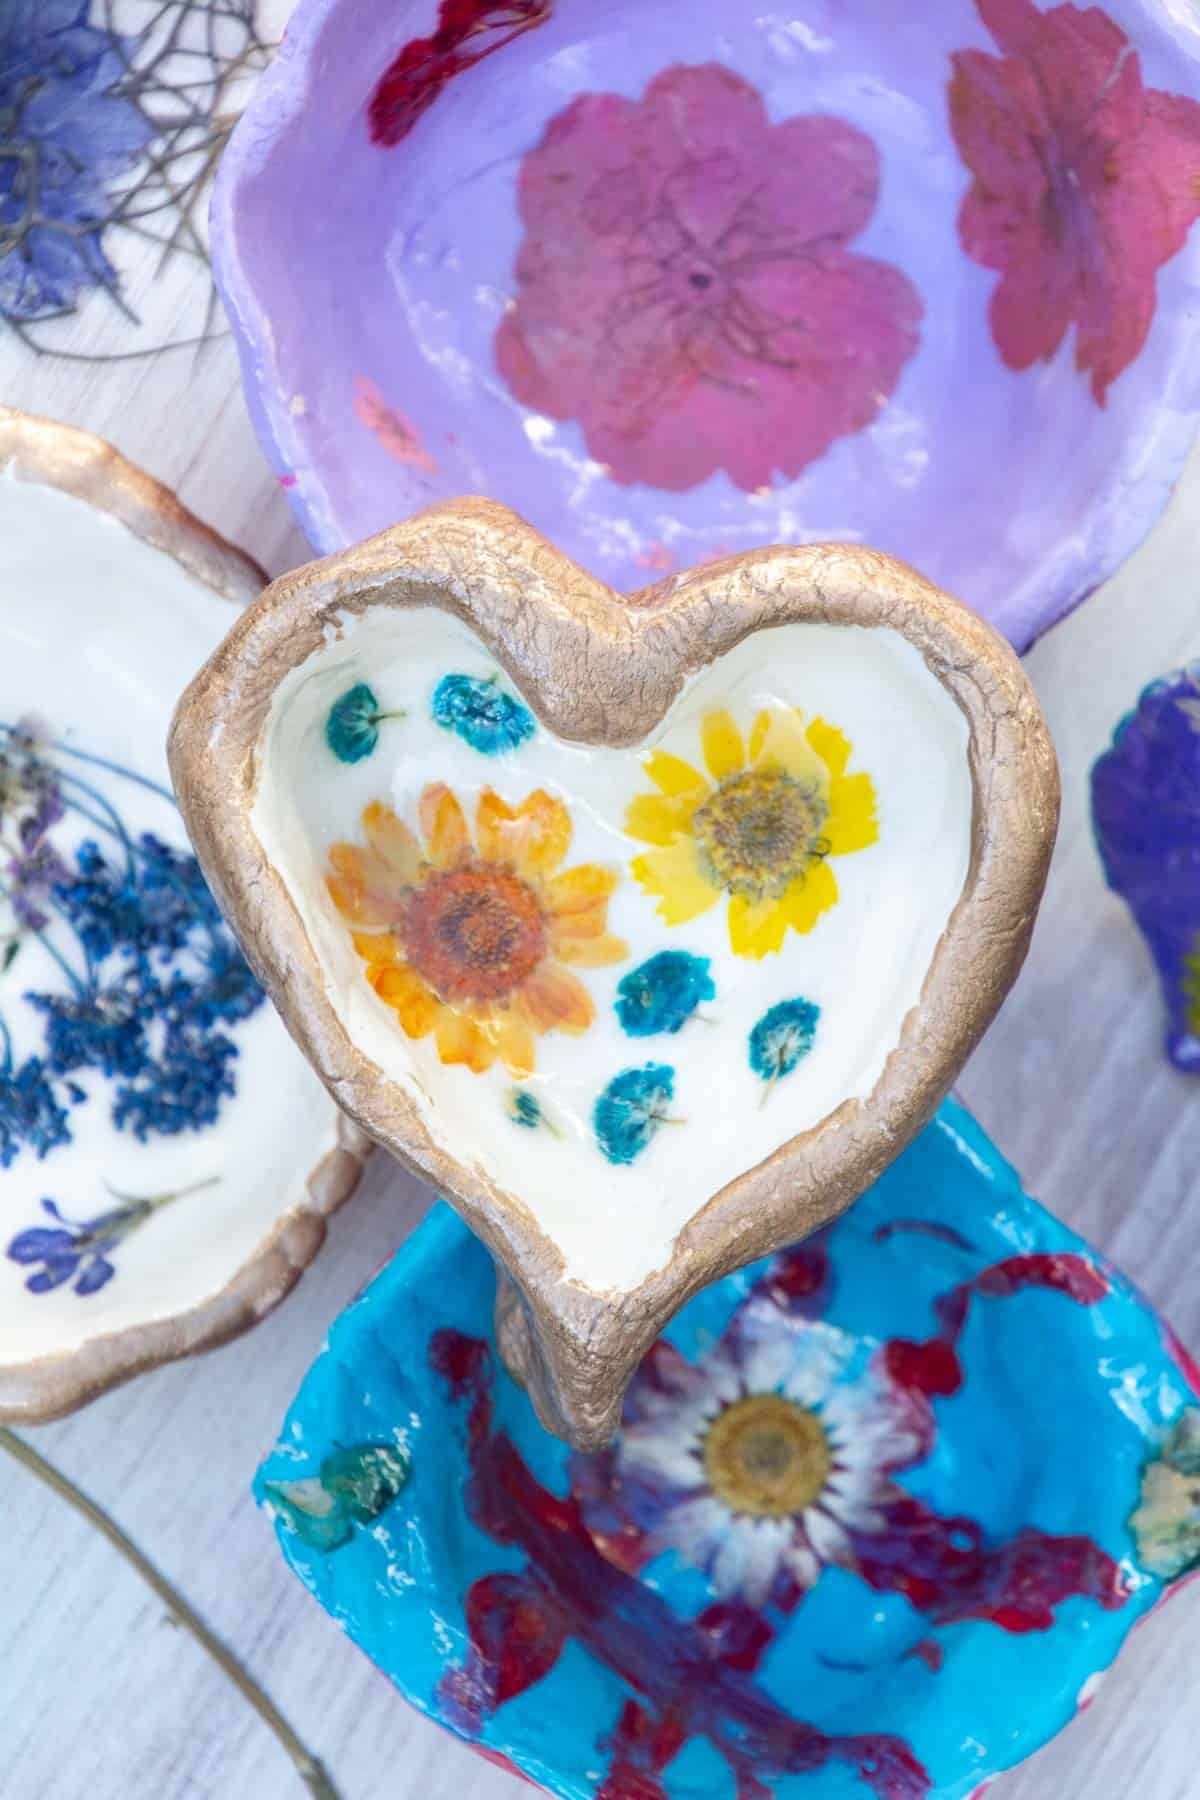
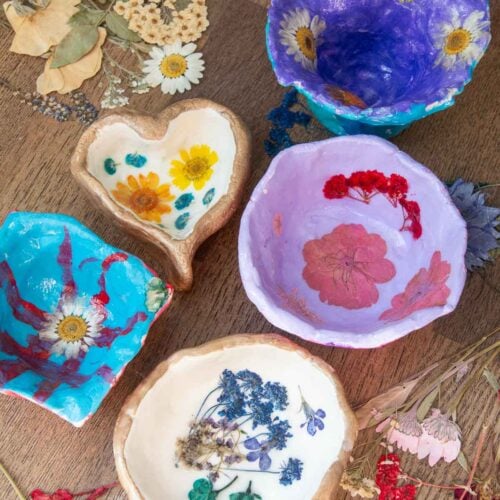
Let kids experiment with the shape of their pinch pots. I made mine flatter with a small edge, while kids can create taller, narrower or more traditional bowl shapes. You could even use this pressed-flower technique on coil pots or other clay forms. Some of these examples were made by a 2nd grader – 6th grader.
Frequently Asked Questions
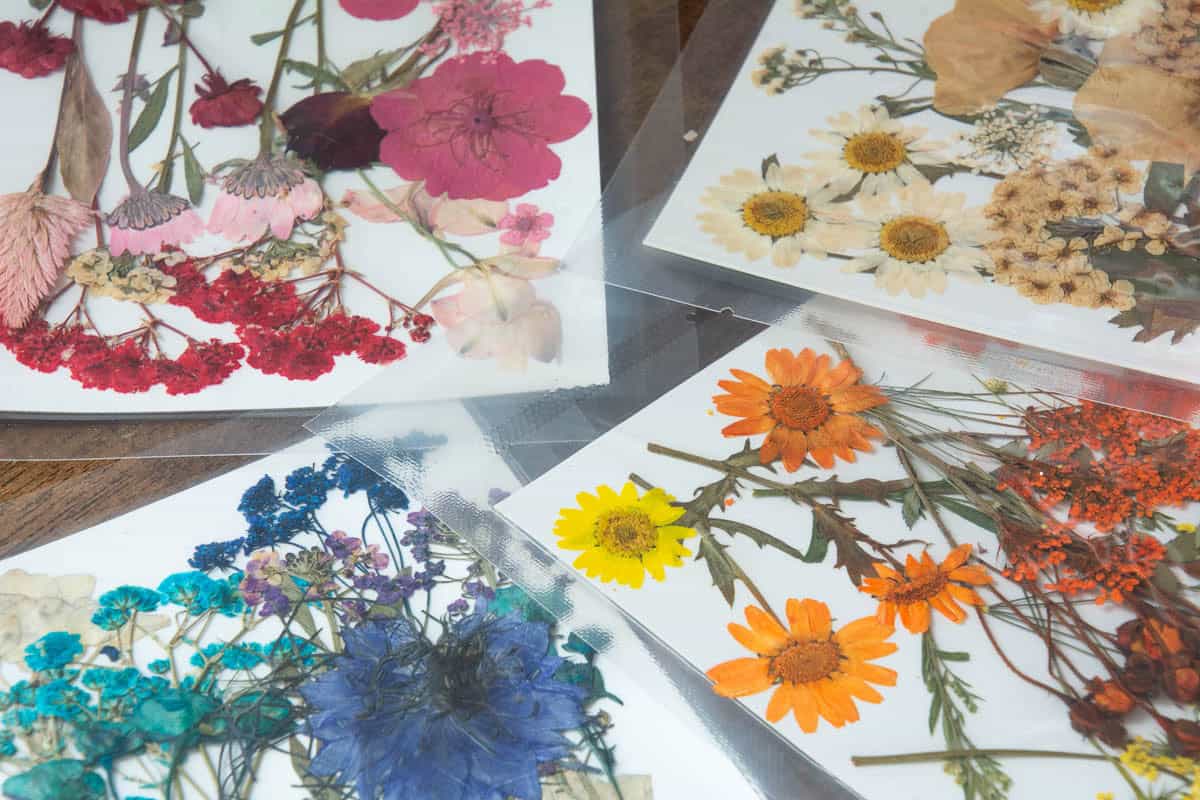
We purchased a package of dried pressed flowers online. You can find the exact flowers we used here. You can also find pressed flowers at many craft stores or make your own using flowers from your garden or yard. There are many simple flower-pressing methods you can try if you want to make this part of the project, too.
Yes! Ceramic clay creates a sturdier finished bowl. After making your pinch pot, let it dry completely, then bisque-fire it in a kiln.
For this pressed-flower technique, skip the traditional ceramic glaze. Instead, decorate the bisque-fired bowl with acrylic paint, Mod Podge, and pressed flowers just as you would with the air-dry clay version.
With adult assistance, even preschool-aged children can make a simple pinch pot and complete this project. Younger children will probably need extra help handling the delicate pressed flowers and adding the Mod Podge.
For a classroom setting, I recommend this project for 3rd grade and up, when most students can complete the clay and pressed-flower steps more independently.
Follow us on Pinterest, YouTube & Facebook for more free art and craft ideas!
Our Favorite
Related Clay Projects
I love how these pressed flower clay bowls turn something as simple as a pinch pot into something really special. Between the paint colors and different pressed flowers, no two bowls will ever look exactly the same. Kids and families will love that this is one of those clay projects that looks much harder to make than it actually is!
Pressed Flower Clay Bowl
Equipment
- Small bowl of water
- Clay tools, optional
- Paintbrushes or small foam brush
Supplies
Instructions
- BEFORE YOU BEGIN: Make sure your flowers are completely pressed and dry before adding them to the clay bowl. You can use purchased pressed flowers or press your own ahead of time.
- MAKE A BALL OF CLAY: Roll a piece of air-dry clay into a smooth ball.
- MAKE A PINCH POT: Push your thumb into the center of the clay without going all the way through. Slowly pinch and rotate the clay to create a small bowl.
- SMOOTH THE CLAY: Use your fingers and a small amount of water to smooth cracks and shape the edges of your bowl.
- LET THE CLAY DRY: Place the bowl in a safe spot and allow it to dry completely according to the directions on your clay package.
- PAINT THE BOWL: Use acrylic paint to add color to the inside and outside of your dried clay bowl. Let the paint dry completely.
- ADD MOD PODGE: Brush a thin layer of Mod Podge where you want to place your pressed flowers.
- ADD THE FLOWERS: Carefully arrange and gently press the dried flowers onto the Mod Podge.
- SEAL THE FLOWERS: Let the first coat of Mod Podge dry. Then, carefully brush another thin layer of Mod Podge over the flowers to help secure and protect them.
- LET IT DRY: Allow the finished bowl to dry completely before using or displaying it.
- ADD A GLOSSY FINISH: If desired, brush on a clear gloss sealer for extra shine and a more finished look.
Notes
- Try to keep the clay walls an even thickness so the bowl dries evenly and is less likely to crack.
- Use only a small amount of water when smoothing air-dry clay. Too much can make the clay sticky and weaken it.
- Make sure the clay and paint are completely dry before adding the pressed flowers.
- Handle pressed flowers carefully and use thin layers of Mod Podge so the flowers don’t tear or shift. We liked using small tweezers to make handling the flower easier.