Pressed Flower Clay Bowl
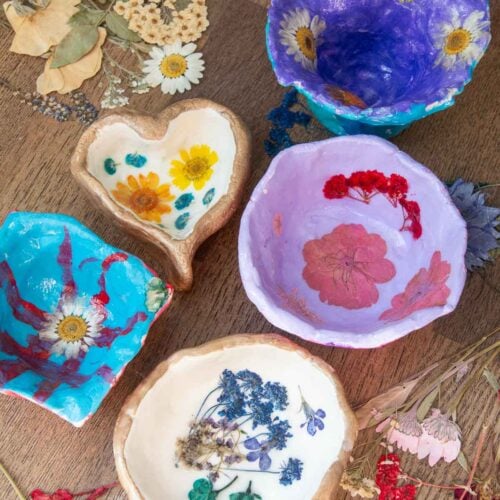
Make a beautiful pressed flower clay bowl using a simple pinch-pot technique. This beginner-friendly clay project can be made with air-dry clay and customized with paint and pressed flowers.
Print Tutorial
Equipment
- Small bowl of water
- Clay tools, optional
- Paintbrushes or small foam brush
Supplies
Instructions
- BEFORE YOU BEGIN: Make sure your flowers are completely pressed and dry before adding them to the clay bowl. You can use purchased pressed flowers or press your own ahead of time.
- MAKE A BALL OF CLAY: Roll a piece of air-dry clay into a smooth ball.
- MAKE A PINCH POT: Push your thumb into the center of the clay without going all the way through. Slowly pinch and rotate the clay to create a small bowl.
- SMOOTH THE CLAY: Use your fingers and a small amount of water to smooth cracks and shape the edges of your bowl.
- LET THE CLAY DRY: Place the bowl in a safe spot and allow it to dry completely according to the directions on your clay package.
- PAINT THE BOWL: Use acrylic paint to add color to the inside and outside of your dried clay bowl. Let the paint dry completely.
- ADD MOD PODGE: Brush a thin layer of Mod Podge where you want to place your pressed flowers.
- ADD THE FLOWERS: Carefully arrange and gently press the dried flowers onto the Mod Podge.
- SEAL THE FLOWERS: Let the first coat of Mod Podge dry. Then, carefully brush another thin layer of Mod Podge over the flowers to help secure and protect them.
- LET IT DRY: Allow the finished bowl to dry completely before using or displaying it.
- ADD A GLOSSY FINISH: If desired, brush on a clear gloss sealer for extra shine and a more finished look.
Notes
- Try to keep the clay walls an even thickness so the bowl dries evenly and is less likely to crack.
- Use only a small amount of water when smoothing air-dry clay. Too much can make the clay sticky and weaken it.
- Make sure the clay and paint are completely dry before adding the pressed flowers.
- Handle pressed flowers carefully and use thin layers of Mod Podge so the flowers don’t tear or shift. We liked using small tweezers to make handling the flower easier.
Tried this Crafty Art Idea?Please consider Leaving a Review!
Cost: $5-$10