
Colorful Torn Paper Christmas Tree Collage For Kids


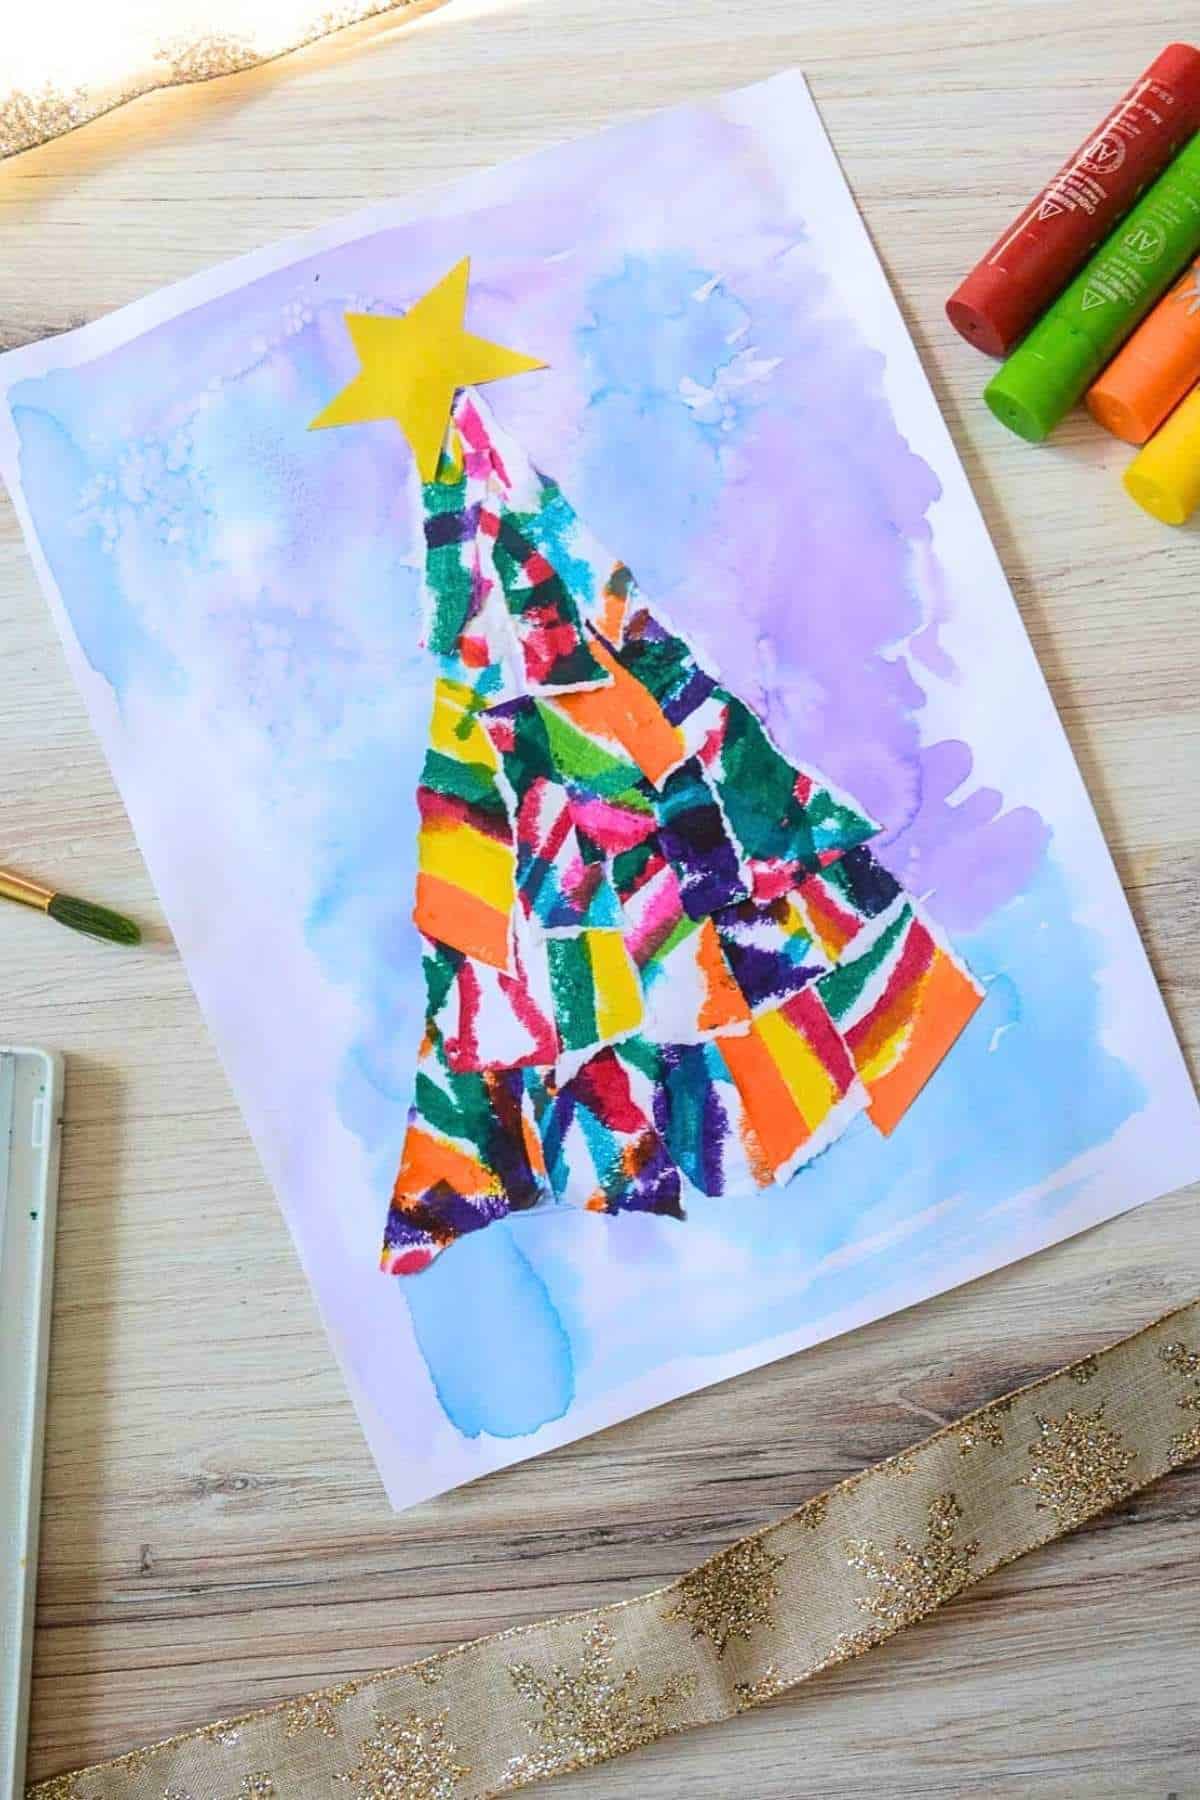
I love a Christmas art project that is easy enough for little kids but doesn’t result in 20 trees that all look exactly the same. The best part is that this ripped paper Christmas tree collage uses a simple process while still giving kids plenty of room to make their own creative choices.
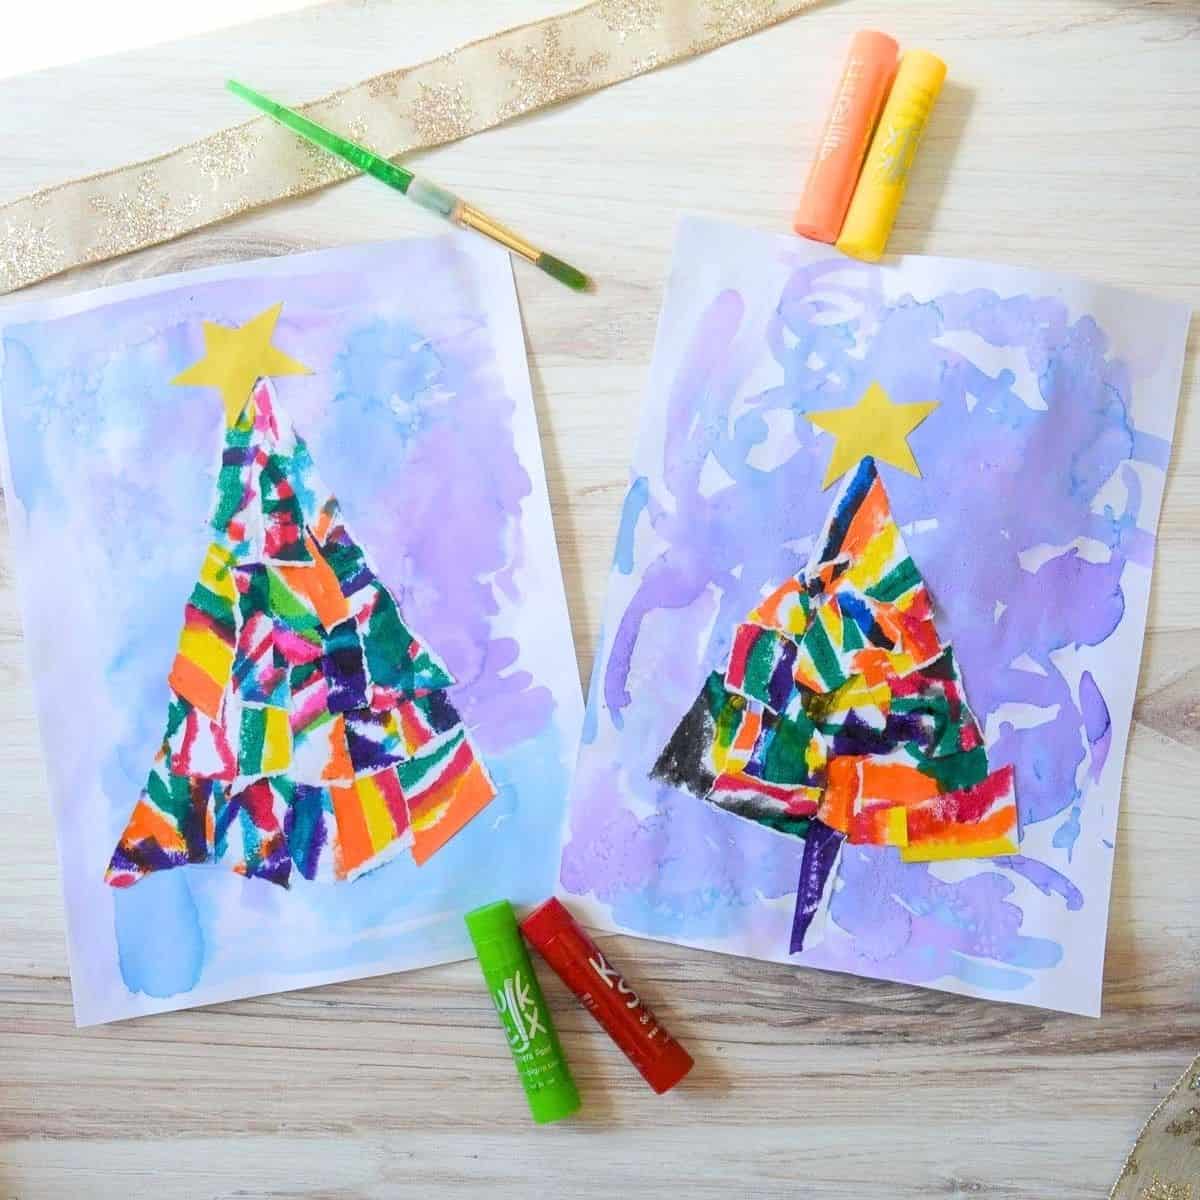
We also love Christmas projects that don’t have to use traditional red and green. Just like our chalk pastel Christmas tree drawings and Christmas tree foil art project, kids can experiment with colors and patterns to create artwork that is completely their own.
Why You Will Love This Art Project
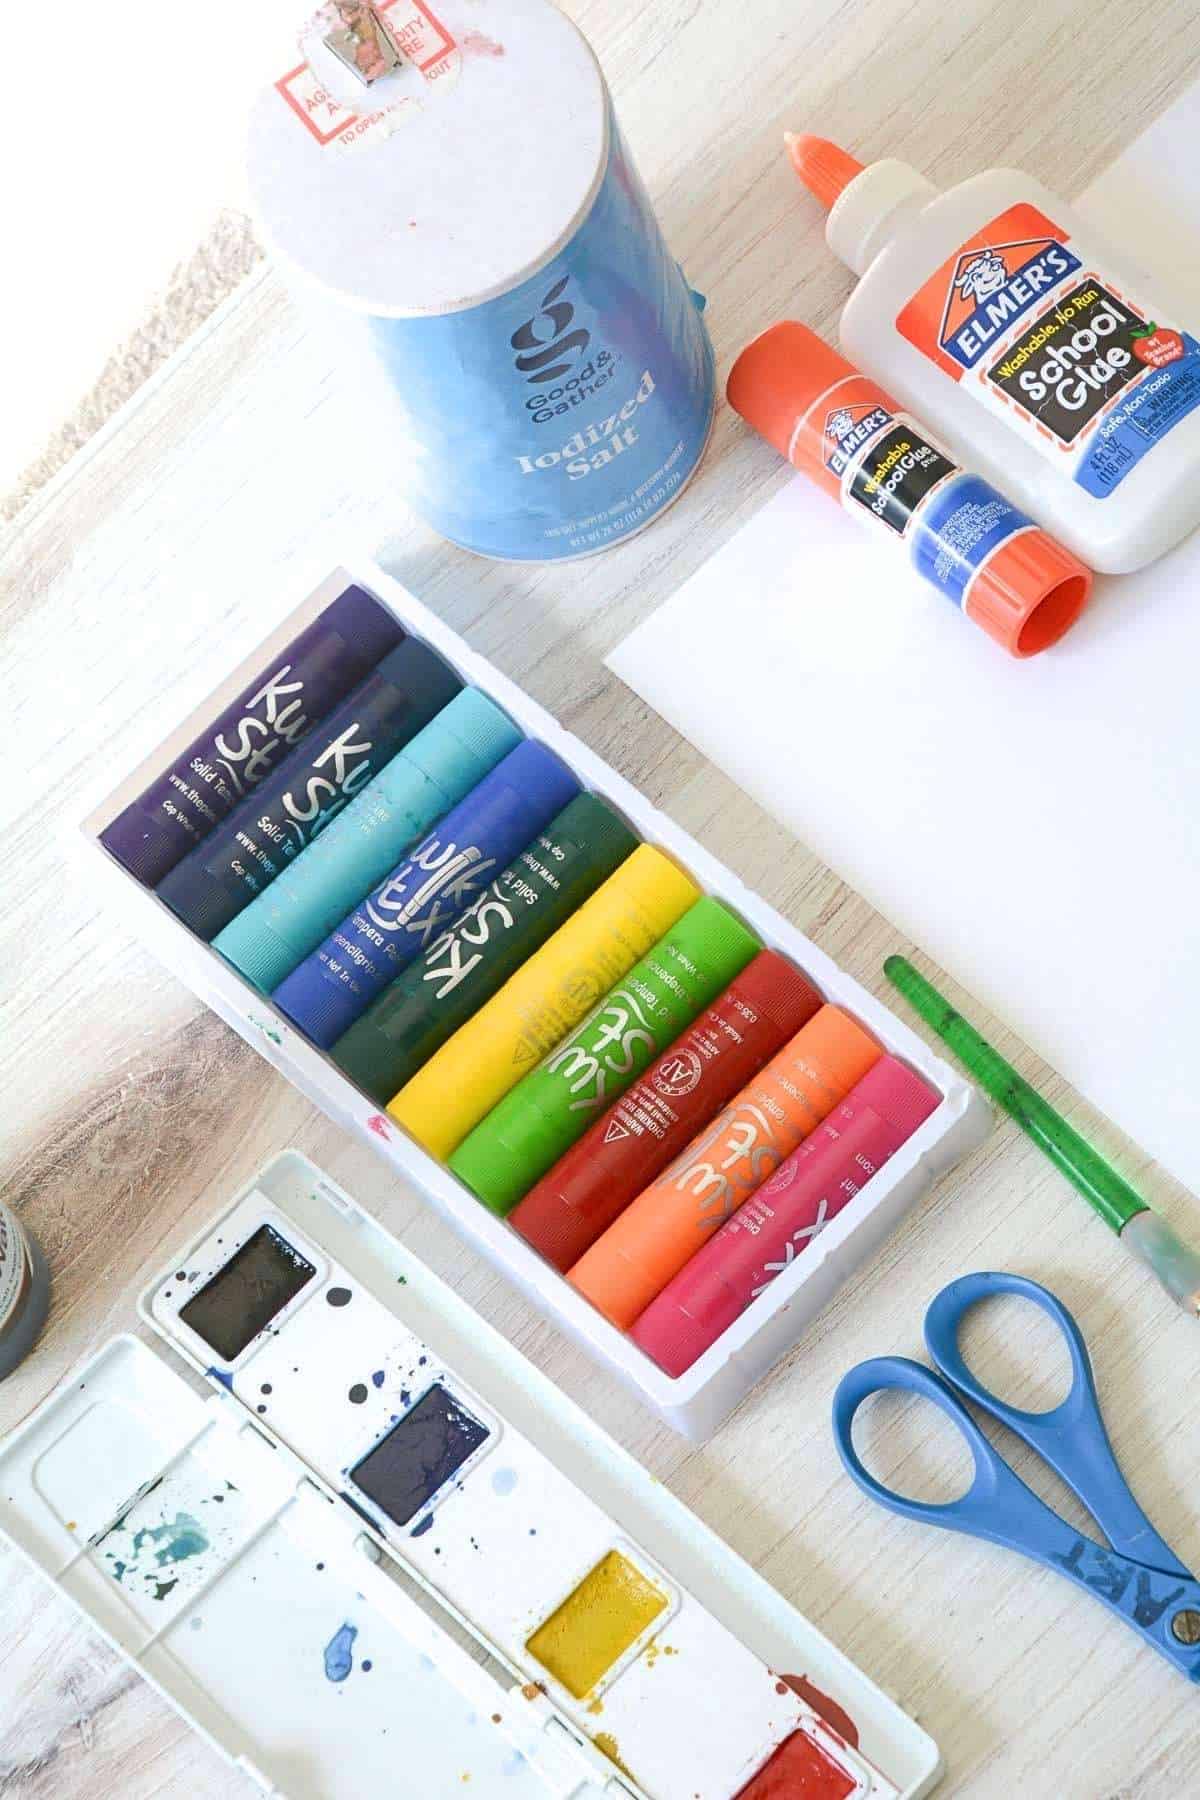
Supplies You’ll Need
Disclosure: This post may contain affiliate links when clicked, we may earn a small commission at no additional cost to you. Read our full privacy policy.
🎨 Art Teacher’s Take
Don’t worry about showing kids exactly how their finished tree should look. Demonstrate how to make the colorful paper, rip longer strips and arrange them into a basic tree shape. After that, let them figure out the rest.
How To Make A Torn Christmas Tree Collage
Step 1: Create Colorful Paper
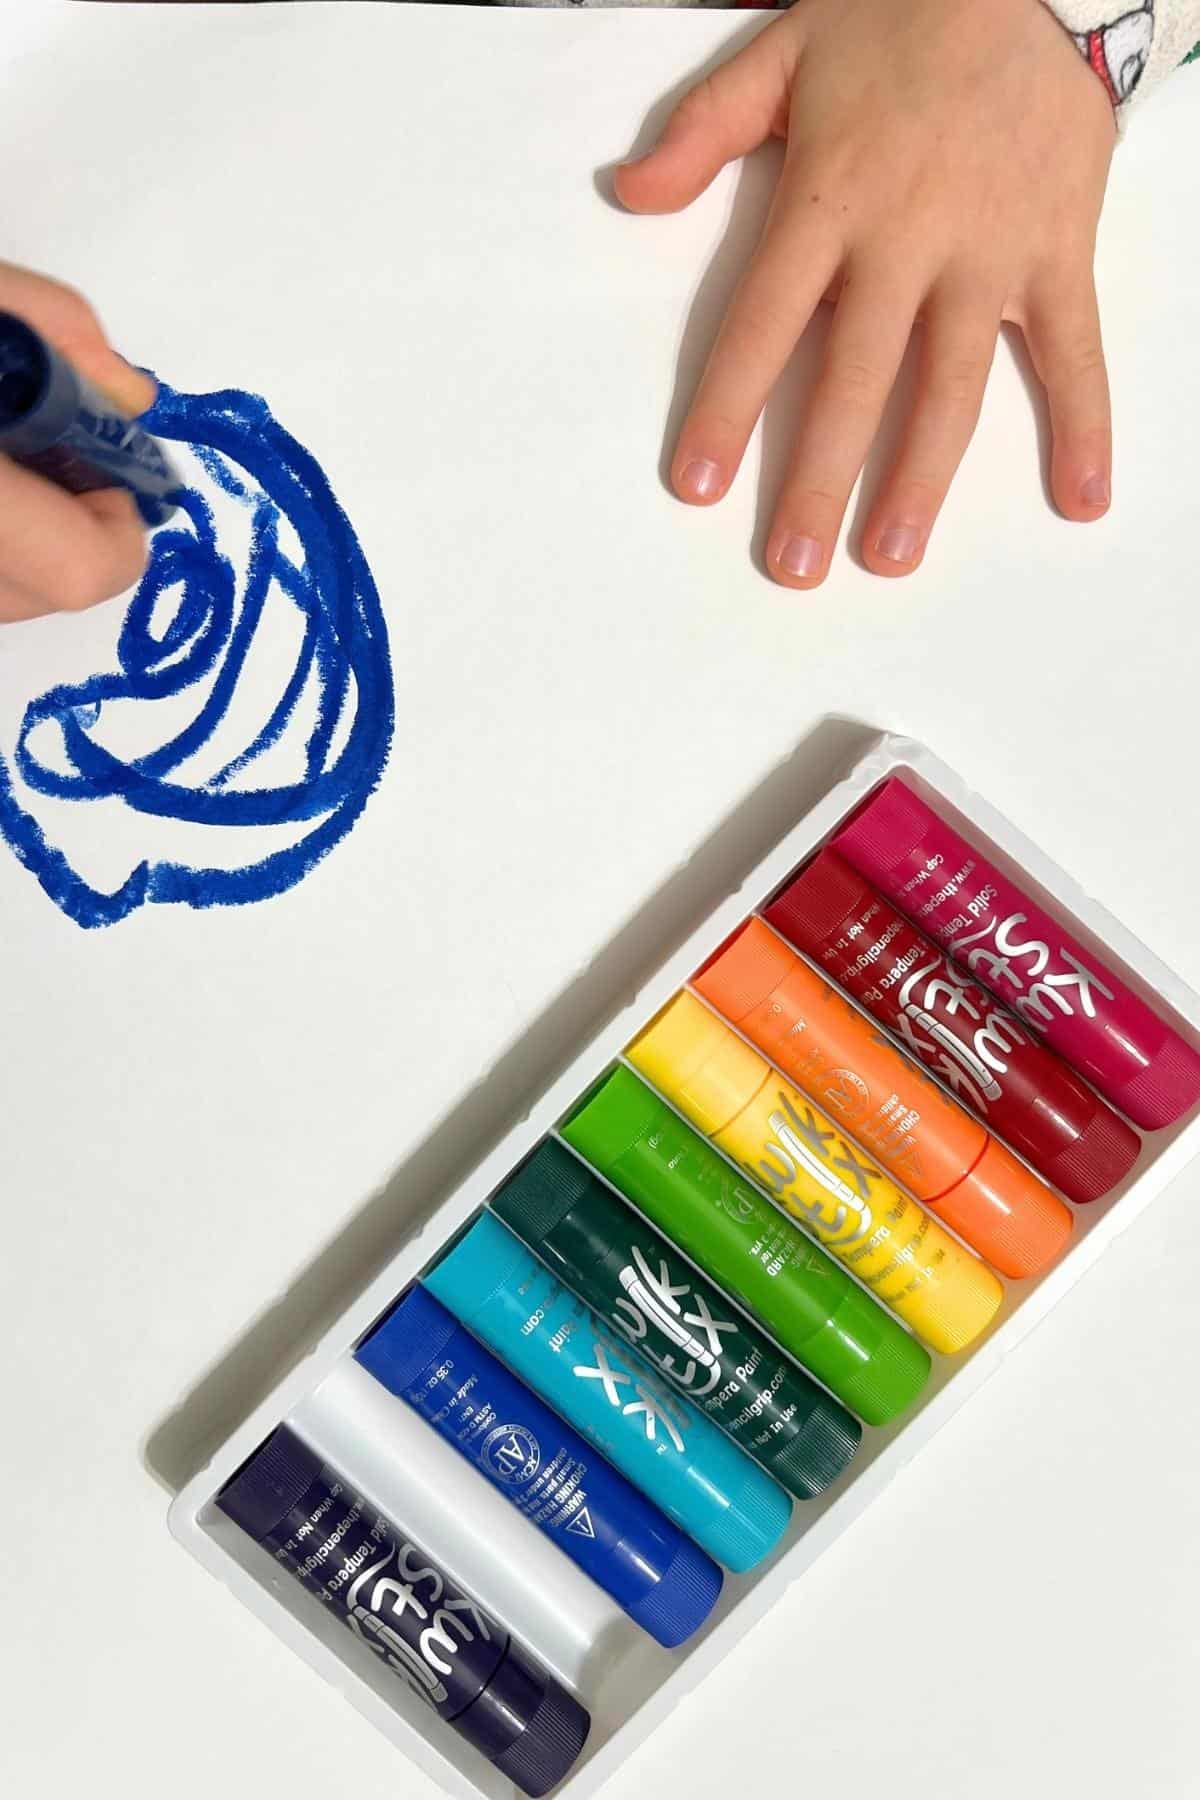
Use tempera paint sticks or another coloring material of your choice to fill an entire 9″ x 12″ piece of heavyweight drawing paper with colors, lines and designs. Encourage kids to cover the whole paper instead of leaving large white areas.
Step 2: Create the Background
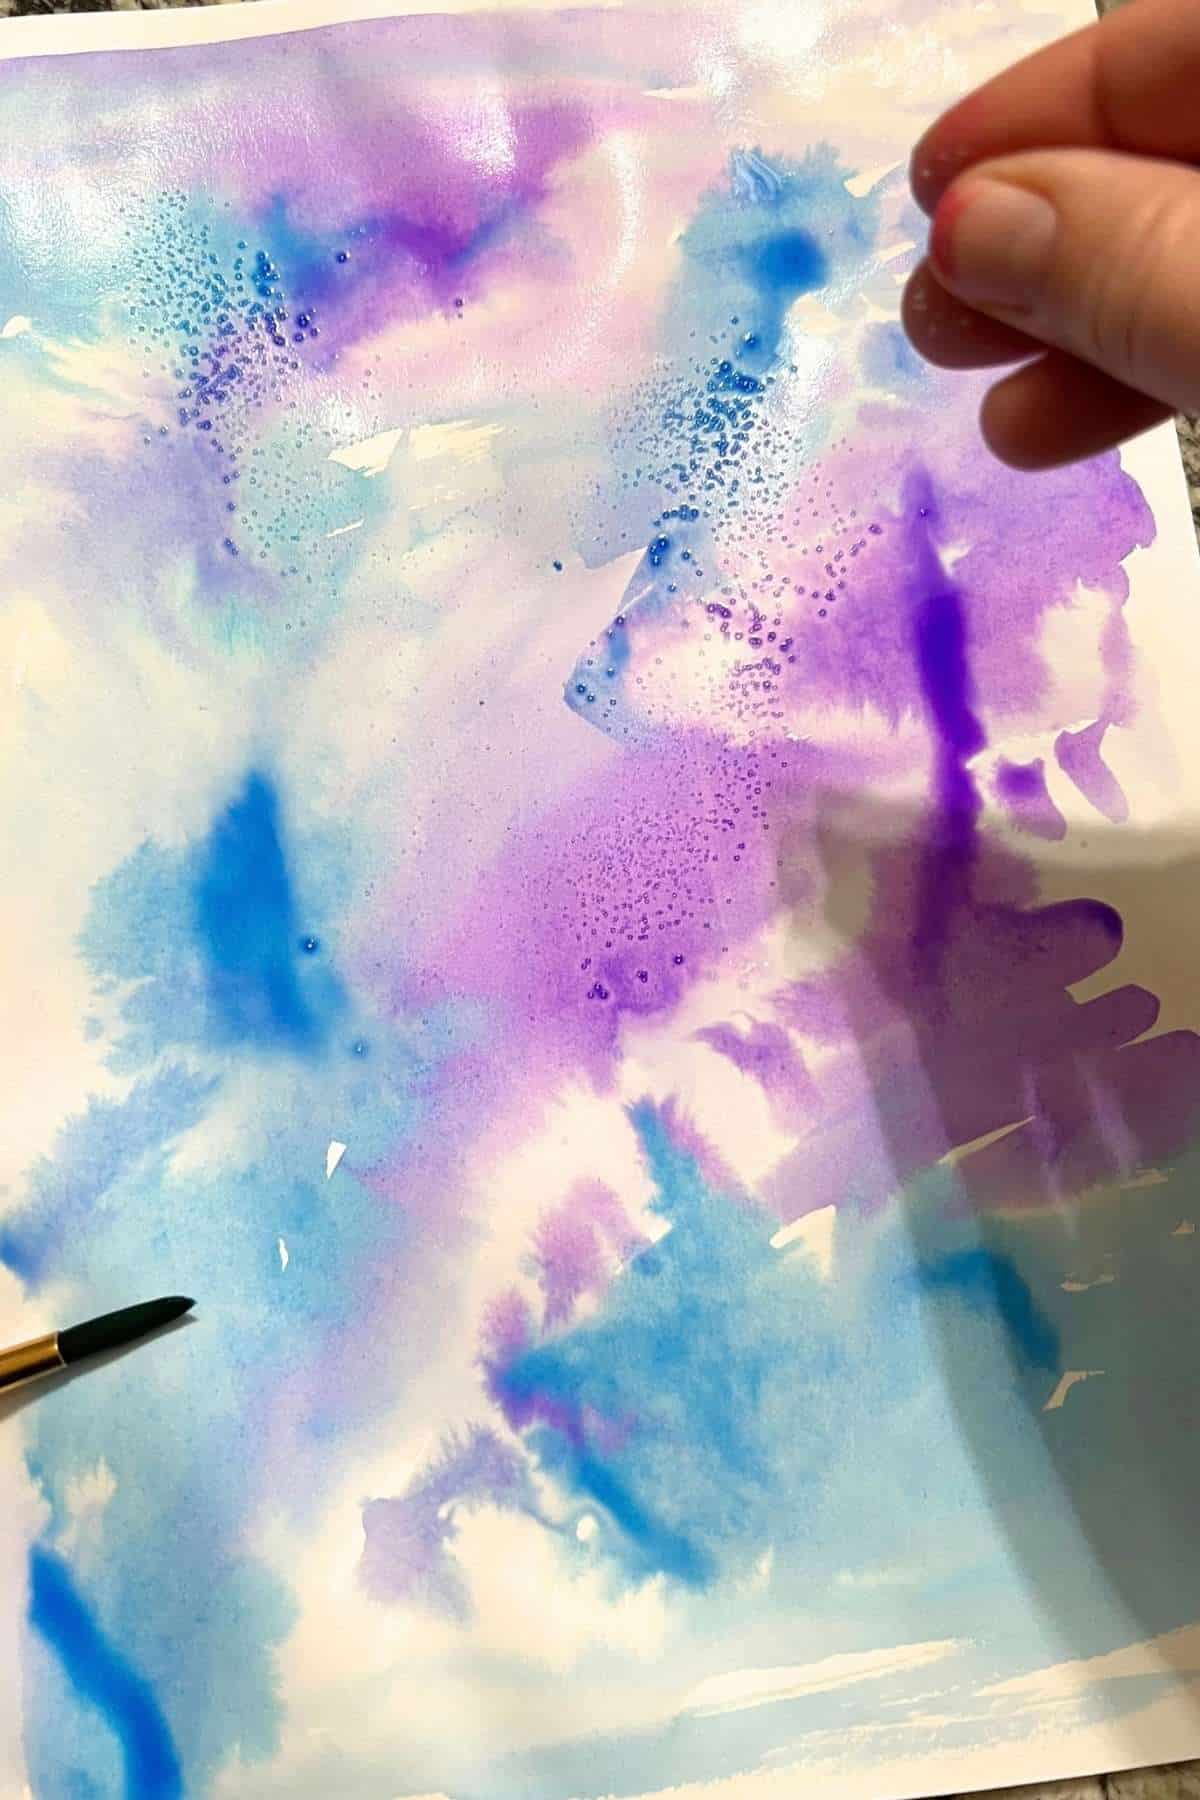
Paint a second piece of heavyweight drawing paper with watercolor paint. If your tree paper has lots of colors, stick with one or two watercolor colors so the finished tree will stand out. Add salt for a fun effect.
For an even easier option, skip this step and use a plain piece of construction paper.
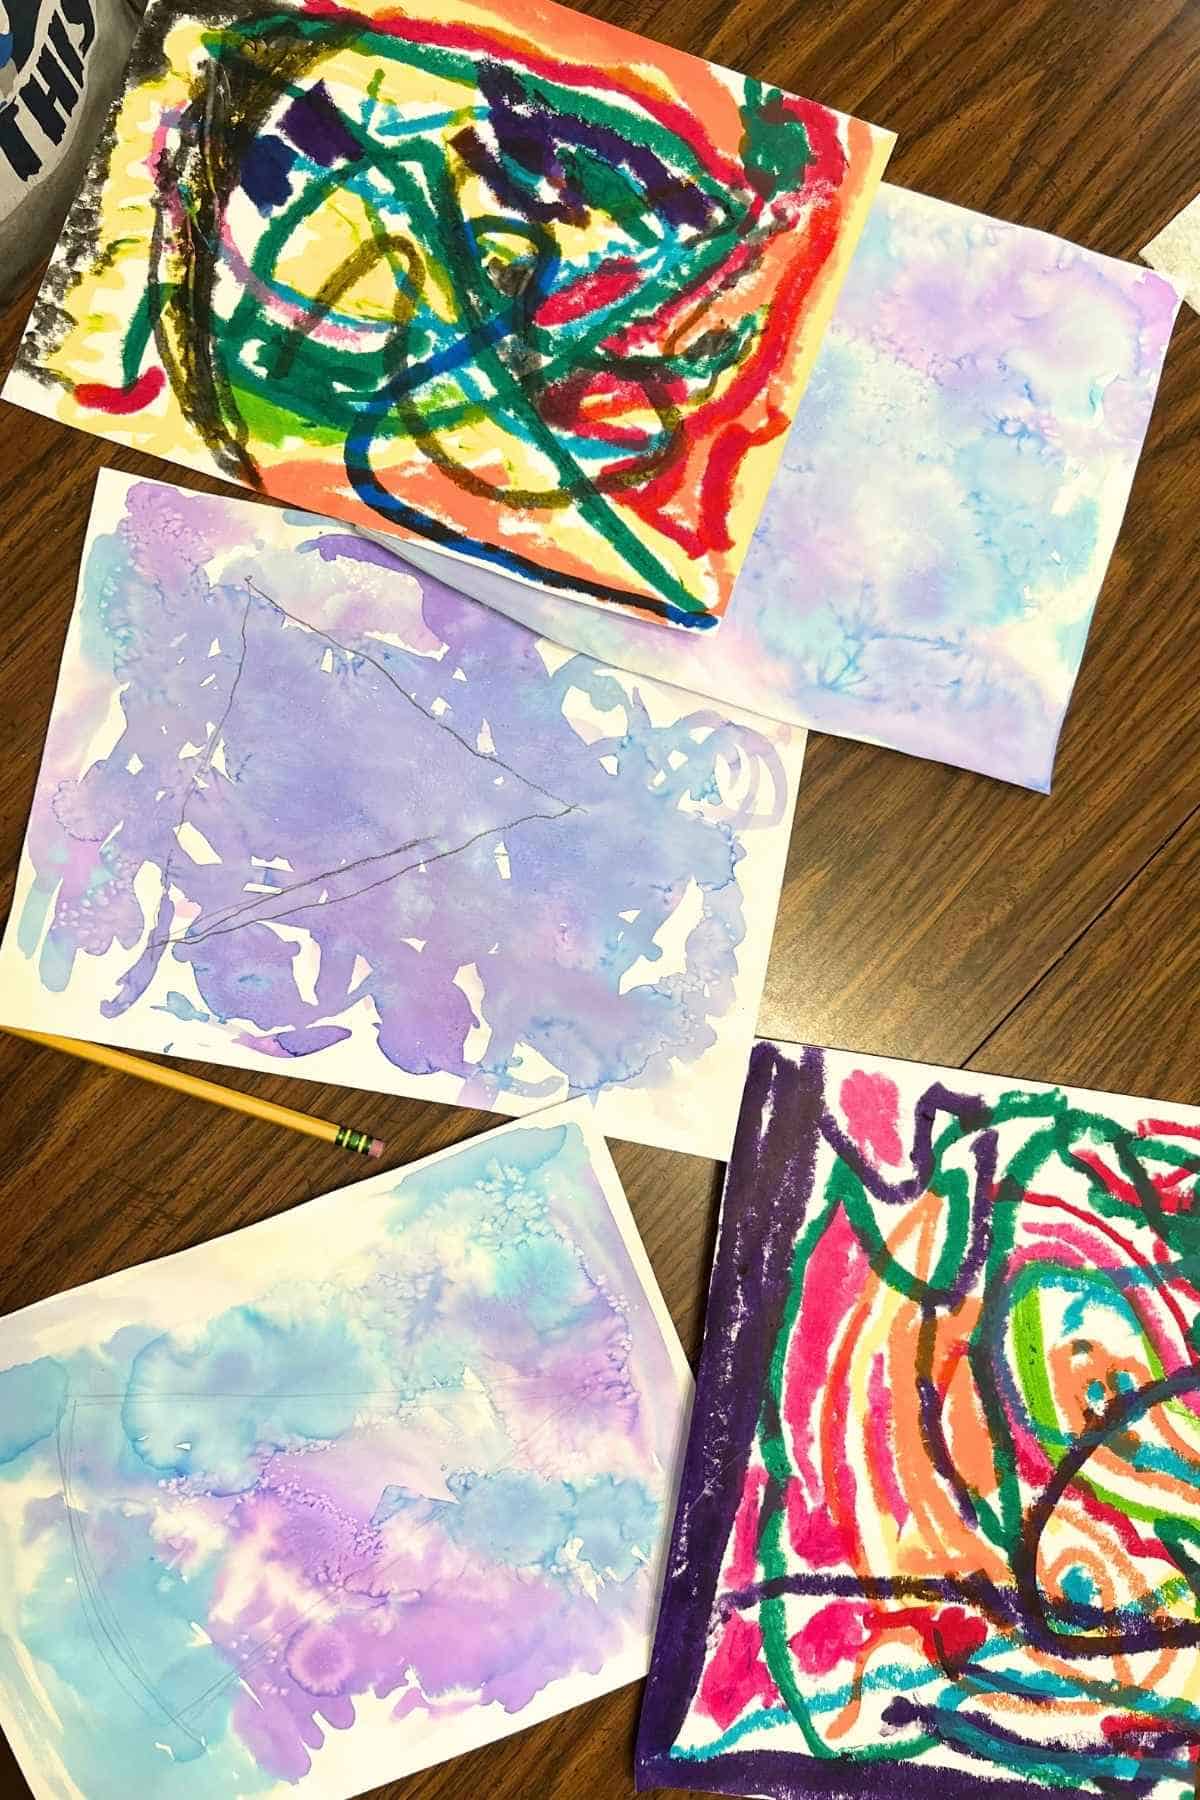
Step 3: Let The Papers Dry
If you used watercolor or another wet material, let everything dry before starting your collage. Paint sticks dry quickly, so if you want to make this a one-day art project, use construction paper for the background.
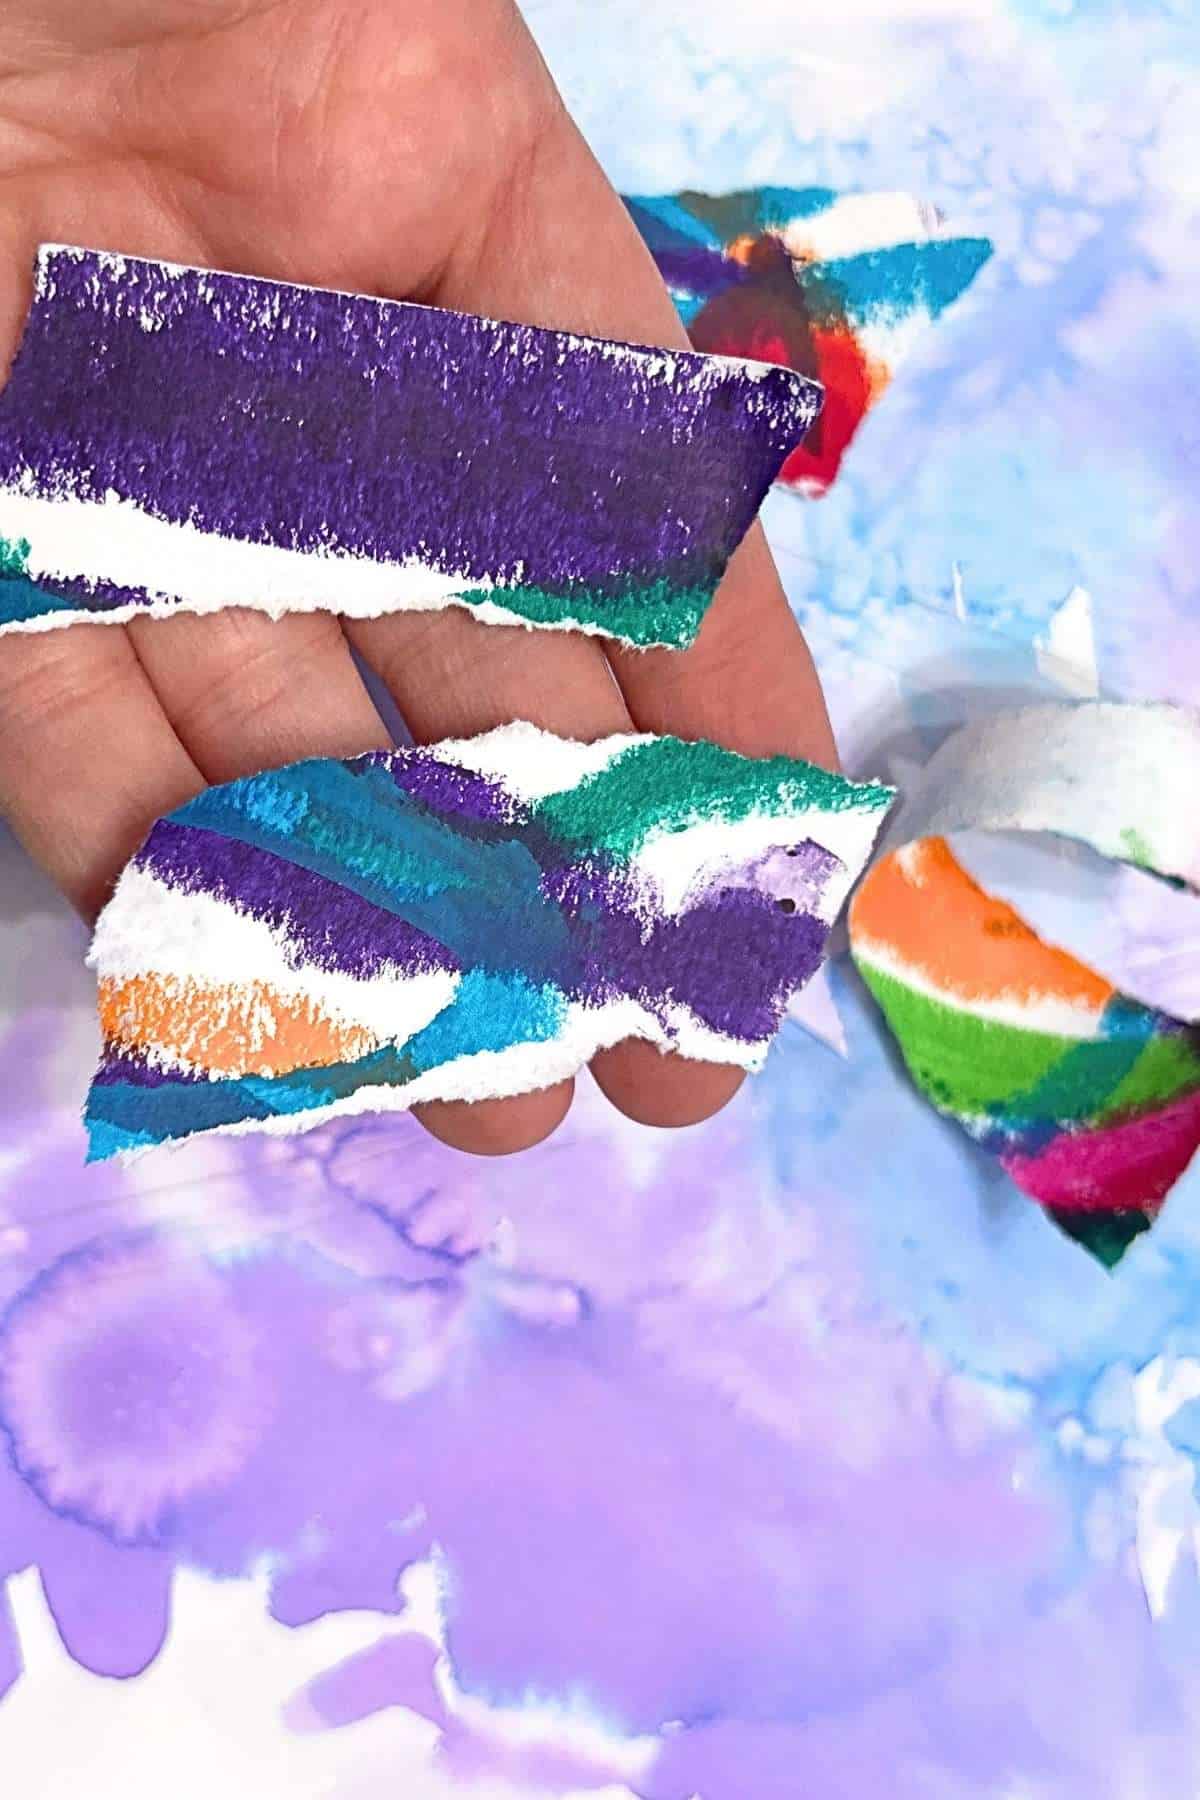
Step 4: Rip Long Paper Strips
Rip the colorful paper into long strips. Smaller pieces will work too, but longer strips make it easier for younger kids to fill their Christmas tree shape.
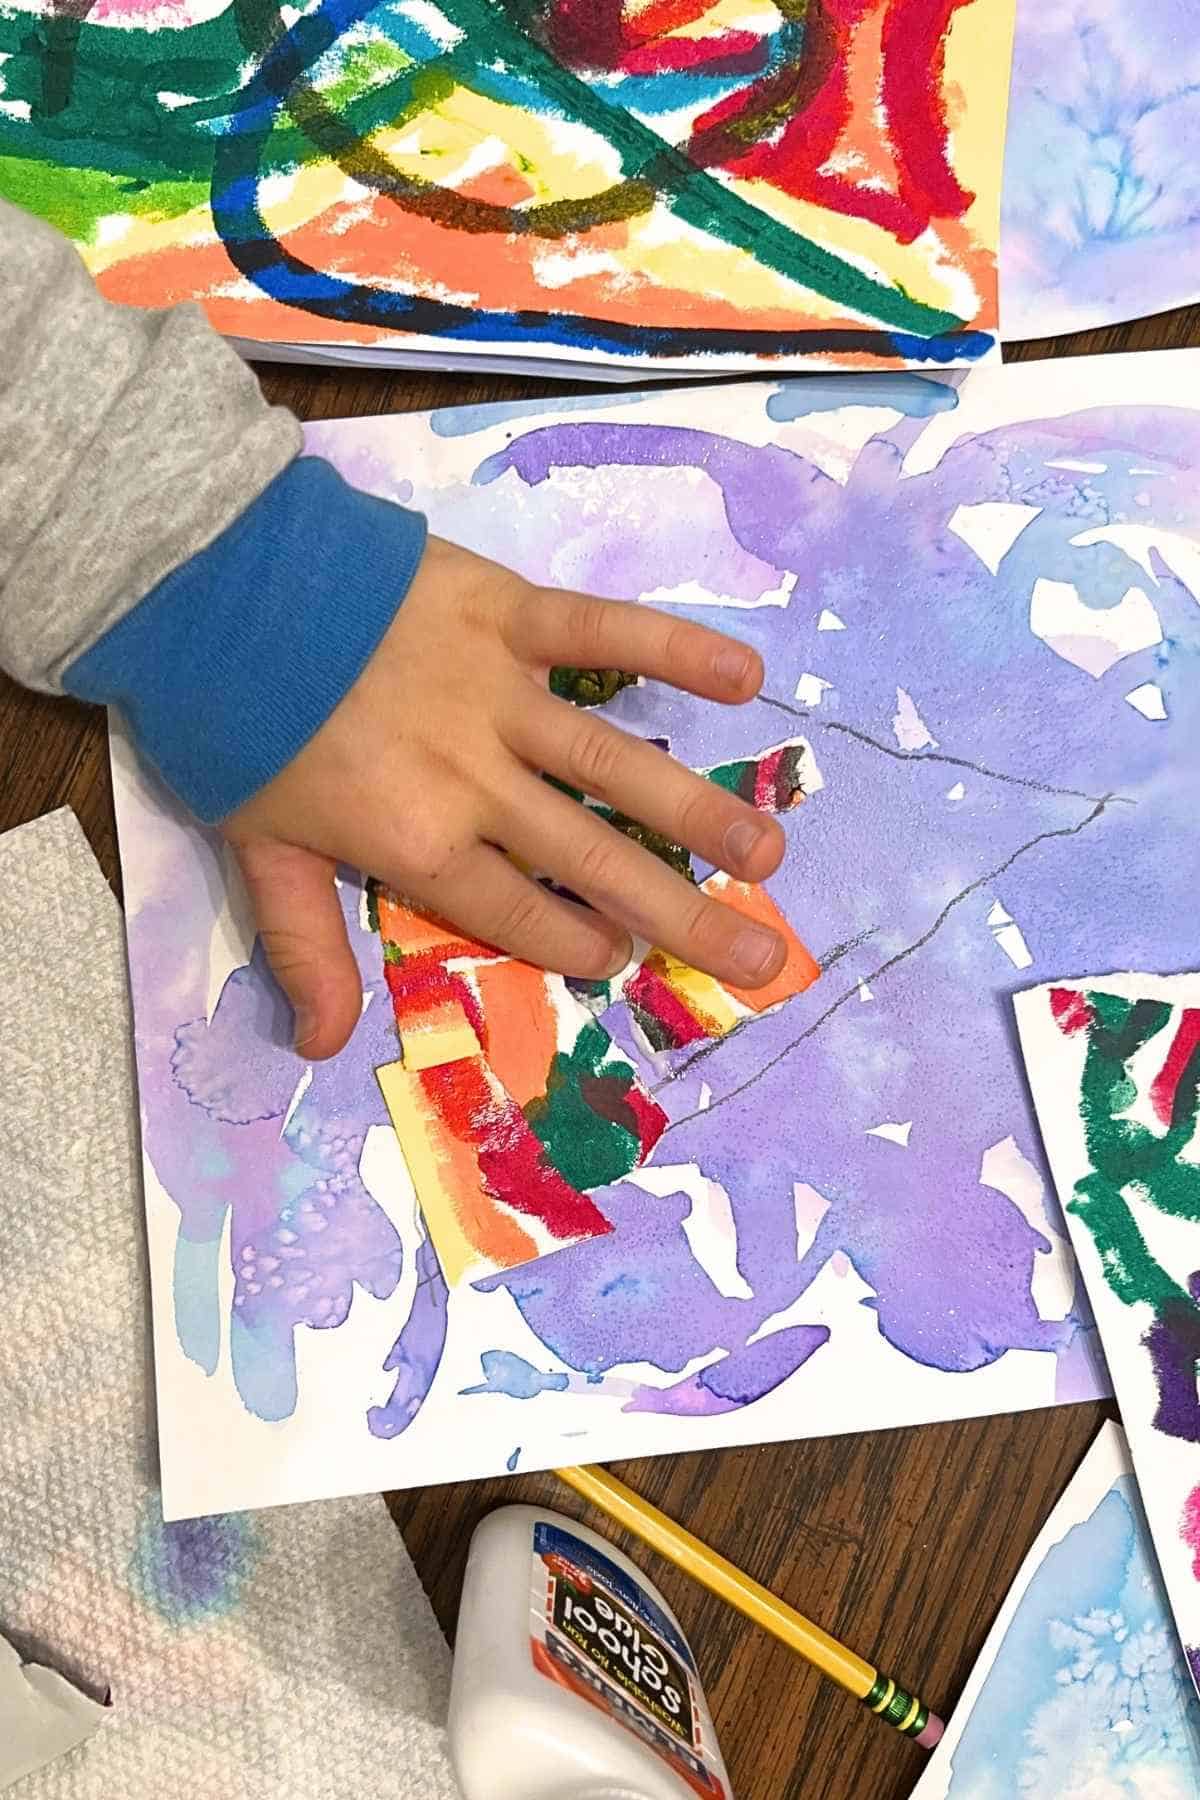
Step 5: Arrange And Glue The Tree
Draw a triangle shape if needed. Arrange the ripped strips on the background to create a Christmas tree. Once you like the arrangement, glue each piece in place.
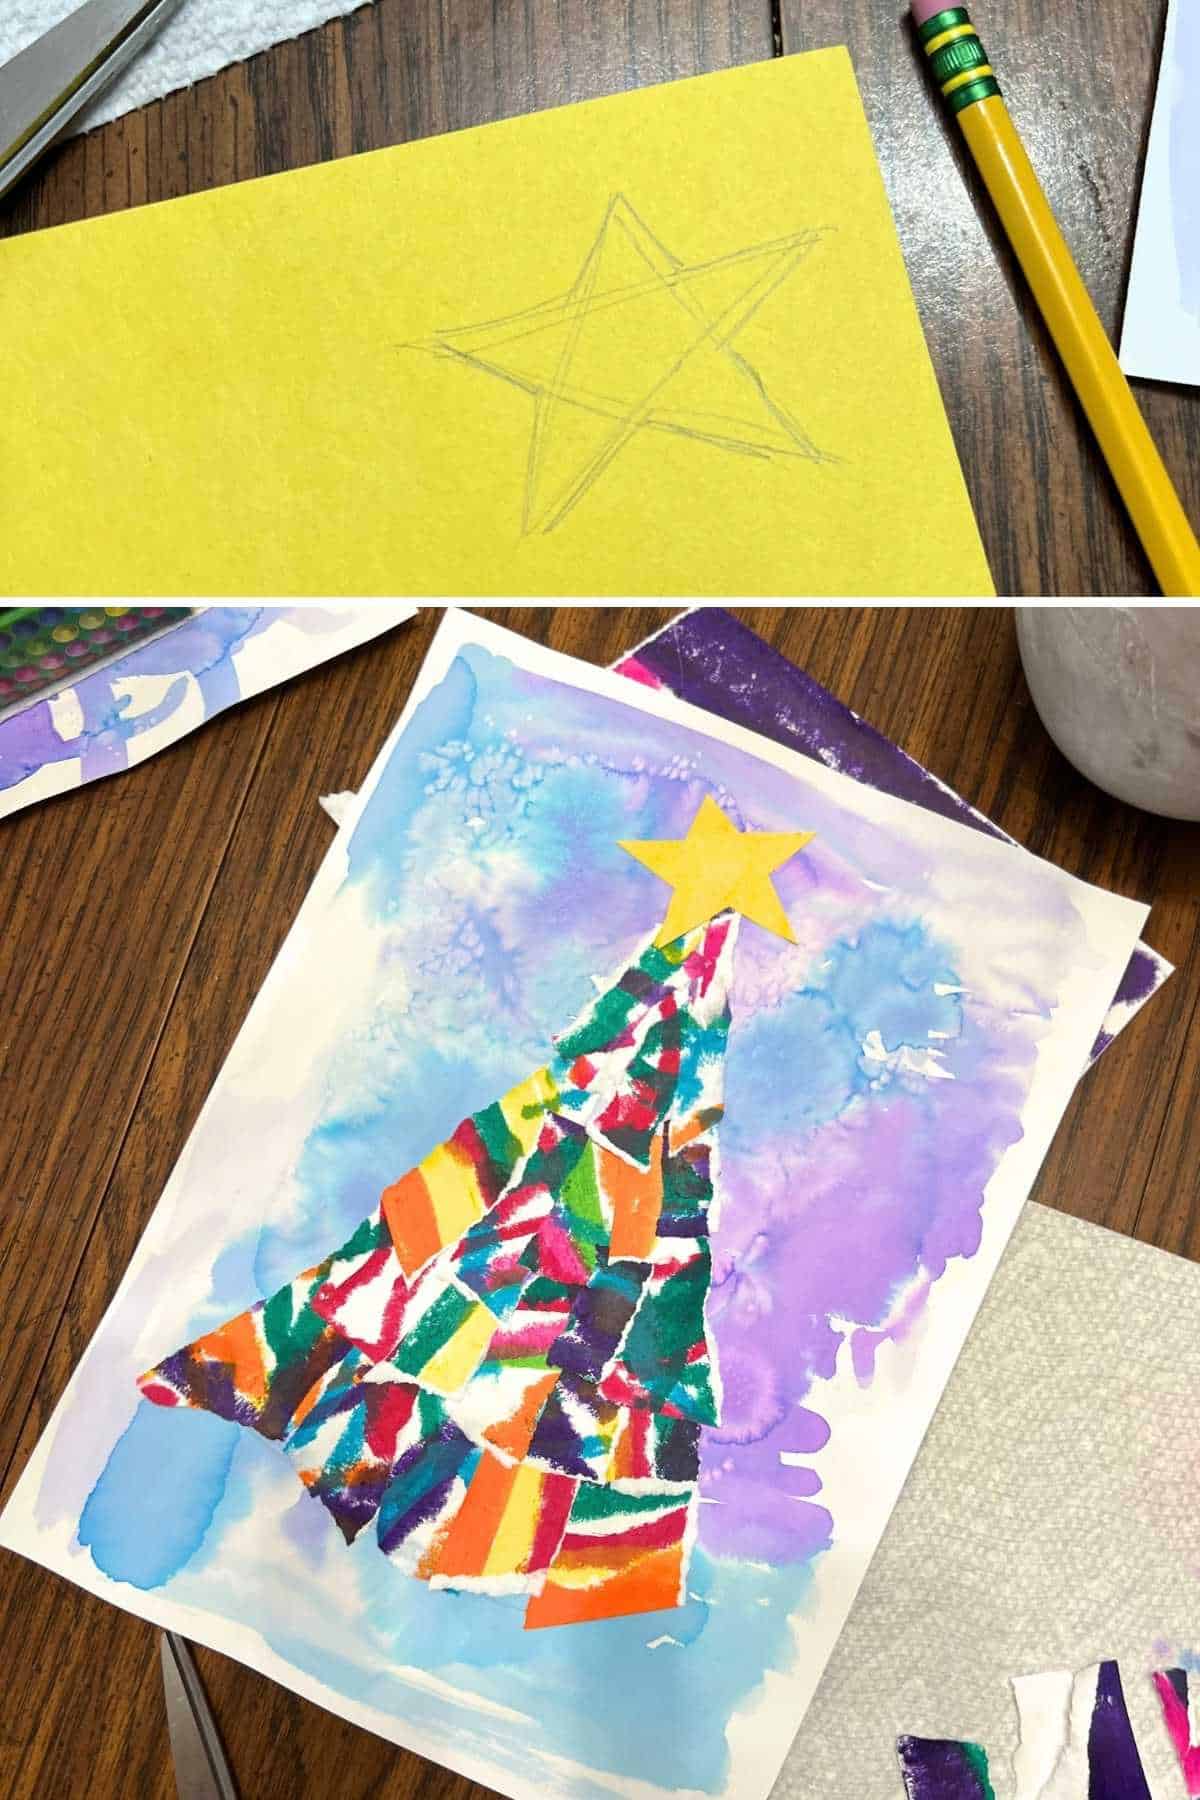
Step 6: Add Extra Details
Add a star, trunk, ornaments or other collage materials. Kids can also use a permanent marker to add patterns, lines or other decorations.
Optional: Add Paint Splatters
Thin a small amount of white tempera paint with water. Use an old paintbrush or toothbrush to splatter white paint over the finished collage for a snowy effect.
Tips
- FILL THE WHOLE PAPER – Encourage kids to cover as much of the white paper as possible with colors and patterns. Tell them to get rid of those white spaces!
- LAYER ART MATERIALS – Try watercolor with paint sticks on top or layer different paint-stick colors and designs.
- ADJUST FOR DIFFERENT AGES – Younger children can make a simple triangle tree, while older kids can overlap three sections that get smaller toward the top.
- DEMONSTRATE GLUING – Have kids flip each piece onto scrap paper or another work surface before adding glue around the edges. This keeps extra glue off the background paper and helps prevent a mess.
Collage FAQ
We especially love this project for preschool, kindergarten and early elementary-aged kids. You can easily simplify or add to the process depending on the age and abilities of the children.
No. We loved paint sticks because they are colorful and low-mess, but you can use what you already have. Crayons, markers, oil pastels, watercolor or tempera paint can all be used to make your collage paper.
Yes! Skip the Christmas decorations and make a colorful winter tree instead. You could even make several smaller trees from the same paper and arrange them together to create a winter landscape. The trees are the limit!
Follow us on Pinterest, YouTube & Facebook for more free art and craft ideas!
More
Related Christmas Projects For Kids
These colorful Christmas tree collages are so cheerful when they are all displayed together. Whether you hang one at home or fill an entire school hallway, I love that you can immediately see each child’s personality in their finished artwork.
Torn Paper Christmas Tree Collage For Kids
Equipment
- White tempera paint, optional
Supplies
- 2 pieces of 9″ x 12″ heavyweight drawing paper or watercolor paper
- Tempera paint sticks
- Glue
- Watercolor paint optional
- Salt optional
- Extra collage materials for decorations optional
- White tempera paint optional
Instructions
- CREATE COLORFUL PAPER: Use tempera paint sticks to cover one piece of paper with colors, lines and designs. Fill as much of the white space as possible.
- CREATE THE BACKGROUND: Paint a second piece of paper with one or two watercolor colors, or use construction paper for an easier option.
- LET THE PAPER DRY: Allow any wet materials to dry completely before starting the collage.
- TEAR LONG PAPER STRIPS: Tear the colorful paper into long strips. Smaller pieces can also be used to fill in the tree.
- ARRANGE AND GLUE: Arrange the torn strips into a Christmas tree shape and glue each piece in place.
- ADD DETAILS: Add a star, trunk, ornaments, collage materials or marker designs to decorate the tree.
- ADD SNOW, OPTIONAL: Thin white tempera paint with a little water and splatter it over the finished collage with an old paintbrush or toothbrush.
Notes
- Paint sticks work especially well because they are colorful, low-mess and dry quickly.
- If you want to complete this project in one art session, use construction paper for the background instead of watercolor so you do not have to wait for it to dry.
- Younger children can make a simple triangle tree. Older kids can overlap three sections that get smaller toward the top.
- Try layering different colors and art materials when creating the collage paper.
- Have kids add glue to each paper piece on a separate work surface to help keep extra glue off the background.