
DIY Poke-A-Pumpkin Halloween Party Game Kids Absolutely Love

It is another classroom party season, and my kids always ask me to make a fun game board. This Halloween Poke-a-Pumpkin game is super easy to make, and kids (and adults alike) love grabbing surprises!
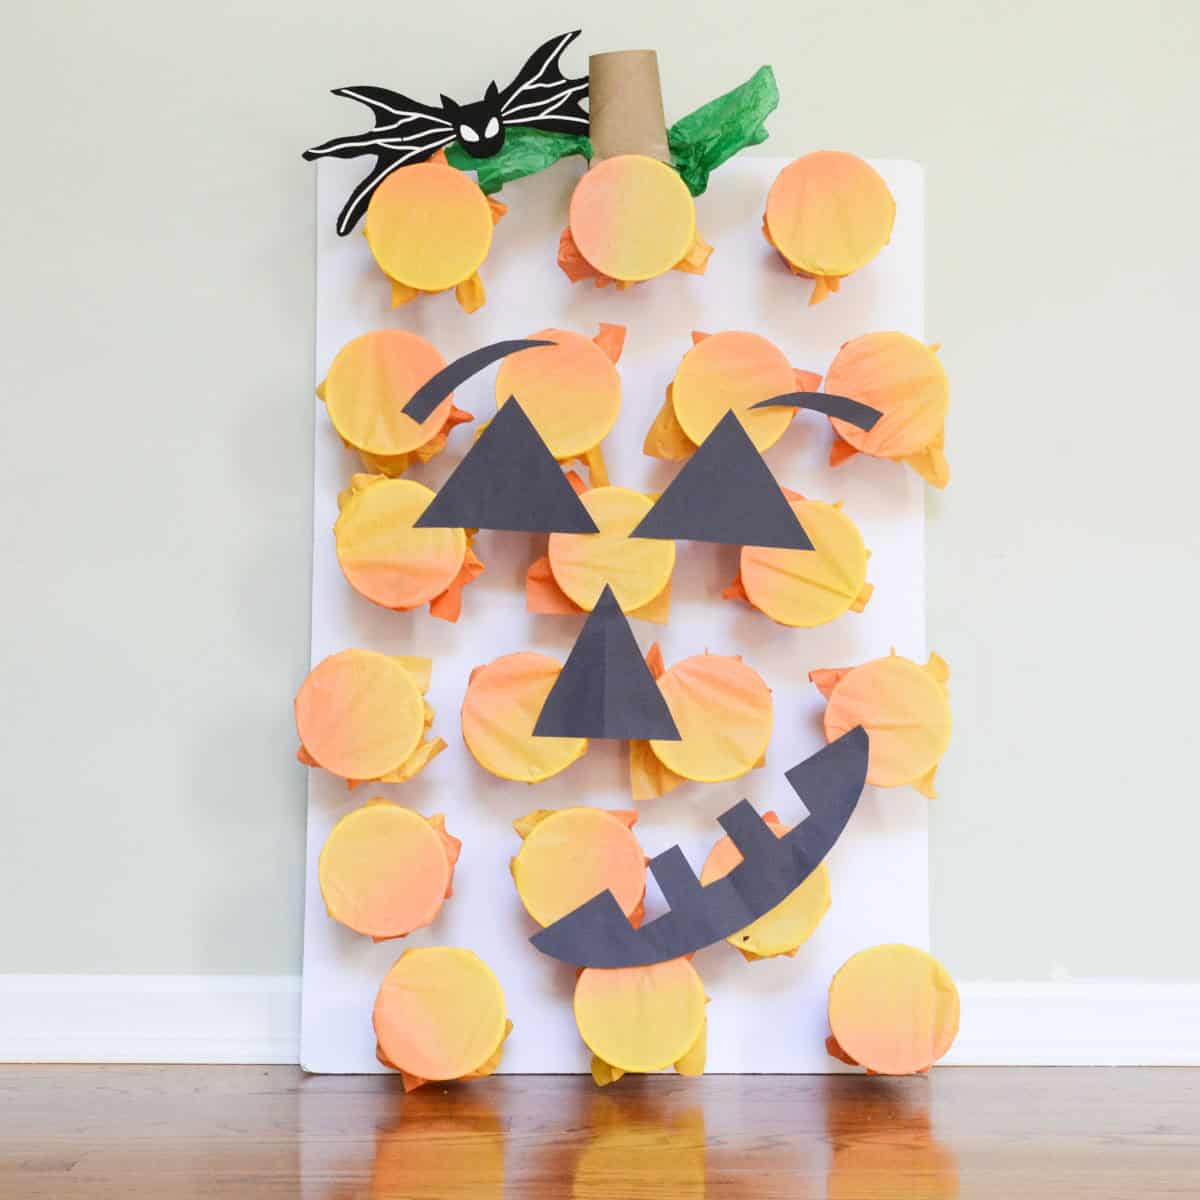
This DIY punch cup game is one of our favorite easy homemade Halloween games for kids. Seriously, reuse this punch board over and over for different holidays and parties. From more Halloween boards like this Monster Punch Cup game or the easiest Poke-A-Ghost cup game to a simple Christmas tree board, you can always come up with new ideas.
Supplies you’ll need
Disclosure: This post may contain affiliate links when clicked, we may earn a small commission at no additional cost to you. Read our full privacy policy.
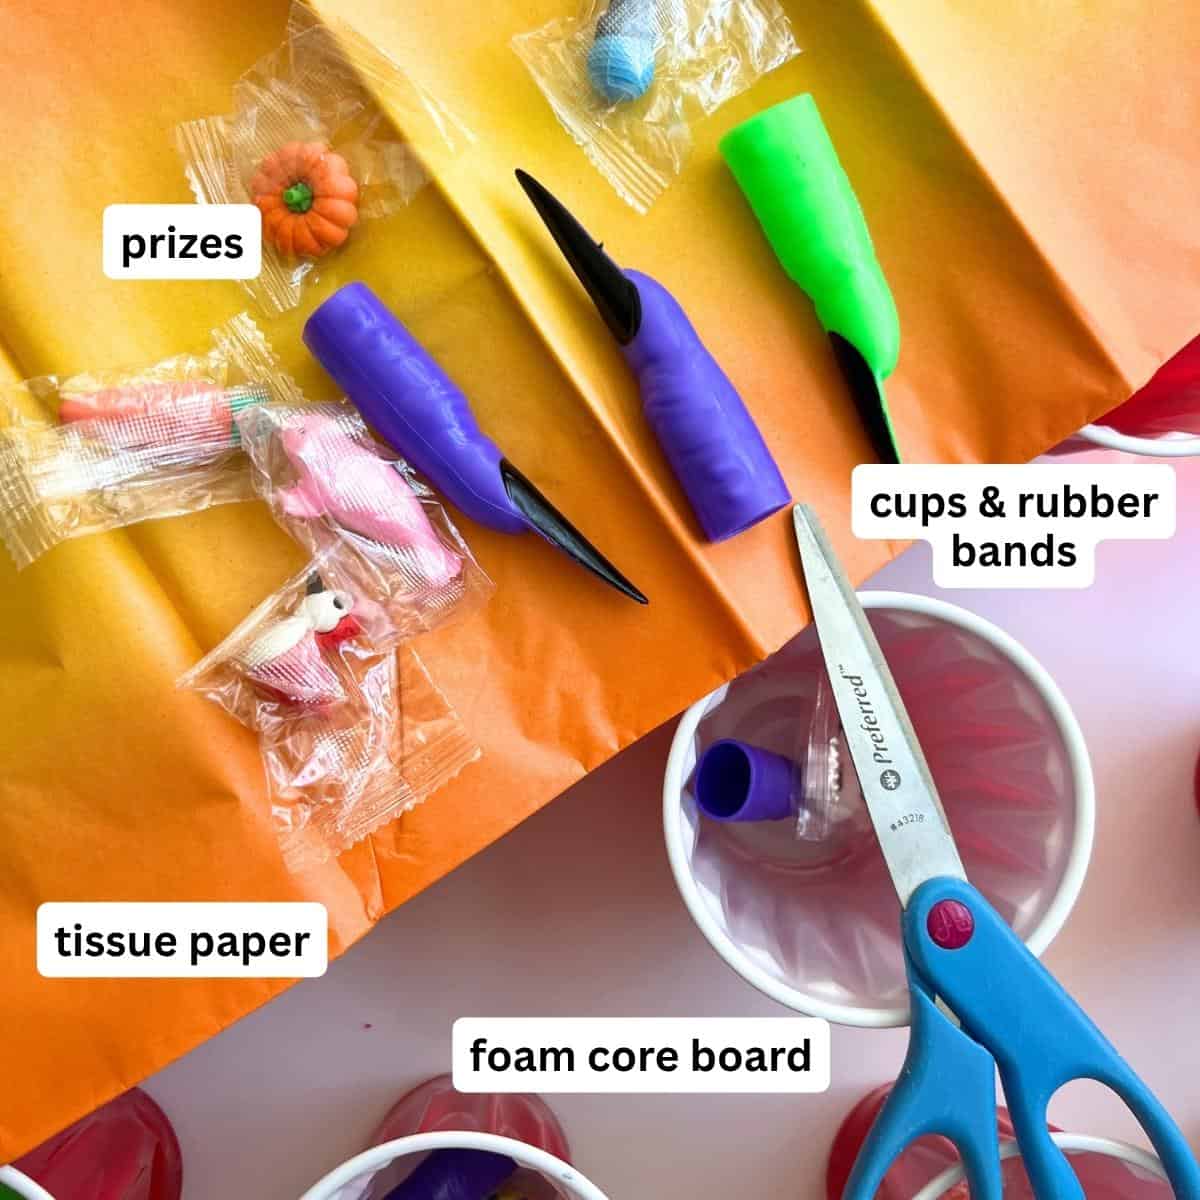
Notes On Supplies
- TISSUE PAPER – Put two layers on top of each cup. We found it was easiest to work with larger squares that are at least 7” x 7”
- PRIZES – Need to be light enough. Our cups had witch fingers and small, fun-shaped erasers.
- MODIFICATION – You can use orange napkins instead of tissue paper
How To Build A DIY Pumpkin Board
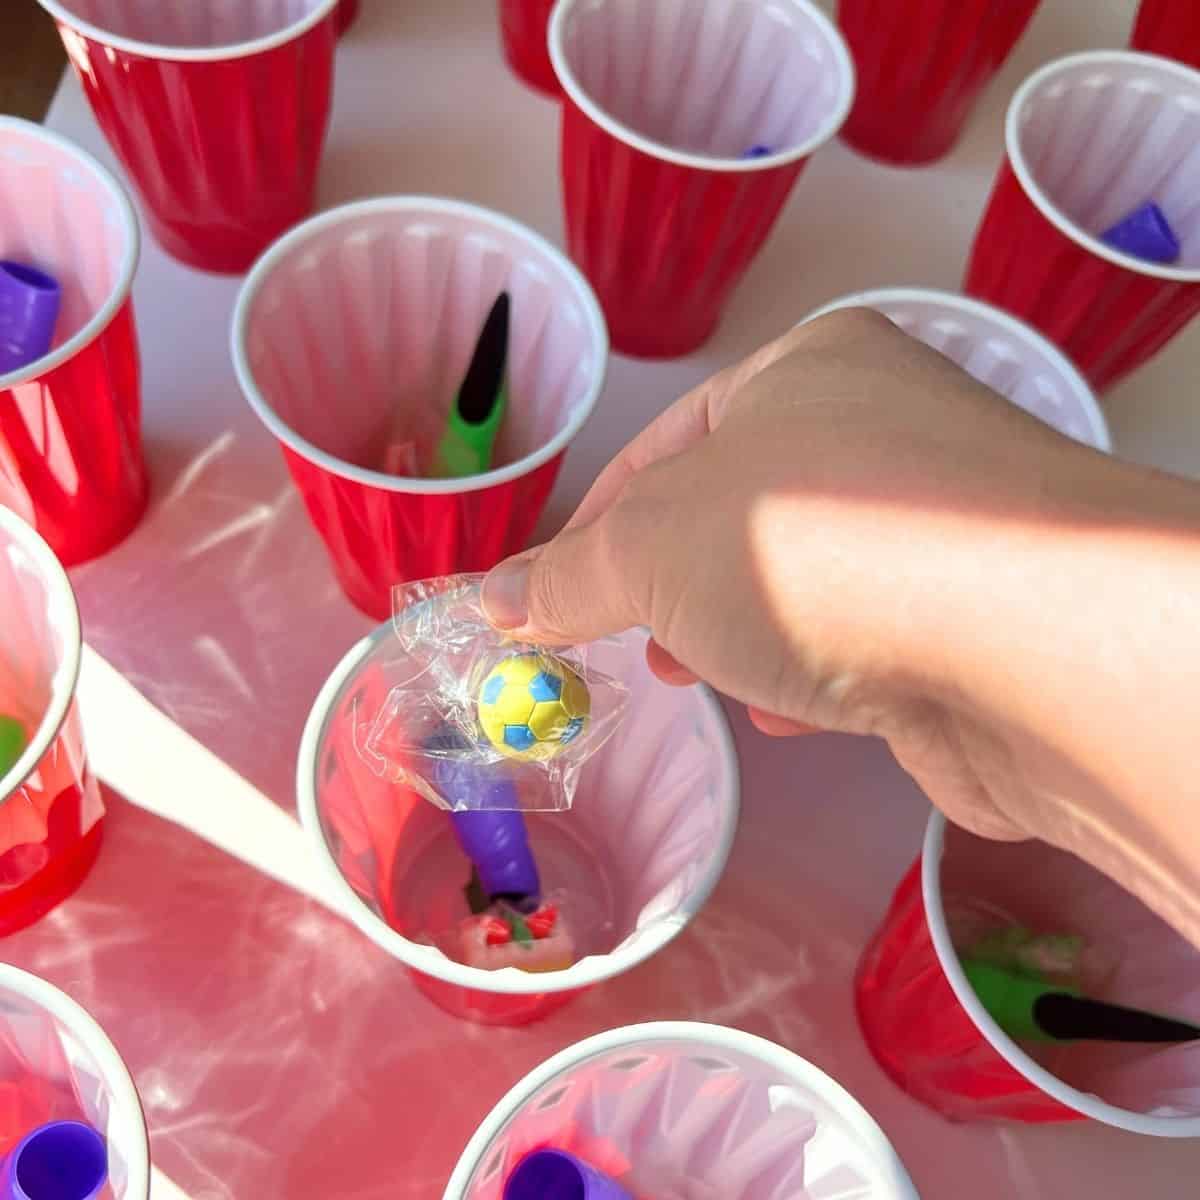
Step 1: Cut Tissue Paper & Place Prizes In
Pre-cut tissue paper into 7” x 7” squares. For a neater look cut the tissue paper into circles.
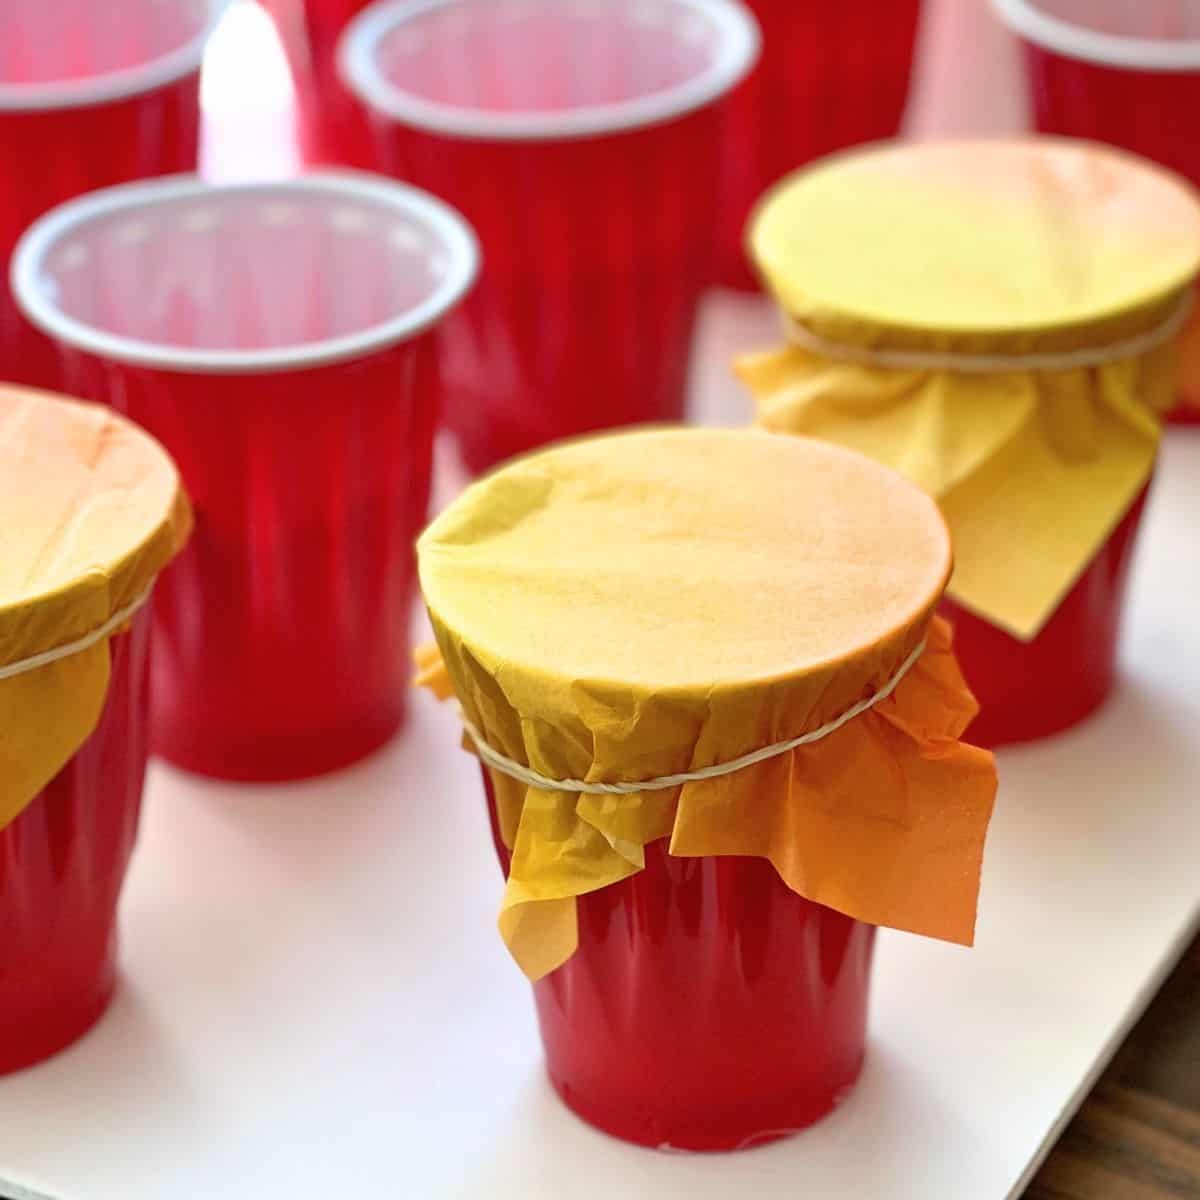
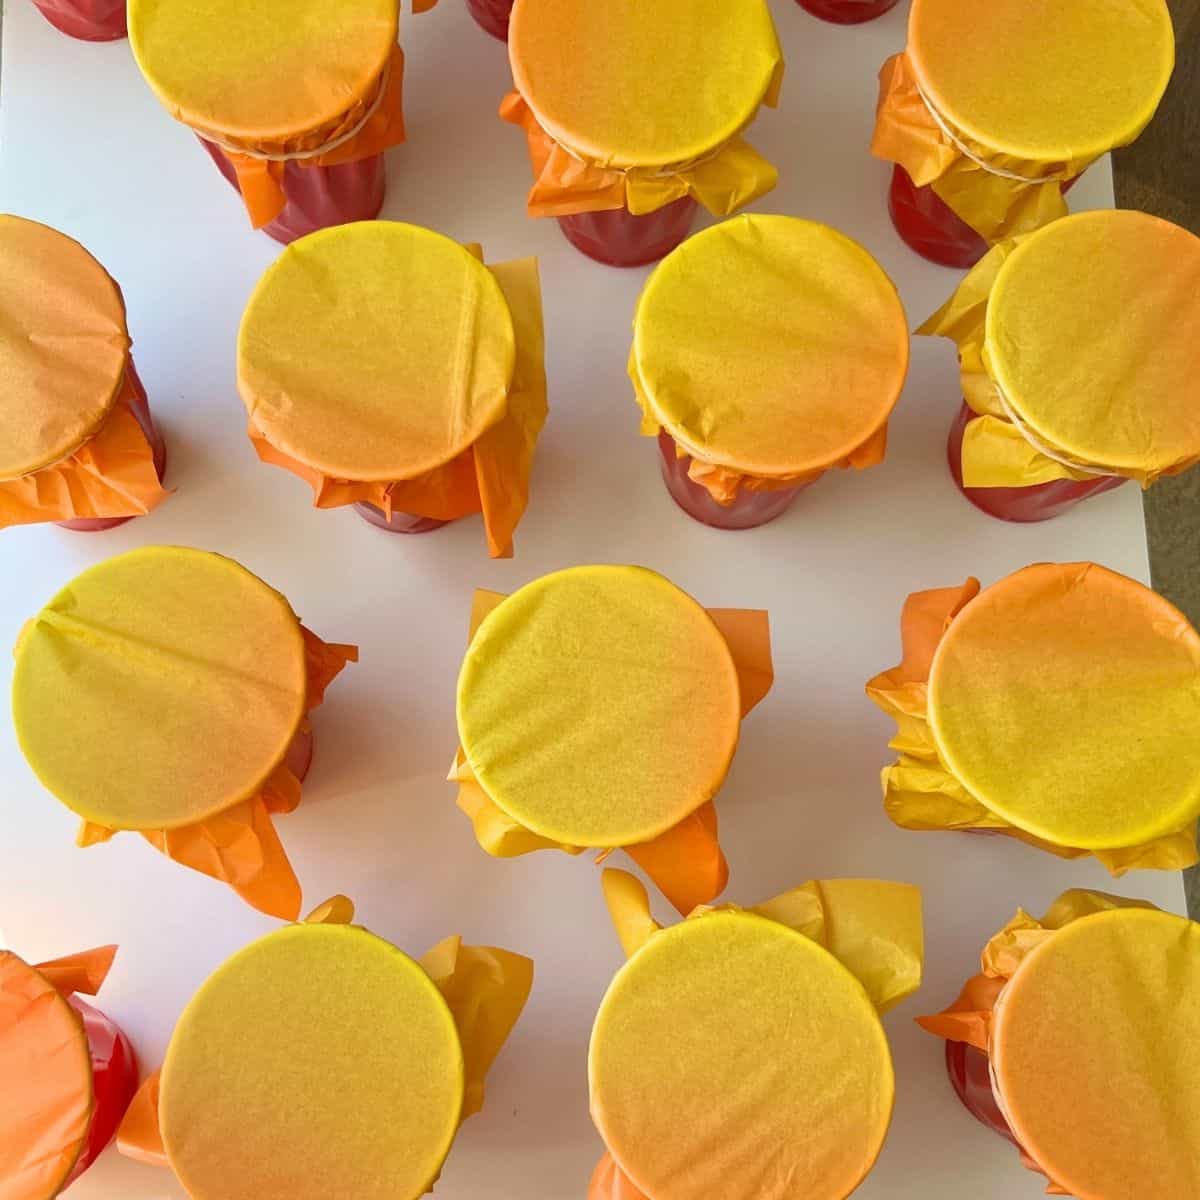
Step 2: Cover The Cups
Use two rubberbands or double one band per cup to ensure the paper is tight enough. We also recommend using two layers of tissue paper for each cup.
Step 3: Glue Cups To Board
Once you have planned out the cup layout, add a generous amount of hot glue to each cup and add to the foam core. Hold each cup for a few seconds to let the glue set.
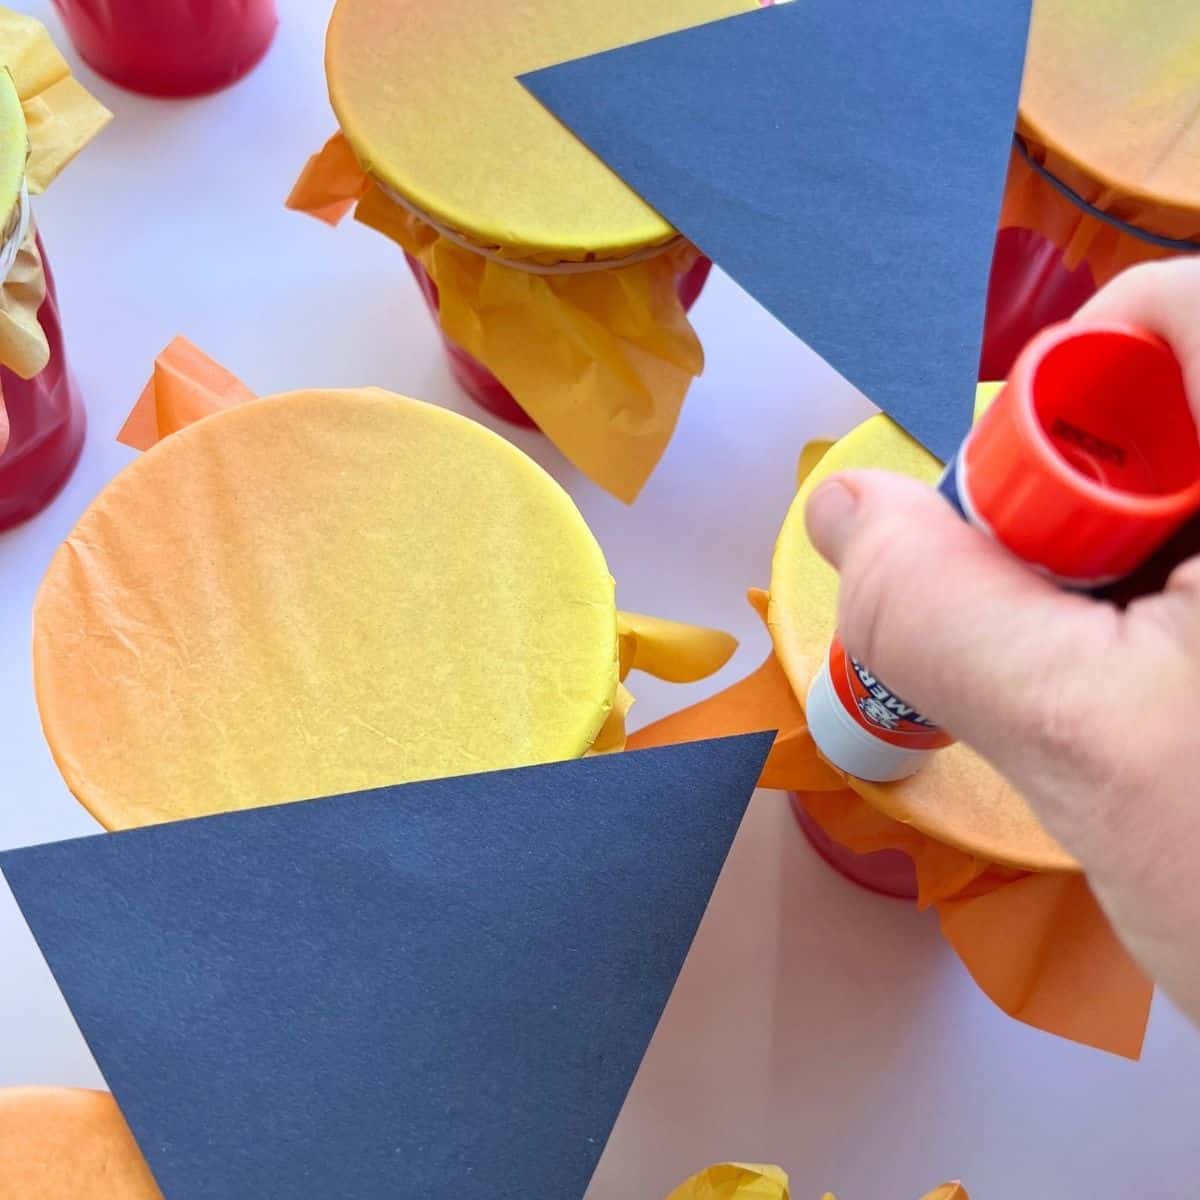
Step 4: Add Jack-O-Lantern Face & Add Other Details
Cut simple shapes out of black paper to create the pumpkin’s silly or spooky face. Add other details like a stem or leaves.
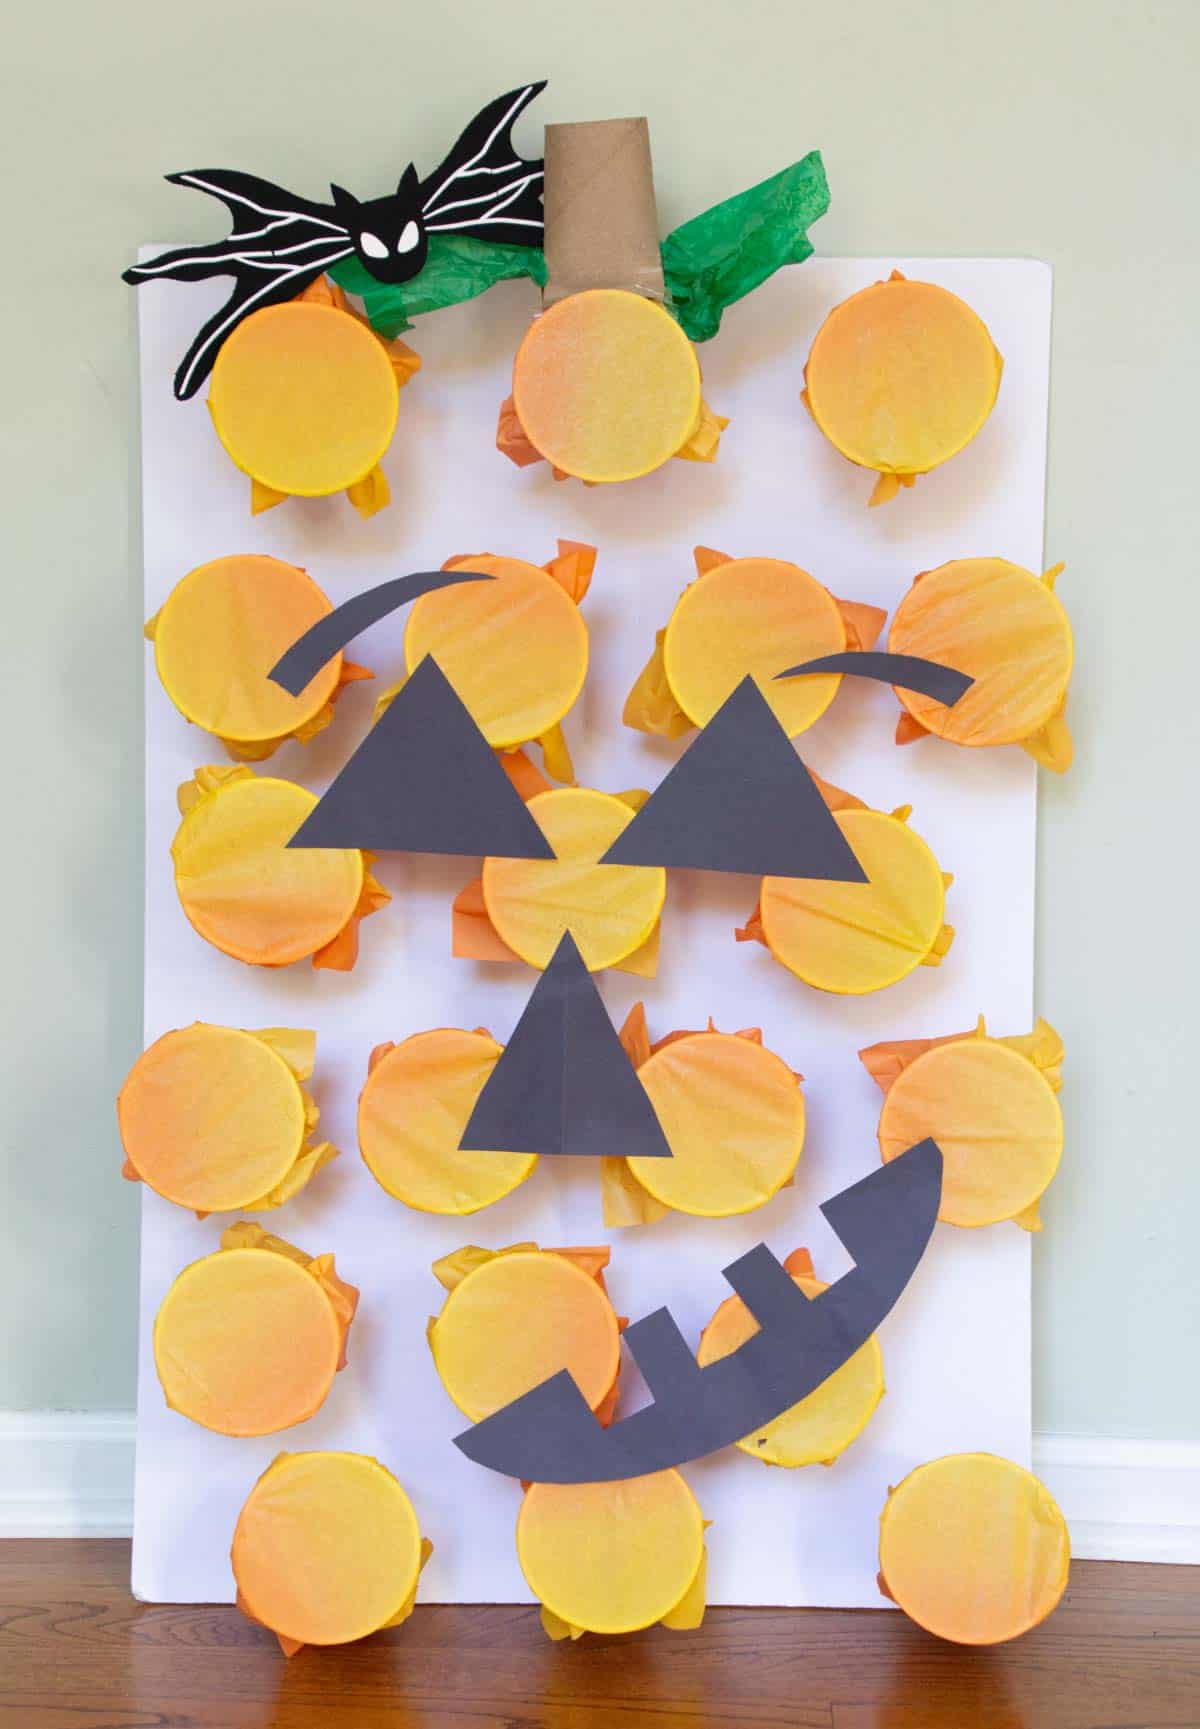
How To Play
The game is as easy as it sounds. Poke or punch the cup and get the prizes! This can also be used as a fun, no-contact way to pass out candy.

Since the Poke-A-Pumpkin game moves pretty fast, we like to have children complete a different game, like this ghost stacking game or fill-a-pumpkin challenge, before they can punch for a prize.
Tips
- GET THE POP! – Make sure that your tissue paper is tight enough on the cups. Kids love the pop sound when punching the game.
- LOTS OF GLUE – Use generous hot glue when attaching the cups to the board.
- ADULT VERSION – Place lotto tickets, money, or other adult items for fun prizes in the cups.
- PRIZES – Each cup has a witch finger, an eyeball ping pong ball, and vampire teeth.
Follow us on Pinterest, YouTube & Facebook for more free art and craft ideas!
More
Fall Craft Ideas
Whether it’s a classroom celebration or a spooky Halloween party, this easy Poke-A-Pumpkin cup game is sure to make everyone smile!
How To Make A Poke-A-Pumpkin Game
Equipment
- Hot Glue and Glue Gun
- Scissors
- Pencil
Supplies
- Foam Board
- Plastic cups
- Orange tissue paper
- Black Construction Paper
- Rubber bands
- Hot glue
- Old Toilet Paper Roll
- Small prizes candy or treats
Instructions
- BEFORE YOU BEGIN: Plan the placement of your cups before gluing them to the board. Arrange them in a pumpkin shape and make sure you have enough space between each cup for kids to easily poke through the tissue paper.
- ARRANGE THE CUPS: Lay the plastic cups on the cardboard or foam board and arrange them into a pumpkin shape.
- GLUE THE CUPS: Use hot glue to attach each plastic cup securely to the board. Let the glue cool completely before adding the prizes.
- ADD THE PRIZES: Place a small prize, piece of candy or treat inside each cup.
- CUT THE TISSUE PAPER: Cut orange tissue paper into squares large enough to completely cover the opening of each cup.
- COVER THE CUPS: Place a tissue paper square over each cup and secure it with a rubber band. Make sure the tissue paper is tight enough to stay in place but easy for kids to poke through.
- ADD THE PUMPKIN DETAILS: Cut a stem and optional leaves from green paper and attach them to the board to complete the pumpkin design.
- PLAY THE GAME: Let each child choose a cup and poke through the tissue paper to reveal the surprise inside.
Notes
- Arrange all of the cups before gluing so you can adjust the overall pumpkin shape.
- Use inexpensive and light-weight prizes, candy, stickers or small toys inside the cups.
- Use different prizes in the cups to make each turn a surprise.
- Reuse the board by replacing the tissue paper and refilling the cups for another party or event.