Easy Mondrian Art Collage Project For Kids

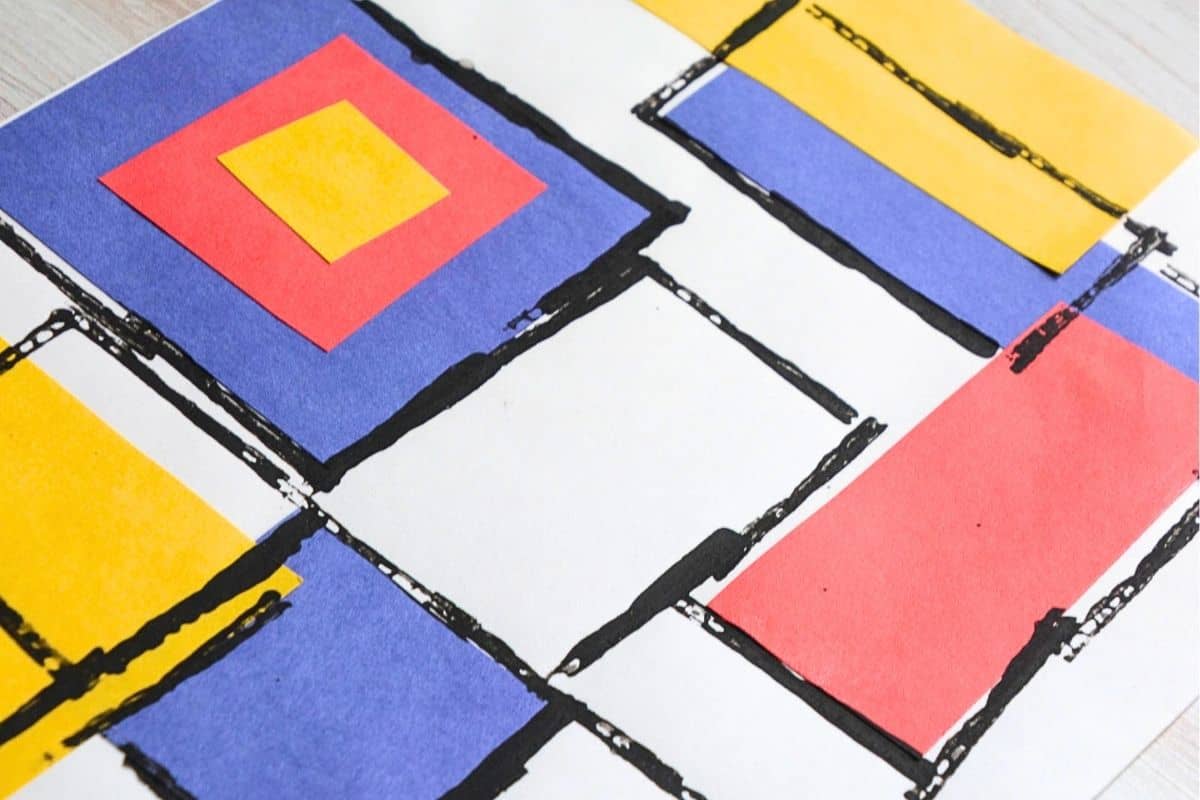
Kids will love this fun Mondrian collage art lesson. Not only will they learn about shapes, colors, and Piet Mondrian, but they will have so much fun with limited prep on your end!
This art project has been a class favorite over the years. This post was originally published in December 2023 and was recently updated in September 2026 with more images and better formatting.
I have done this Mondrian-inspired collage with Kindergarten students, and it is such an easy way to introduce primary colors, shapes and abstract art. Kids also get cutting and gluing practice while creating their own unique designs.
This is one of my favorite easy art lessons inspired by famous artists.
Why You Will Love This Art Project
Supplies You’ll Need
Disclosure: This post may contain affiliate links when clicked, we may earn a small commission at no additional cost to you. Read our full privacy policy.
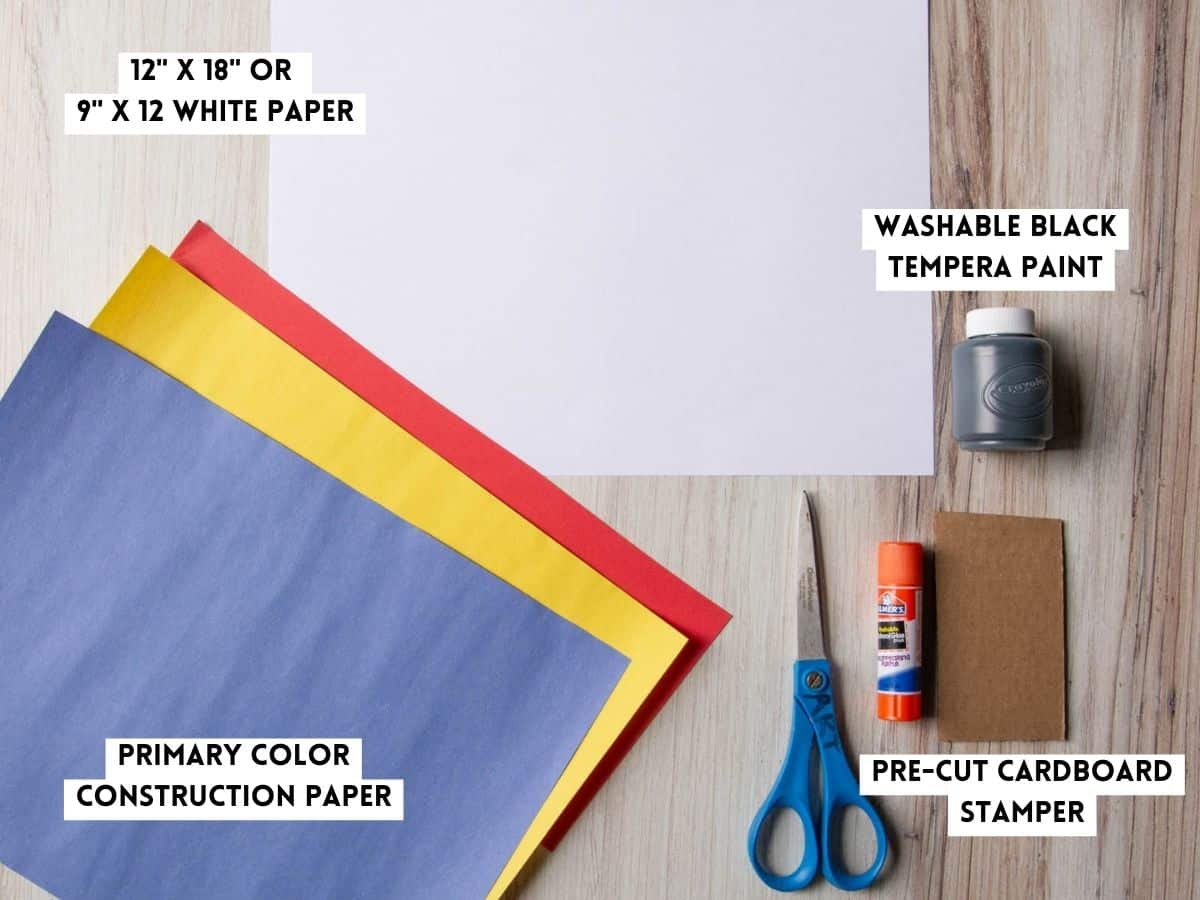
*If you can afford it, this brand of construction paper is the only one we use. It doesn’t fade like other brands.
Who is Piet Mondrian?
We always like to get the kids talking about artwork. By asking simple questions even the youngest artists can describe the Elements and Principles of Art they notice.
- You can find some of examples of his work and more info on his life here at the Artland website.
- He was a Dutch artist born in 1872
- Tate Kids also notes that “best known for his abstract paintings”. Abstract Art does not show recognizable things that you might see in the real world.
- Before painting his most famous primary-colored compositions, he liked to paint realistic scenes, trees, and then eventually more abstract tree paintings.
What to look for with kids?
Look at a few of Mondrian’s famous paintings together. Even young children can identify the primary colors, horizontal and vertical lines, shapes and balance they see in his artwork.
How To Make A Mondrian Collage
ART TEACHER’S TAKE 🎨 – Before you begin any art lesson inspired by a famous masterpiece, it is important to make sure students and children know that the goal is not to completely copy the artist.
They are to use the primary colors, shapes, and lines to create their works.

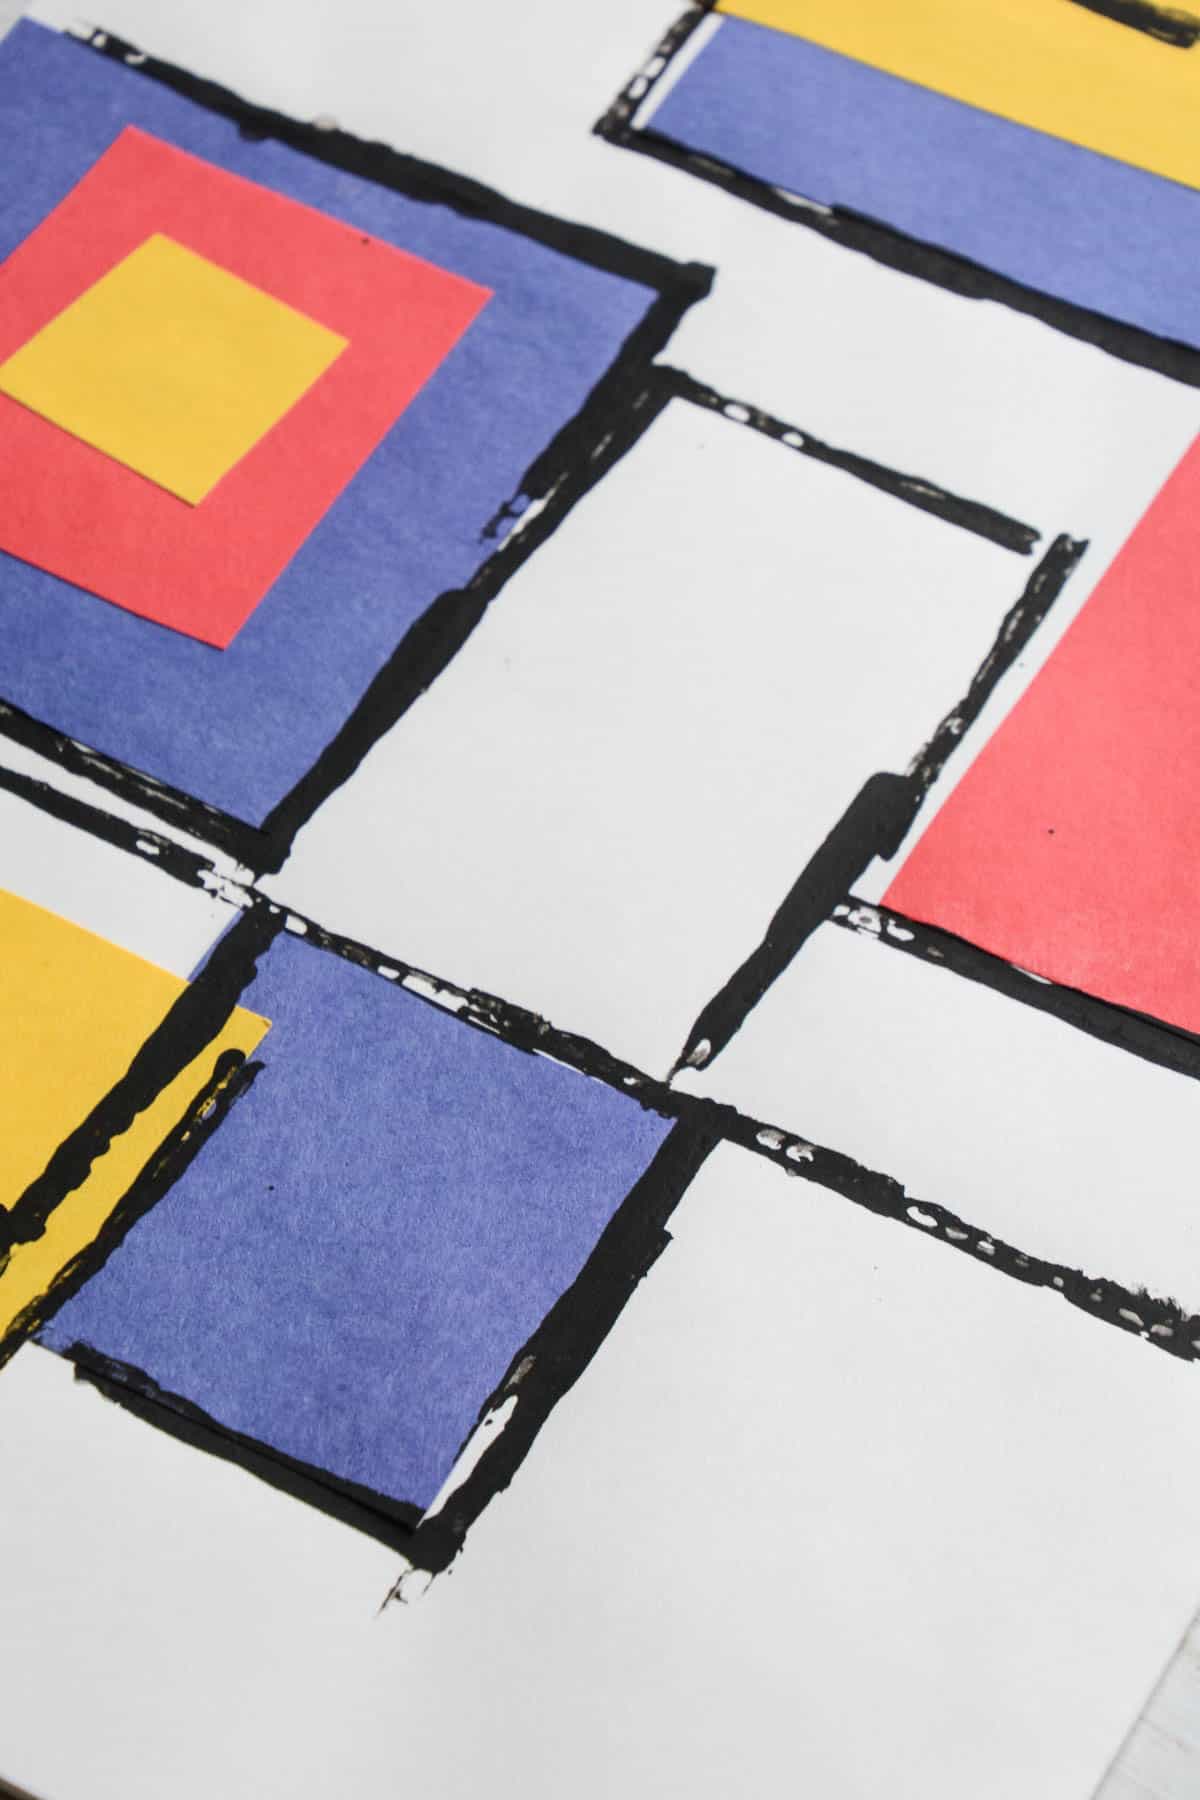
STEP 1: CUT THE SHAPES – Encourage students to cut rectangles and squares out of the colored construction paper. However, we have also had really interesting results by not limiting the shapes they cut.
STEP 2: ARRANGE AND GLUE – This is a great time to talk about how artists can create balance. Even kindergartners will understand that the art might not be balanced if all the red paper is on the one side.
Model how to properly use a glue stick and begin to create a primary-colored collage.
STEP 3: STAMP LINES – Place black tempera paint on a plate or tray. Children can use a piece of cardboard to stamp lines onto their artwork. Again, you can encourage vertical and horizontal lines, or let them create.
Follow us on Pinterest, YouTube & Facebook for more free art and craft ideas!
Lesson Tips
- Model how to hold the cardboard stamper. Cut them large enough so that there is a limited mess when they hold them.
- Don’t worry if these don’t look exactly like a Mondrian. Remember to encourage the process.
- Have students check that they have fully glued pieces down before getting to paint lines.
- If you do not want to paint, you can always draw lines or use more paper to complete the collage.

Our Favorite
Related Kid Art Projects
Have fun creating and making a fun Piet Mondrian art project at home or school.
Easy Mondrian Art Collage Project For Kids
Equipment
- Scissors
- Cardboard Rectangles for Stamping
- Paint tray or plate
Supplies
- 1 Piece 9" x 12" or 12" x 18" white paper
- Red, Blue and Yellow Construction Paper
- Black Tempera Paint
Instructions
Before You Begin
- Look at a few examples of Piet Mondrian’s artwork and talk about the colors, lines and shapes you see. Remind kids that the goal is not to copy one of his paintings. Instead, they can use primary colors, shapes and lines to create their own artwork.
How To Make A Mondrian Collage
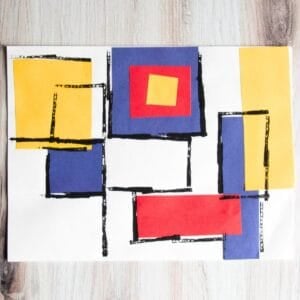
- CUT THE SHAPES: Cut squares, rectangles or other shapes from red, blue and yellow construction paper.
- ARRANGE THE SHAPES: Move the paper shapes around on the white paper to create a balanced composition. Encourage kids to experiment with different arrangements before gluing.
- GLUE THE COLLAGE: Use a glue stick to attach the construction paper shapes to the white paper. Make sure all the edges are completely glued down.
- STAMP BLACK LINES: Add black tempera paint to a plate or tray. Dip the edge of a cardboard rectangle into the paint and stamp lines across the collage. Kids can experiment with vertical and horizontal lines or create their own arrangement.
- LET IT DRY: Lay the finished artwork flat and let the paint dry completely.
Notes
- We have successfully done this art project with kindergarten students and up.
- Cut cardboard stampers large enough for young children to easily hold without getting too messy.
- Encourage kids to think about balance when arranging their colored shapes.
- Don’t worry if the finished artwork doesn’t look exactly like a Mondrian painting. Encourage creativity and focus on the process.
- If you don’t want to use paint, kids can draw black lines or use strips of black construction paper instead.